13" rotor upgrade that allows you to retain the stock calipers, parking brake and parking brake cables. It is a bolt on installation w/o any other modifications to the upright or a-arms for proper clearance. It does require 17" wheels, use with lowering ball joints is not recommended due to interference issues, and longer braided stainless steel brake hoses are typically used as well. https://www.fiero.nl/forum/Forum4/HTML/060122.html http://fieroguruperformance.com/
I would definitely recommend FieroGuru's 13 brake rotor kit. I bought myself a set & it's top notch. Guru stands behind his work and he has taken all the guesswork out so it would be easy for us to install without any struggles.
And you get to keep your stock calipers & emergency parking brake.
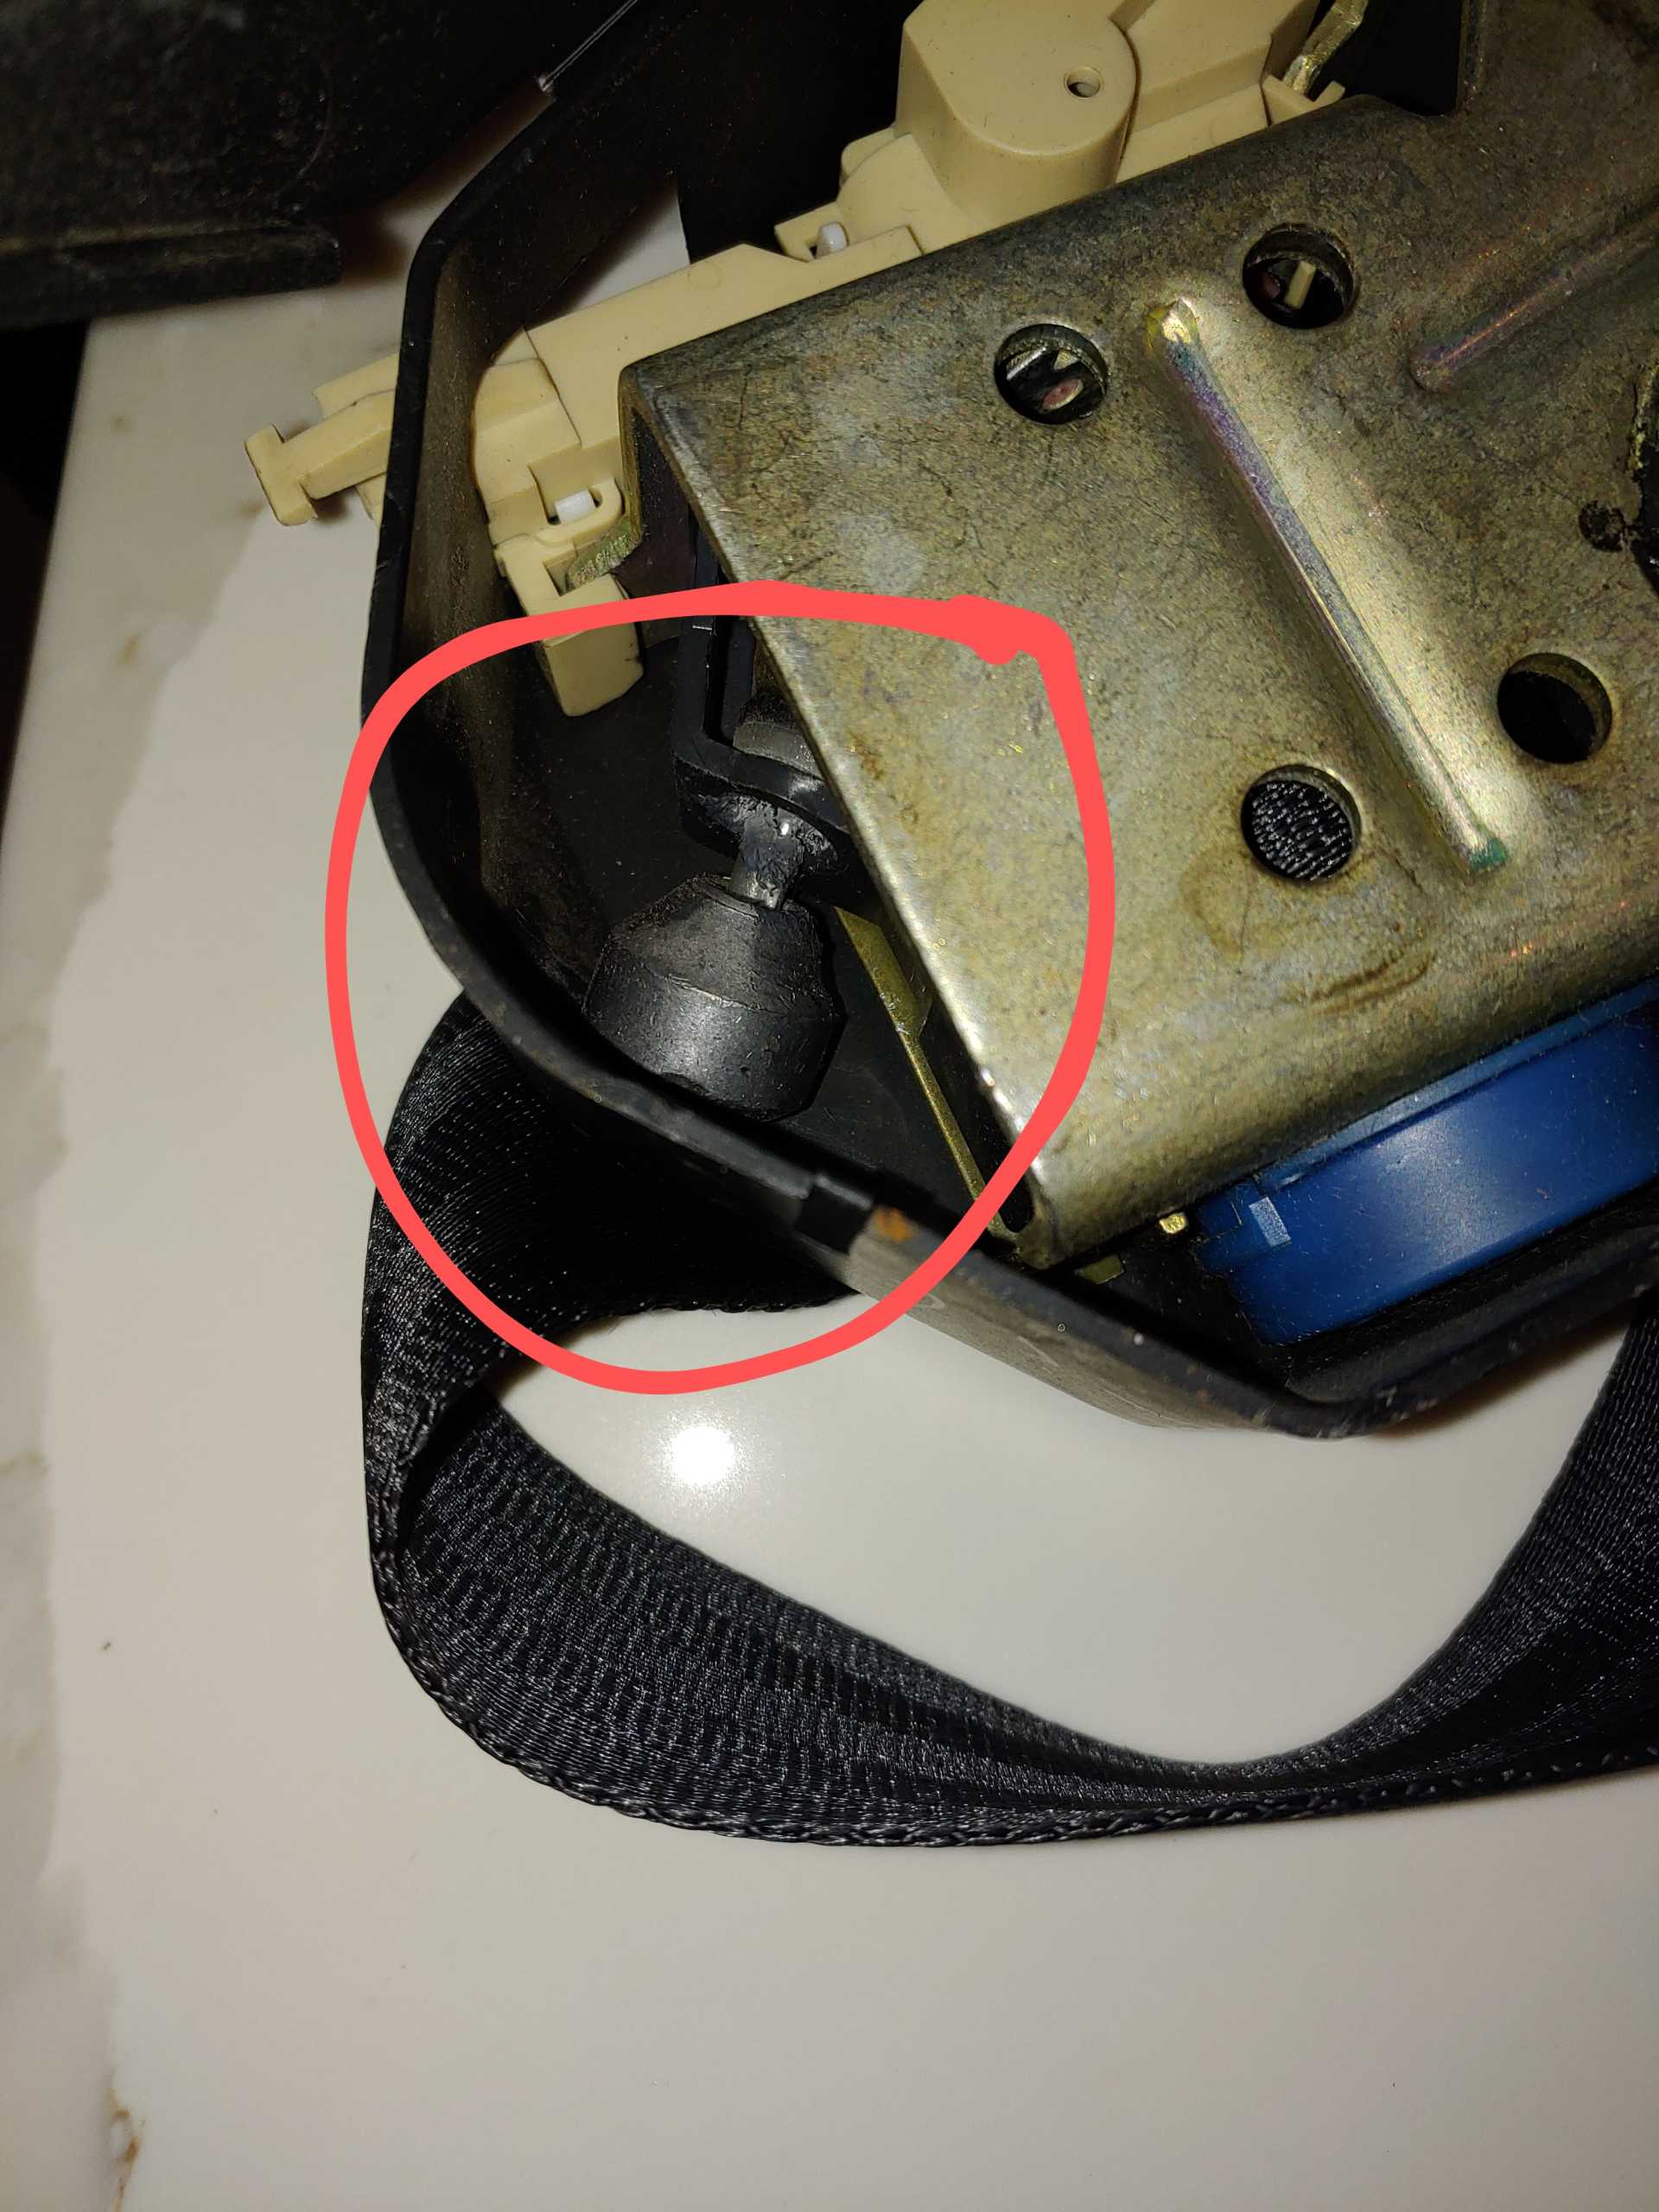
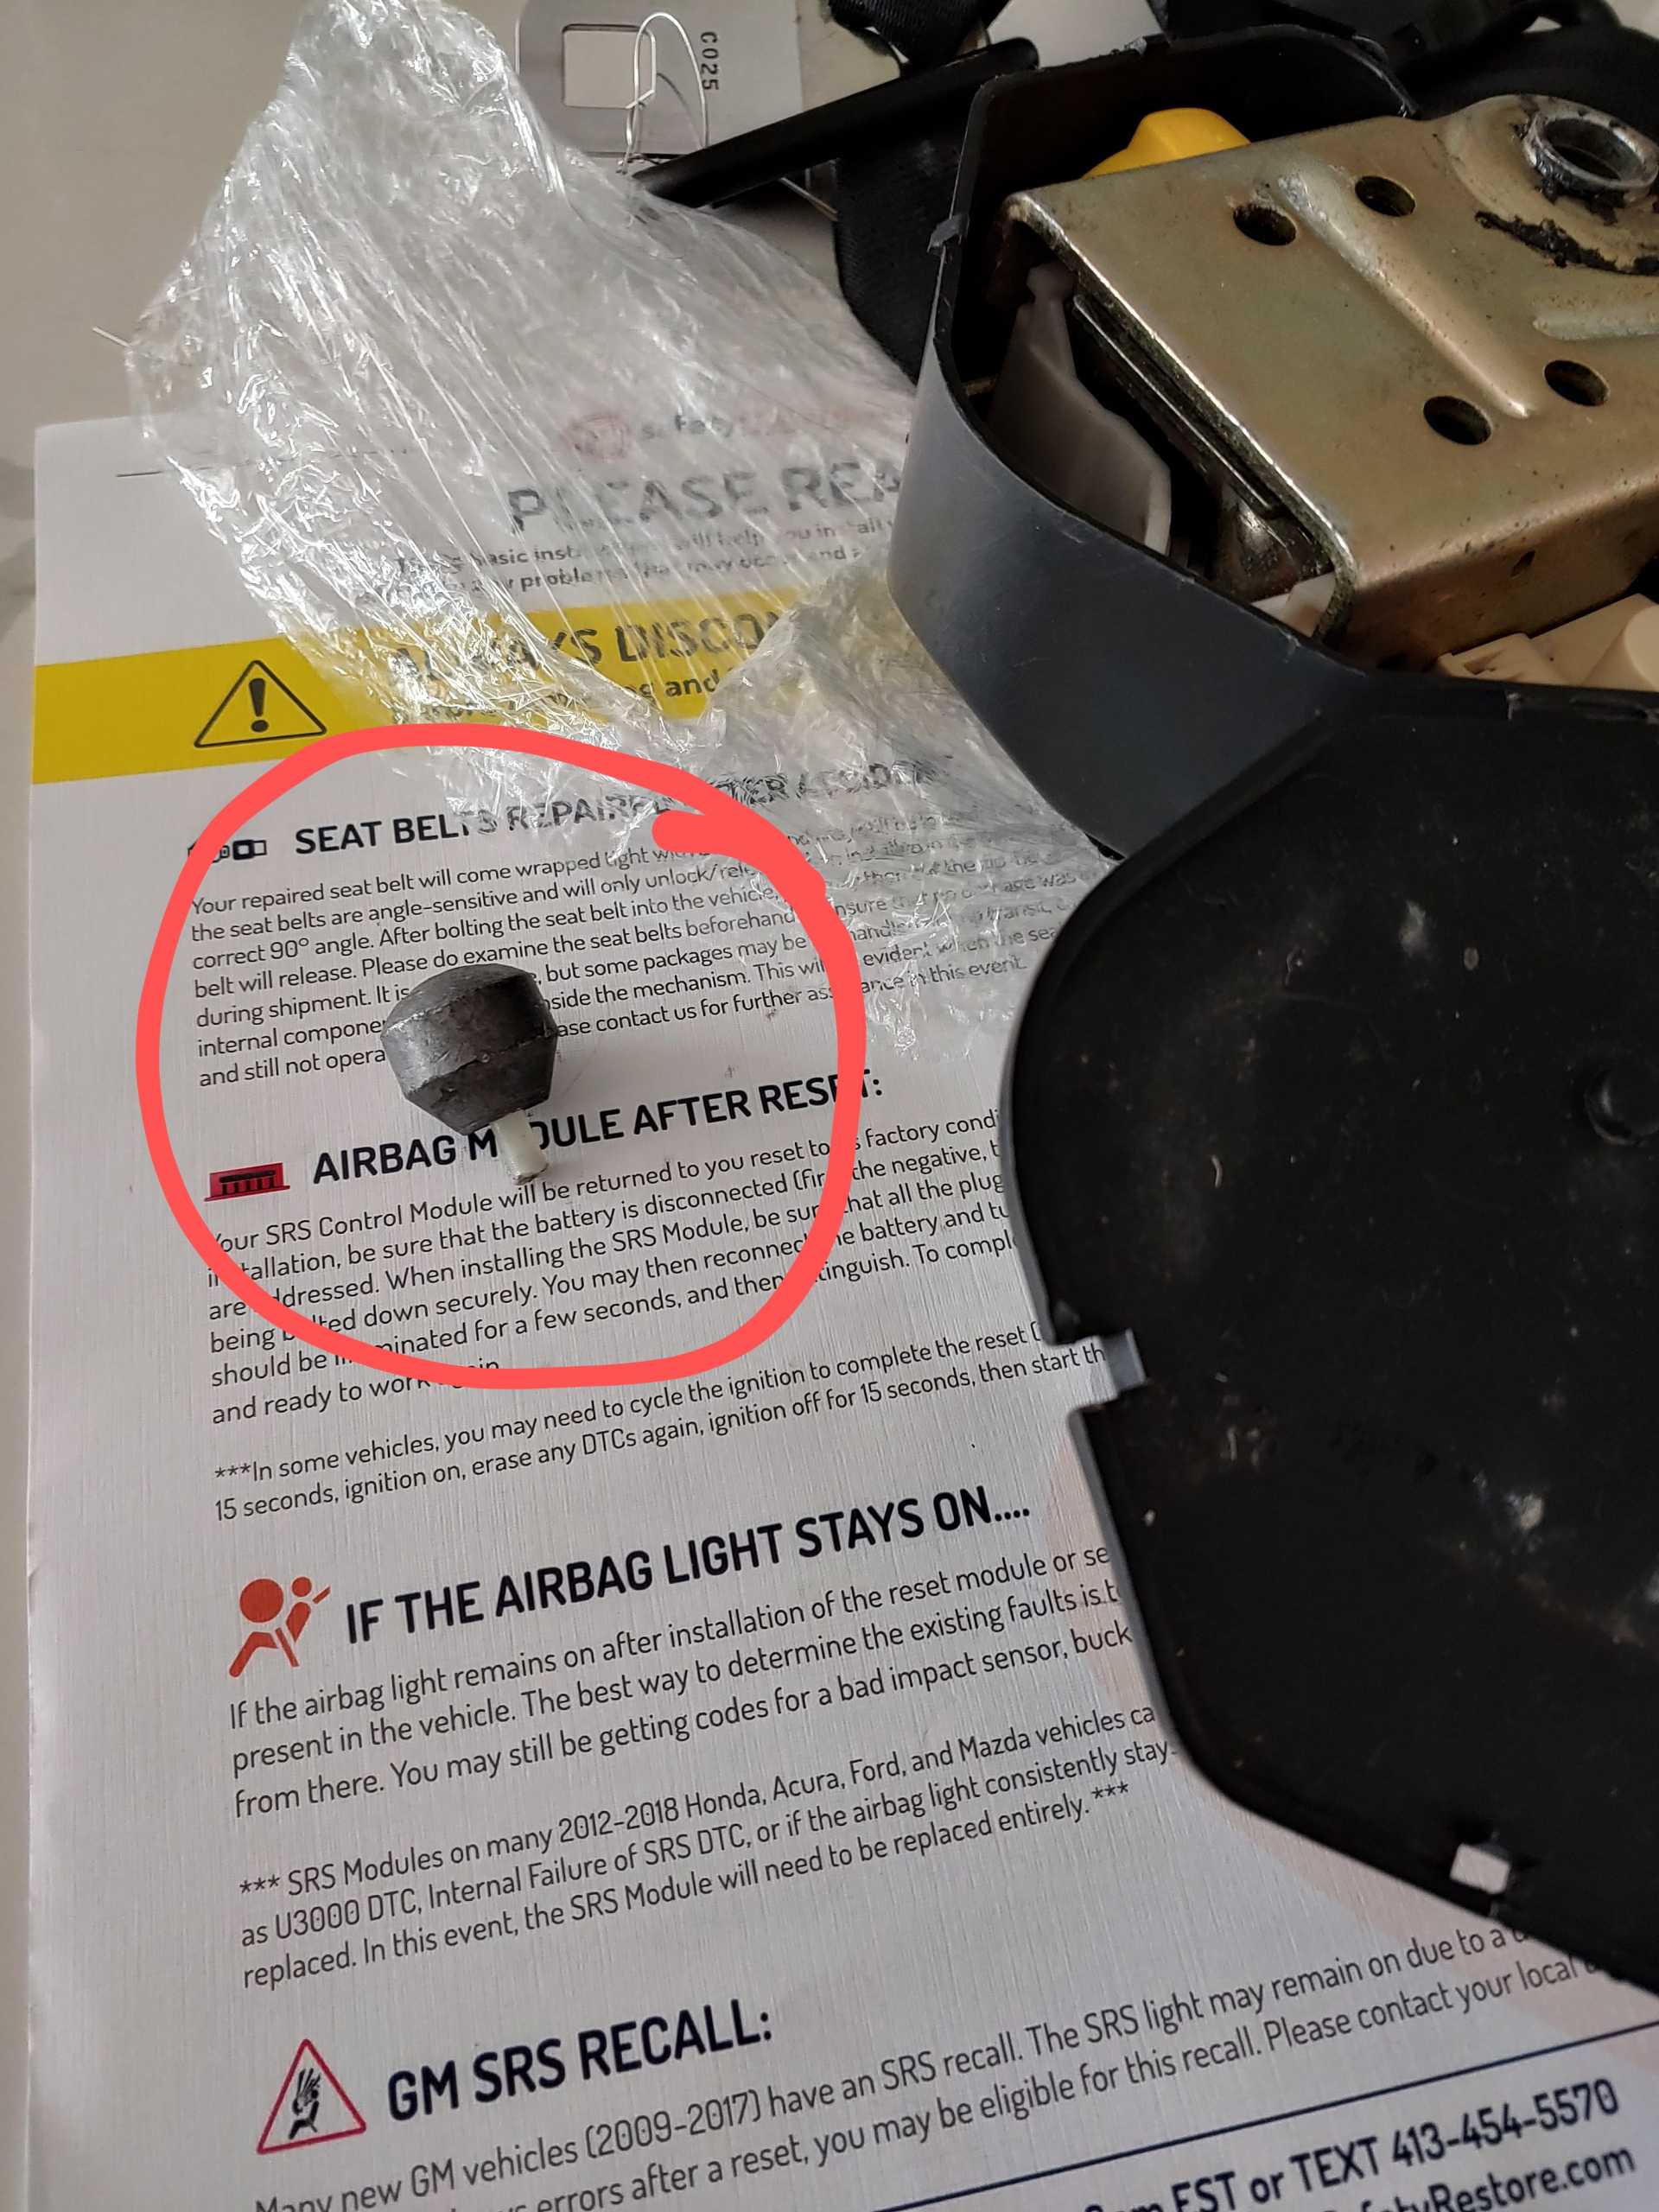
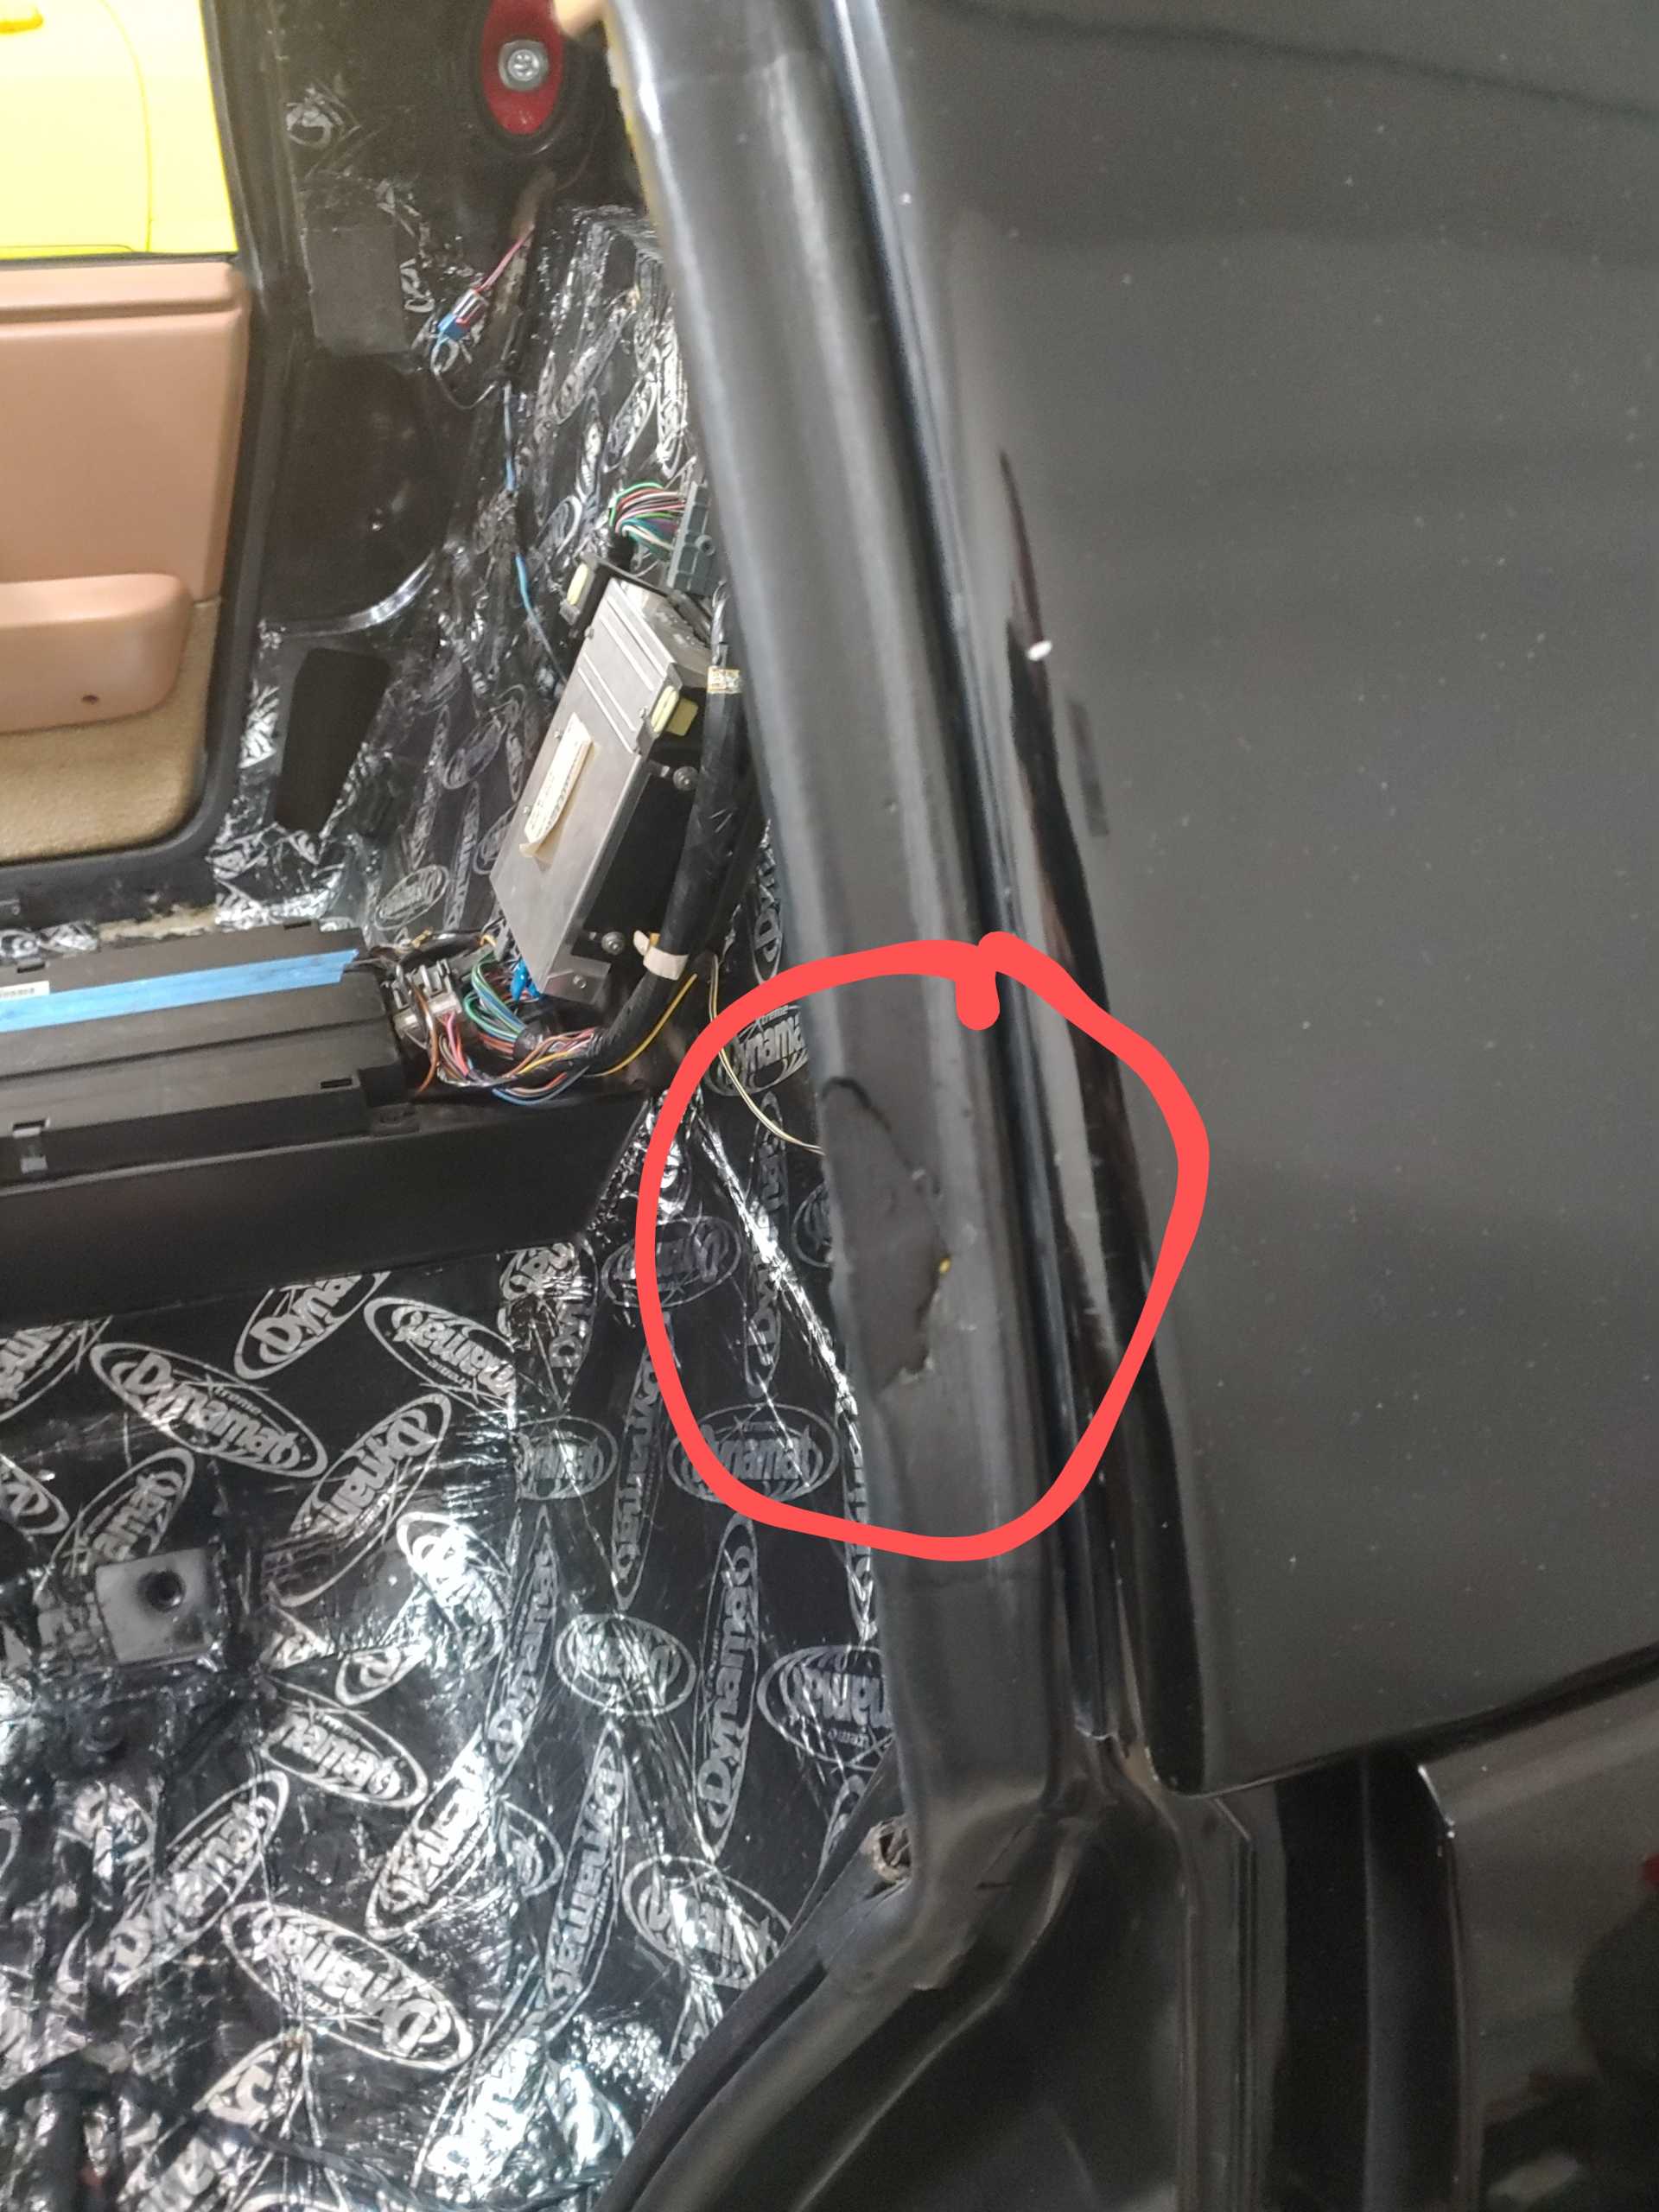
Does anyone know what this part of the seat belt mechanism is for? Is it essential to the function of the seat belt mechanism? I sent my seat belts in to be re-webbed and when I got them back, this piece was rattling around inside, it had broken off. The other seat belt is just fine.
I suspect that is the pendulum lock for the seat belts. Under rapid deceleration or impact, the weight swings forward, locking the seat belt. If it is broke, I doubt the seat belt will work in an accident.
I suspect that is the pendulum lock for the seat belts. Under rapid deceleration or impact, the weight swings forward, locking the seat belt. If it is broke, I doubt the seat belt will work in an accident.
That makes sense, when I told them about it and sent a picture, they said that it wasn't part of the seat belt and I could just toss it. I knew that wasn't right, but I didn't know what purpose it served, so thank you.
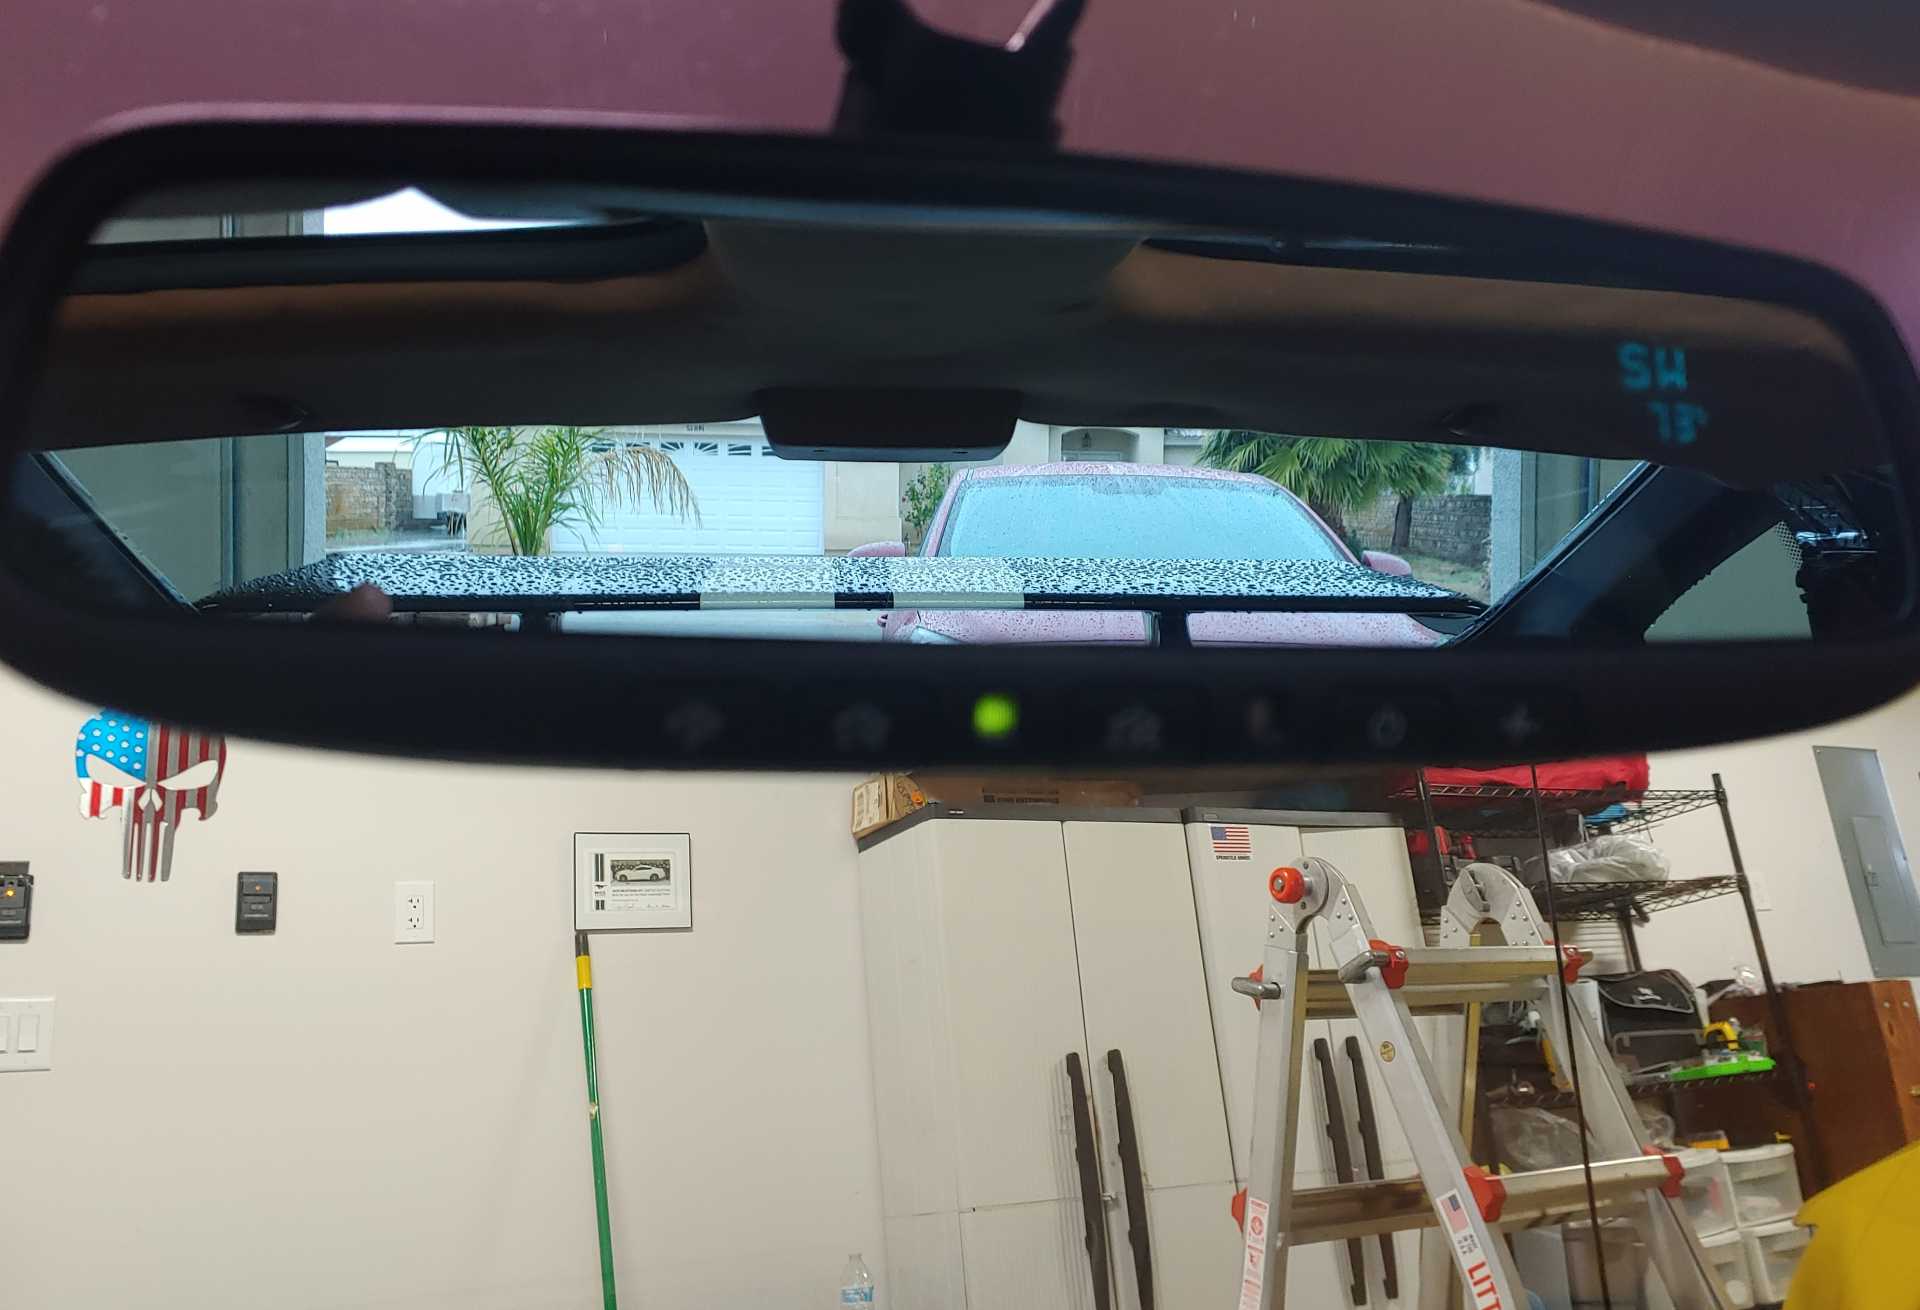
I put the temp sensor right behind the center of the the front bumper do it would be in front of the radiator and protected from direct air flow. As for being 73 degrees, it was cooler because it was a rainy day, yes it actually rained for three days.
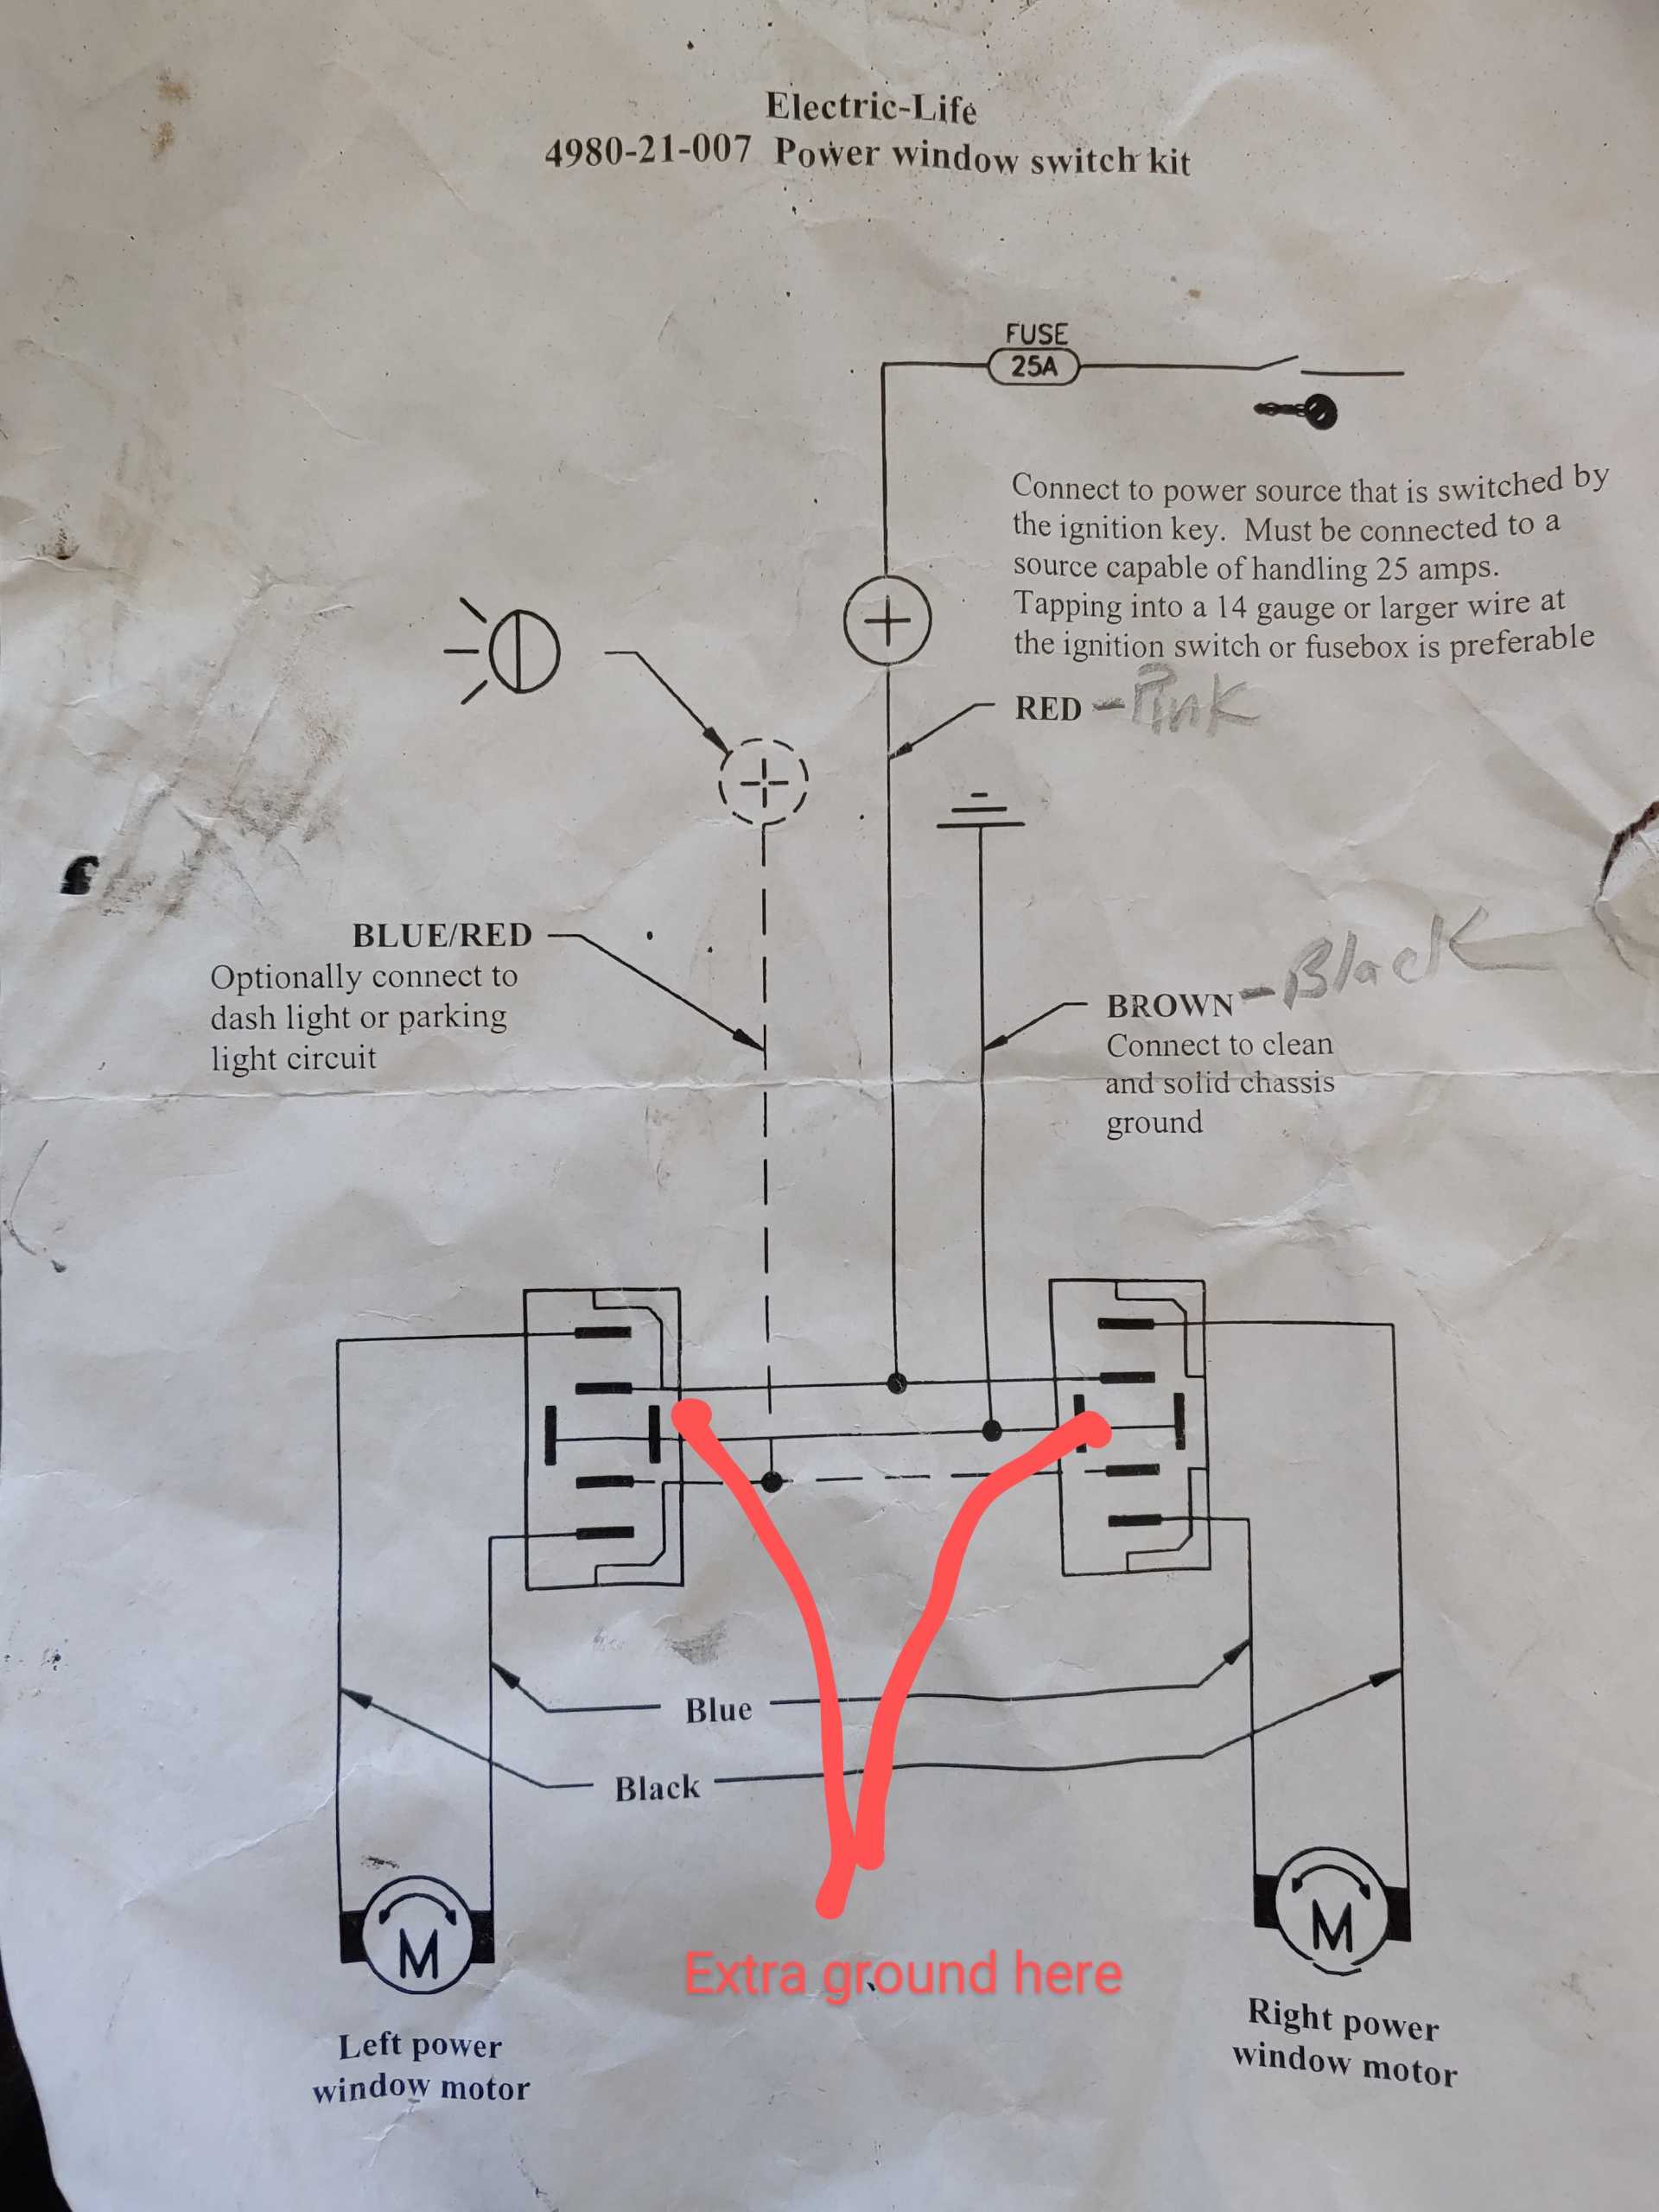
So, I ran into an issue when I tried connecting my new power window switches. All of this was done on the passenger side mirror, I didn't want to cut into the driver's side until I got the passenger side sorted out. Using the up button. I can get the window to go up, but the down button does nothing. When I switch the up and down wires the up button will lower the window. The down button does nothing for some reason, I tried this with both switches and got the same result. The wires are connected correctly. I called the company that I bought them from, but they couldn't really help me, except to say the switches are reverse polarity and something about the window motor needing to be 2 wire. I know people have done this before so, any advice how to get this to work would be greatly appreciated.
I was able to use the stock steering wheel hub on my Momo steering wheel, and I got the horn wired up. However, now when I get the wheel mounted and tightened down, I can't snap the horn button into place because the shaft sticks out a little bit too far. I'm kind of scared to mess with the shaft, grinding, or cutting because I may not be able to get the wheel on/off if the end gets deformed. Any thoughts?
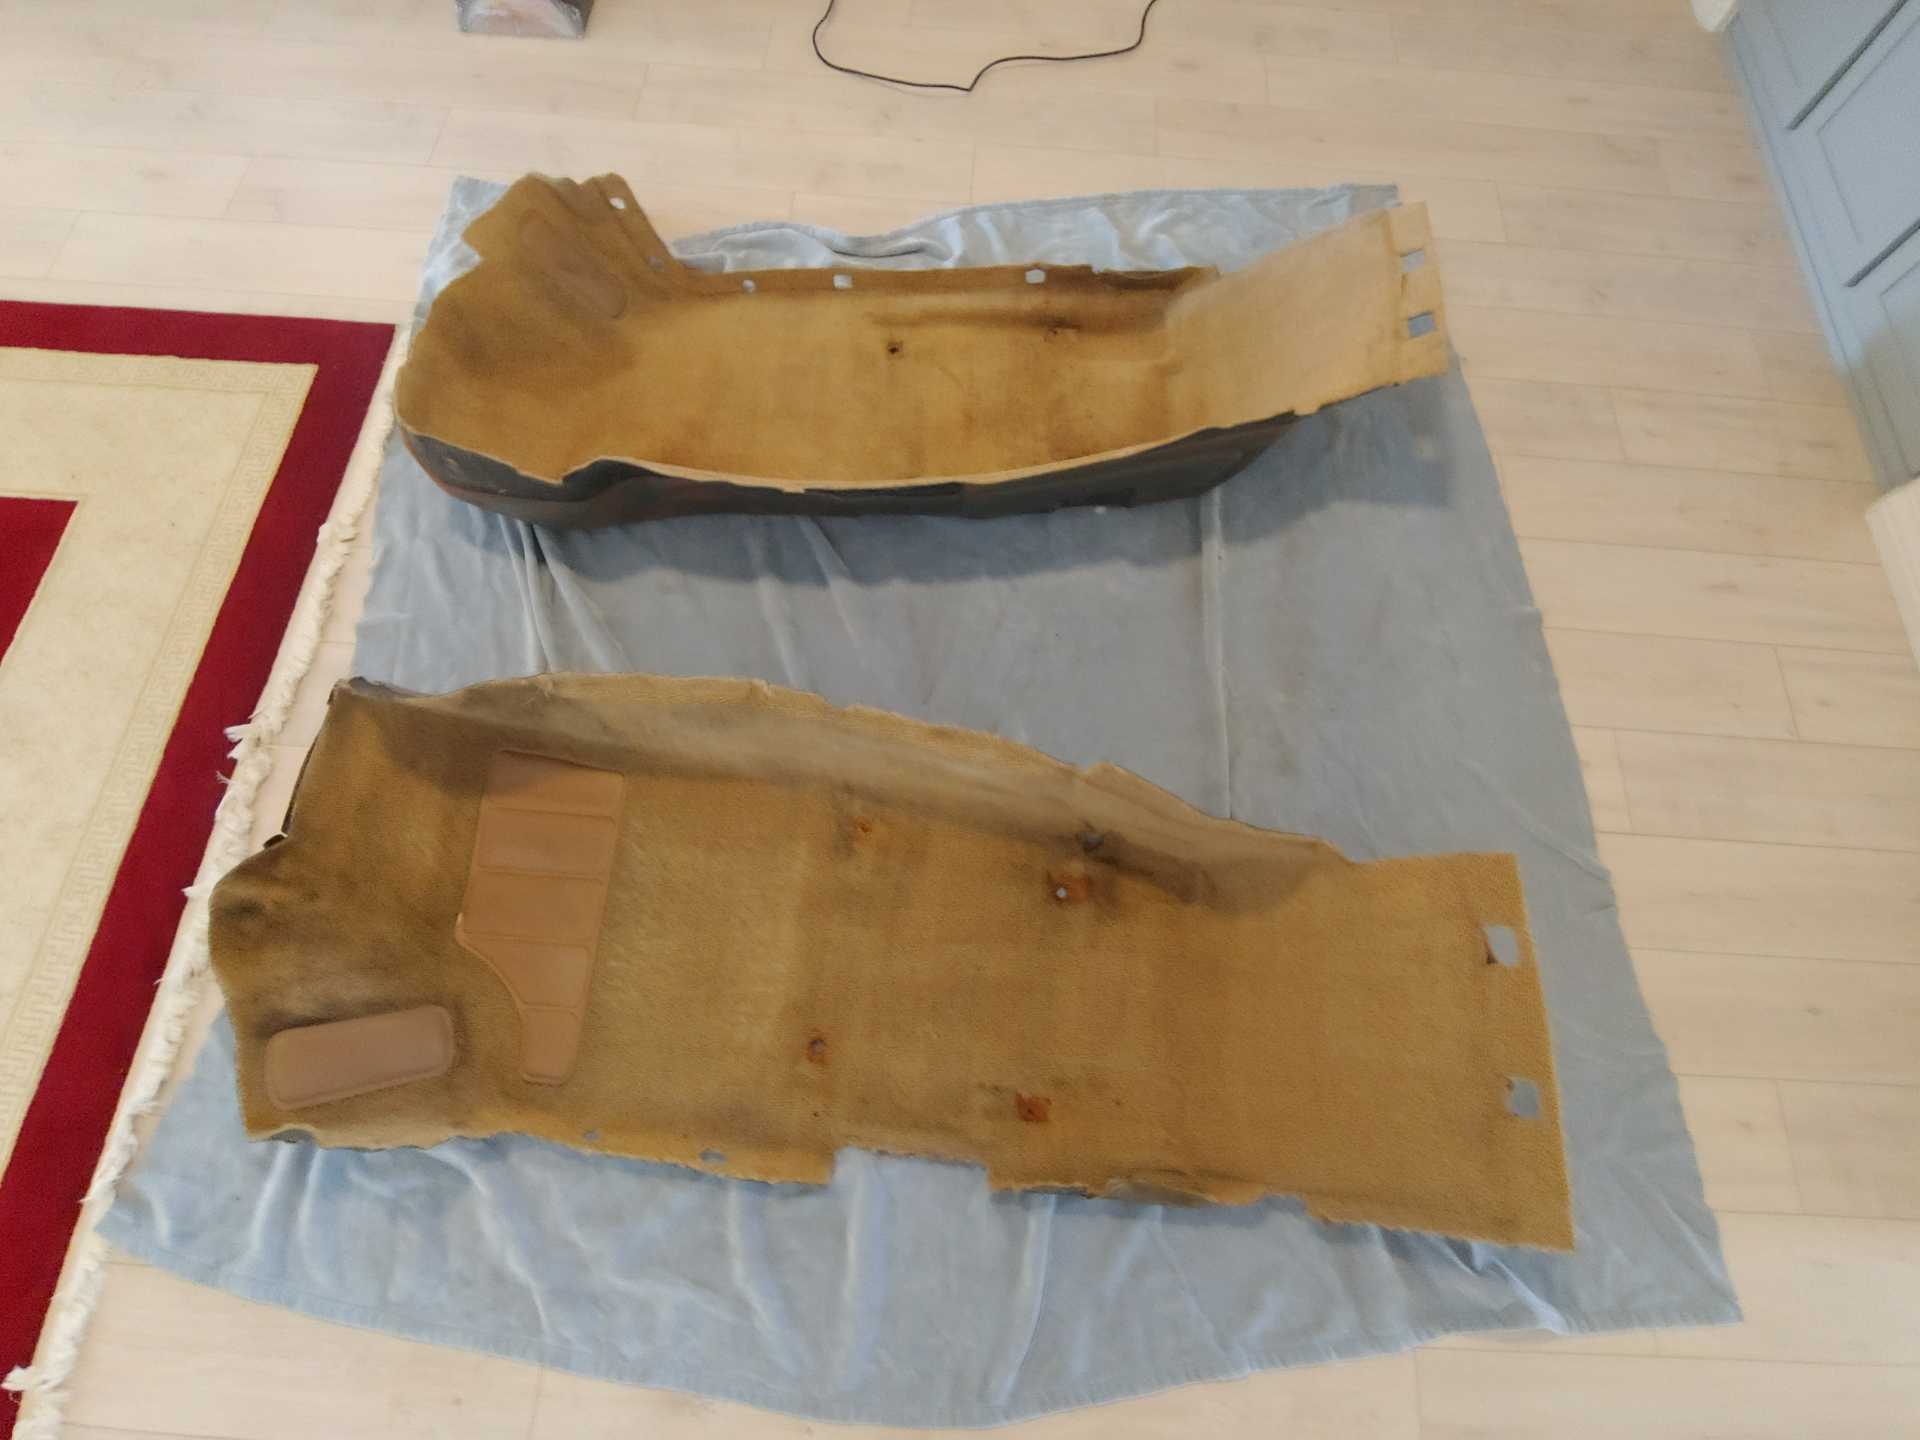
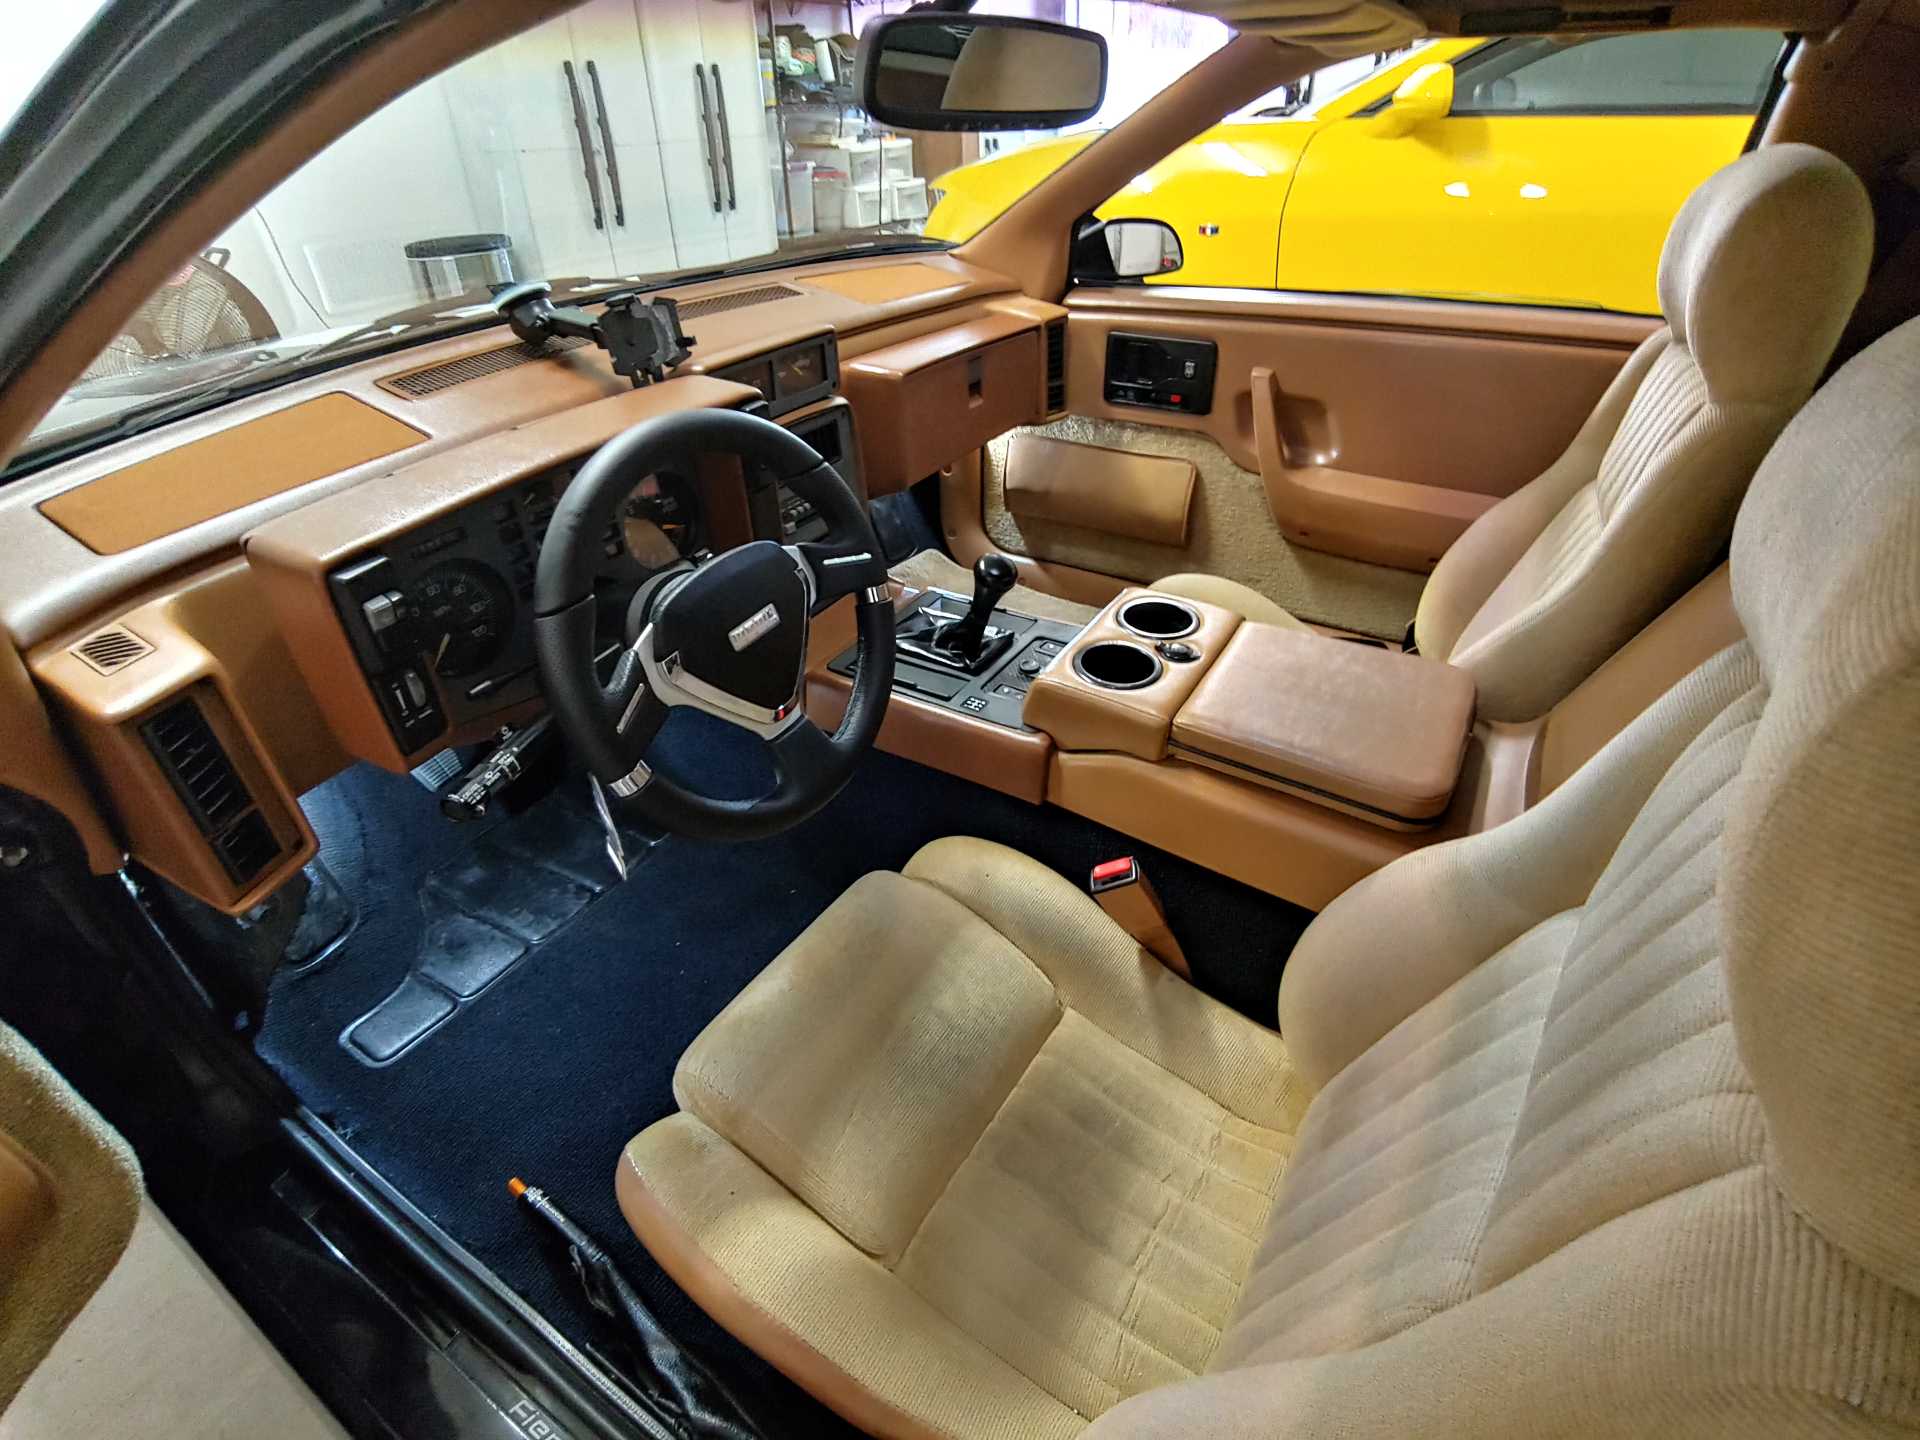
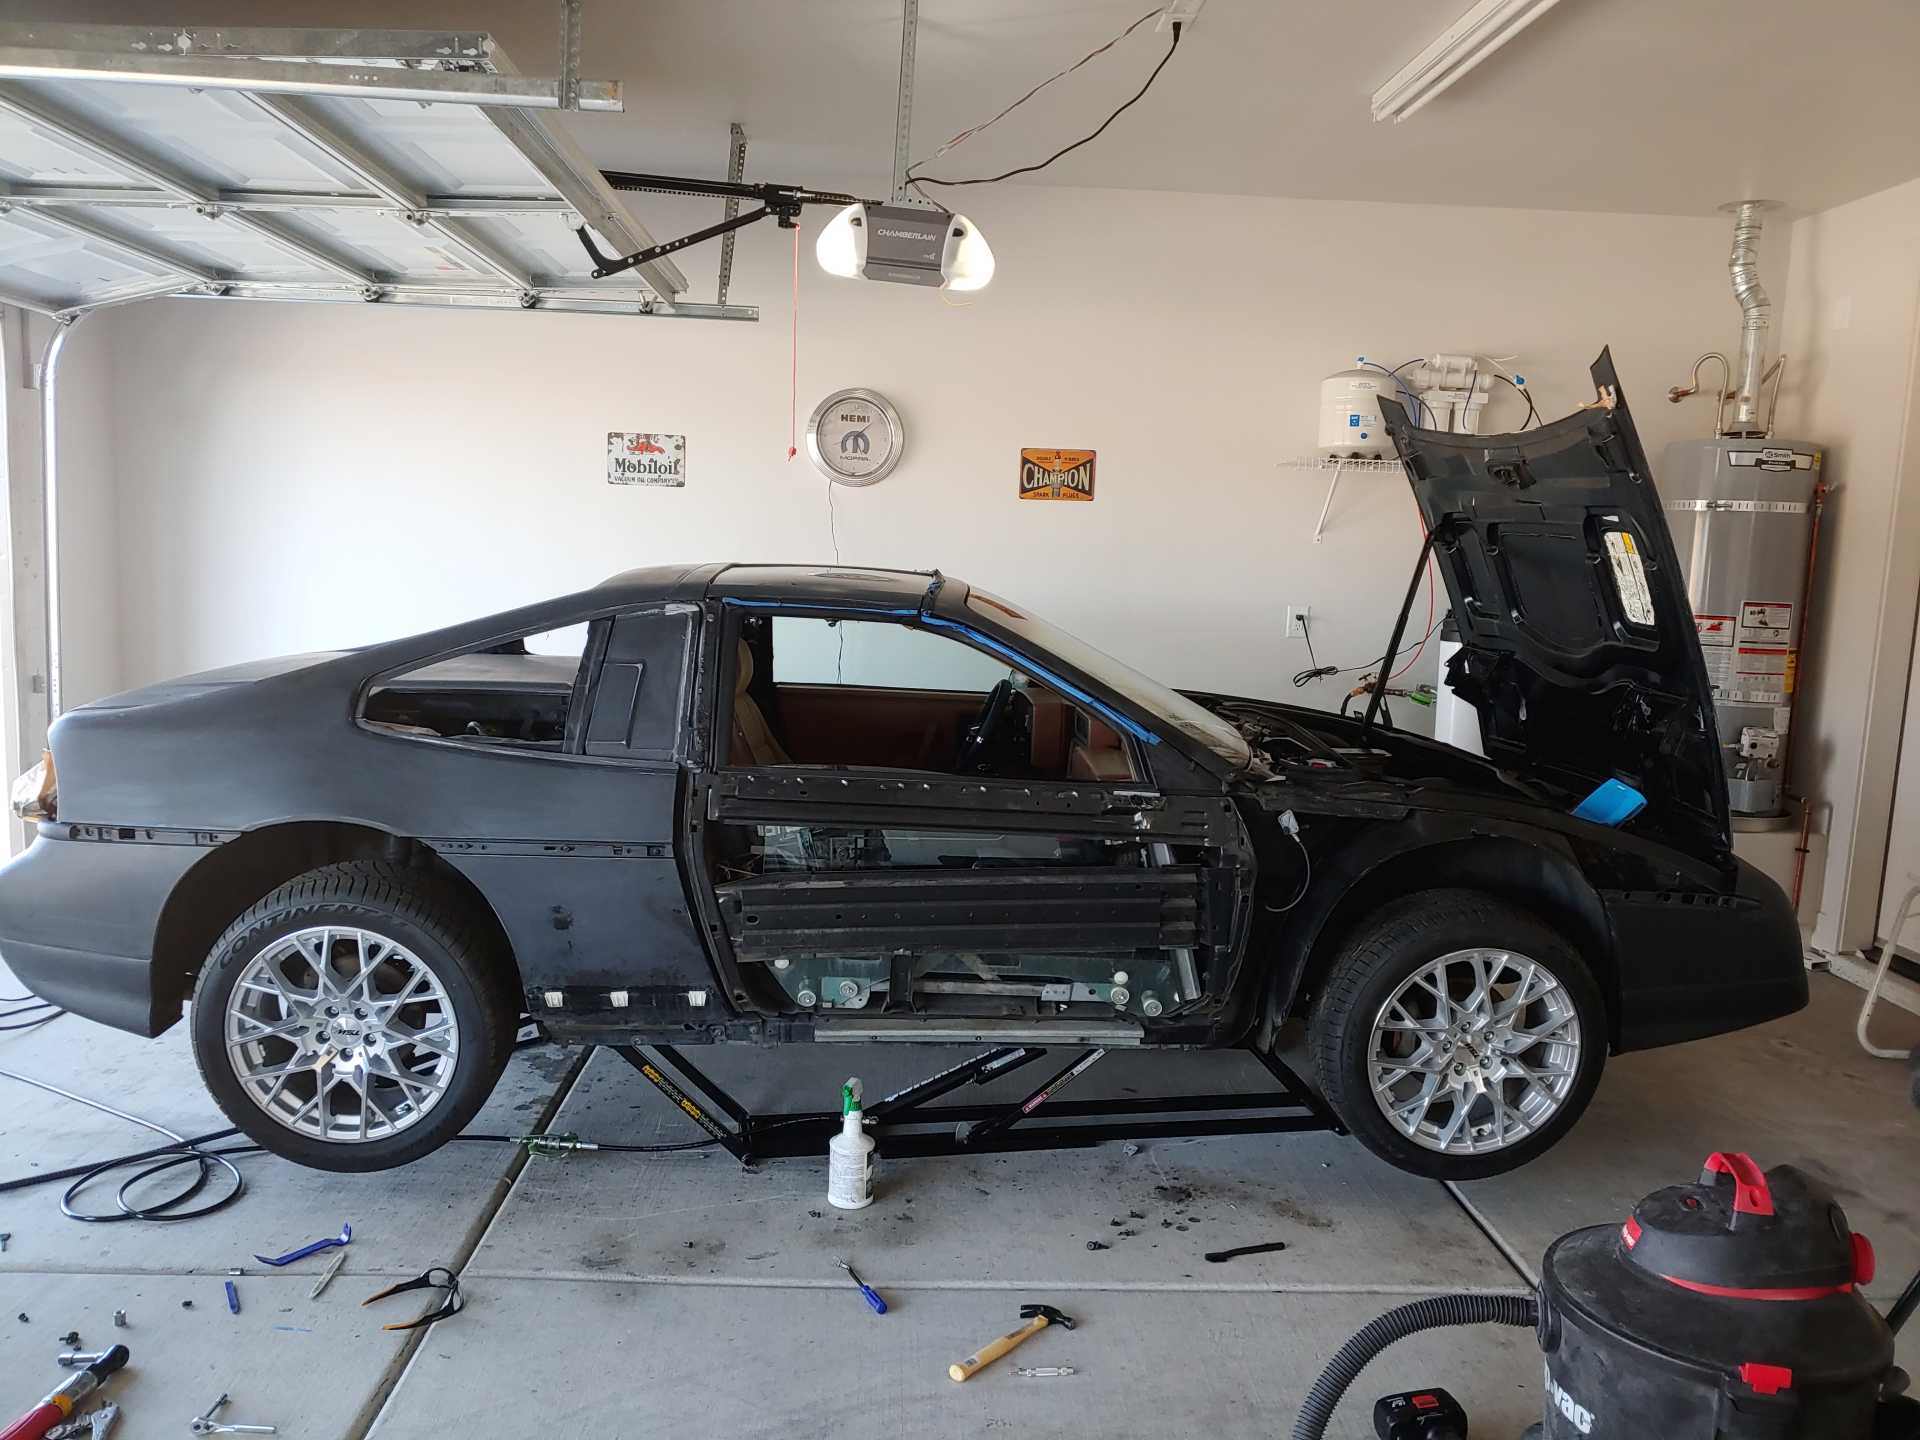
I finally got most of the interior put back in, I'm just waiting to get my seat belt back from service to finish up the diver's side.
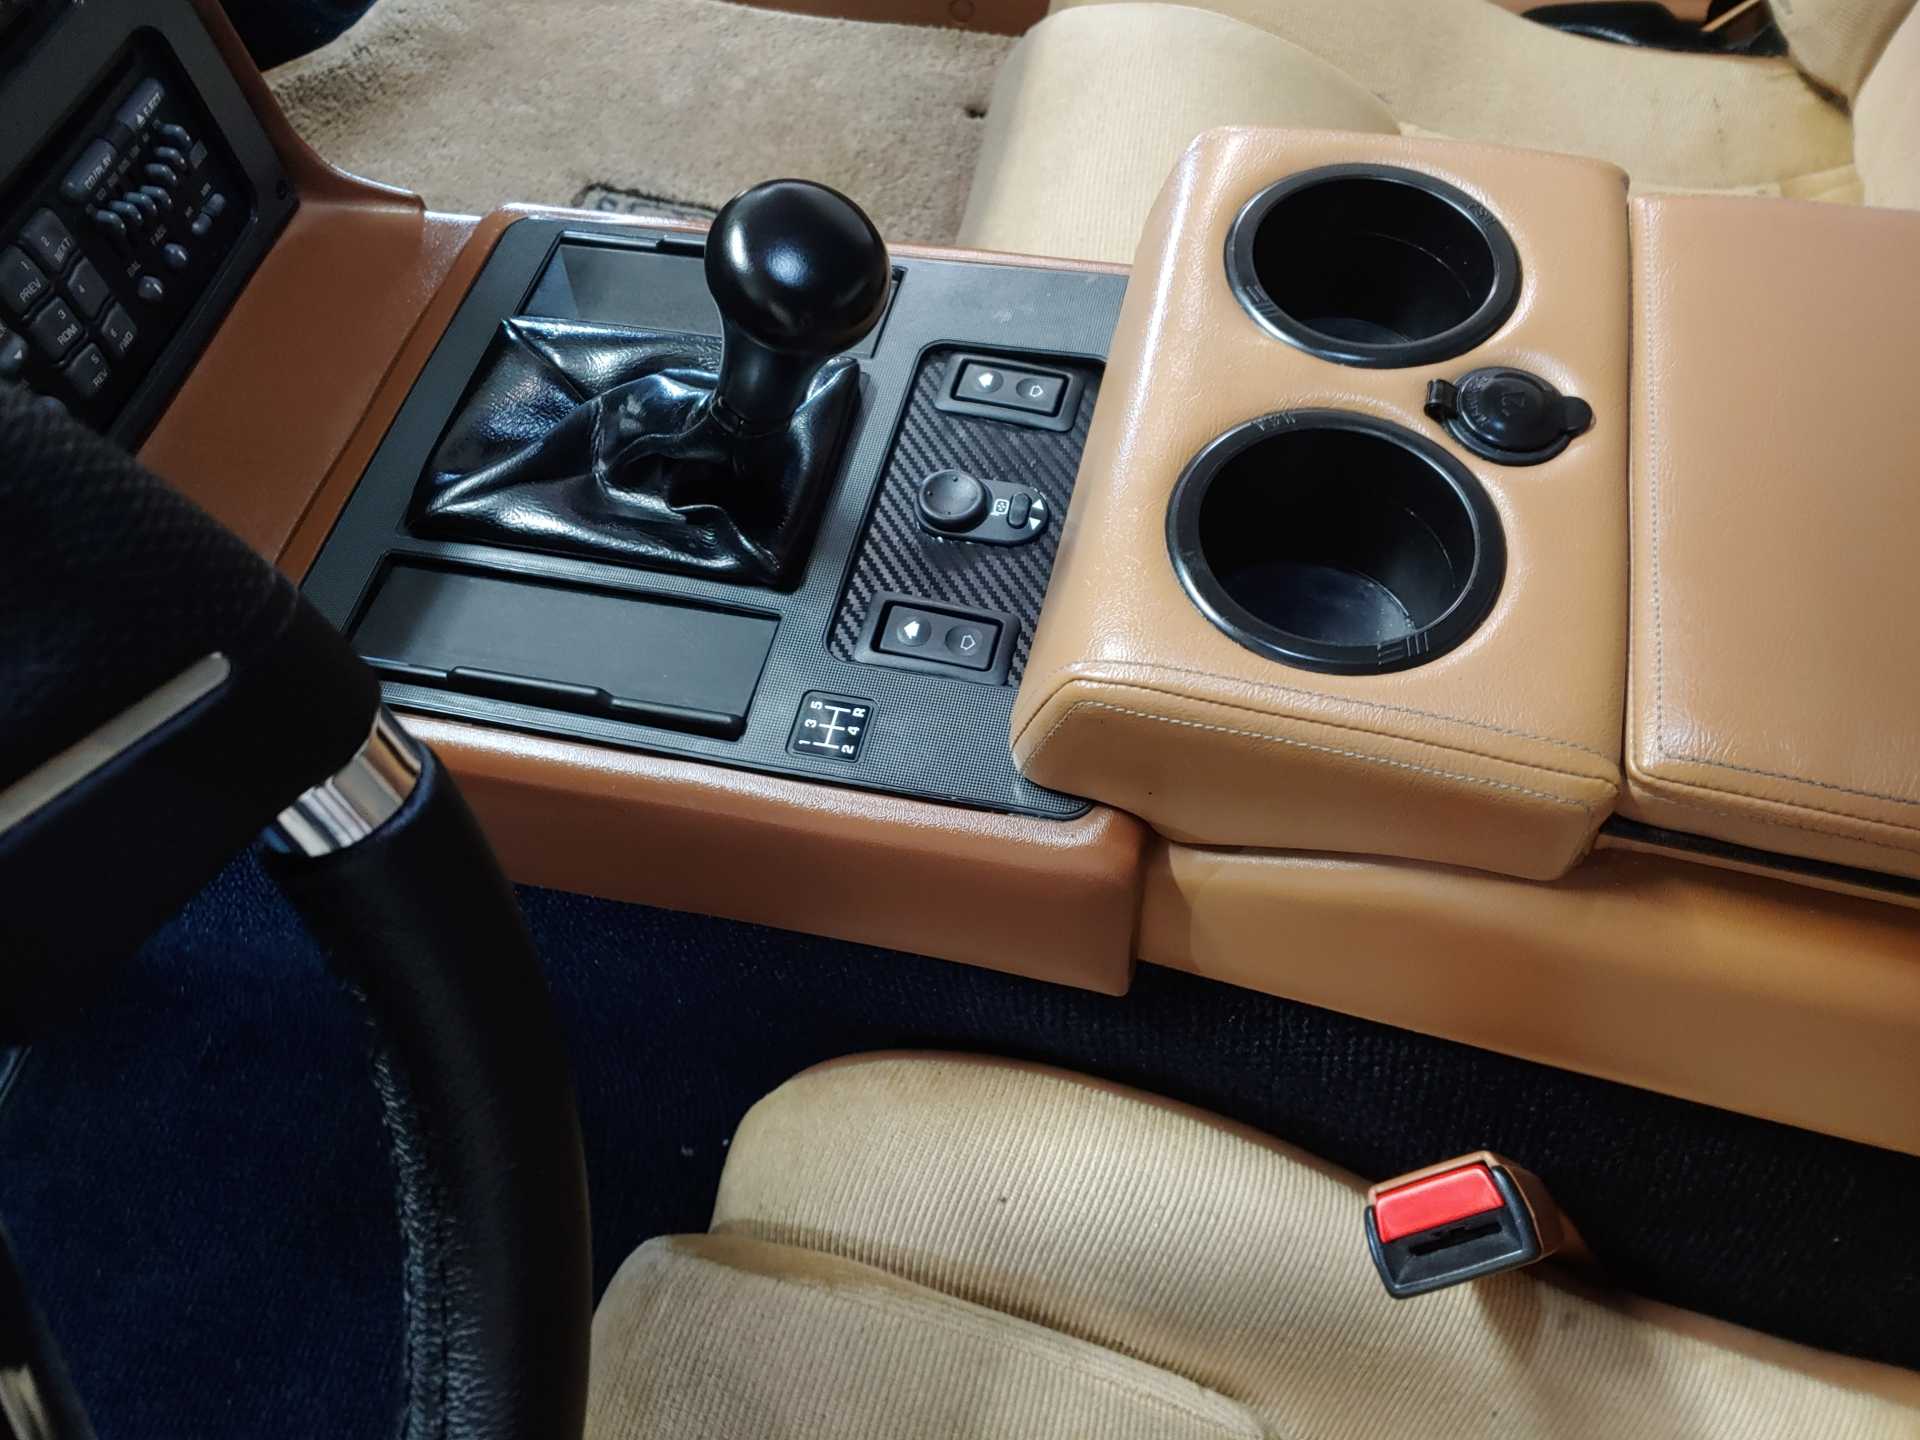
I like the switch set up for the mirrors and windows. Is that from the PO or something you did? And more importantly do you have any info on where the switches came from and what is needed to install them.
I got the switches here https://www.a1electric.com/...uct_Code=4980-21-007 You will have to make the holes for the power window switches bigger for the new ones to fit with a dremel. Wiring is easy enough, connect up wire to up wire, down to down etc. You will need two grounds, one is already present in the car, the second one included in the kit, I ran to the rear of the console skeleton where there is a ground wire and bolt for something else. For the illumination wire, I tapped into the ash tray lights on either side. They work great, but I made my wires a bit too long, so they bunch up under the switches trying to push them up. I will address that when I get my new dash. I hope this helps. Let me know if you have any other questions. Dave
quote
Originally posted by Easy8:
I like the switch set up for the mirrors and windows. Is that from the PO or something you did? And more importantly do you have any info on where the switches came from and what is needed to install them.
Car is looking good, keep it up.
[This message has been edited by Chief08 (edited 04-18-2020).]
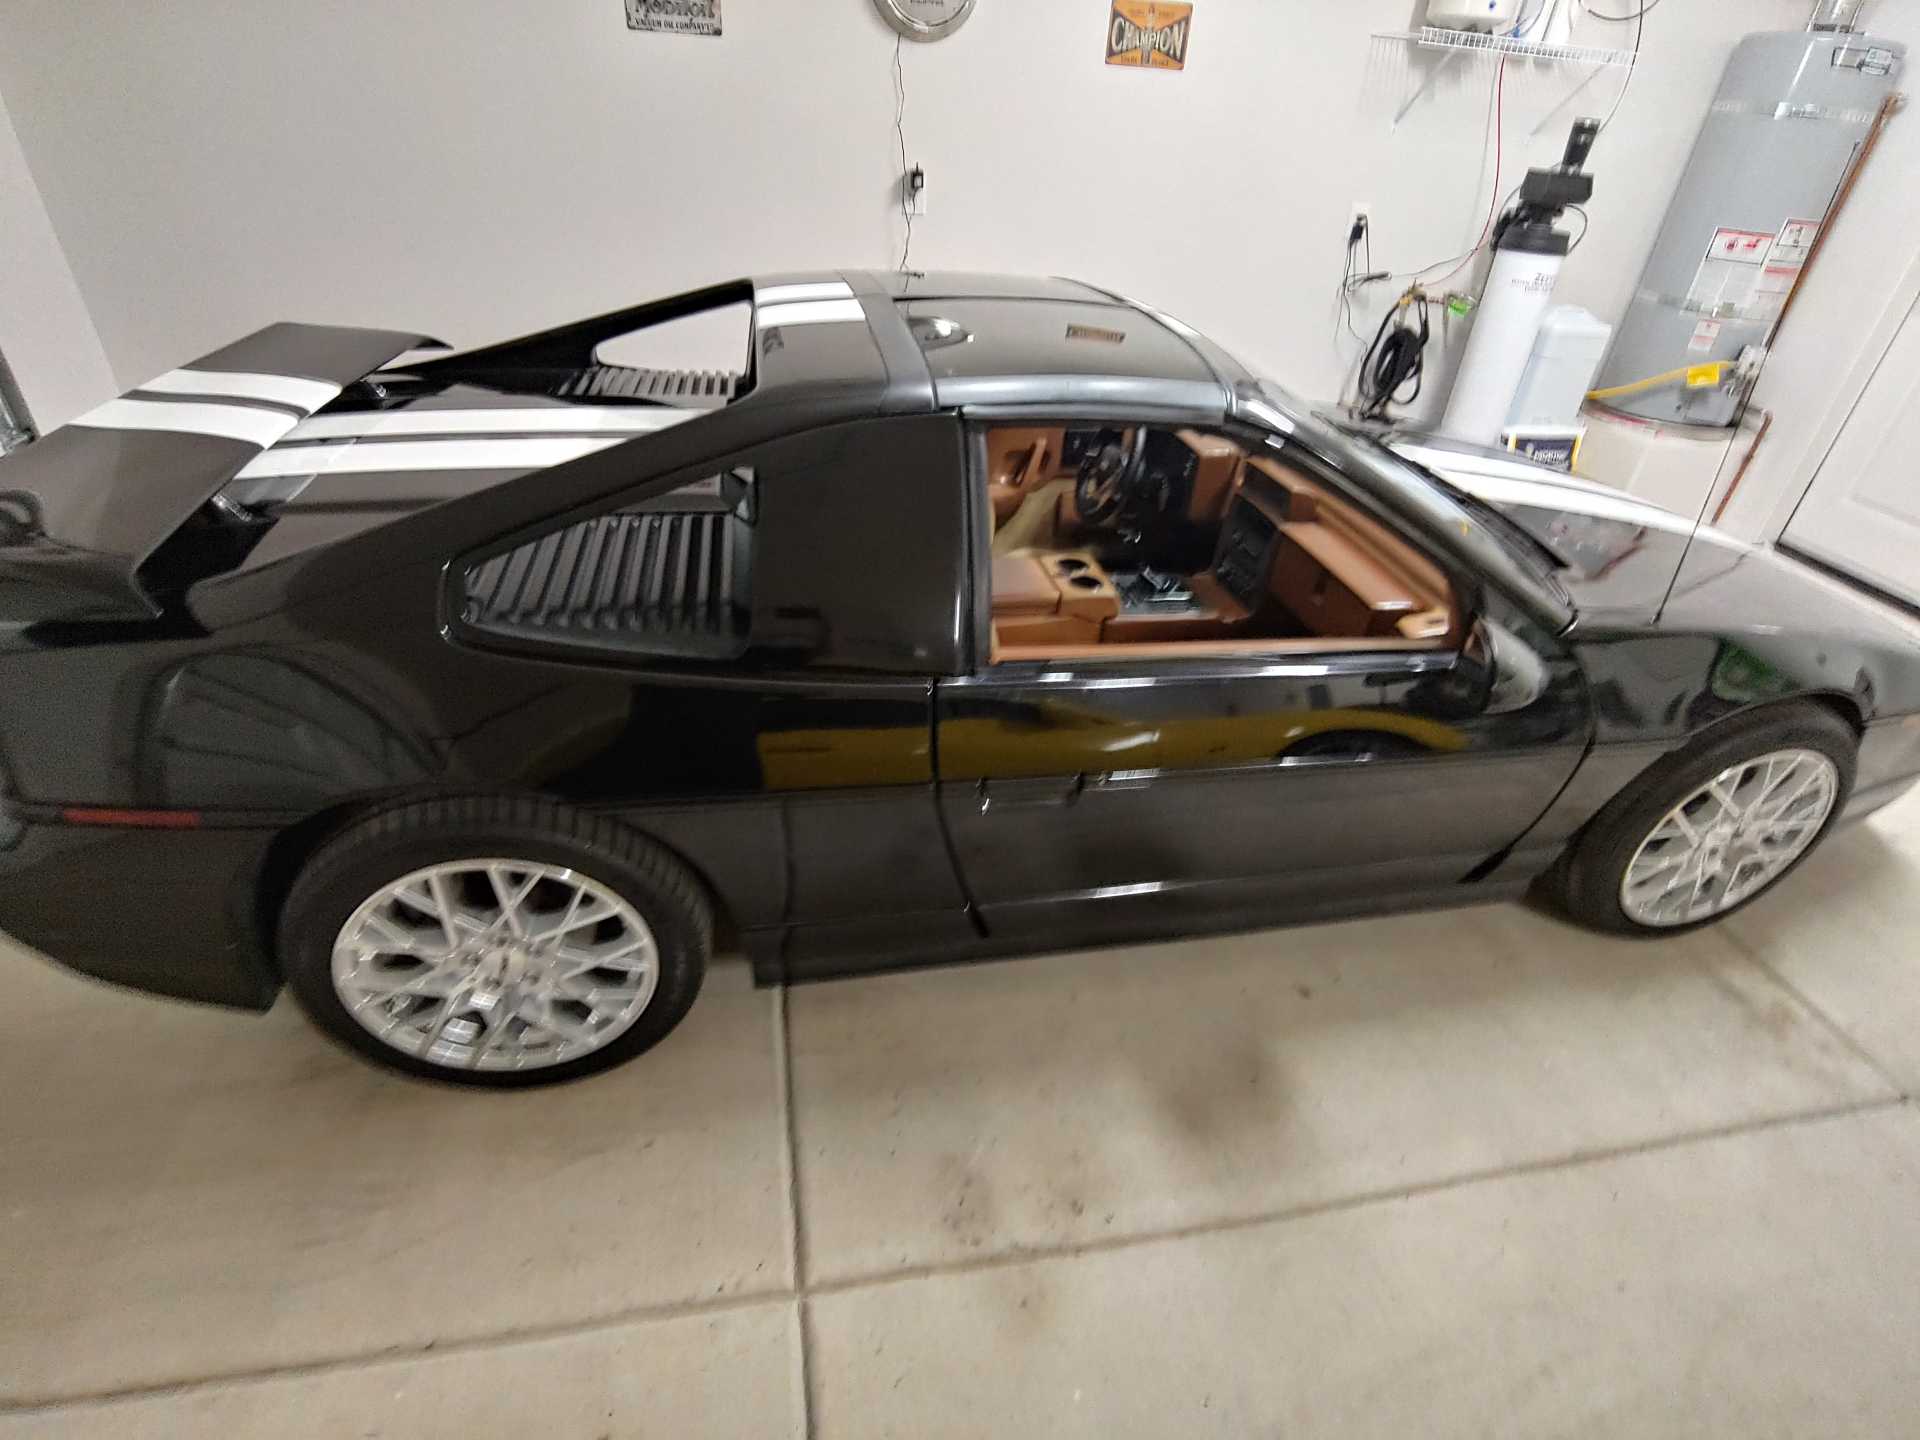
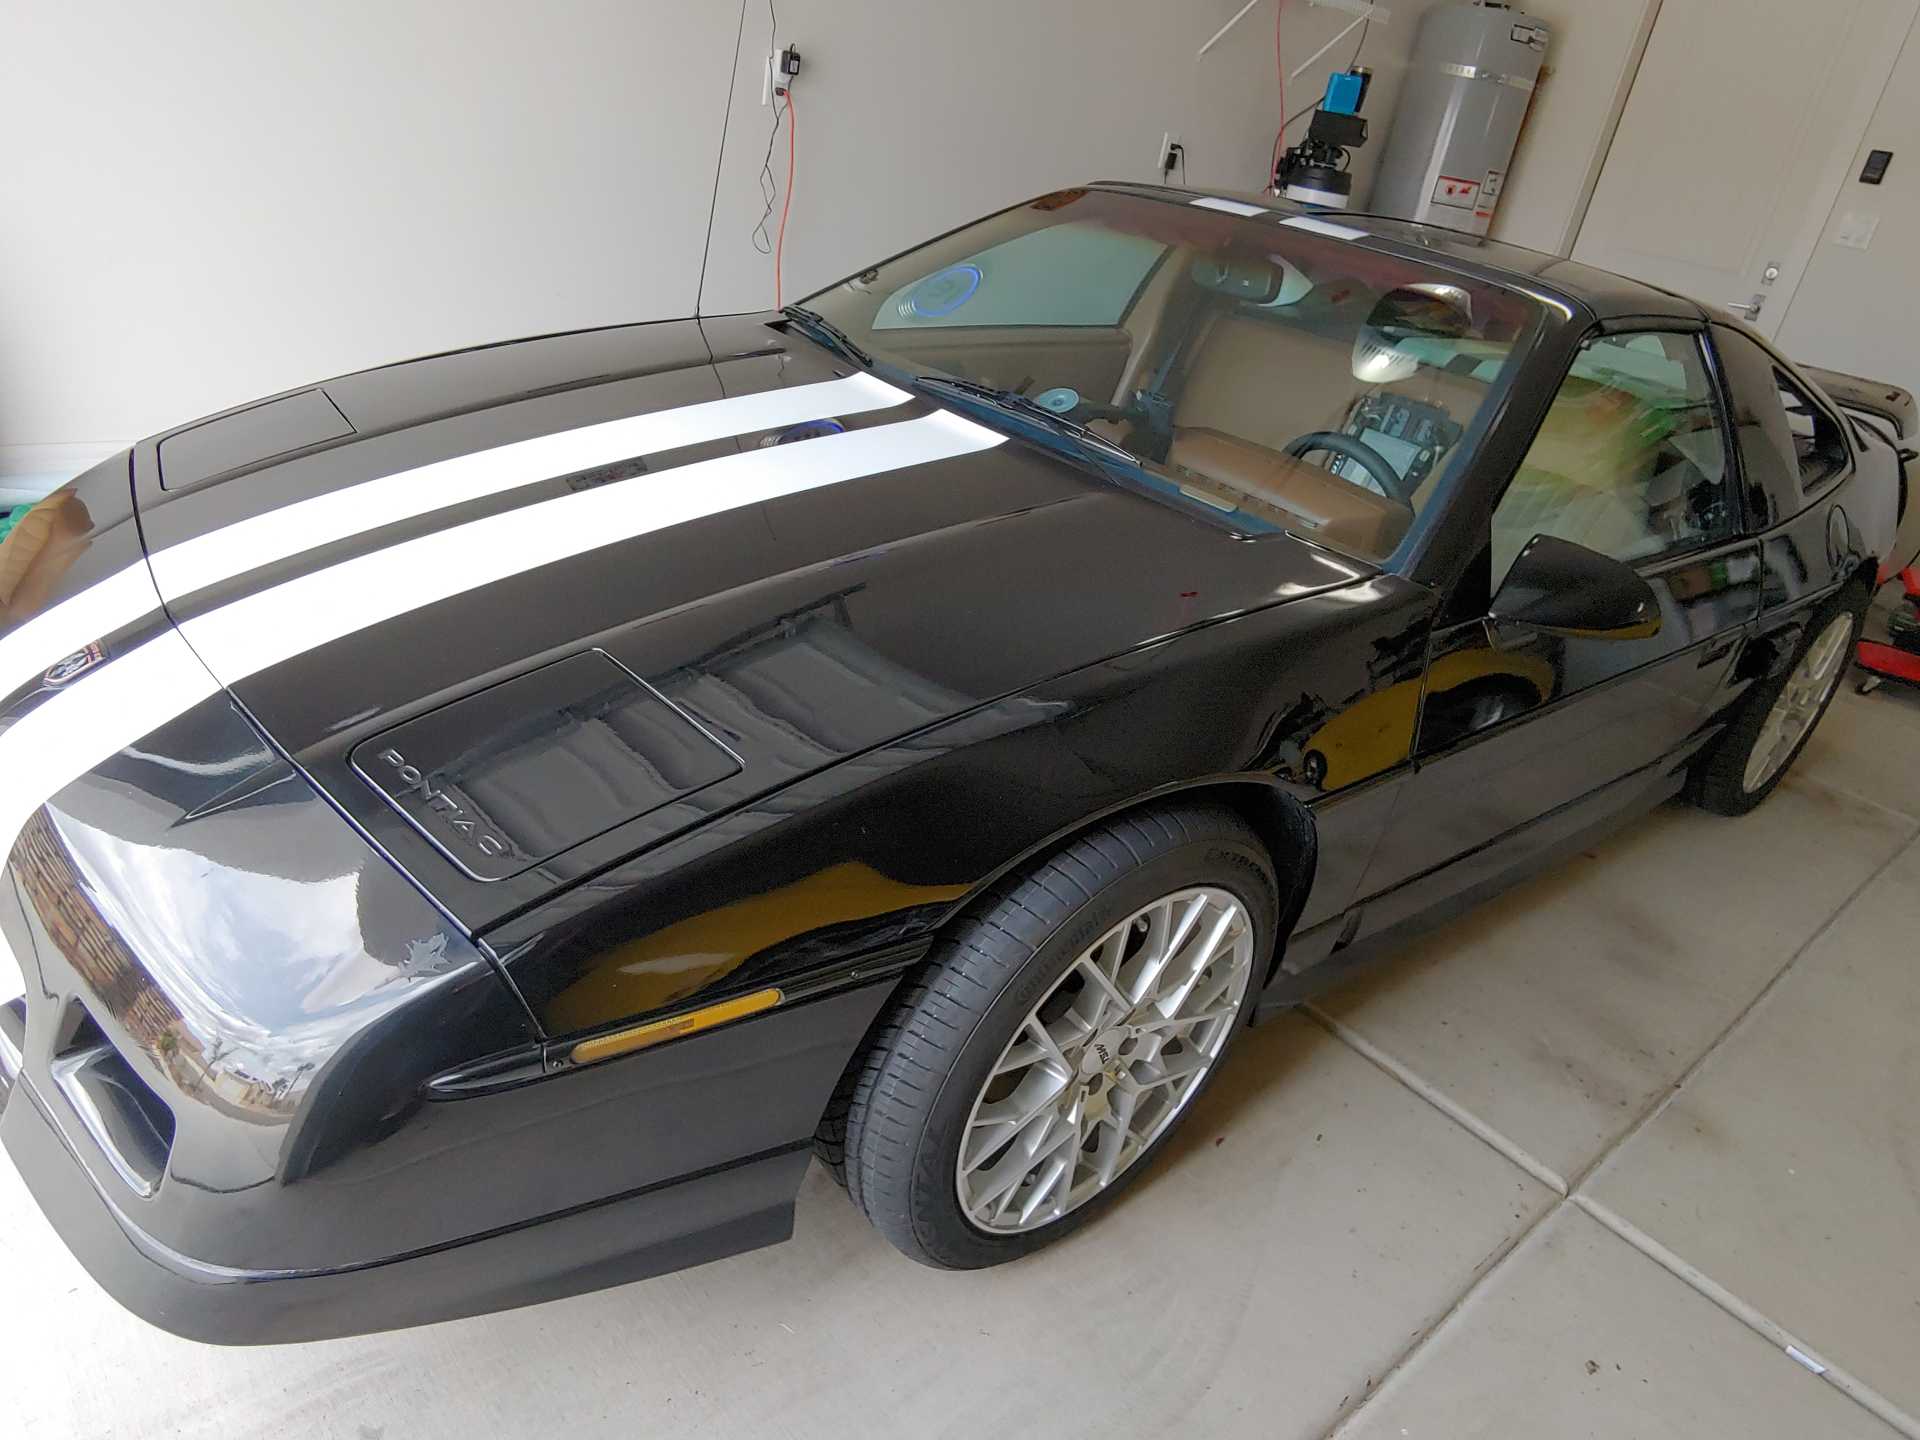
It's a beautiful car, seems like I may have seen it on the California Coast Run before? Great project. I like the LS4, great little engine. There are so many ways to do a swap like this. I have an F40 6 speed for my LS4 Fiero but never got around to swapping it in. So far the 4 speed auto works for me. My plan was to open up the F40 case and do a gear and diff swap to better match the LS4 powerband. That never happen either LOL. BUT the car is great fun to drive as is.
It's a beautiful car, seems like I may have seen it on the California Coast Run before? Great project. I like the LS4, great little engine. There are so many ways to do a swap like this. I have an F40 6 speed for my LS4 Fiero but never got around to swapping it in. So far the 4 speed auto works for me. My plan was to open up the F40 case and do a gear and diff swap to better match the LS4 powerband. That never happen either LOL. BUT the car is great fun to drive as is.
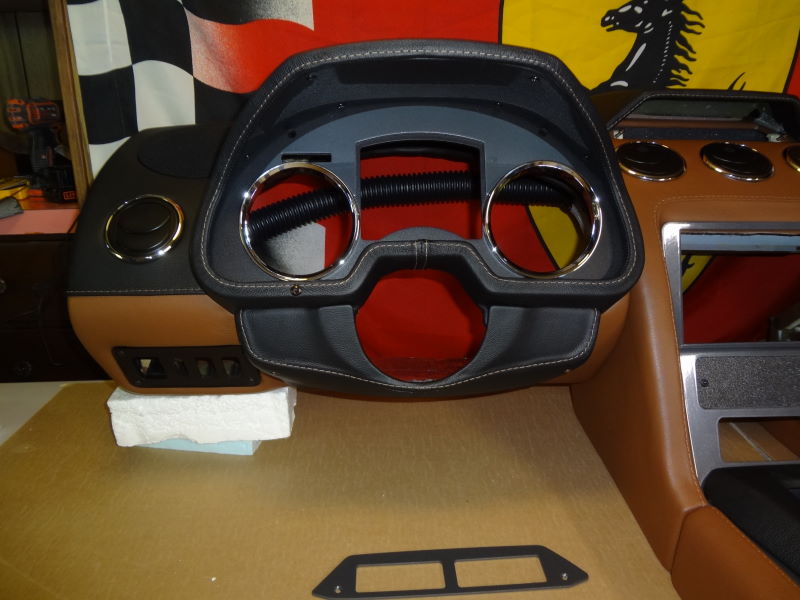
The LS4/F40 swap is in the works for this summer. In the meanwhile, I'm doing the G1 dash with custom dakota digital gauges. I'll also be trying to find a good paint shop to paint it. I have seen your car and I was quite impressed, I'll be happy if mine comes out half as good as yours did.
I would ditch my Malibu dash in a heartbeat for this dash.
Yeah, I can't wait for Rob to finish it. Your Malibu dash looks great, and the fact that you got the gauges and climate control to work is just awesome.
I would ditch my Malibu dash in a heartbeat for this dash.
Add my name to that list for this dash.. I drool over it at least once a month.. trouble is the money is just not there for it. Well at the moment I am half a world away from the car to boot... One day.
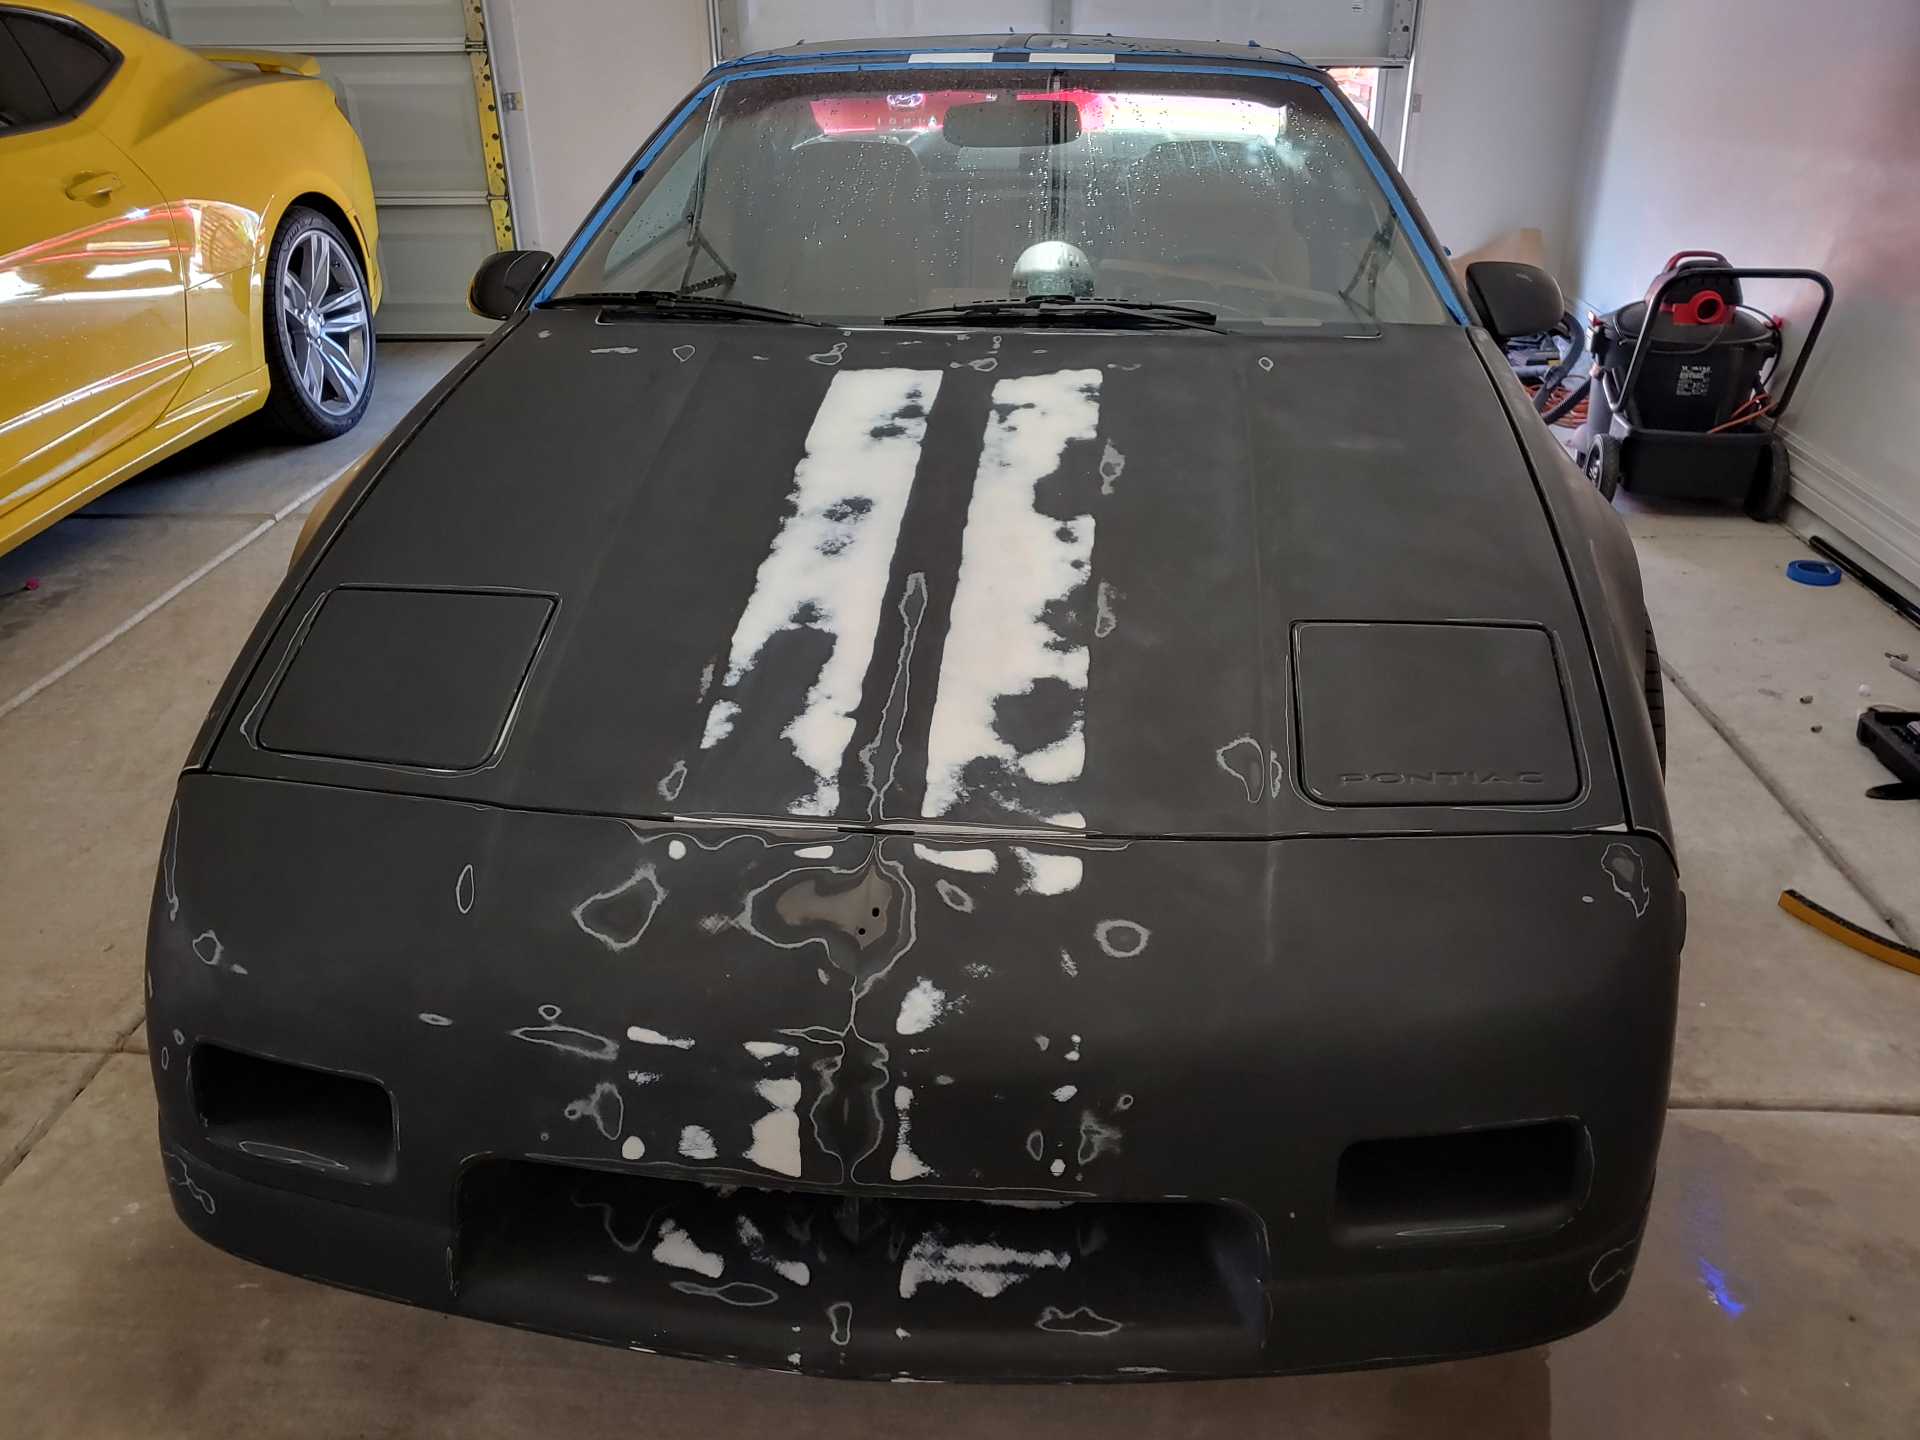
I got an estimate for a paint job yesterday, they wanted $5,900. I want some of what they're smoking. Anyway, I think I'm going to do it myself in my garage, so and tips and advice would be appreciated.
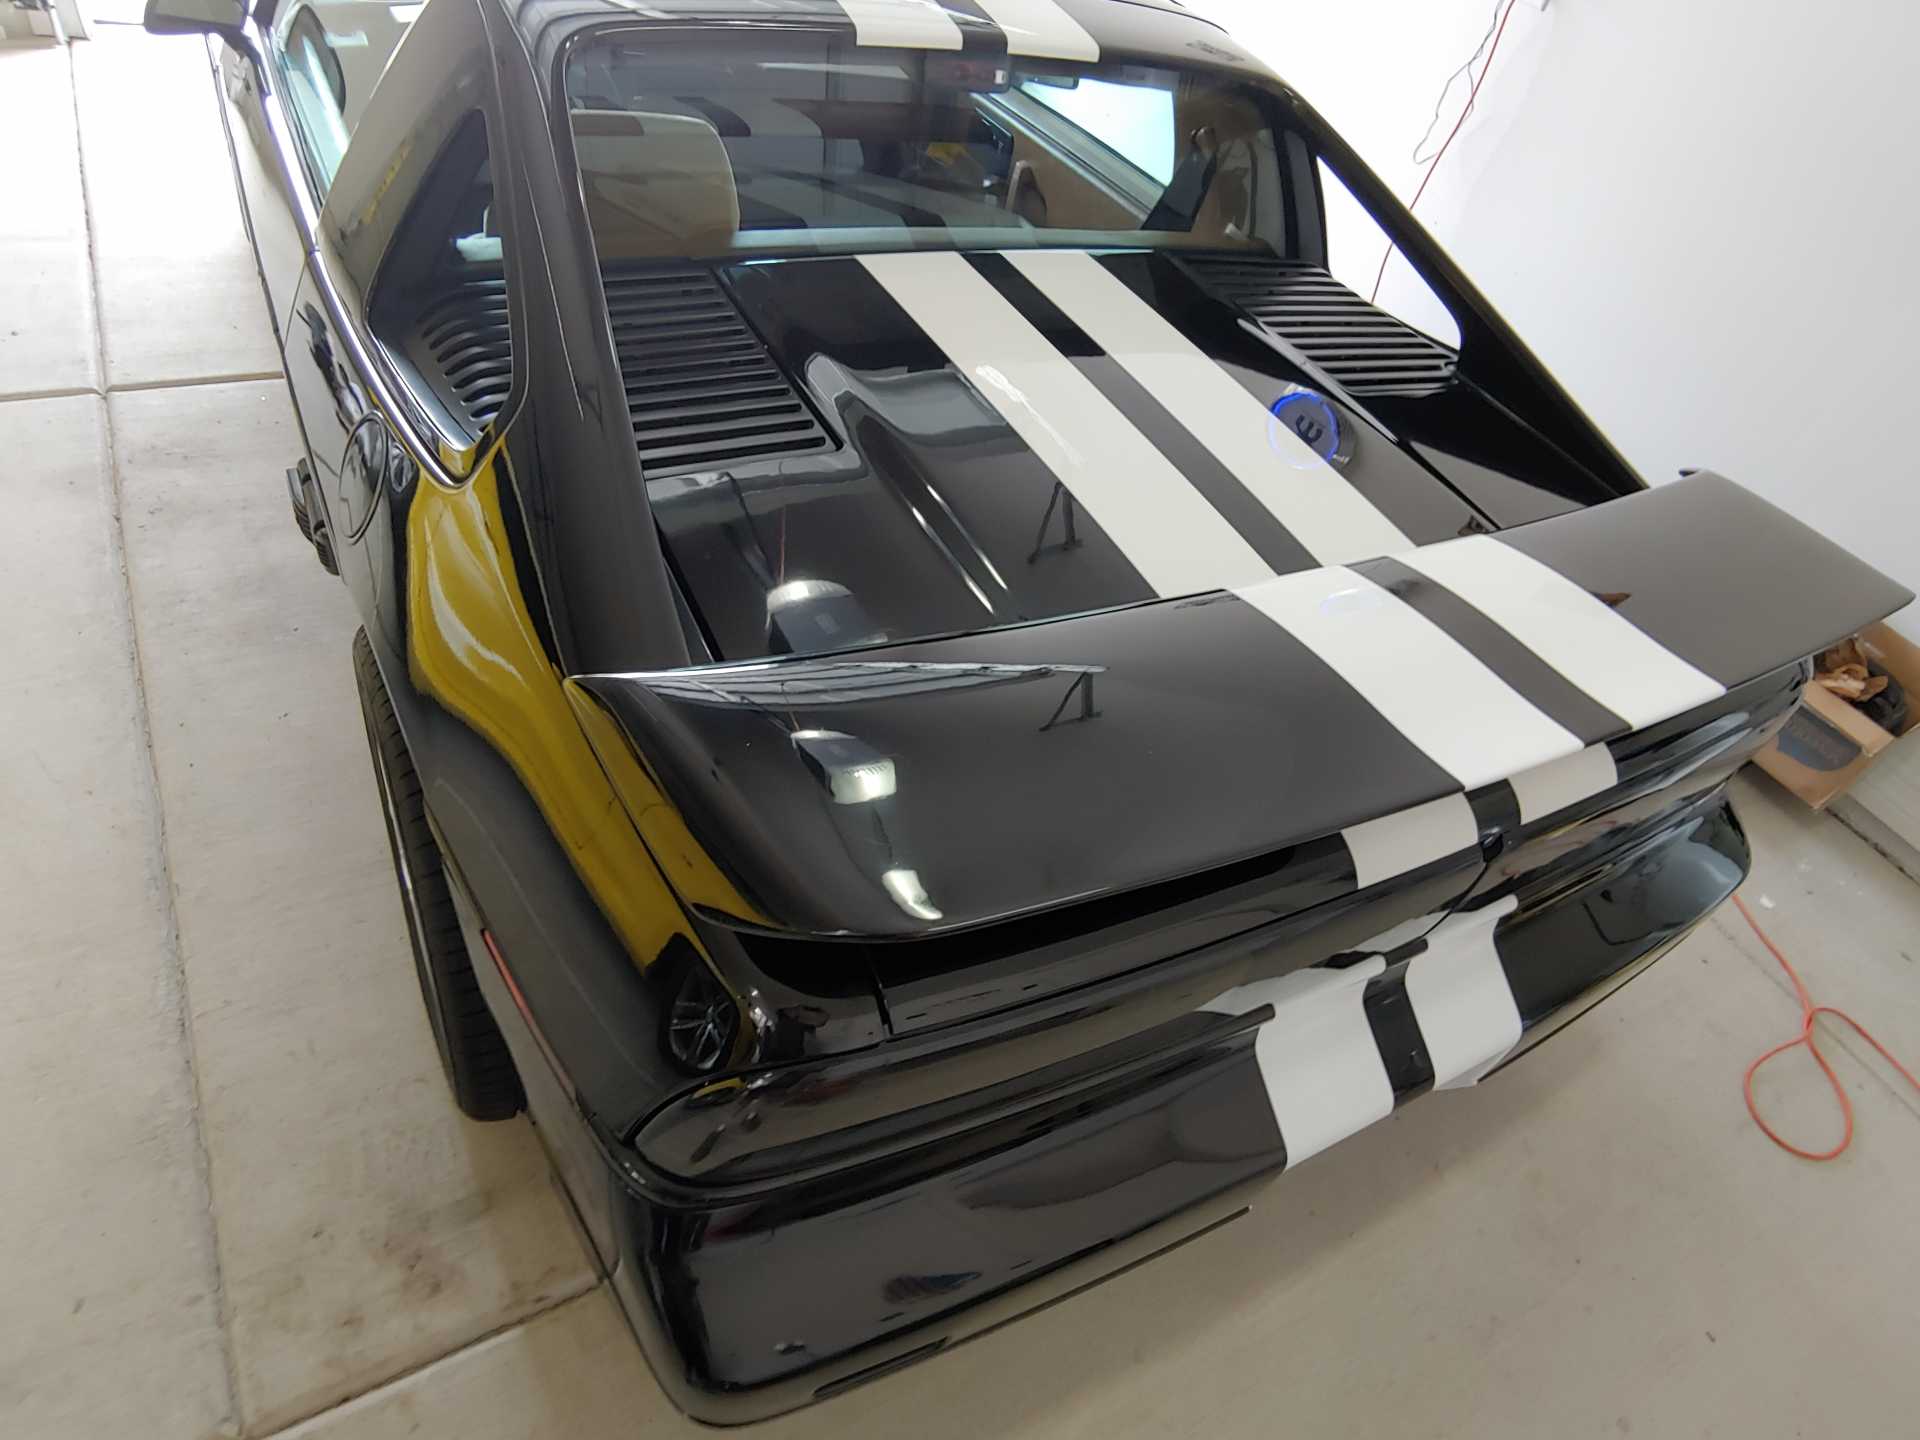
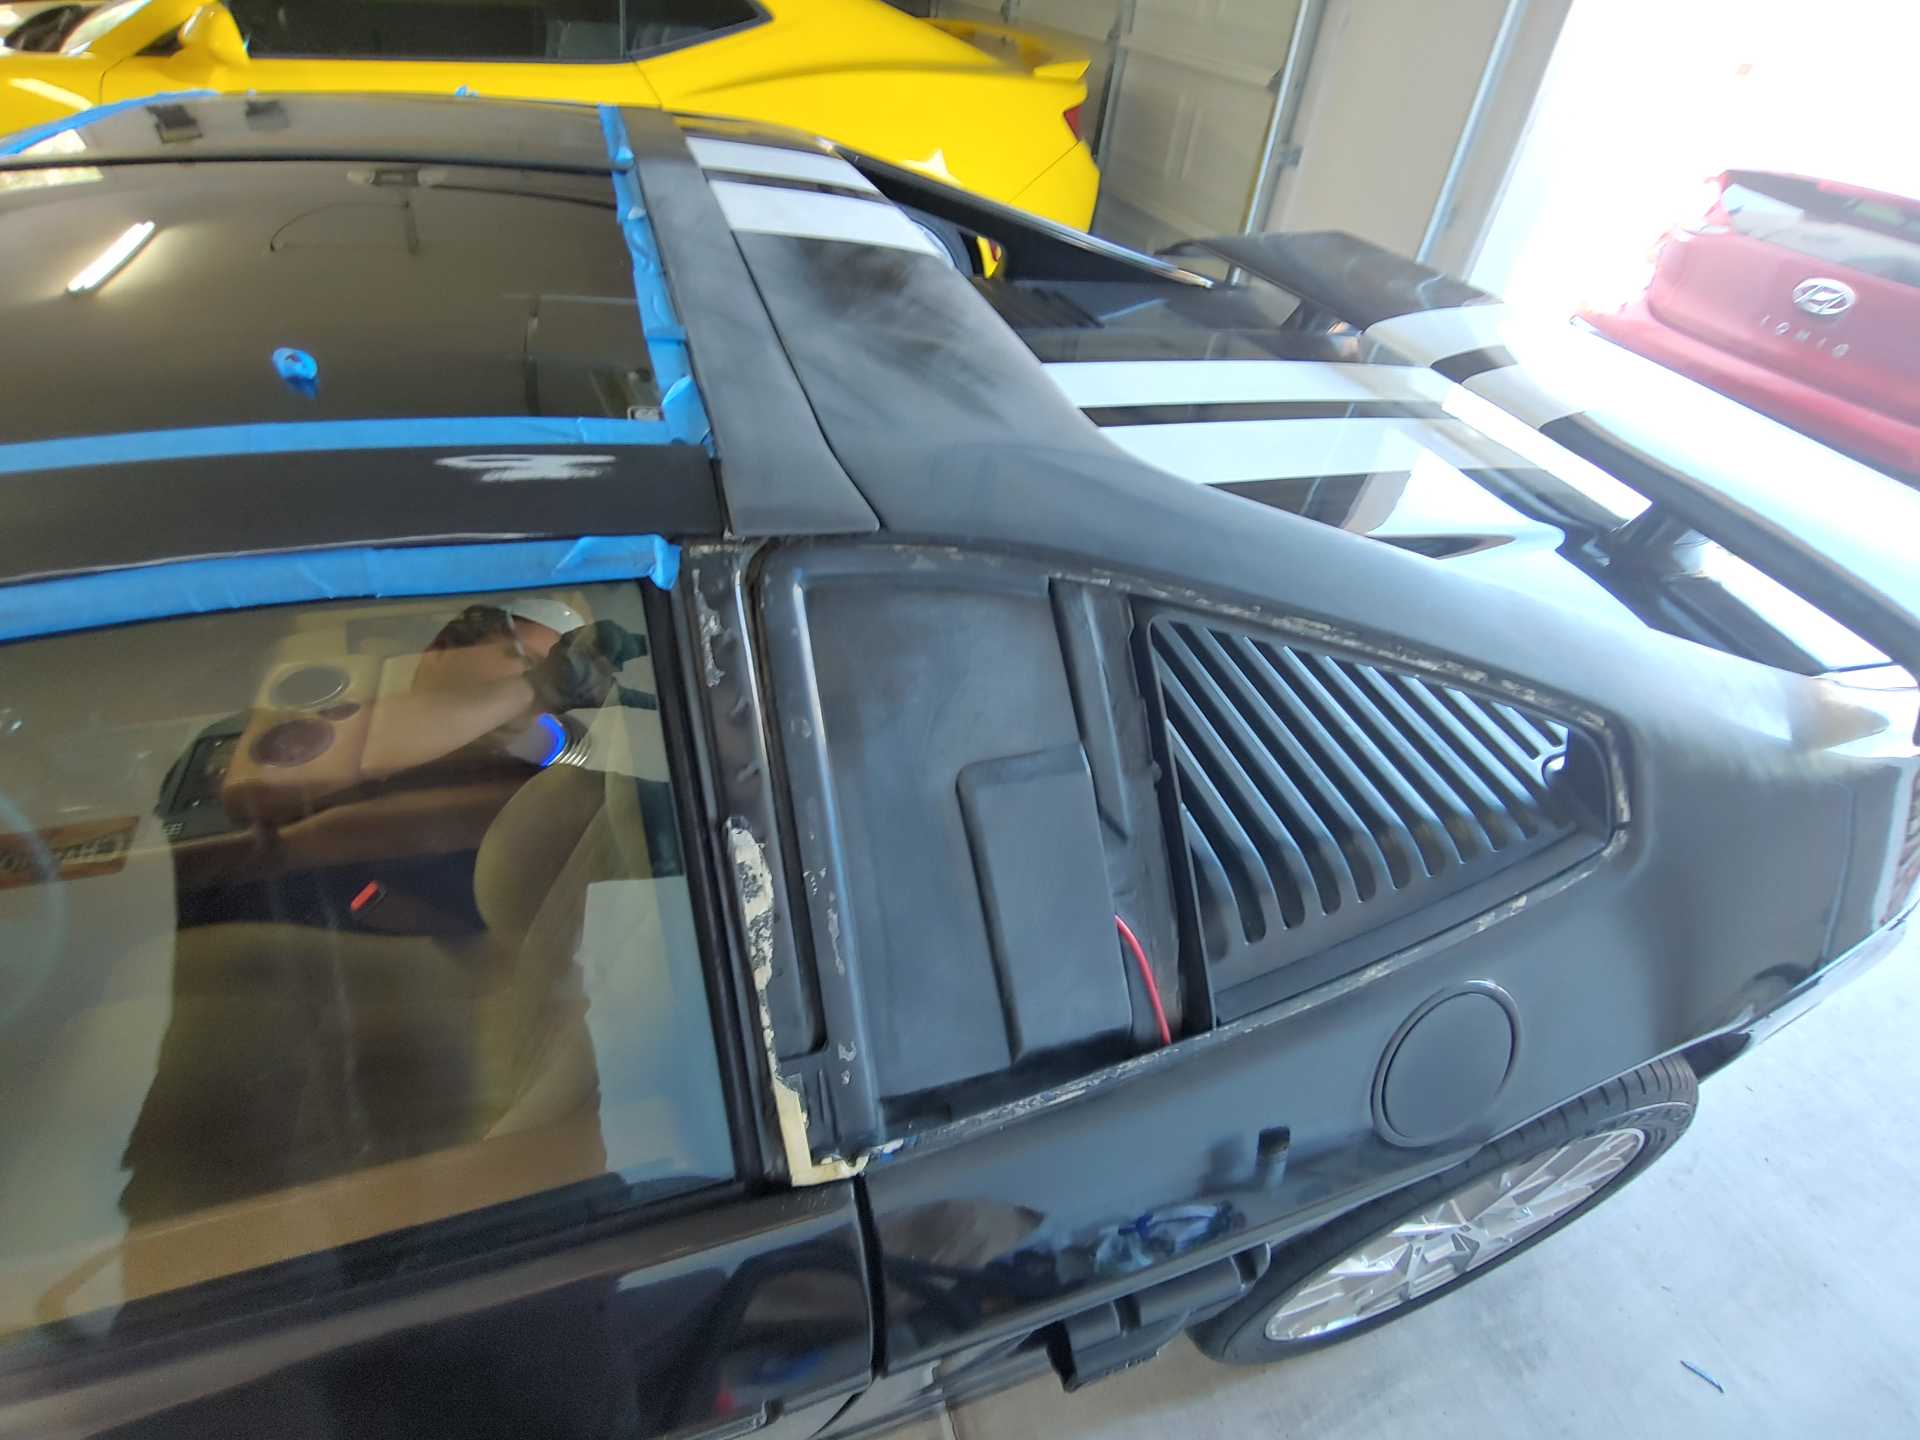
Awesome, thanks. How are they bonded to the fiberglass?
Most people embed some flexible wires into the layers of the fiberglass (like at the 4 corners where the mesh will be. Then they install the mesh panels and use the wires to hold them in place. This allows the mesh panels to be removed for painting.
Most people embed some flexible wires into the layers of the fiberglass (like at the 4 corners where the mesh will be. Then they install the mesh panels and use the wires to hold them in place. This allows the mesh panels to be removed for painting.
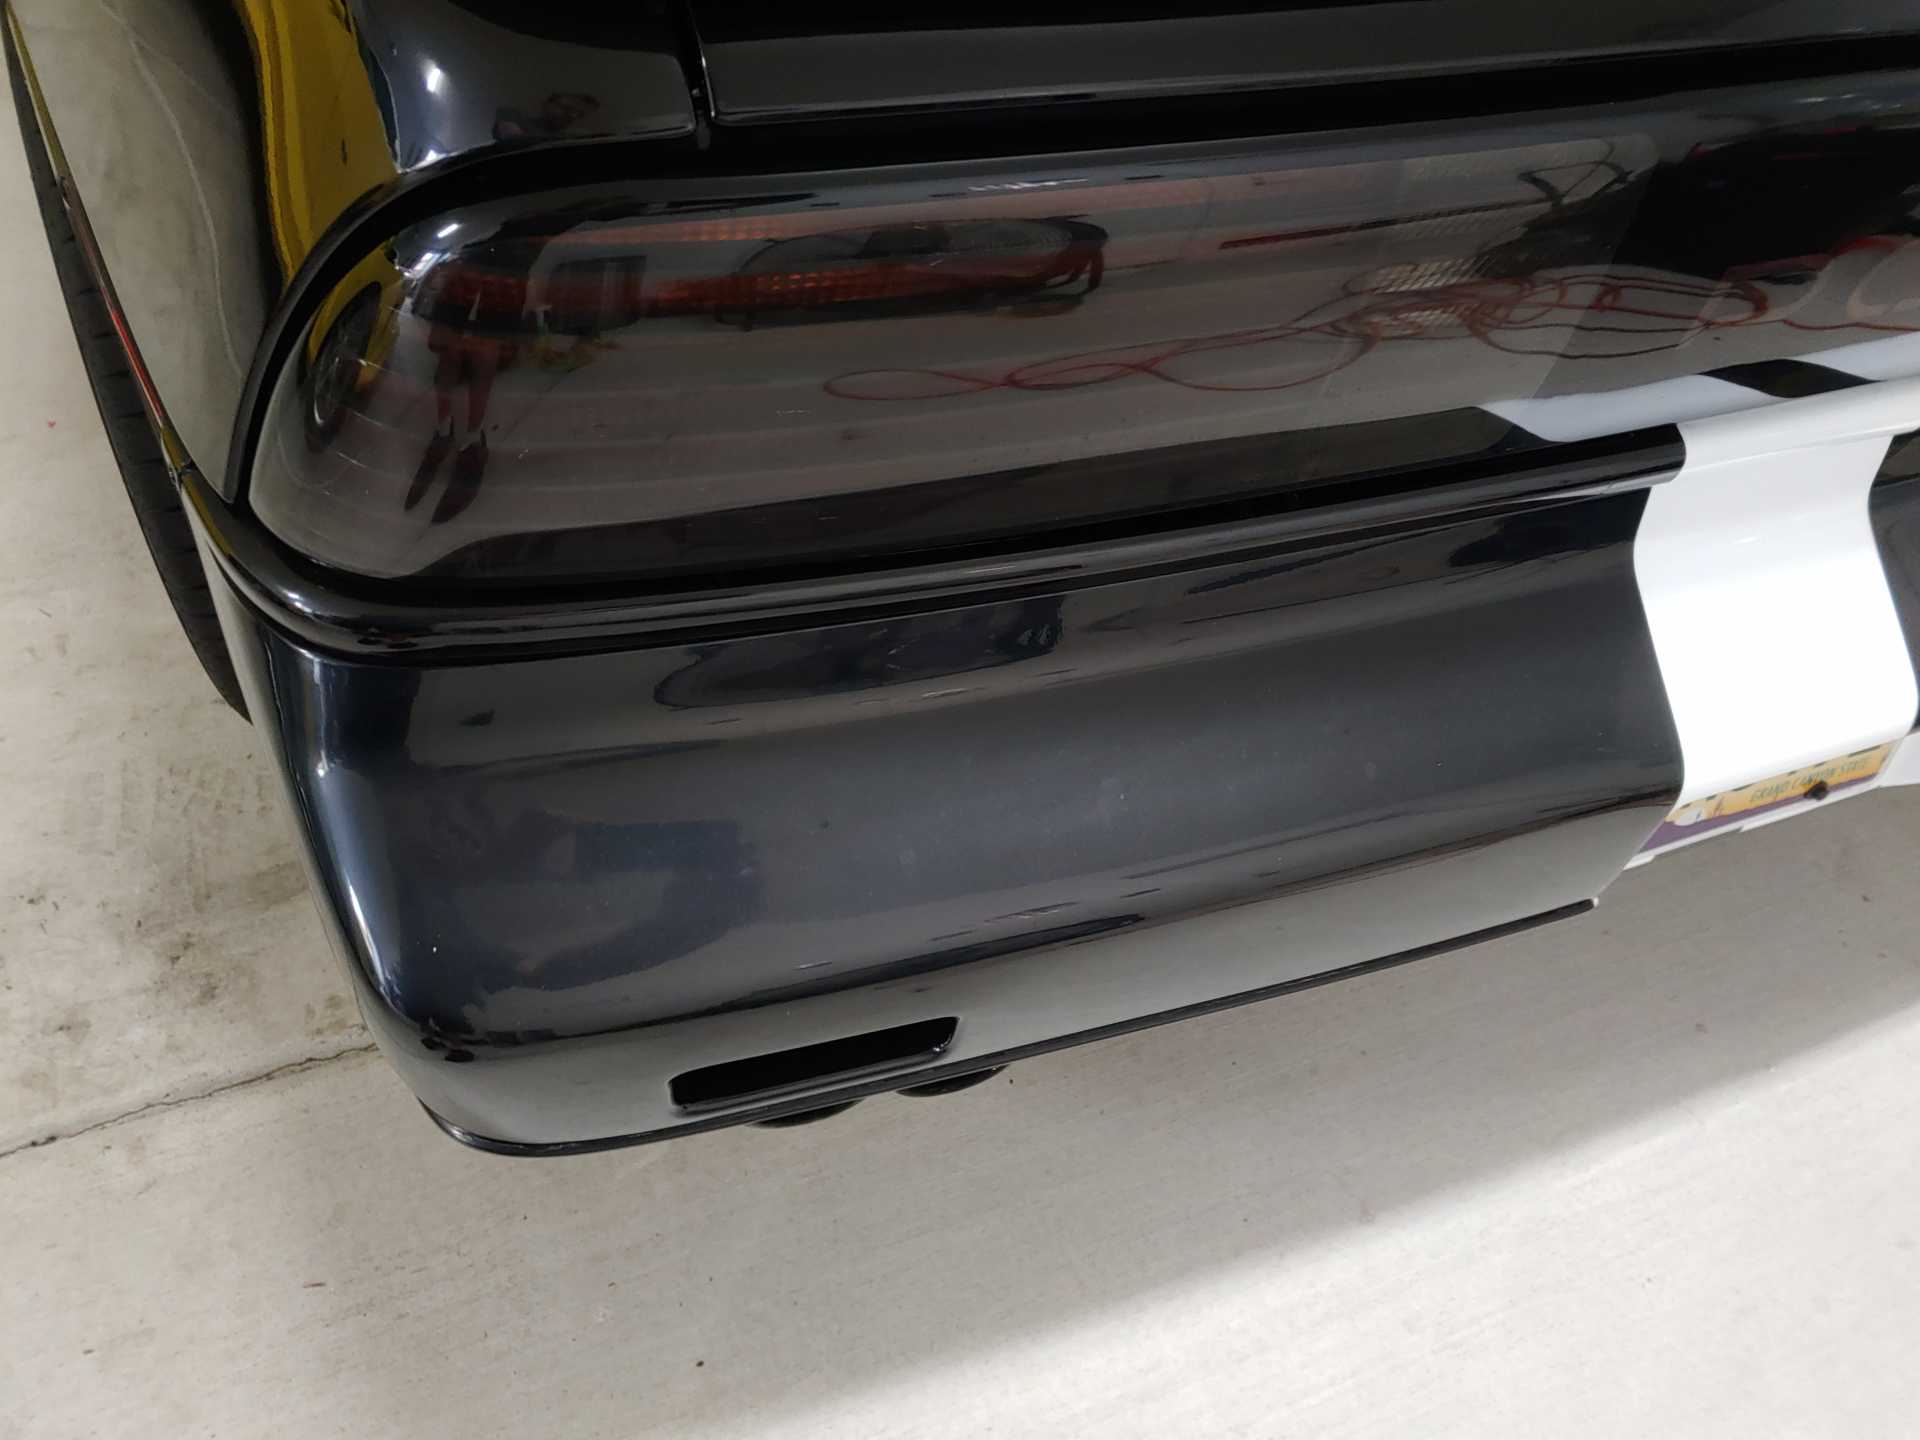
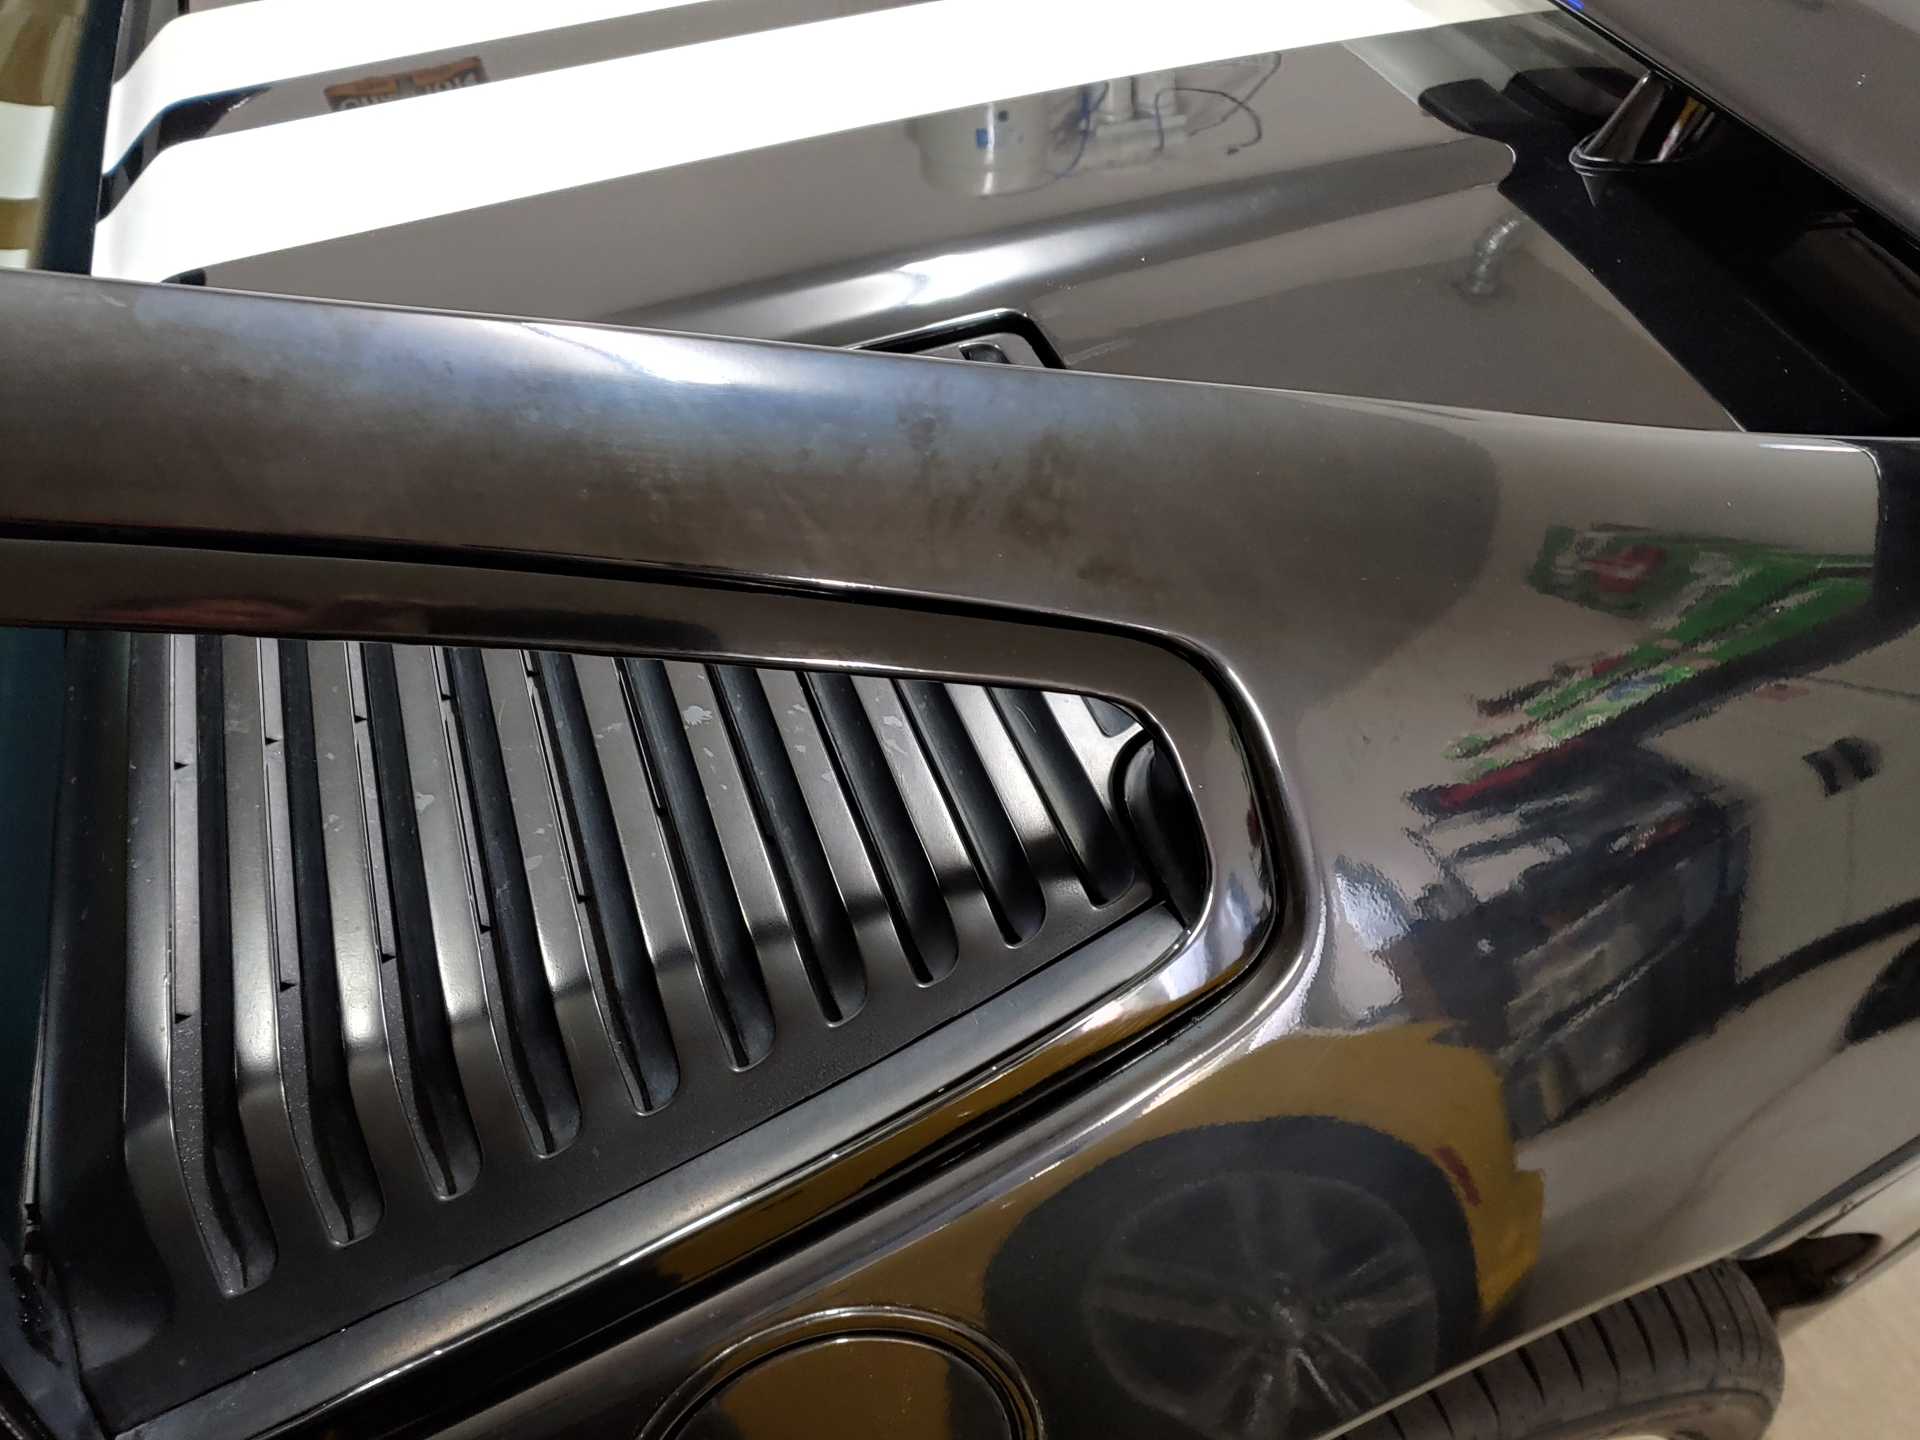
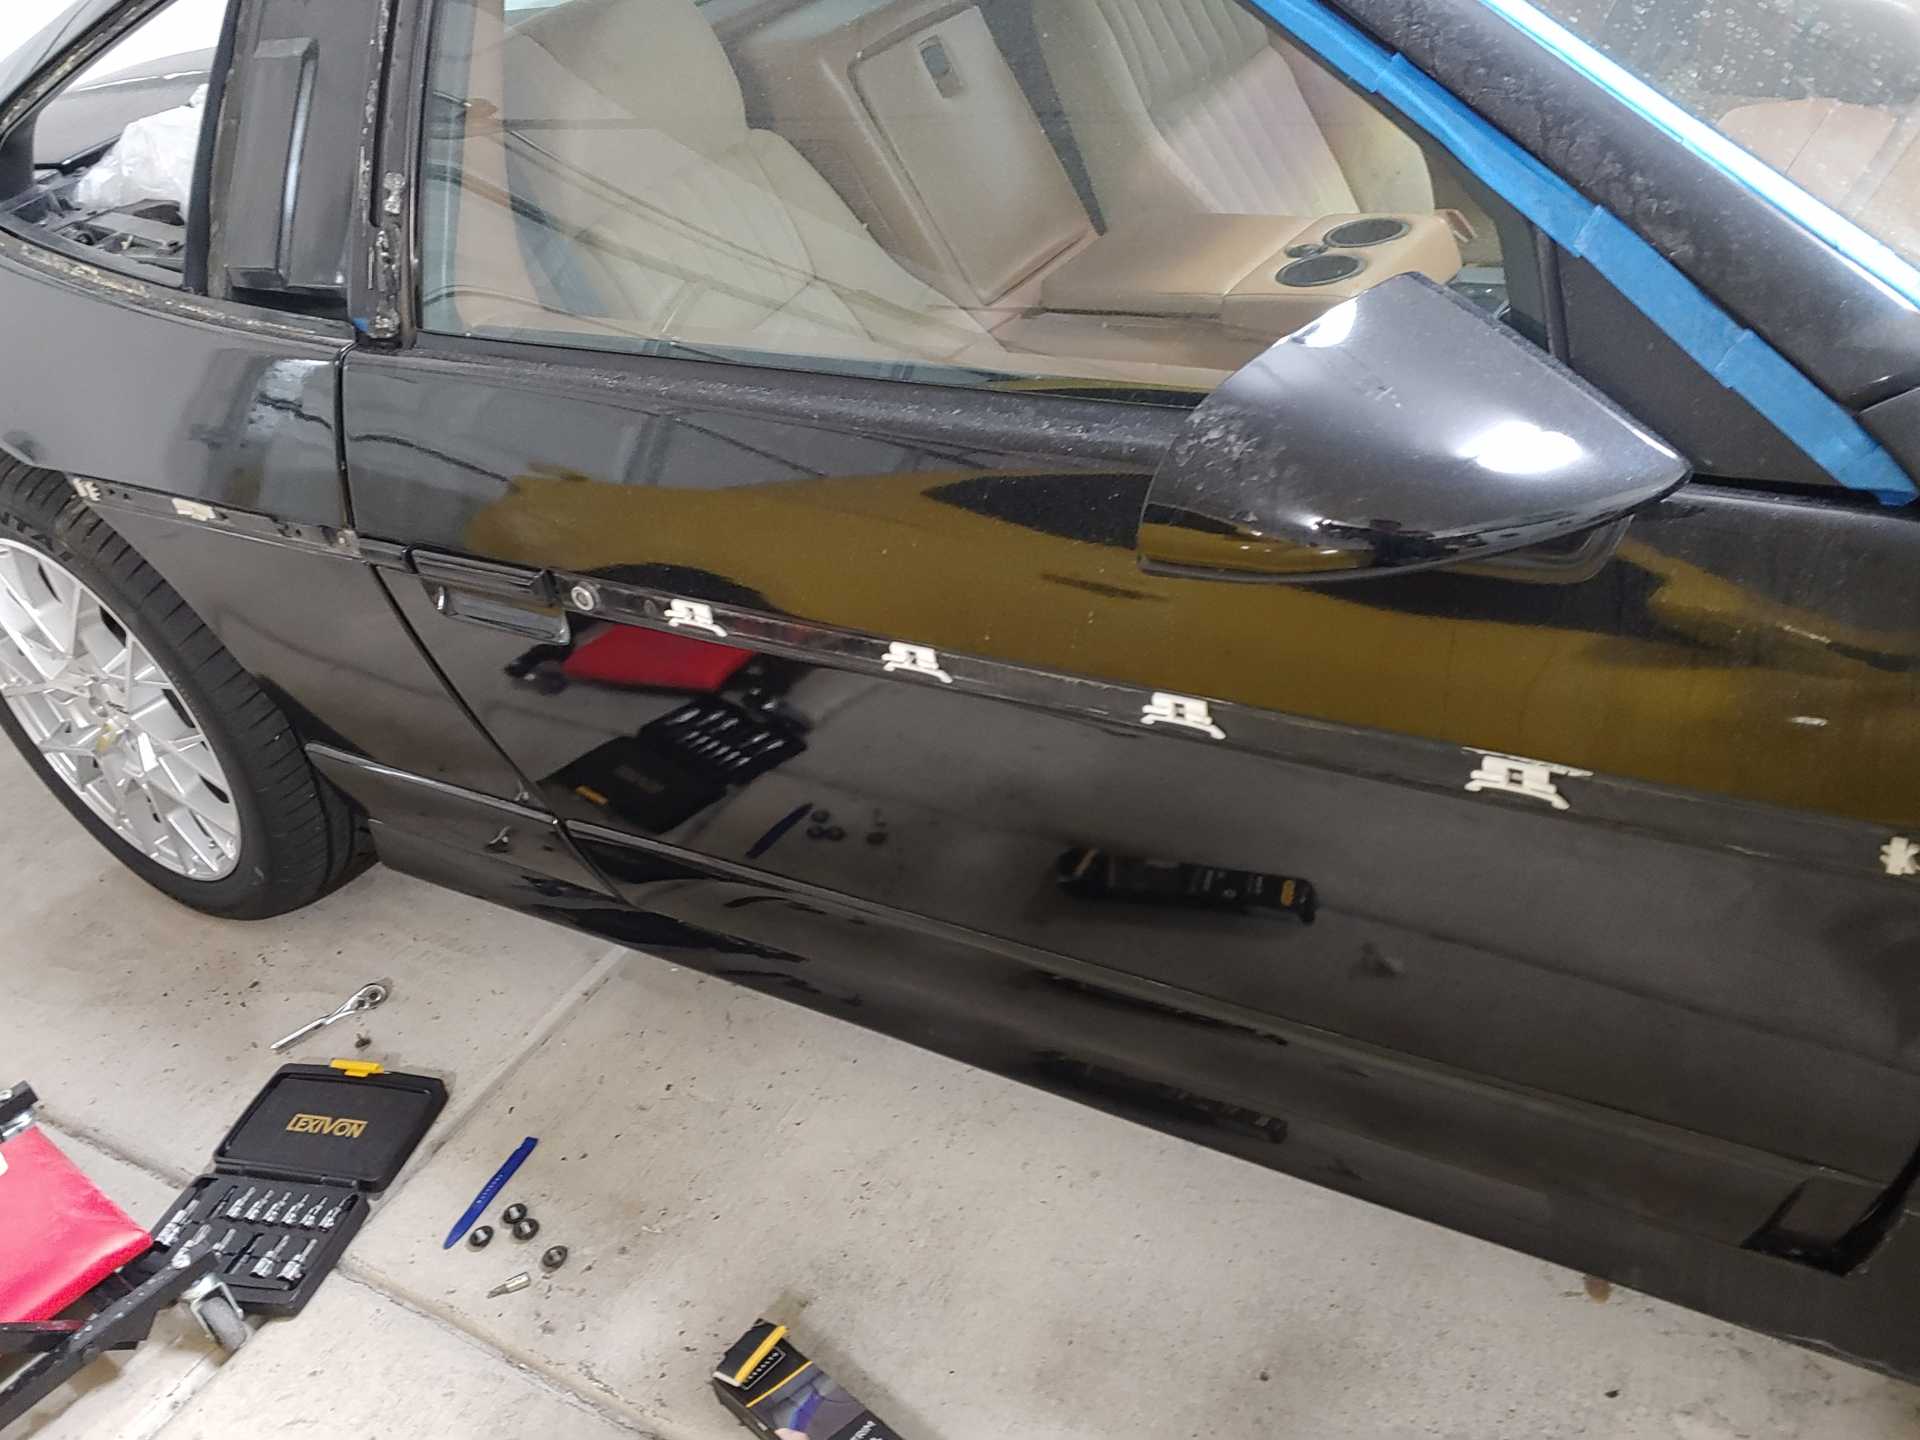
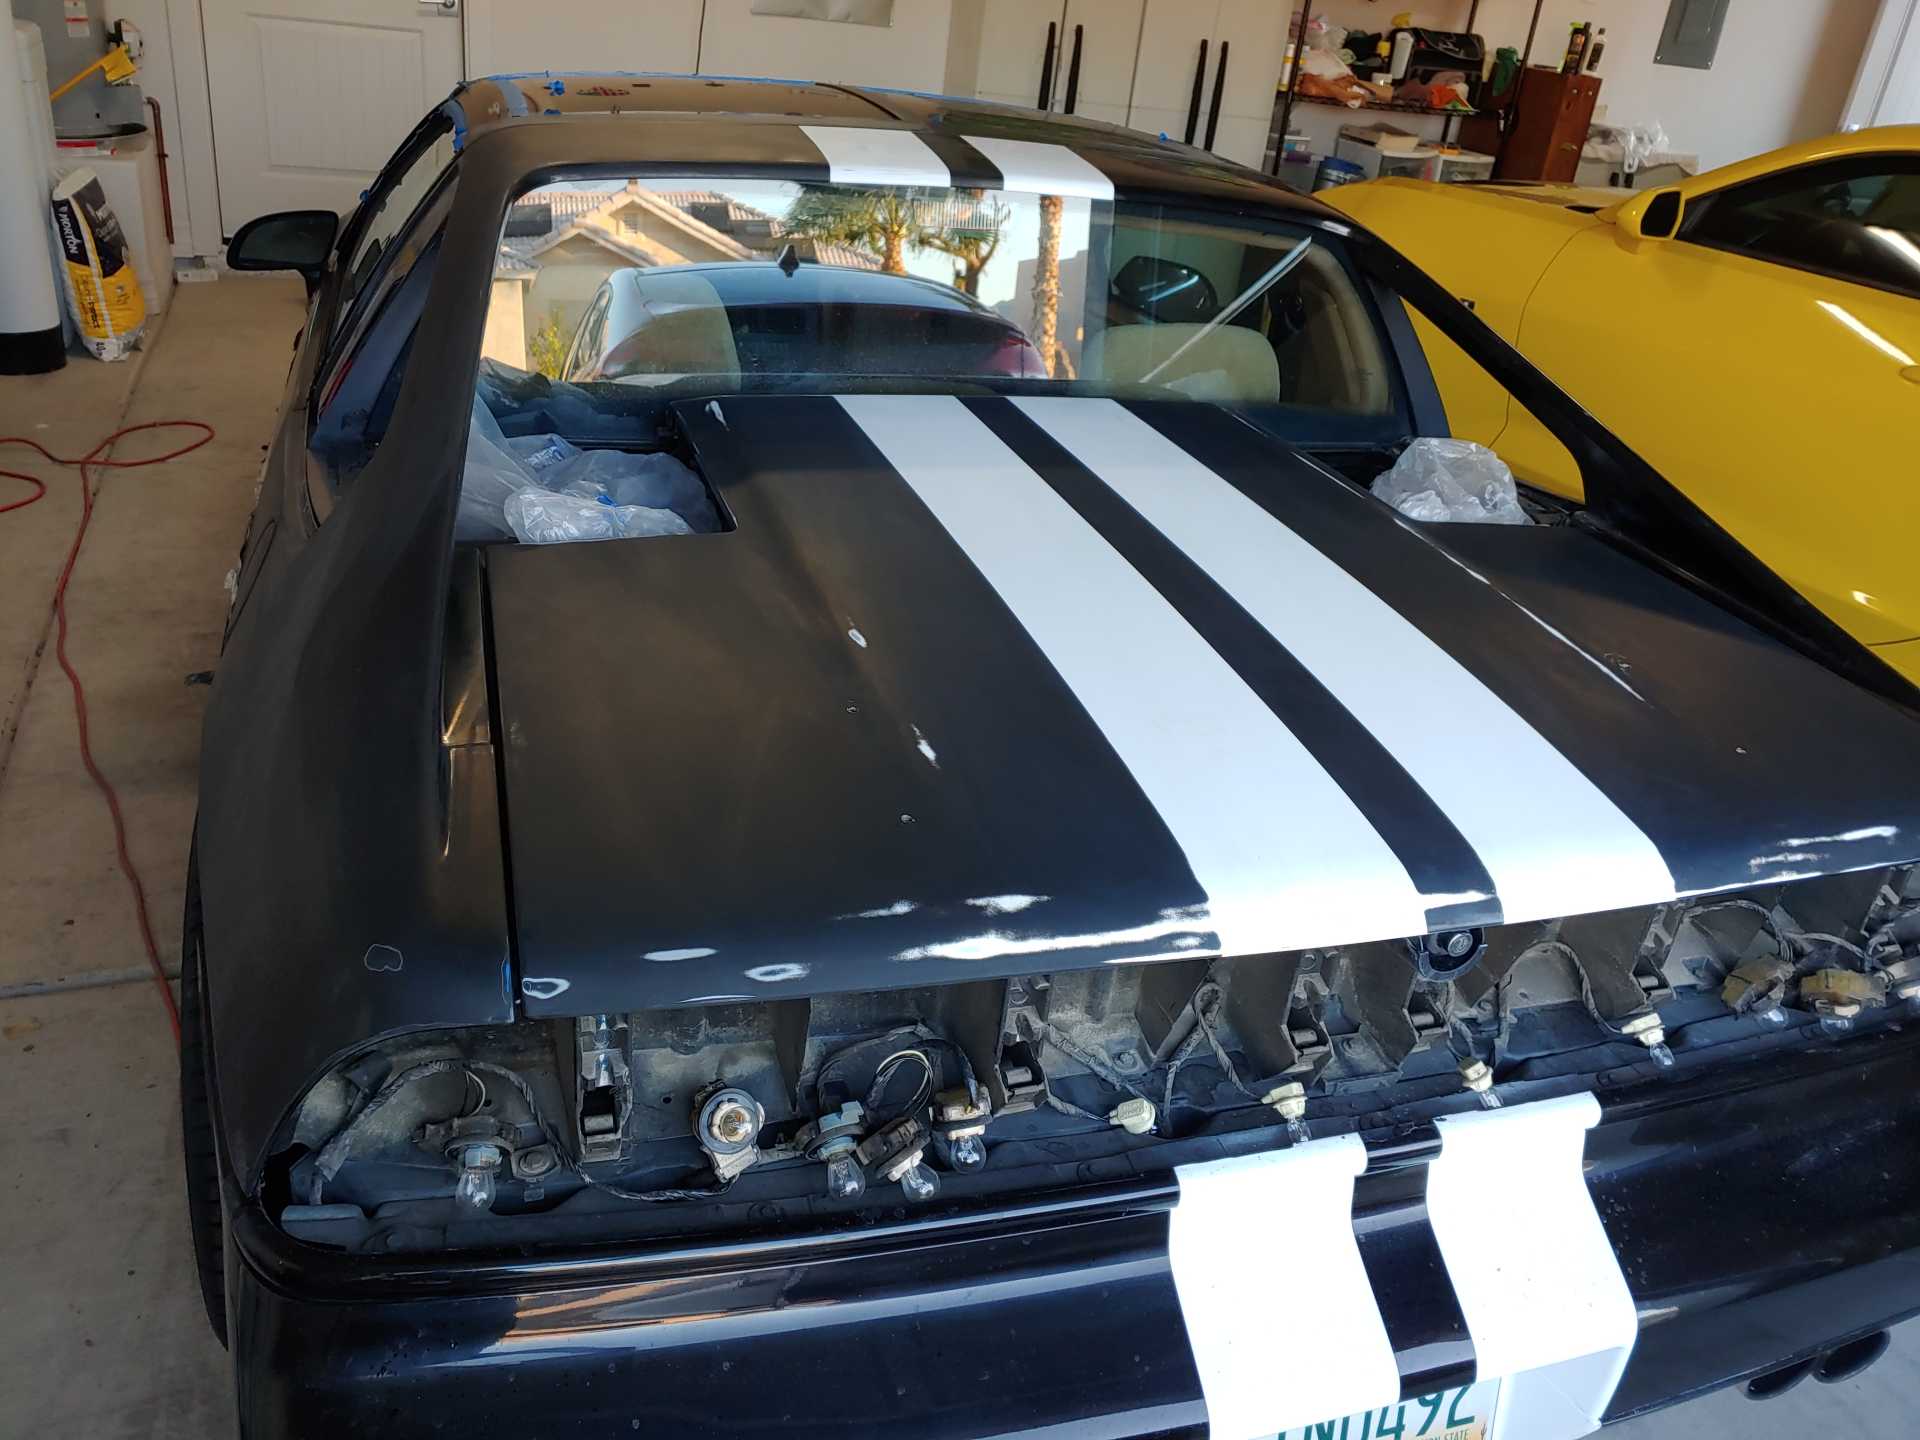
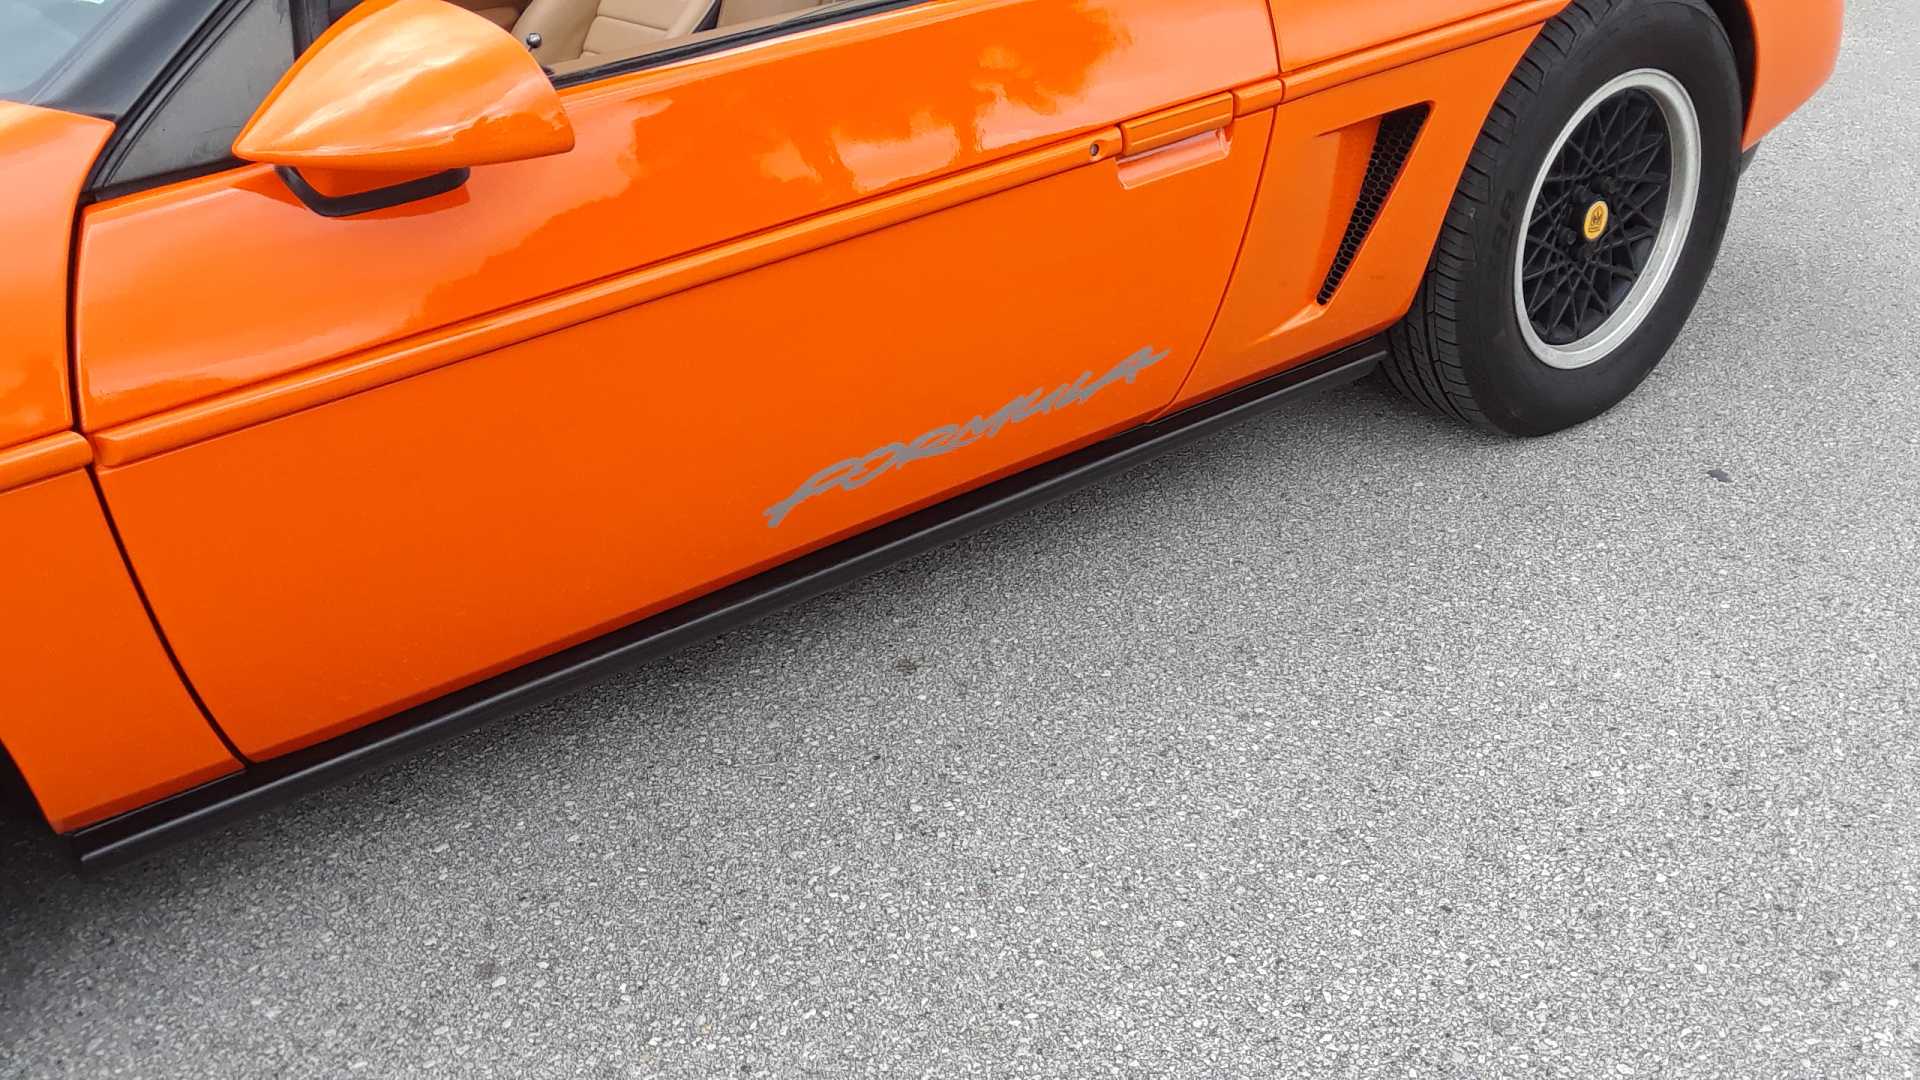
So, as you know I'm prepping the car for paint and I'm almost done. I'm looking for opinions about the molding trim. Should I paint it black, or body color?
Every time I see a fiero with body trim that matches the panel color and sheen, I immediately think of a poor quality repaint at Maaco... cover the glass and let the paint fly!
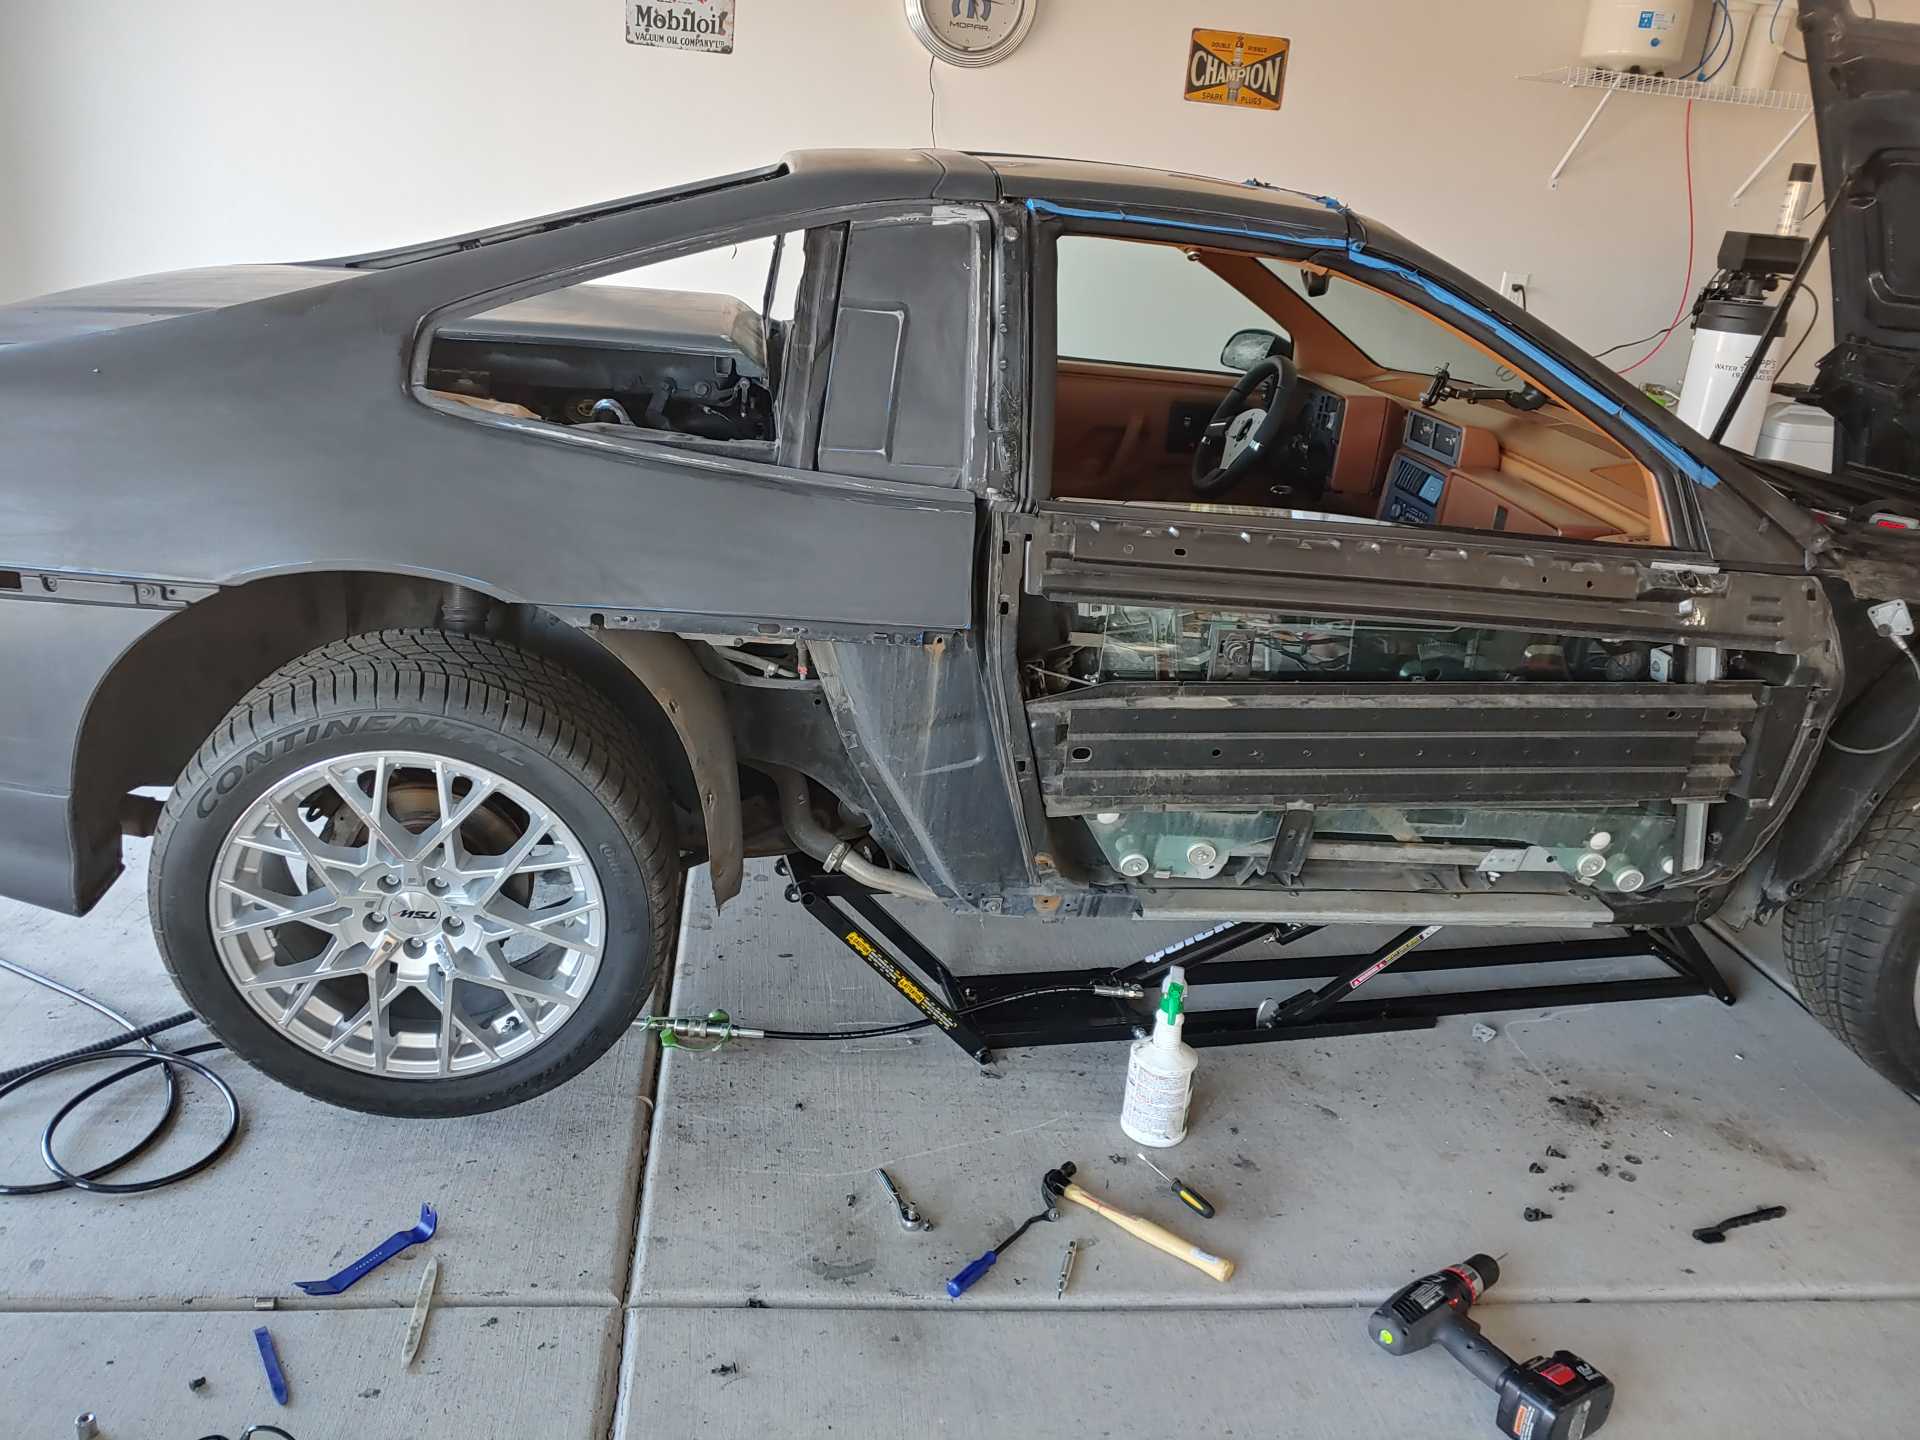
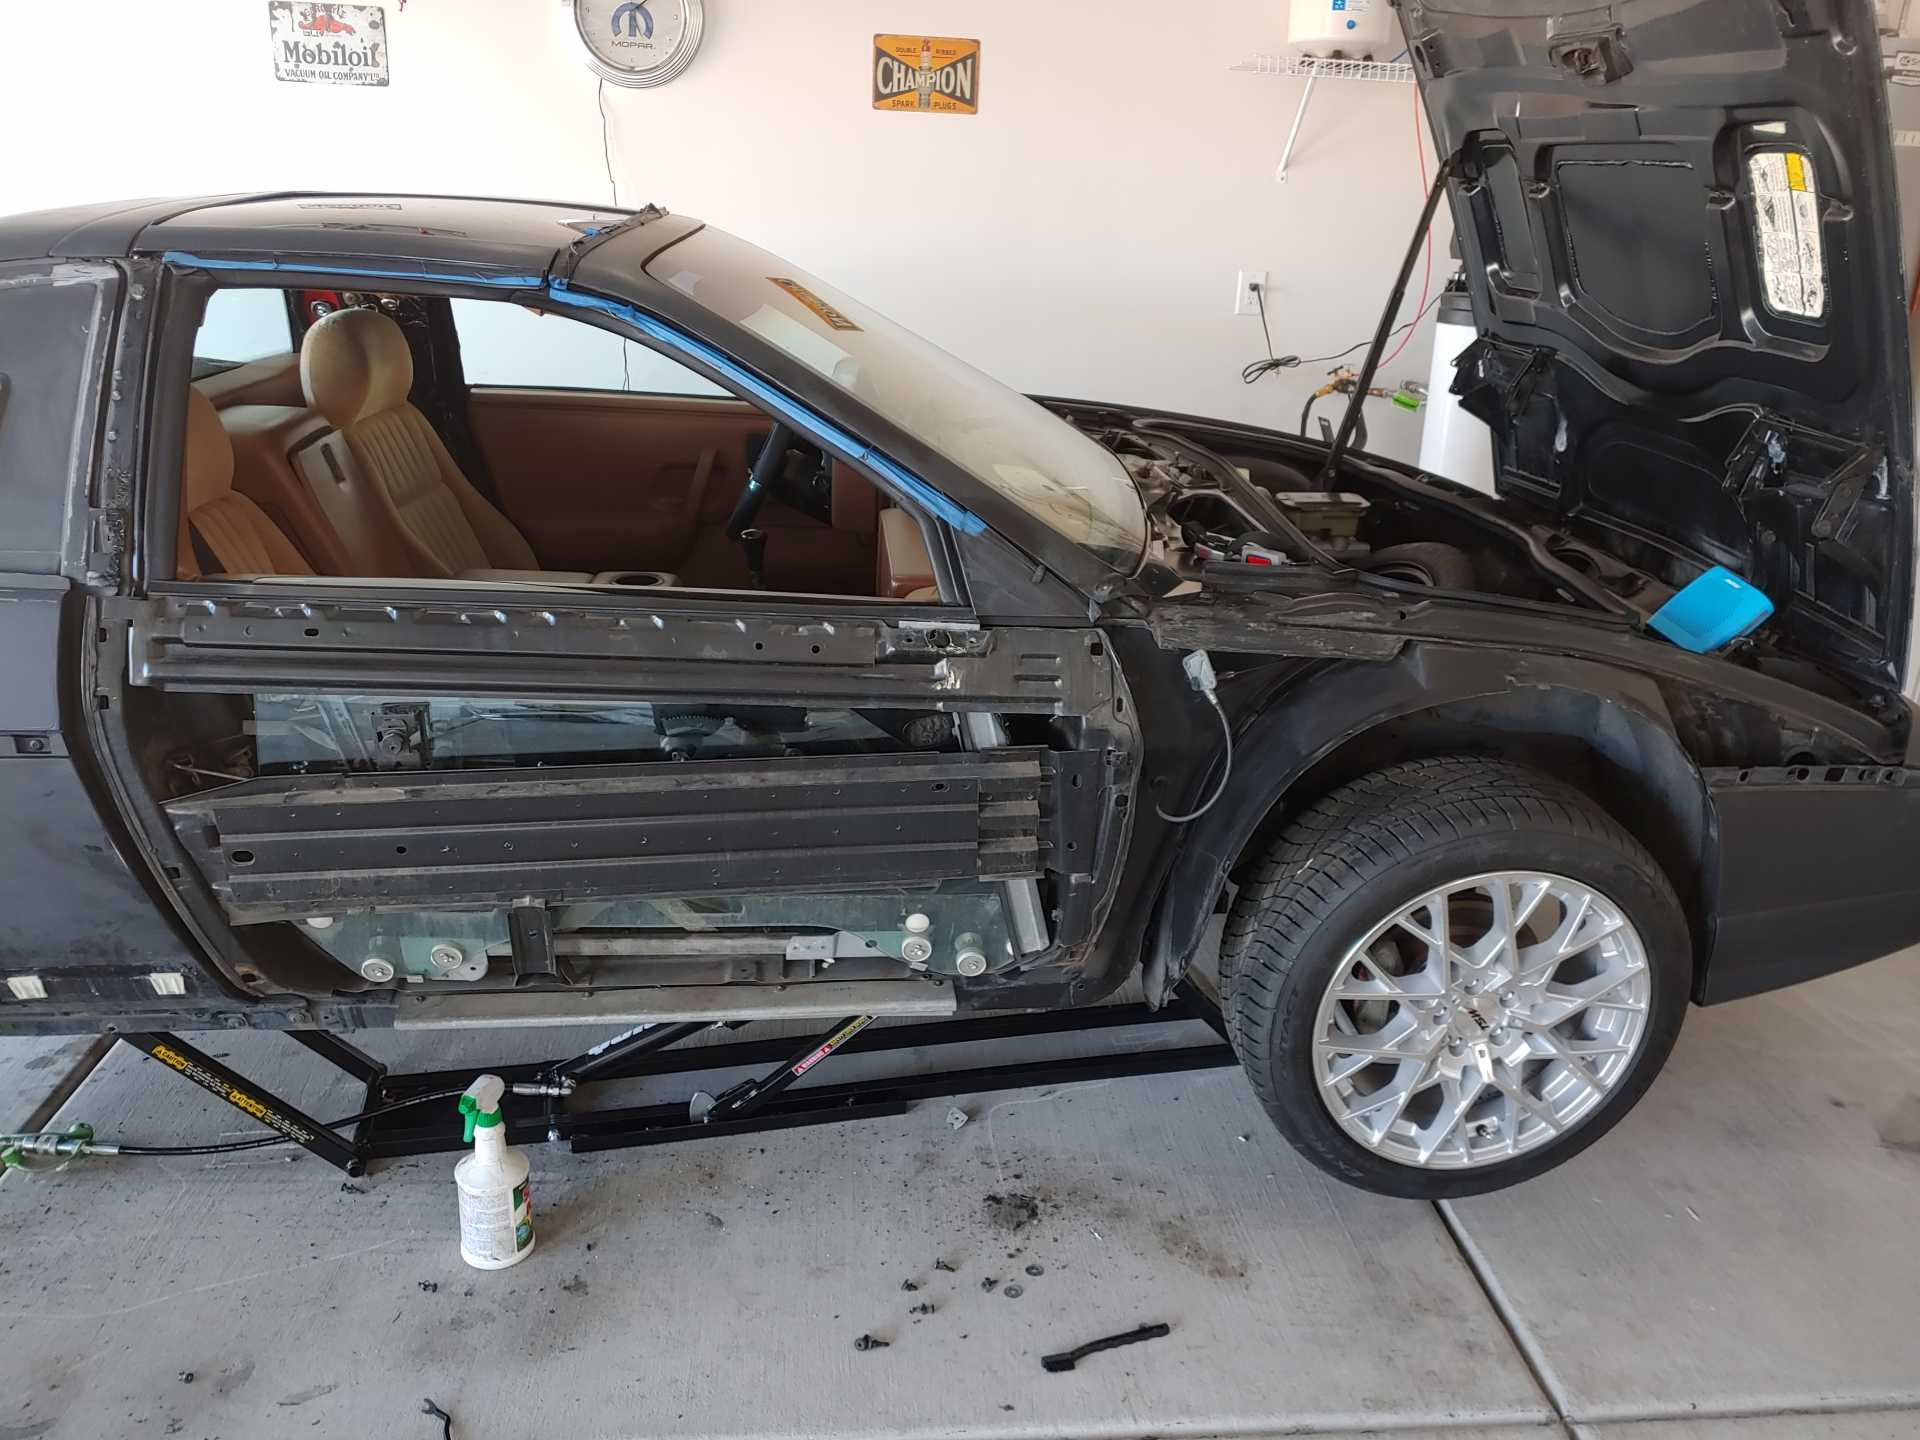
Slowly getting there. There sure are a lot of rivets holding this stuff on. I was able to find the replacement rivets for the rocker panels, but I'm not sure where to find the other rivets that had to come out.
[This message has been edited by Chief08 (edited 05-23-2020).]
So, as you know I'm prepping the car for paint and I'm almost done. I'm looking for opinions about the molding trim. Should I paint it black, or body color?
It's a matter of opinion. I know fieroguru doesn't like body color trim, but I think it updates the car's look.