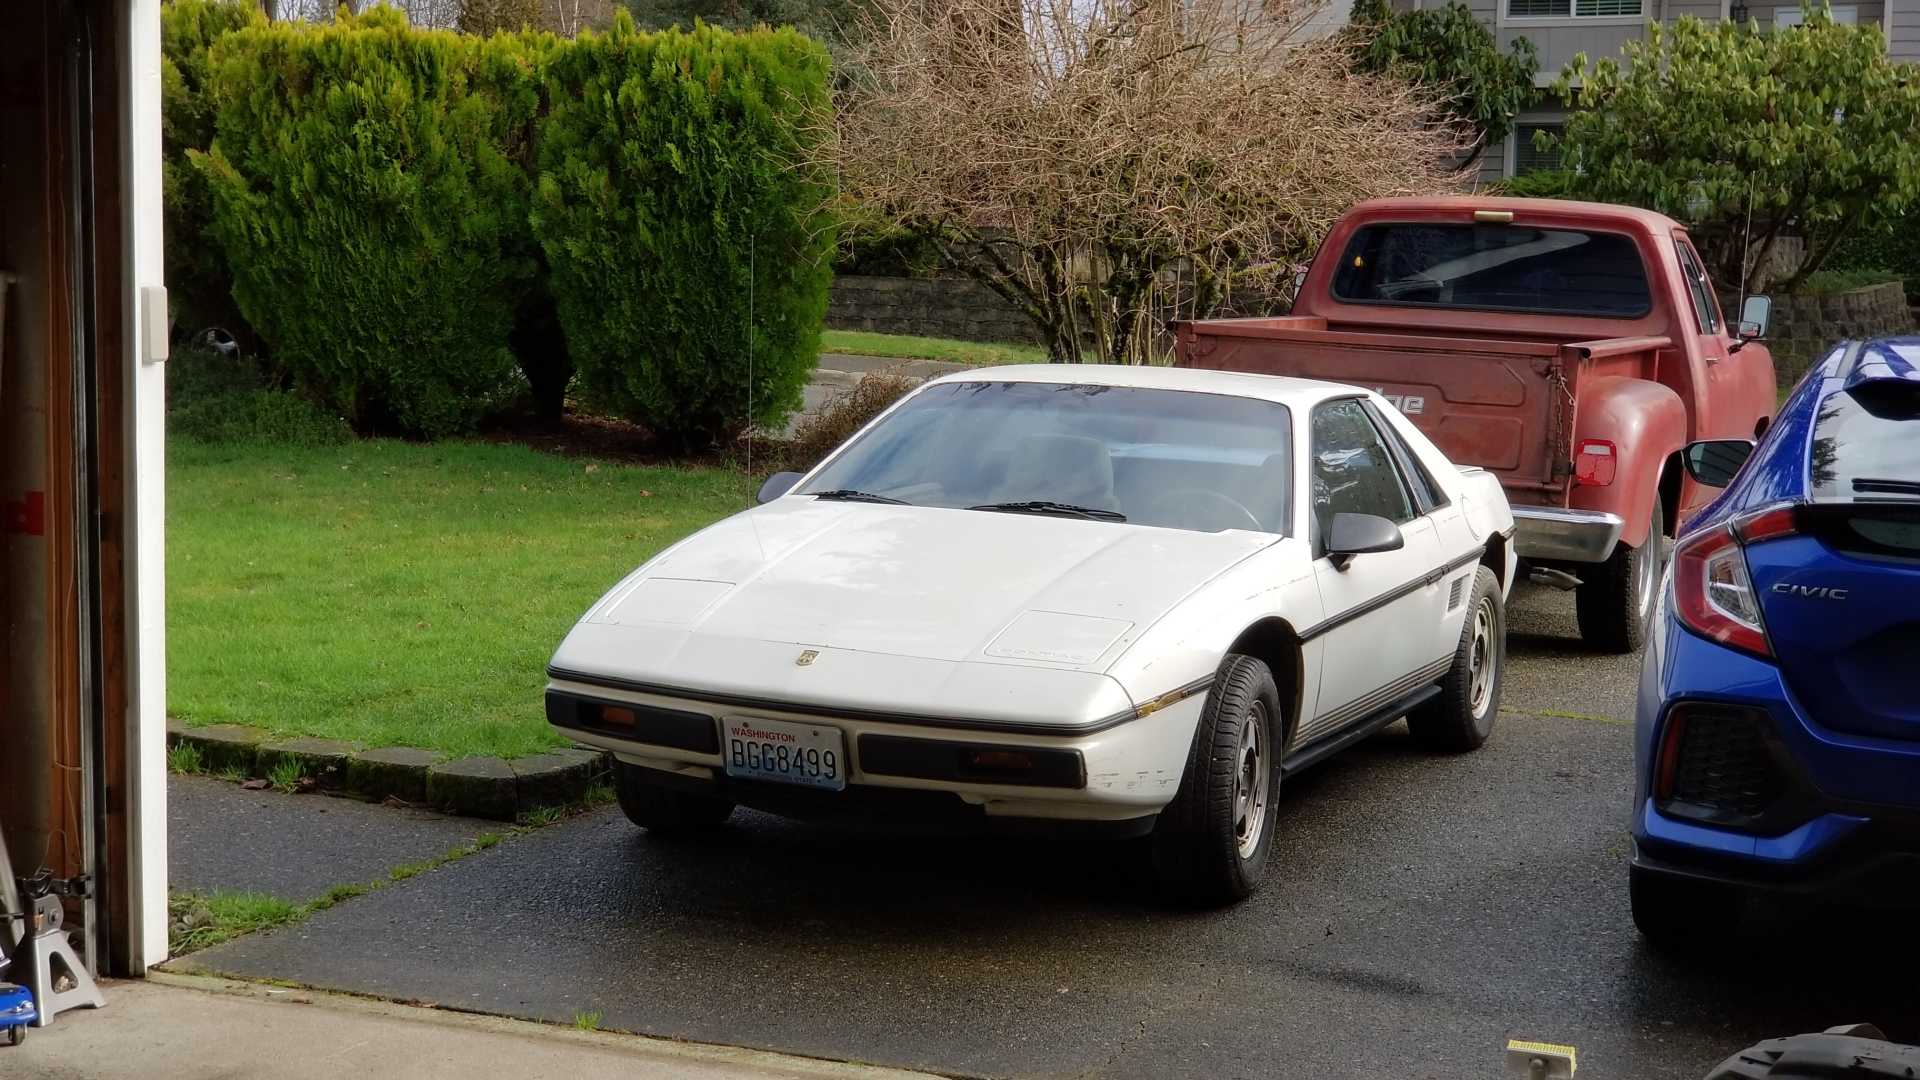
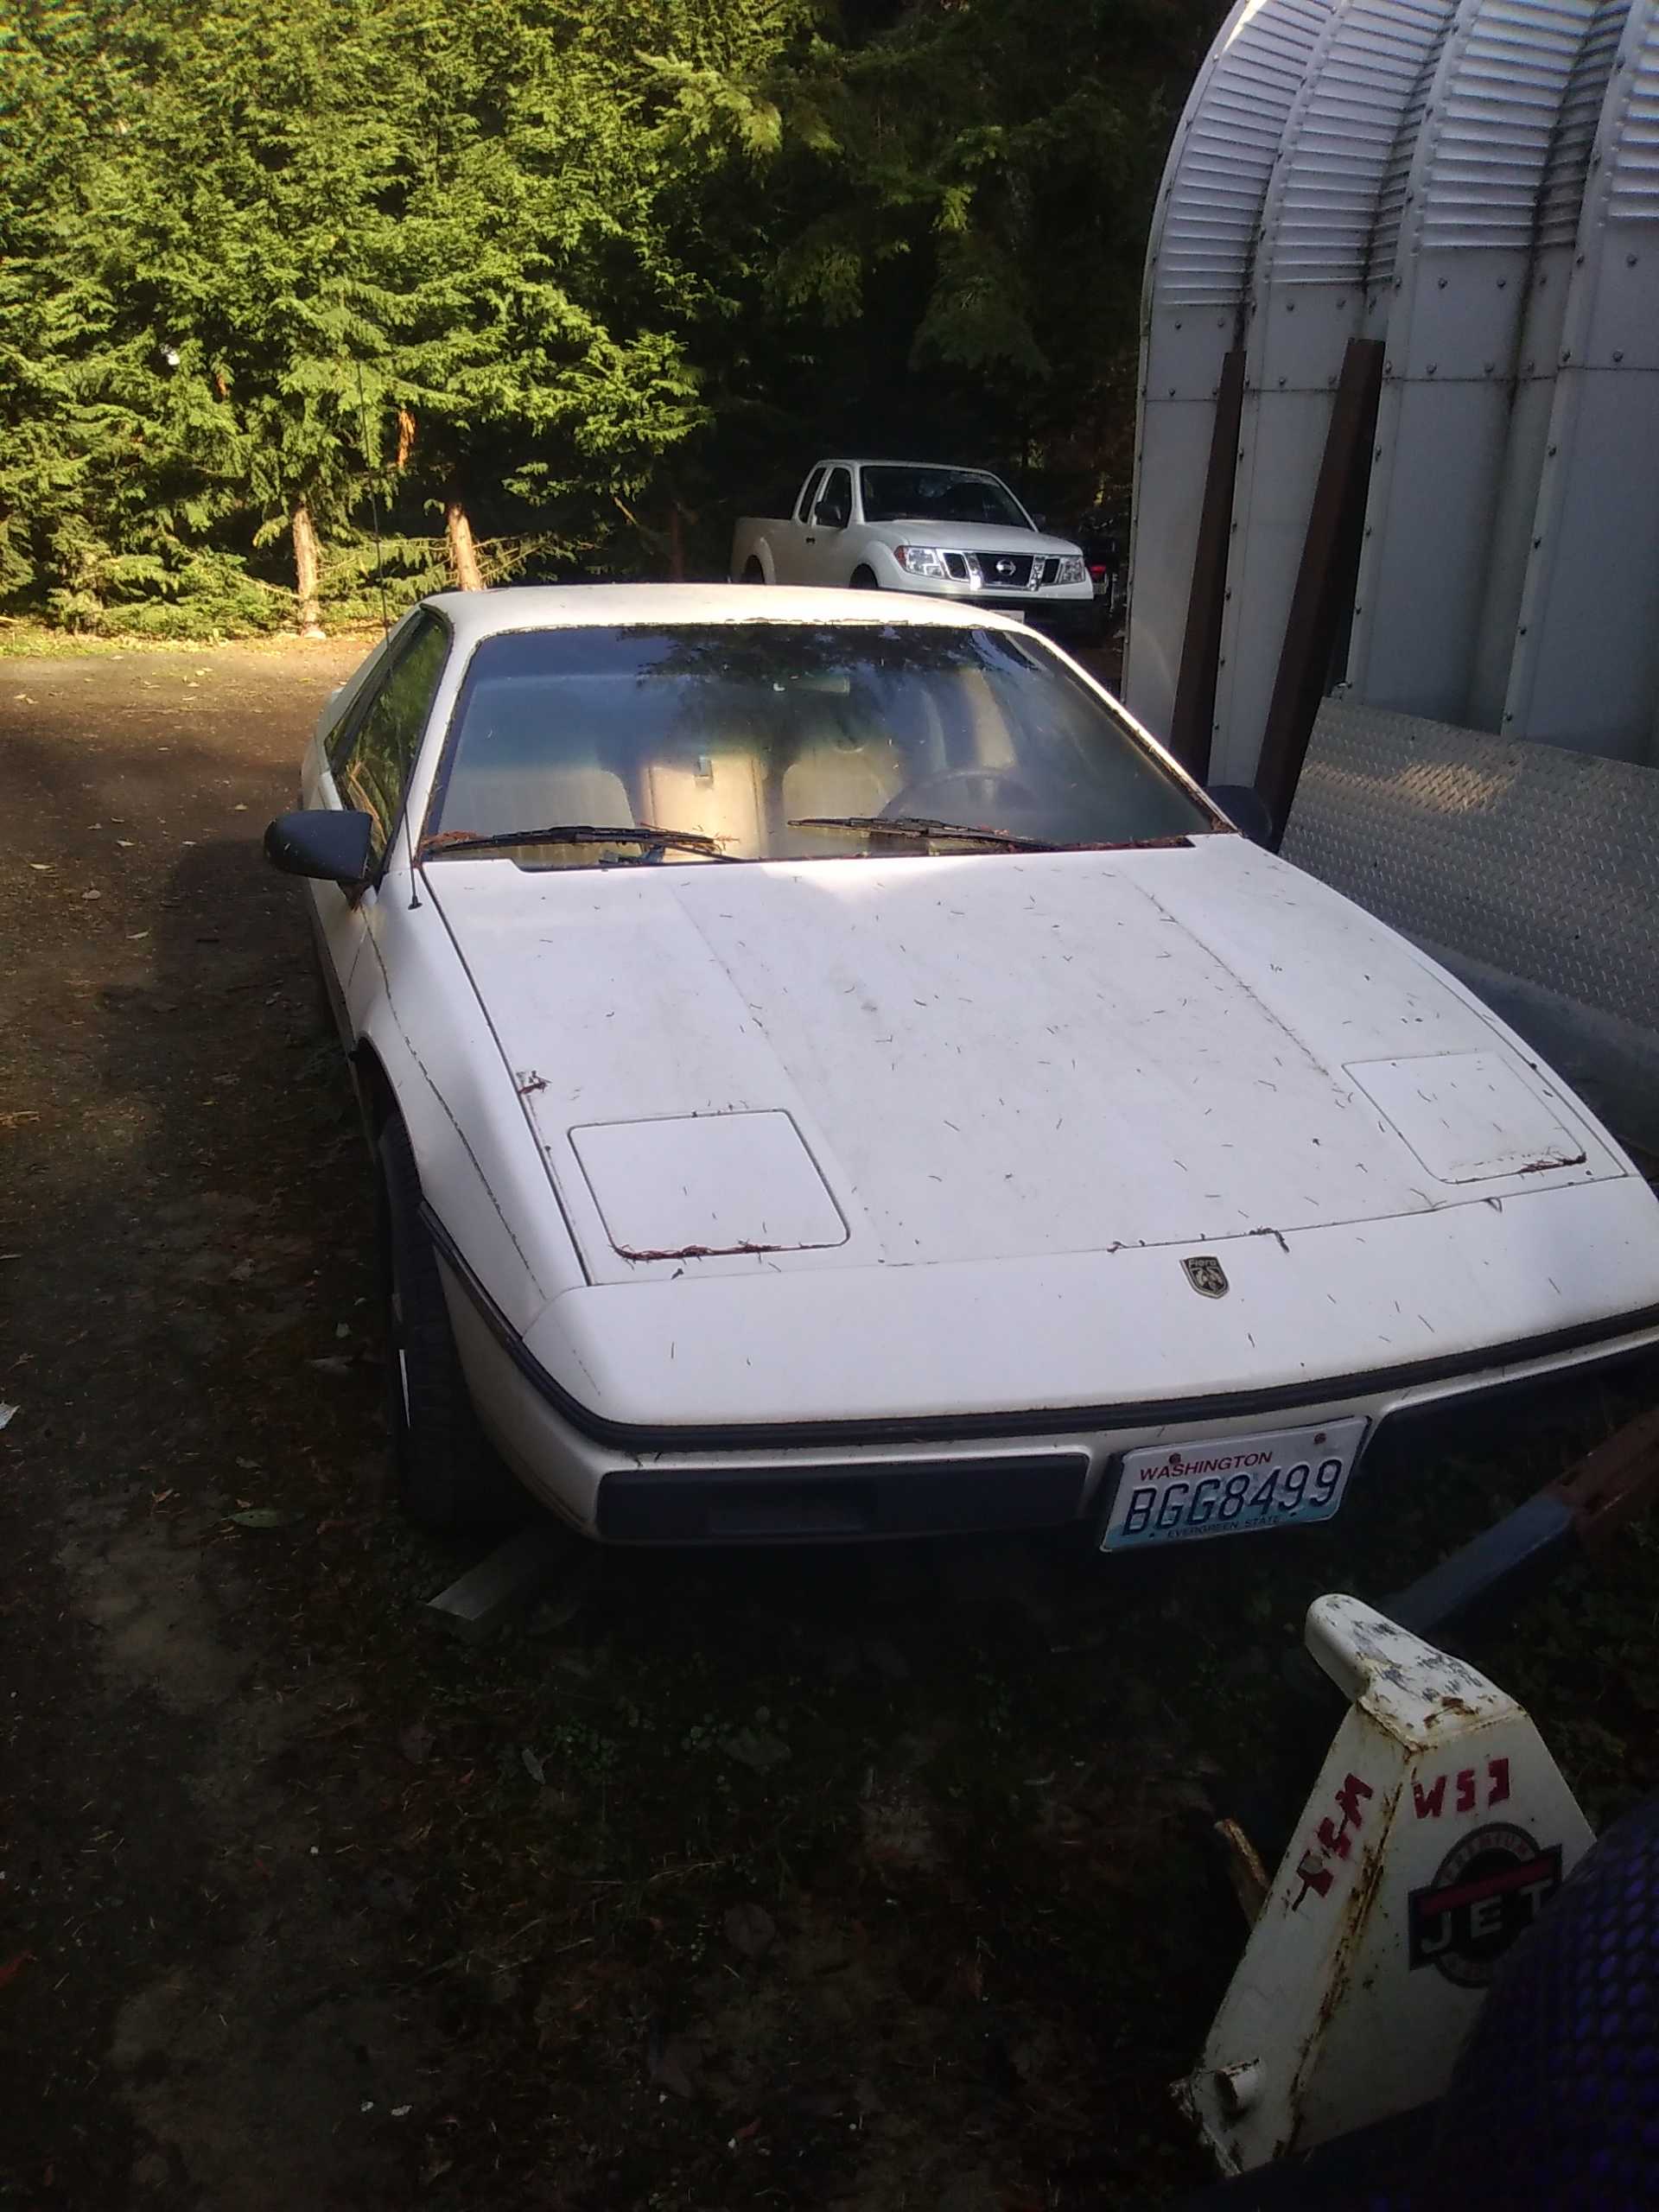
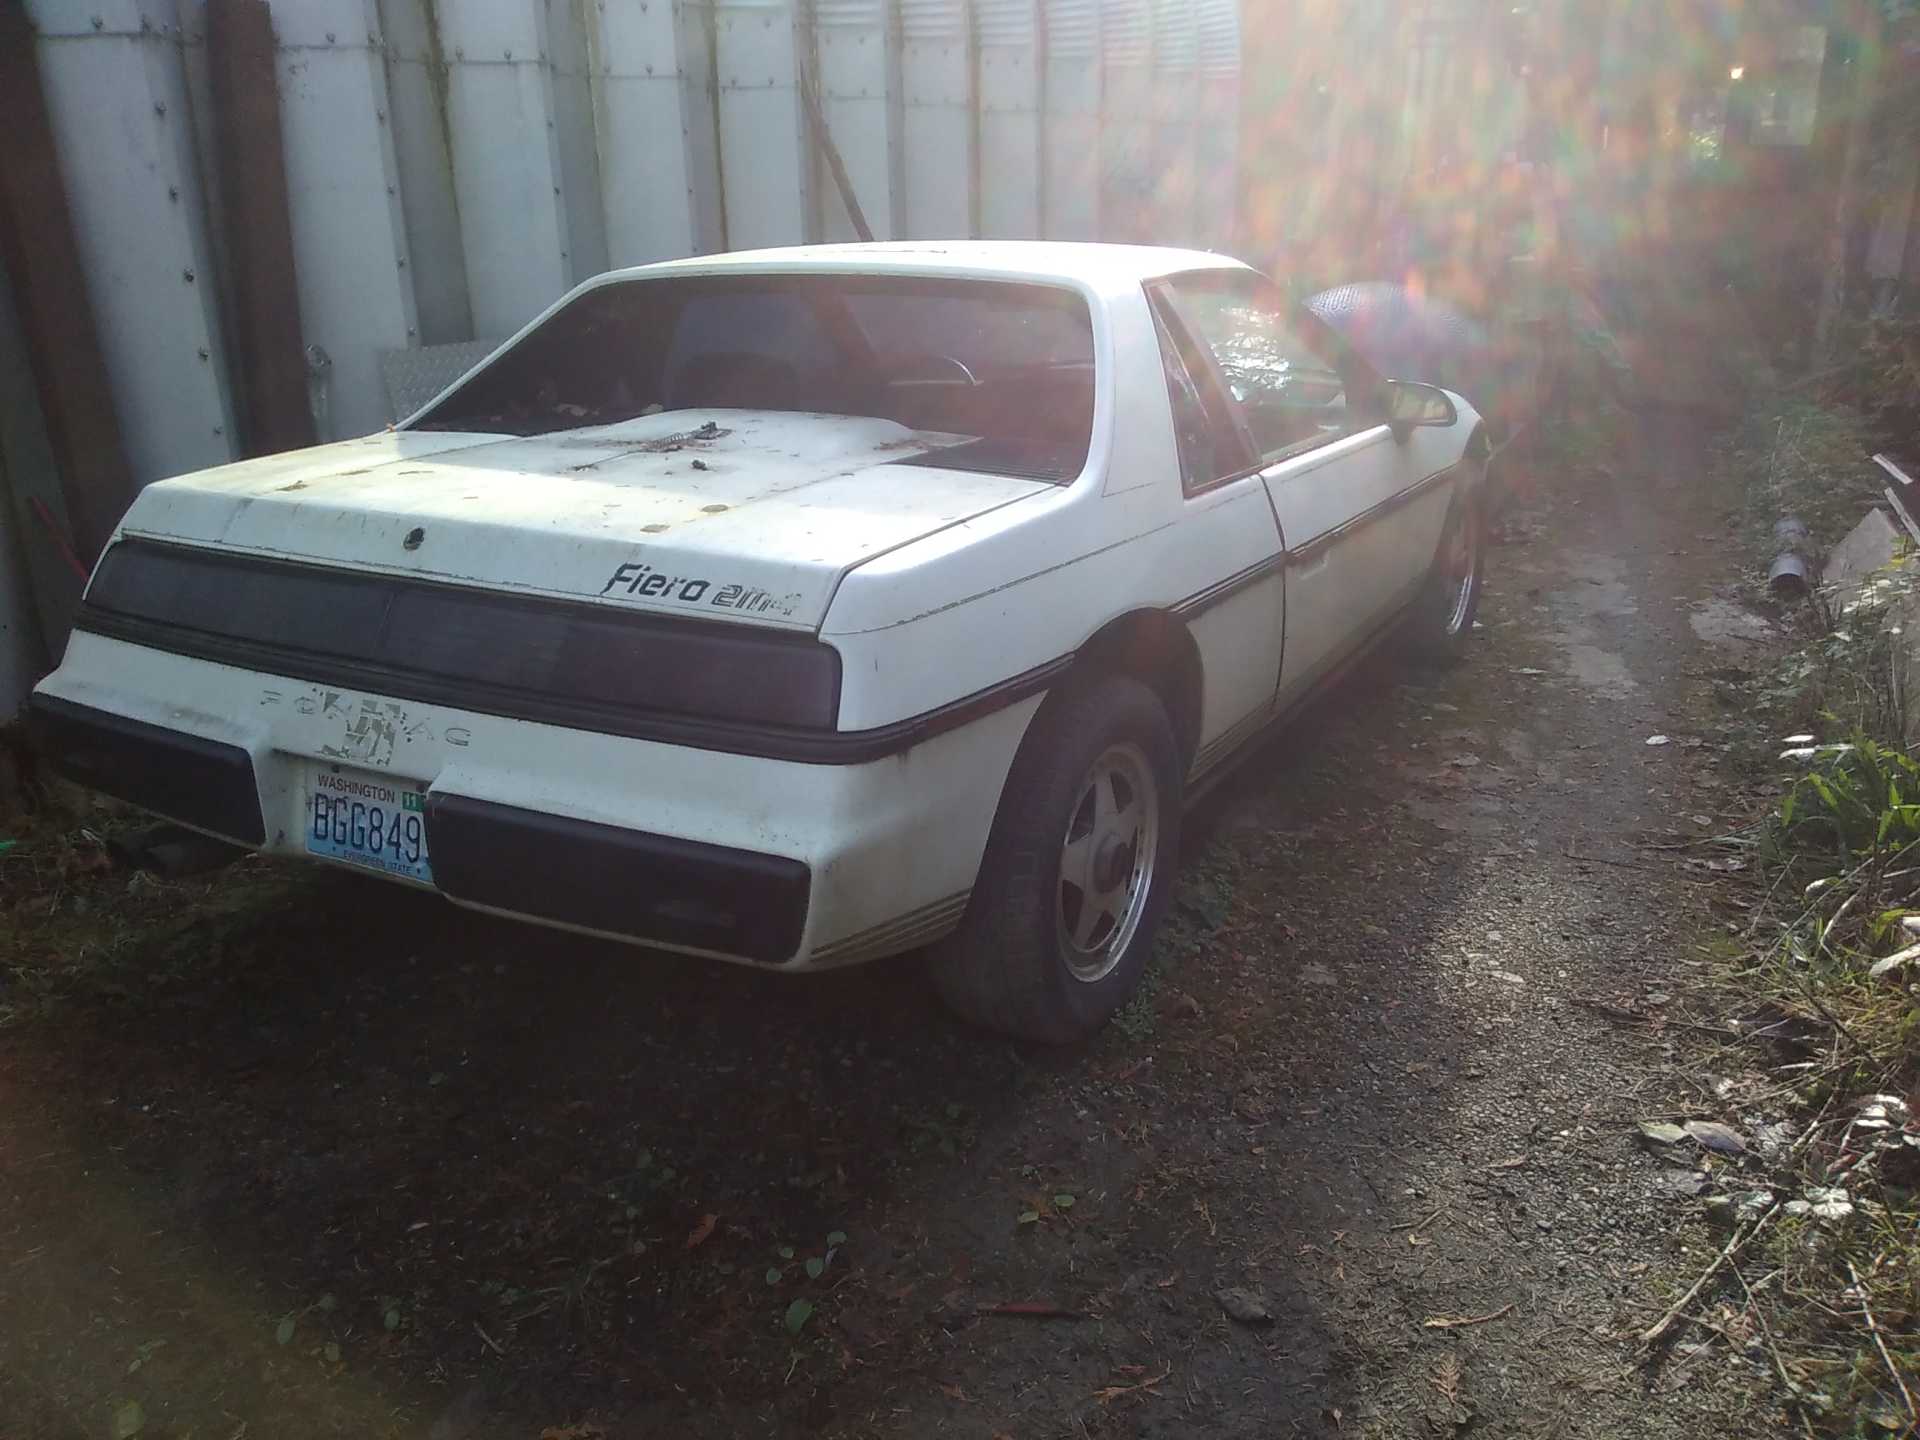
Let me preface with, I have no idea what I'm doing. I enjoy learning, and I've got a couple cars I've done work on with friends. Feel free to step in and tell me what I'm doing right, wrong, dumb, whatever. I just want to keep a log of what I'm up to with this thing, so I figured this is the spot to do that. I'll start it off with where I'm at so far. . . . I picked up this 85 from a Pennocks post, https://www.fiero.nl/forum/Forum4/HTML/078296.html
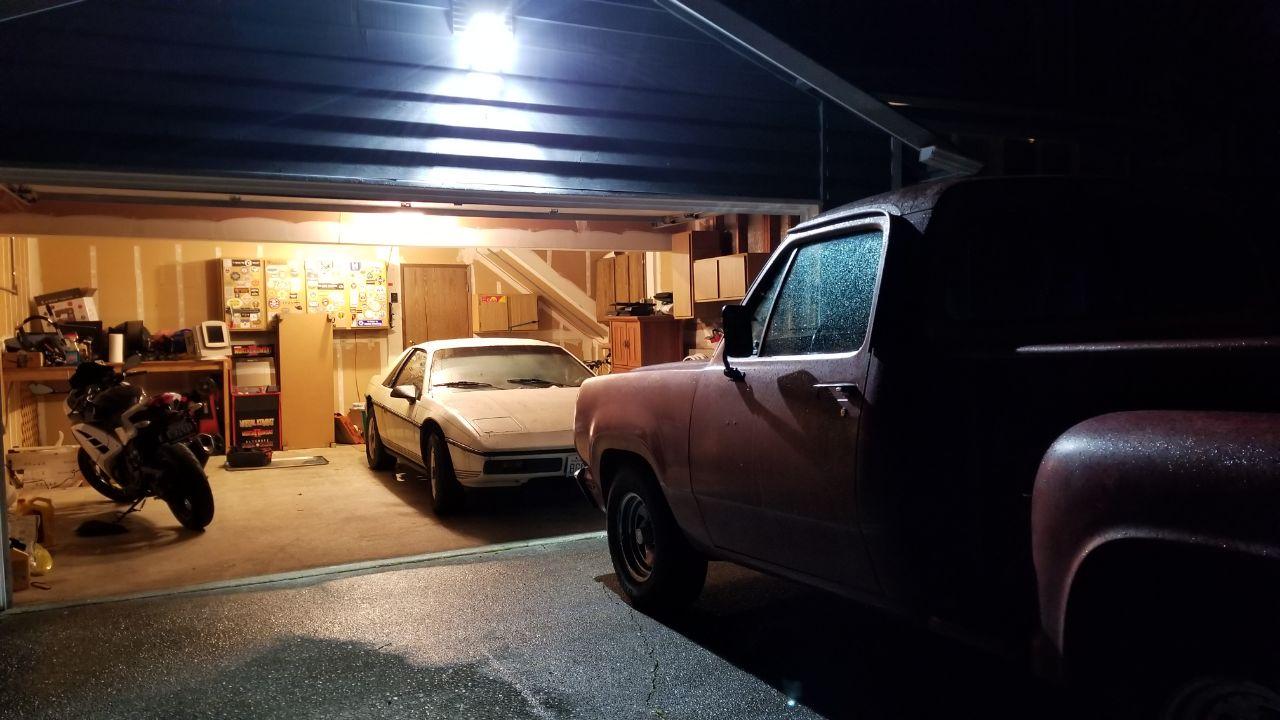
I had some parts with me but had no luck getting it running, had it towed back home to the other side of the city.
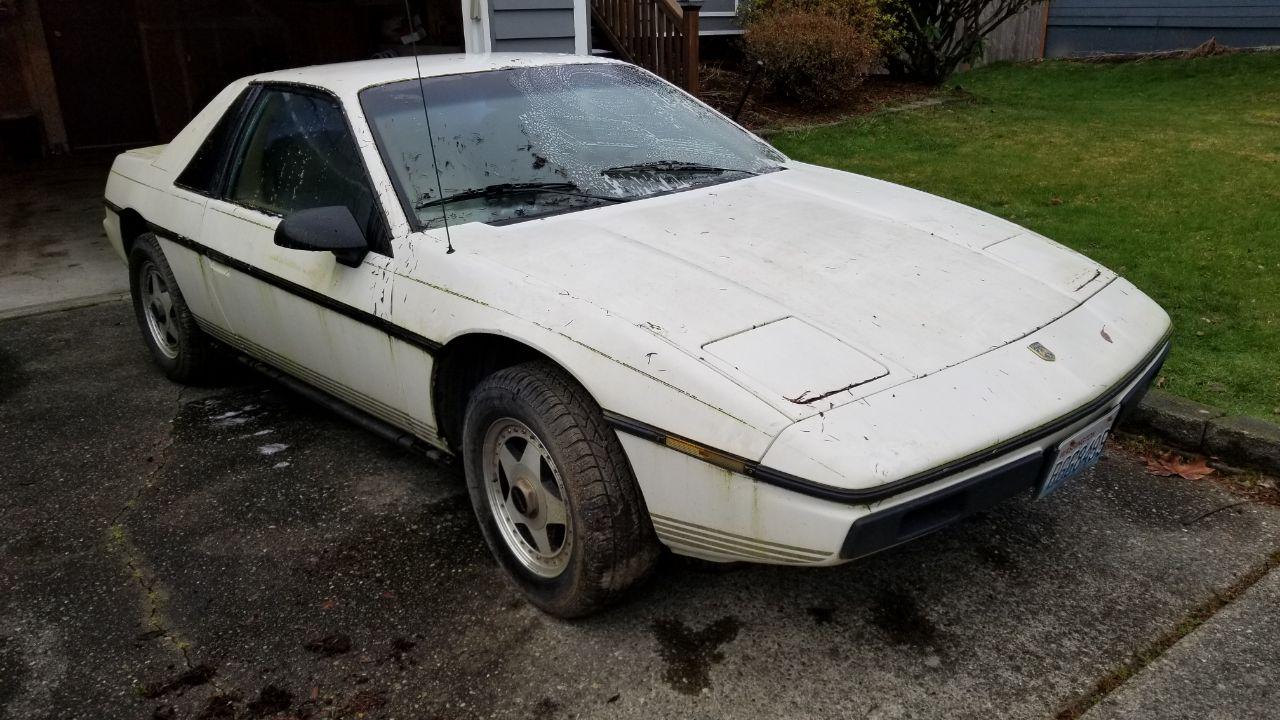
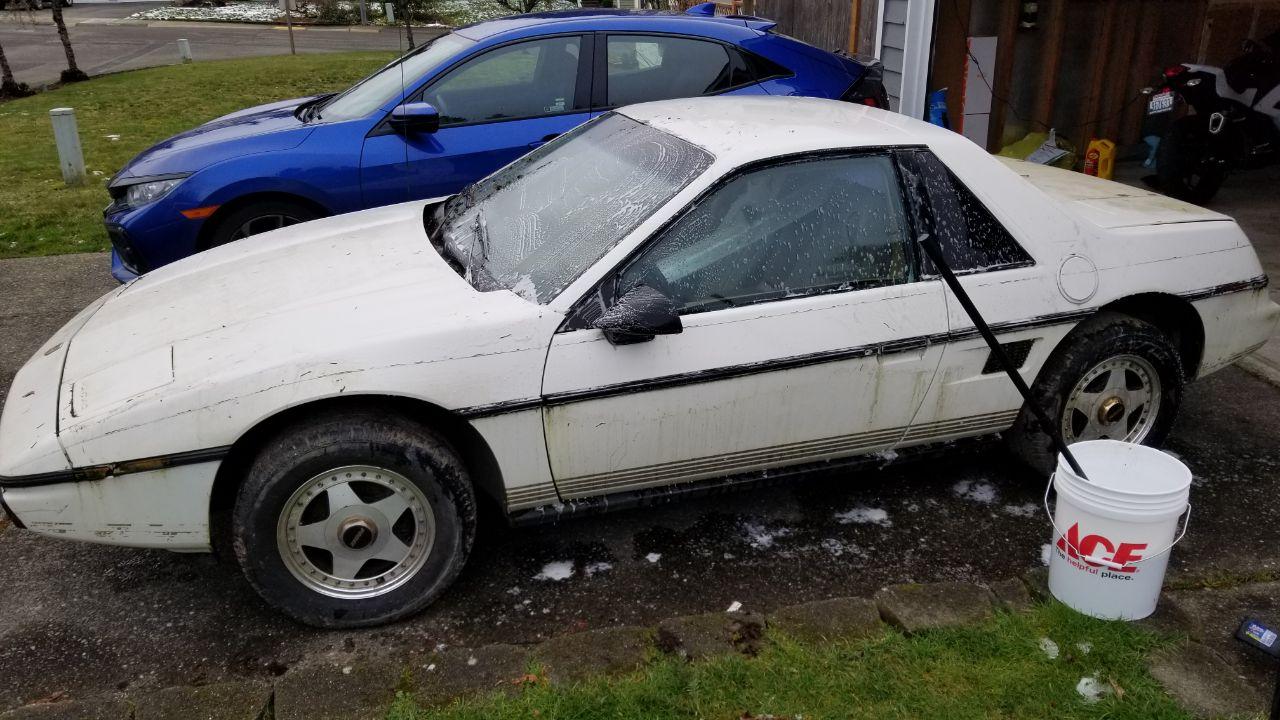
Next day pulled it out into the 40 degrees of rainy goodness and gave it a nice hot water bucket bath
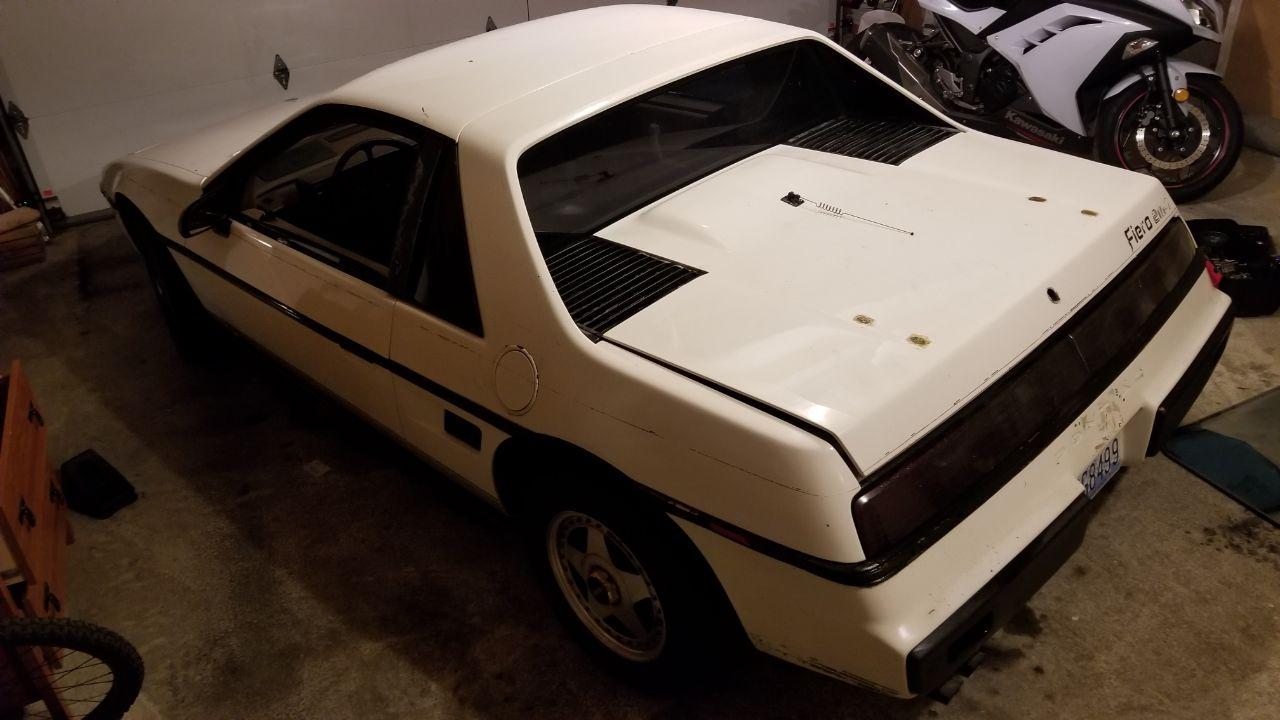
Cleaner and happier
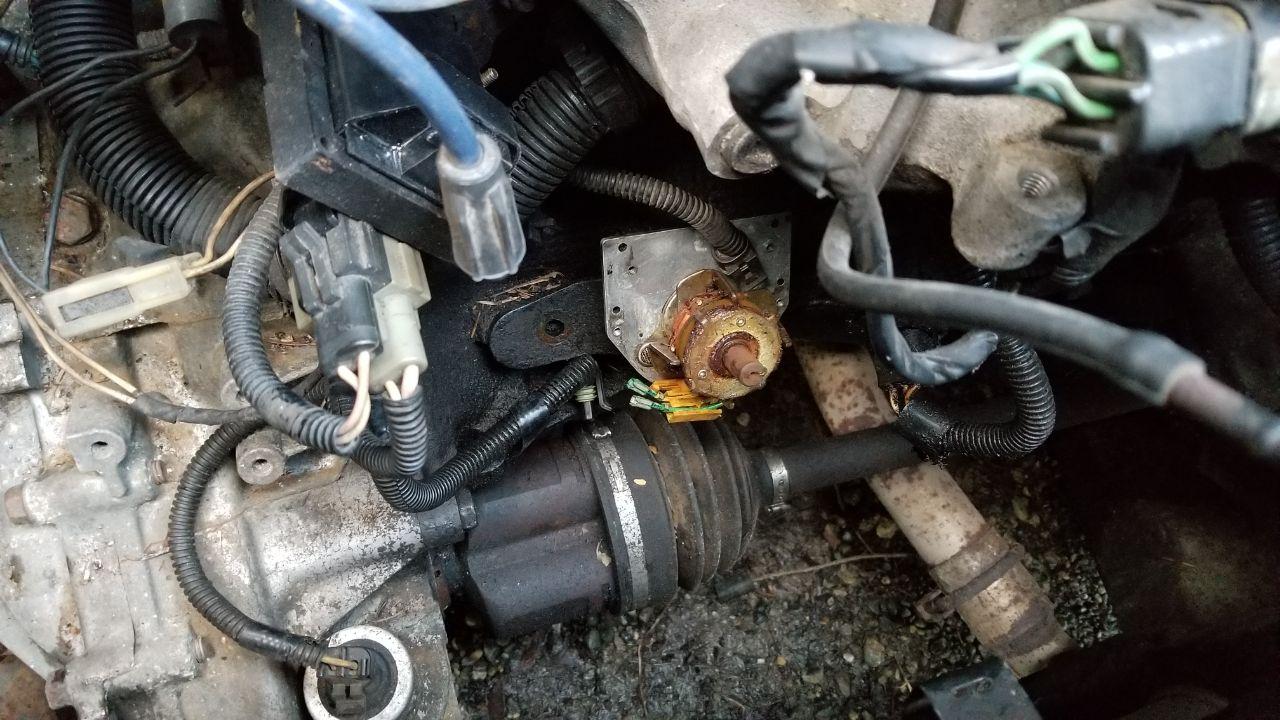
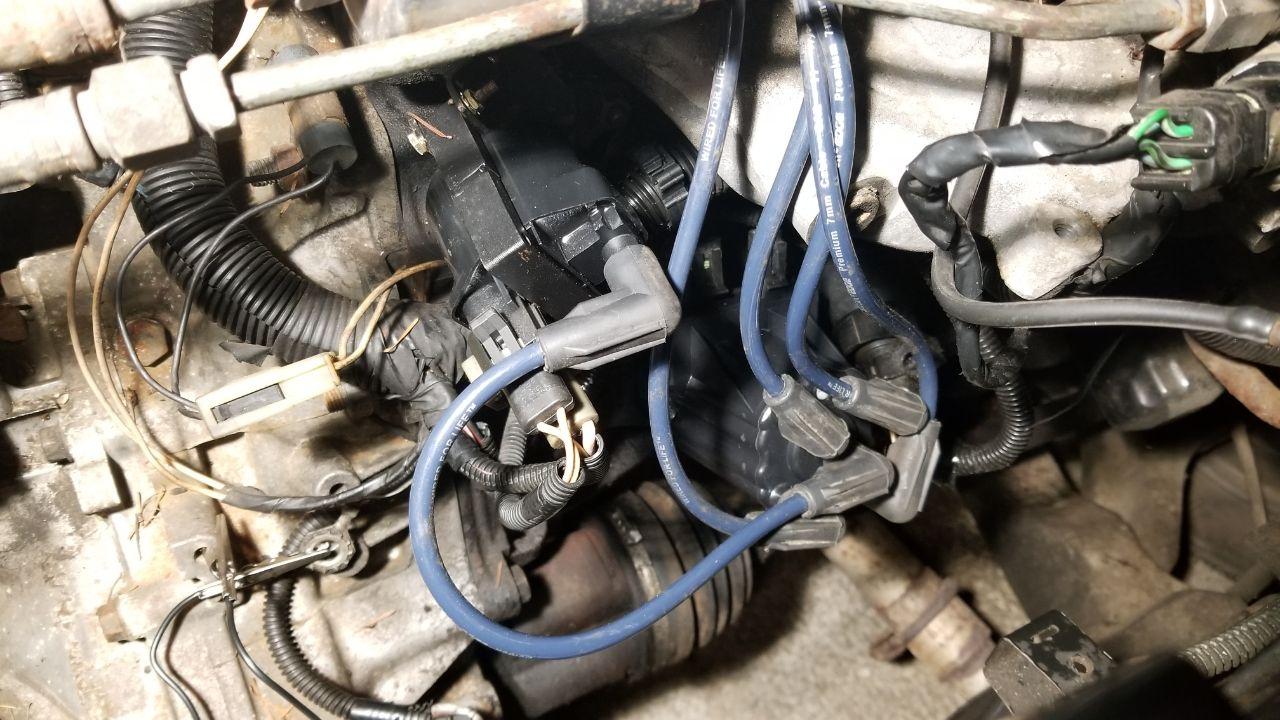
Next to play with getting it running, decided to look at plugs and check compression while playing with things. Ended up with 1:135 2:130 3:140 4:135 which seems pretty darn good. looking at the distributor decided to just replace it assuming the pickup was dead, this luckly ended up working and I go the timing close enough to run happy right off the bat (after realizing I had installed it on TDC the wrong stroke and rotated the engine around again anyway) Totally some worn and disconnected wiring I need to resolve here but it's running so that will happen after the cleanup on the rest of the car.
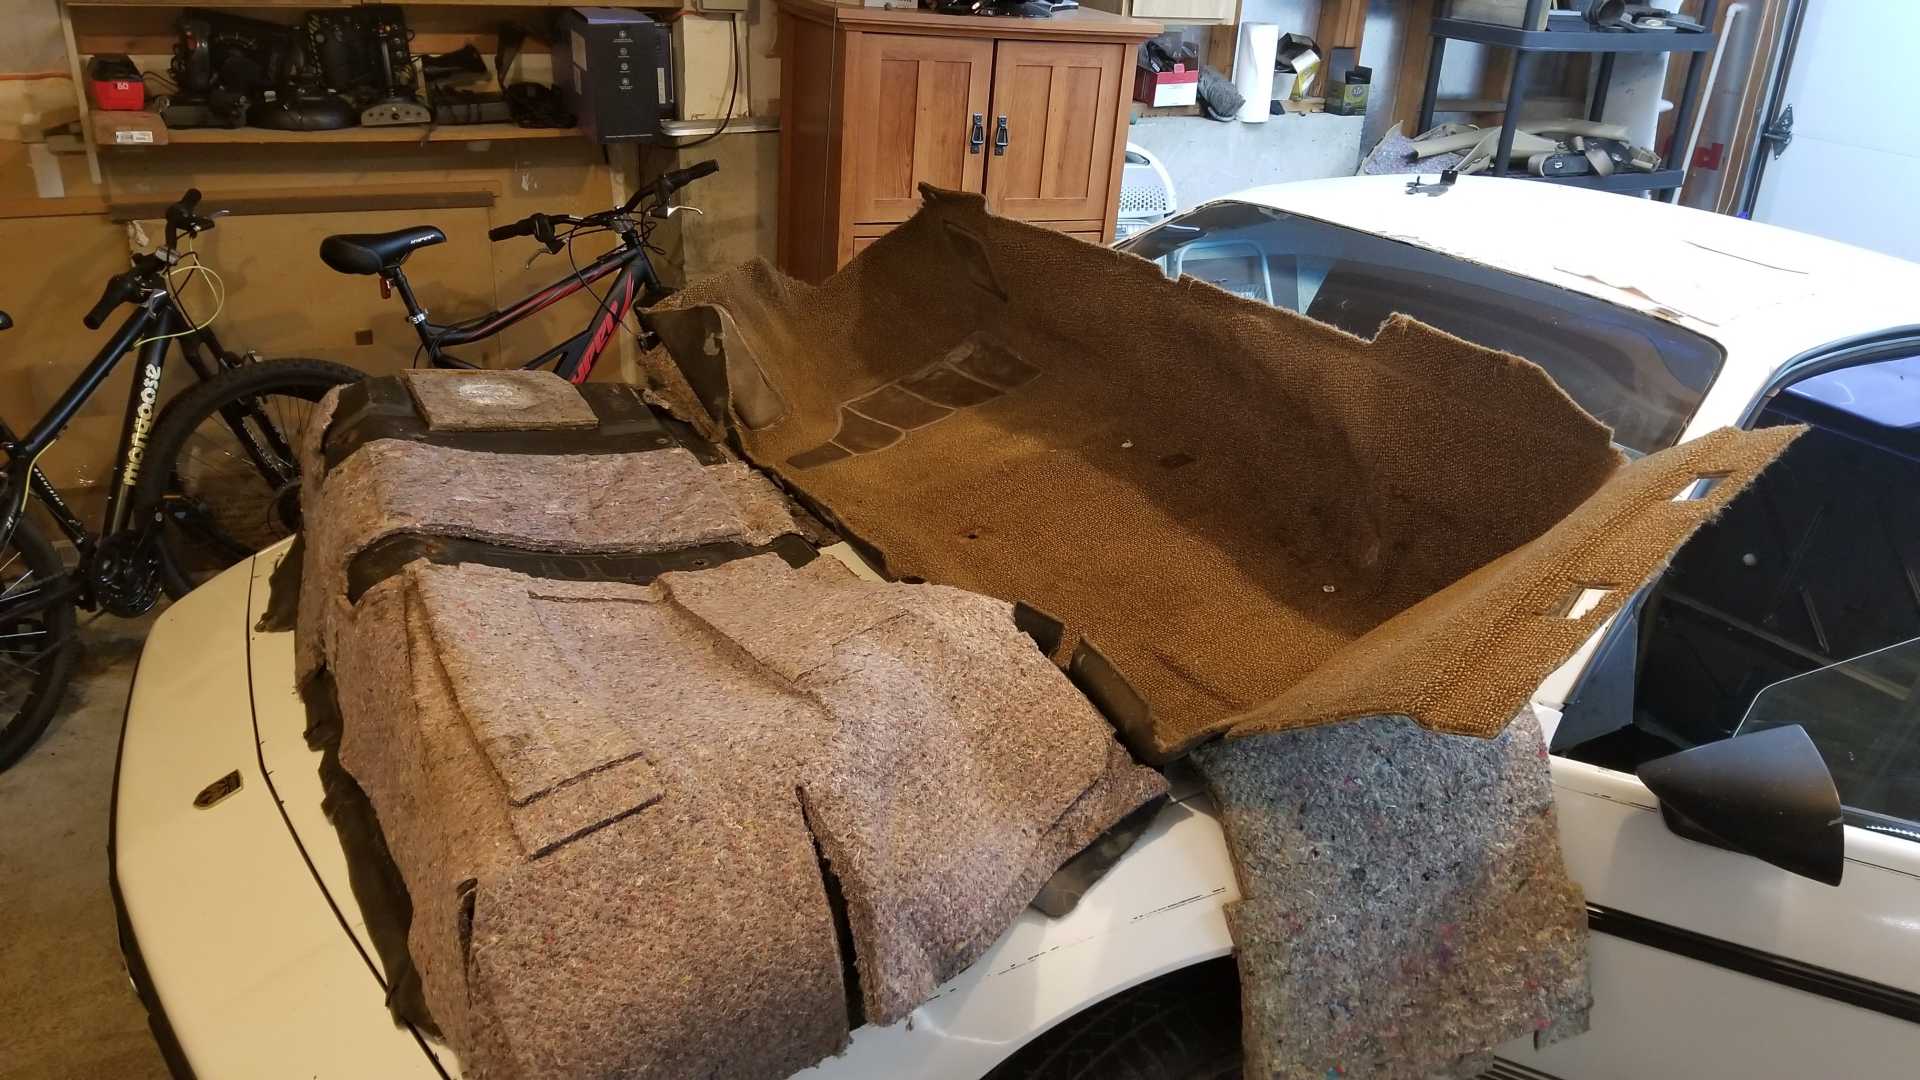
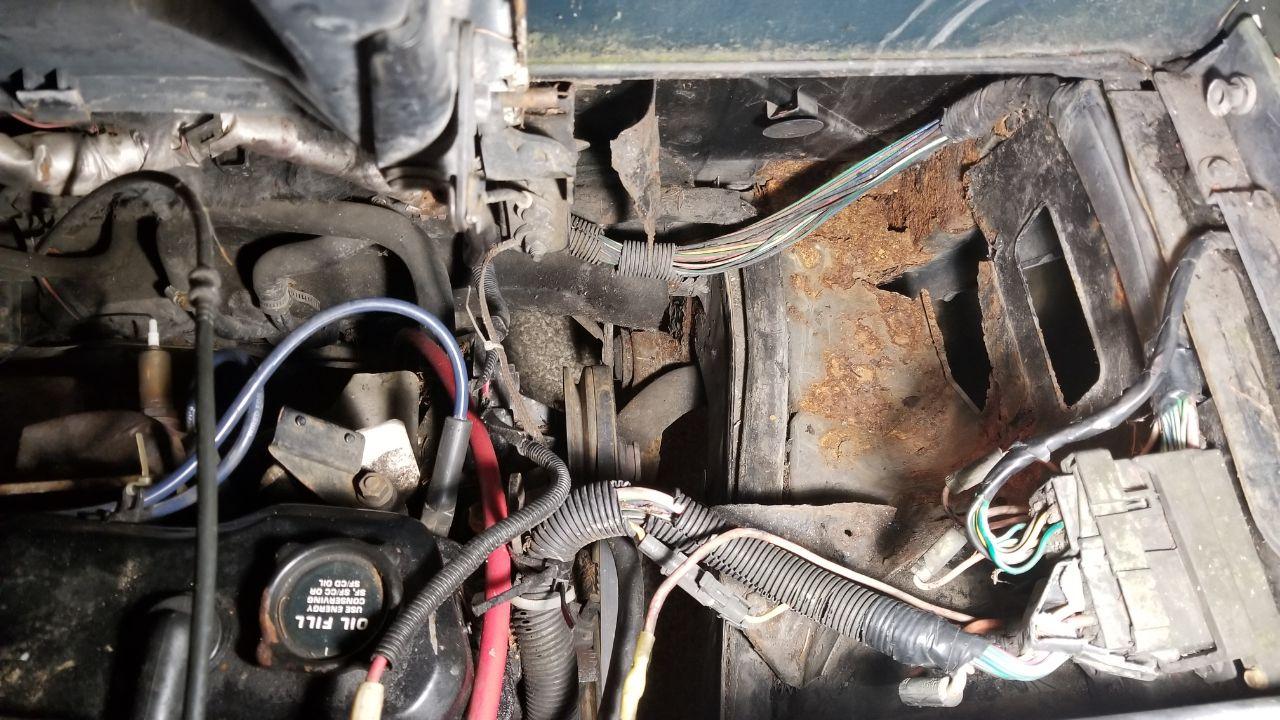
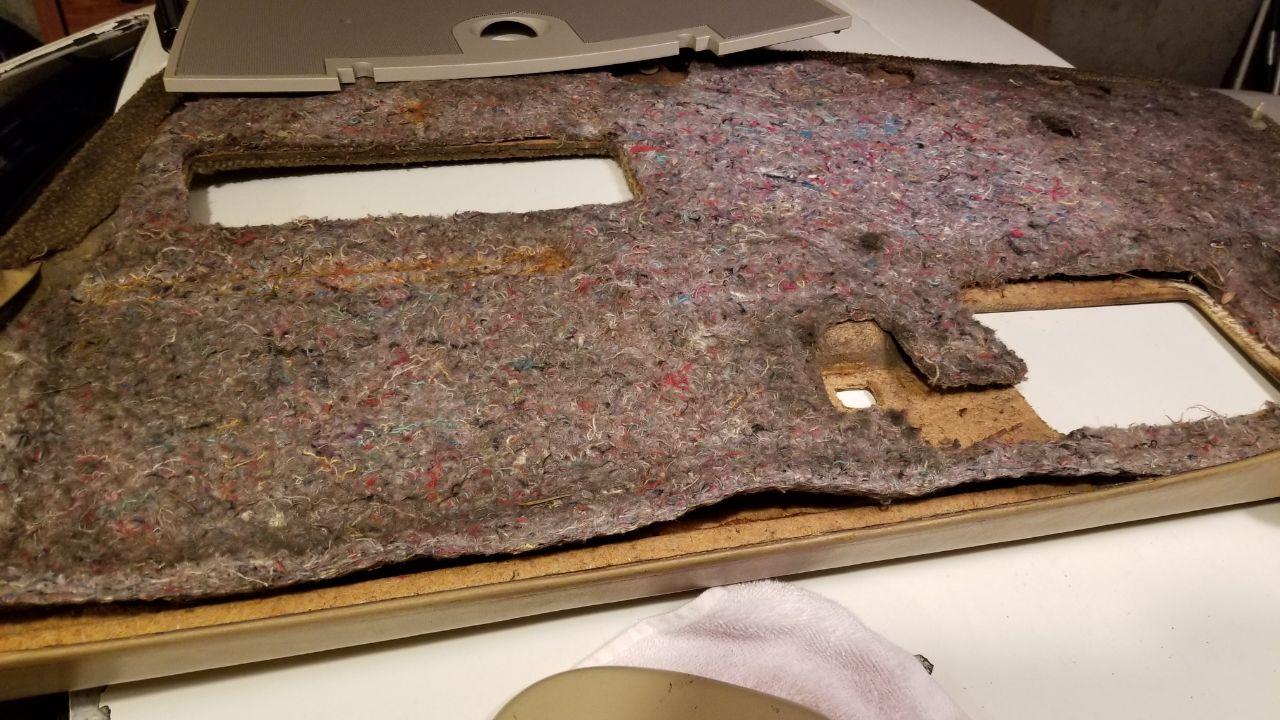
Also pulled the insulation out, it smelled like musty potatoes and had moss growing in some spots. Battery tray is gone gone, not sure how extensive this rust is, I'm kinda worried on it.
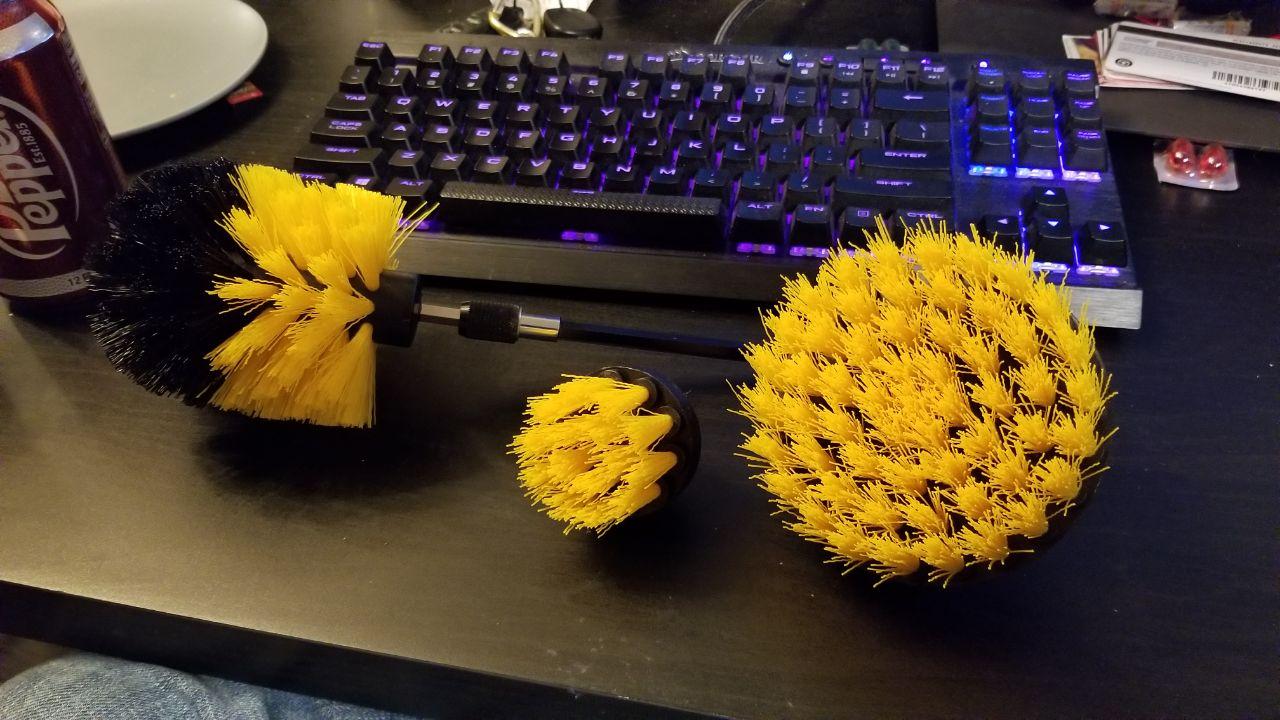
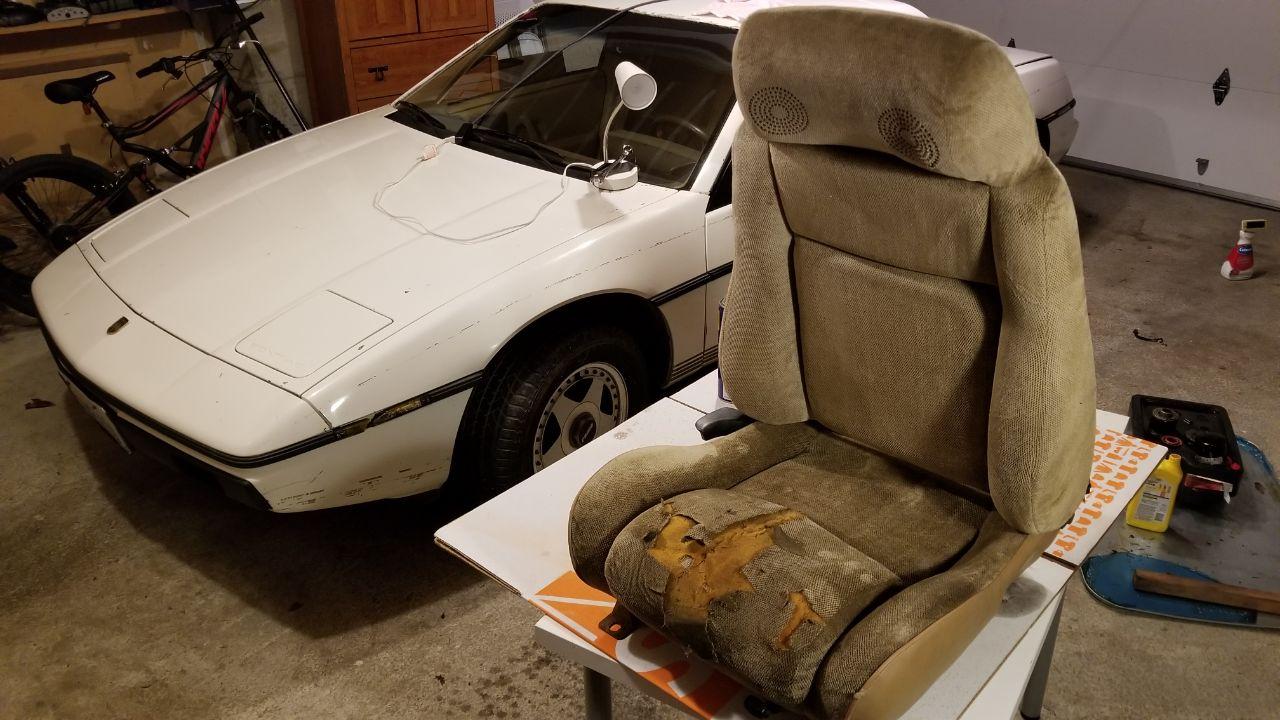
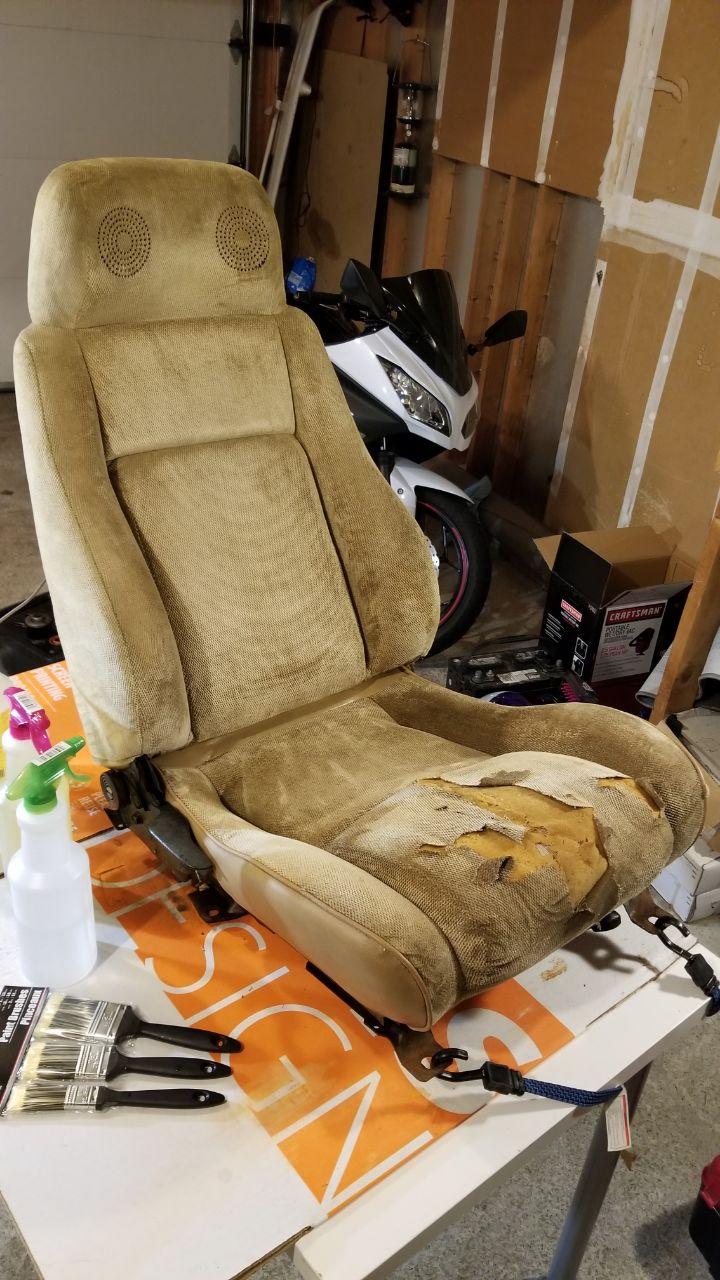
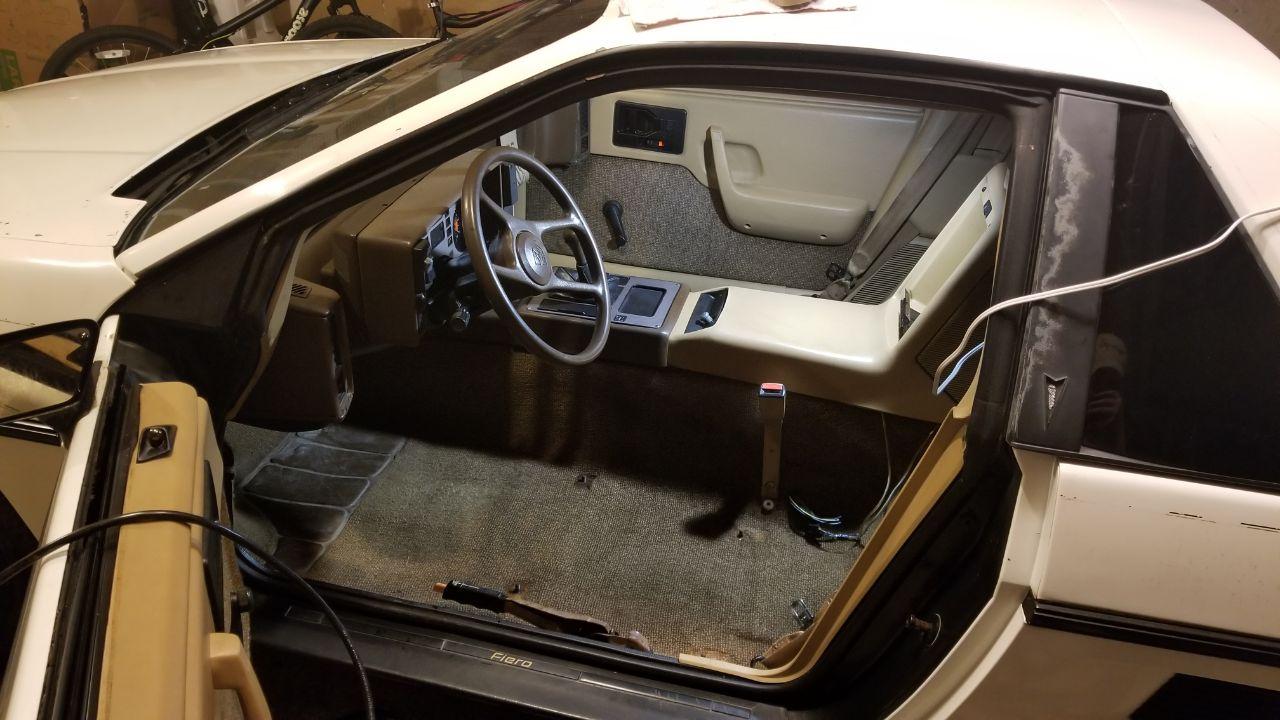
Oil pressure looked good, RPM gauge pegged at max though so idk how reliable the gauges are. I picked up some brushes and a little extractor to wash stuff, popped the seats out, threw the headliner out, and started scrubbing everything.
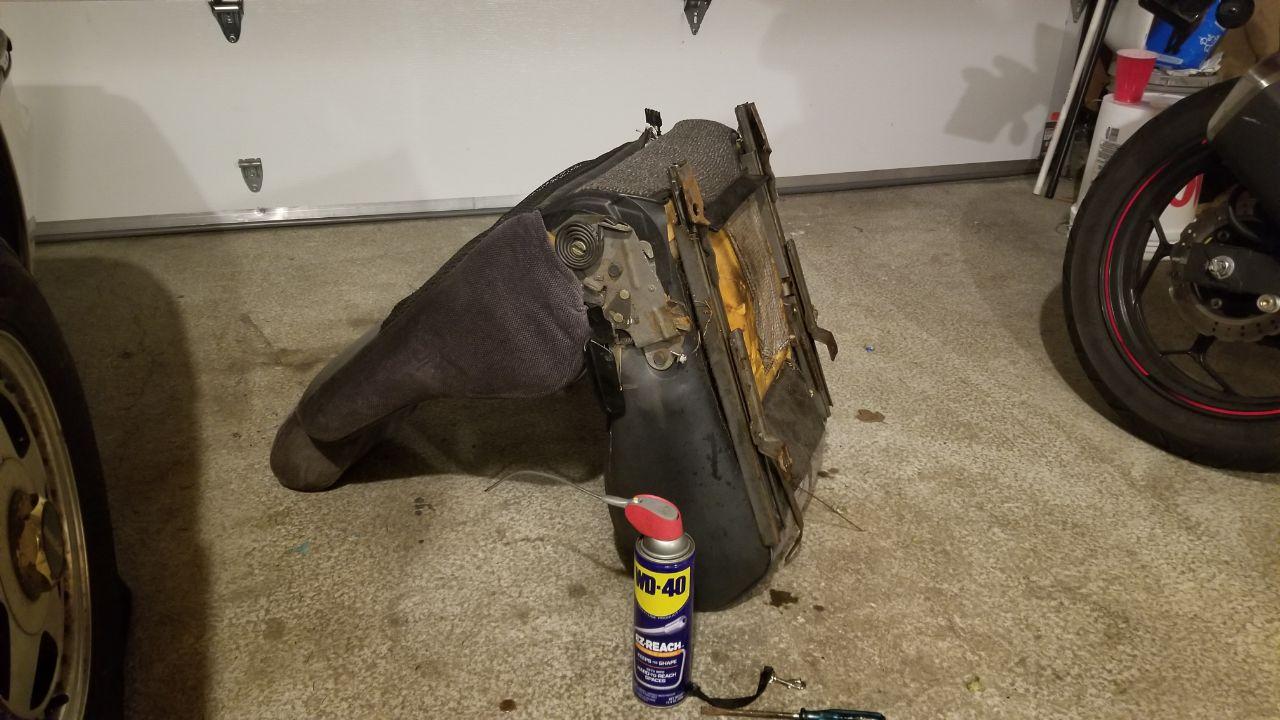
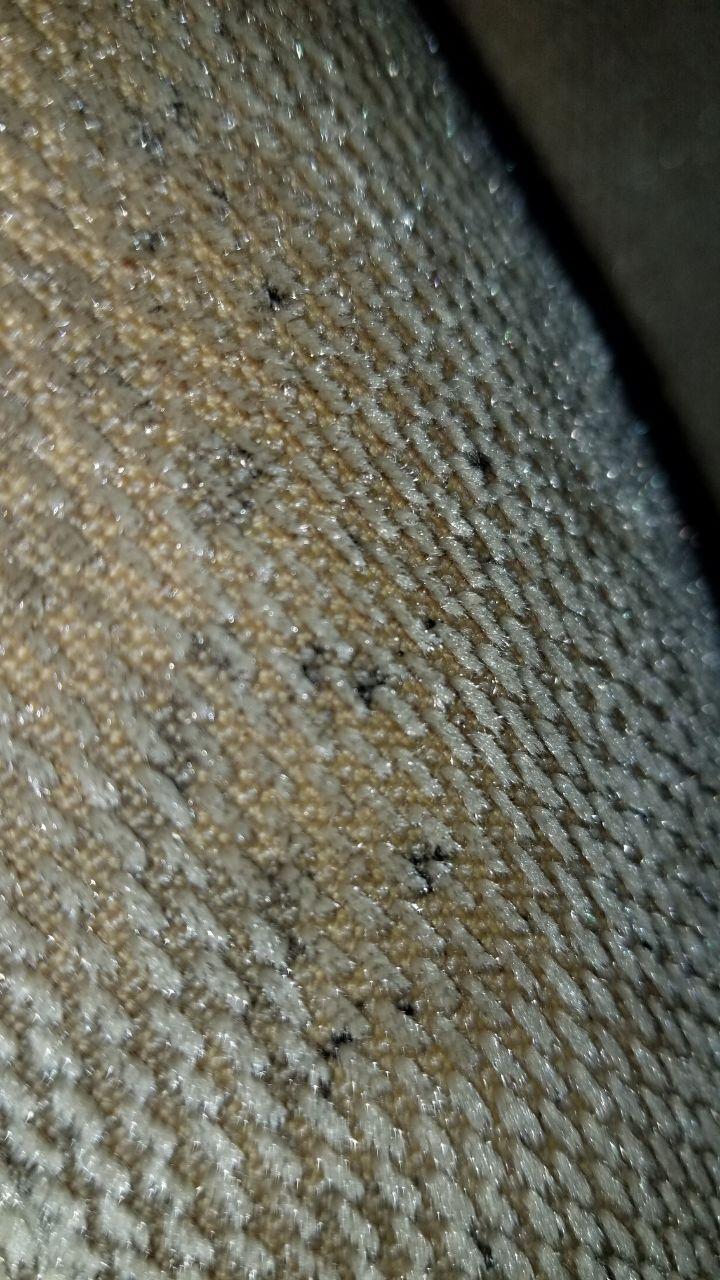
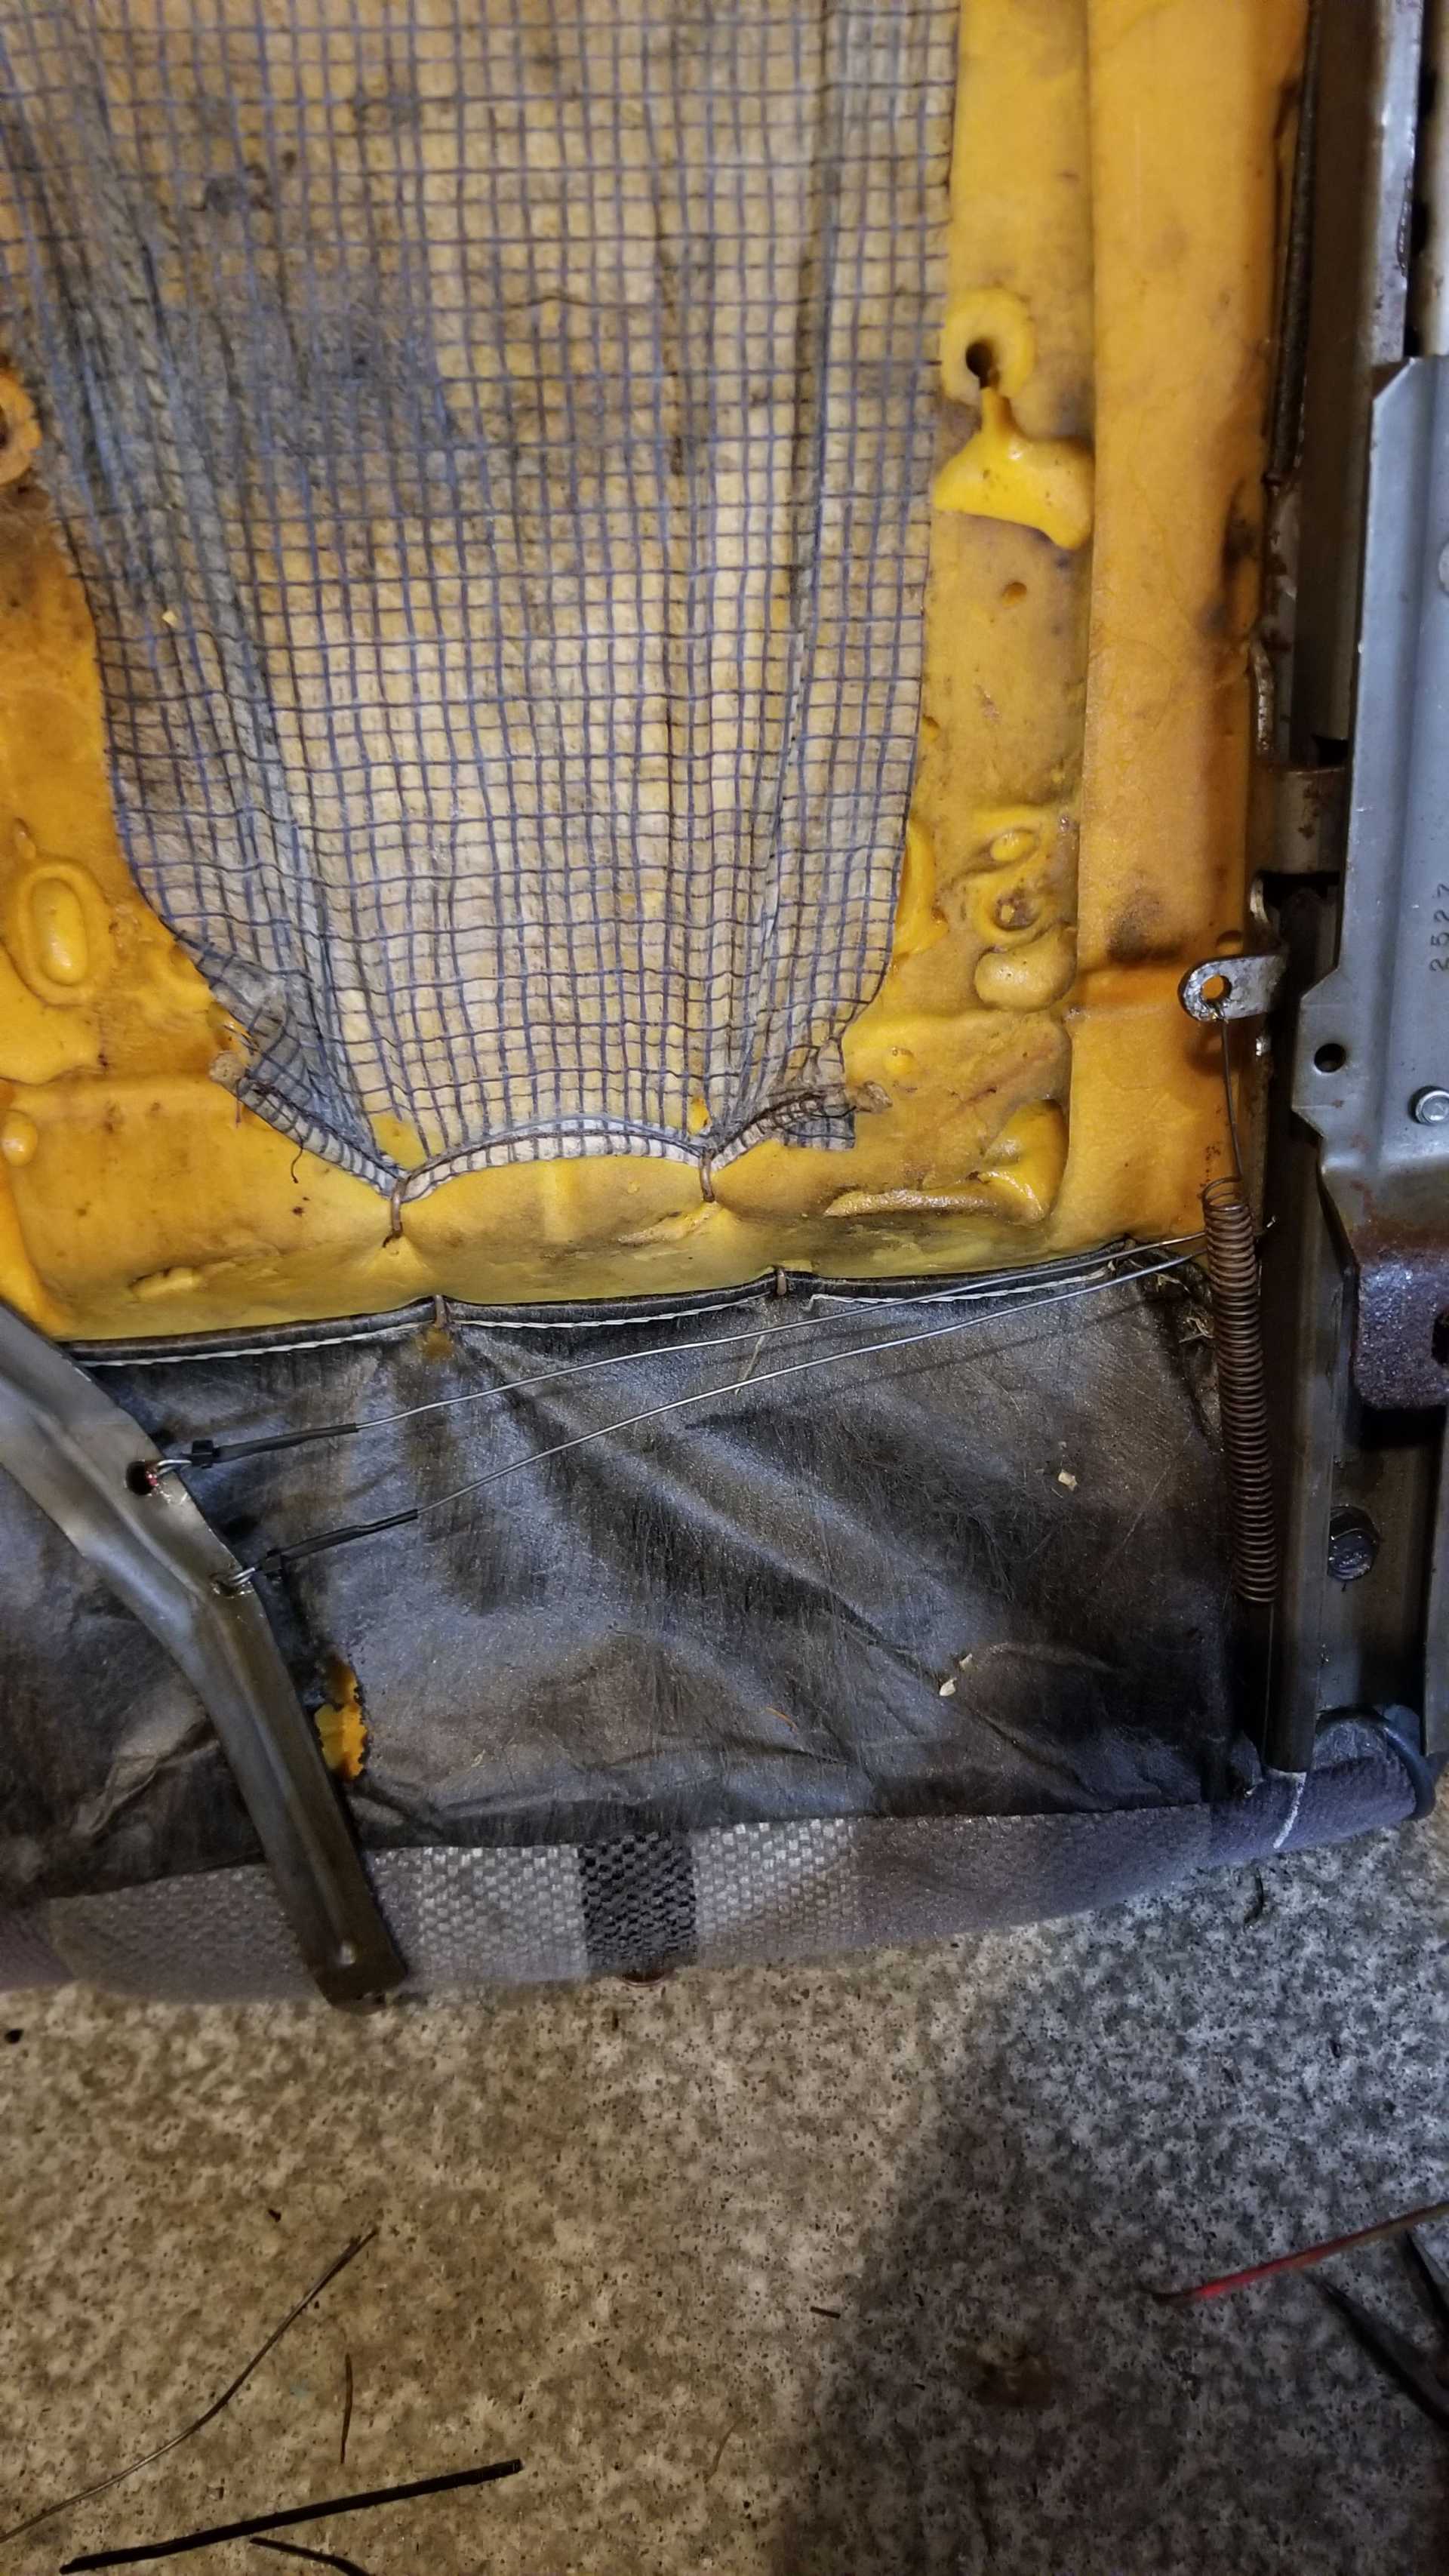
Last one is odd staining? Mold? The spots are all over the back side of the seat fabric against the foam. Washed the seat a couple times and it's not really changing color or anything but smells way better.
Glad to see the Fiero is on its way back to the street. The battery tray rust is pretty common. Perfect excuse to move the battery up front under the spare tire. Or, Fiero Store sells a very nice replacement tray. Keep the updates coming!
Battery tray is gone gone, not sure how extensive this rust is, I'm kinda worried on it.
Welcome!
Not to be a downer, but before you invest a lot of time, energy and/or money into this Fiero, check the critical area(s) for rust. Pull off (or at least loosen) the plastic rear wheel well liners and inspect the rear upper frame rails. If they're shot, you might have a parts car.
[This message has been edited by Patrick (edited 01-23-2020).]
Pull your trunk carpet first, to get an idea if any rust is present in the trunk corners. Our Northwest cars are usually not rust through candidates, but often you will find some surface rust. I had an 84 with a rusted out battery box, but no other frame rust. Looked very similar to your situation. Good luck on the refurbishment.
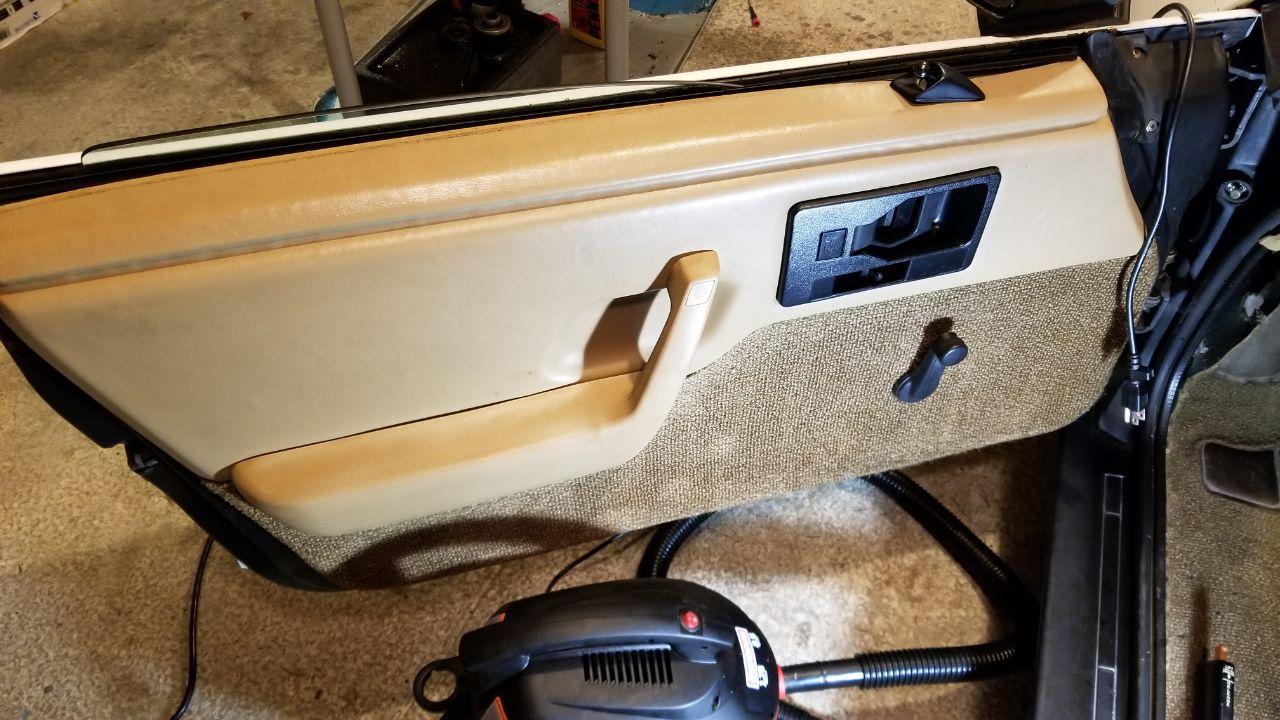
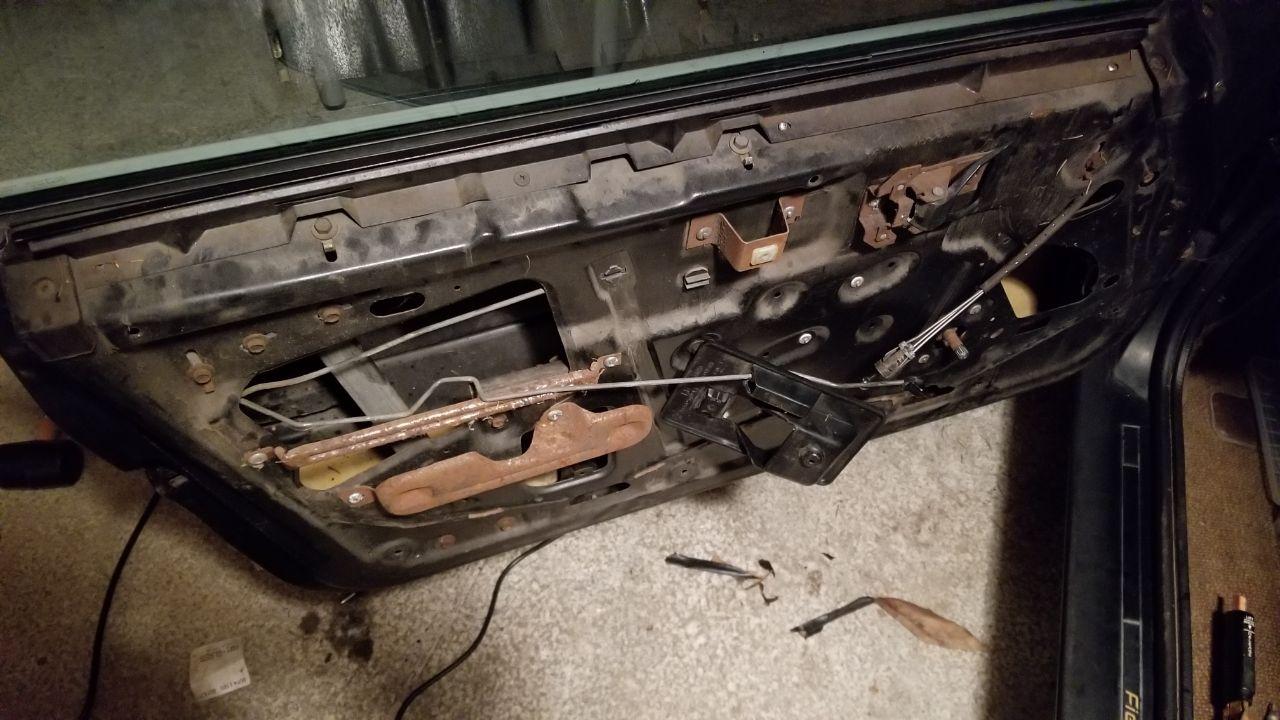
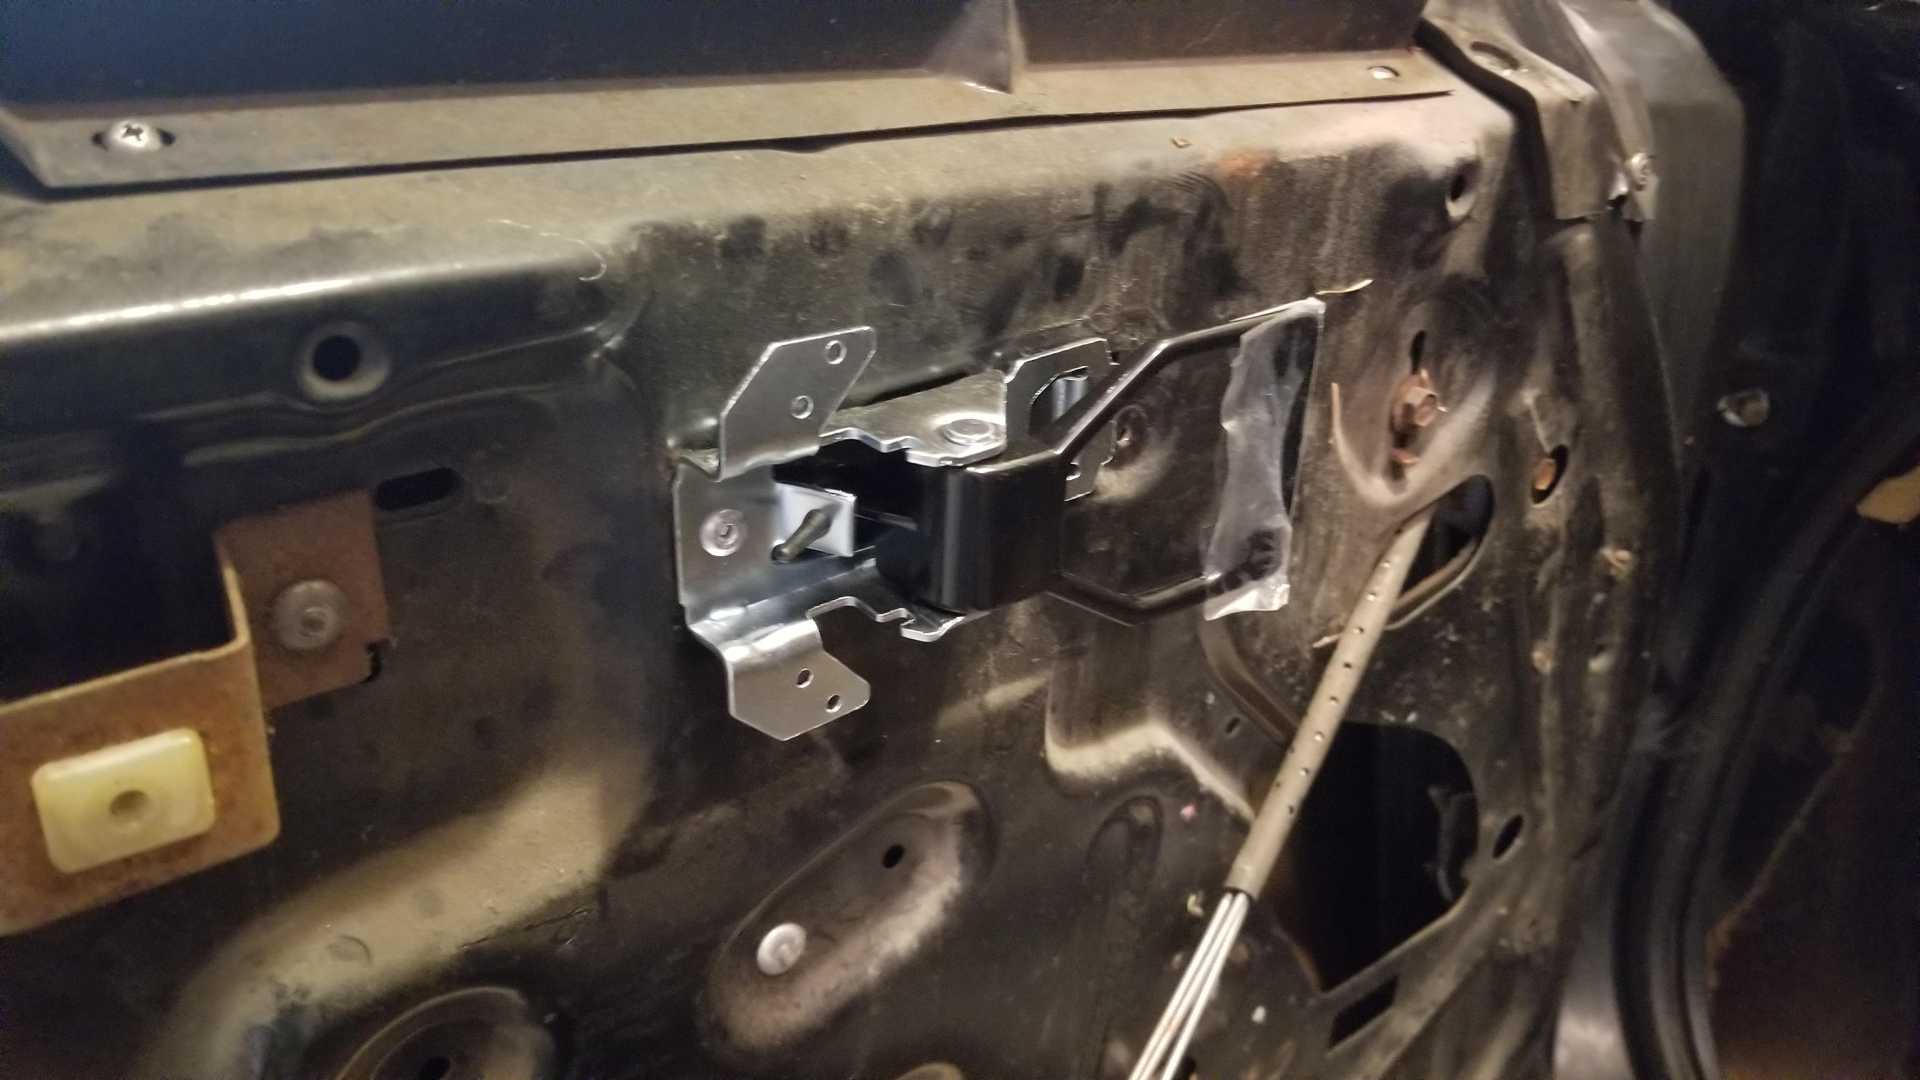
Thanks for the heads up! I'll be watching through that video and checking around the car this weekend =) I pulled door cards off to look at the seized up locks and not working inner door handle on the drivers side, I can't figure out how to remove the manual lock but clearly someone else has tried because it's half broken off. Door handle is toast but cheap to replace, same with the lock cylinders.
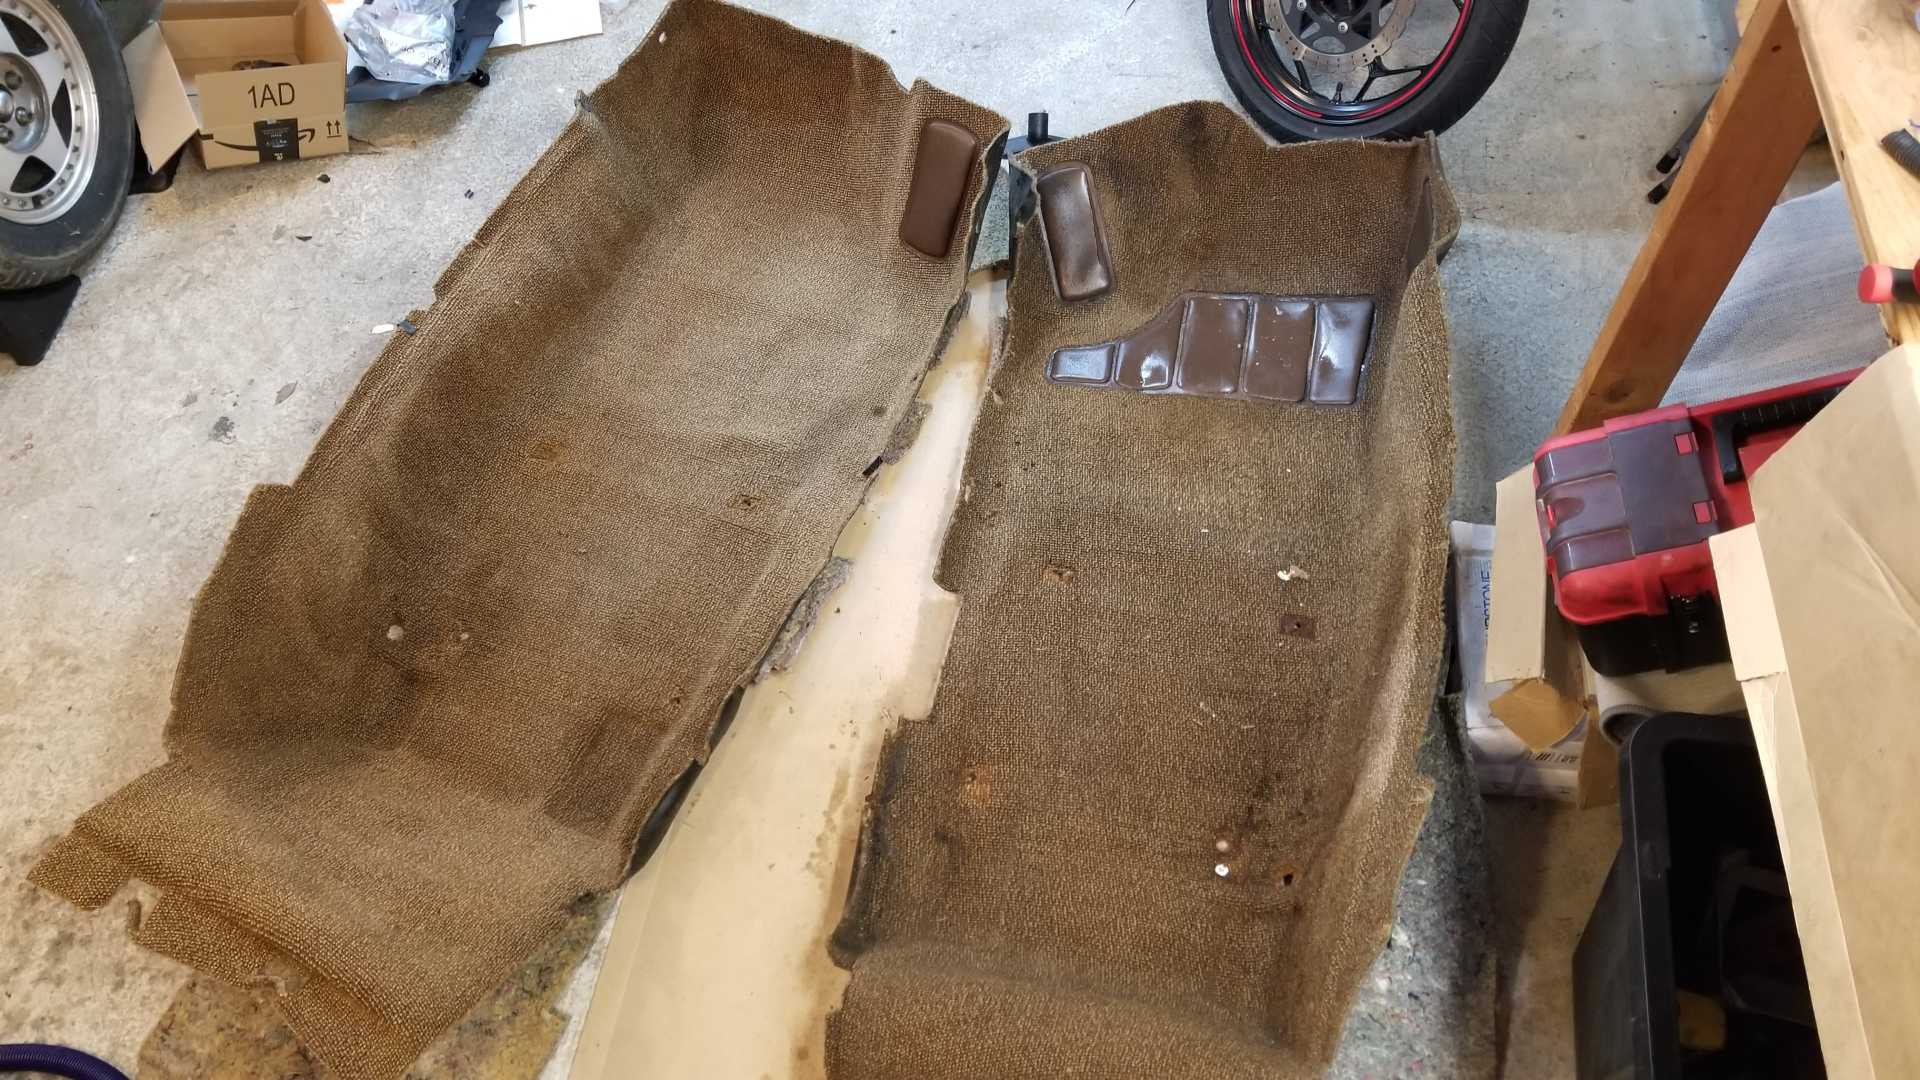
The jute smells pretty bad, probably just going to peel it off and think about replacement later.
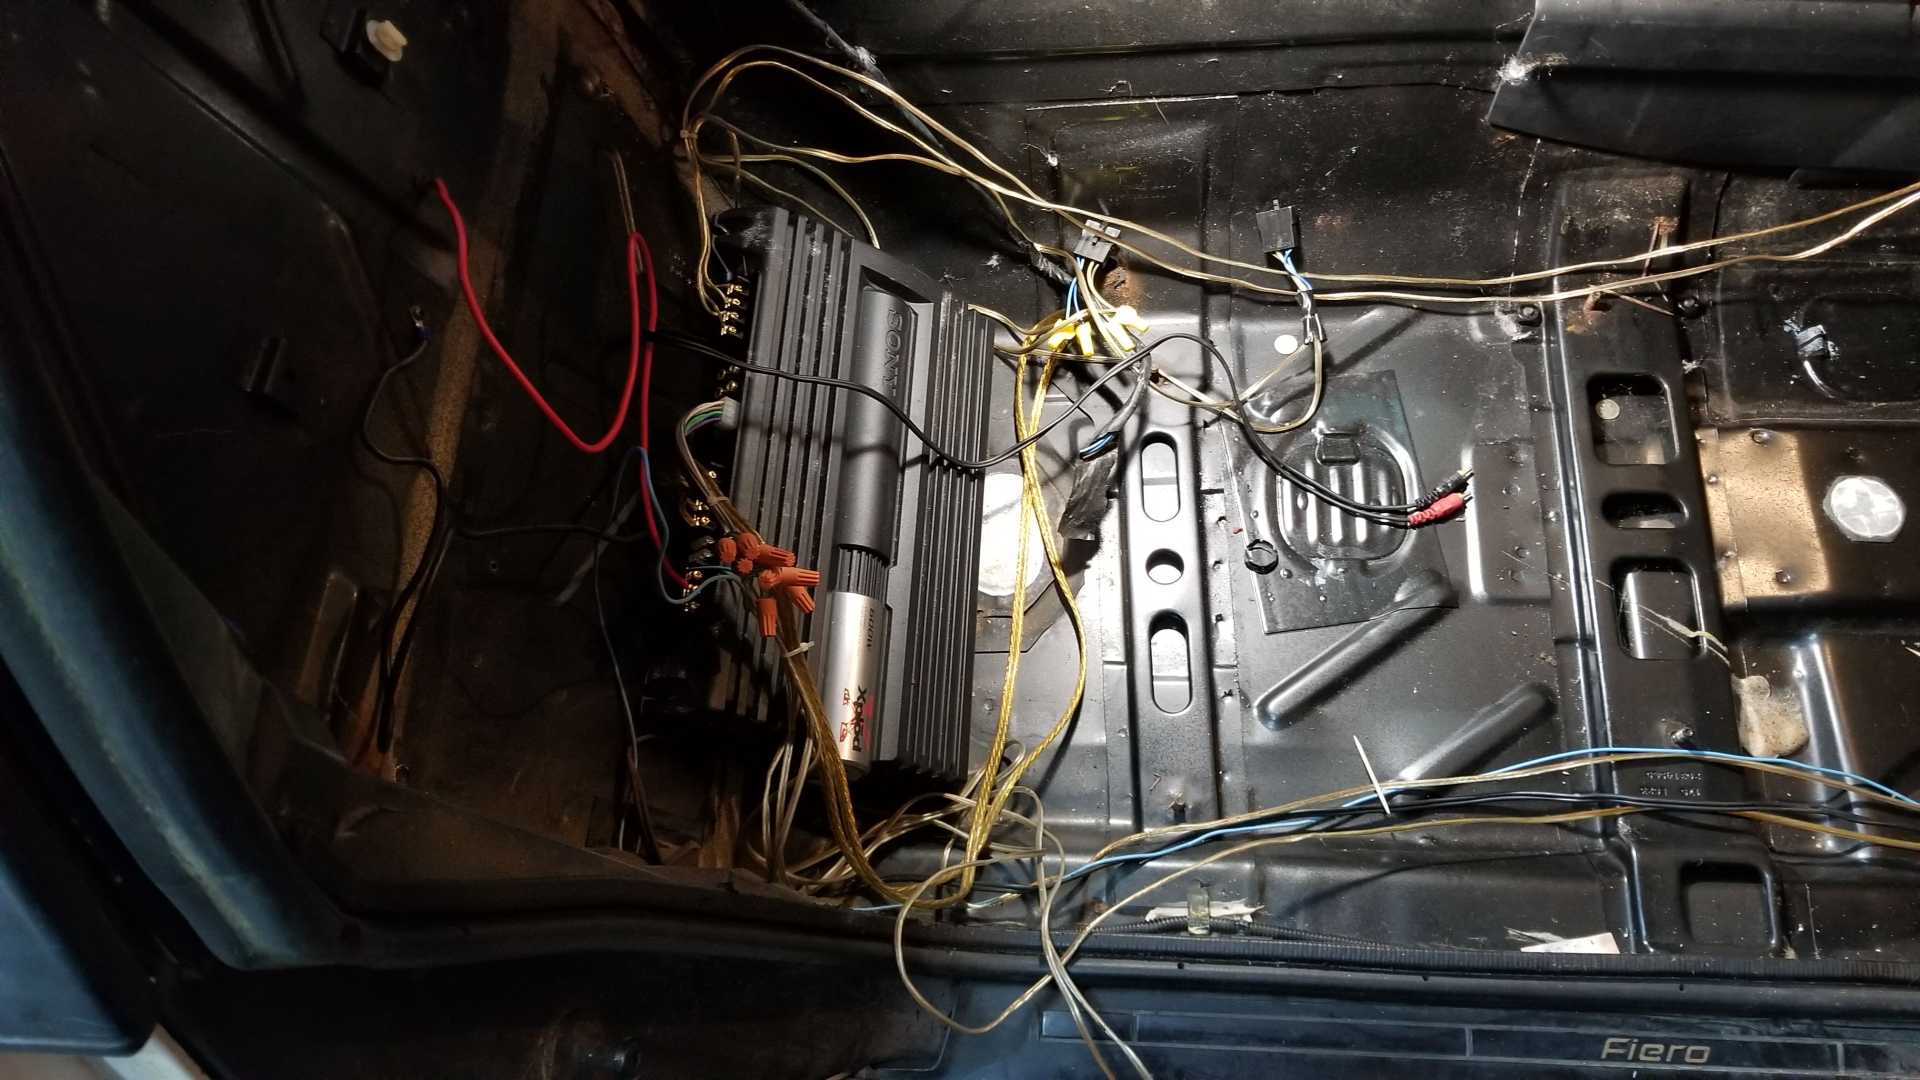
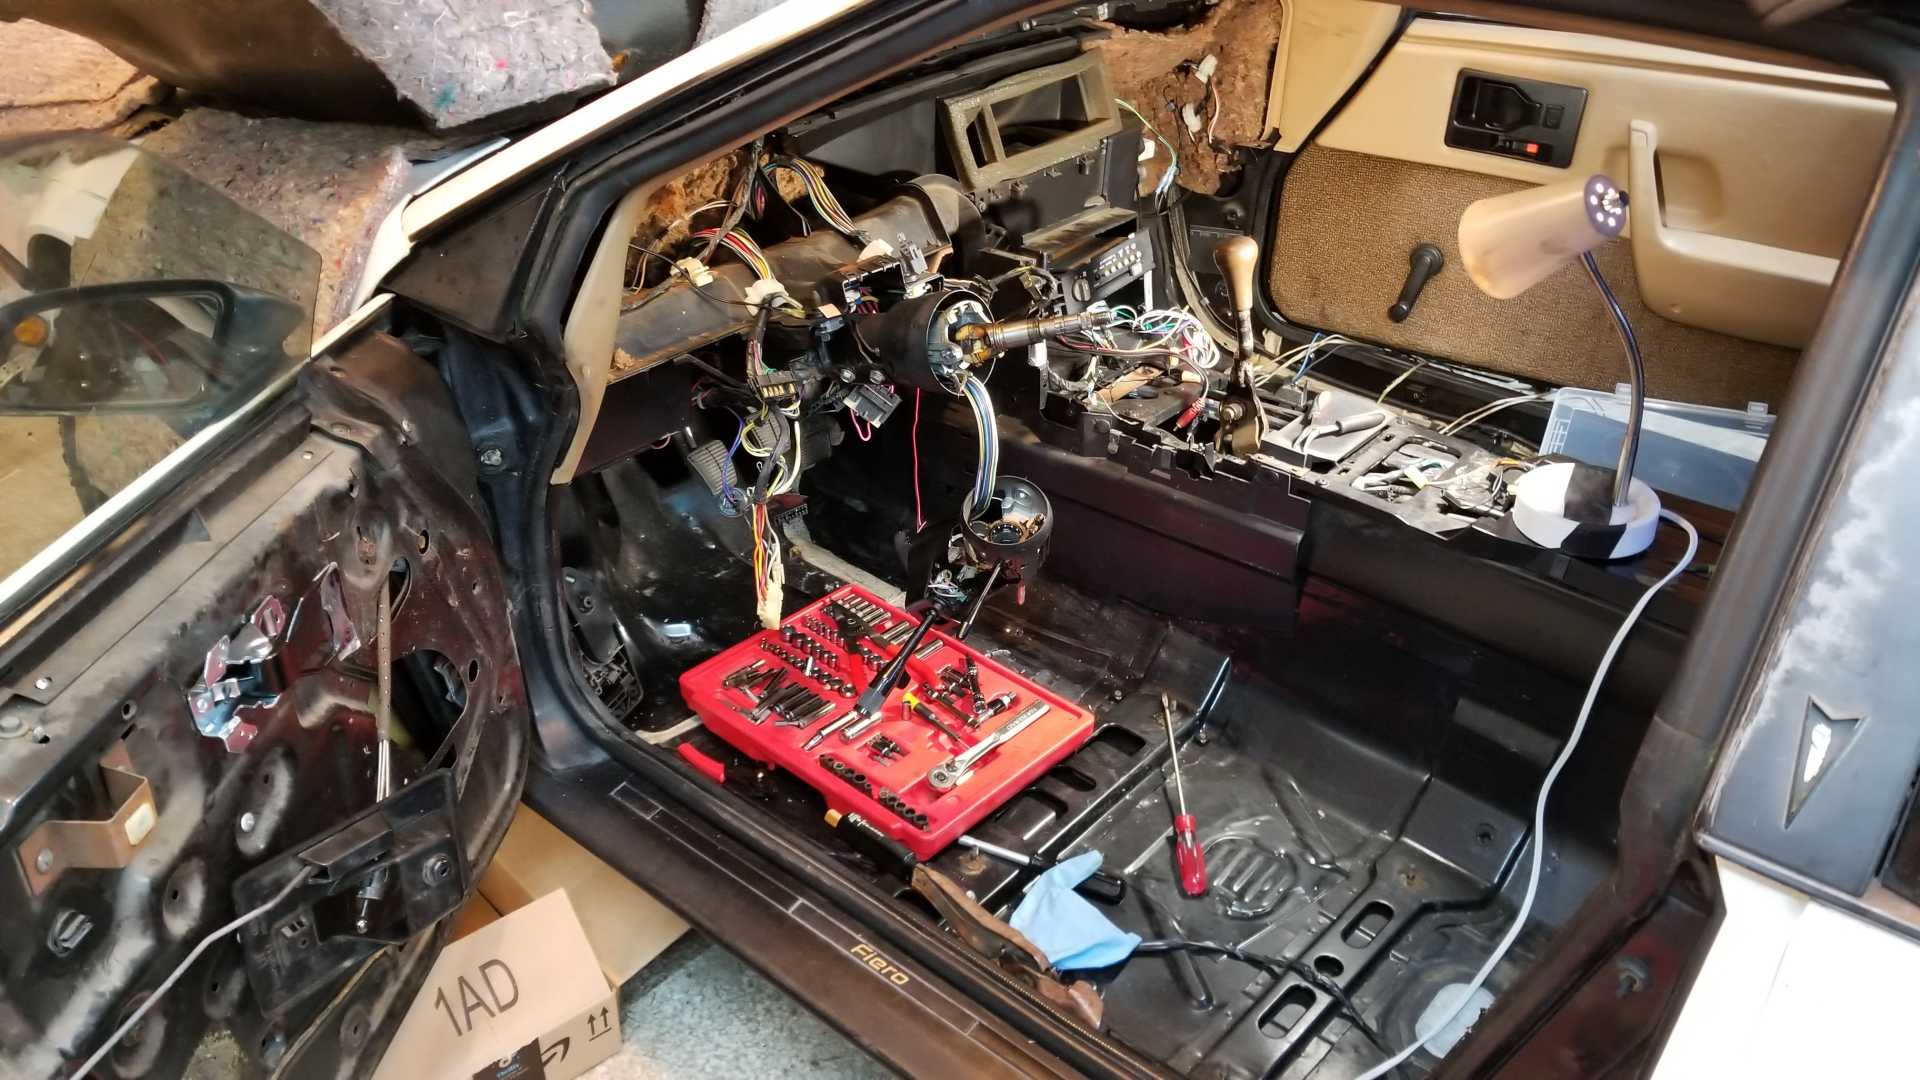
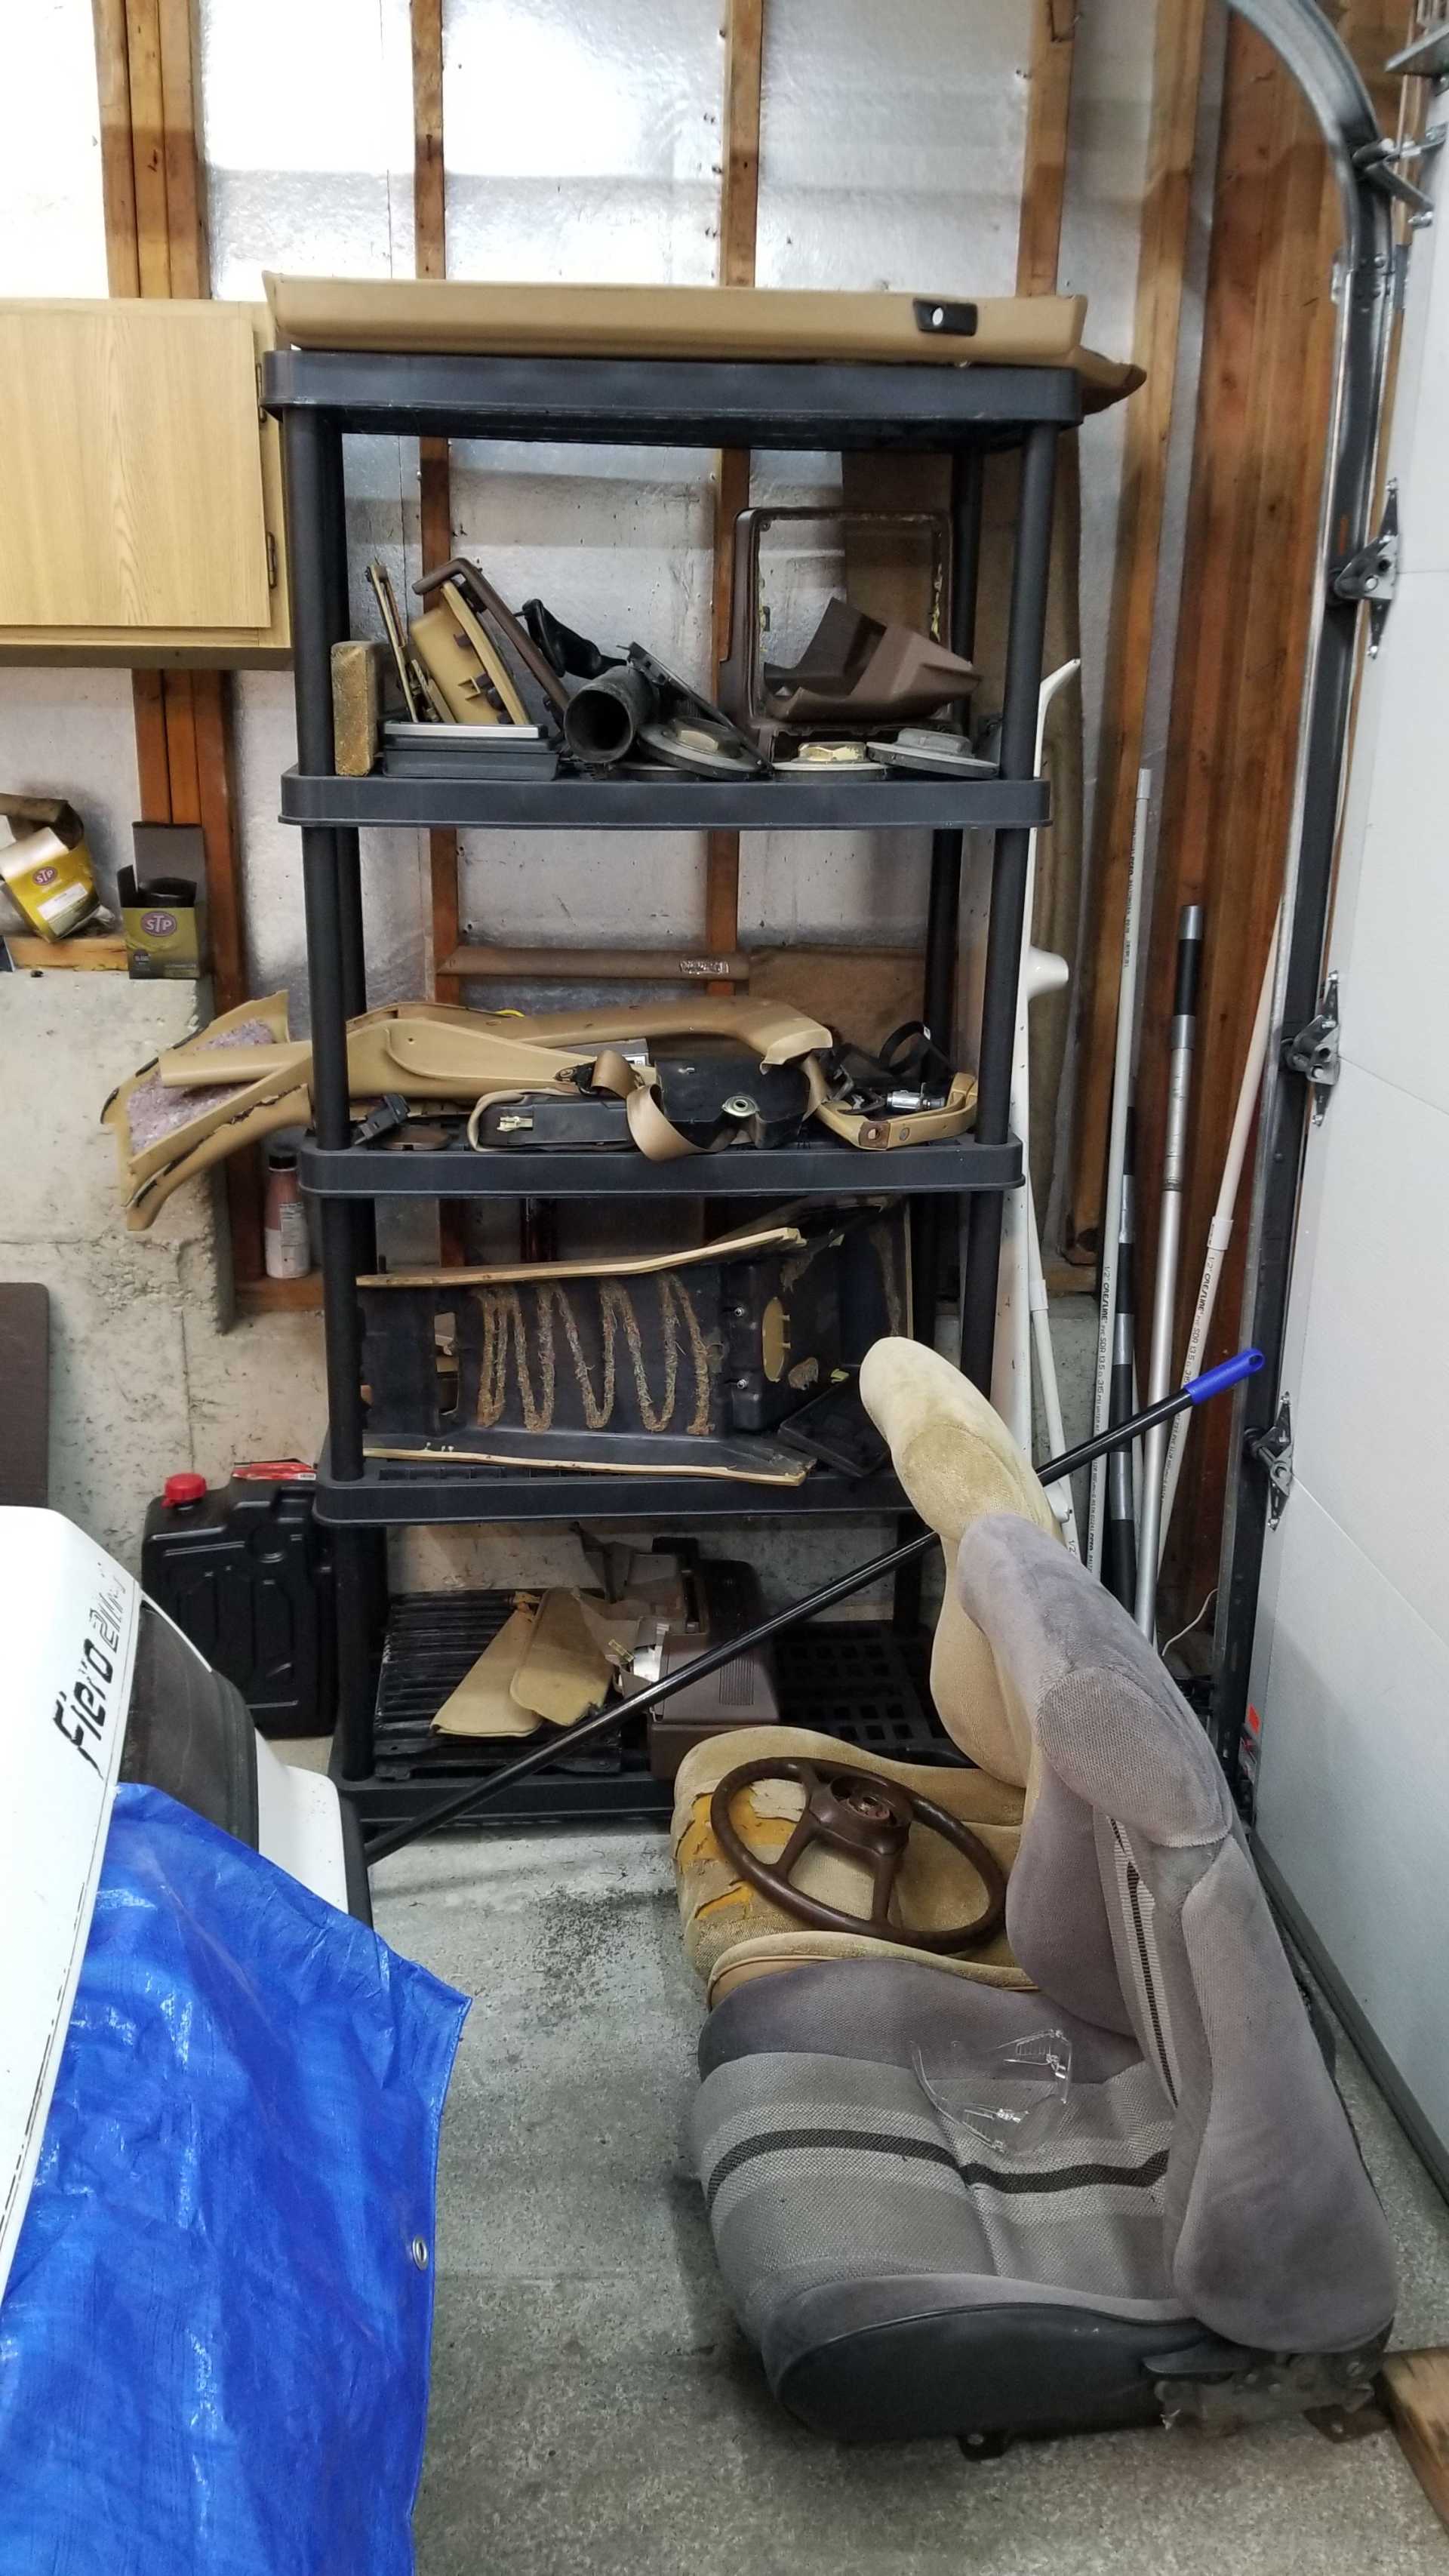
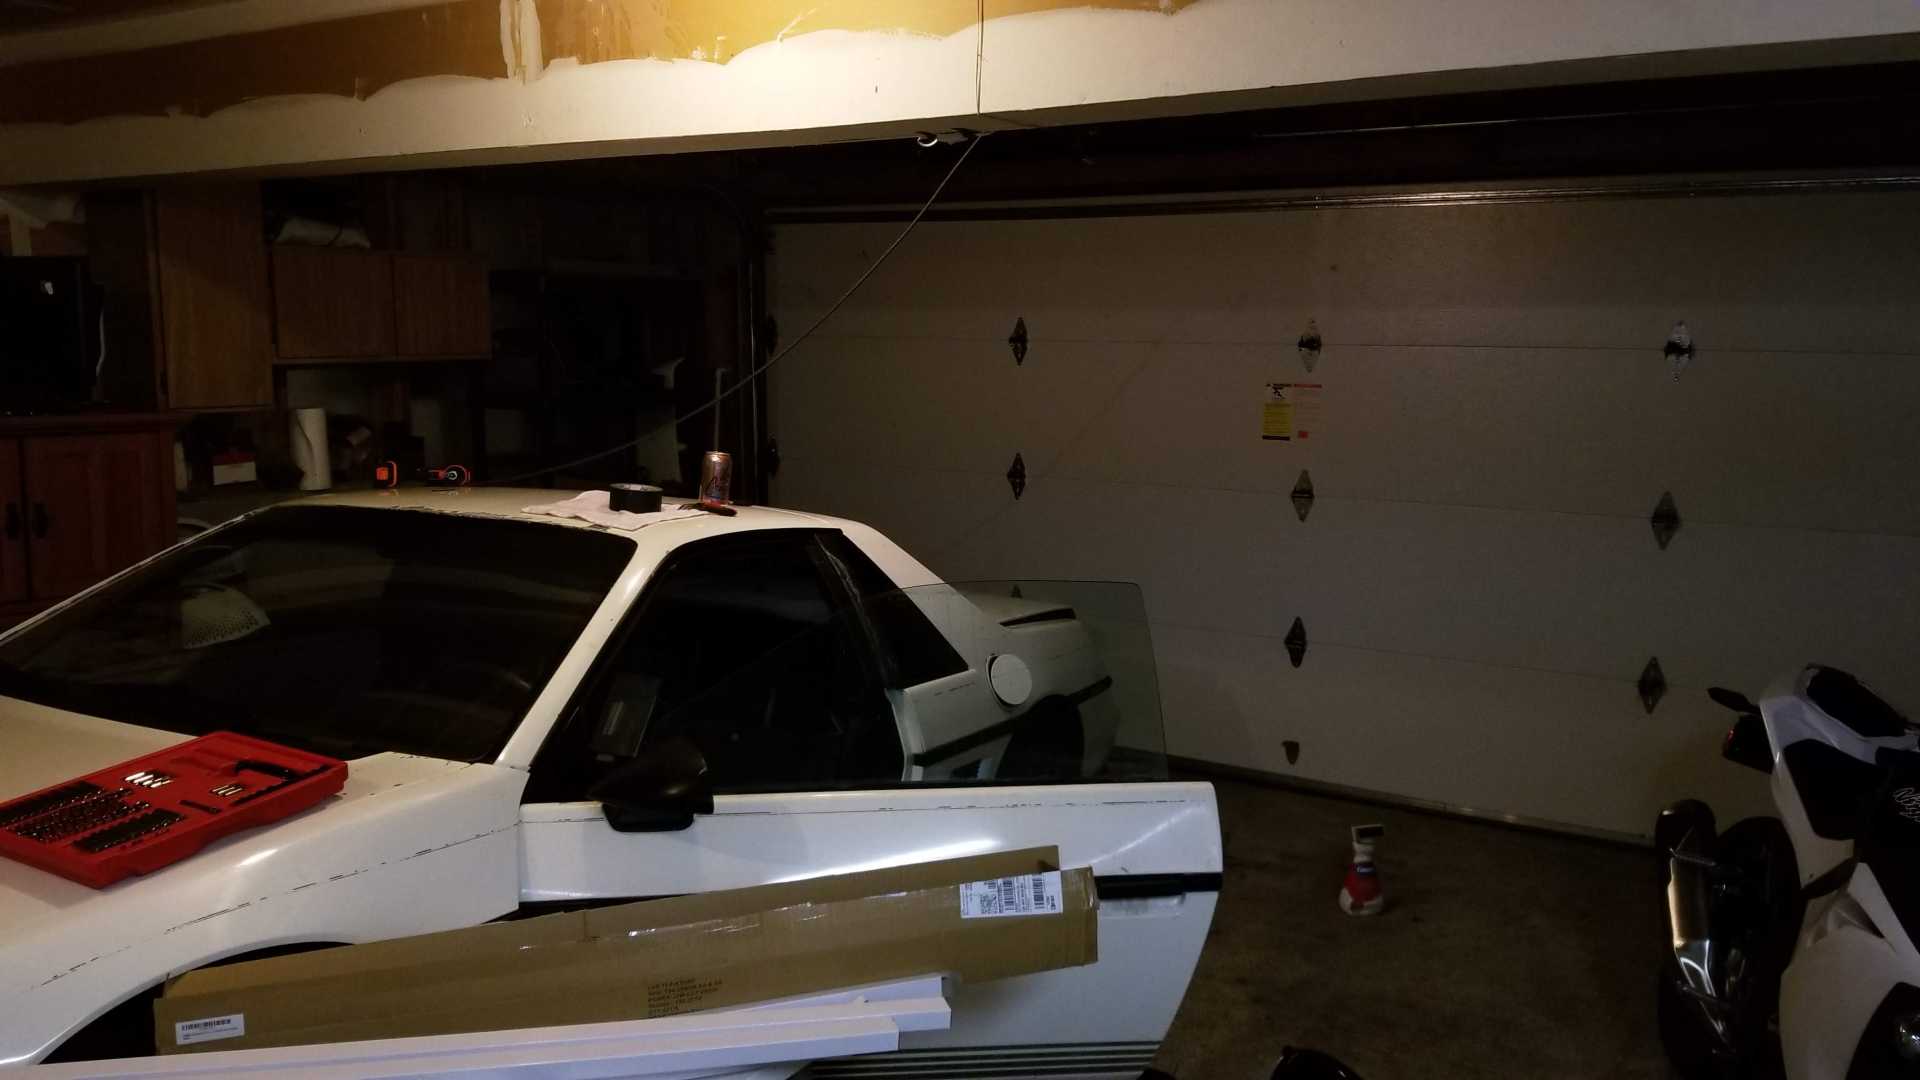
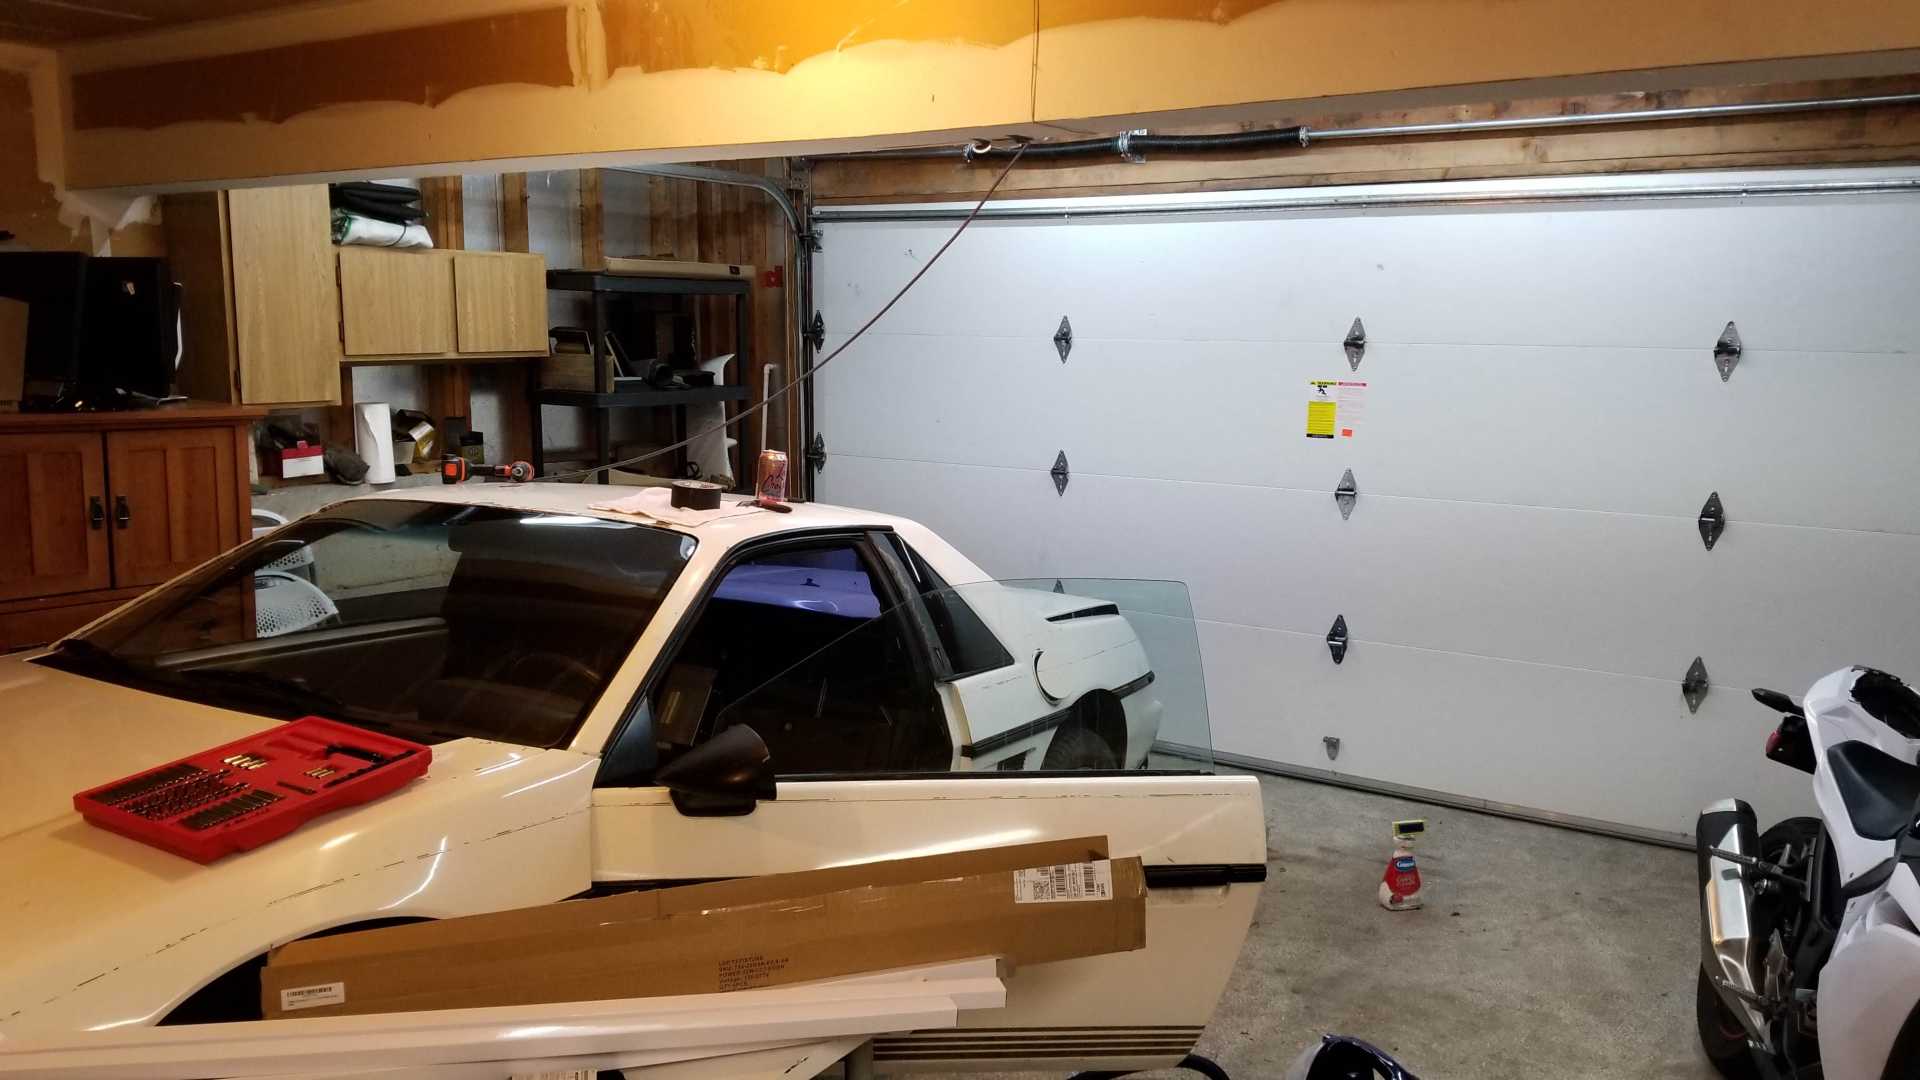
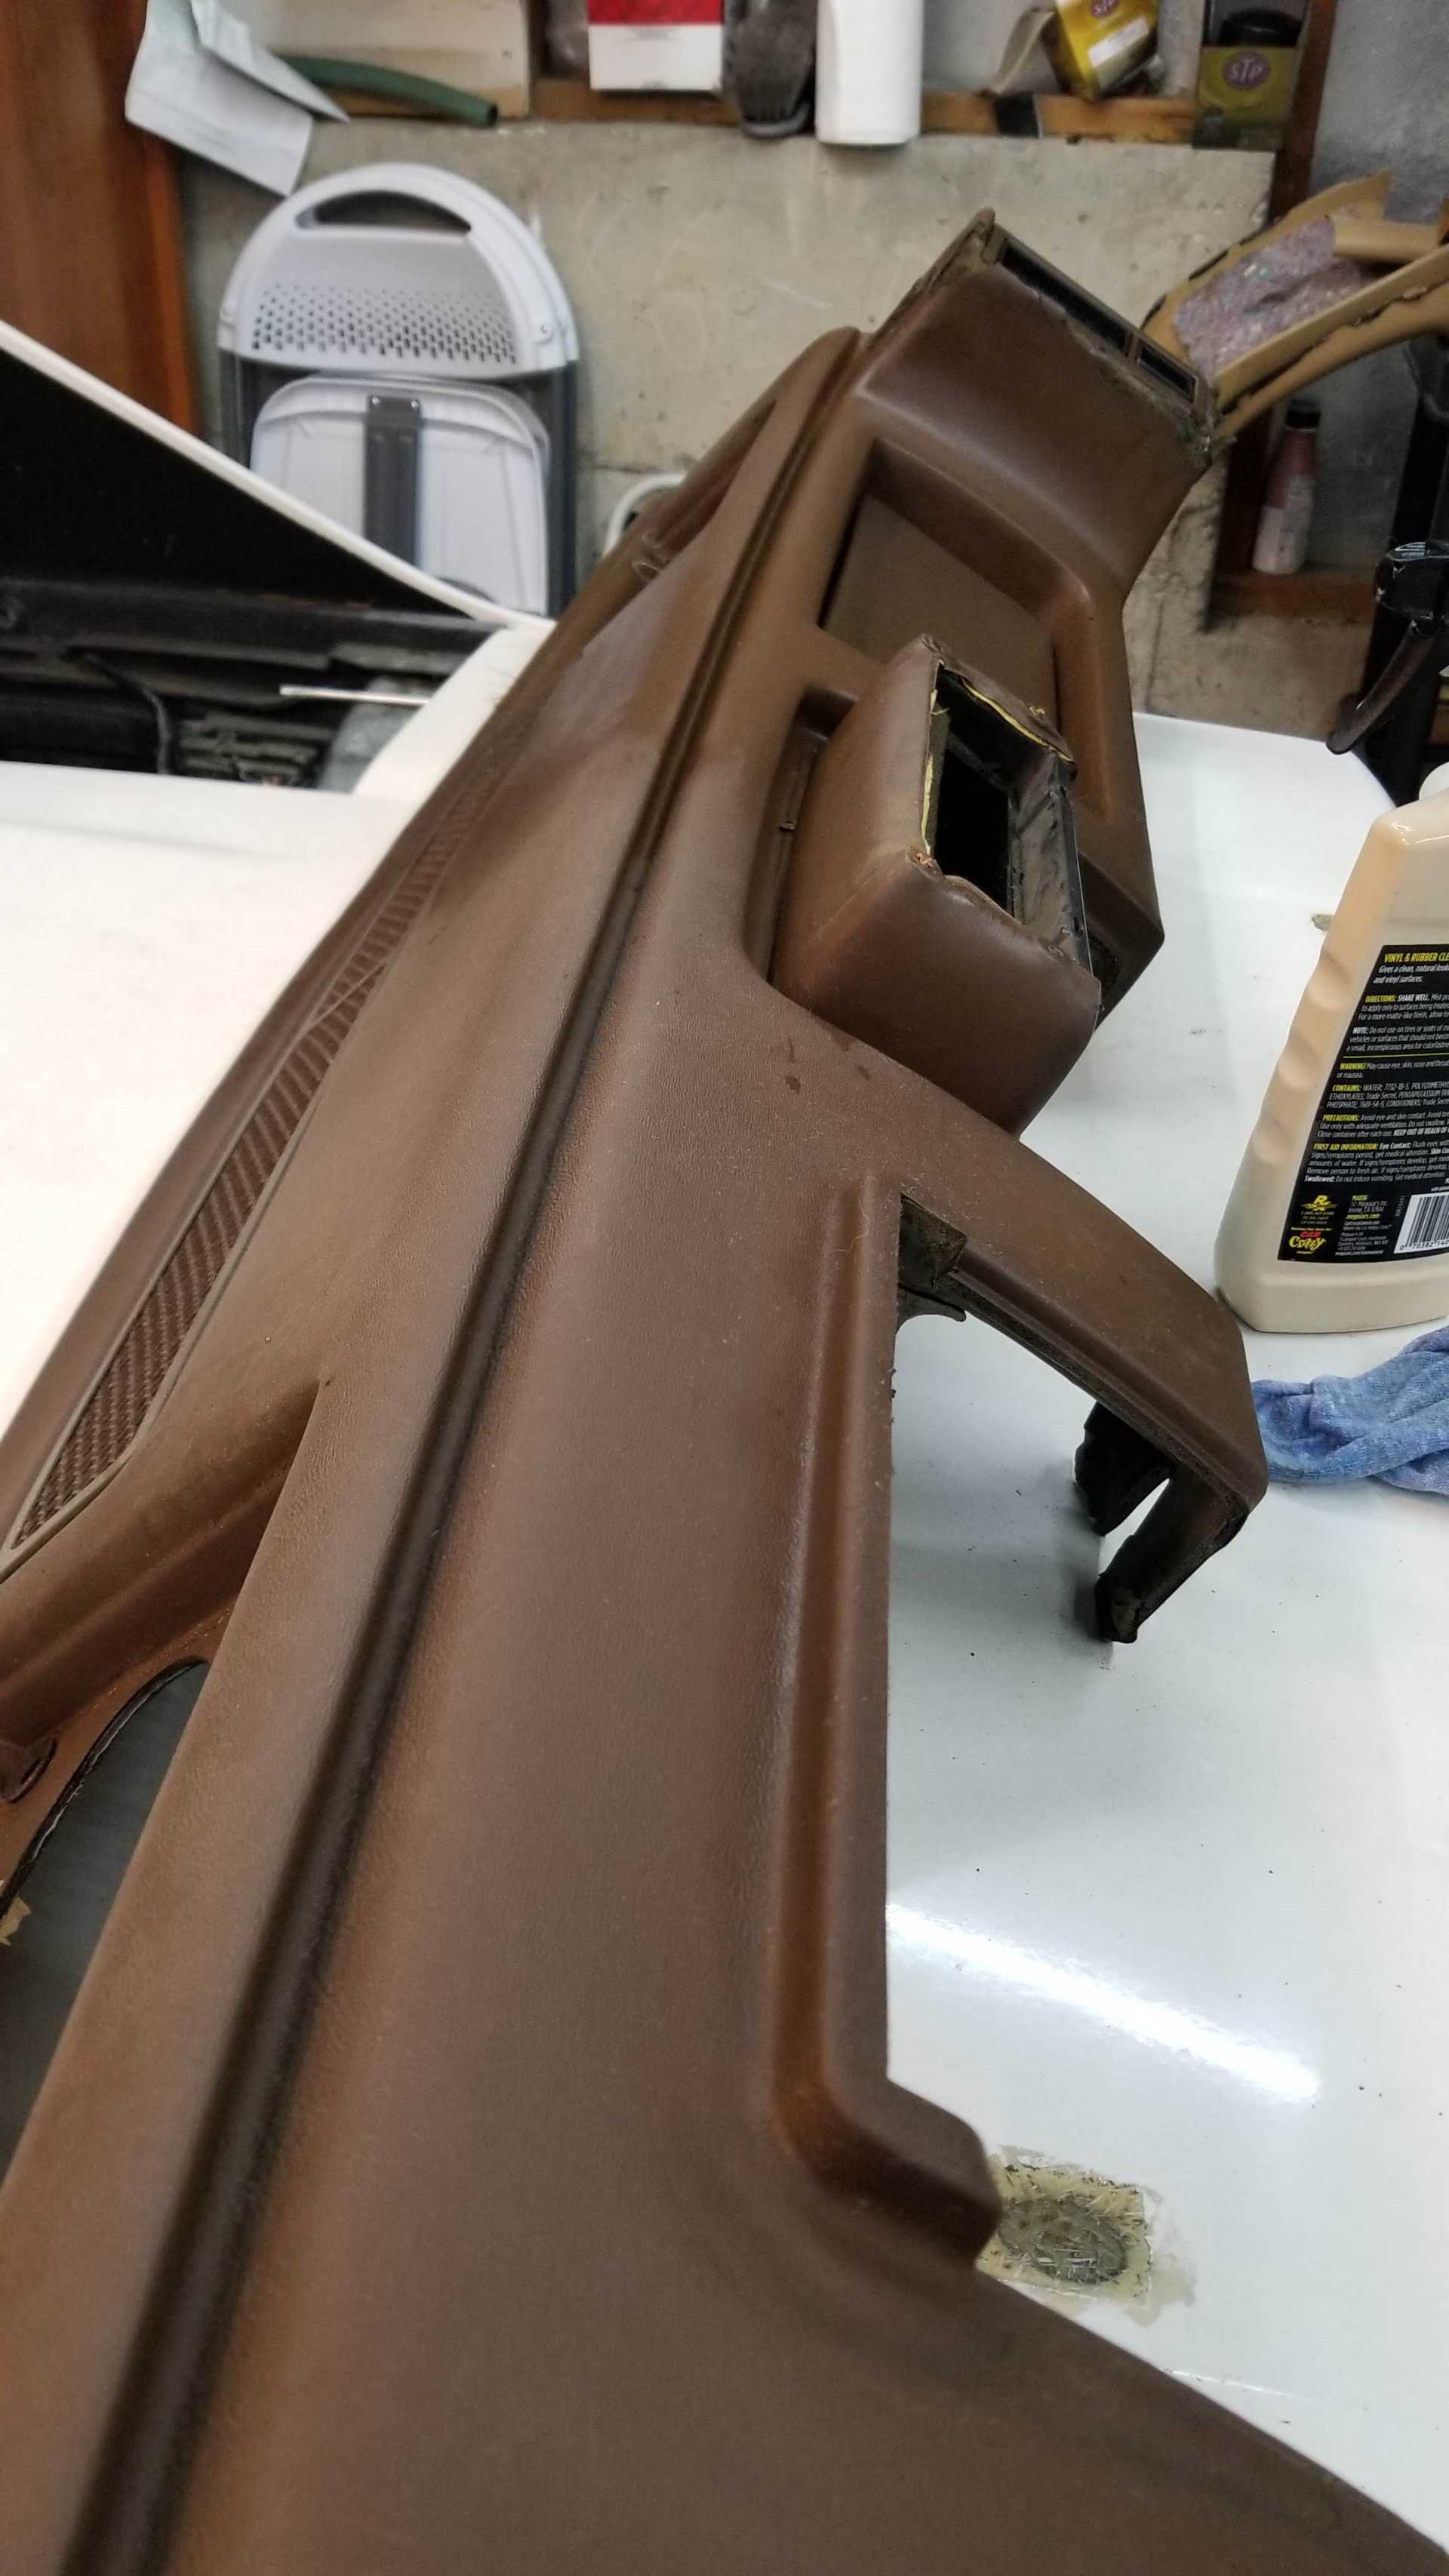
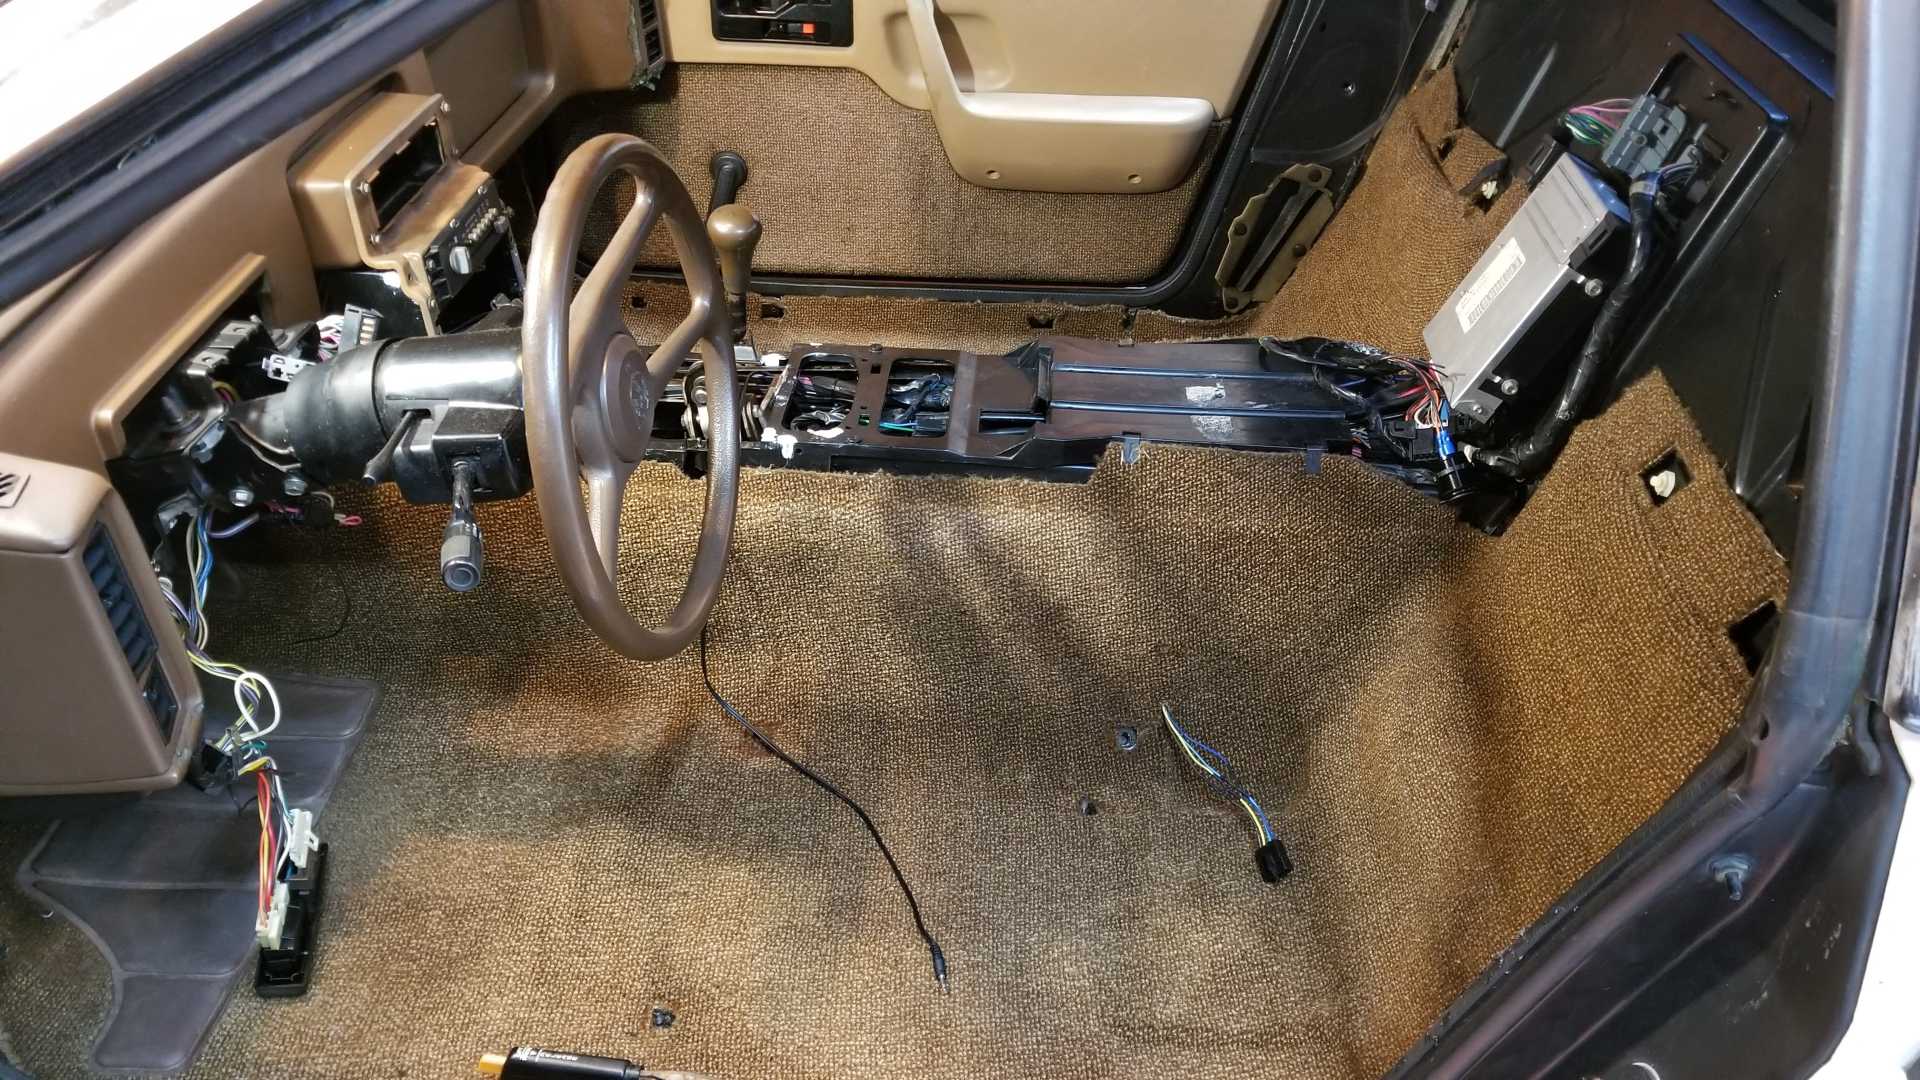
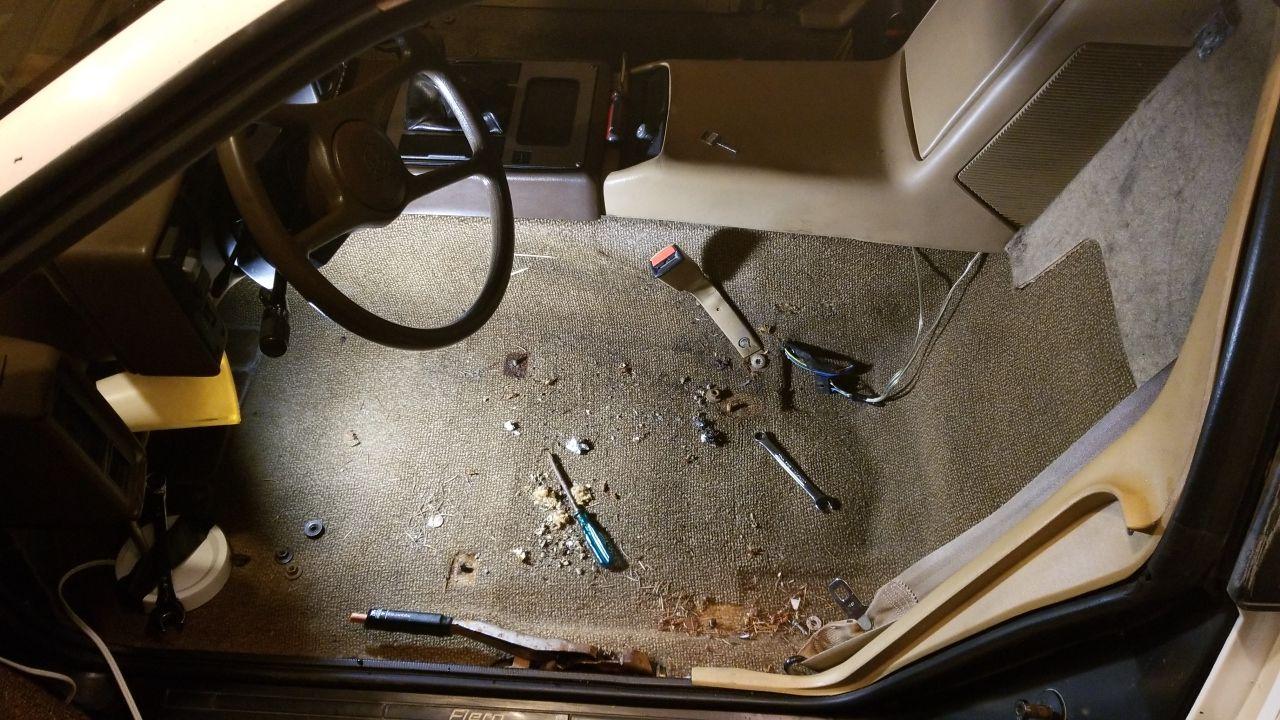
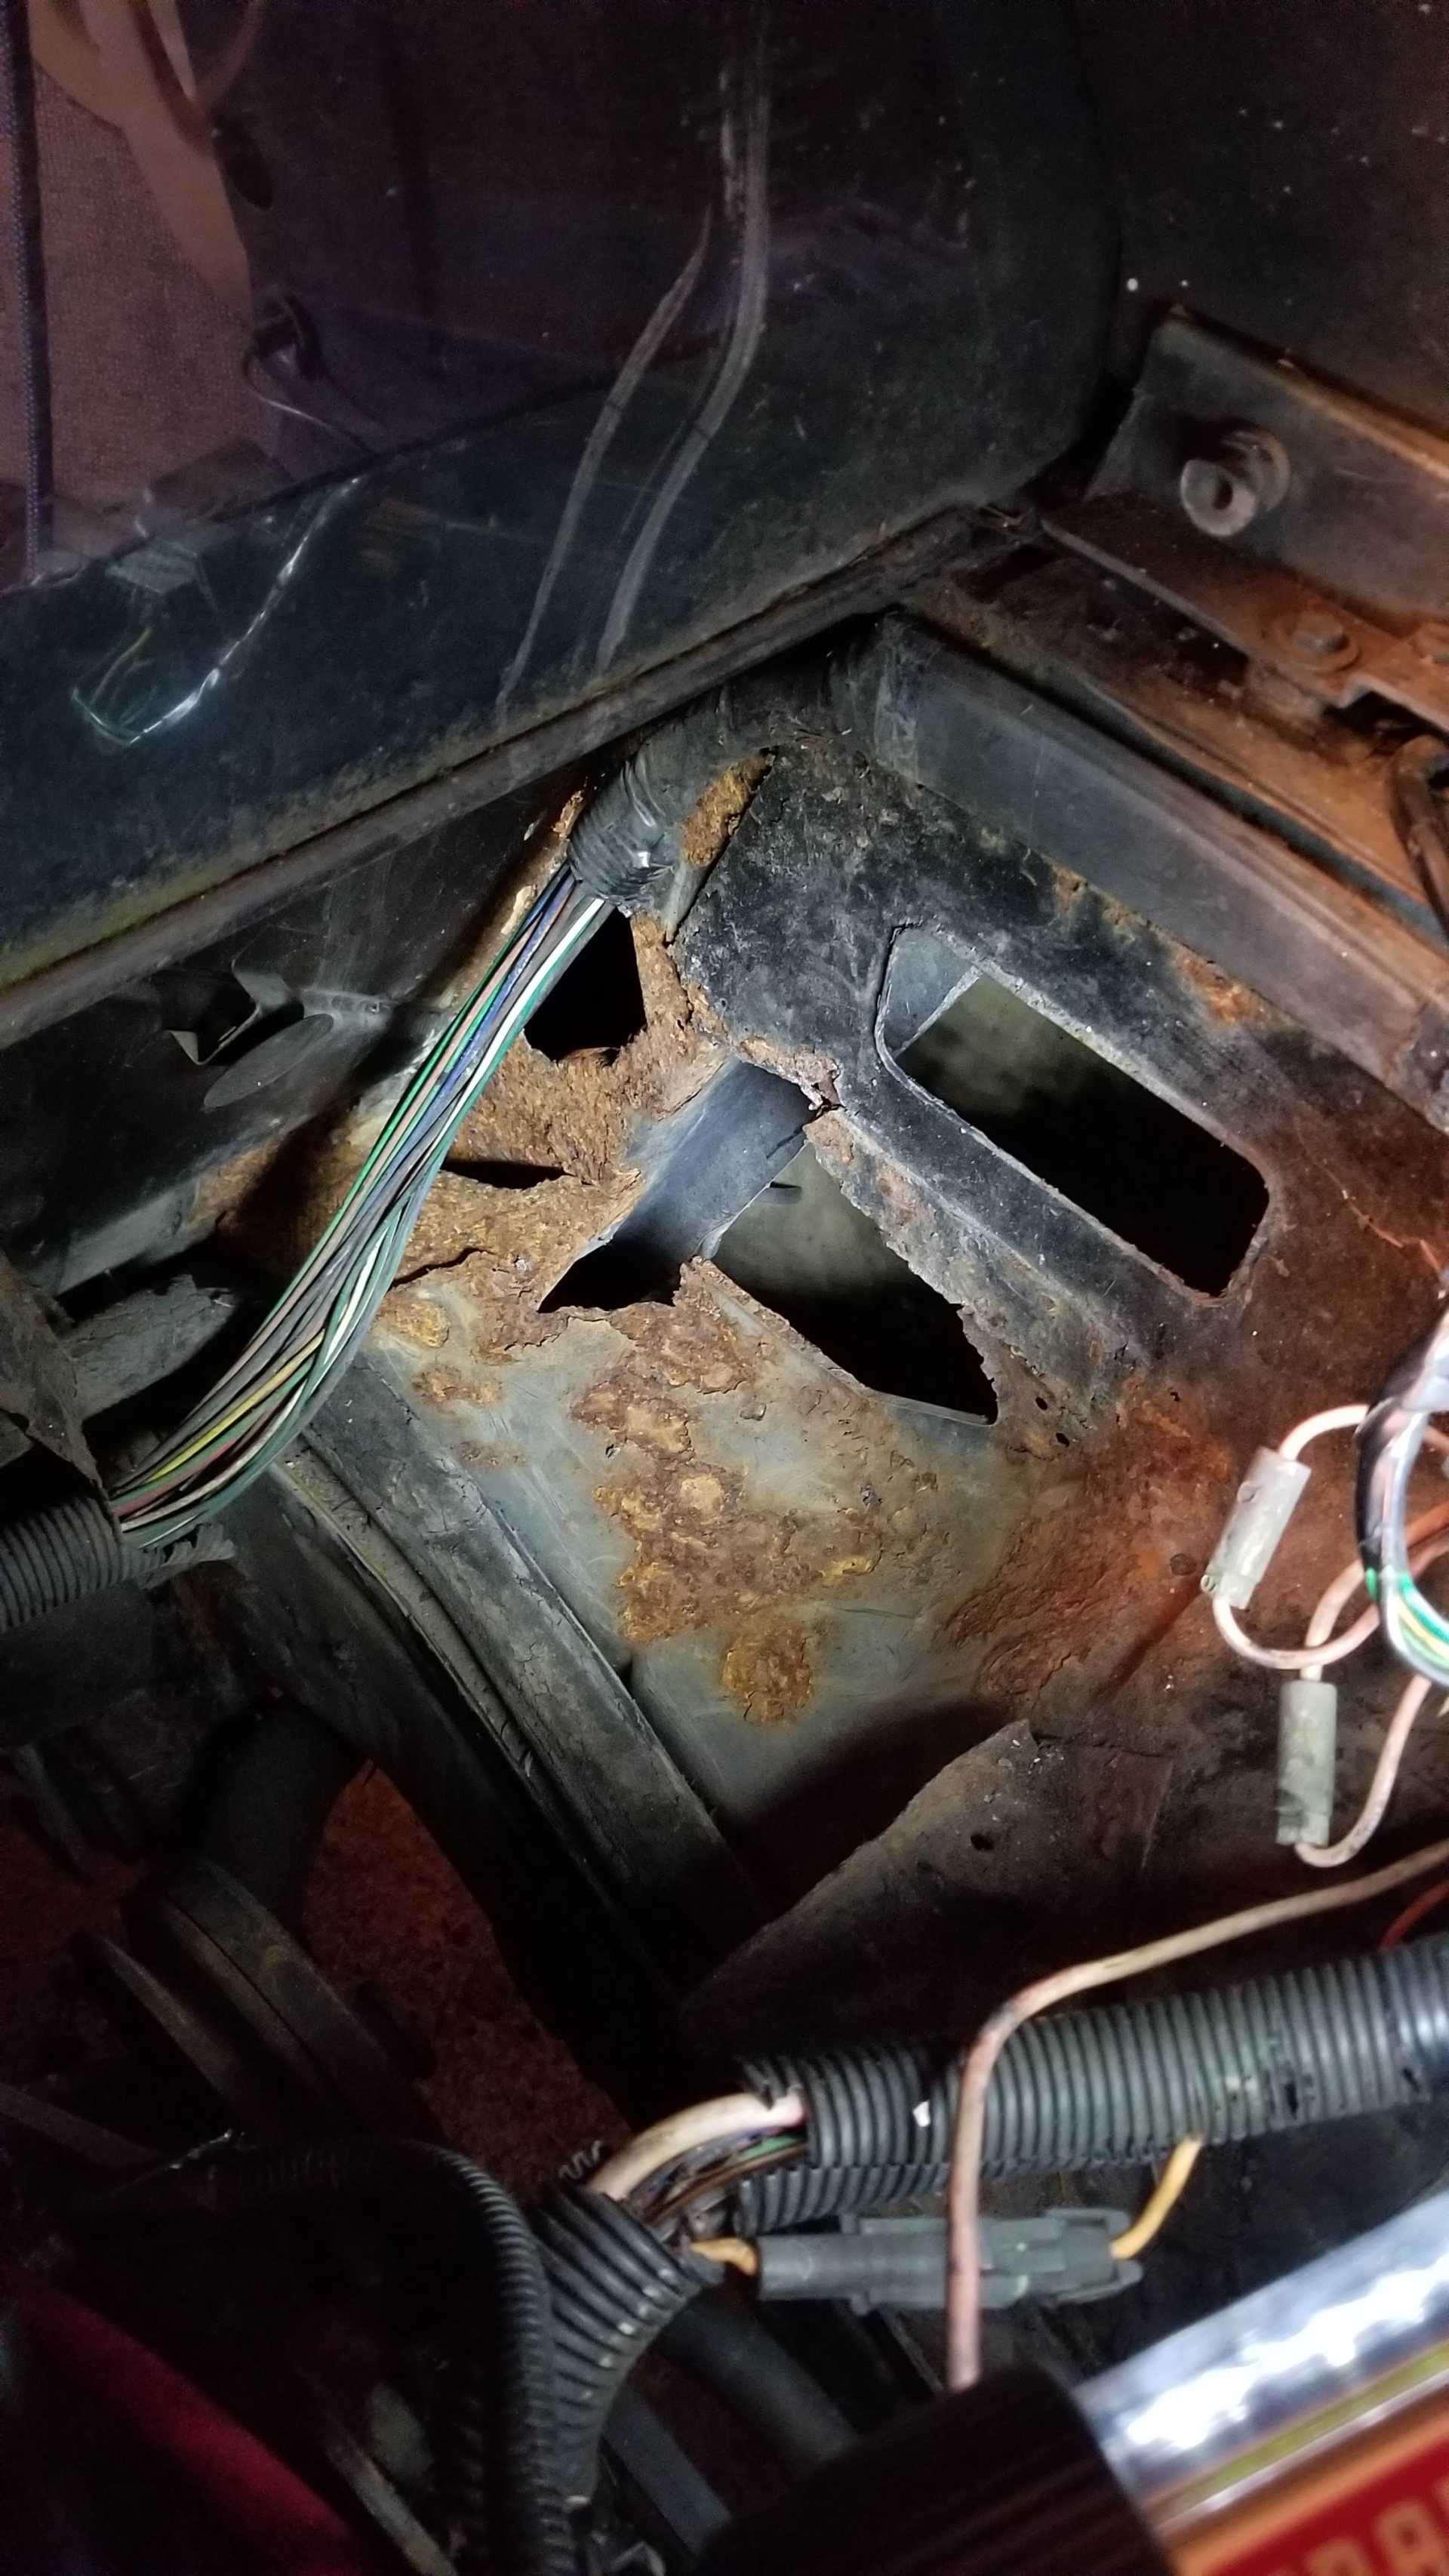
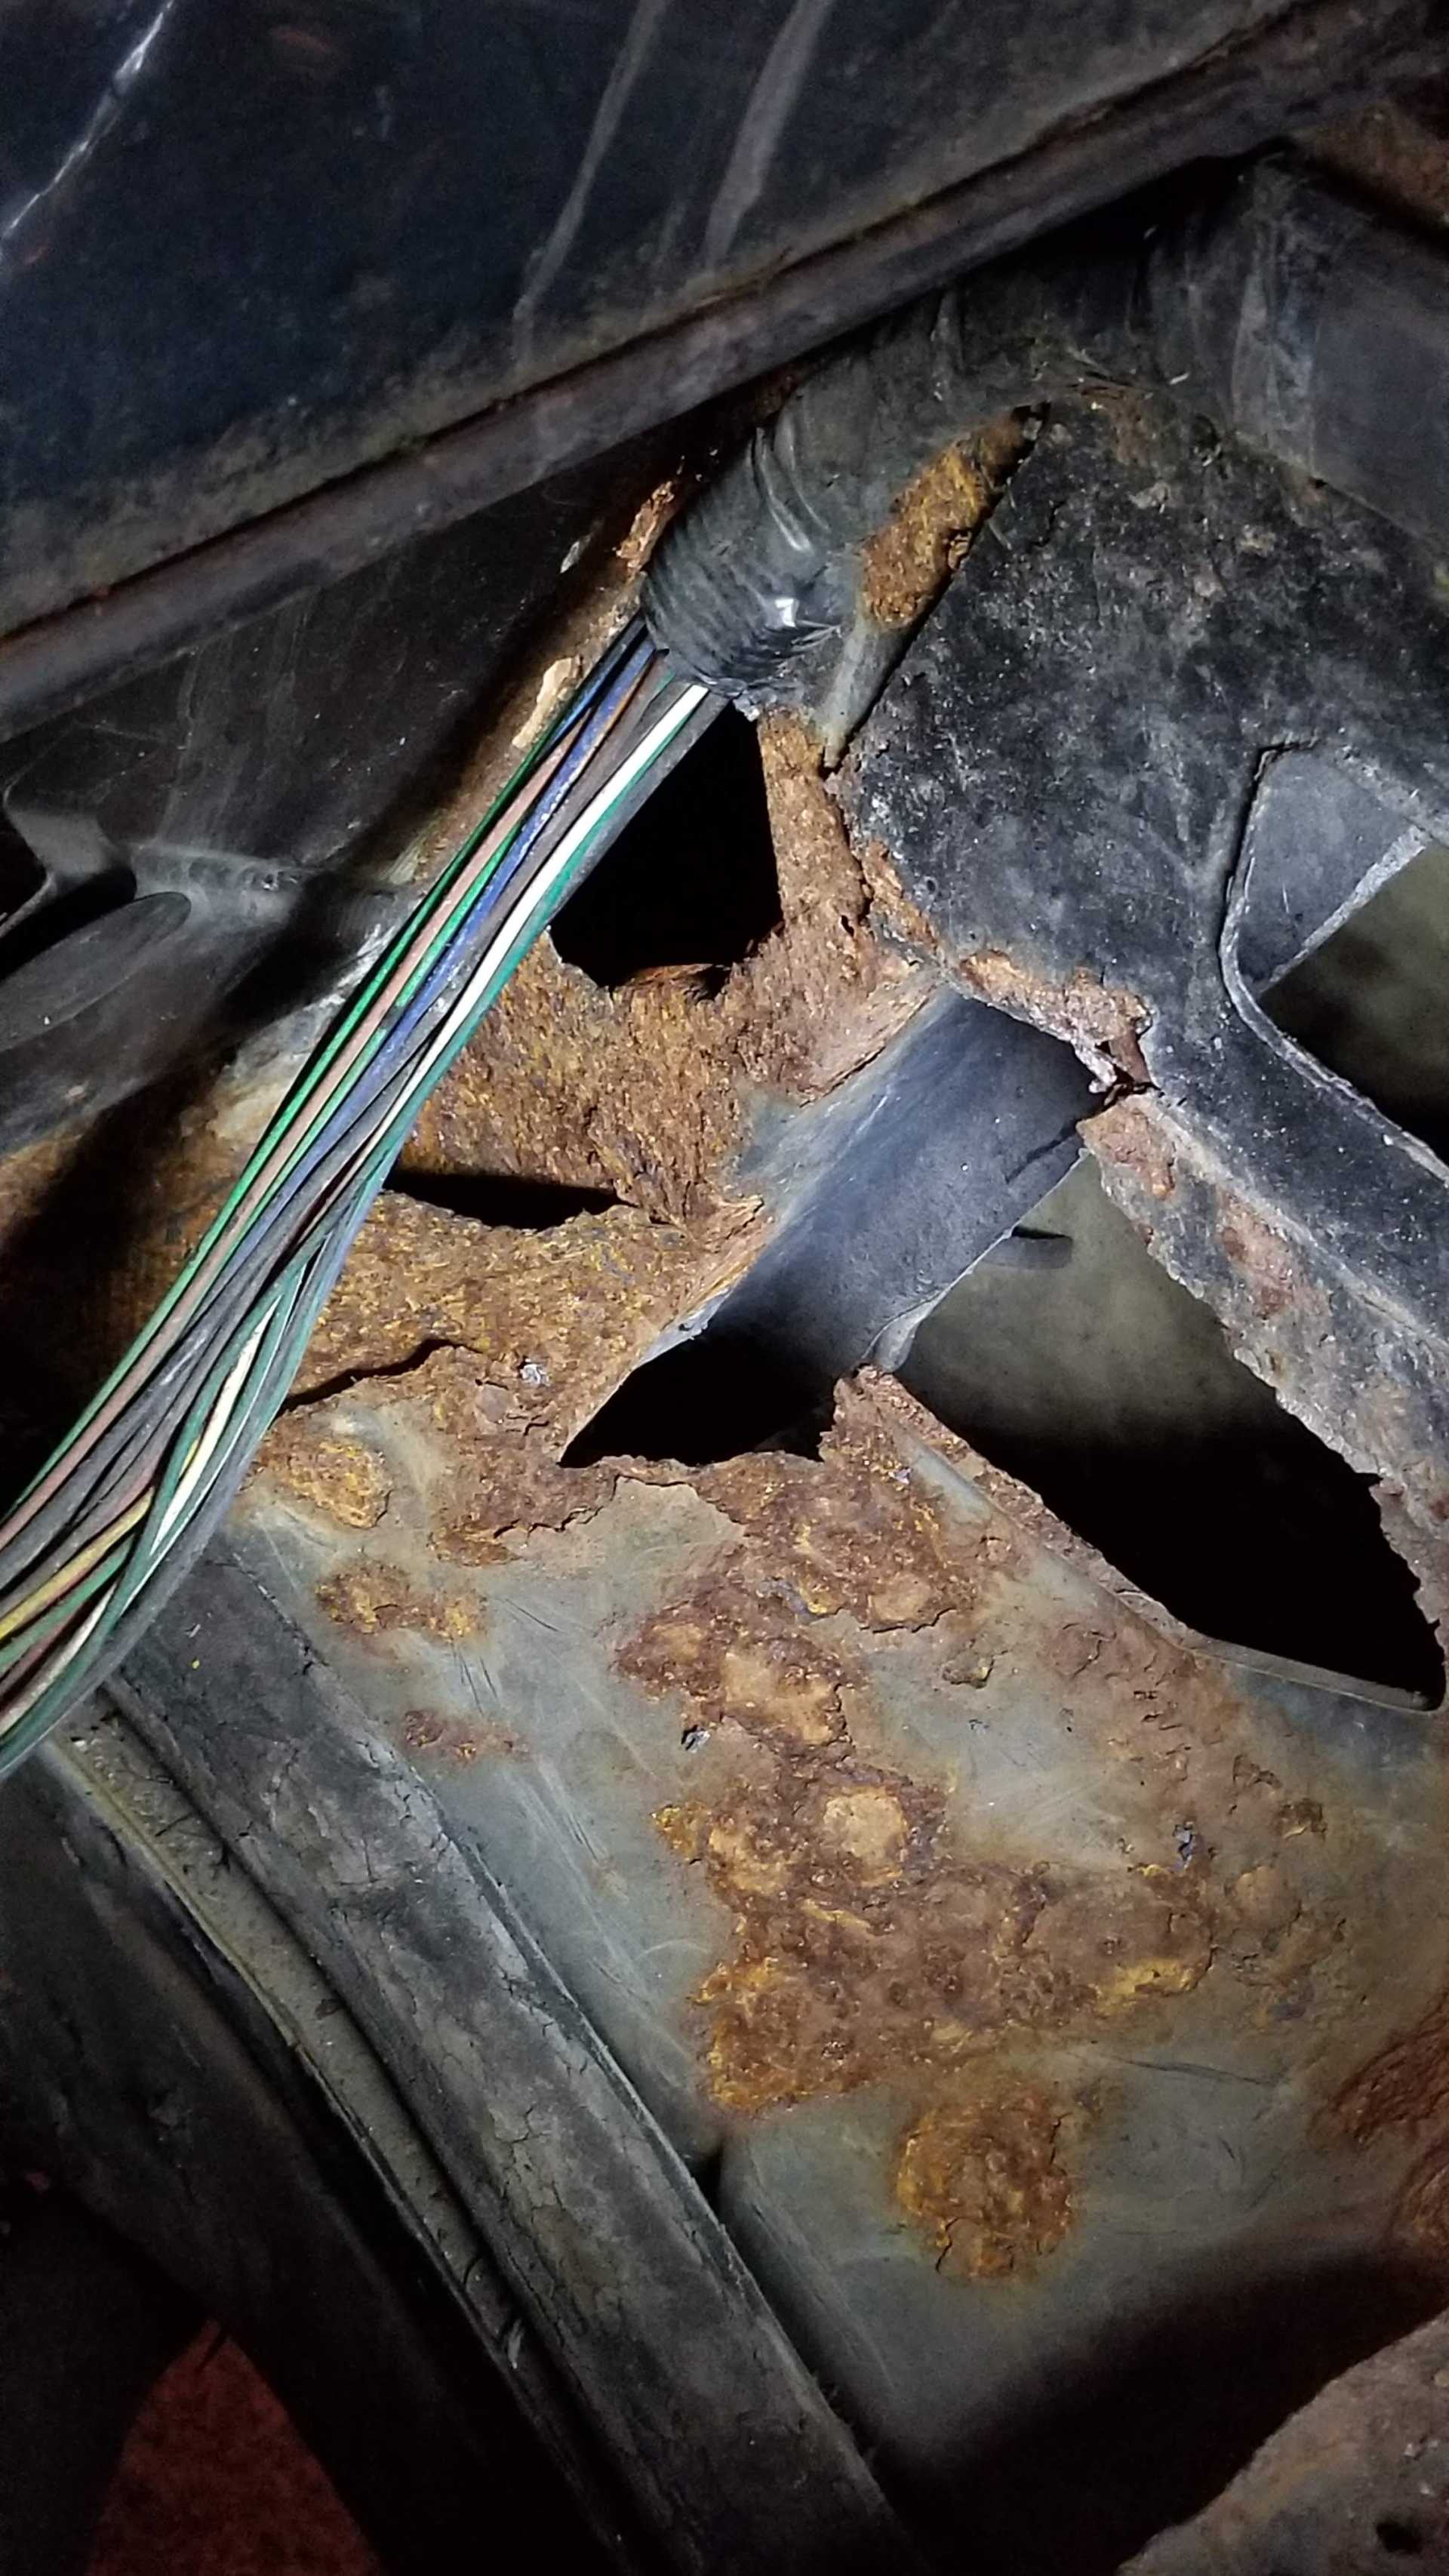
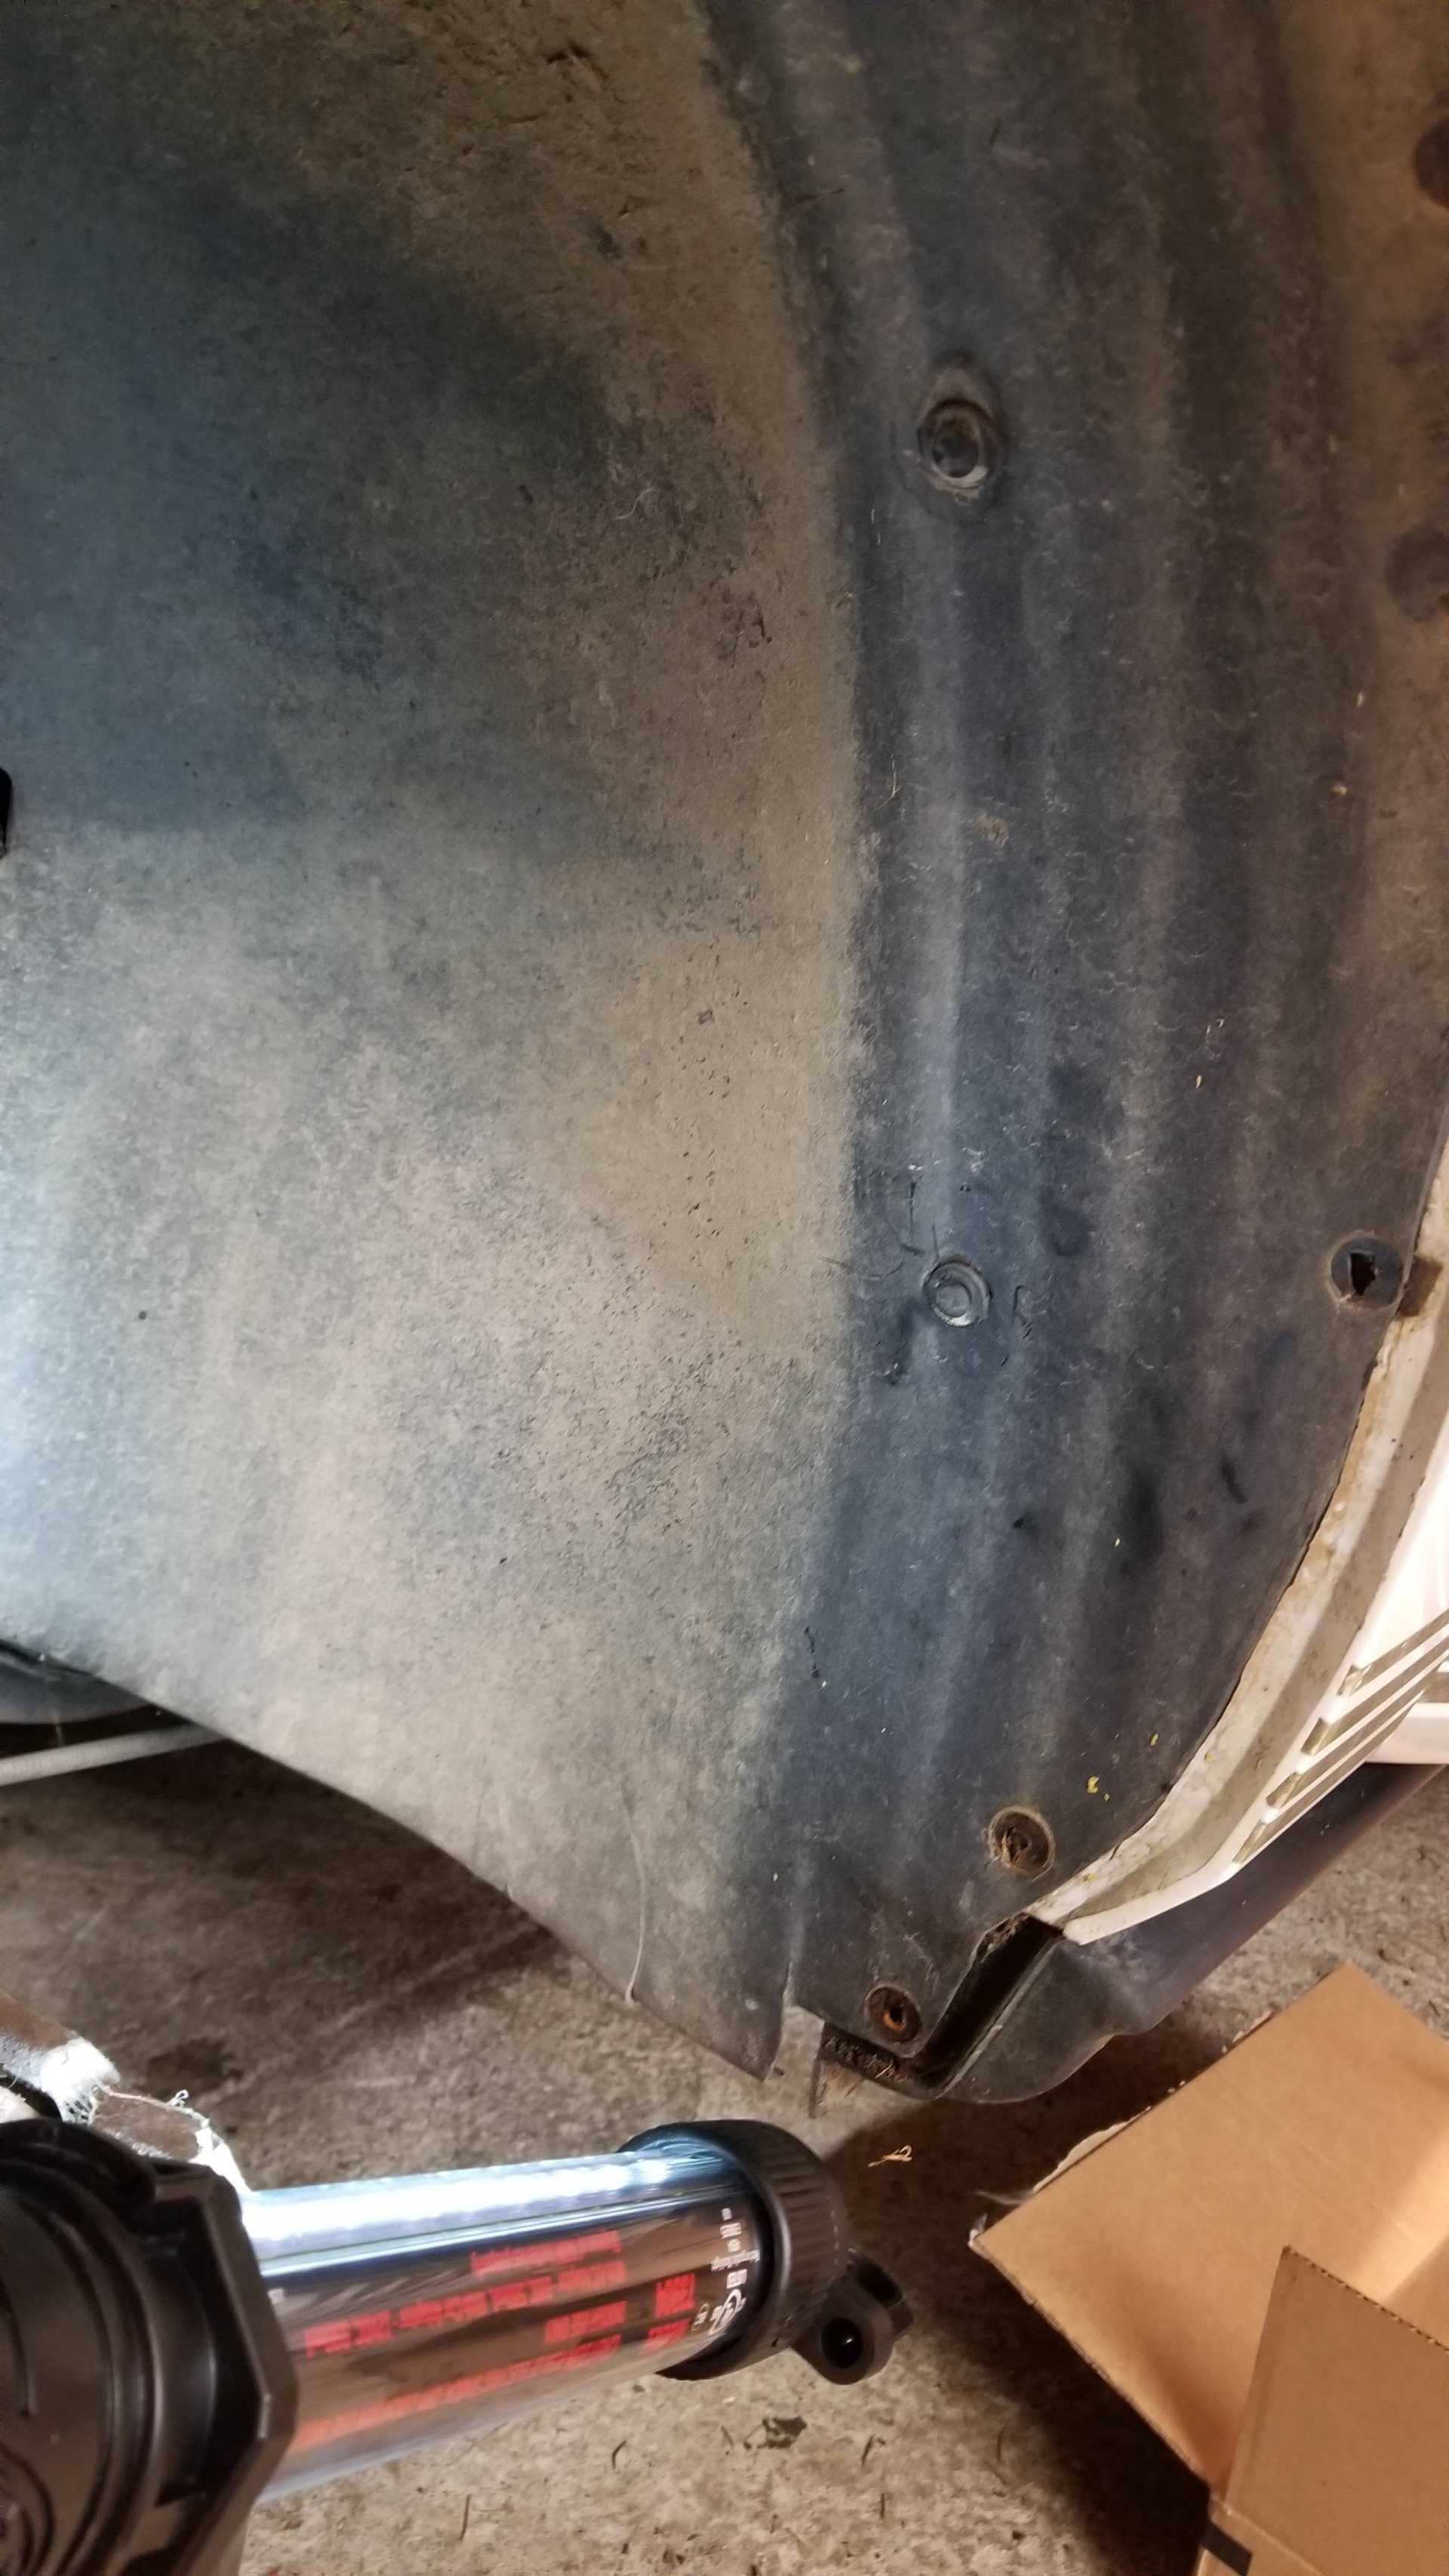
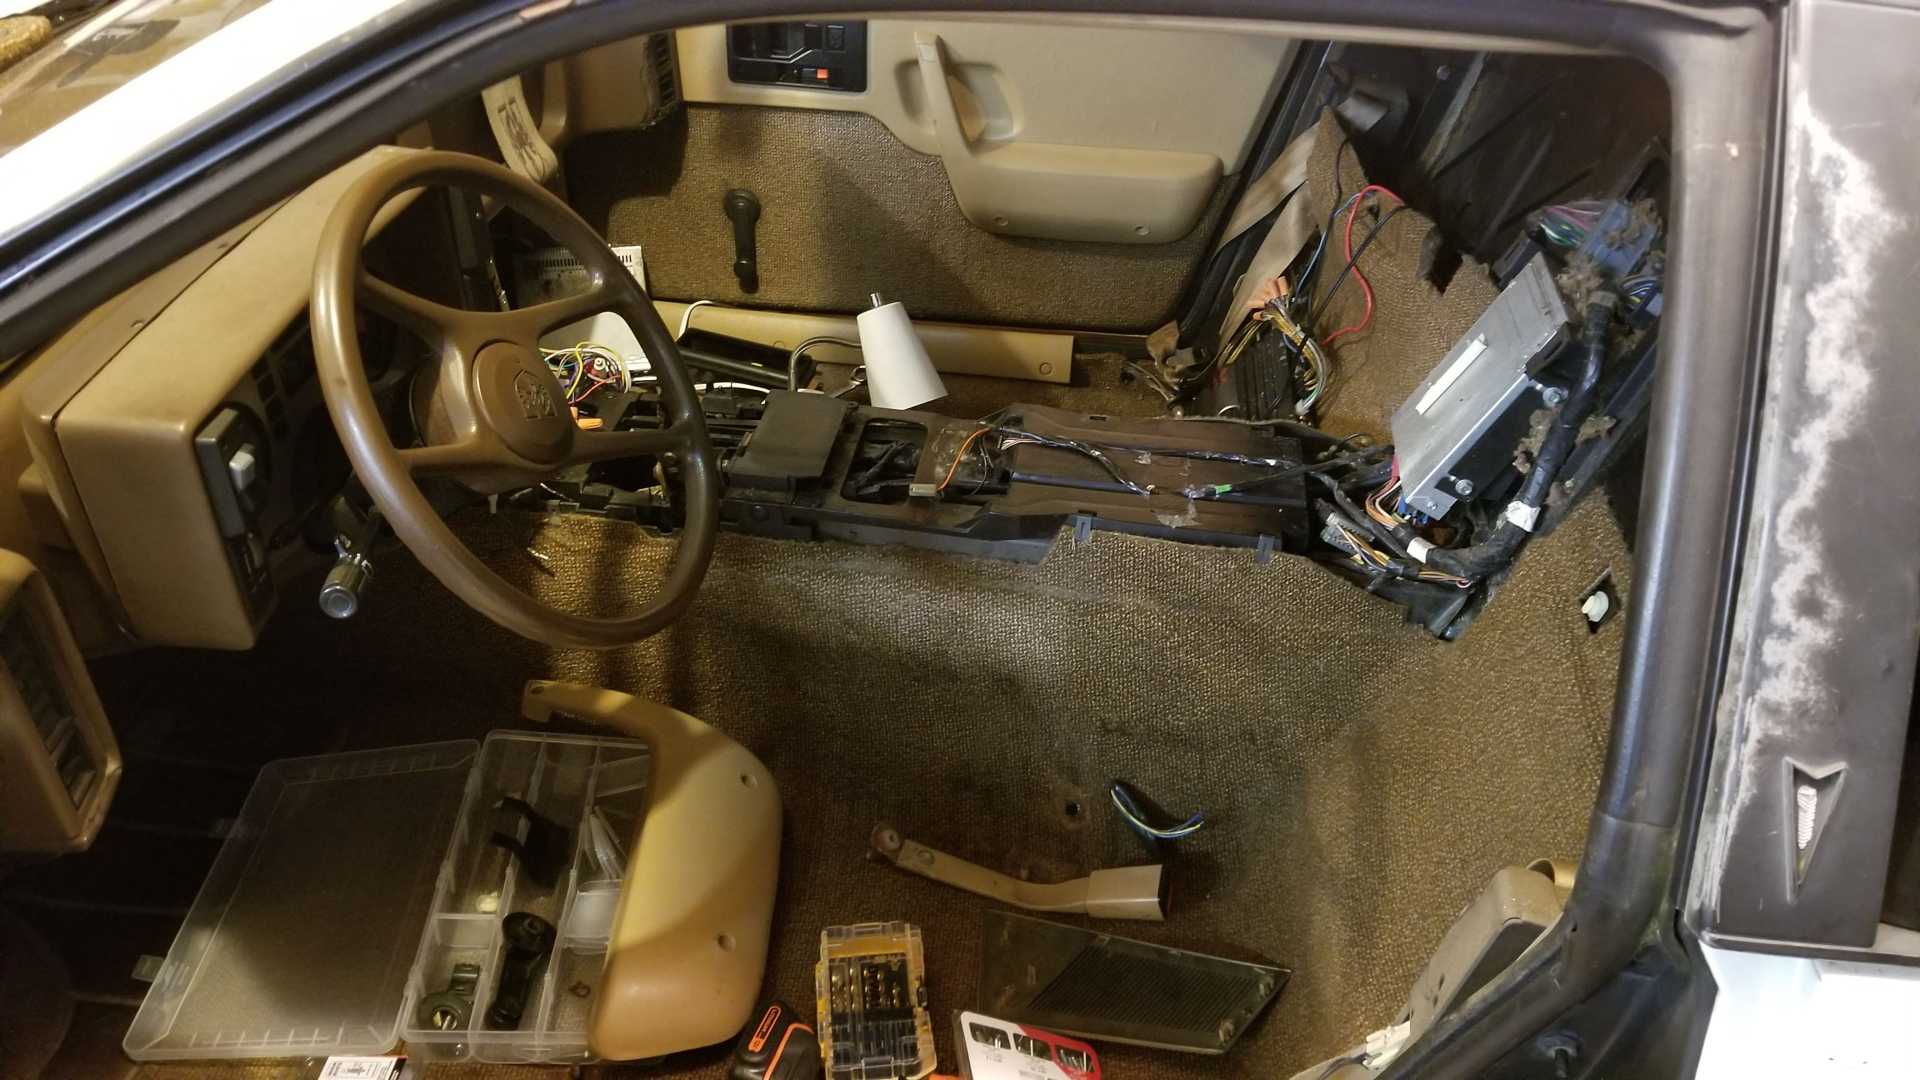
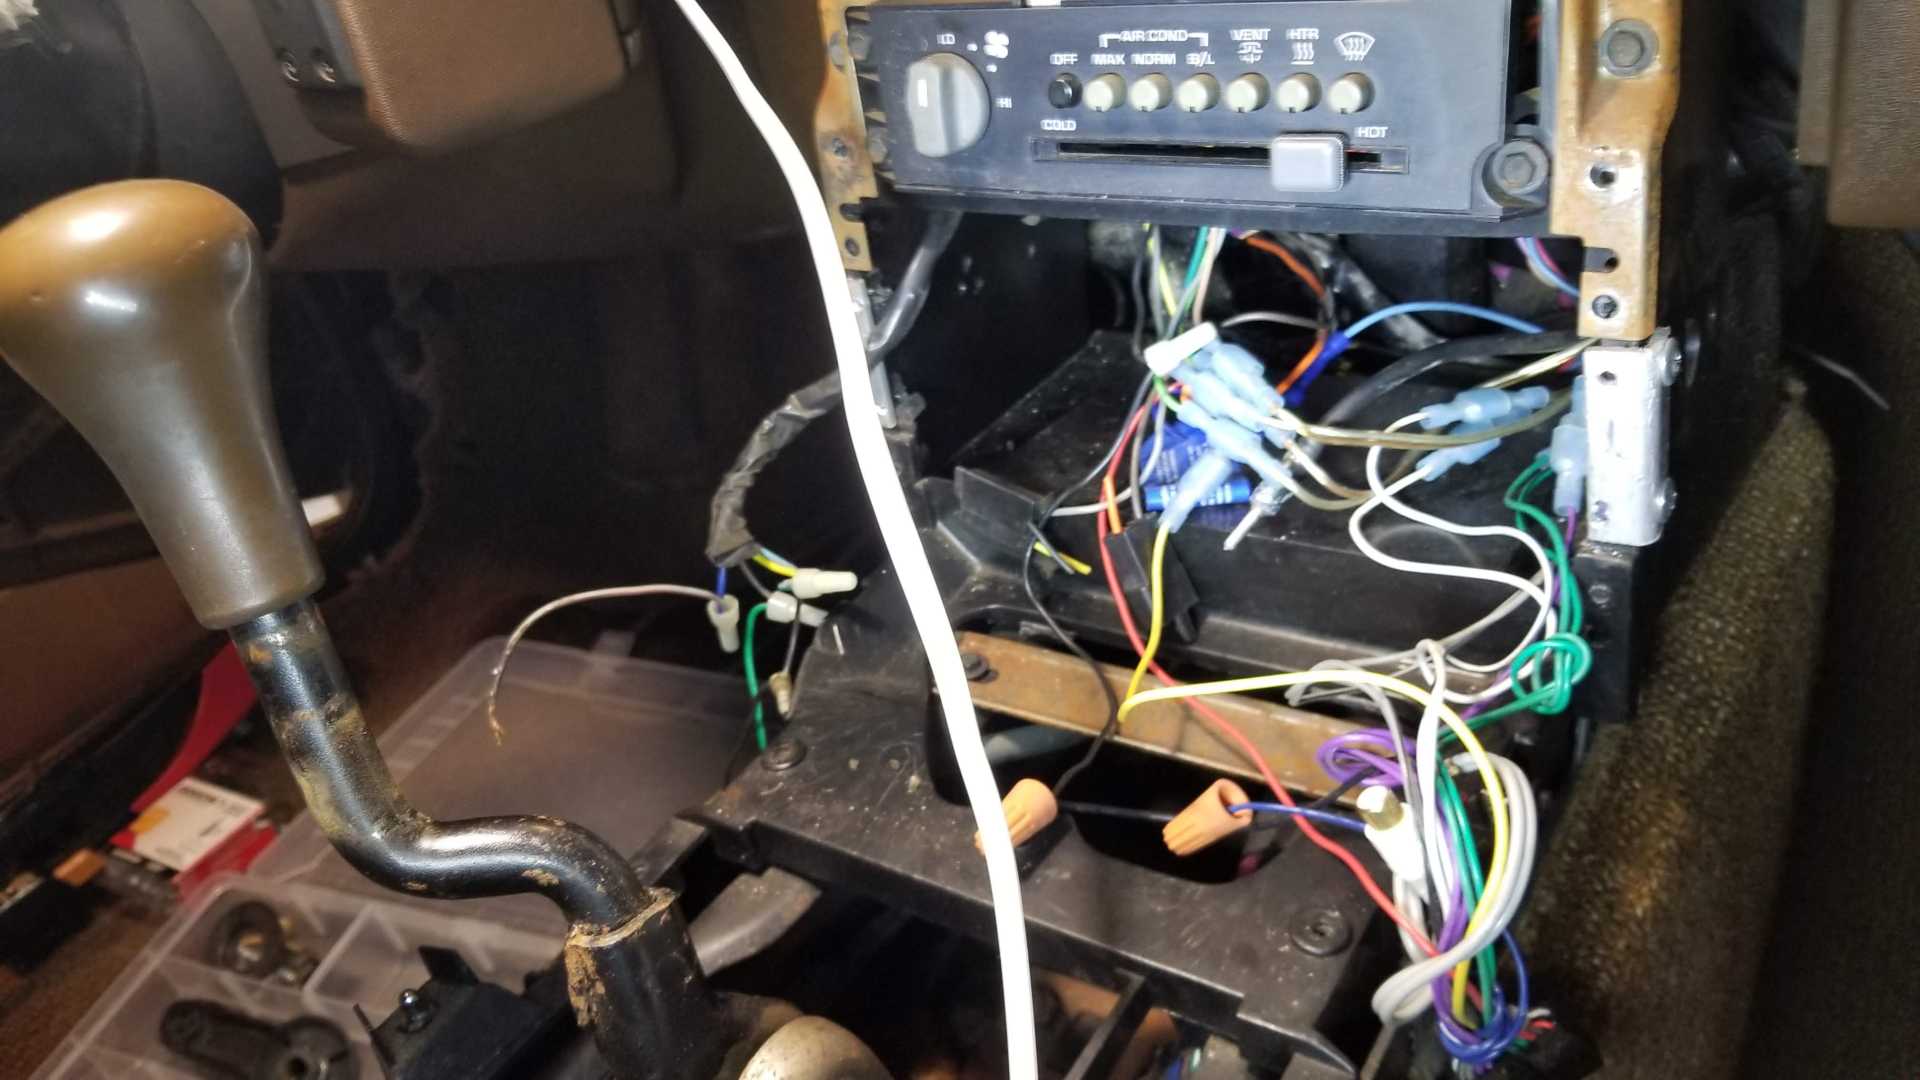
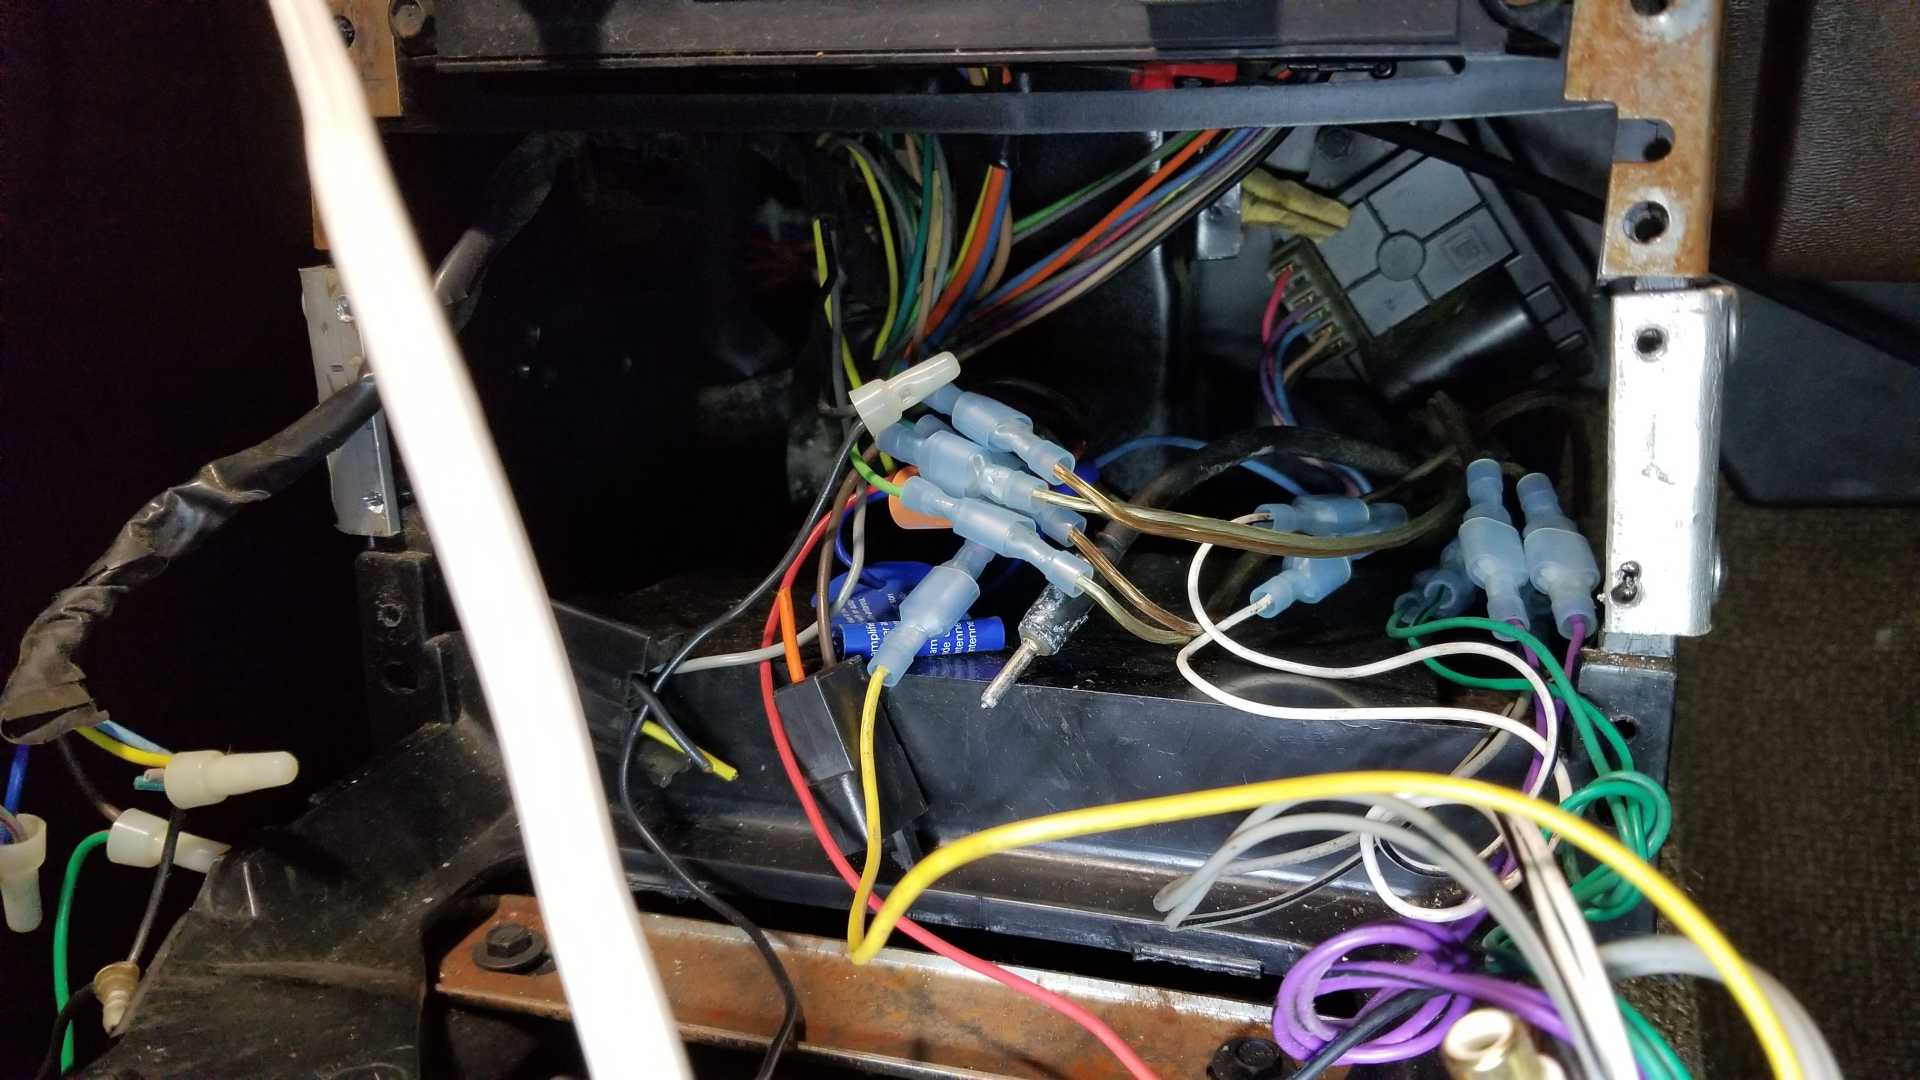
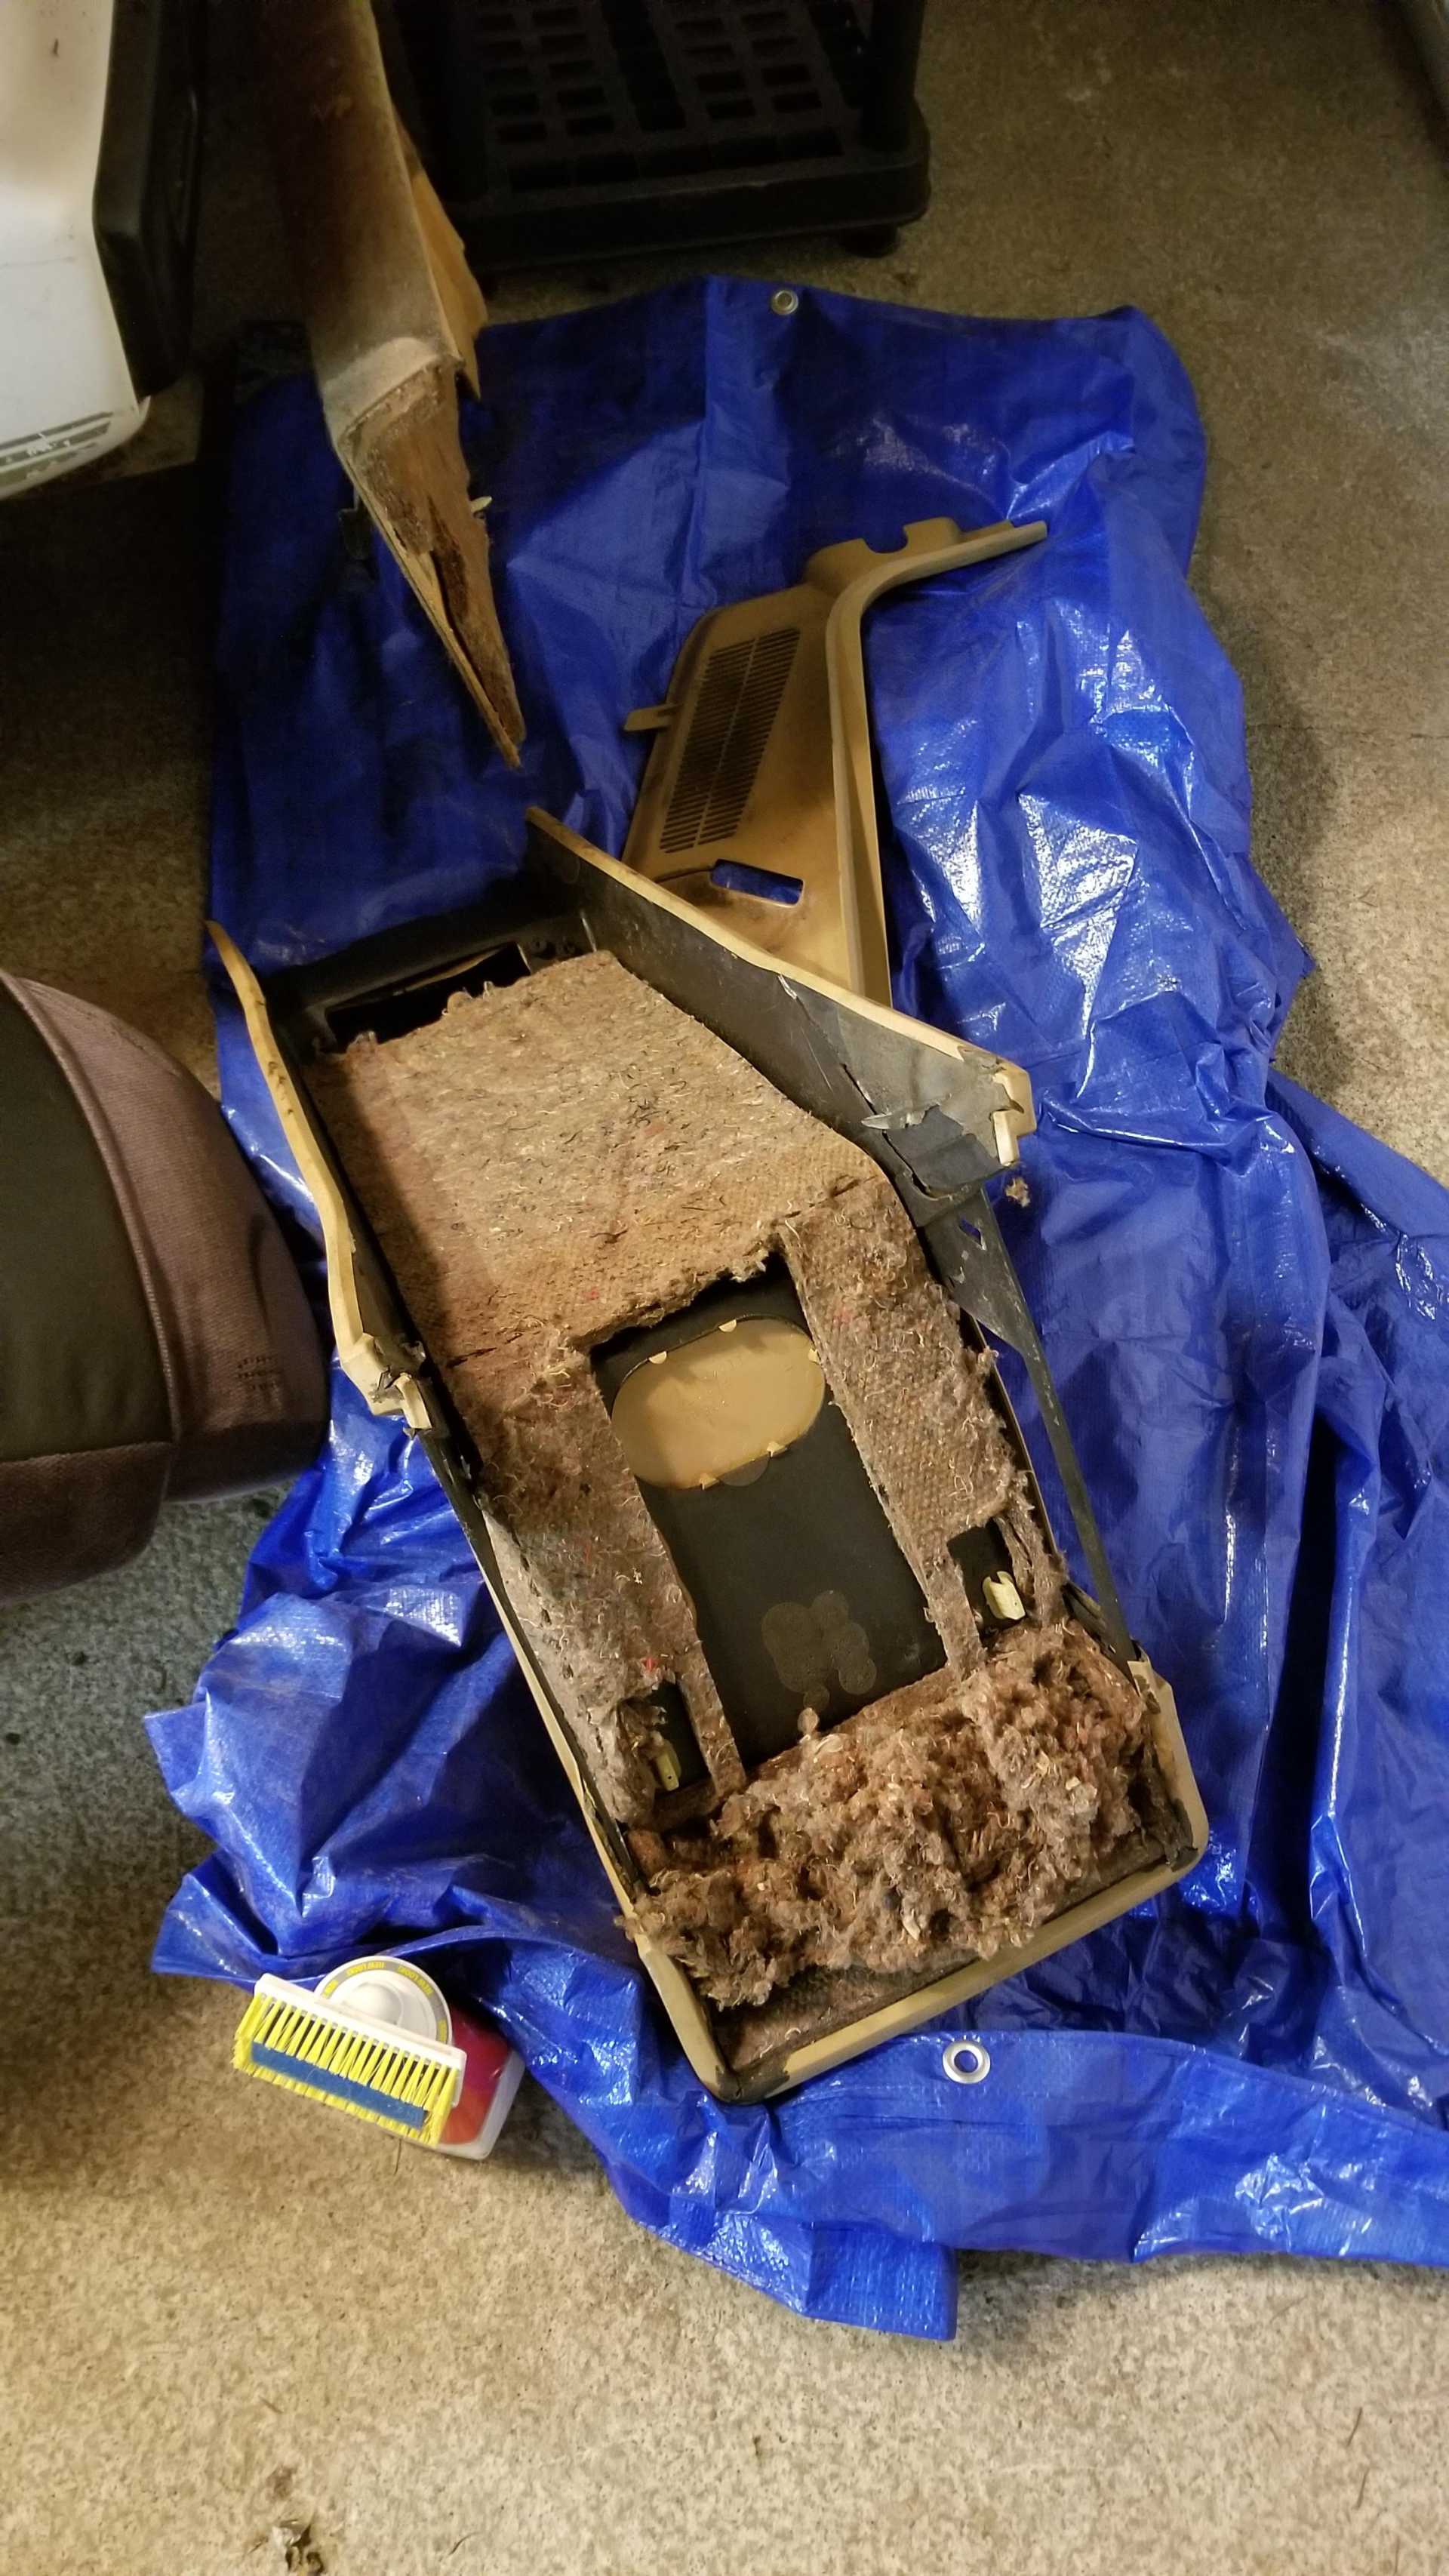
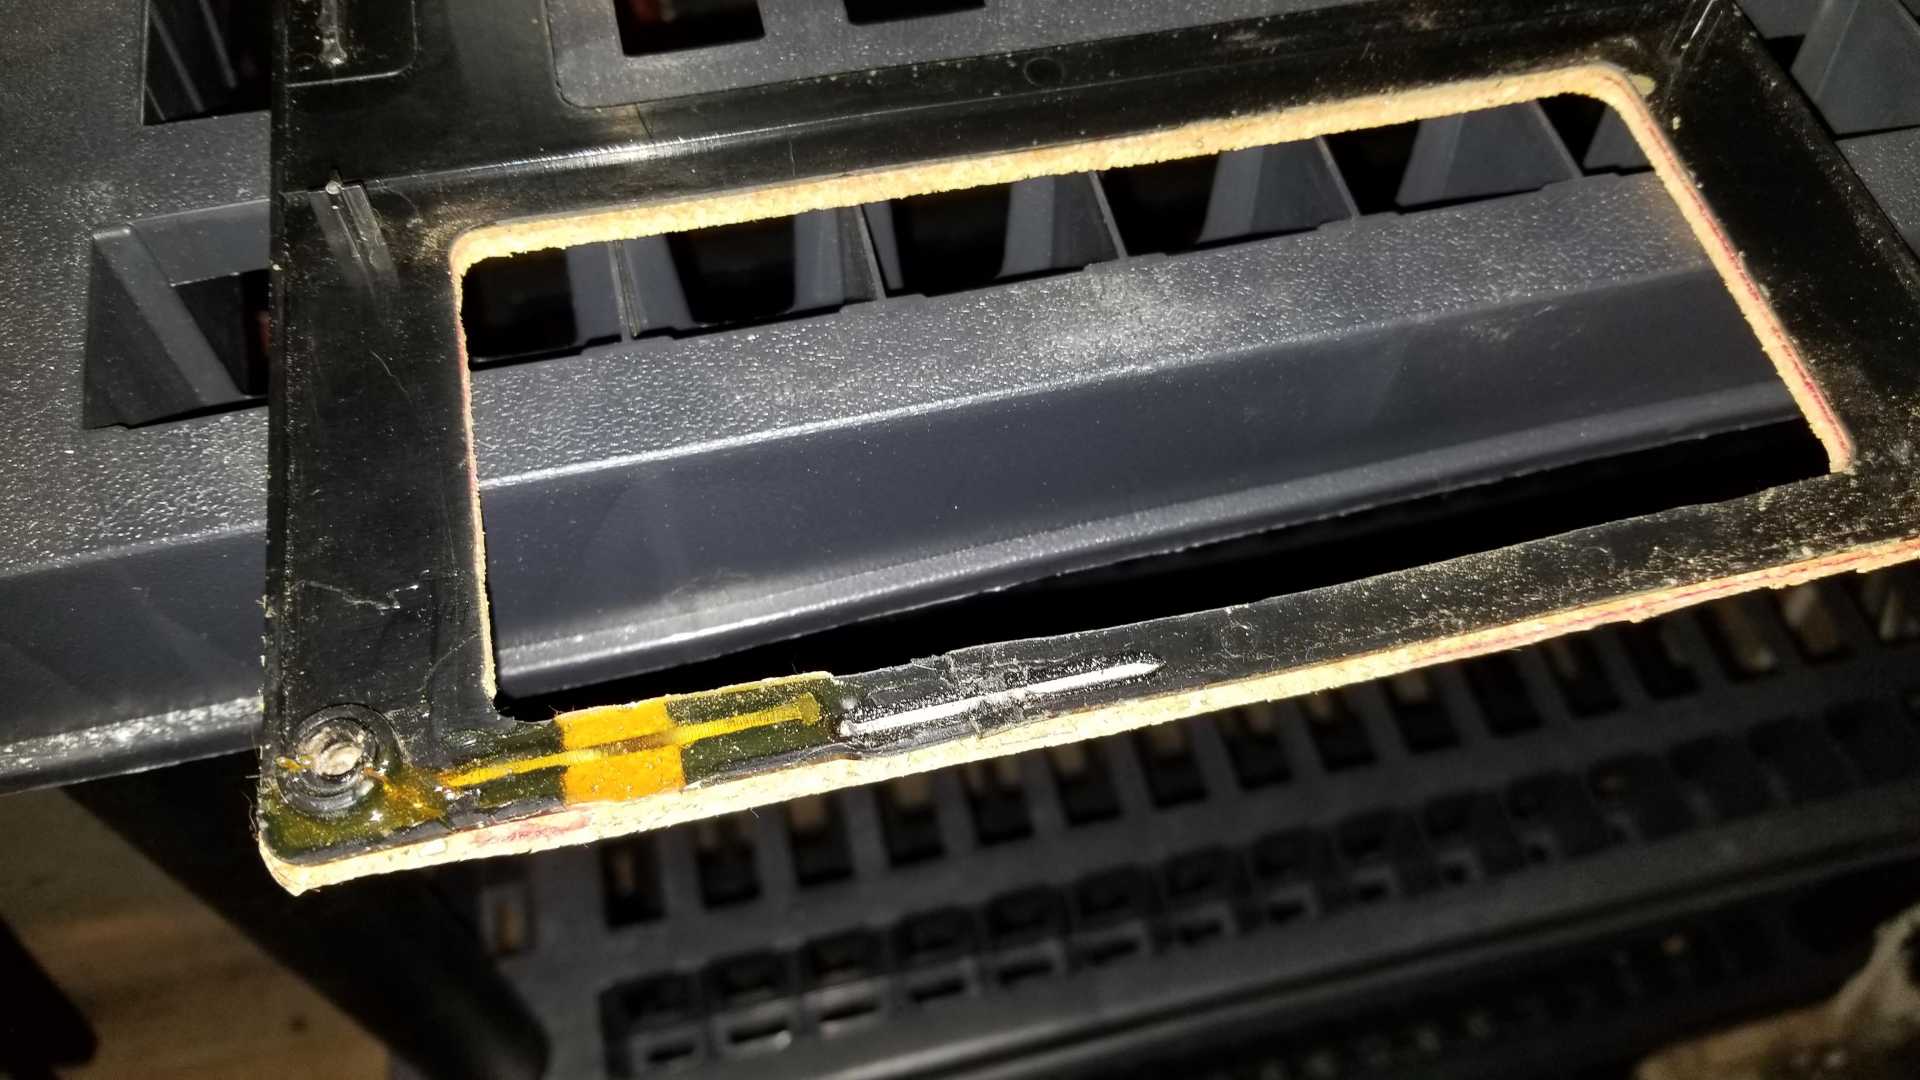
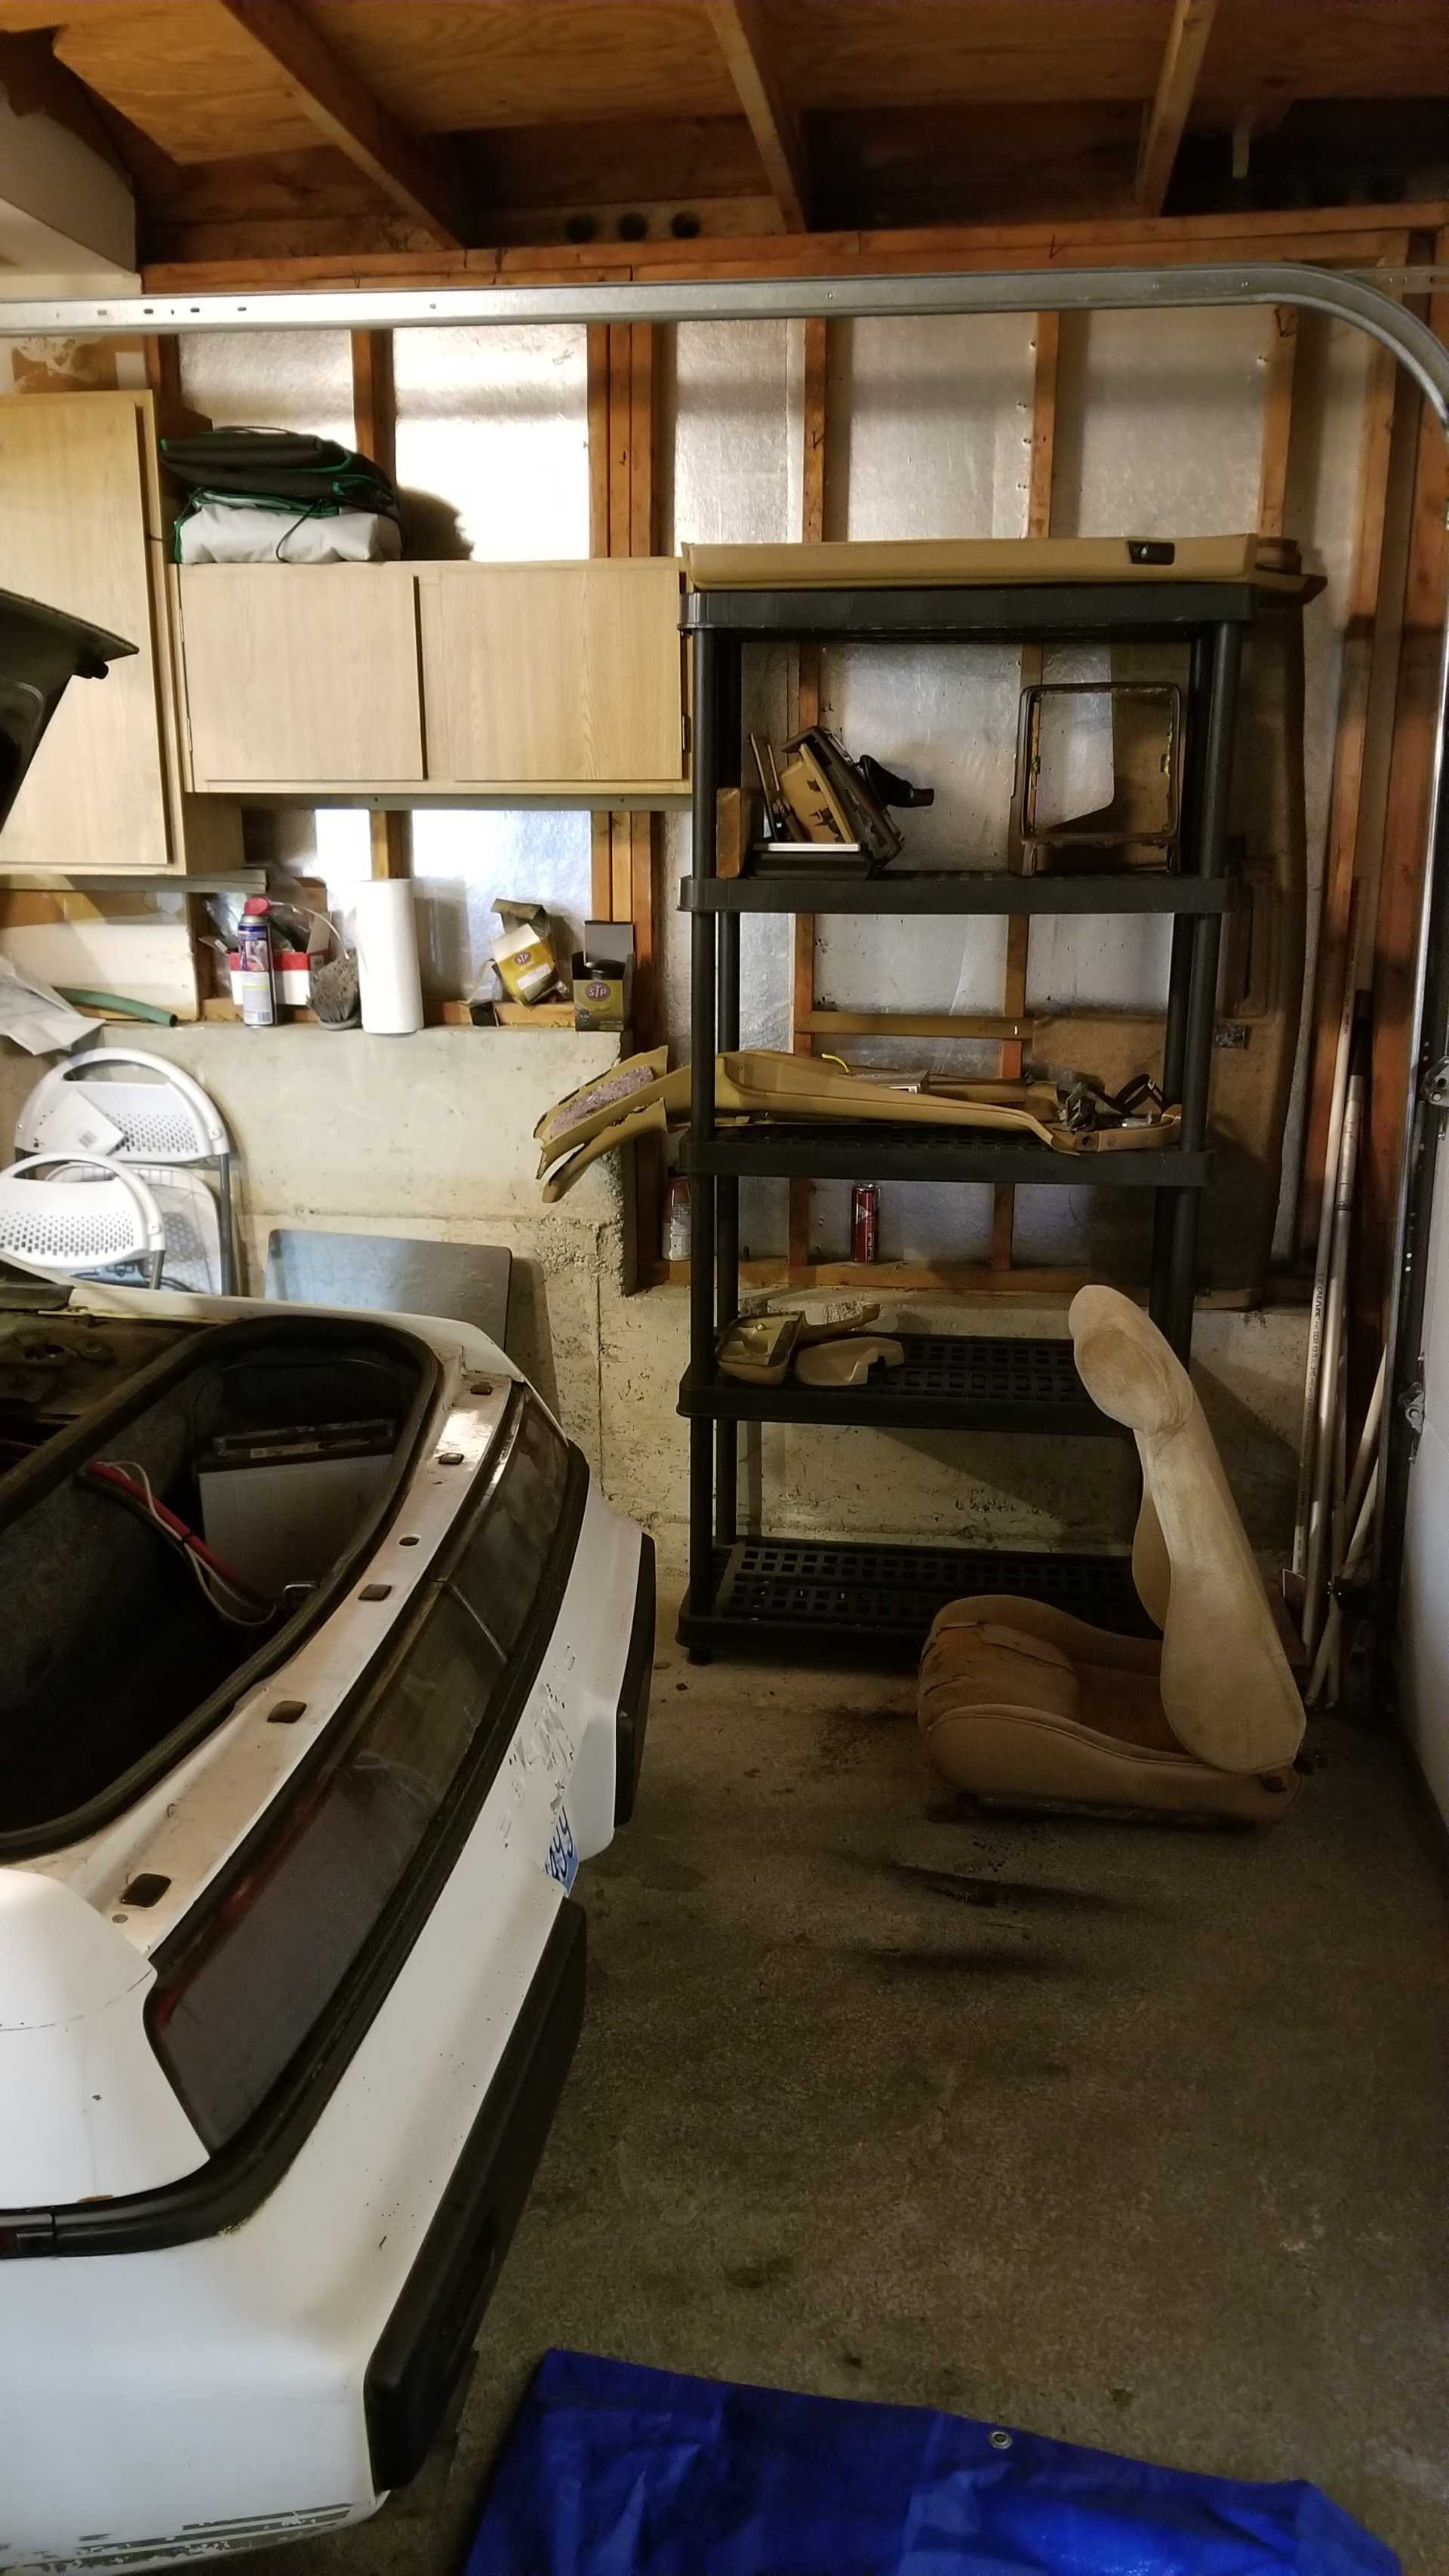
Digging in around the rust a little, going on tangents in other directions, cleaning up my garage, all this and more on this episode of DangerDook makes poor life choices™ . . So rust, I pulled out some interior, found the extent of rust in the firewall and it's not ideal but not like, totally gone. I still need to pull the trunk liner and the inner wheel liner back here, decided to start up front because I'm afraid of bad news or something, I'm not sure. This one is firewall before I tapped on the rust to see how flimsy it was and knocked some chunks out. Below and above this ~8" area is strong and seems clean though. . looking fairly rust free up front, but I need to figure out how to remove these damn plastic tabs . . . Replaced the damaged door handle and lock cylinder, I'm wanting to pick up some CLR and rust converting paint (I think?) to clean up the surface rust in here. . . . Looked through the wiring for the aftermarket stereo and cleaned out some mouse nests. . Interesting repair job on the center console piece . . . Got a shelf for all this stuff coming out . . . Replaced the broken connector for the seat rails too . . . That's it for now, I'm going to keep doing small things after work.
I need to figure out how to remove these damn plastic tabs
Pull the center piece out a bit, then the whole shebang can be pulled out of the holes in the plastic wheel well liners.
quote
Originally posted by DangerDook:
Digging in around the rust a little, going on tangents in other directions, cleaning up my garage, all this and more on this episode of DangerDook makes poor life choices™
So rust, I pulled out some interior, found the extent of rust in the firewall and it's not ideal but not like, totally gone. I still need to pull the trunk liner and the inner wheel liner back here, decided to start up front because I'm afraid of bad news or something, I'm not sure.
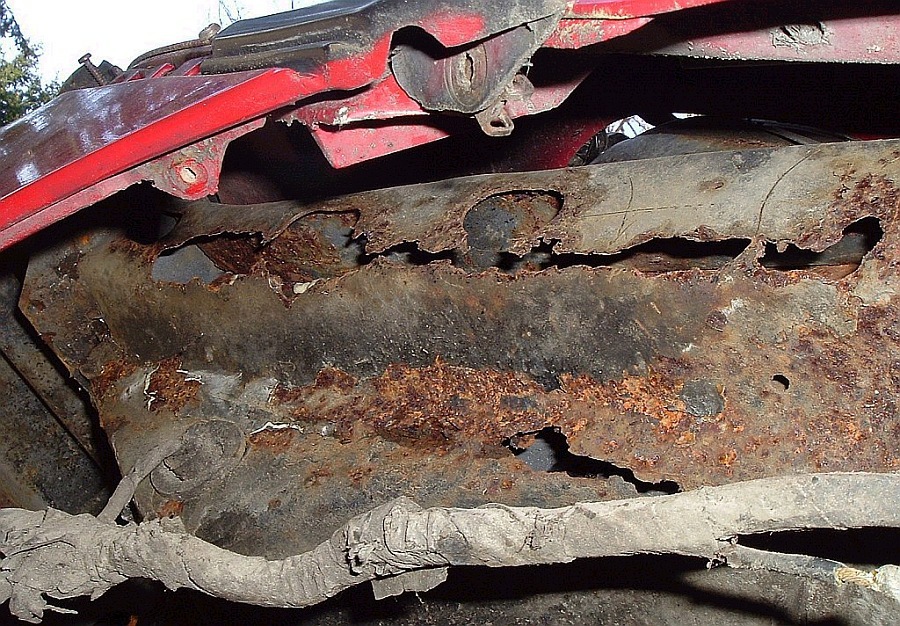
There's no valid excuse not to inspect those rear upper frame rails next. You can chalk up everything else you're currently doing as "experience", but the sad reality is that this vehicle may no longer be safe to drive! Check out the critical areas and know for sure what you're dealing with.
Hopefully, this isn't what you find after you remove the rear wheel well liners...
[This message has been edited by Patrick (edited 01-28-2020).]
There's no valid excuse not to inspect those rear frame rails next. You can chalk up everything else you're currently doing as "experience", but the sad reality is that this vehicle may no longer be safe to drive! Check out the critical areas and know for sure what you're dealing with.
No, let me live in my fantasy world where everything is OK and rust isn't real! (ok fine, tomorrow I'll get the back up in the air and see how bad it really is.)
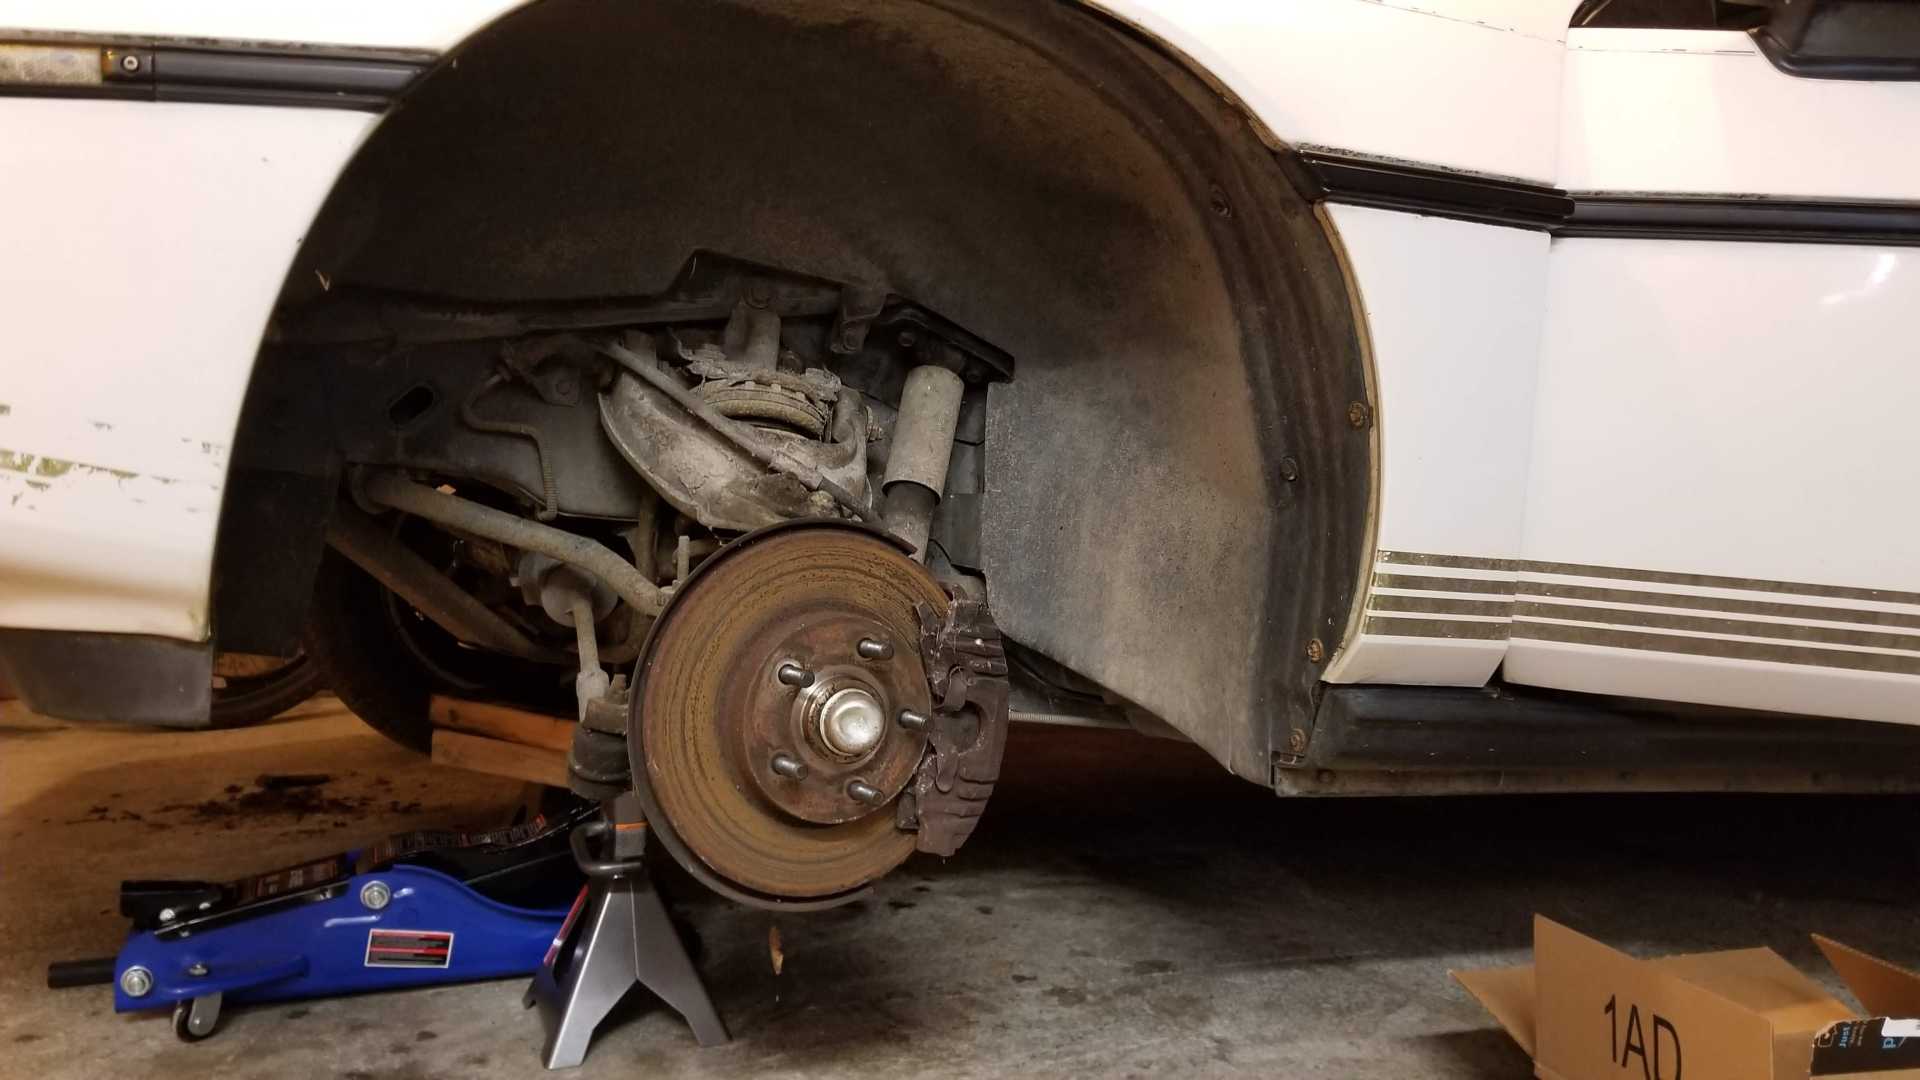
Not much time today, played with the front since I already had the wheels off and the front on jacks. I looked it over after figuring out those dang clips, thanks for that! There are a couple places pine needles and such collected that look like they are starting to surface rust but it's all surprisingly good looking under the dirt and dust.
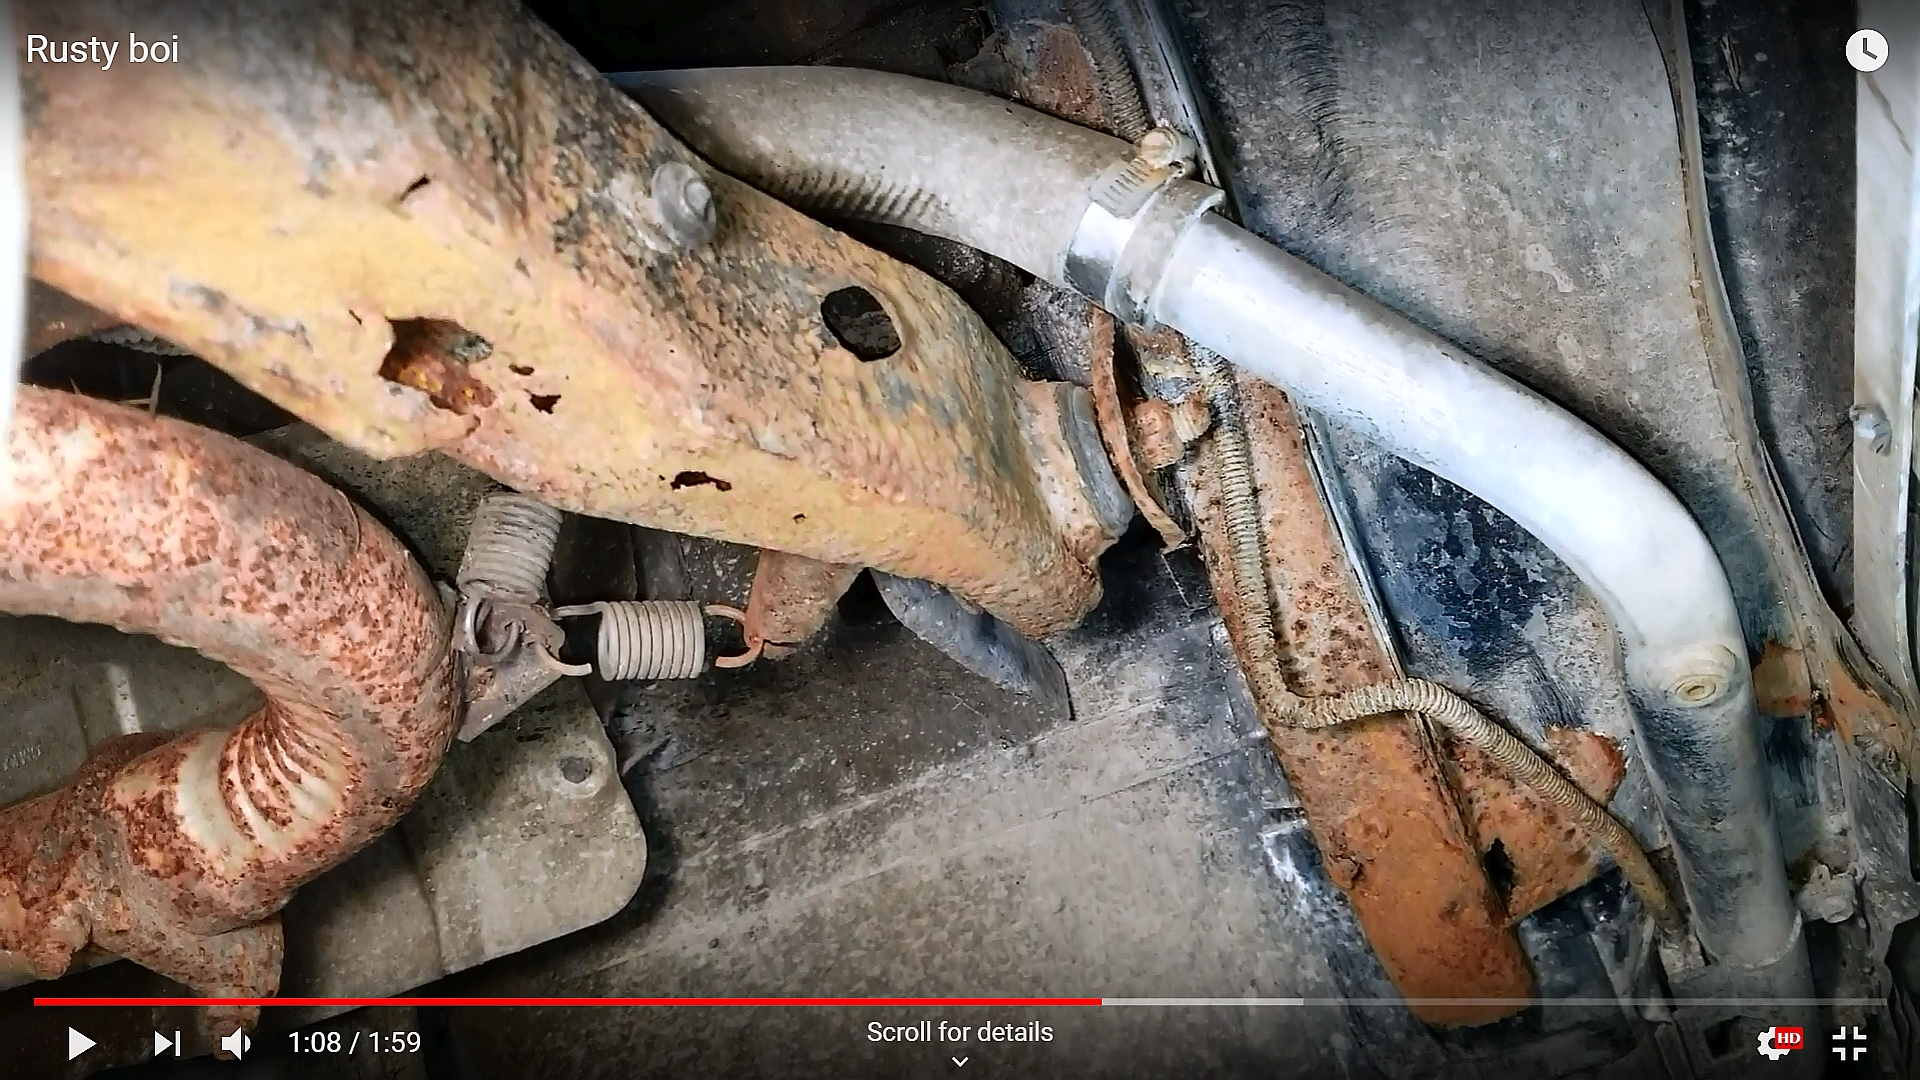
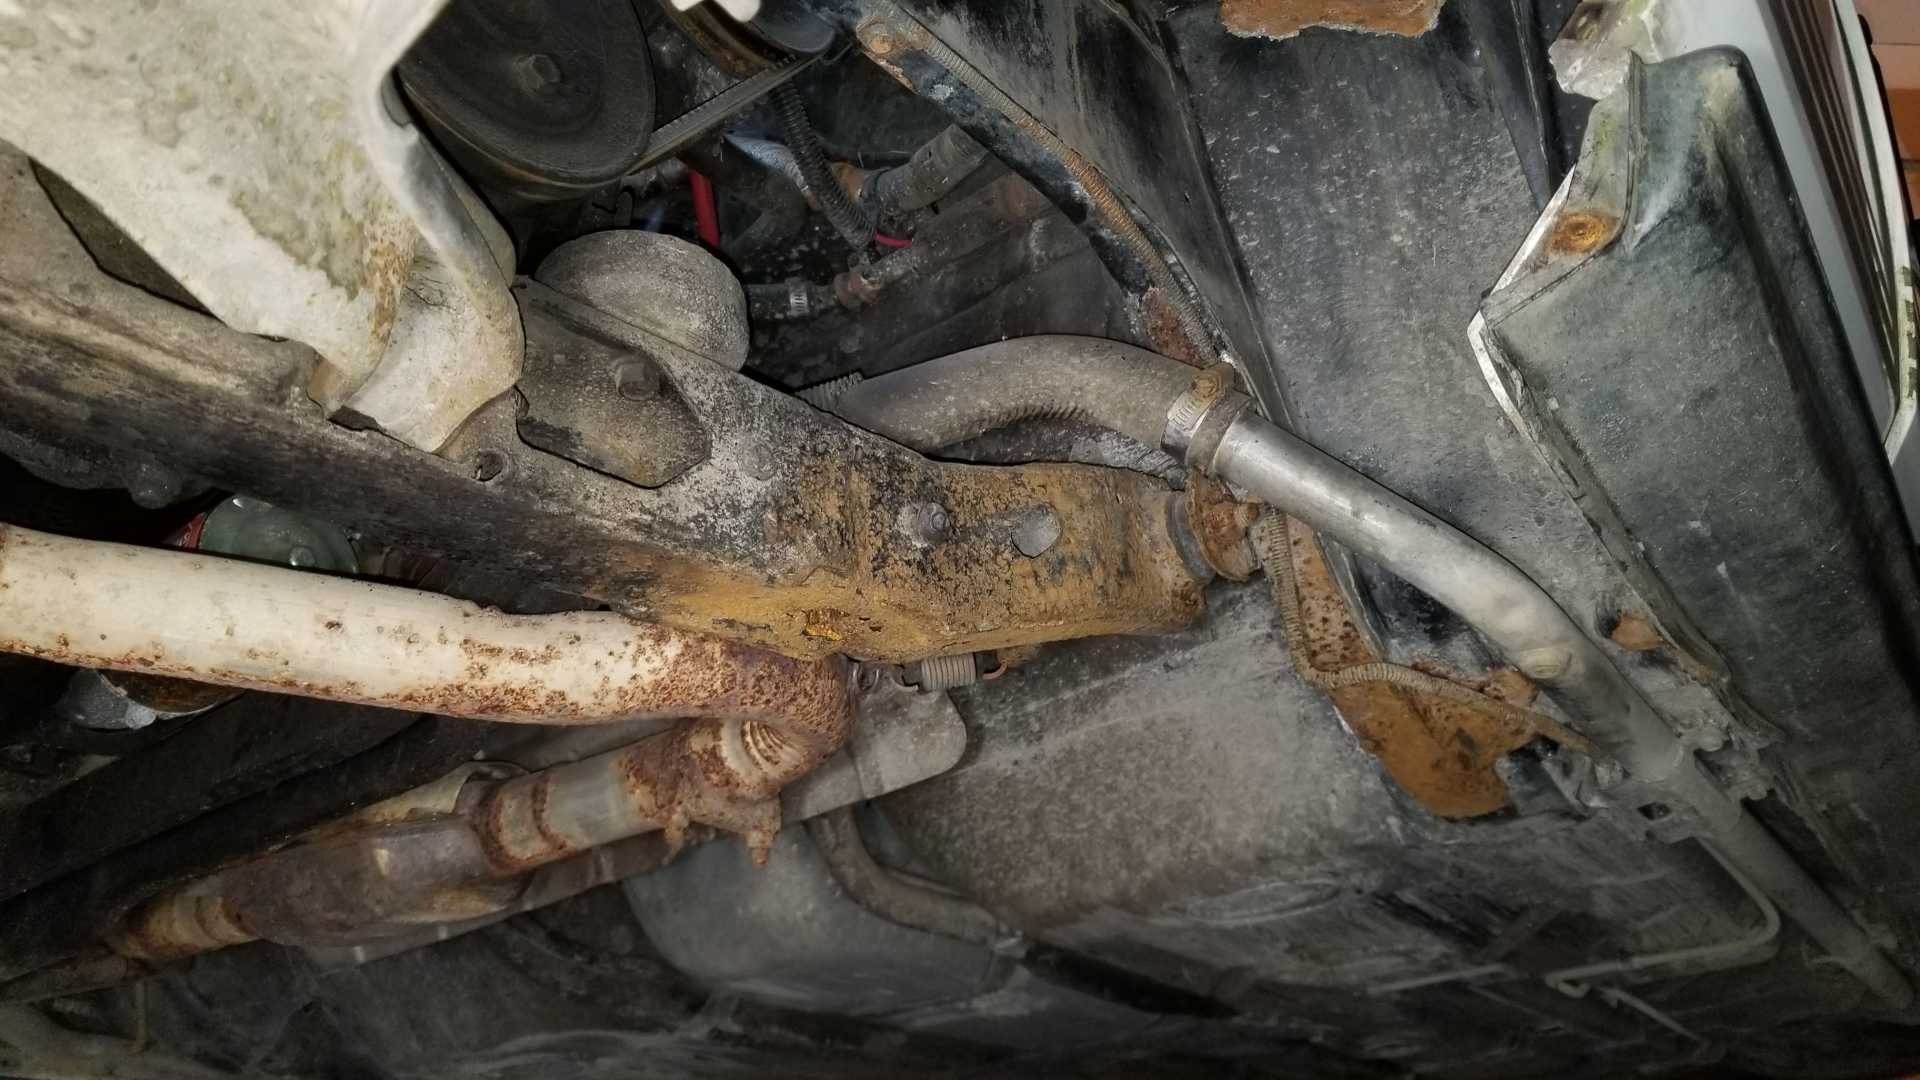
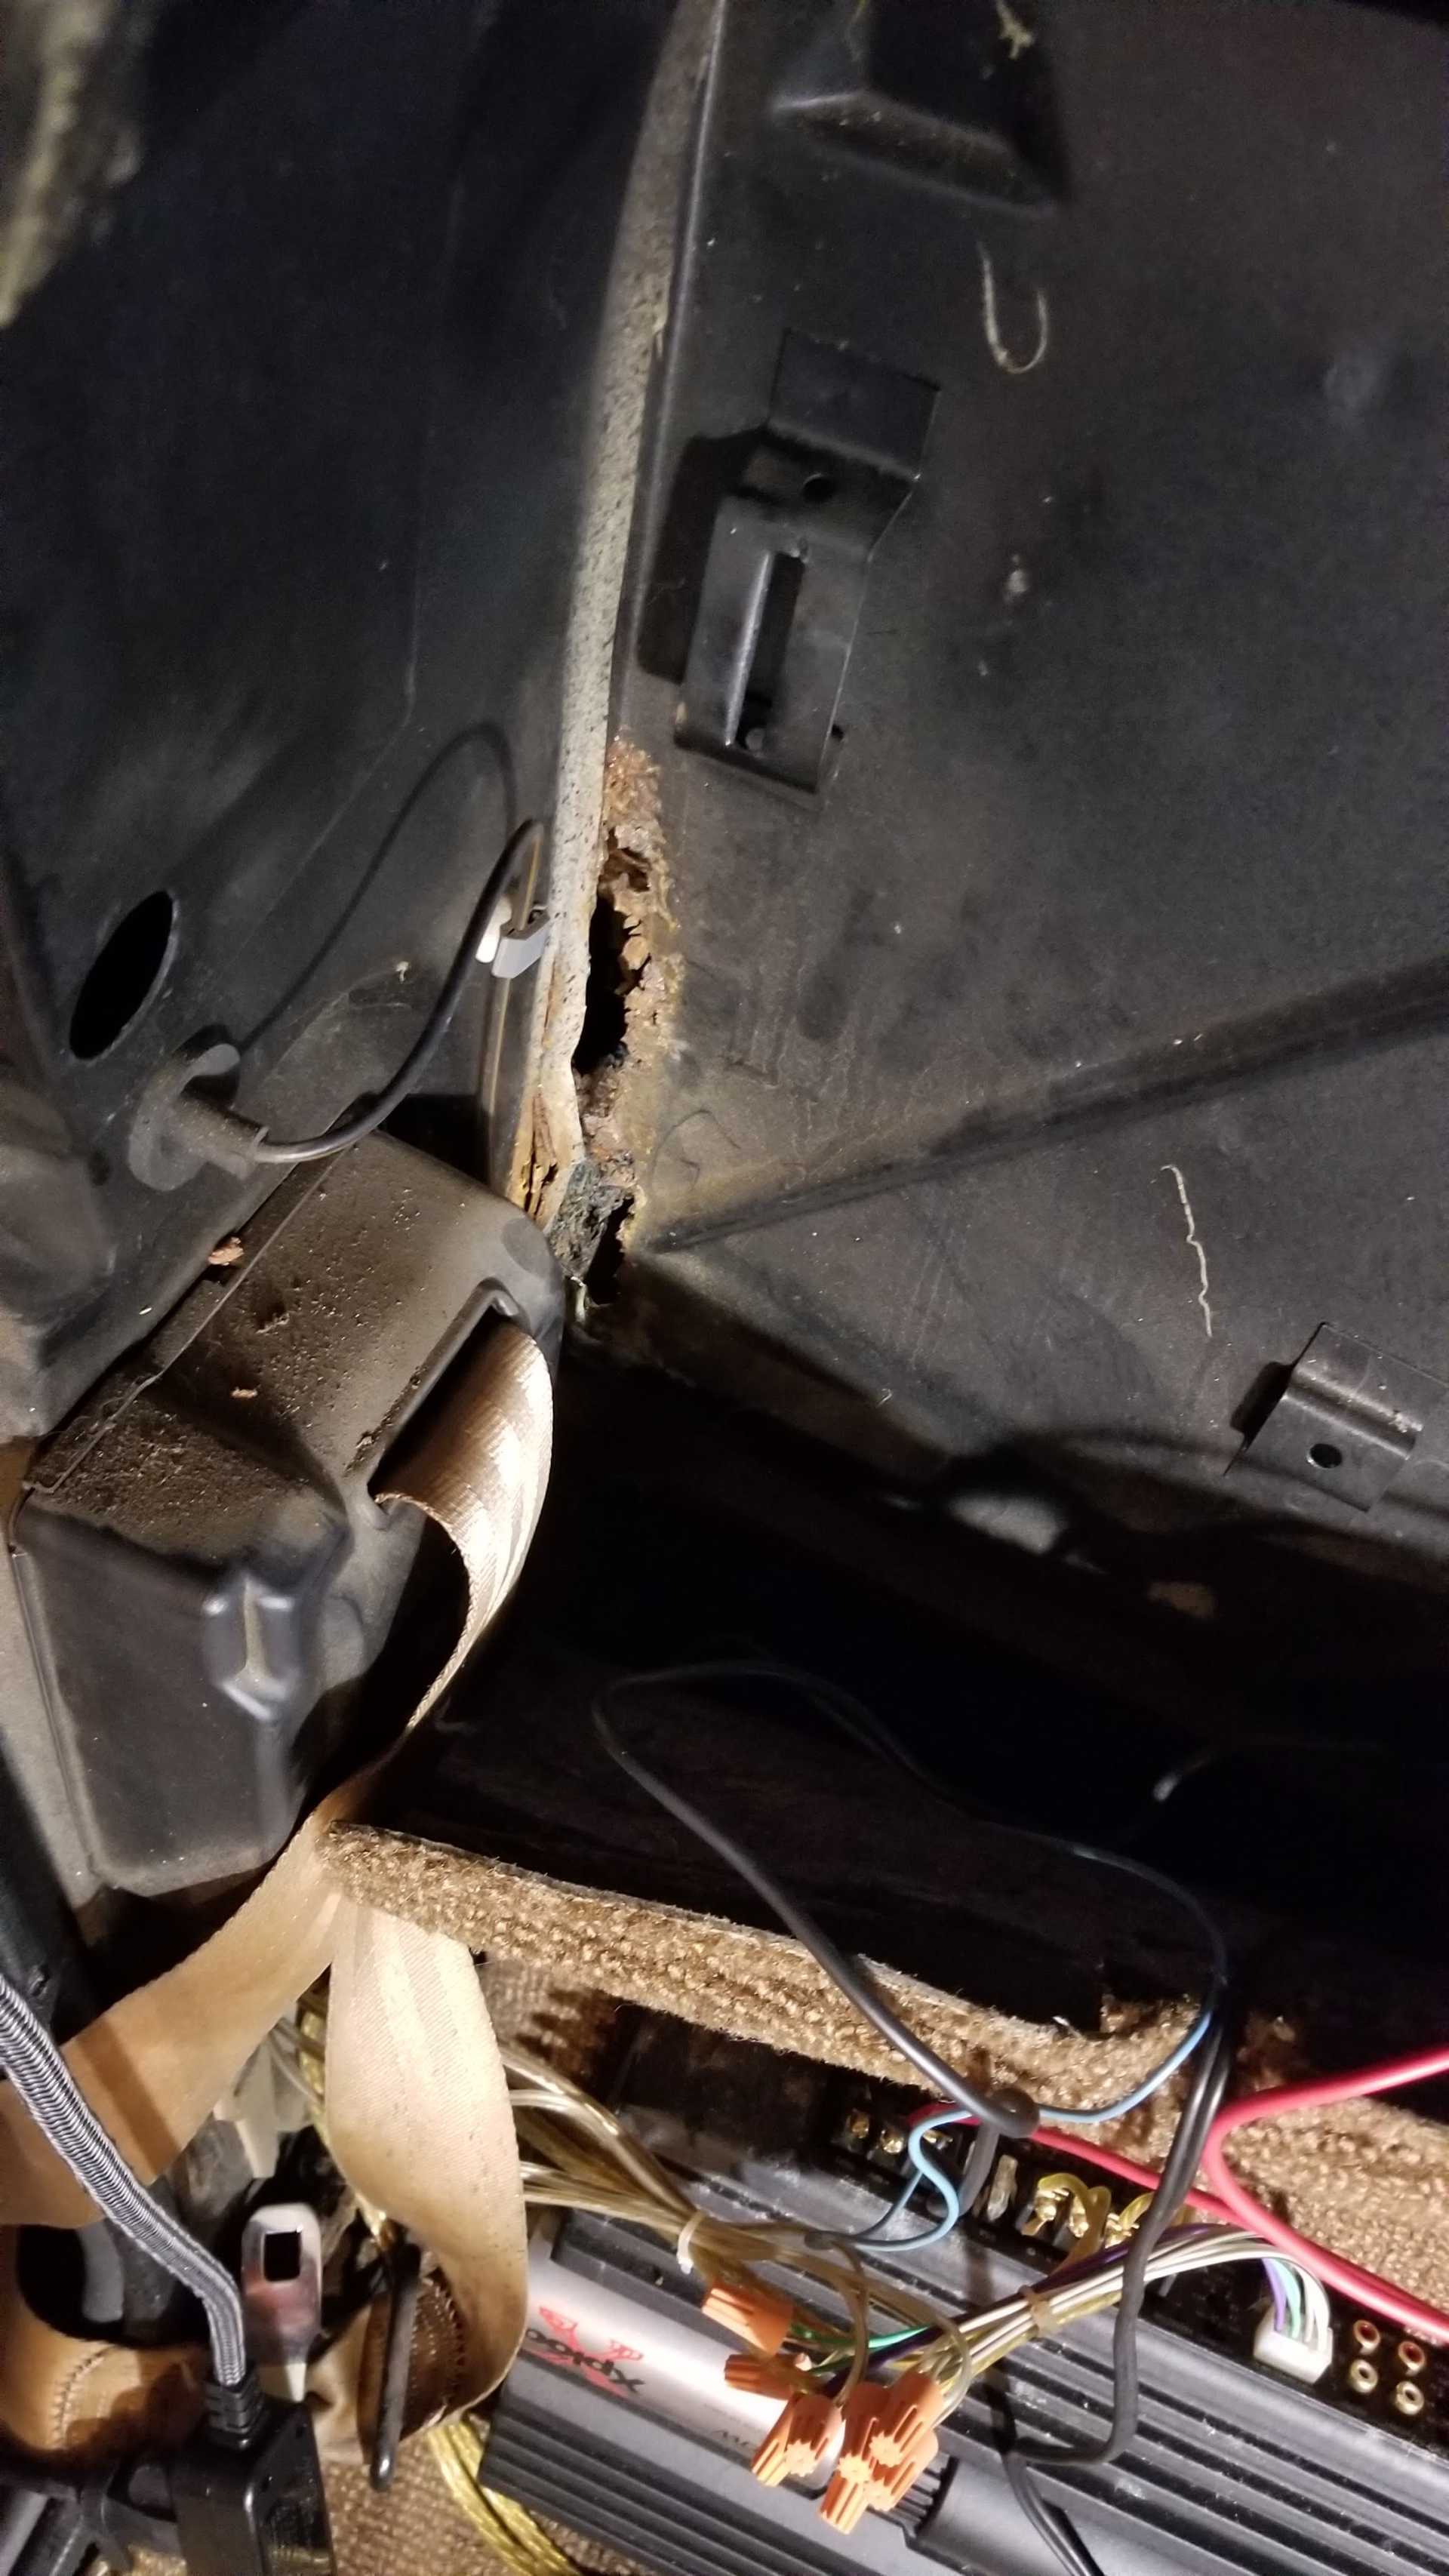
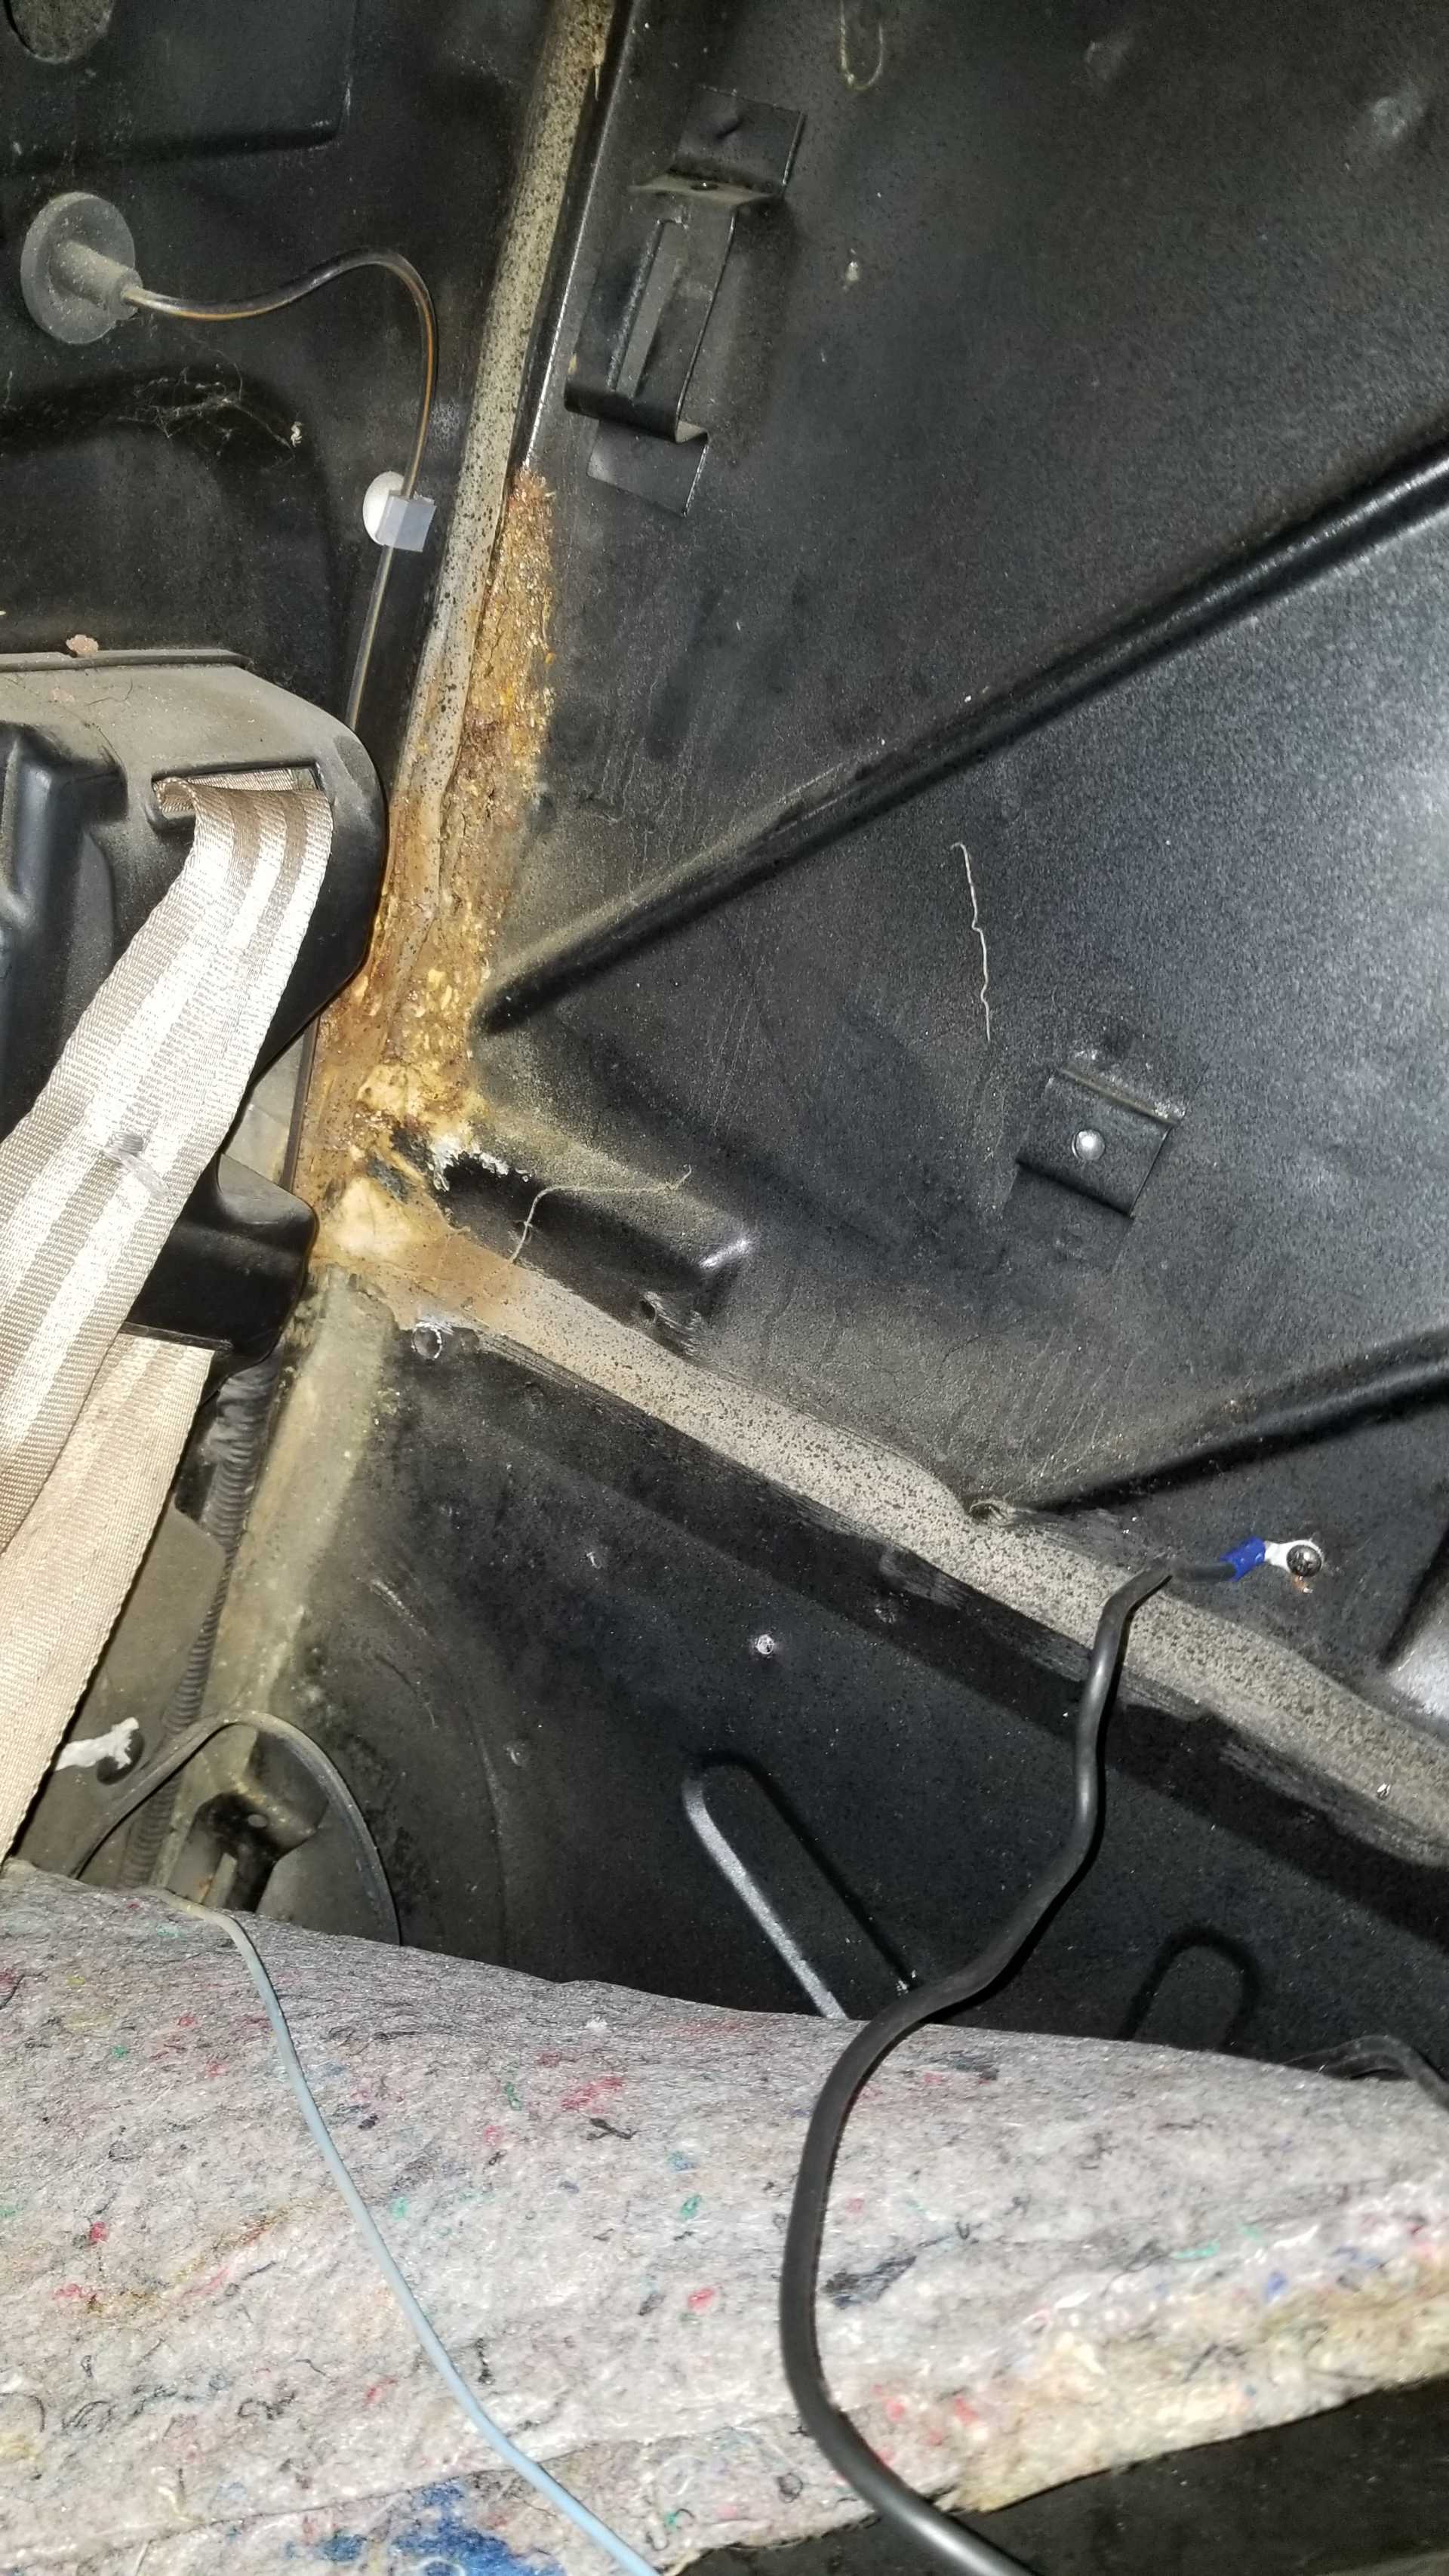
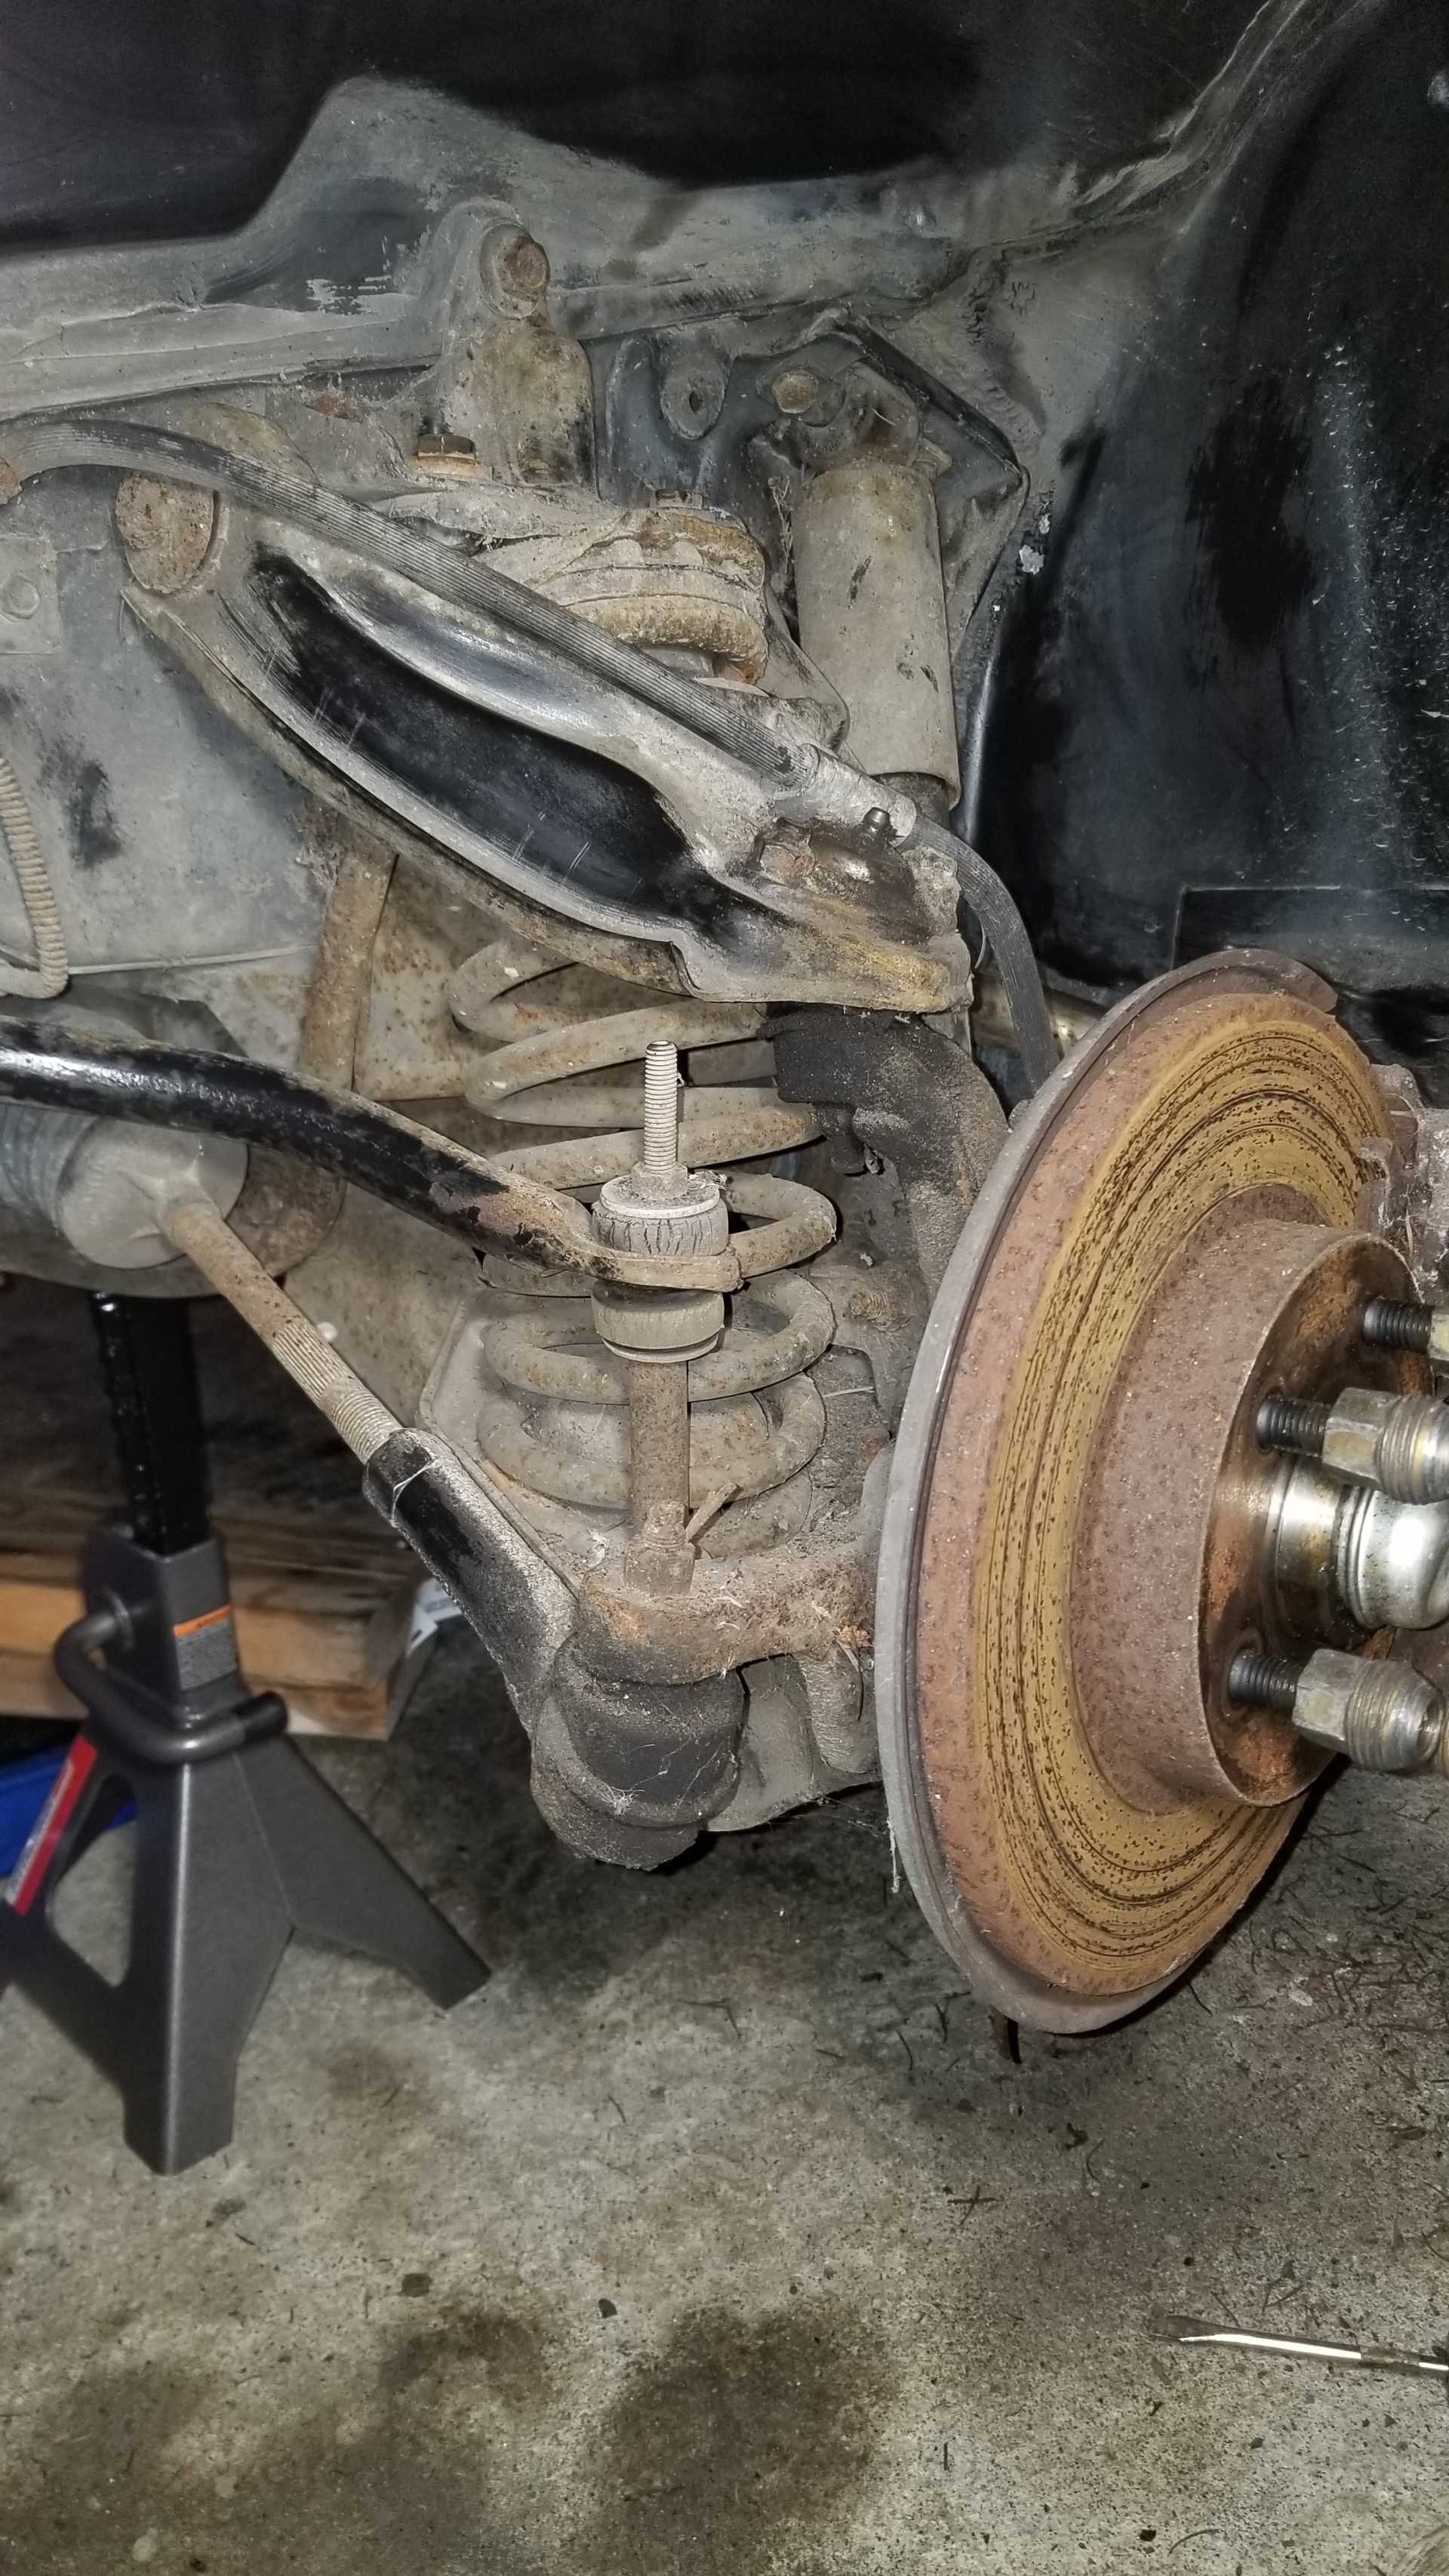
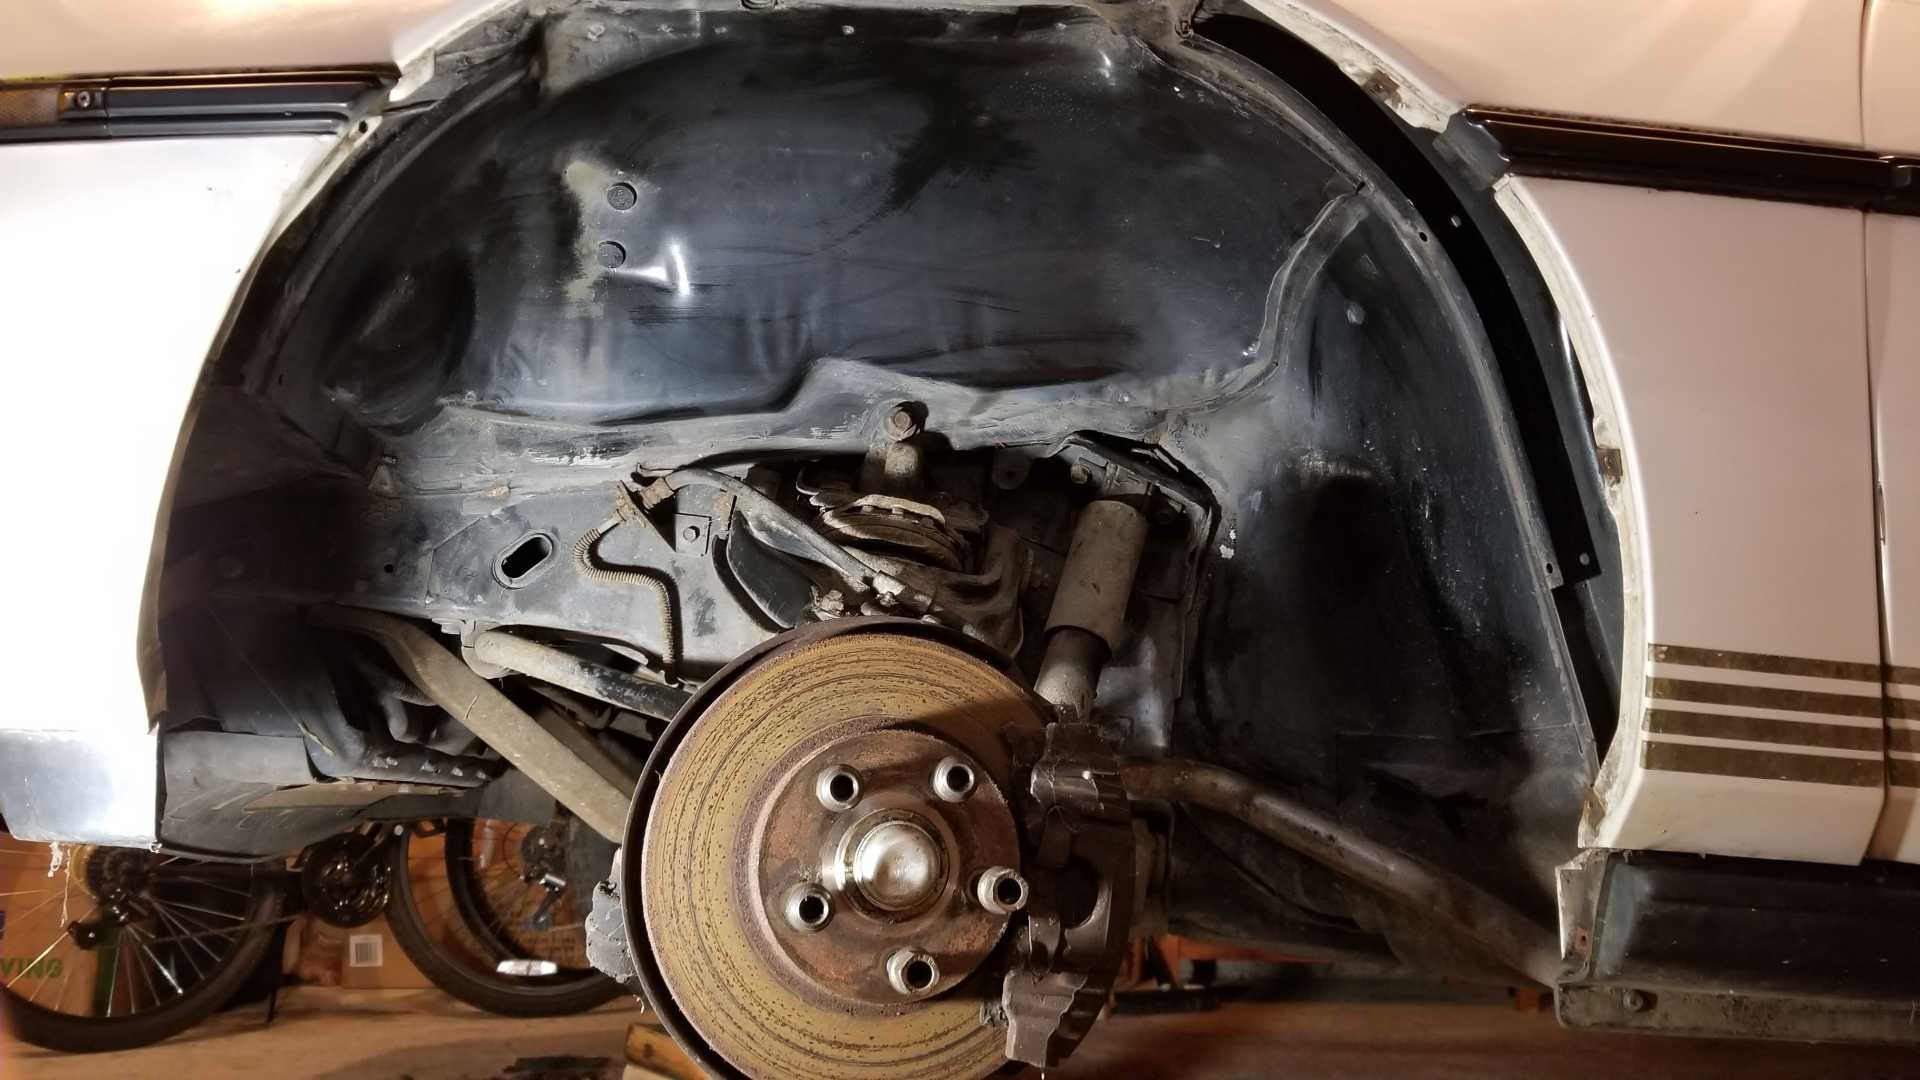
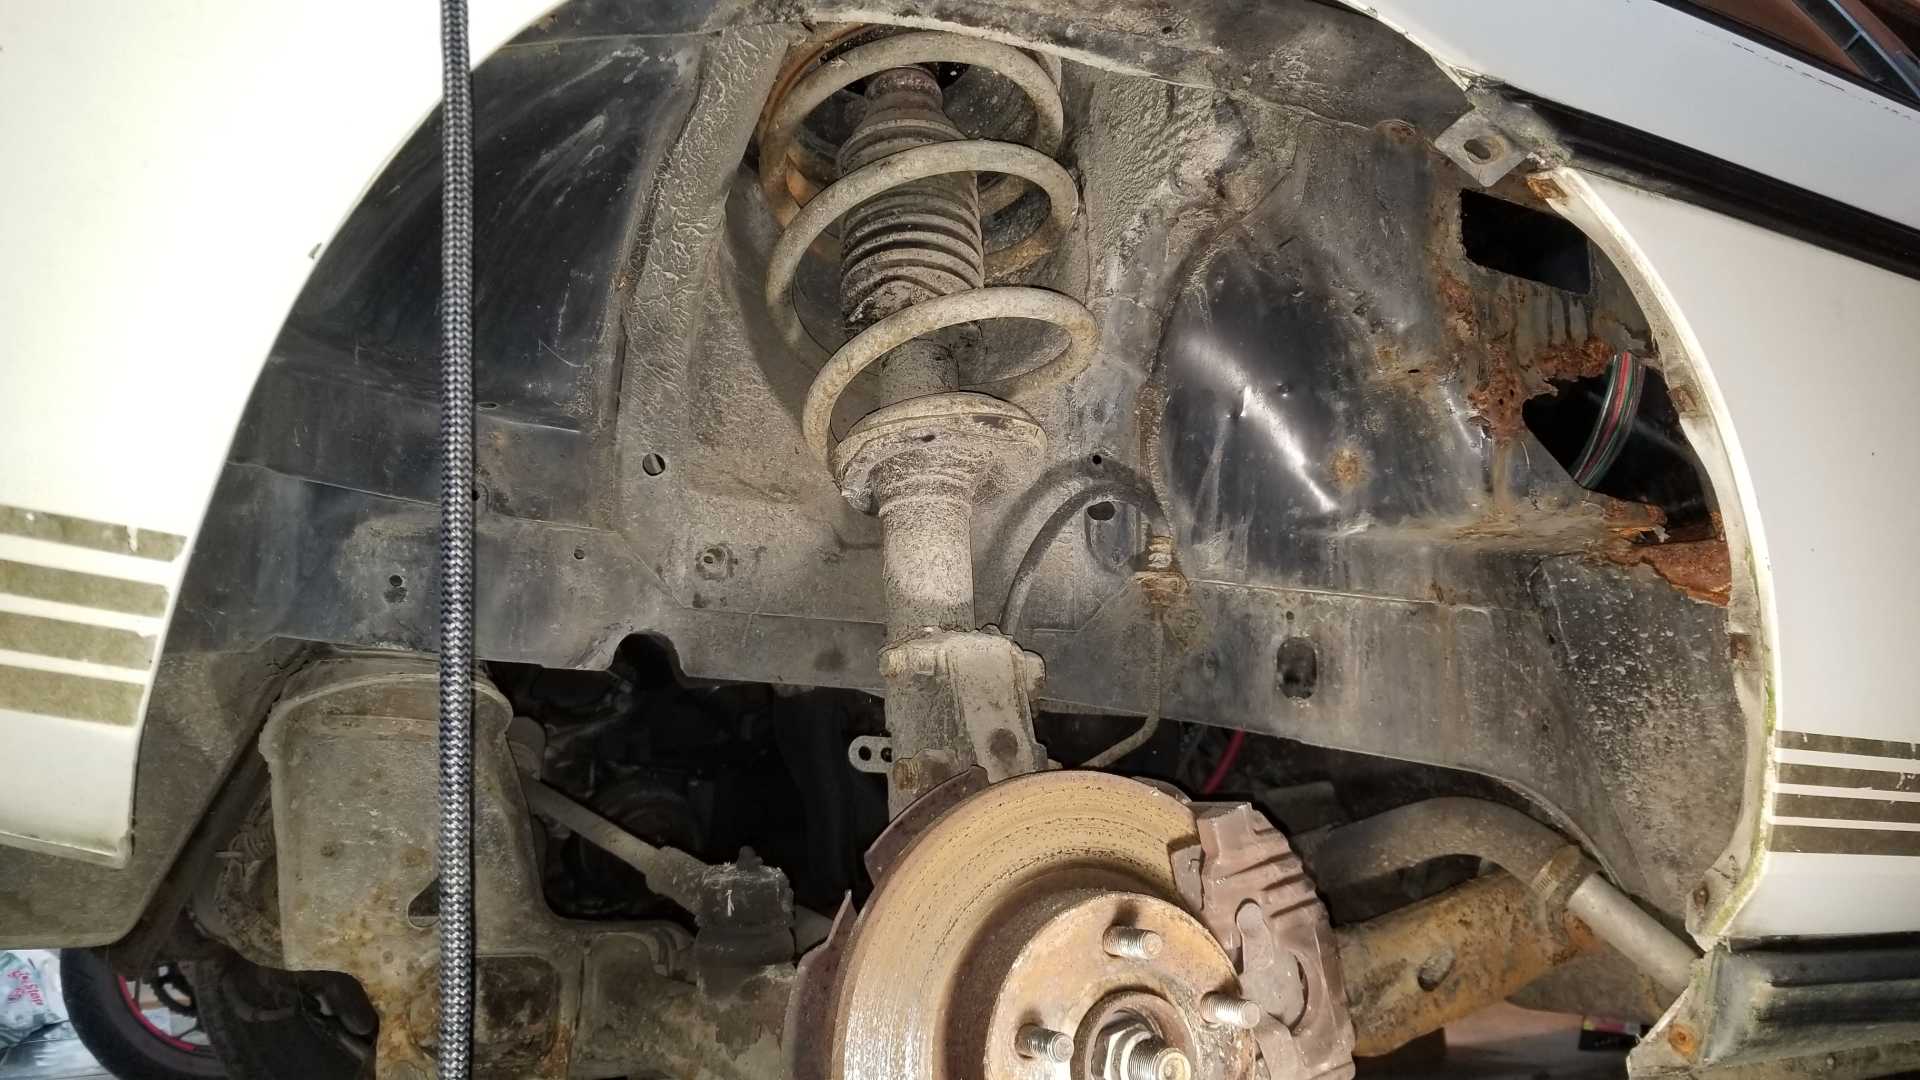
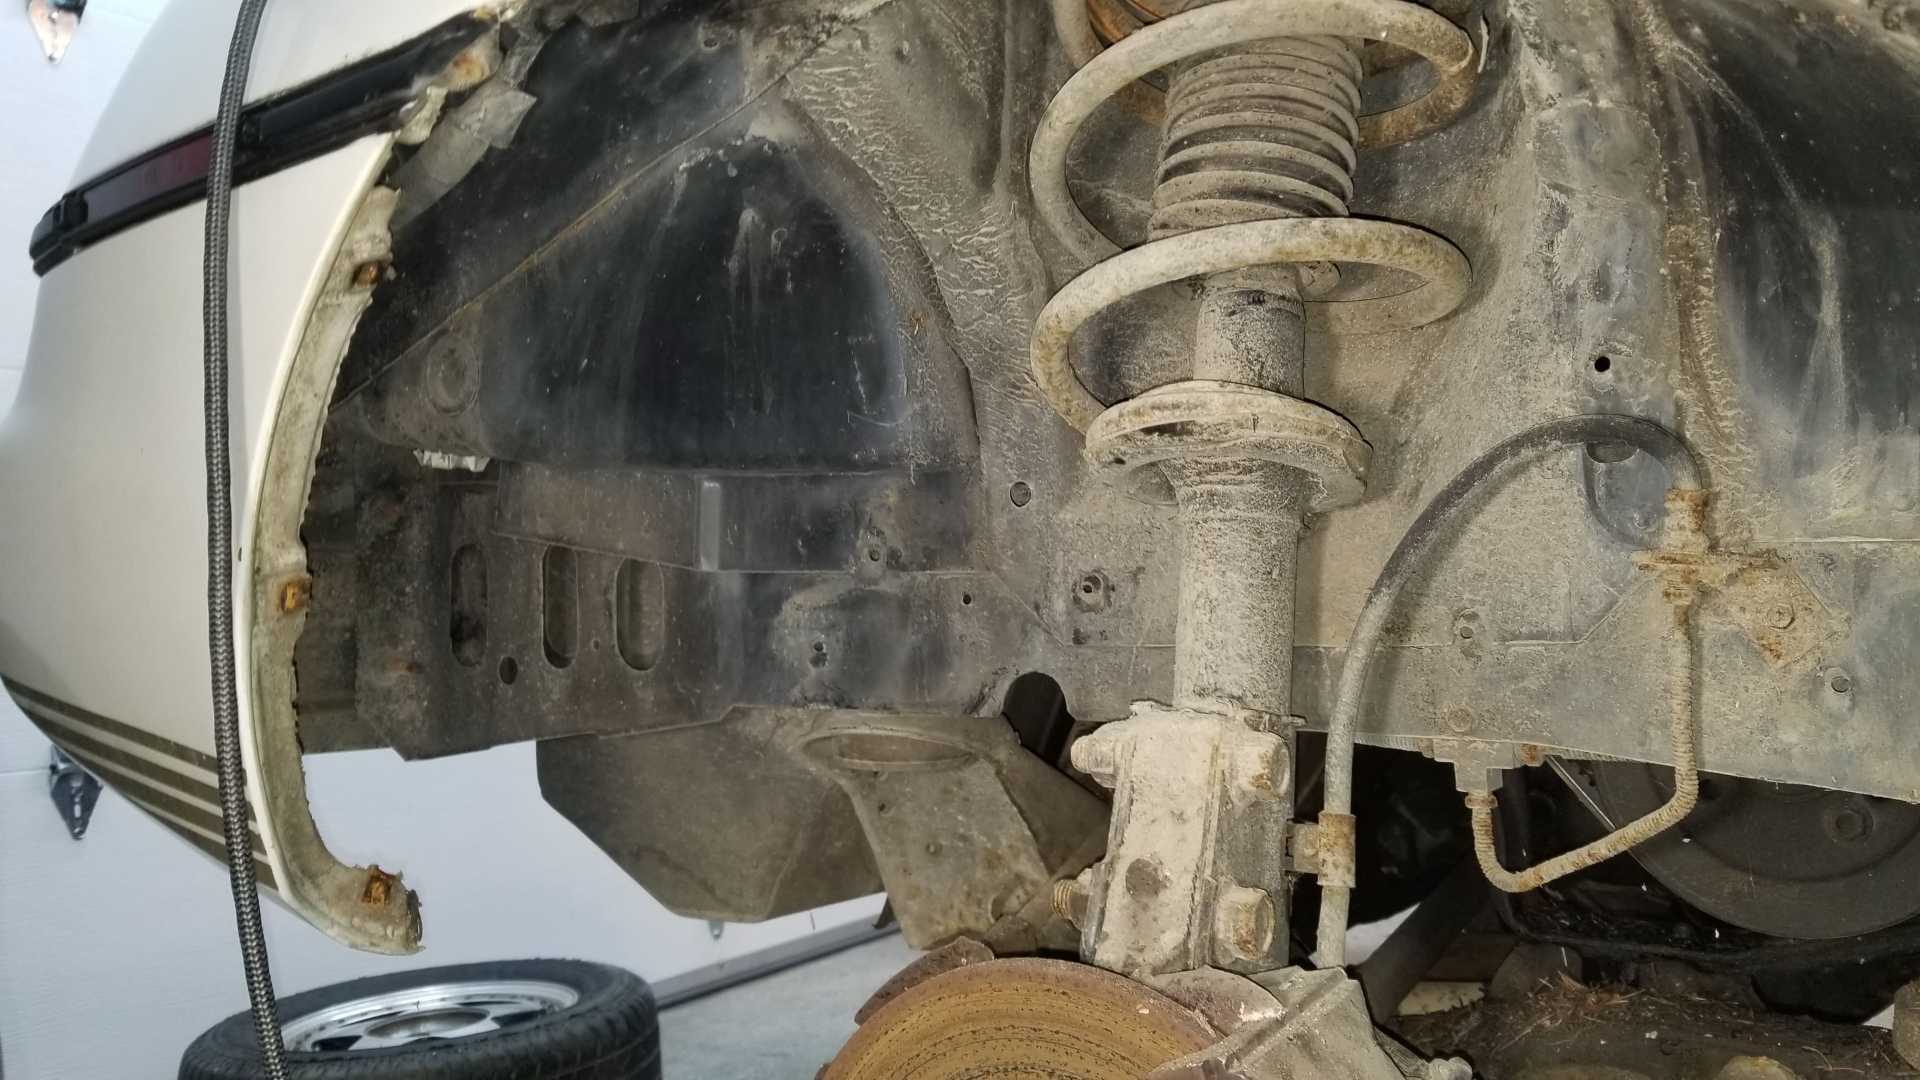
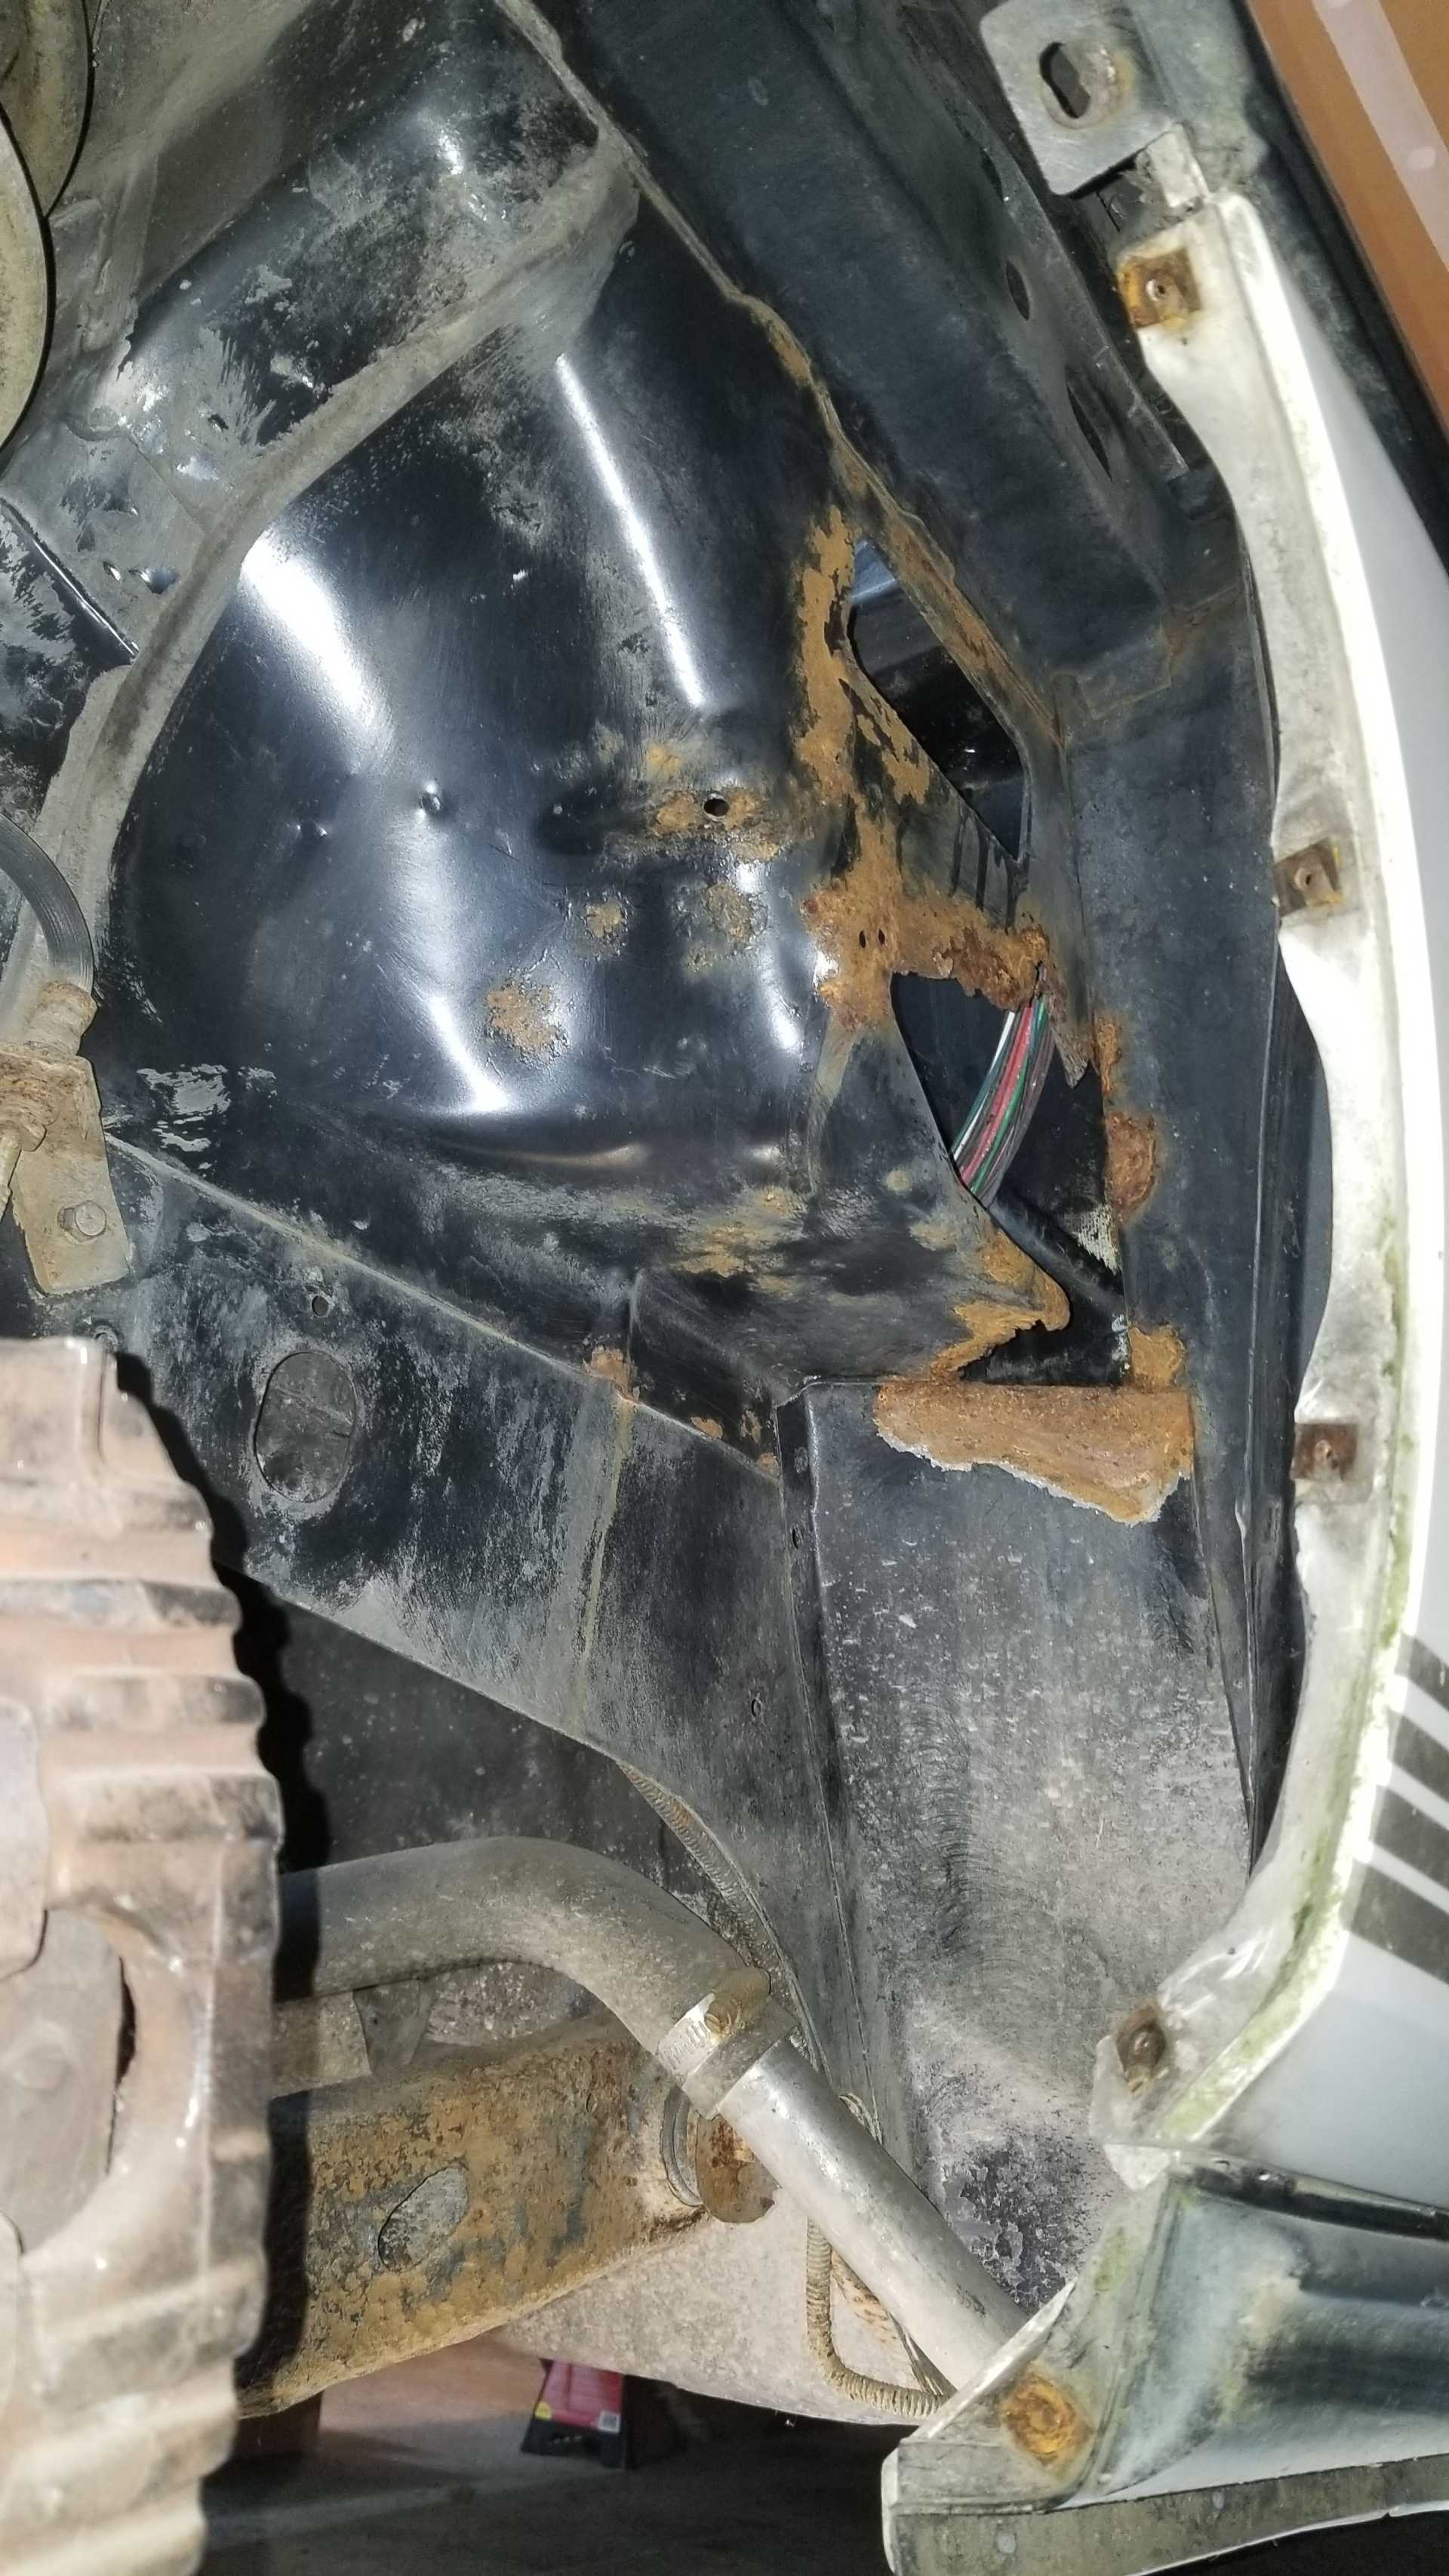
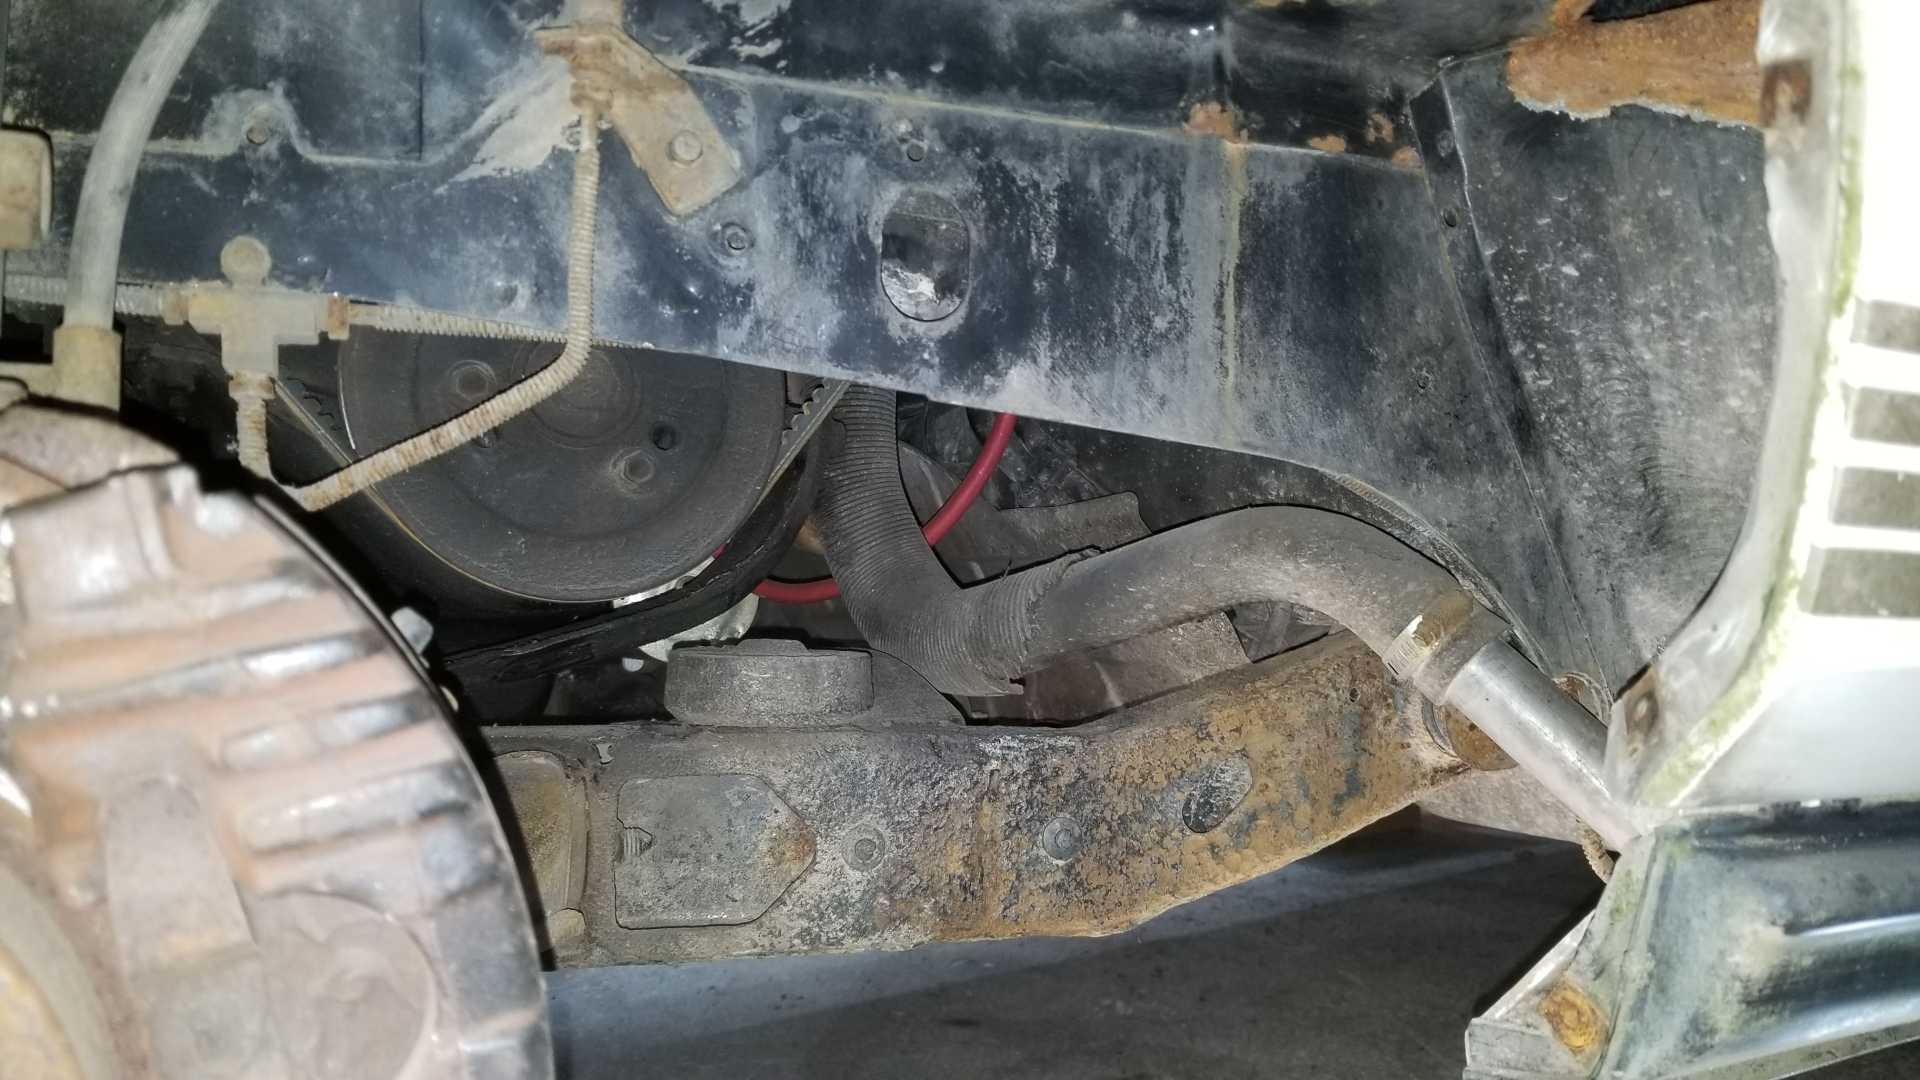
Got the back end up, pulled the liner out. Not as bad as feared but not perfect either. The subframe is pretty pitted and has a couple small holes on the bottom but sounds solid while I'm chipping at things with the flat head. First pics are first removing the liner then after some cleanup with wirebrushes and plastic brushes. Then a video of all of it.
The good news is that the rear upper frame rail (on that side anyway) looks okay.
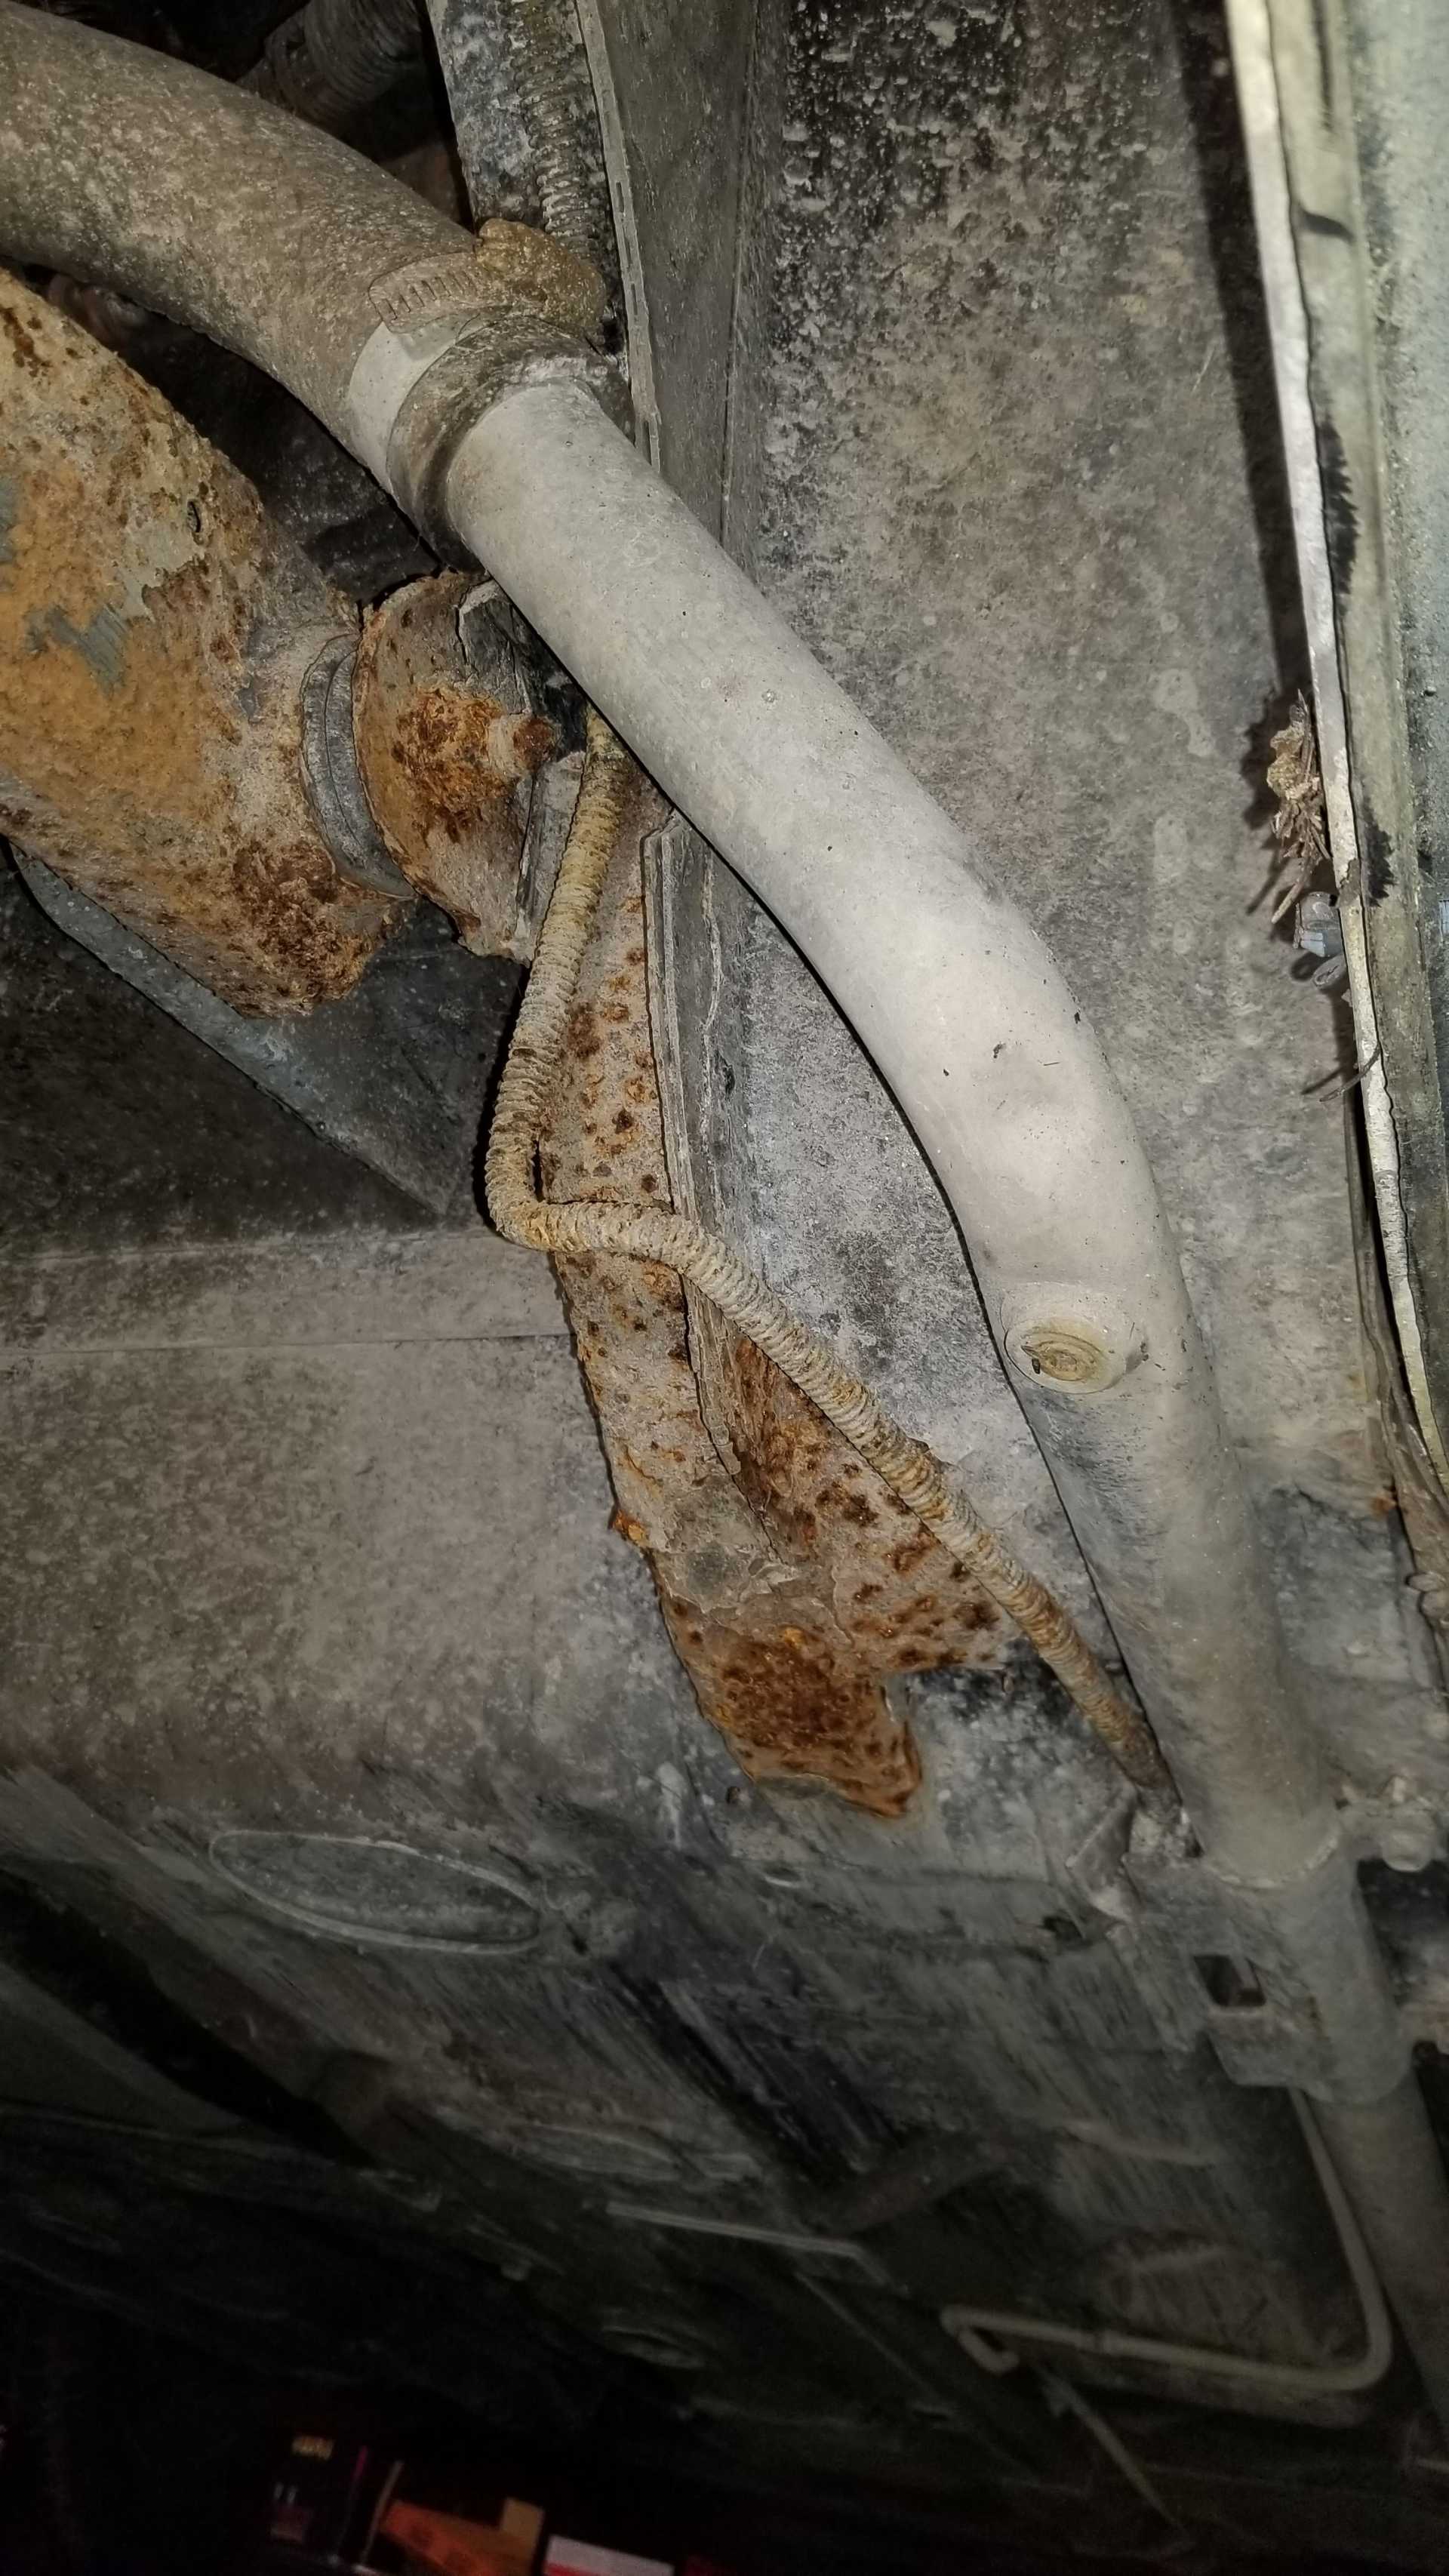
I'm definitely no expert on this, but I'd be concerned with the integrity of the cradle. In this location it's rotted right through the bottom. The frame area on the right looks pretty bad as well.
[This message has been edited by Patrick (edited 01-29-2020).]
yup the cradle is a little sketchy right there, it's in a spot that would be easy enough to repair though. I think just some box section to cut a thick L out of and someone who knows how to weld better then me or me with a new welder and some time I guess lol.
The whole corner of body down there feels solid enough for now but I want to find a way to neutralize what's inside where I can't get to before deciding how much repair is needed or worth doing. (found this while deciding what to type up here https://www.youtube.com/watch?v=OfisO8h8vYY )
Everywhere else I dig into, under the trunk carpet, around the other wheel wells, all looks good pretty darn clean. I'm feeling pretty good about this and at the very least I'll spray everything down with rustoleum rust reformer for now.
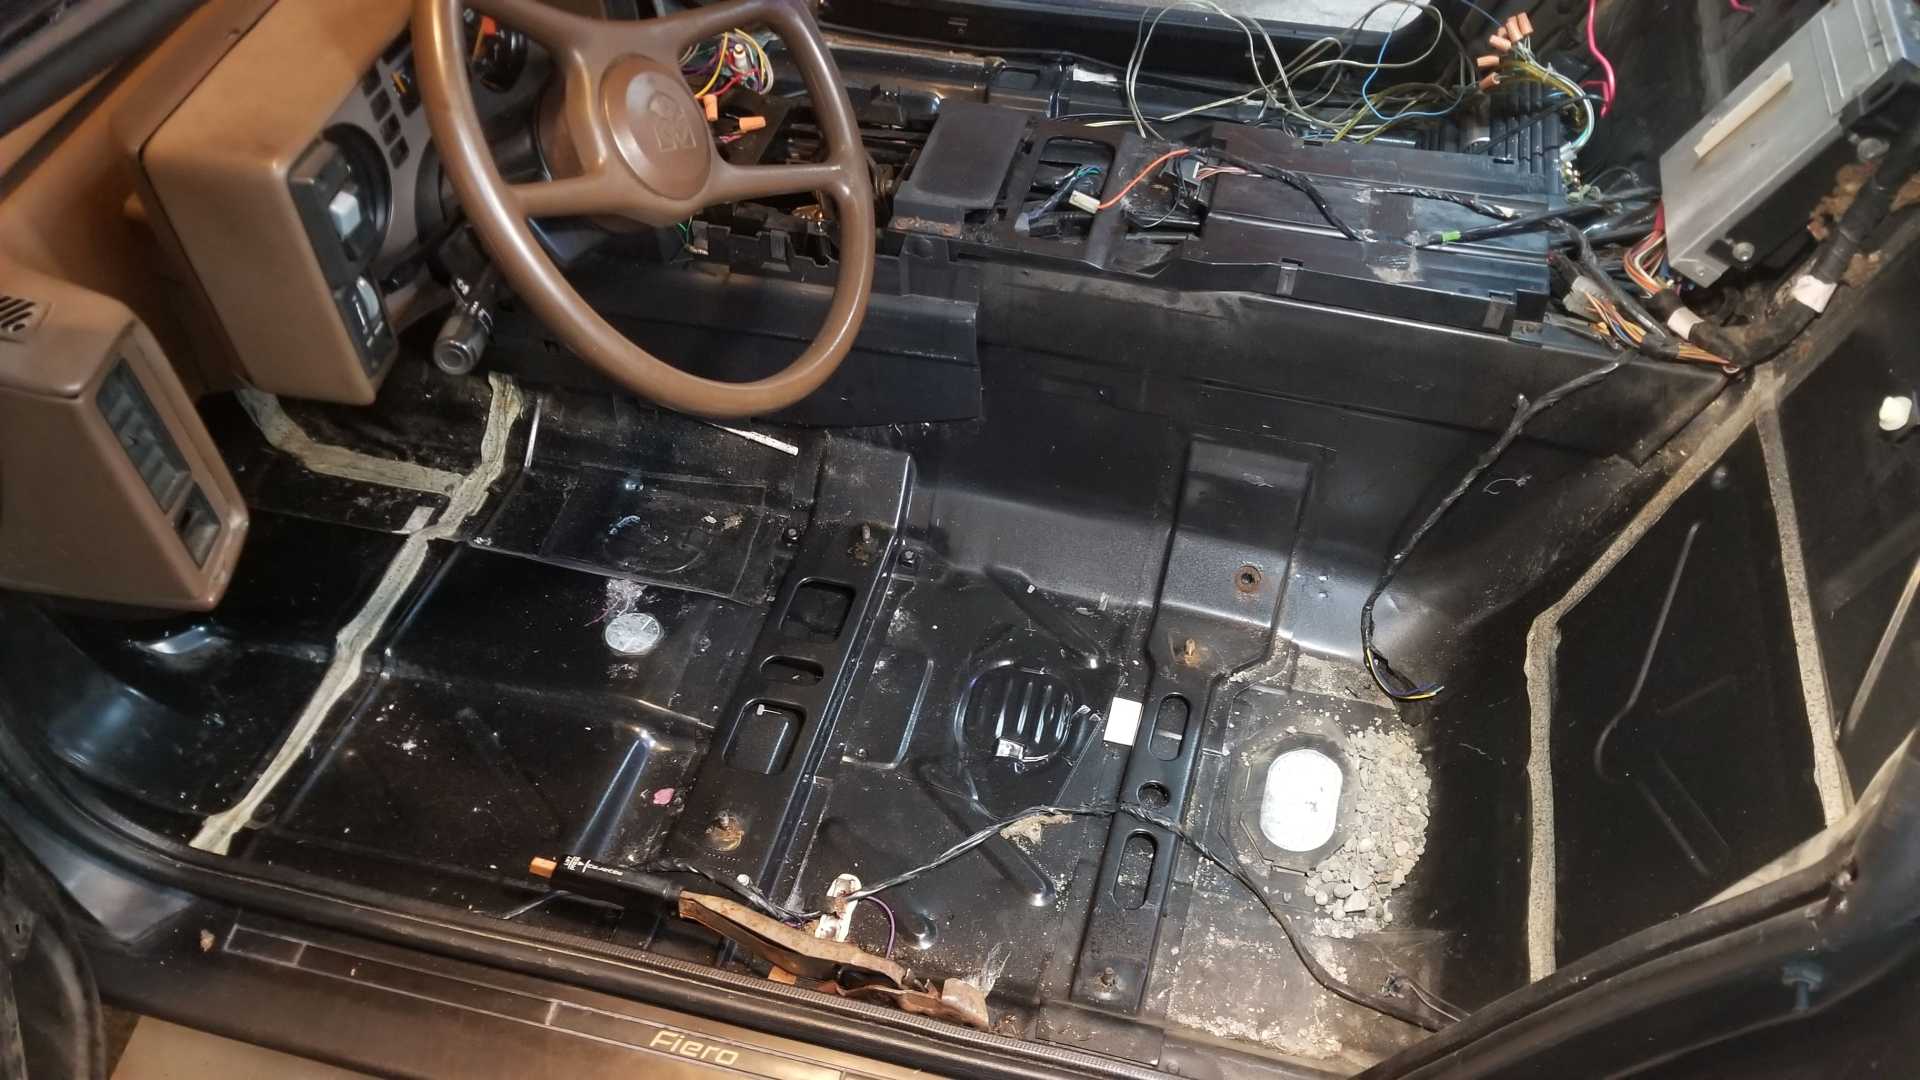
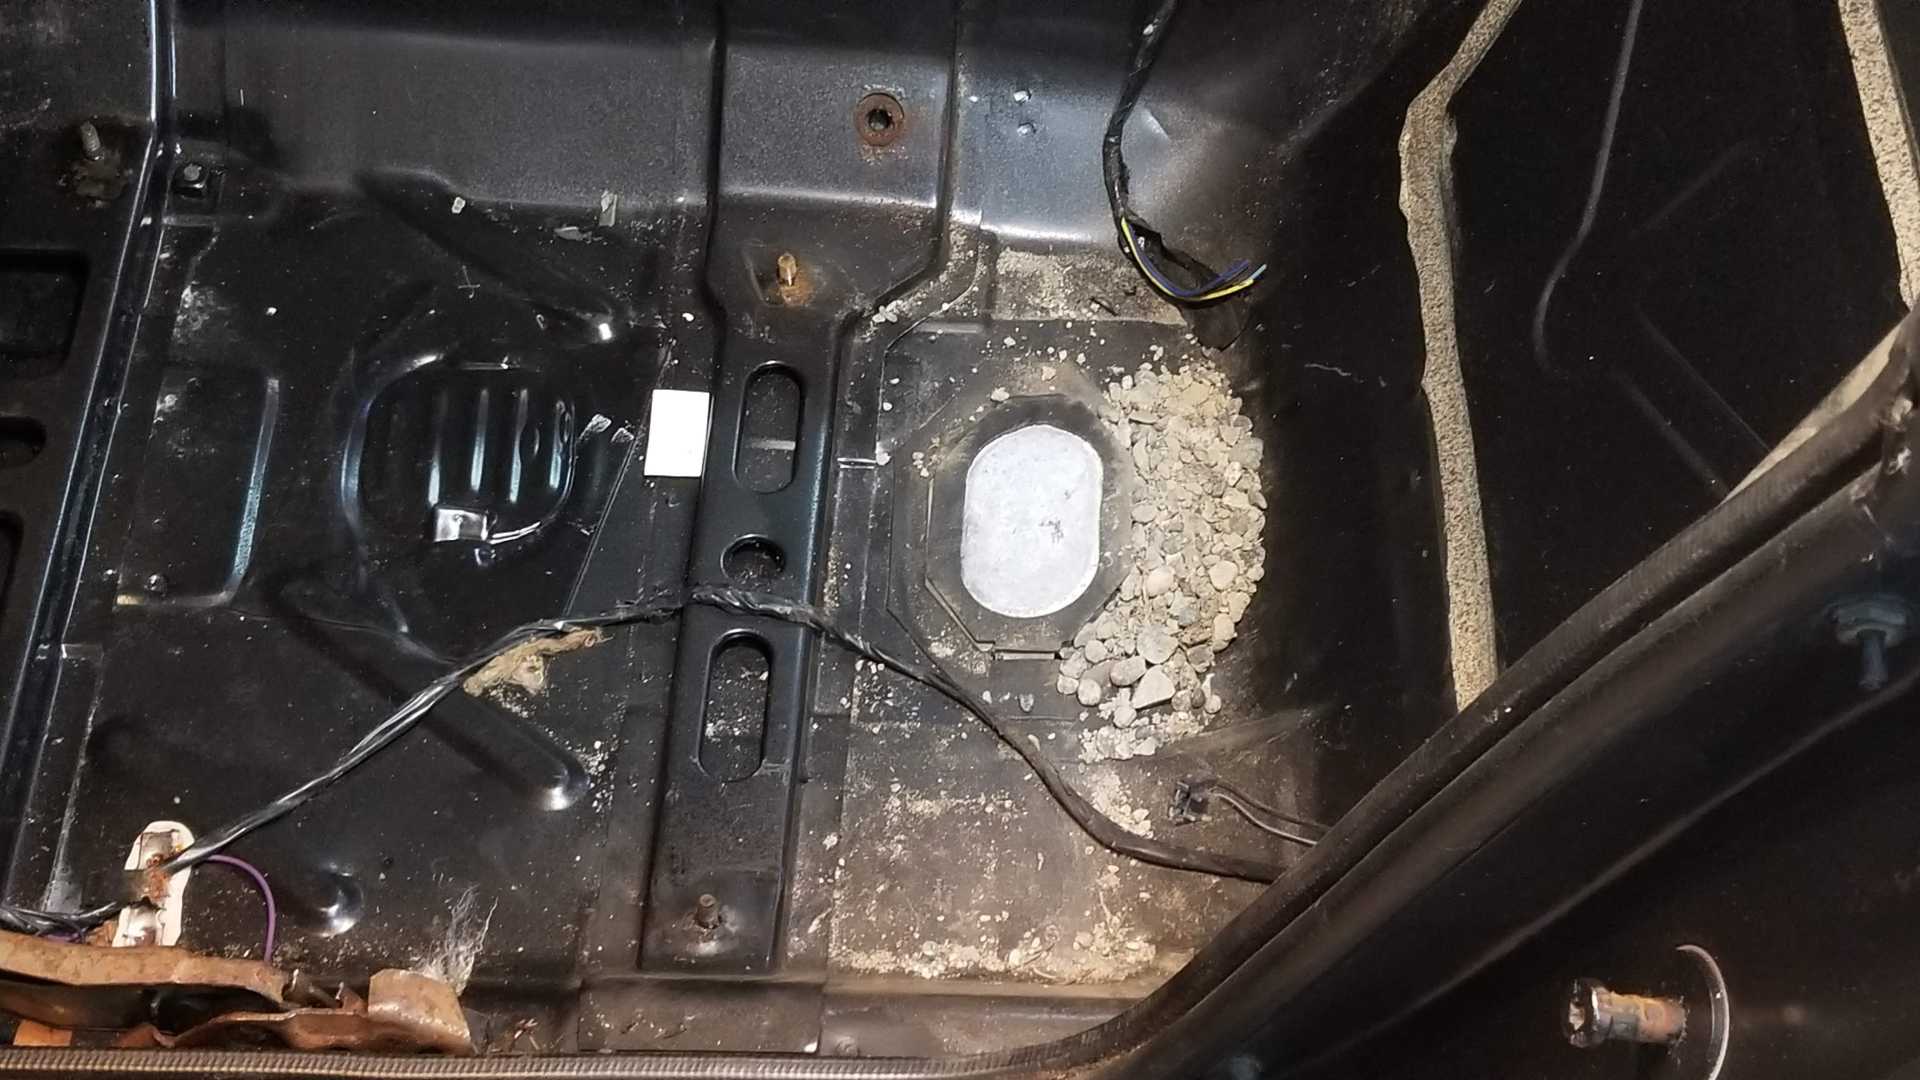
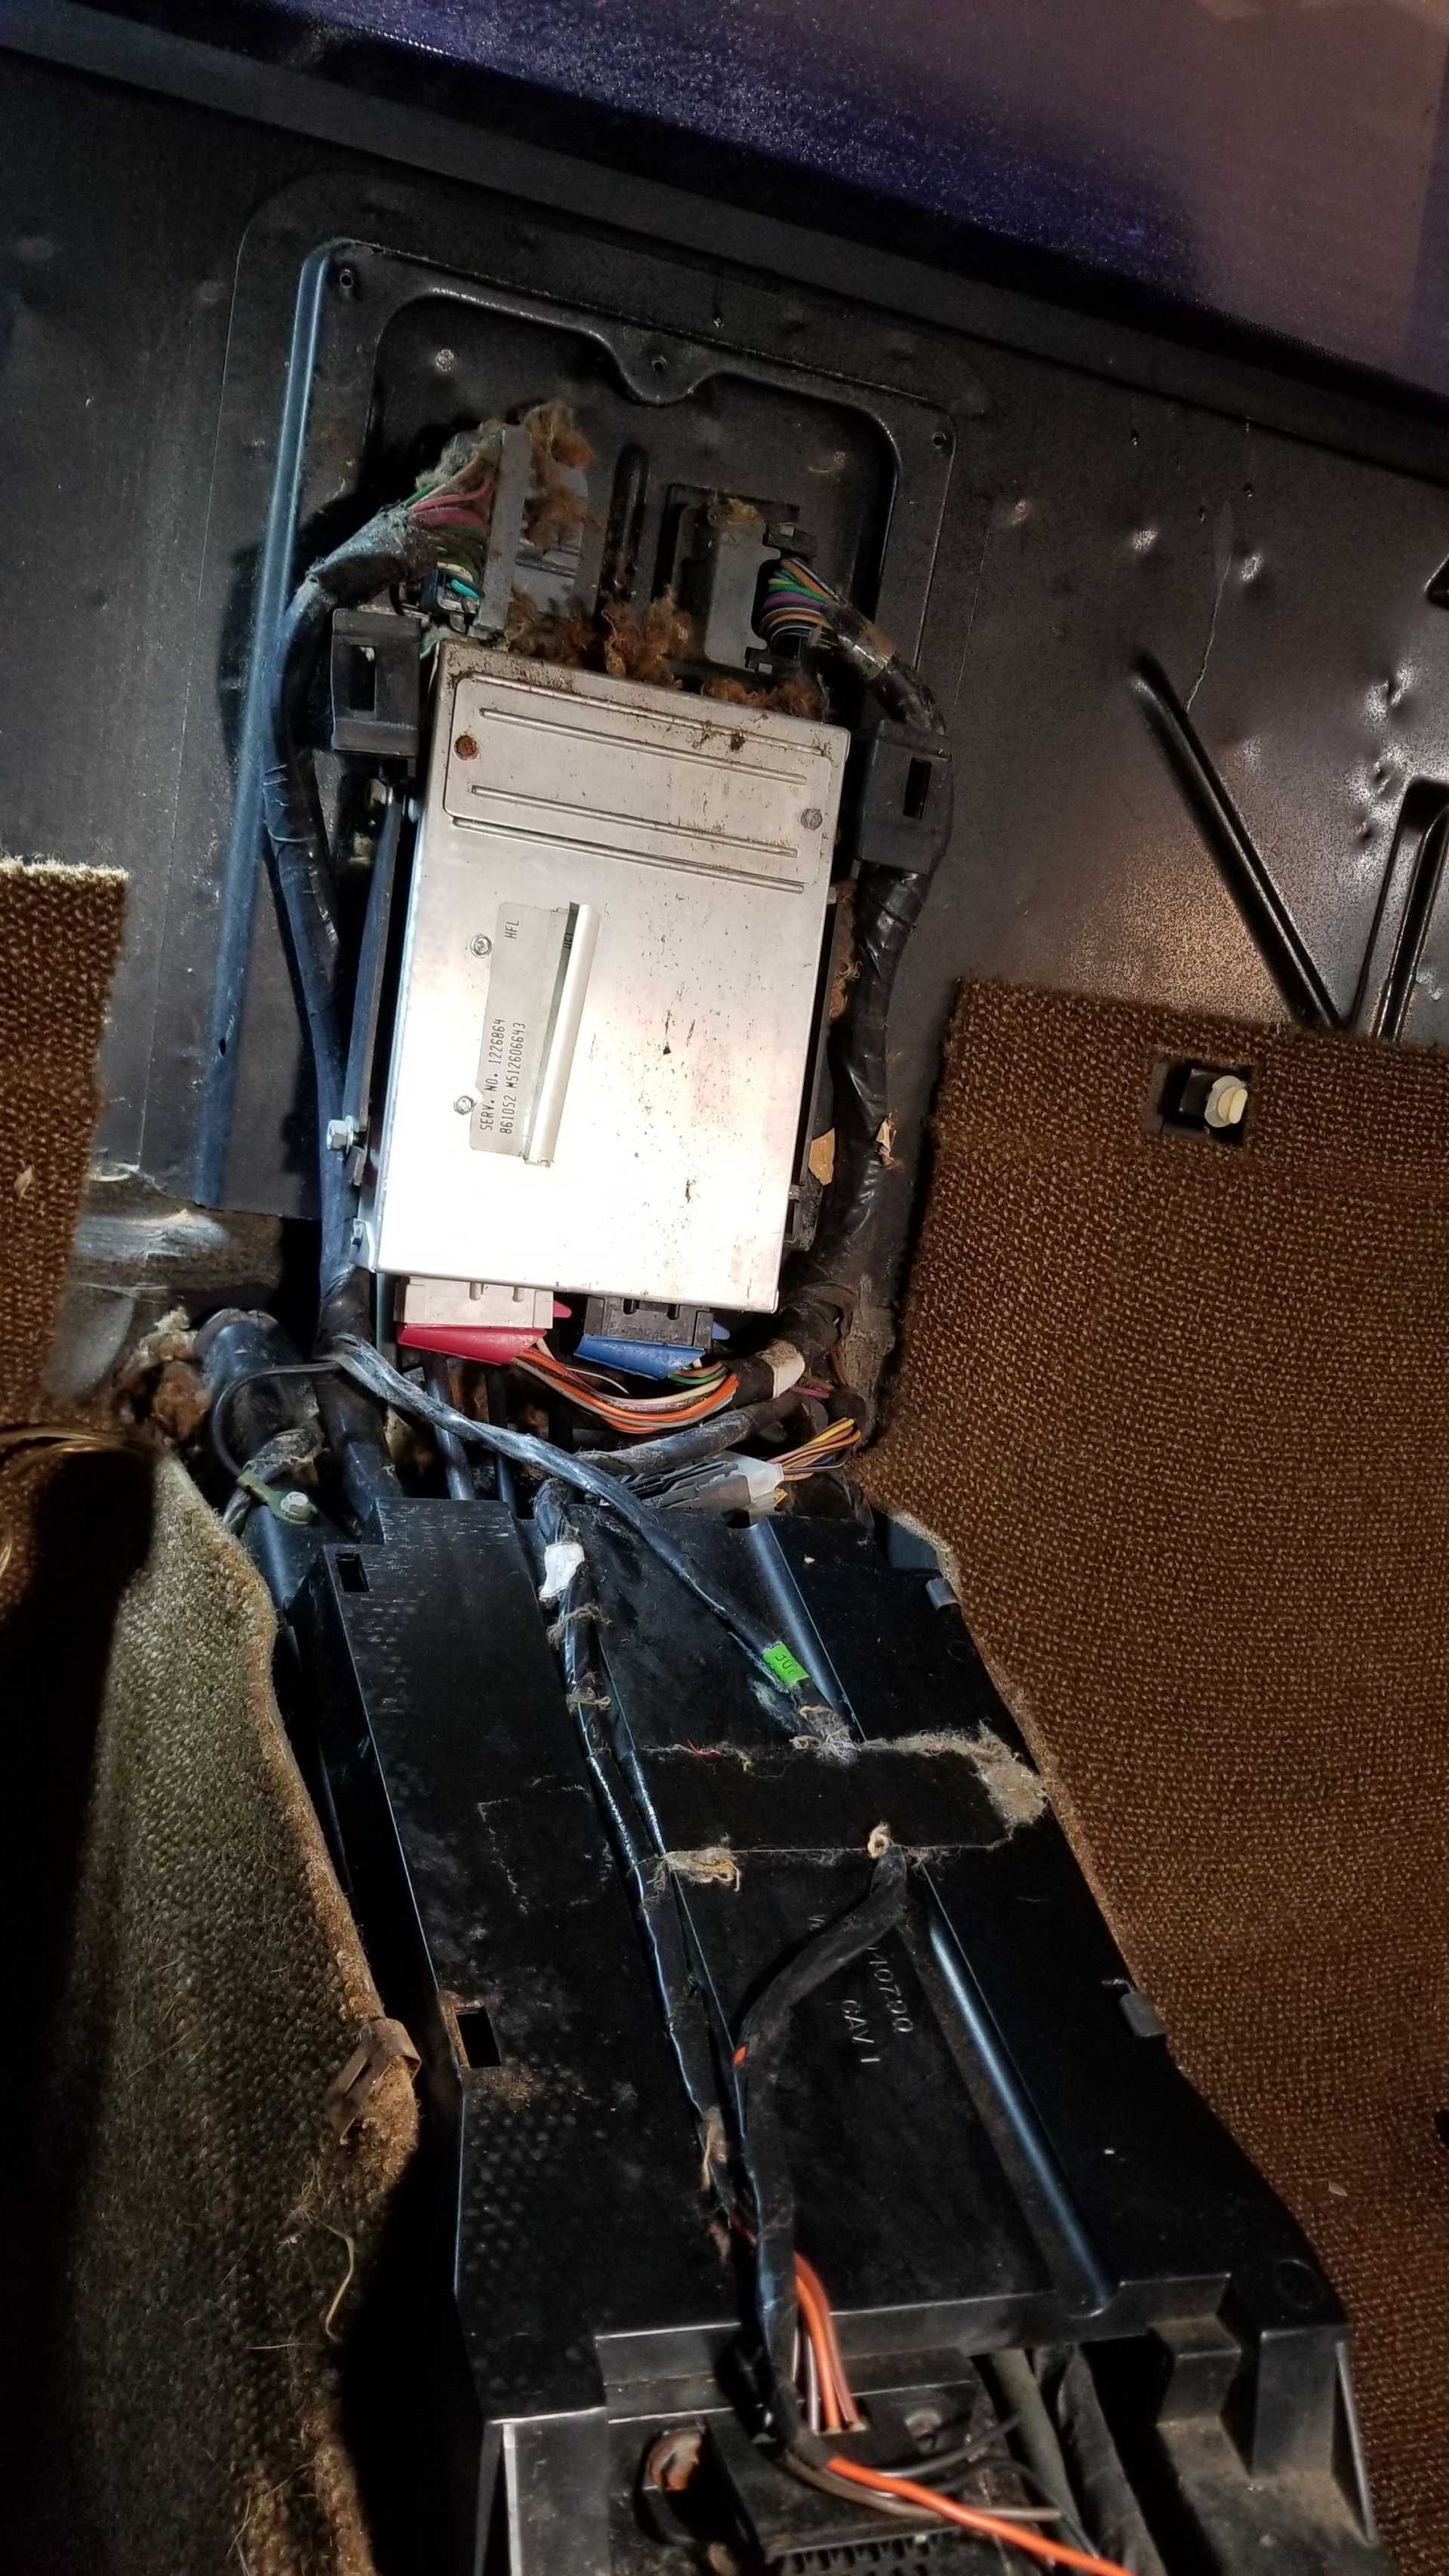
I pulled out the carpets in the cab after looking around the wheel wells, found gravel? weird lol.
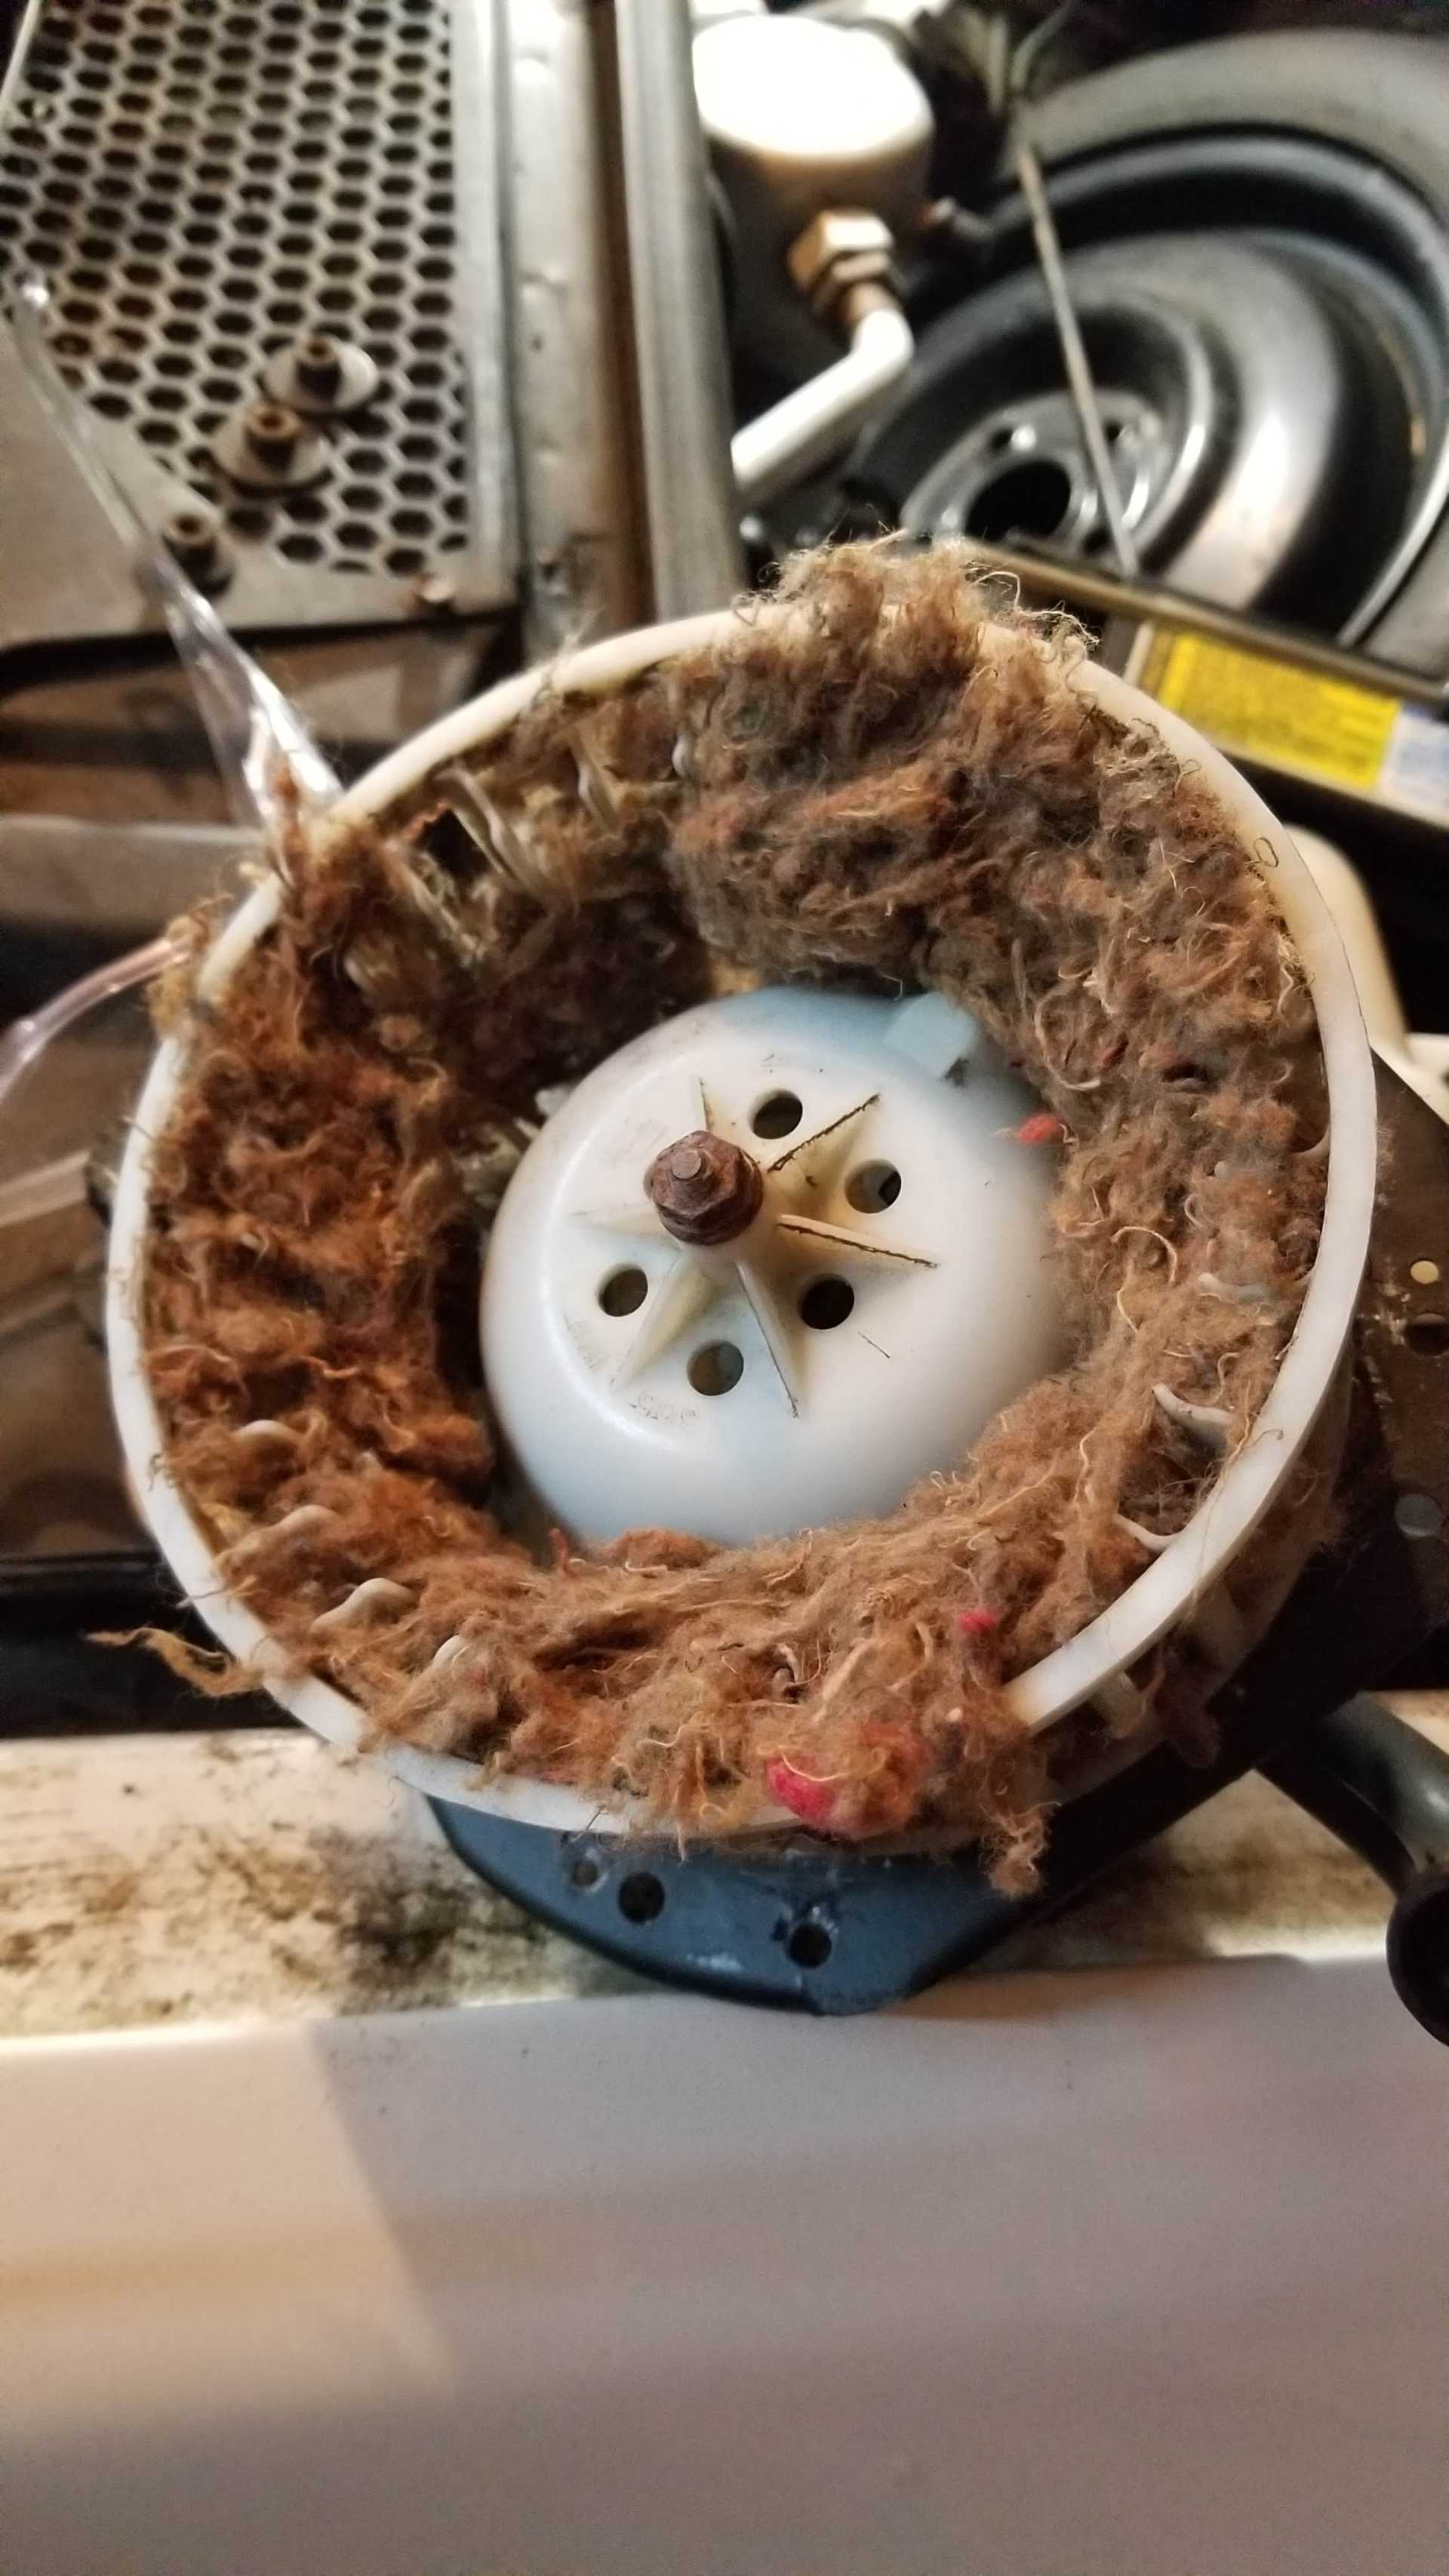
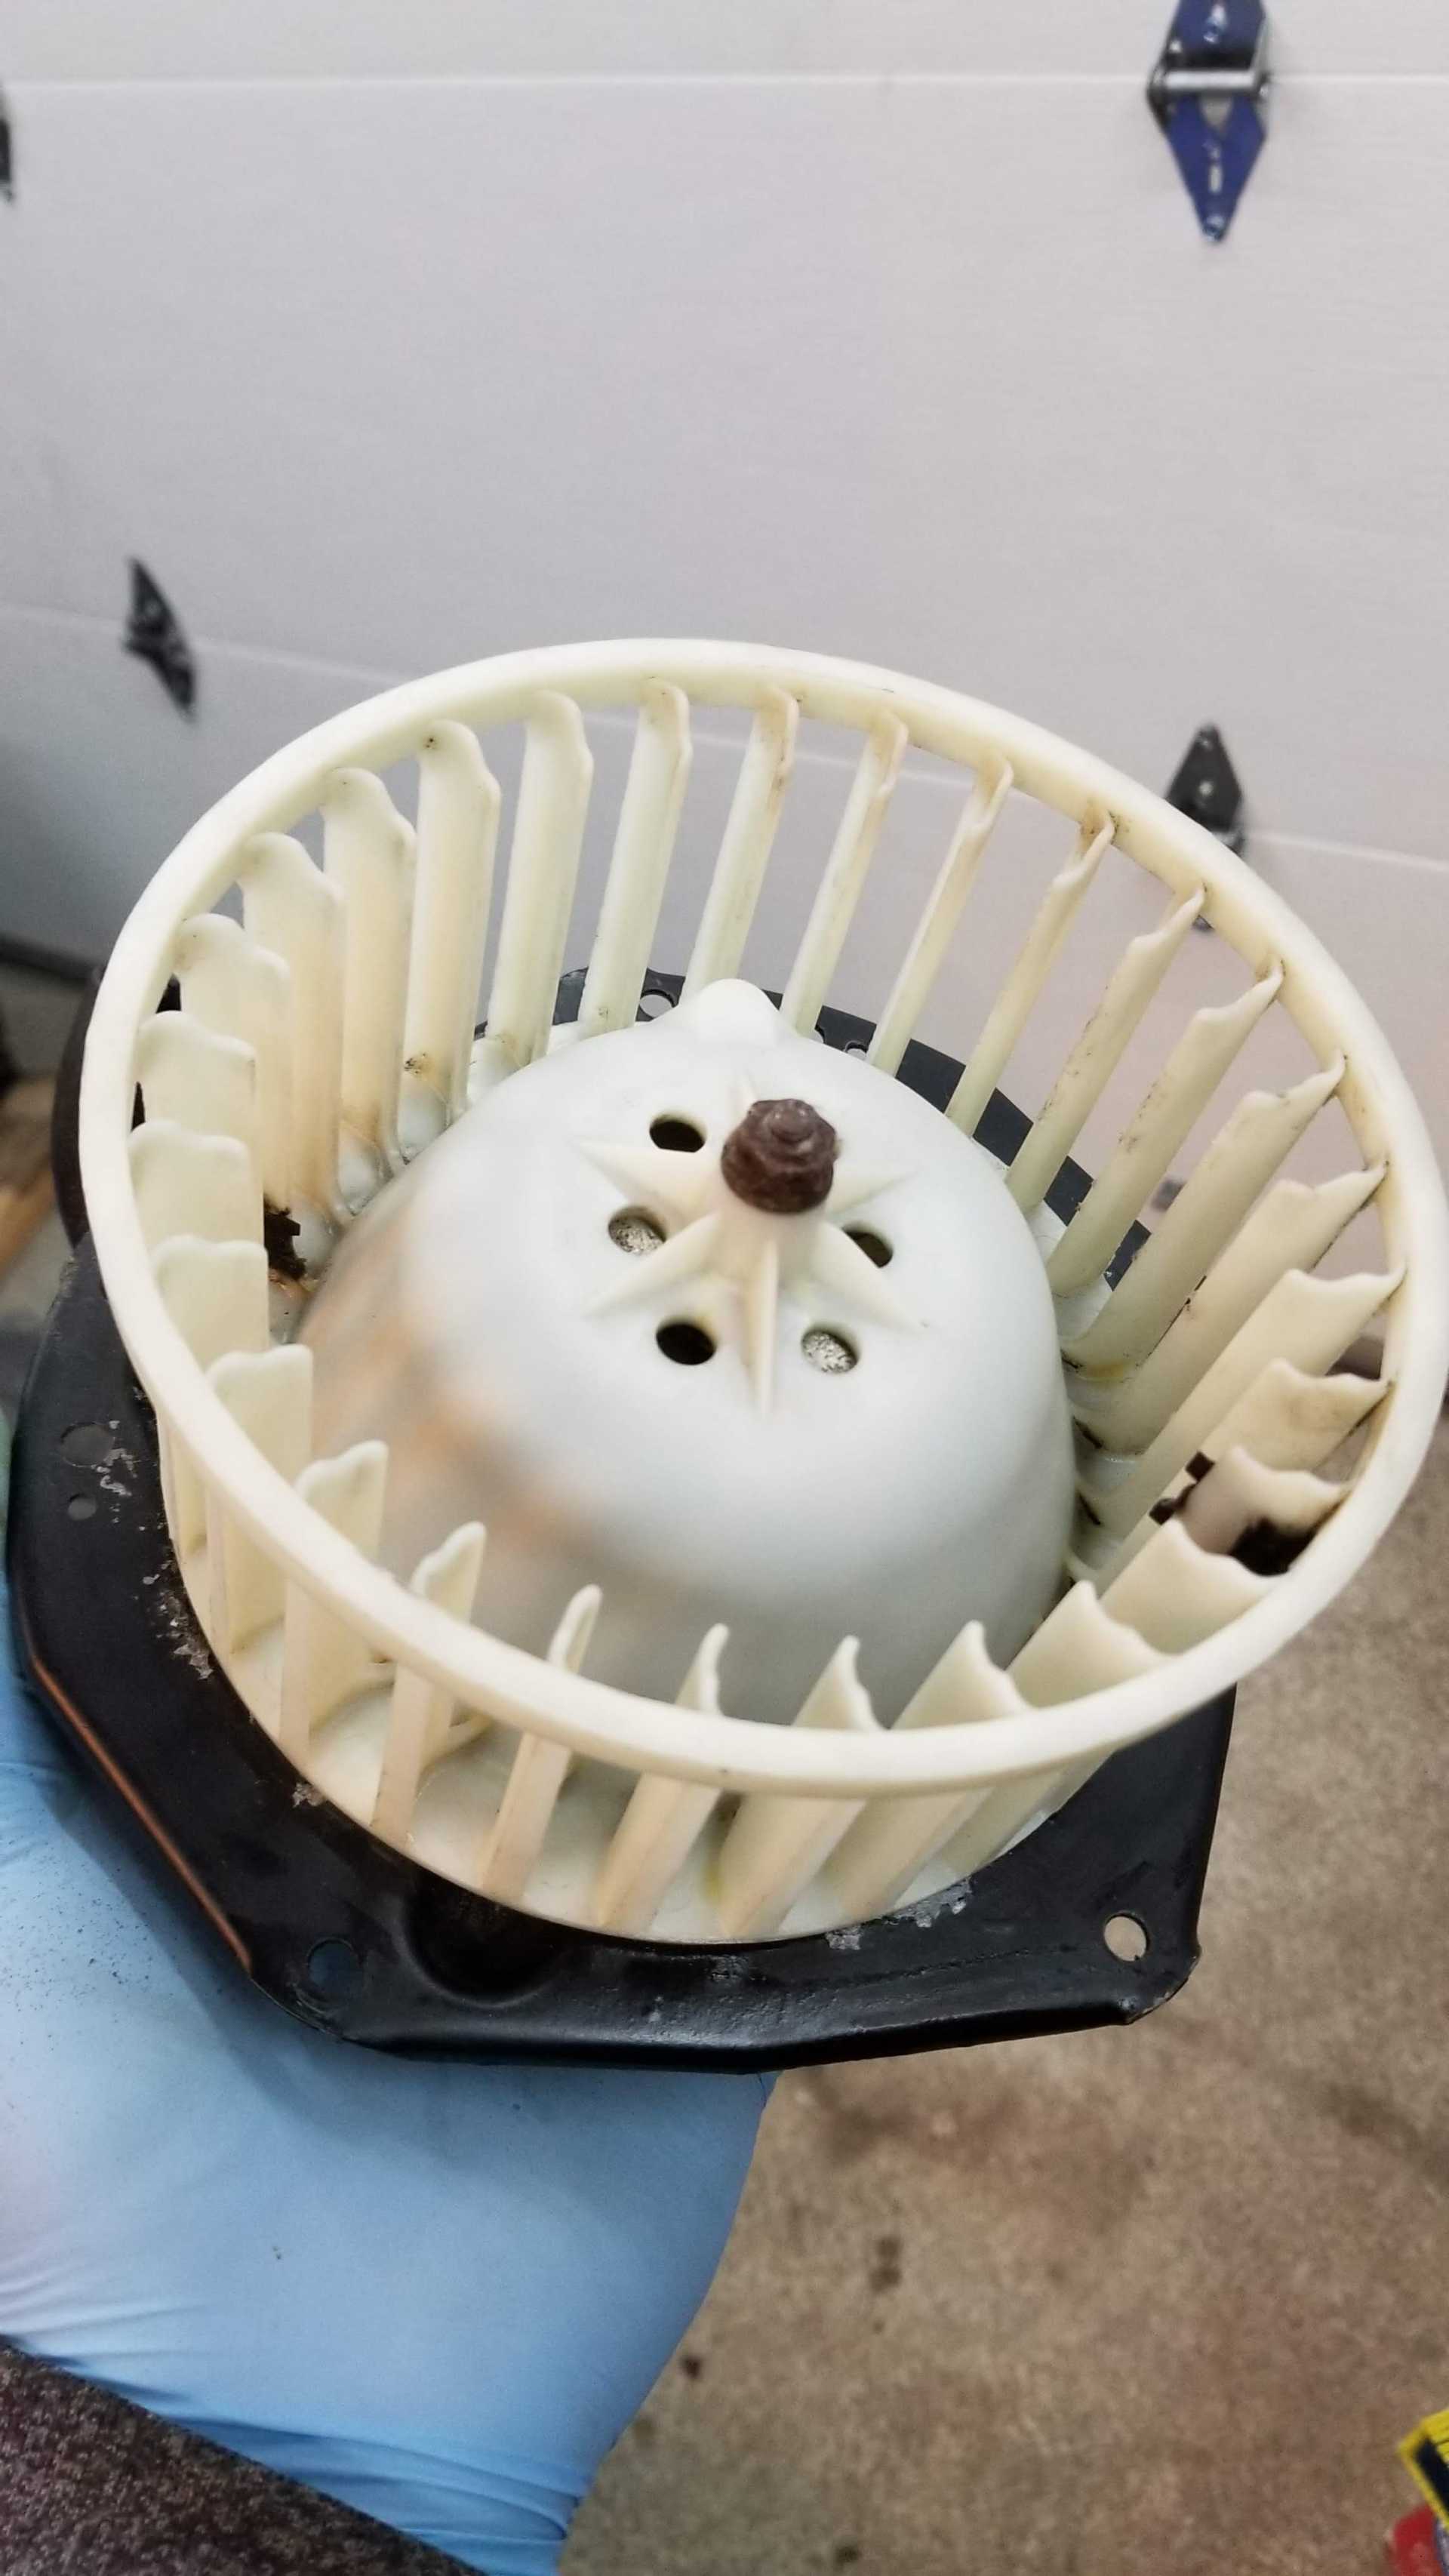
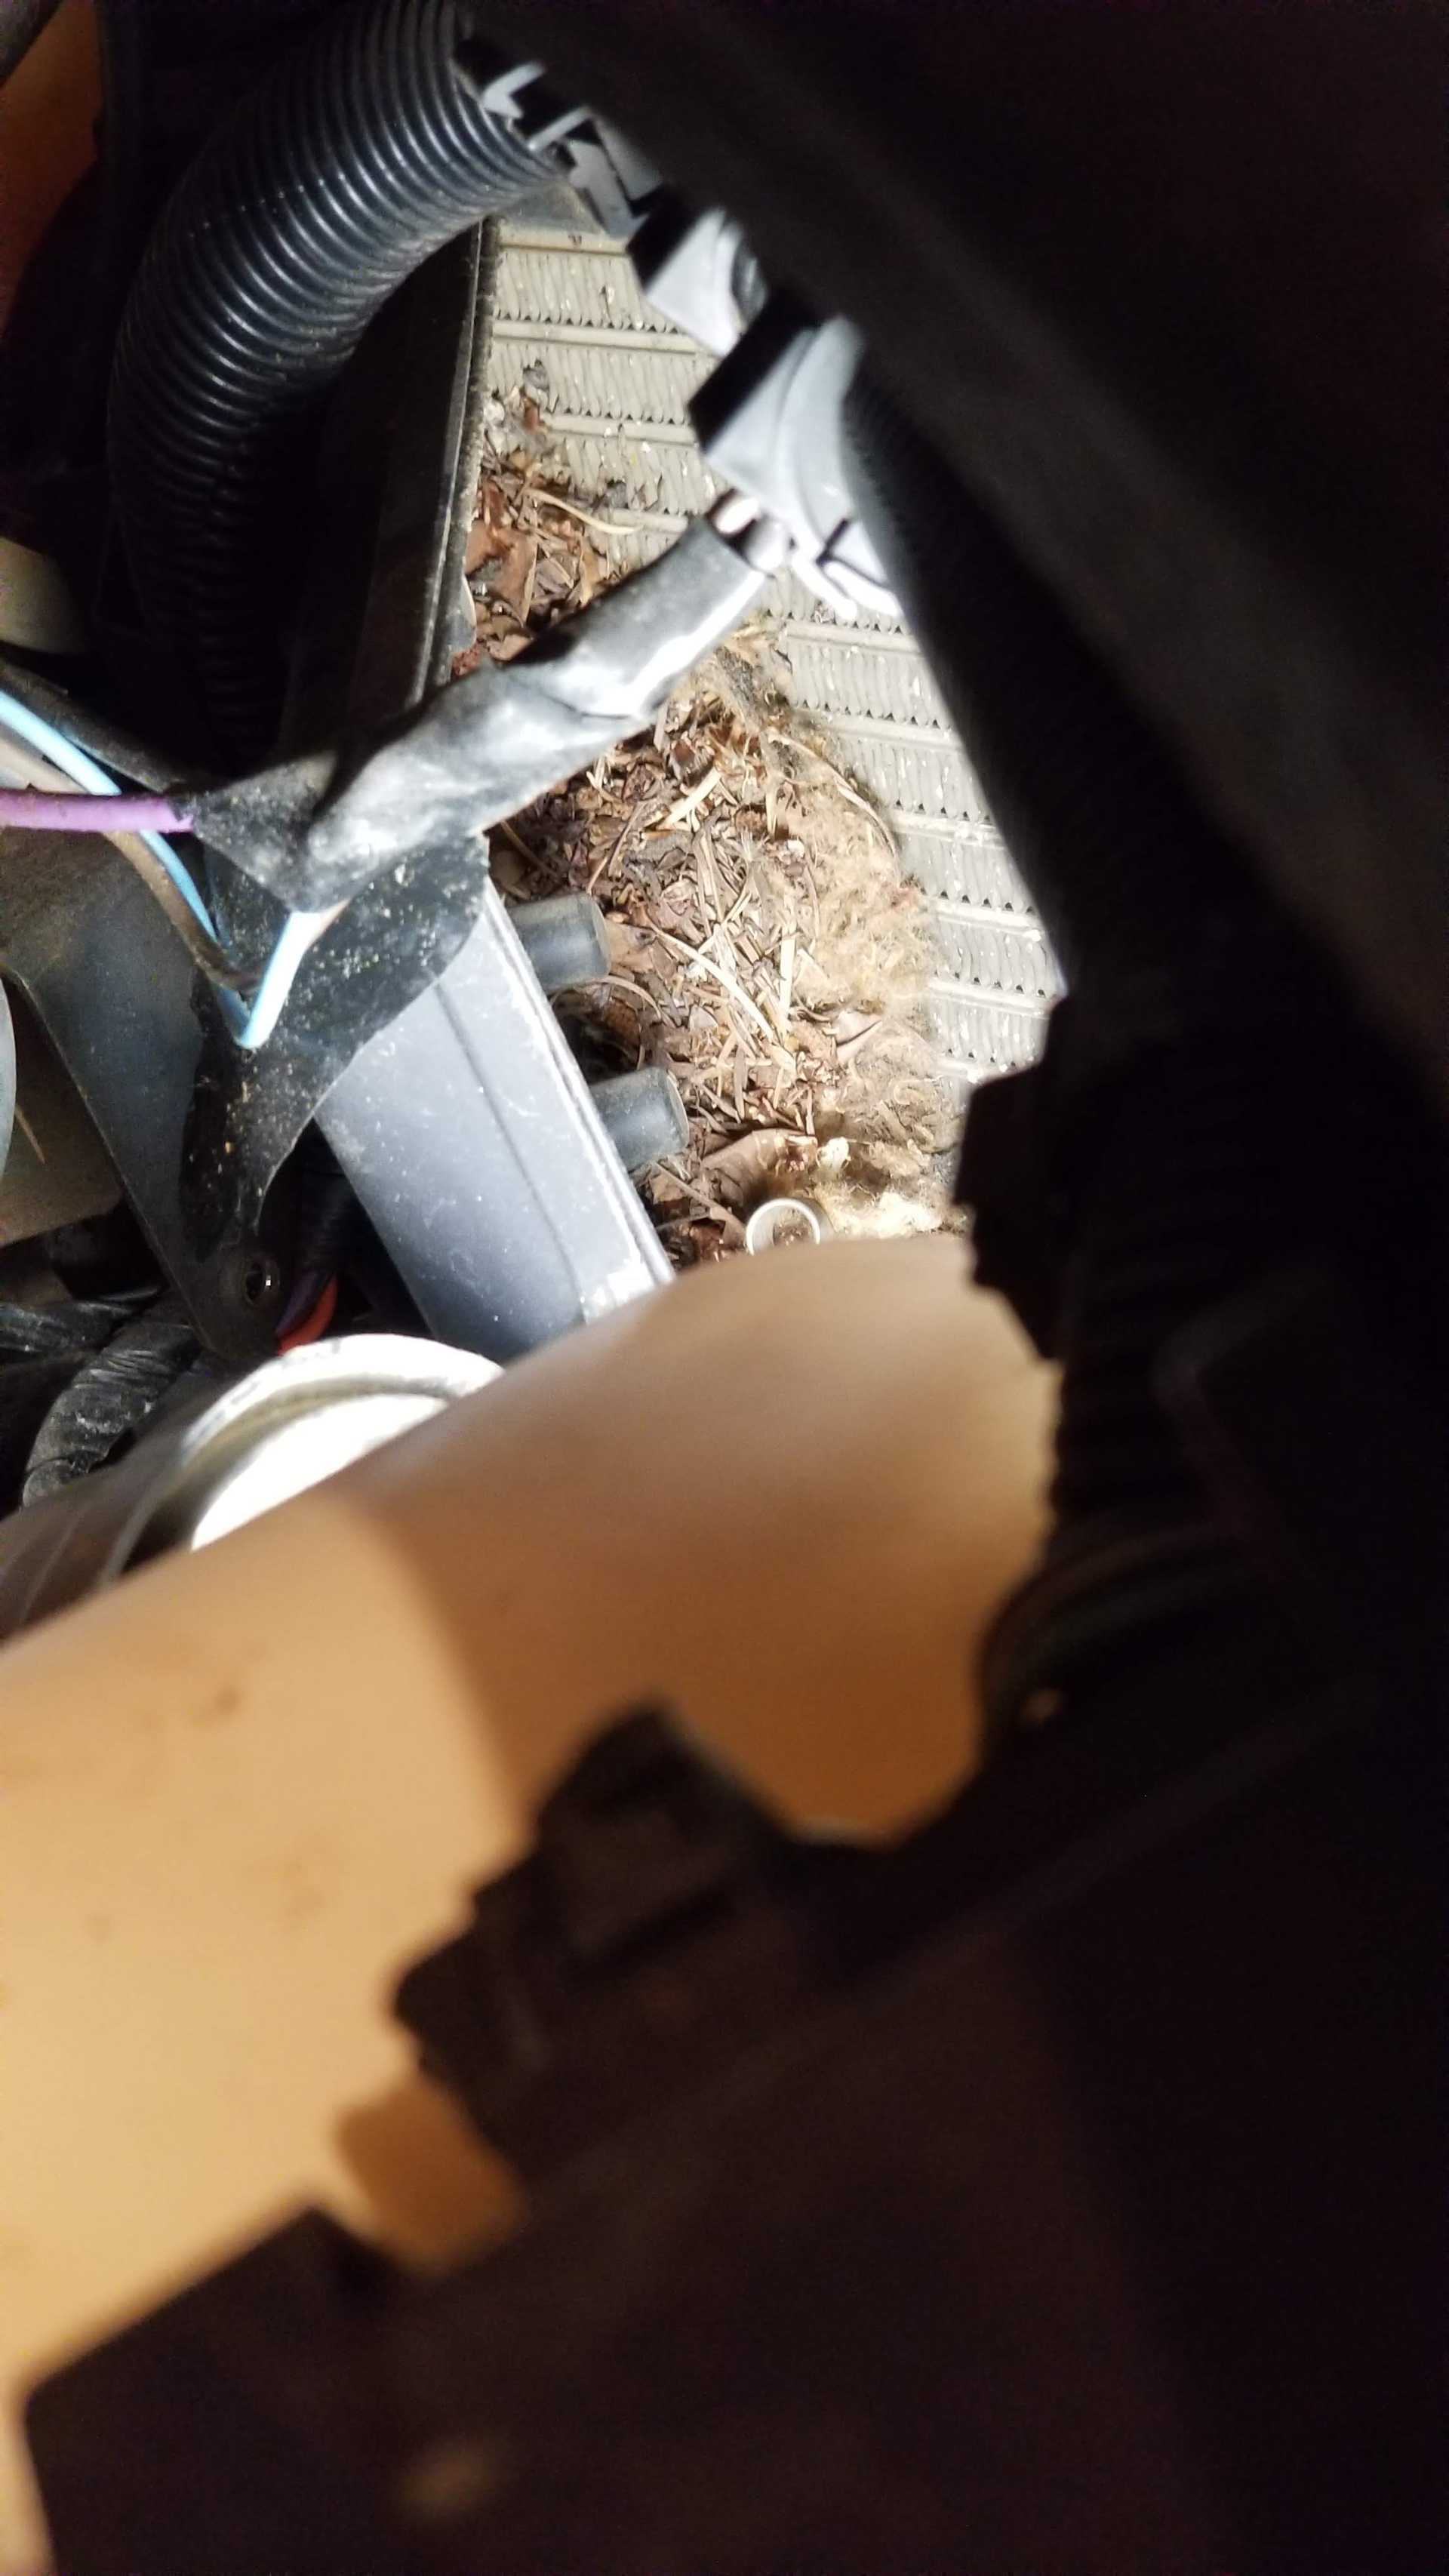
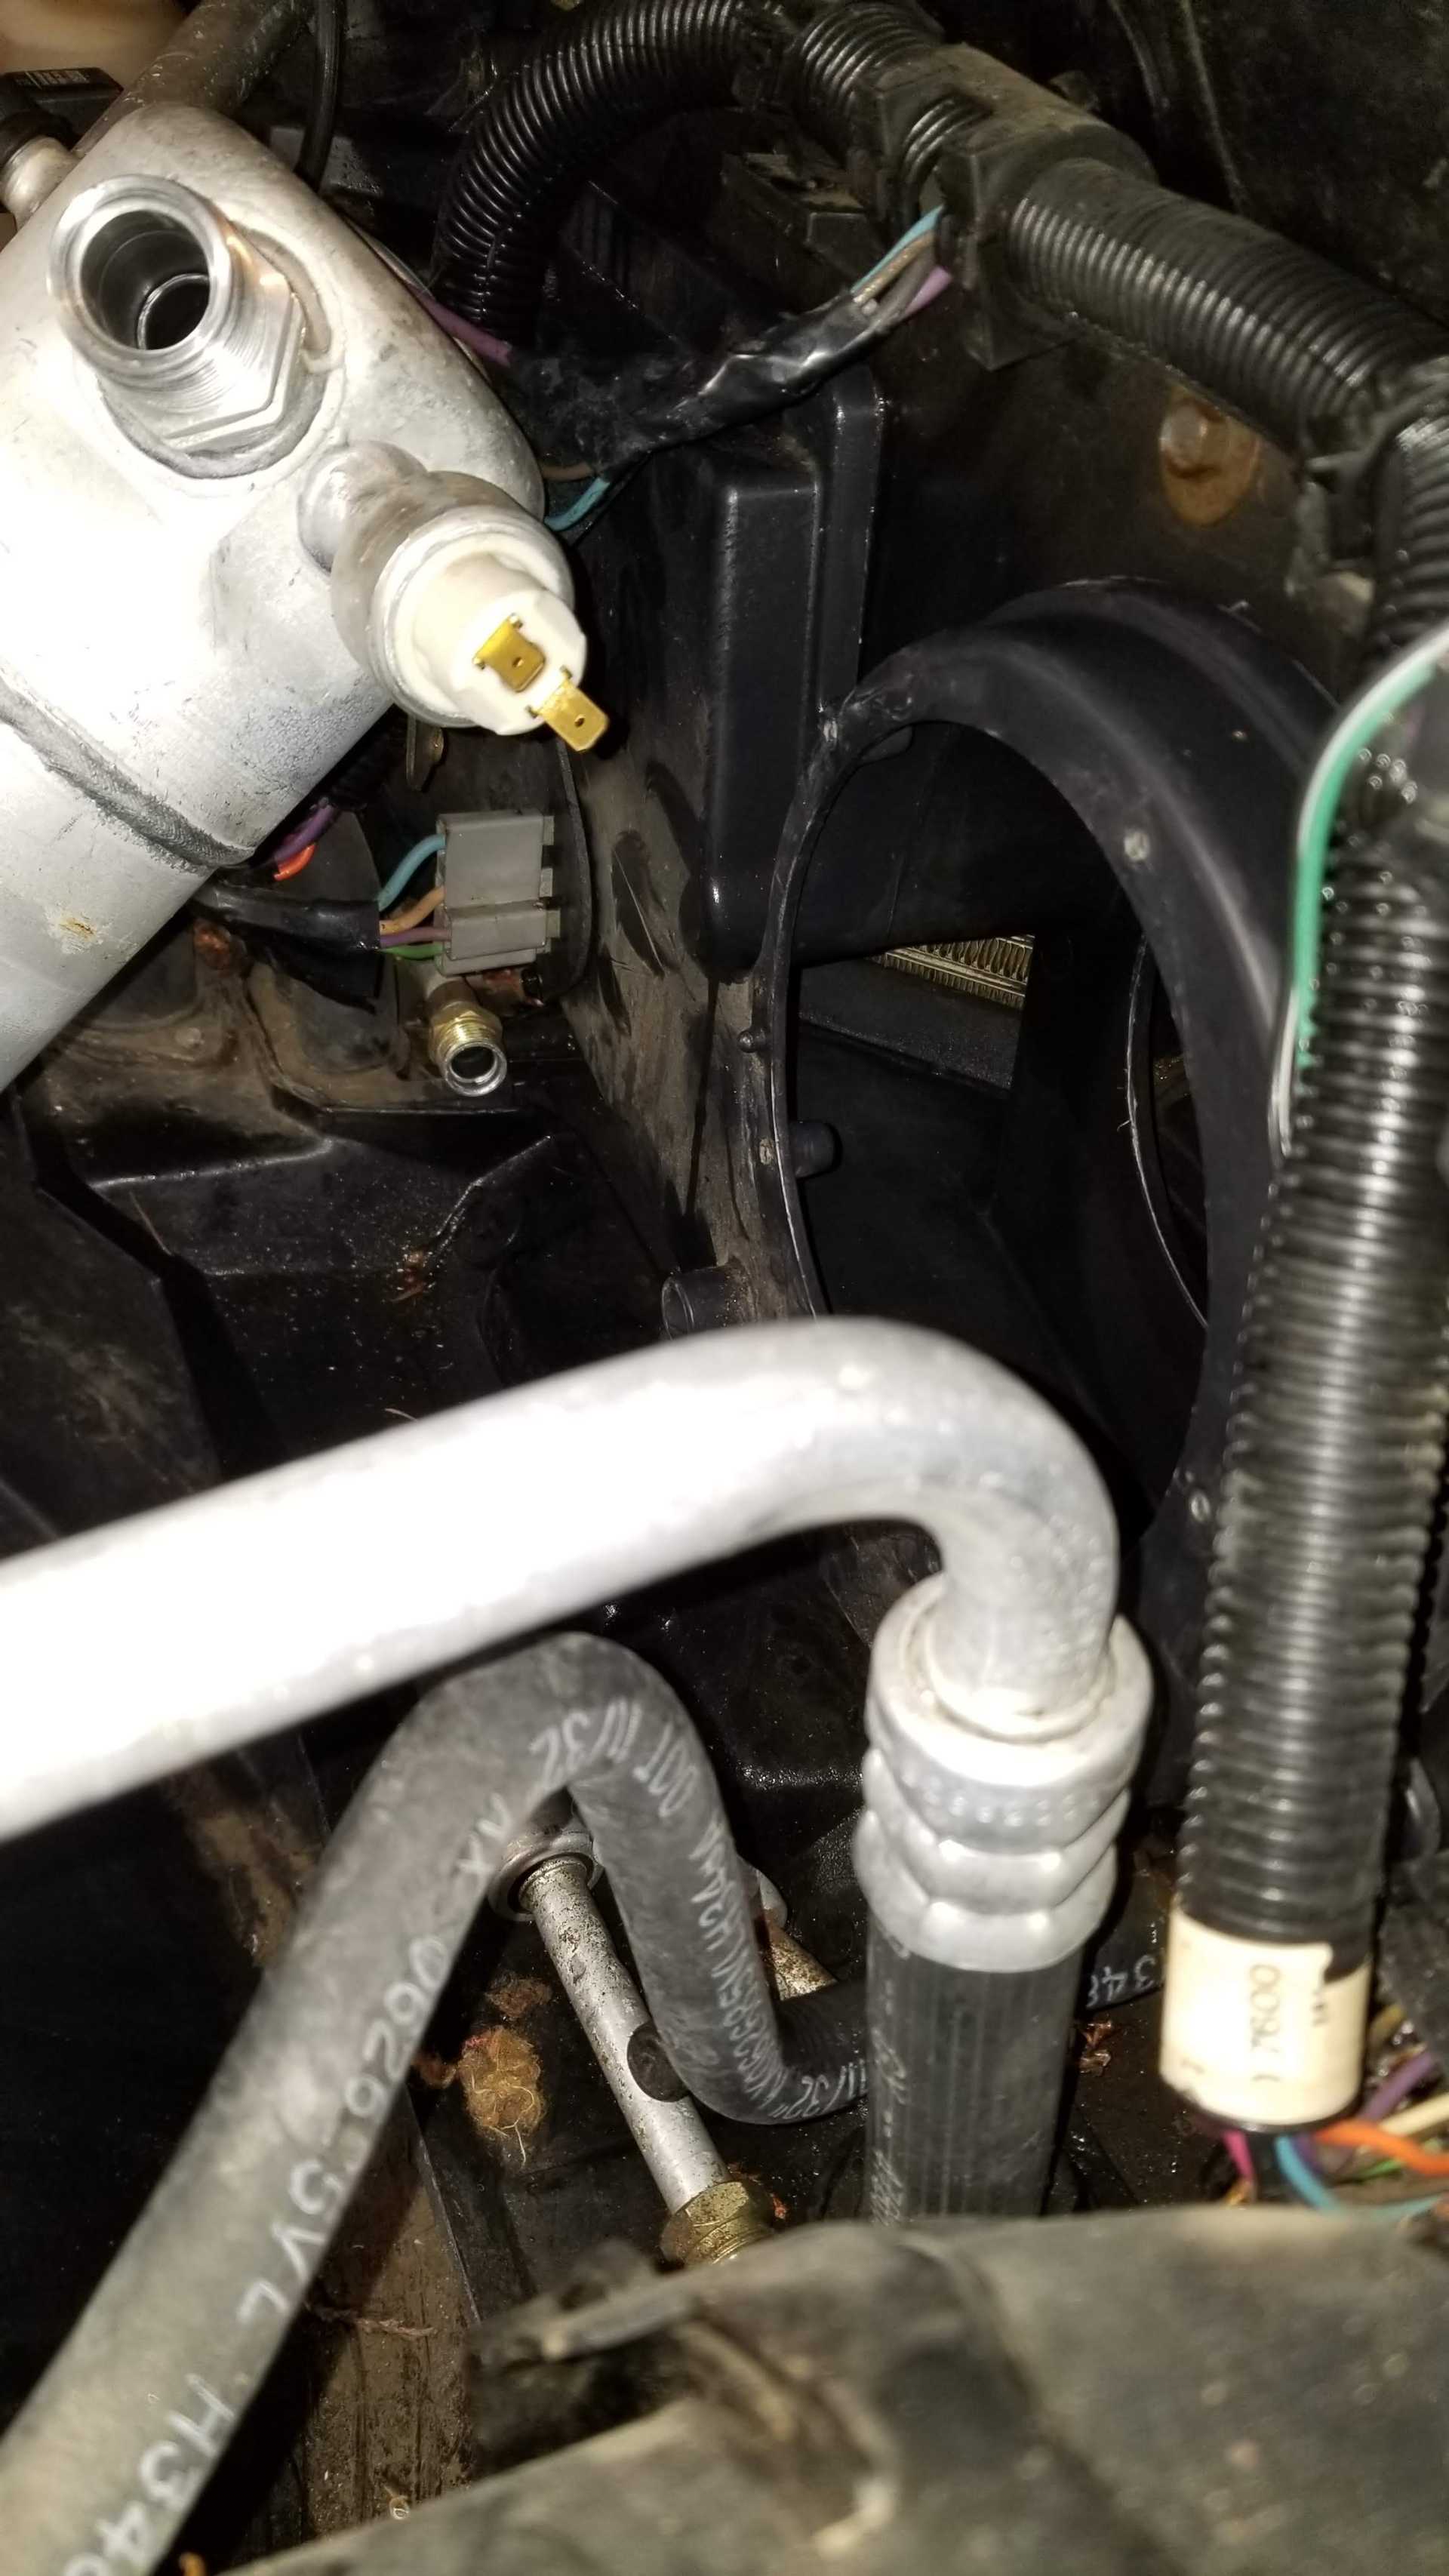
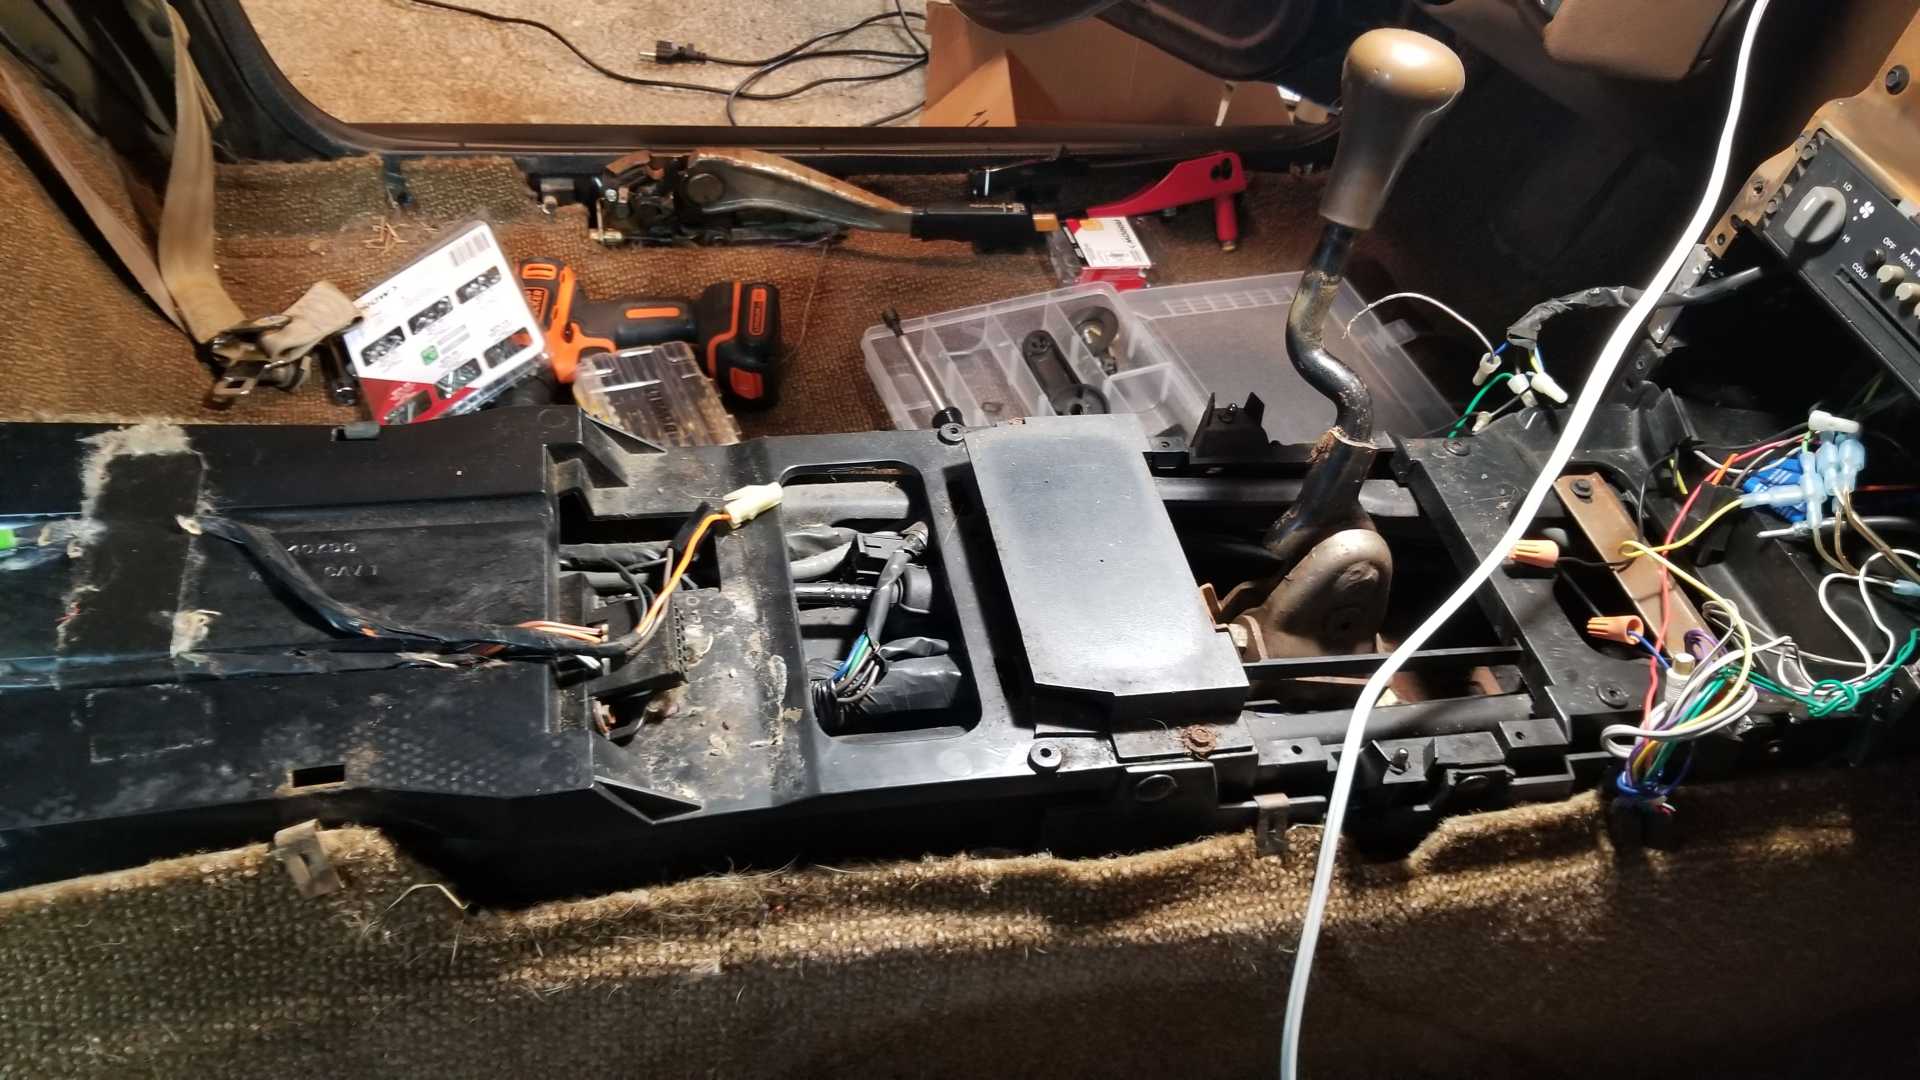
Hopefully this is the last nest, I'm pretty over these fuzzy little bastards... I pulled the box apart from both sides, sprayed everything down and scrubbed the heck out of it with the drill brush and elbow grease.
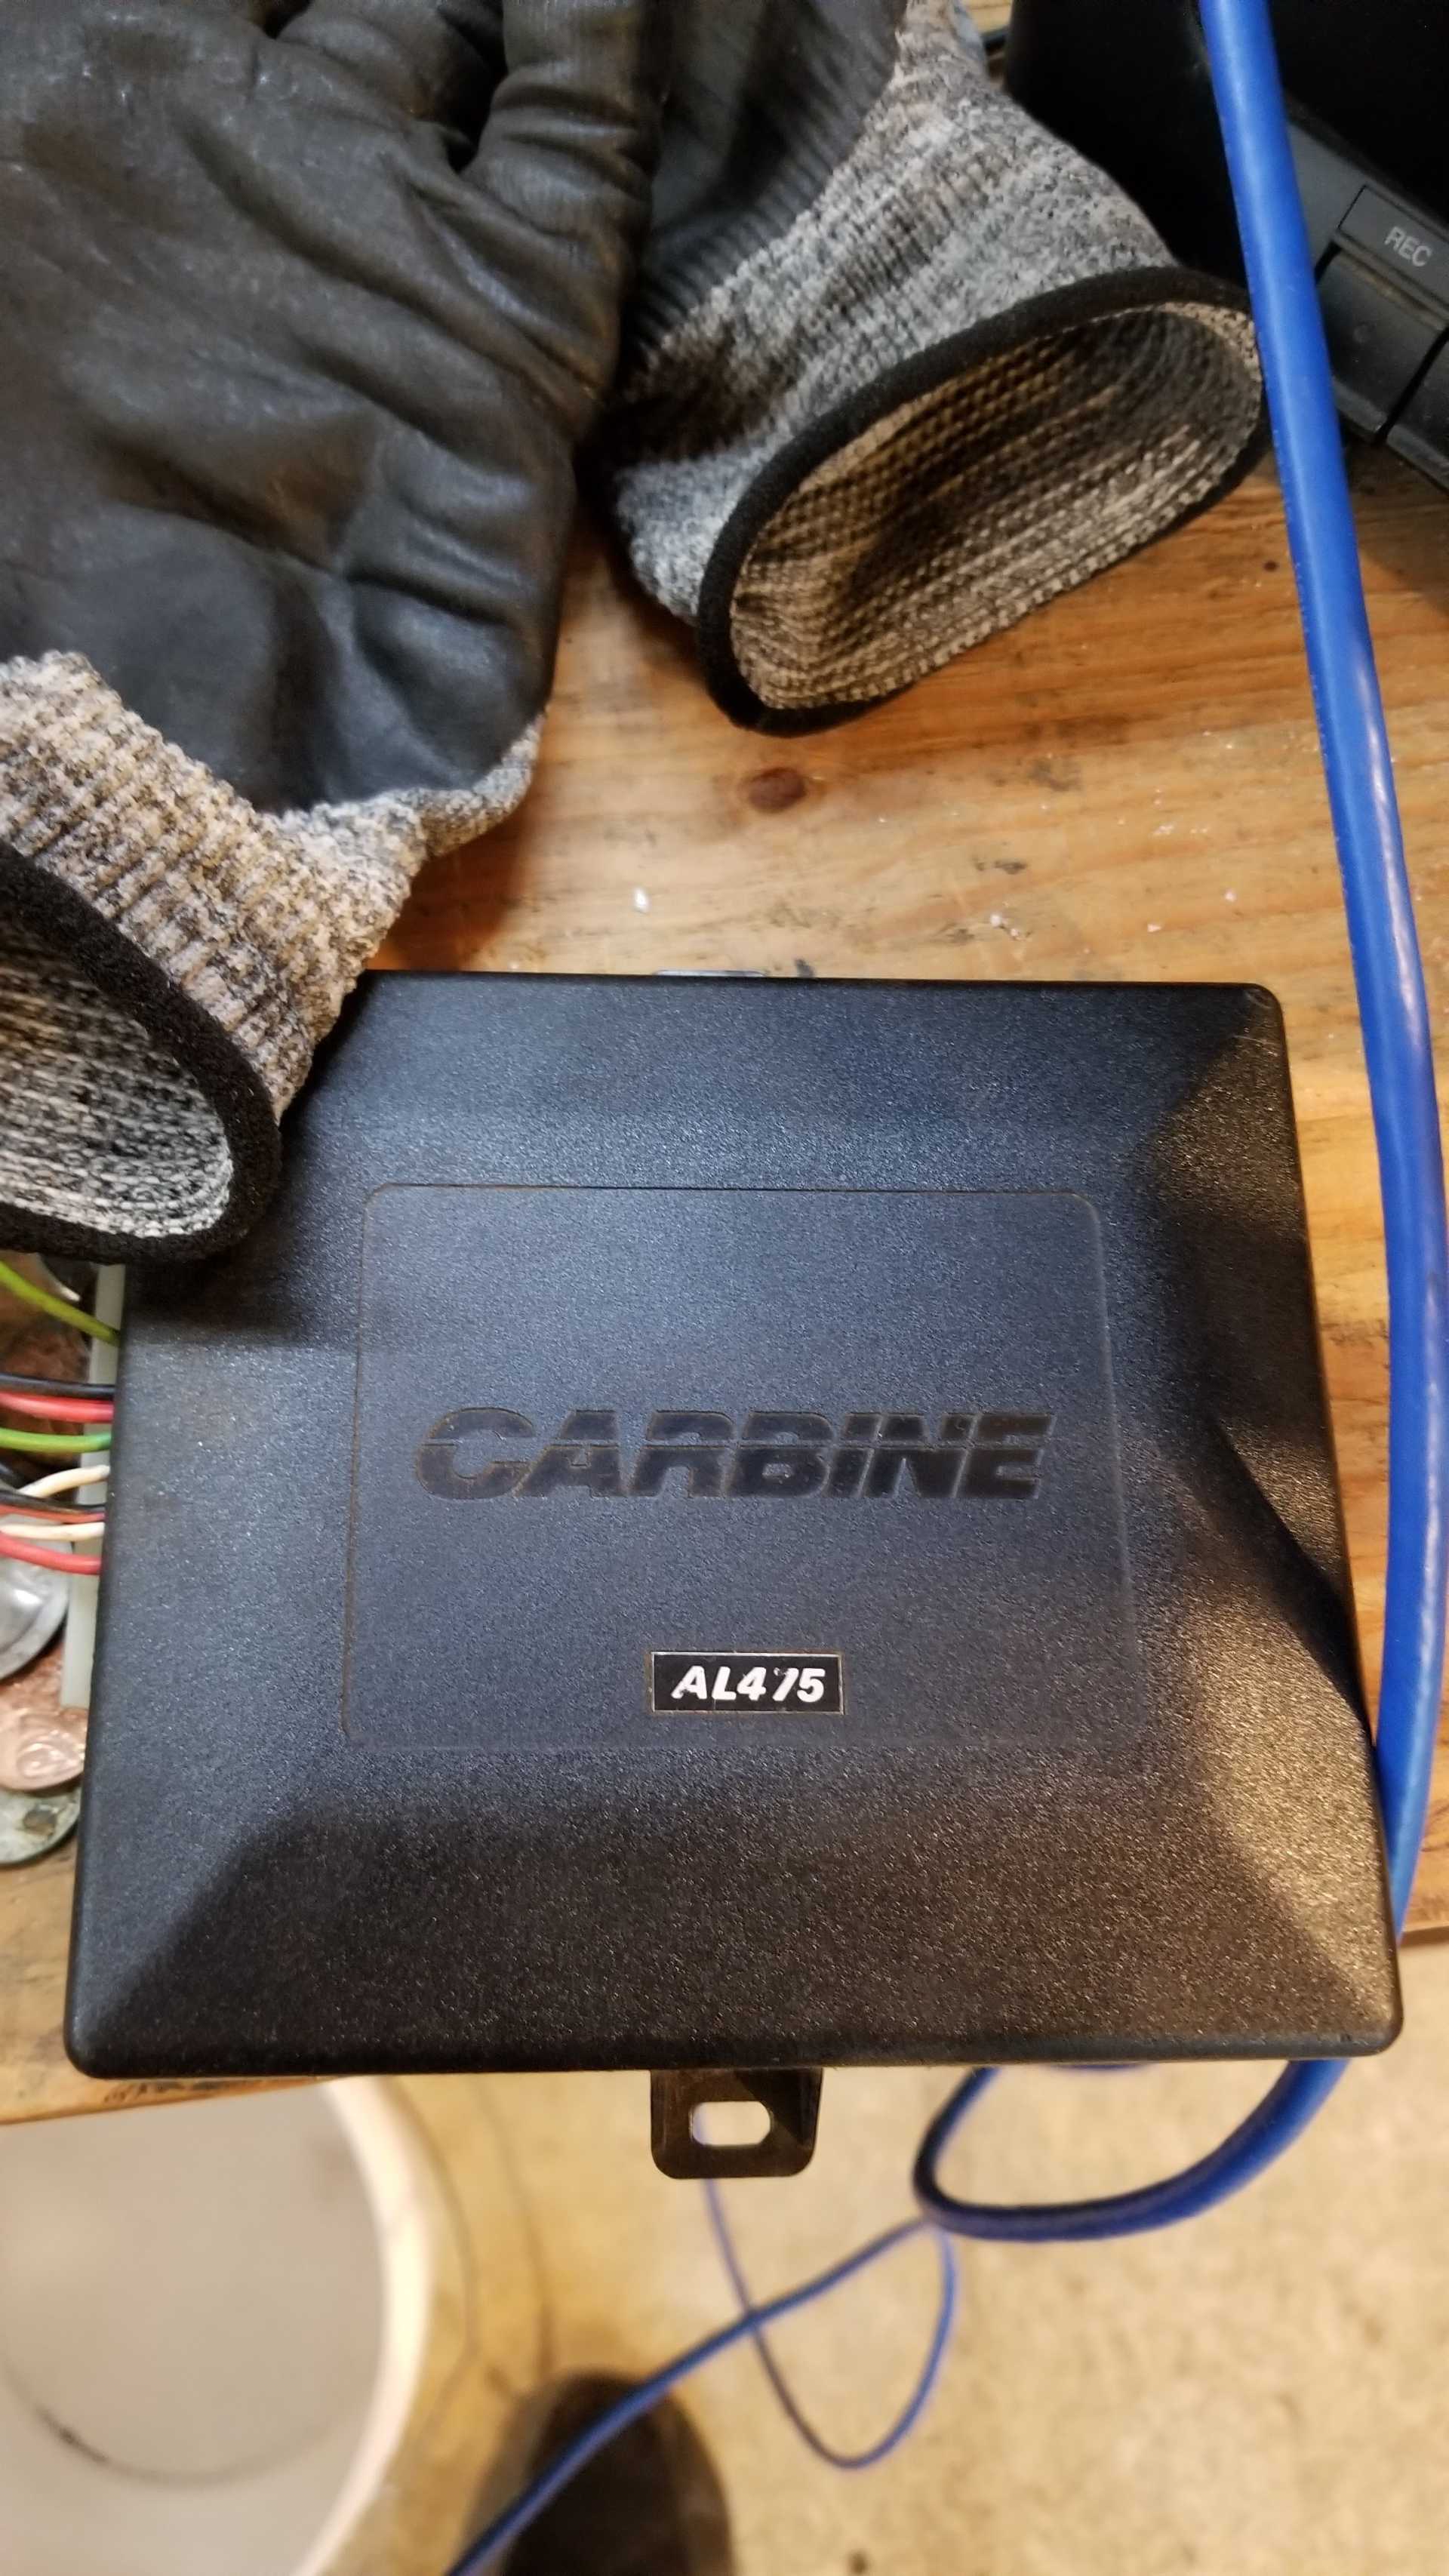
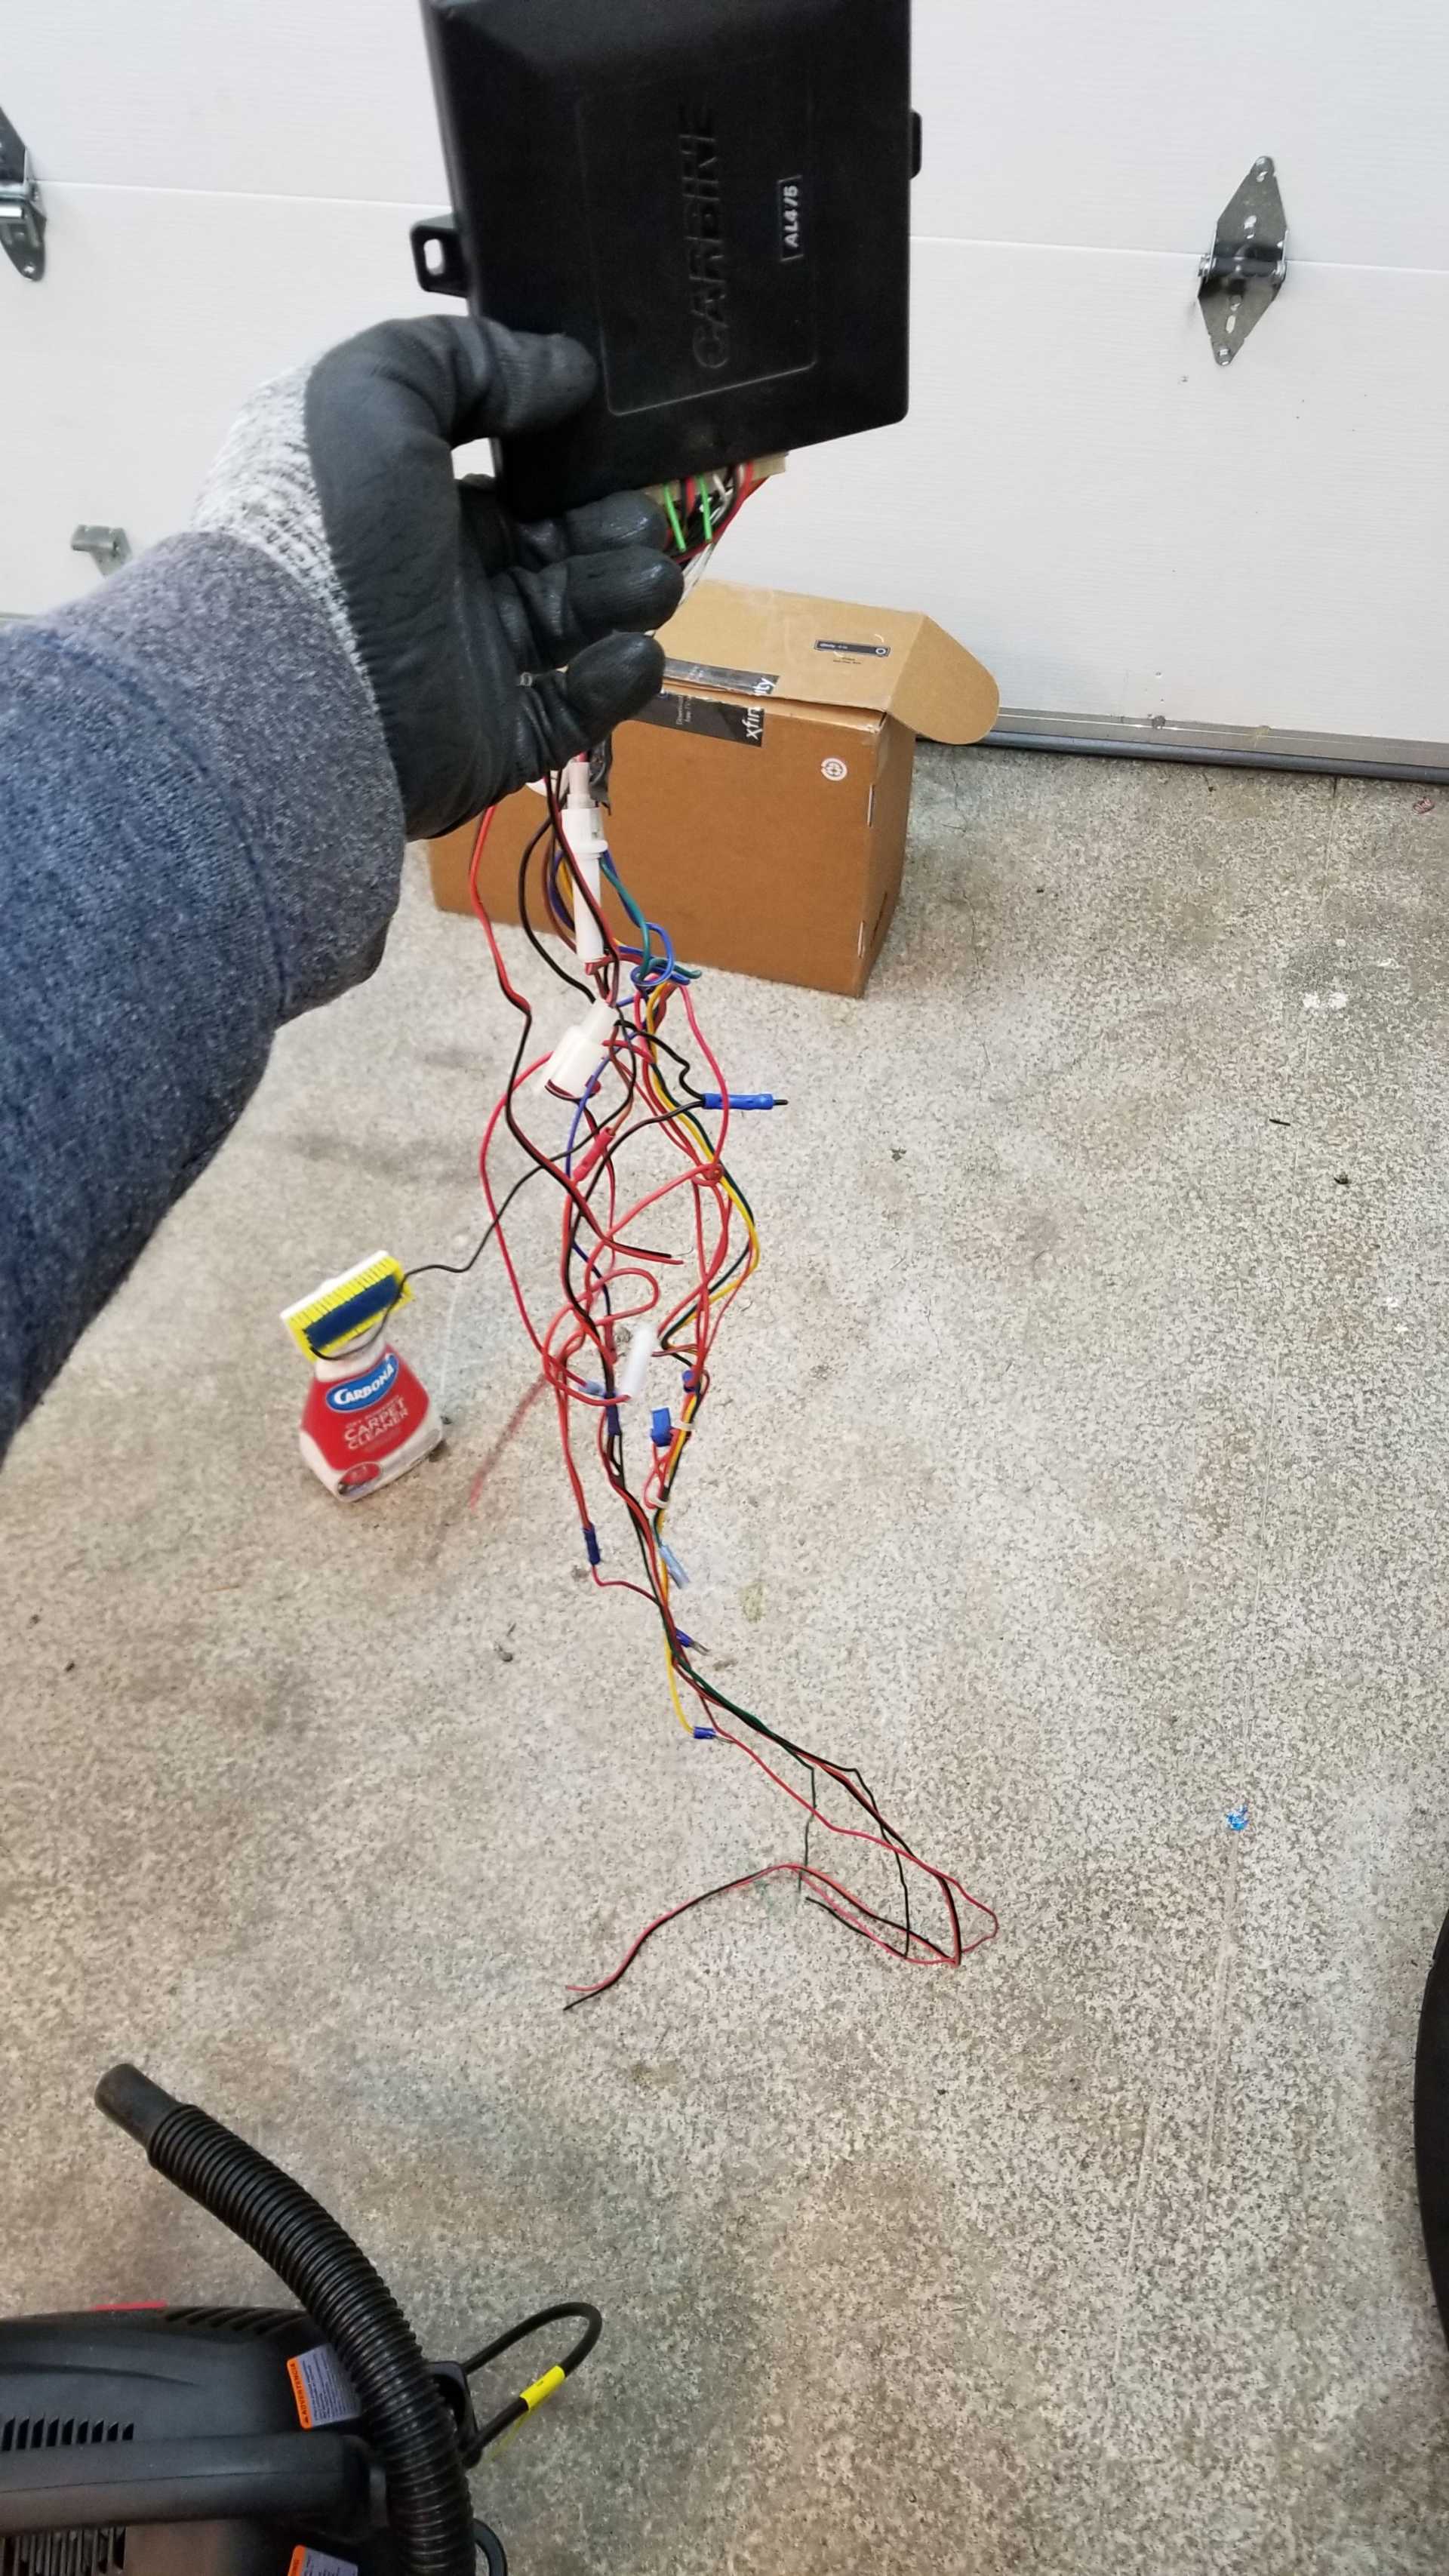
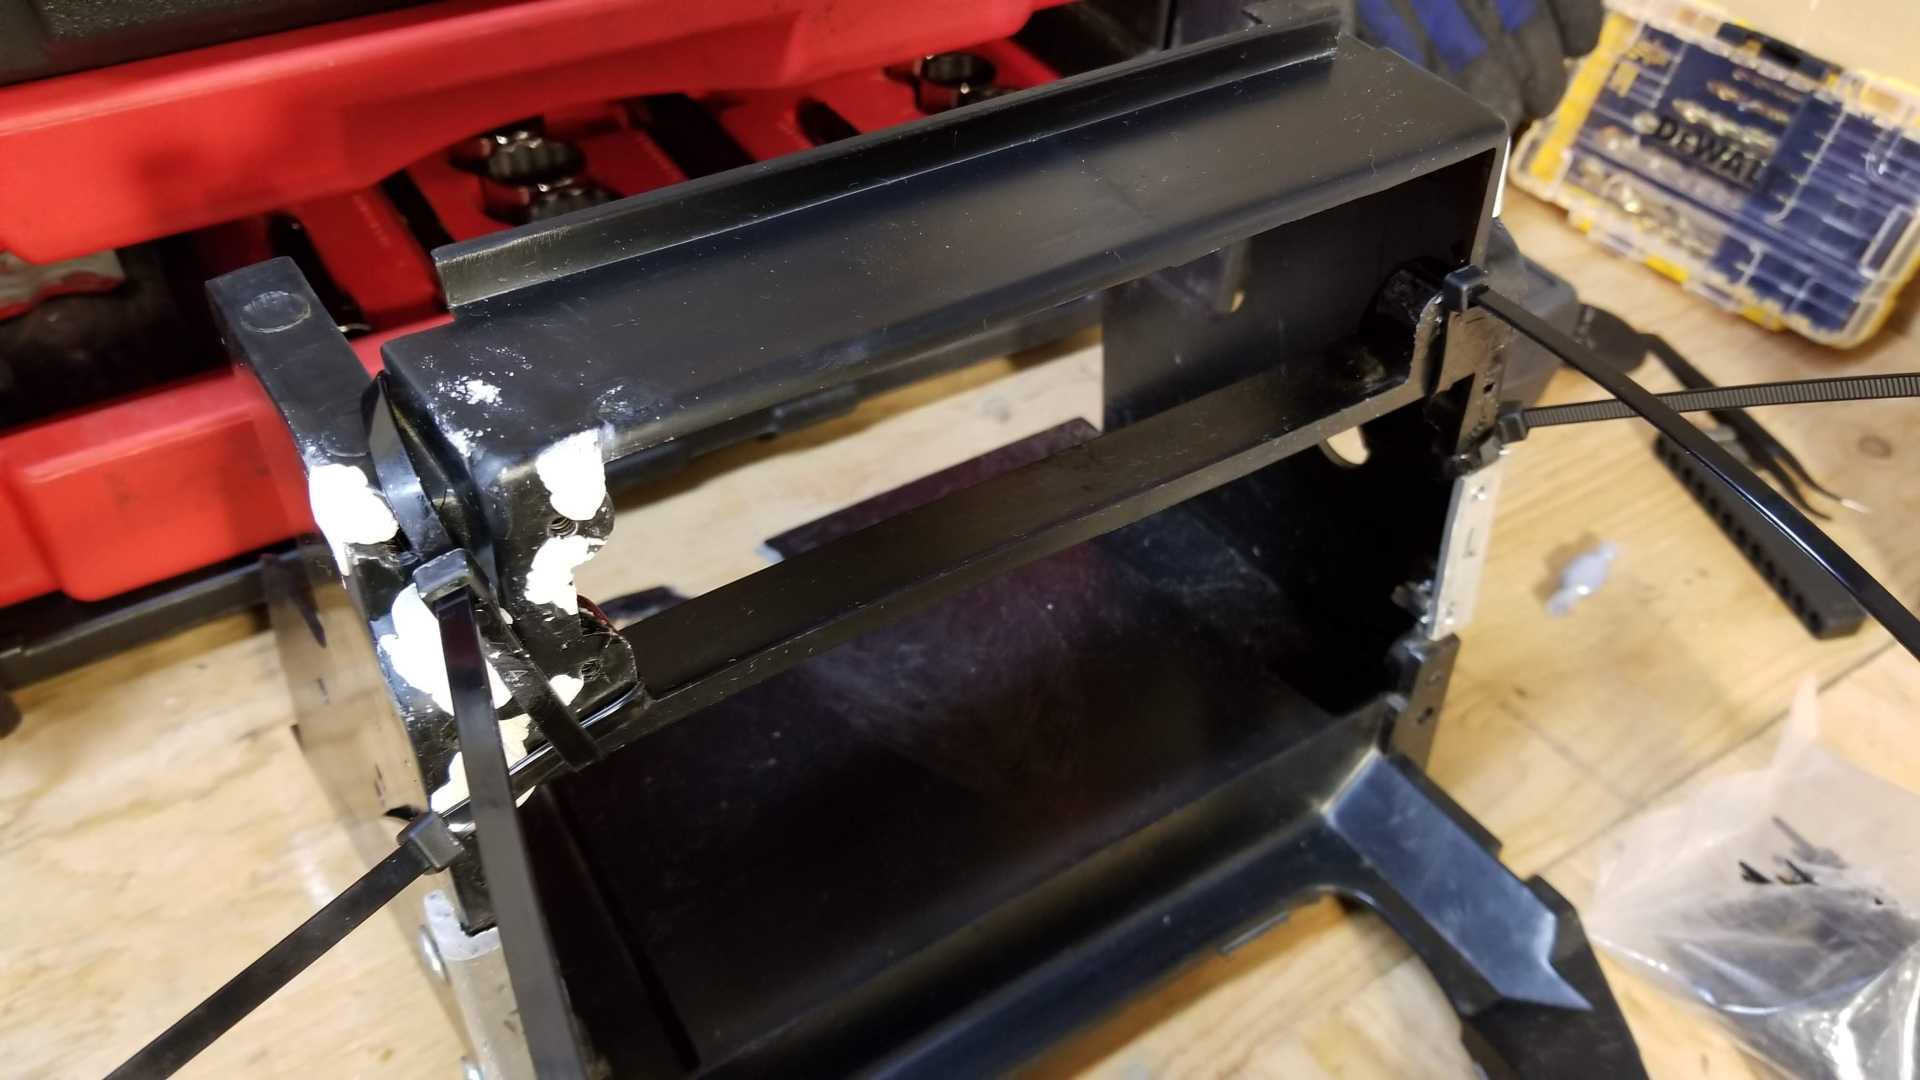
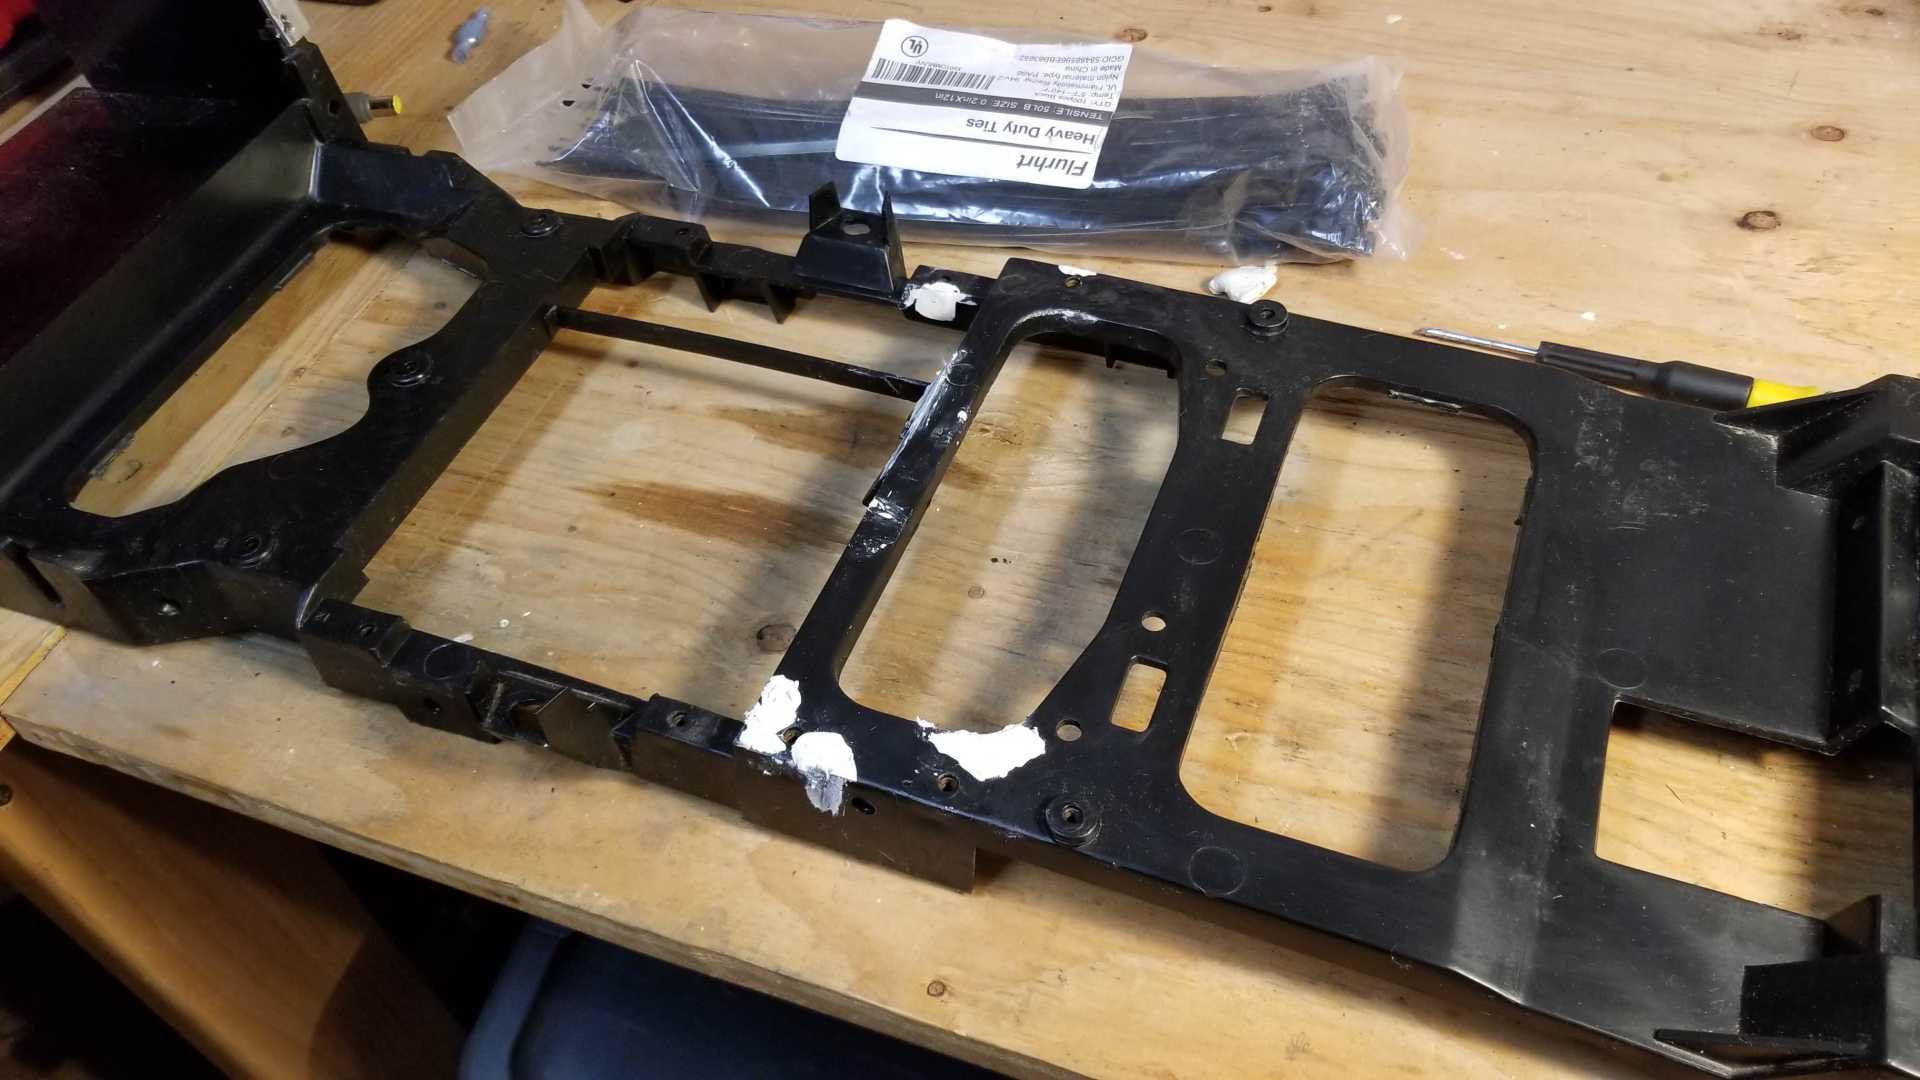
` ` Cleaned up the wiring for the radio, removed all the wirenut connections, soldered the seat speaker connections back in, all clean and happy. Also found this aftermarket remote locking and security system? The car is all manual locks, windows, etc so it's kinda an odd find but wasn't too bad to rip out. ` I also was doing some repairs to stuff like this plastic structure for the arm rest and console, doesn't need to be pretty just less fragile lol. Tried using cheap zip ties for clamps, because I don't have clamps, and that worked out alright.
for all the gaps I used some epoxy putty listed as for plastics and tanks, it's very hard and will probably end up brittle but so far it's working well. I don't remember the brand, might have actually been JB but it's just a clear tube with a lump of gray inside it now.
For all the bits I was sticking back togeather, not bridging a gap, I used Seal All and it's fantastic. I've used it on bottles and a plastic gas tank before with really good success, It seems to stay a little elastic and really bonds well. https://www.amazon.com/Seal...ealant/dp/B008VK0JS4
Had some distraction but back on it tonight. I'm doing a bit of bouncing around here.
Cleaned up the dash and used some vinyl conditioning too, it's a little silly with the cracking on the corners but it looks and feels way better.
Same with the carpets, solid scrub and and it's much happier. While I was installing these I fiddled with the hand brake lever, got the latching mech to work again after bending the sprung release lever back into shape. Before After
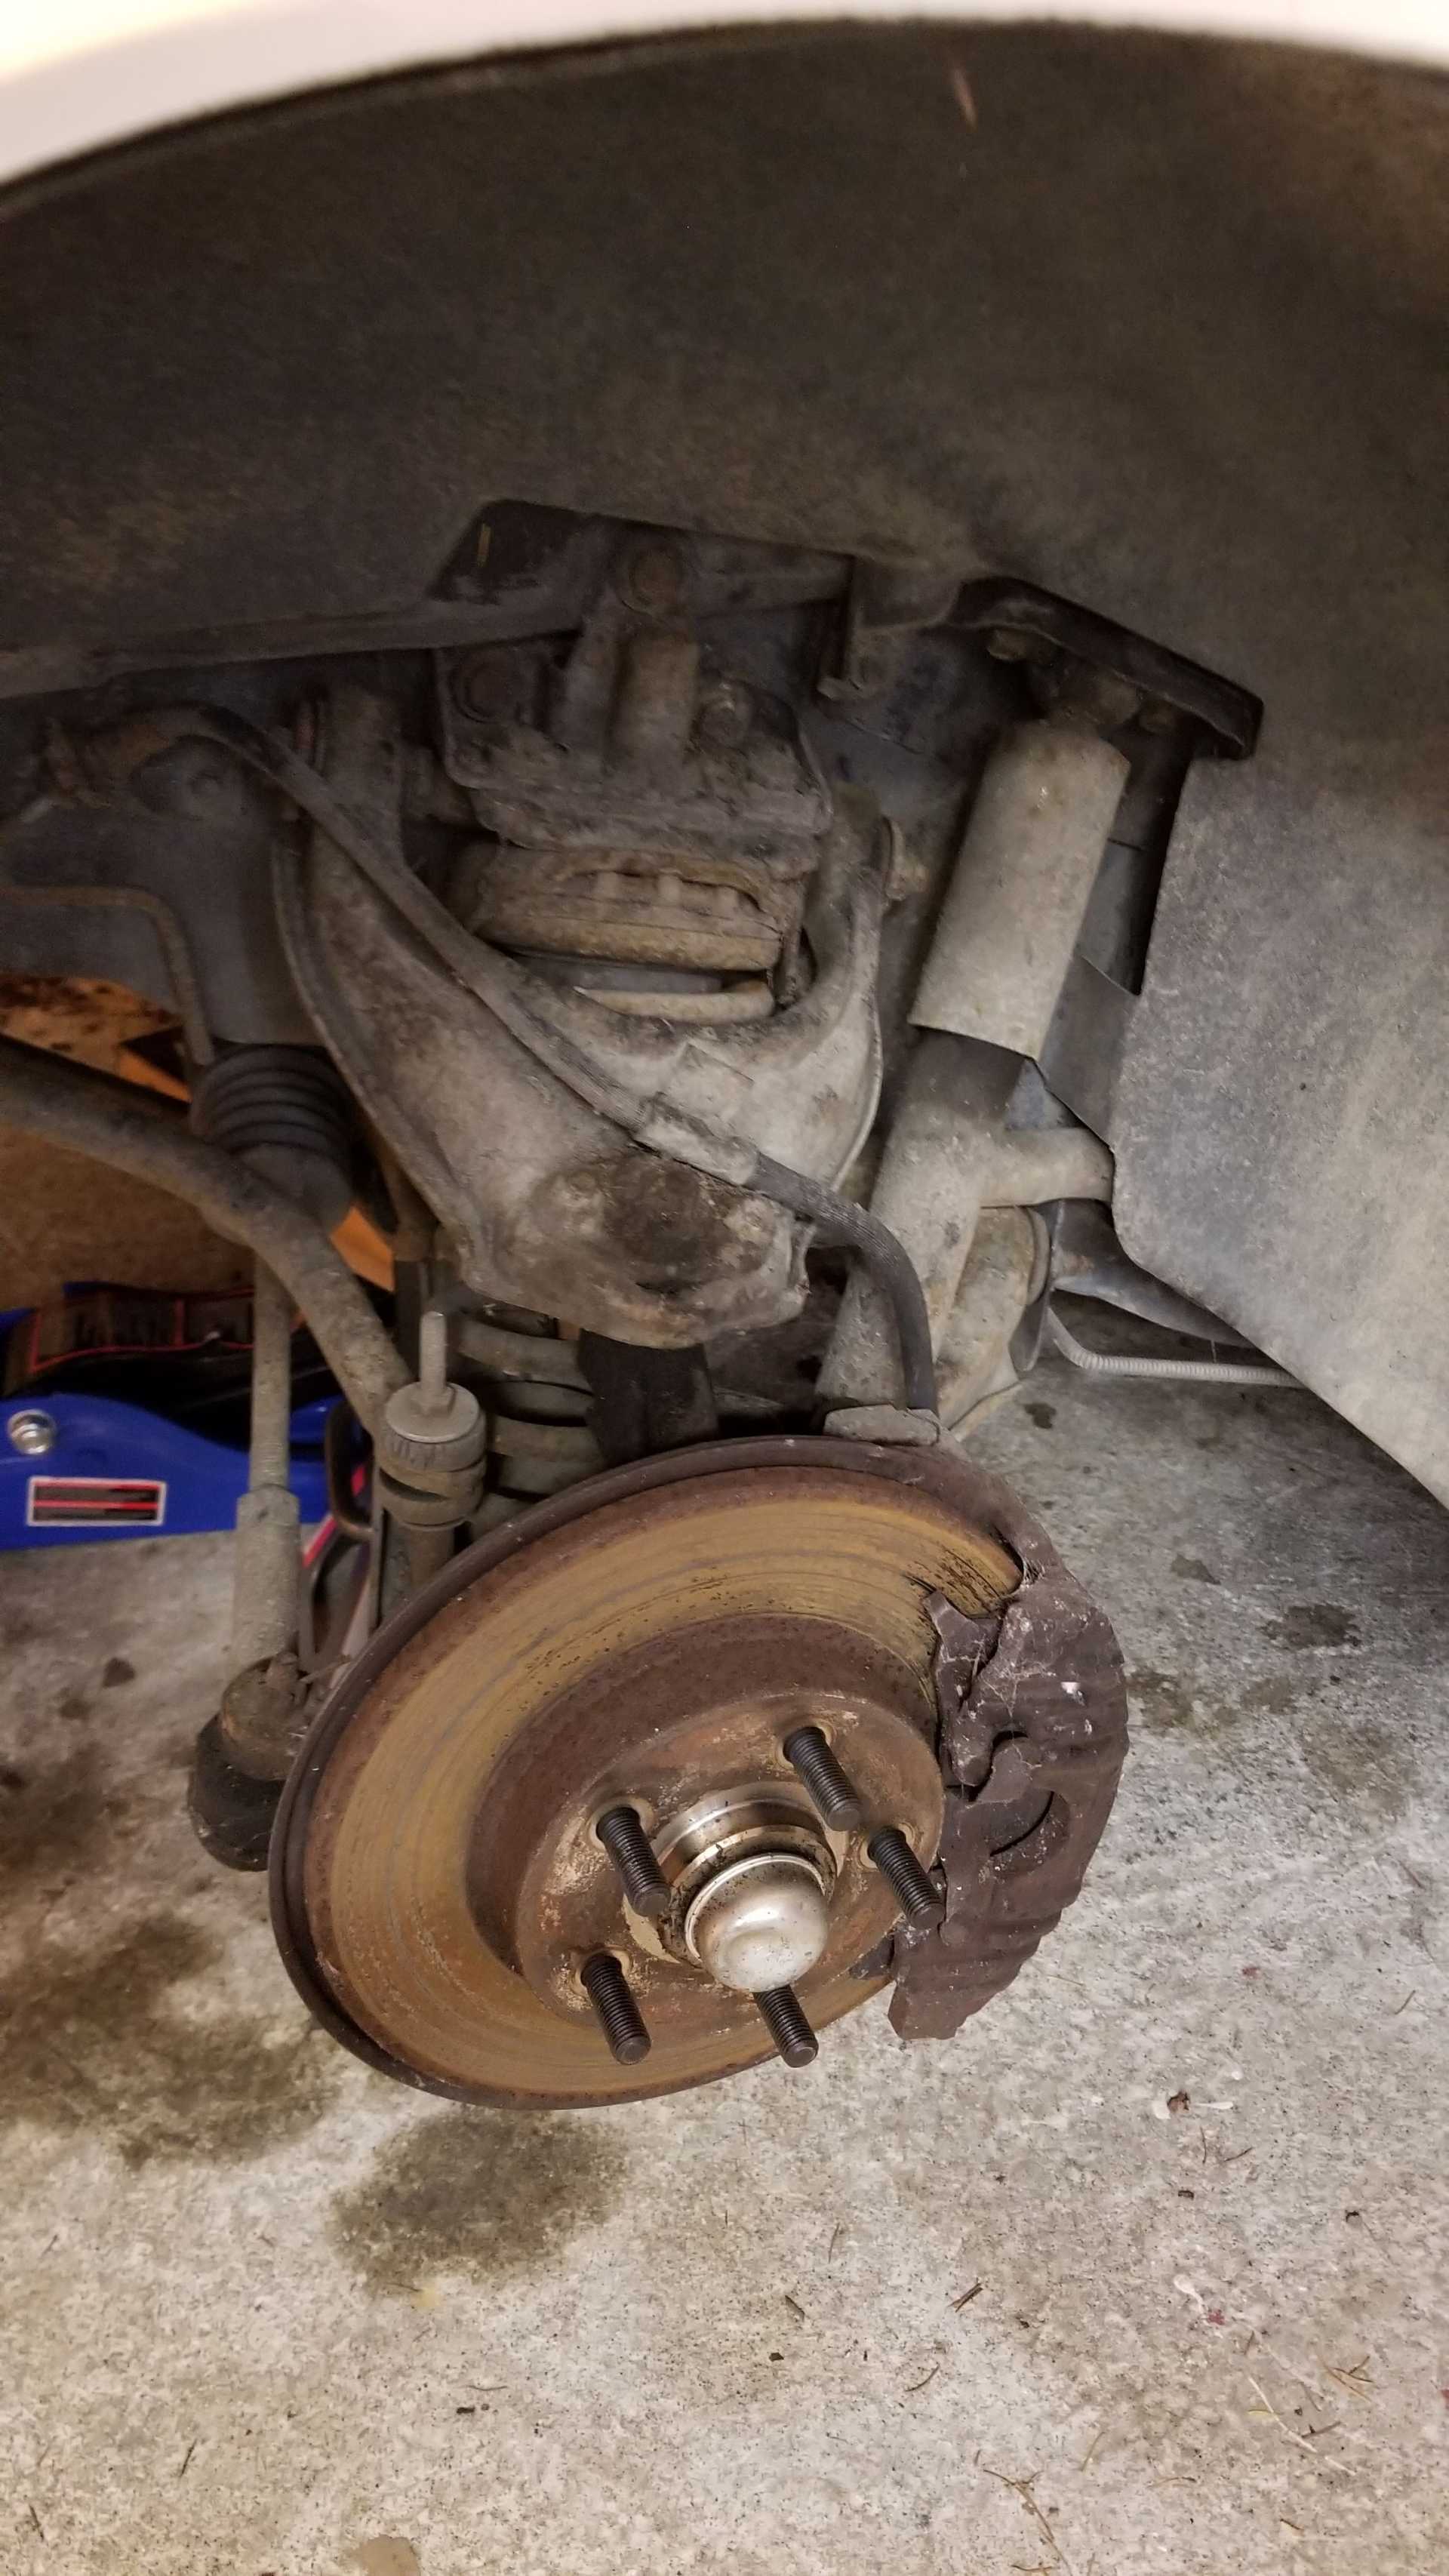
I moved the car out into the driveway to make some space in the garage for a bit and found out that the hand brake ratchet isn't the only problem with the hand brake, I get no movement at all from the caliper. (video of the hand brake vs peddle) I'd love some advice on that but I'm assuming I need to remove these calipers and see what kind of damage the screw thingies have. https://youtu.be/_r4E_kFLiMY https://youtu.be/2Rr4oQdvkOg
[This message has been edited by DangerDook (edited 02-12-2020).]
Adjusted the handbrake and discovered the plastic around the cable is cracked and binding up, keeping the handbrake from returning all the way. Waiting for some replacements to come in the mail.
I also got it registered and drove it around for the first time! Little video of putting around https://youtu.be/52Wu0BVYepU


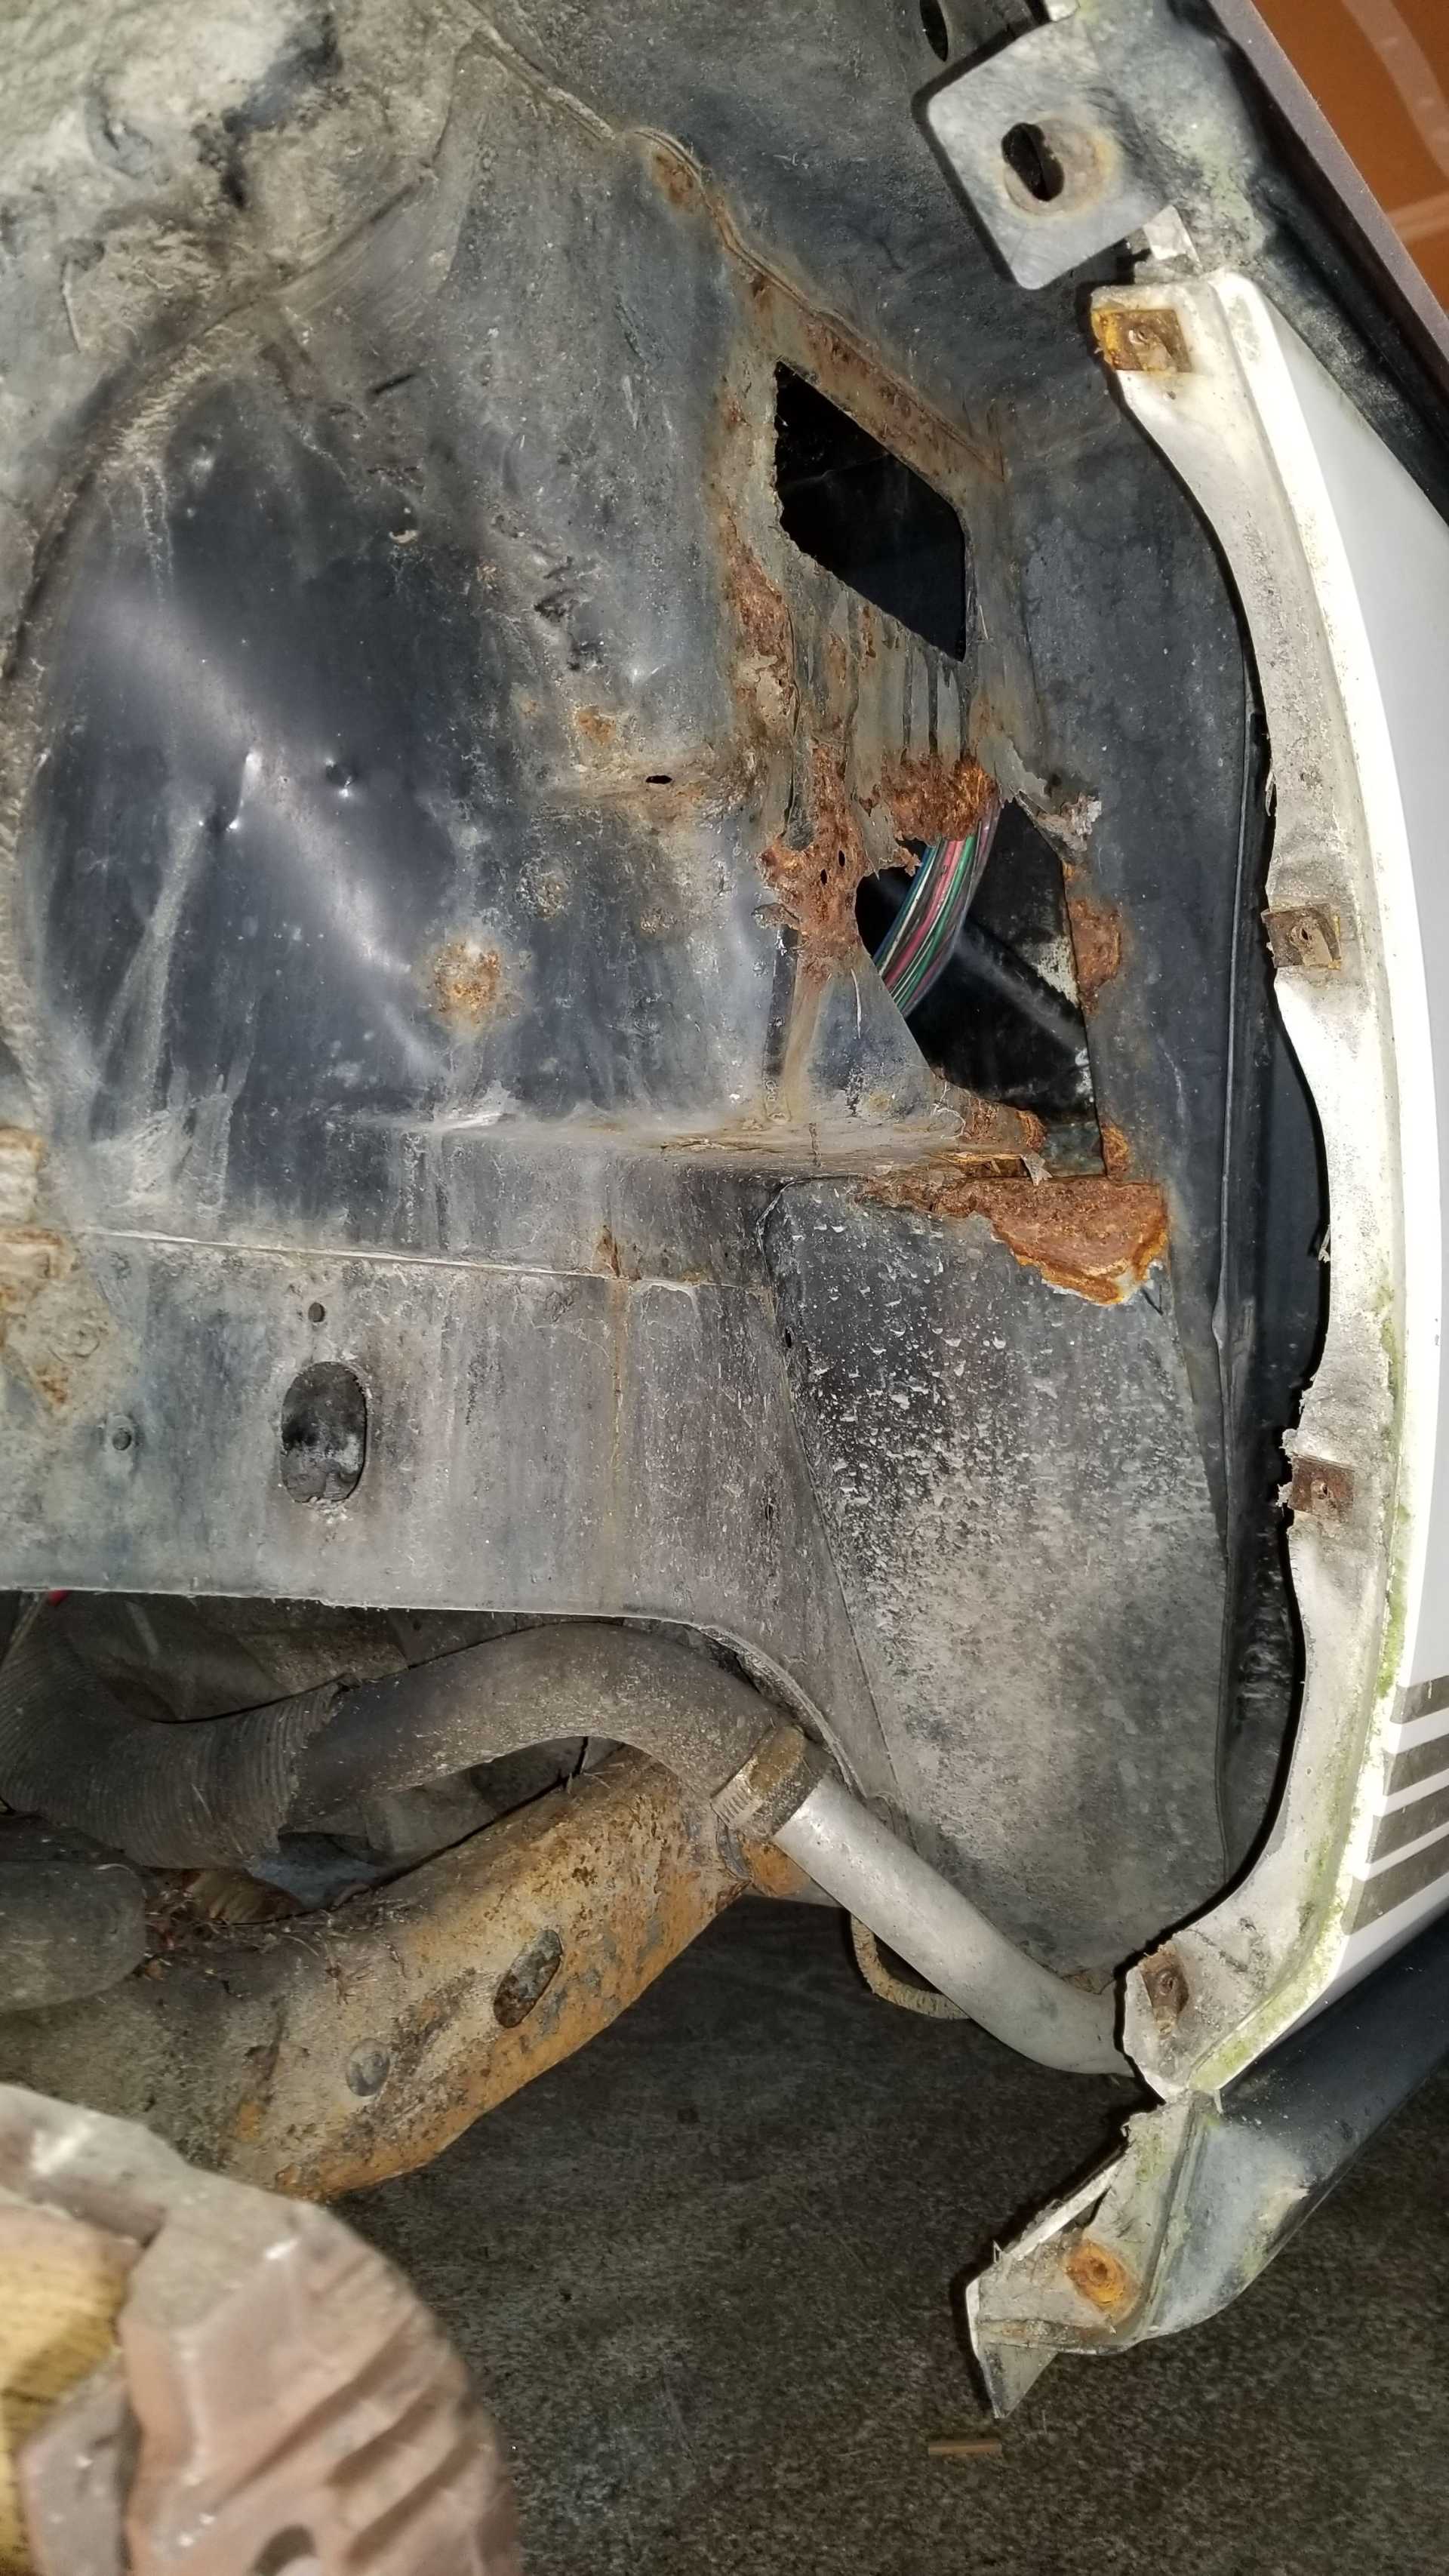
 The frame area on the right looks pretty bad as well.