Finally got the lines along the molding areas straightened out. Just about ready for final spot prime now. Painted the moldings black, can always be changed, but think it is the right choice. Remind me never to do this many body changes again. LOT'S of man hours! Miss my buddy Richard doing all the detail work, but he is still in CA visiting family and dealing with his health issues. May have to paint this myself. Cross our fingers!
Much better, but think if I load the concave groove with primer and then sand it will turn out fine.
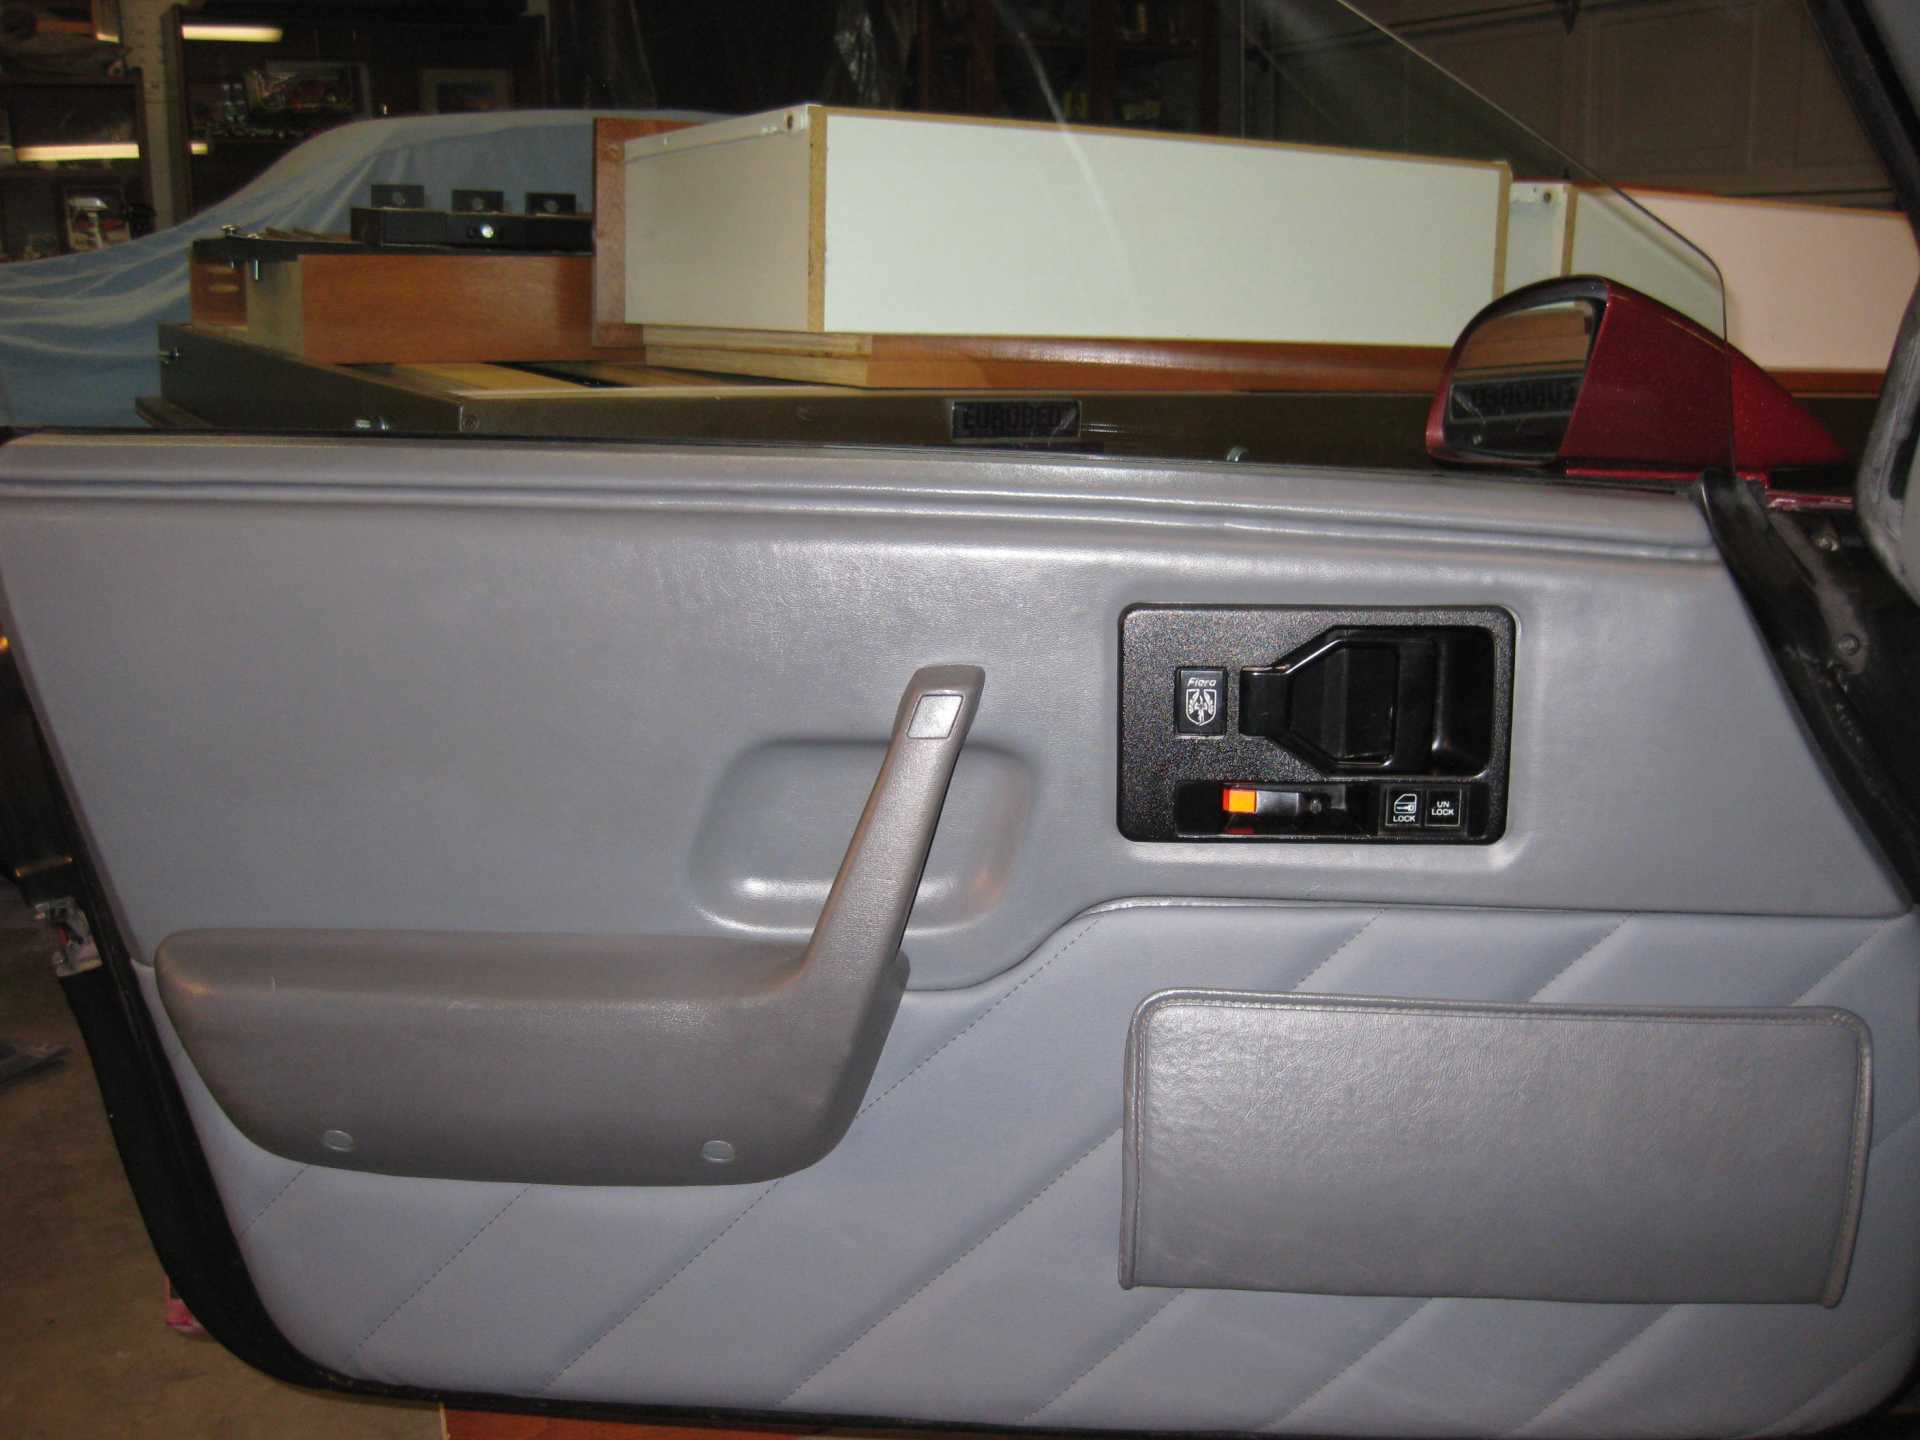
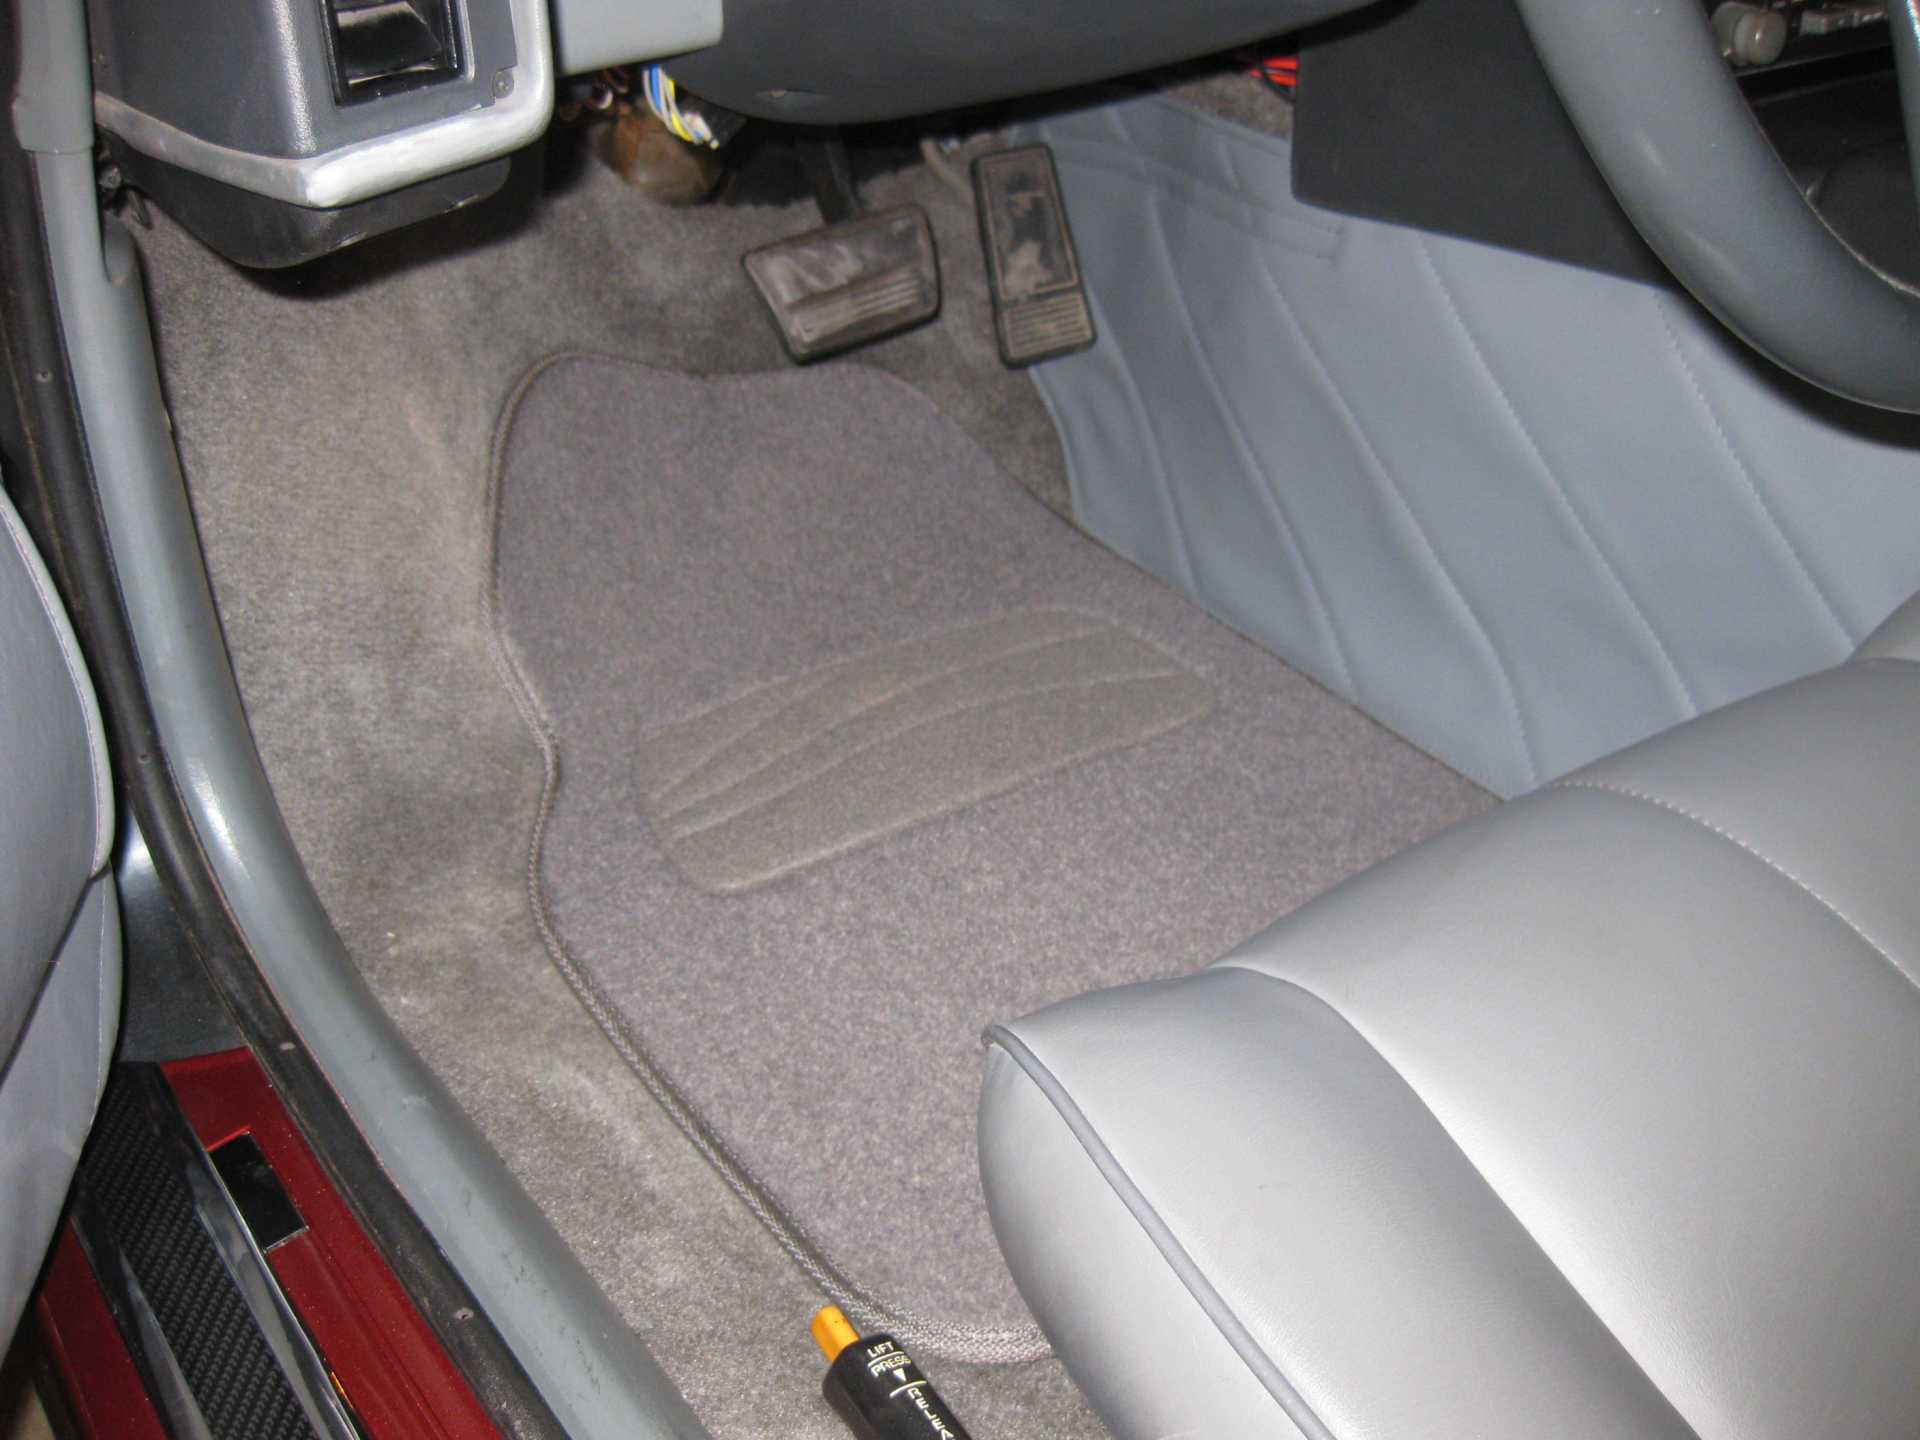
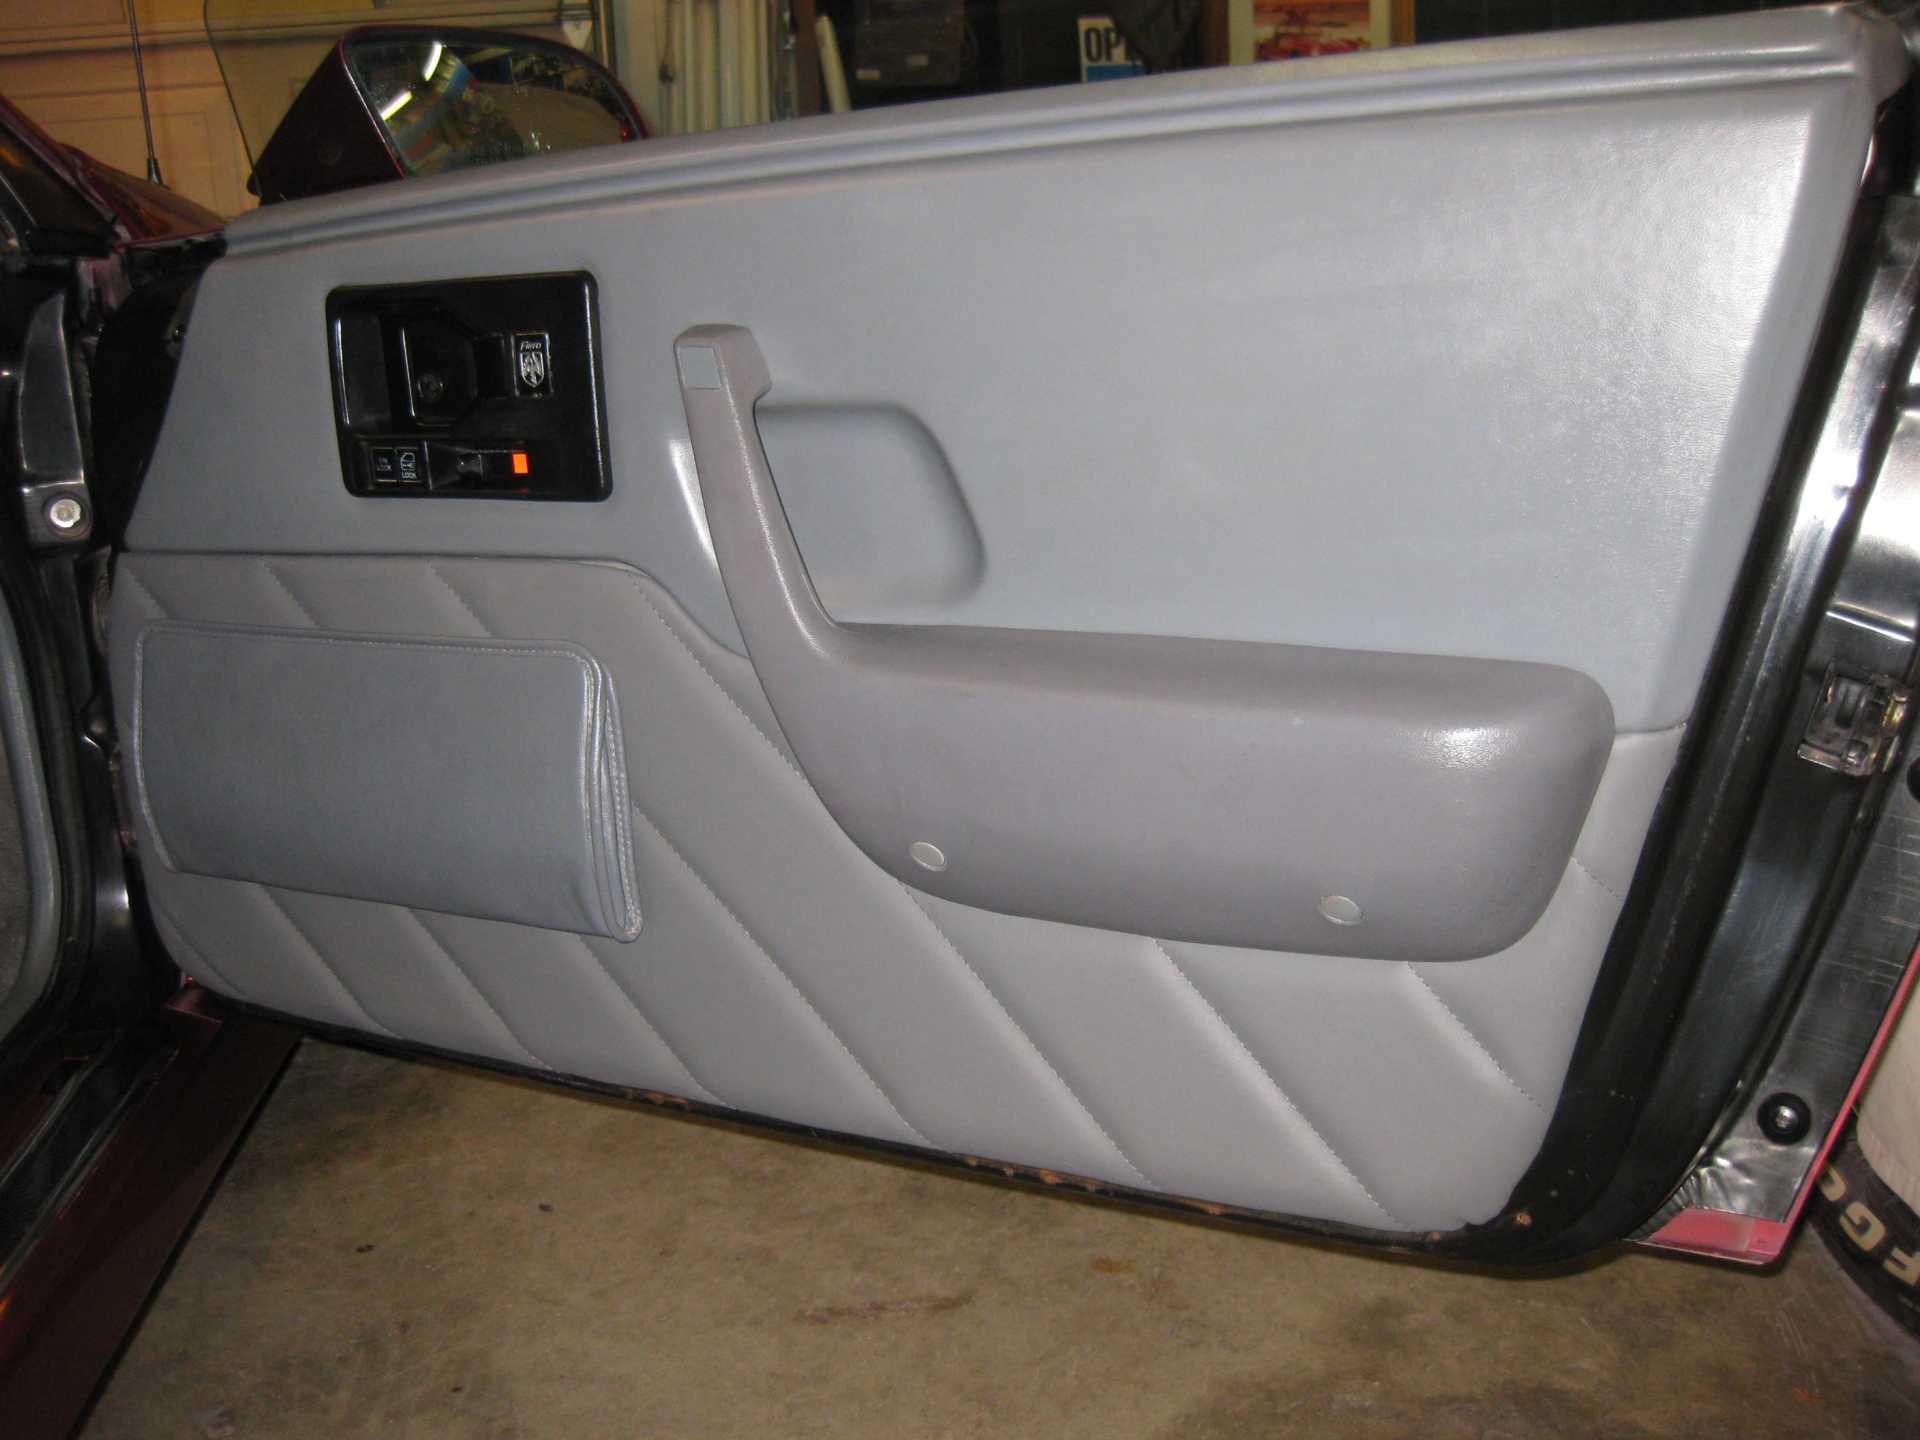
Had lunch with Richard yesterday and he will be out to the shop this coming week to assess my straightening of body lines. He hopes to get the final primer on and then the color coat, soon. I did paint the underside of the hood today, And yesterday, removed the backer panels on the engine cover louvered vent panels. Unless I'm told otherwise, I think we will paint them body color instead of black. Used upholstery/vinyl dye to spray the carpet on the door panels to match the gray floor carpet. I've never been a fan of the factory multi color carpet. It sure is durable, though! Will update further when we get that final priming done.
Update, but no pictures. Richard had called on Tuesday evening to tell me he would be out today, Thursday to work on the car . He was pleasantly surprised that I had been able to get the molding lines straitened out and that the car was further along than he had remembered. So, tomorrow we finally get final primer, assuming he is up to it. Then more sanding and sealer, and just maybe color by end of next week. Of course it all depends on how he is feeling health wise. He is determined to get this thing done, but he has to do it at his own pace. Pretty sure it will be worth the wait. Pictures tomorrow, at least that is the goal. Thanks for looking.
Pictures! I know it is just gray primer, but it is the final primer before sealer and color. Tomorrow is sand and remove masking so we can clean and re mask for paint. I've owned this 88 for about 8 years, and I now appreciate how long it can actually take to get some of these projects to the finish line. And I appreciate the viewers patience while the project stalled for months on end. We are pretty excited to be nearing the final stages. Anyway, some pictures below.
Richard getting started on priming the hood.
Moving on to the rear deck lid.
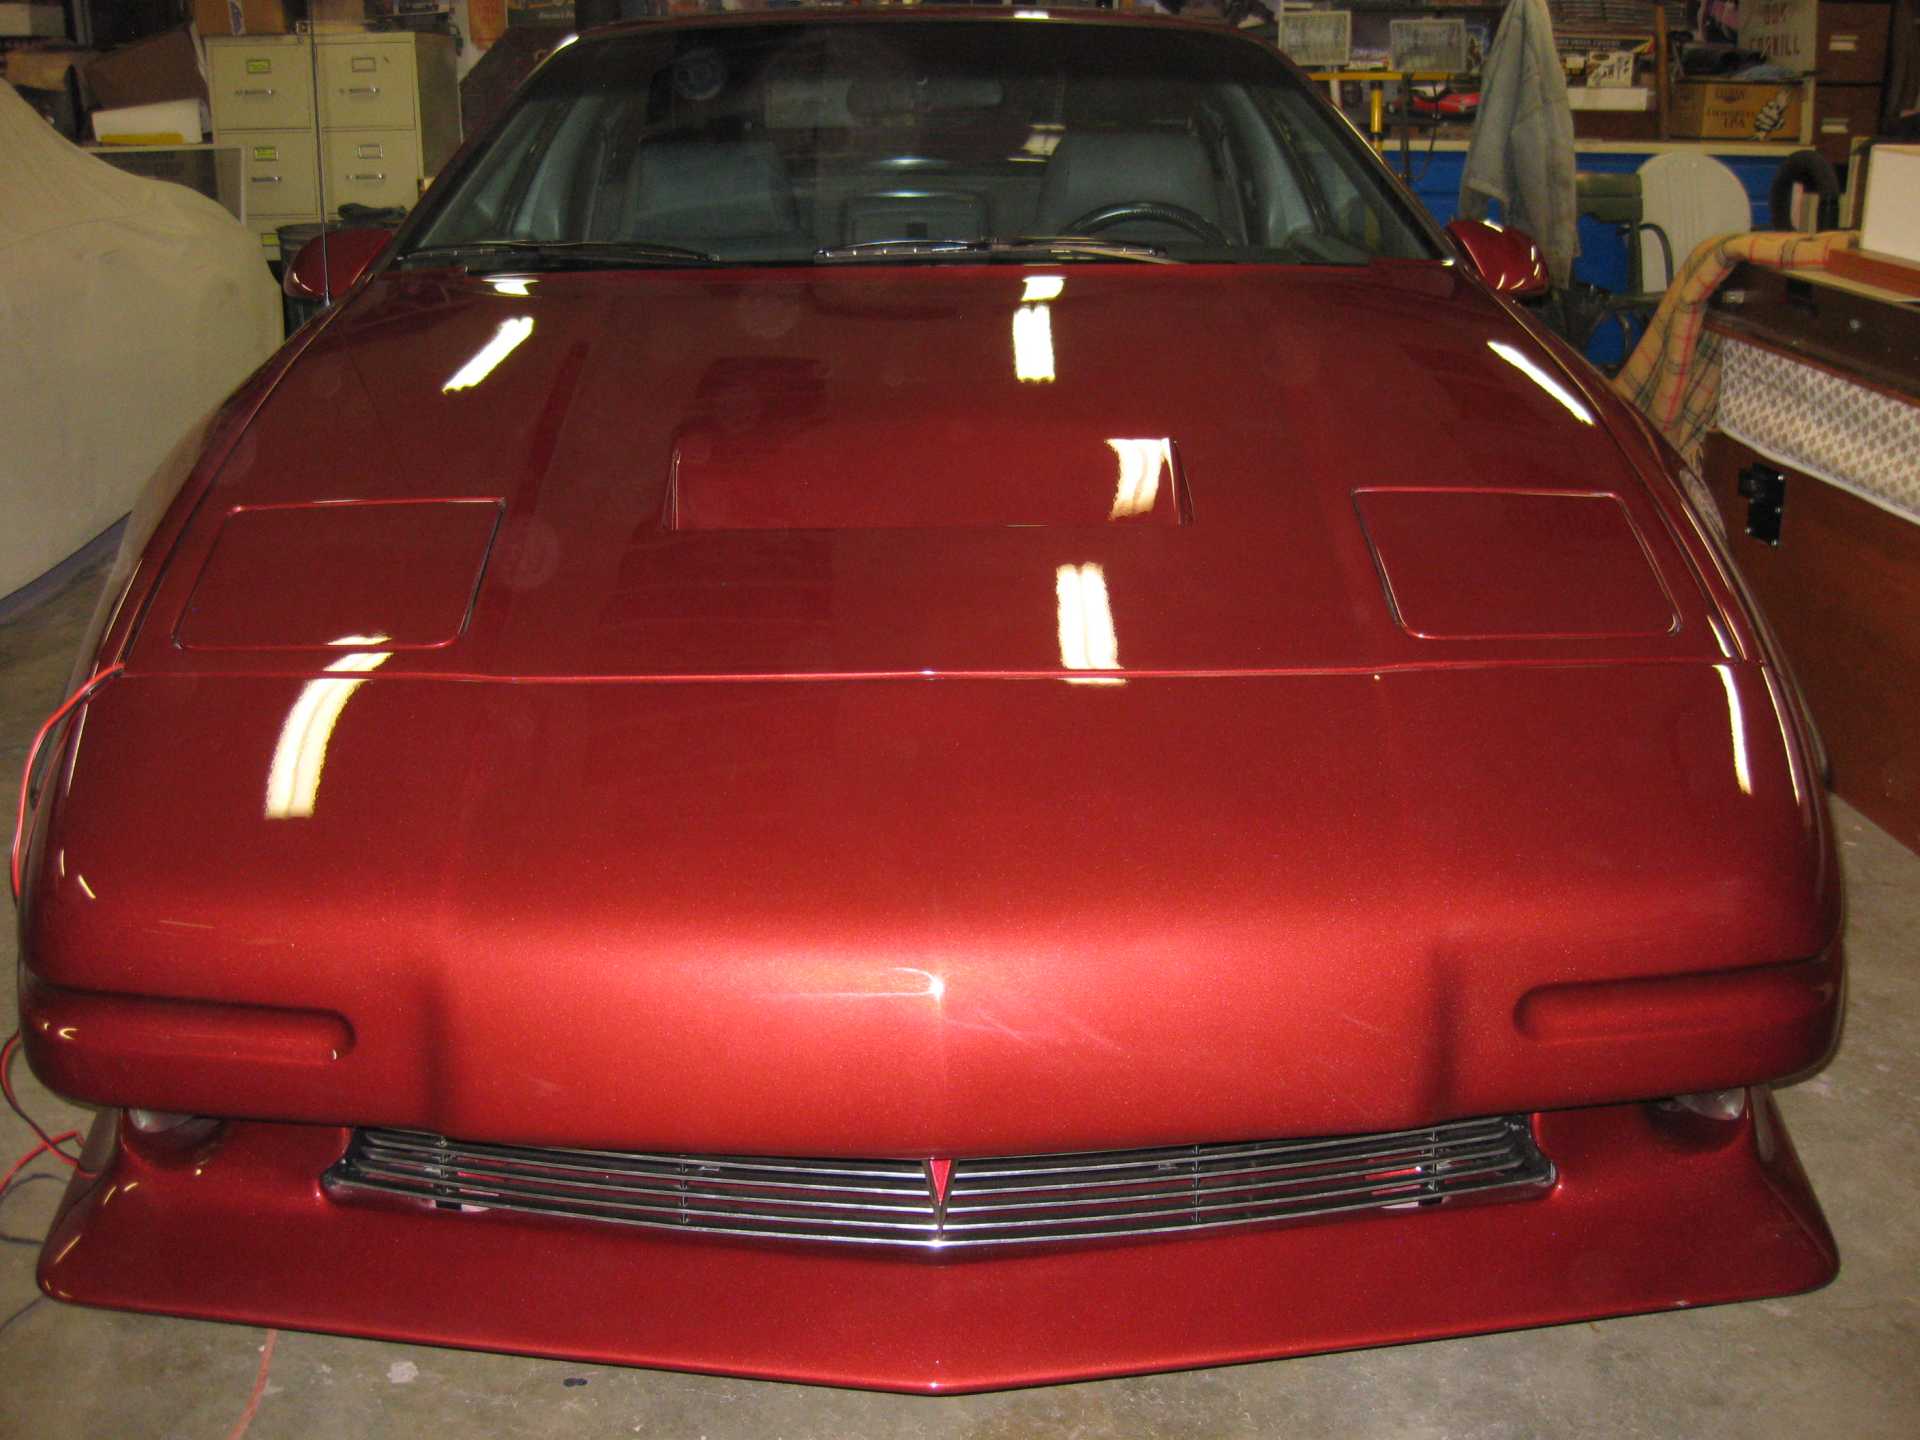
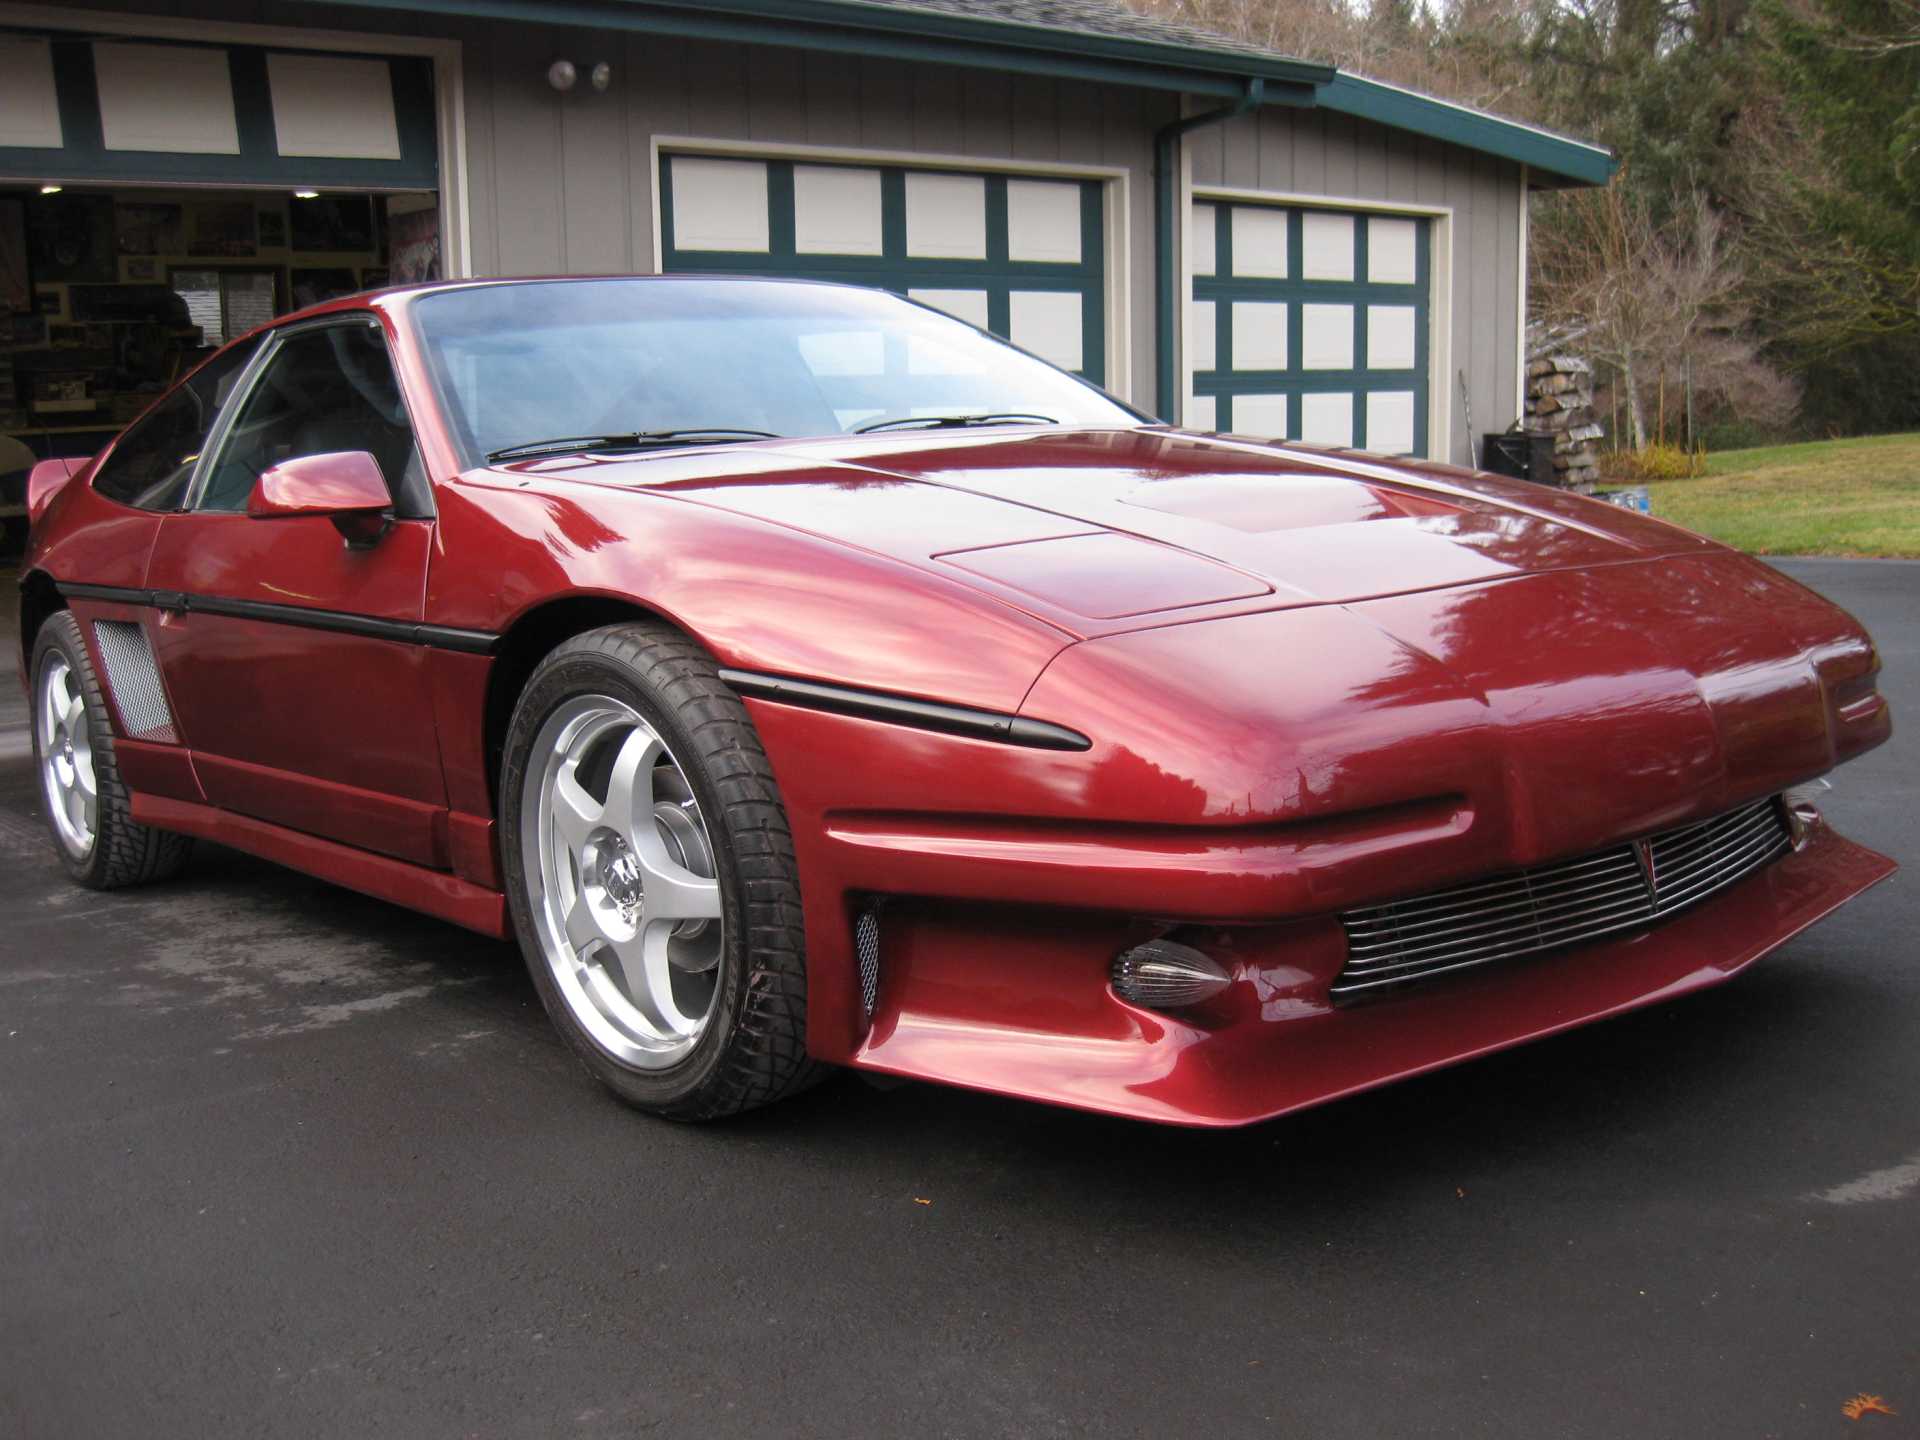
And the front facia. Turned out we were very happy with the results of all the time, filling, sanding, that it took to get this far.
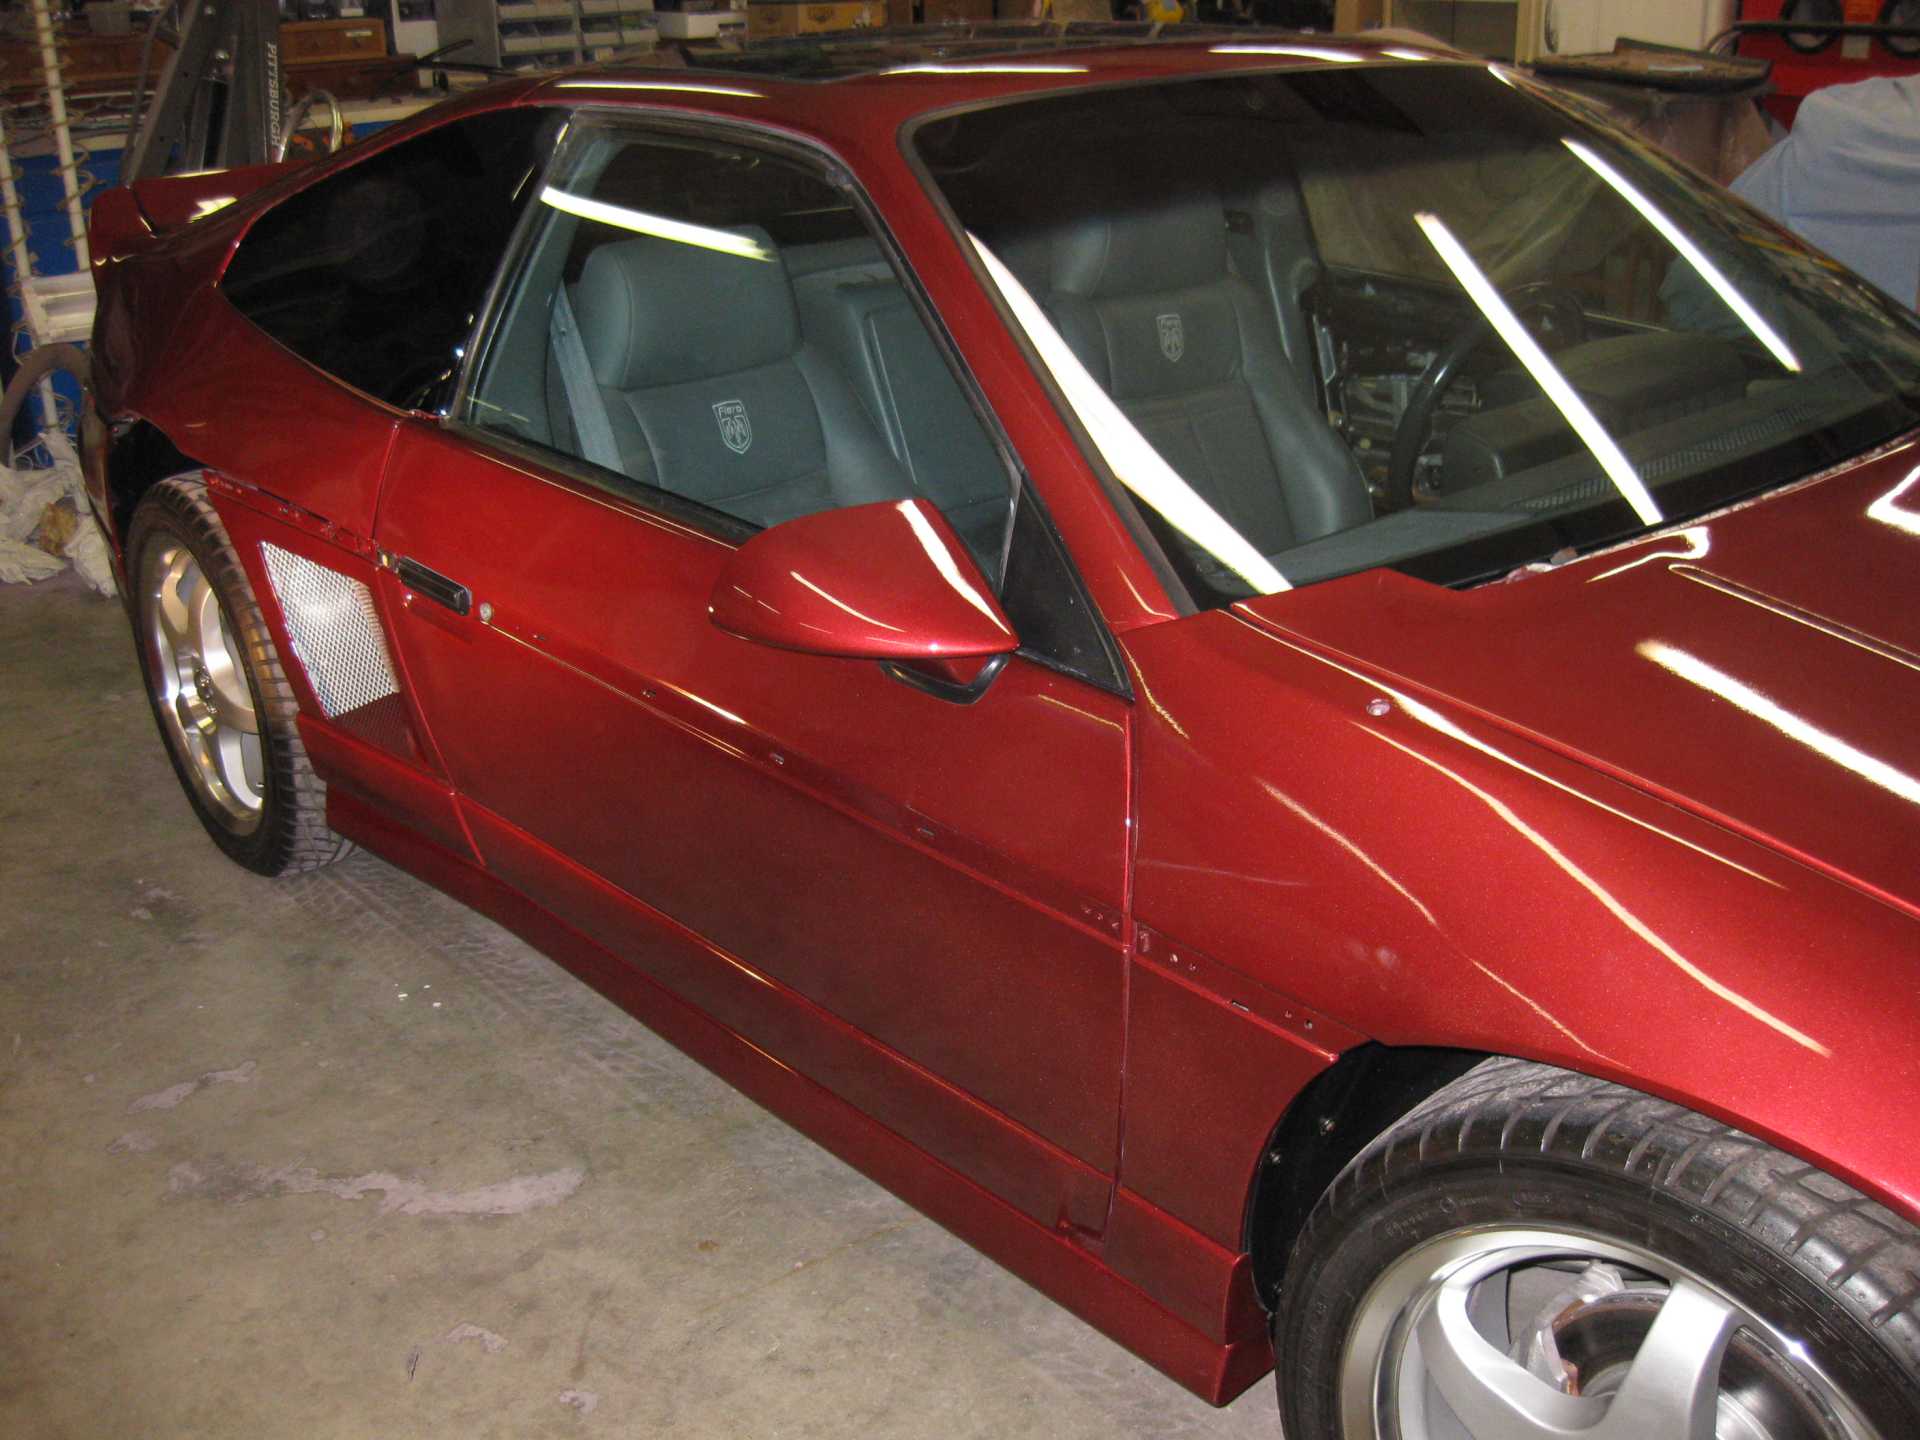
Love your work. Makes me wish I was on the east side of the Pacific o I could see it in person. I especially like the side vents in the lower quarter-panels. Do you have instructions on how you fabricated them? I have a set of lower quarter-panels that I been planning to do something similar but I'm hesitant to get started. Better still, would you consider fabricating for Fiero owners? Other manufacturers have disappeared but I feel that the demand is still there.
Shem thanks for the comment. I'm awaiting your updates as your car moves along to the finished state. Mike, that set of quarter panel scoops is the only set I have made with such a deep opening. If you look about half way down on page one of this thread, you will see some that I have done. It is really fairly easy. I use Lord Fusor 114 adhesive/filler for most of it. Mark the panel with a straight edge and cut out the opening with a circular saw or equal, using a fine tooth blade. I then cut fillers for the top and bottom of the opening using old door skins that are damaged beyond repair. I use the same material to fill the area where the small driver side scoop used to be. I will have to measure the set I cut out about a year ago, but have not finished, and then I will PM you the dimensions or post on here. Not that difficult if you have a set of quarter panels, and the mounting holes are all there, unlike the aftermarket units that are available. This is what I came home to today after Richard sanded the body and worked on a couple pinholes. There are a few small swatches of masking tape here and there on the body. I assume they are minor defects he found, but I can't see the problems. Nice to see it with much of the masking removed. We still have to final fit the hood just to verify the profiles are correct.
I.m not sure there is a "mini wide body" other than in my head. You could surely duplicate it to your own liking using some of the methods I came up with or borrowed from others. Been a fun project so far. It is a lot of man hours we have found out. Others with similar projects can likely attest to that part of the hobby.
Richard came by today and we sanded most of the day. We fixed a few final details and fitted the hood which seems to be fine, but we have not reinstalled the rubber bumpers used on the hoods leading edge corners. Should be good. Closer and closer to "good enough" for paint!
Update, but no pictures yet. Richard is back at it this morning. Cleaning and getting ready to single stage the door jambs. He is determined to get this project finished yet. I know you all, and I will be excited to see some color. Thanks for looking, once again.
Well, finally some color, even if it is just on the jambs and sill area. Richard cleaned the car and remasked the door openings so he could paint the jamb area. I asked when we would see color on the whole car, but he said he only lives one day at a time and won't commit to a time line. But, he and I are real excited to see the car off jack stands, at least temporarily. We will pull it out to clean the shop best we can before spraying the body. Shop cleaning scheduled for tomorrow. As you guys know, schedules are tentative at best!
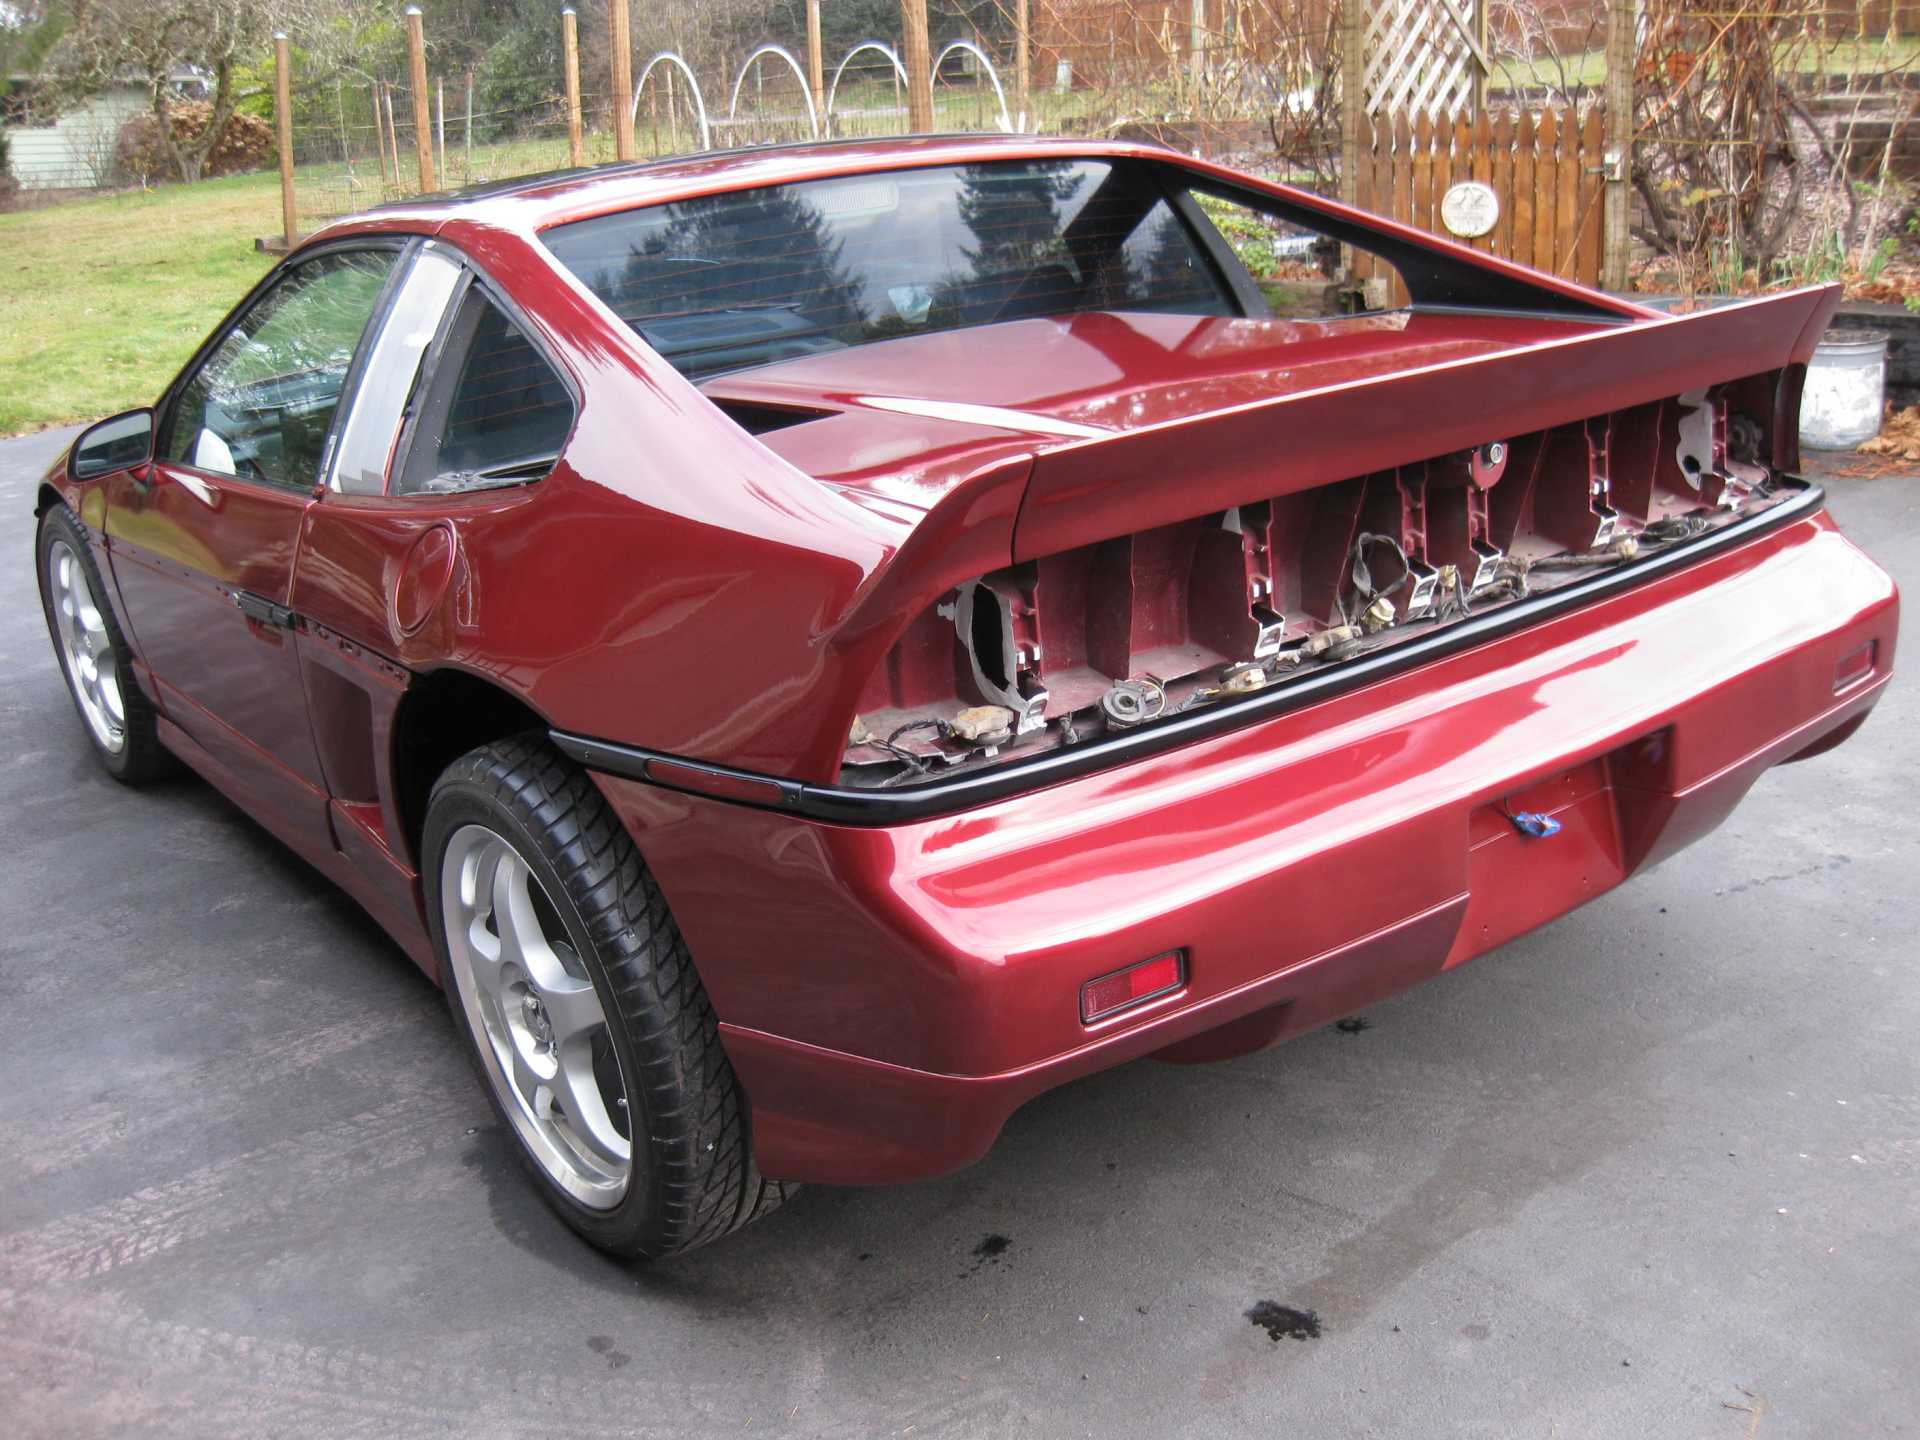
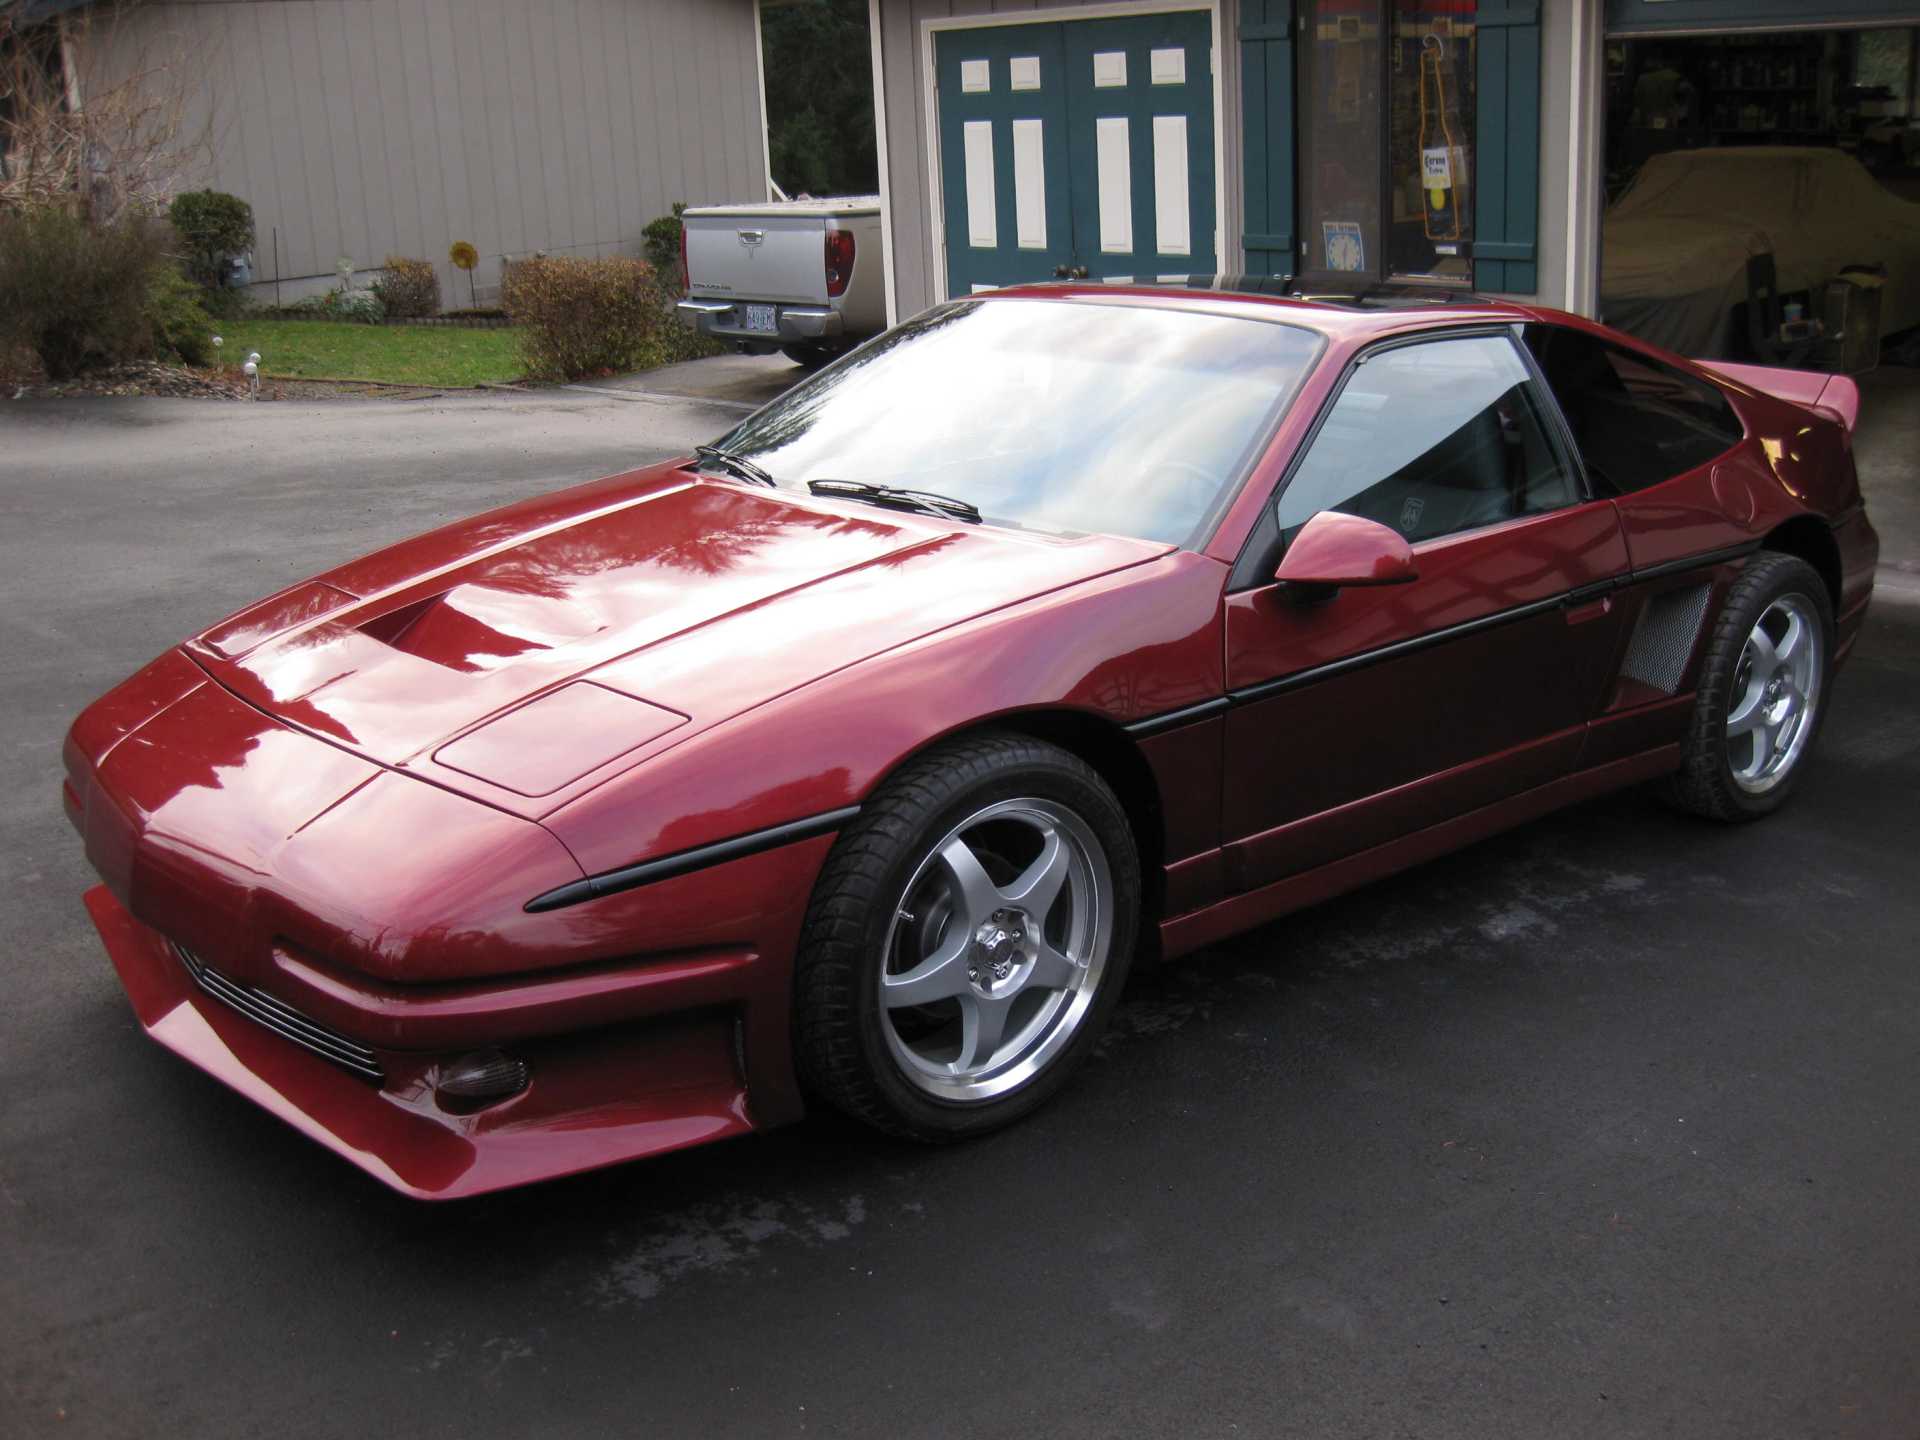
And a little COLOR! Kirker's version of Inferno Red, Very similar to the color of the V8 car peeking out of the background of the first photo.
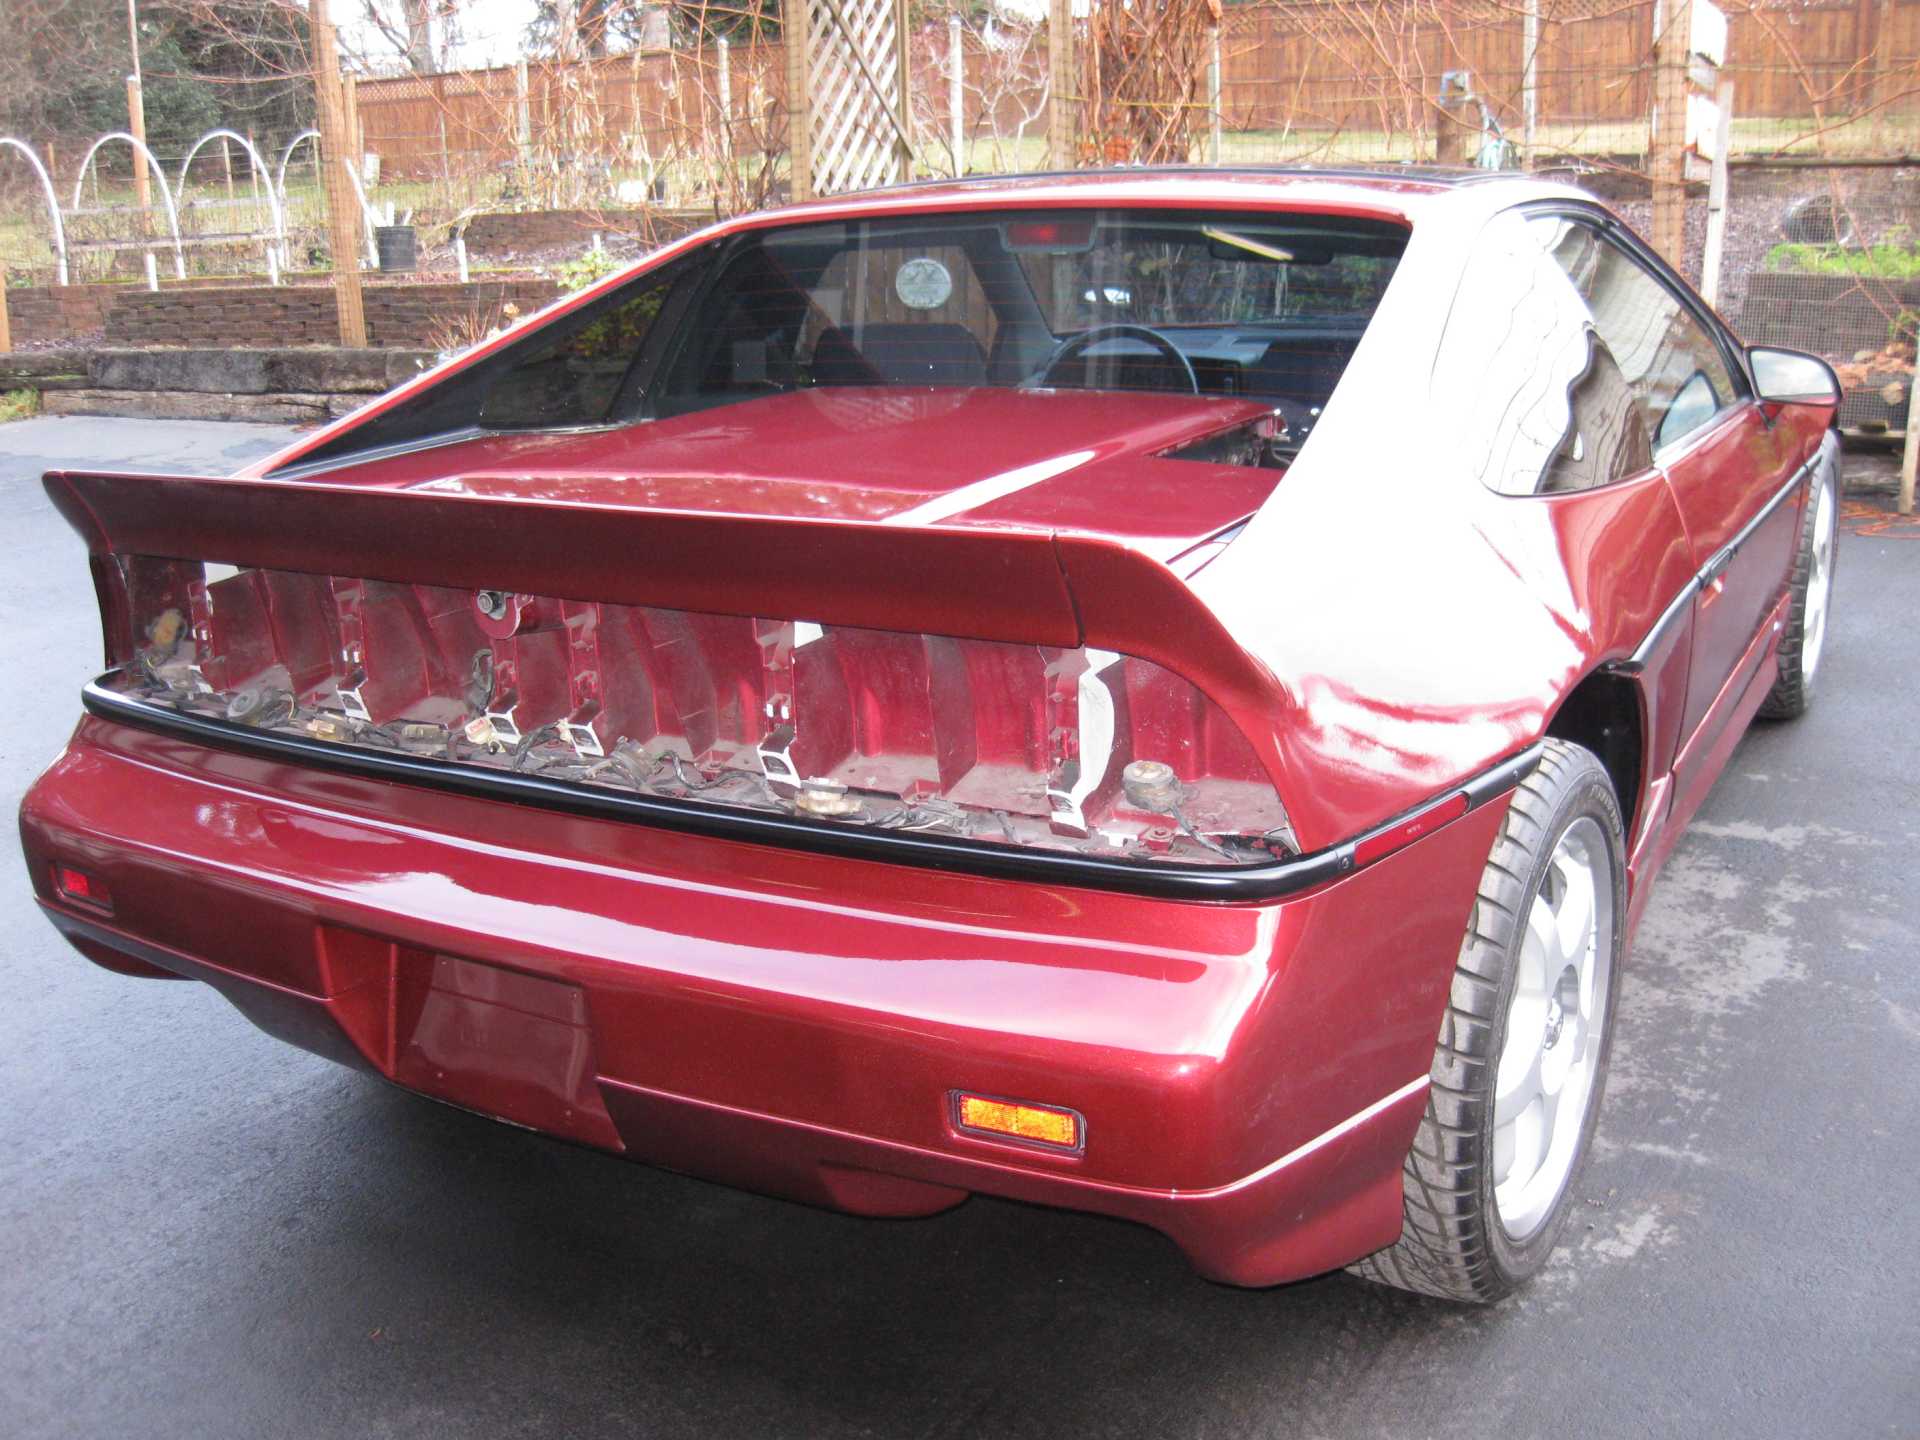
Hell-of-a-build!! Couldn't see if the 59 caddy lights are there, I sure hope they are. Just a kick-ass job. One sweet ride, no second place trophy's here. Press on ole man....
Thanks for the comments Rick. I've been wanting to do another update, but progress is slow and my friend/painter Richard has been doing final cleaning and still has some masking to do to try to keep dust to a minimum. He works under pretty tough conditions since the shop is several open bays with cars parked near this project. No paint booth, no fancy lighting, but he has done several repaints for me and they turn pretty darn nice. He started his first body shop when he was 19 and is now nearing mid sixties. Lots of experience. His six year battle with health issues slows him a lot, but he really likes helping with these projects. He works when he feels like it, so this has taken some time. Sealer tomorrow, maybe paint the next day. But, we take it as he feels like working. I'm darned excited to see a possible finish to this thing. And, I really appreciate those who have stuck with this idea of mine, and Richard's. Who would have thought it would take years! And, I'm running out of those!
Well, I'm going to blame the problem on poor lighting. Somehow we missed a couple problem areas and only discovered them once the color was on. So another setback, that will entail recoating the primed areas once finish sanded, sanding the entire car for adhesion, then recoating color to make sure all color is uniform. Who said it was easy. More delays. Very minor blemish on the nose.
Bigger problem on fender, had a couple minor waves above wheel well, and minor scratches on scoop.
Front bumper blemish?? White racing stripes dude---wide white racing stripes man. Remember the good old days? Maskin' tape & rattle can that thing! O.K., fix the side screw up, but paint the whole damn car again? Dedicated!! Dedicated to a super clean machine. Cool. R.........
Rick. sometimes I think your idea makes sense. But this has been going on so long, another week or so shouldn't be a deal breaker. Might ruin my Mini since it has been outside for several months waiting for the overspray and bondo dust to clear.. First time in it's life, unless we are on the road, that it has sat outside. Oh well, just cars, right. Almost there.
Well, another disappointing delay! Richard stopped today to finalize the areas he had primed earlier. I told him that UPS would be stopping by with the items we had ordered to finish up the painting part of the project. So later in the day he stopped by the rental house I was working on to tell me what he had accomplished. I asked, "did the paint products show up?" No, didn't see anything from UPS. So when I got home this evening I checked the tracking info on the package. Well, I found out it had been damaged and the contents had been dumped. But UPS said they had contacted the shipper, for what ever that is worth. Now, I likely will have to wait another week for the items. Man, just can't get this project pushed through to the end! Thanks for listening.
O.K. So ya have time to go over the car "again" to make sure you have it ready to paint for the final time!!! RIGHT!!! I know, metallic color can't be touched up. Well maybe if you're super-really-good. Me? I get an extra rattle can, hopefully of the same color lot, sorta like when the wife buys yarn. BUT, you can see the end, you will be driving this bad boy soon. Press on... Sounds like some UPS driver liked your color also. Rick
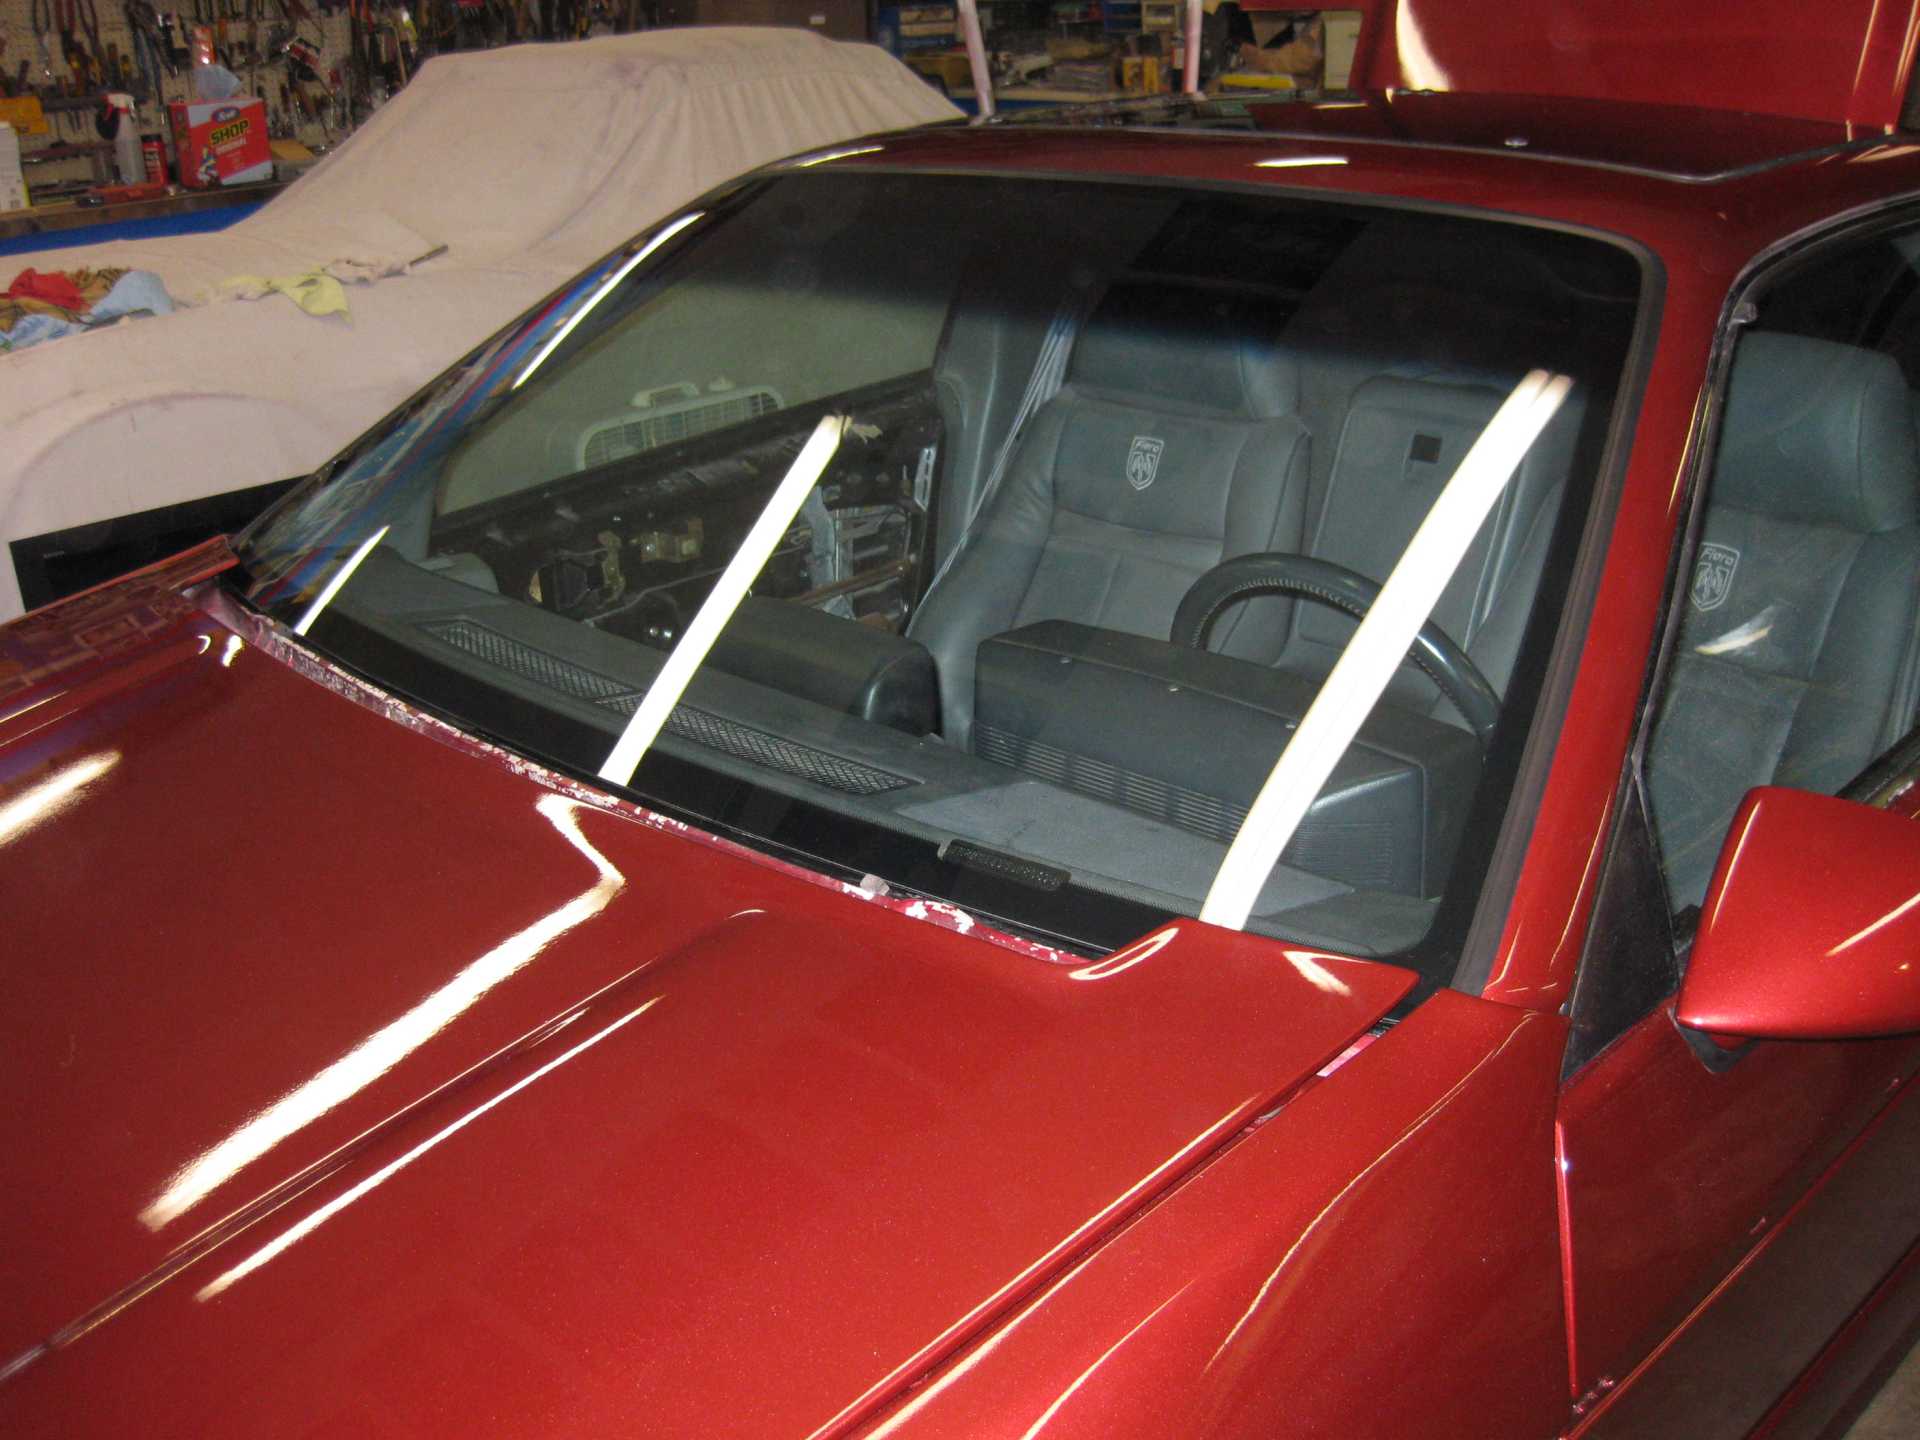
Rick, maybe we can meet halfway! It is shinny and bright, and I hope to get the personal plate "Rokit", (referring to the Cadillac tail lights), which has not been used here in Oregon. Could be a little risky, "Red car" with a Rokit plate has to be doing something wrong. Right? That 140 HP V6 could get me in a lot of trouble. Richard got the masking off and started some wet sanding today. Until we get it polished out, not exactly sure what we will end up with. A few things could be better, but the shop is just not conducive to perfect results. I'll update with more pictures once we get it outside and start putting it back together. Still needs alignment and a windshield since the original one is cracked.
Slow progress as usual, but progress non the less. Richard has spent some time buffing, but life gets in the way for both of us. I'll add a few pictures of some minor reassembly. Still a bit of buffing on the rear quarters, but man that clear is getting harder everyday. Like we didn't know that was going to happen.
Finally got the rental house and Thanksgiving dinner out of the way, so making some reassembly progress. Installed the sunroof with a Fiero Store gasket. Just OK fit so far. Installed rear deck lid with air dam. Cleaned up the wheel wells and painted the beltline molding on rear bumper to black. Installed the mirrors with new dew wipes. Last new set of wipes I own, package dated 08/2002. Have working front parking/turn lights. Still a lot more detailing and installation to do. Richard is coming back tomorrow to do more polishing on the paint. Have not figured out the new image poster, doesn't work for me. Likely something simple since I am barely computer literate at my advanced age!
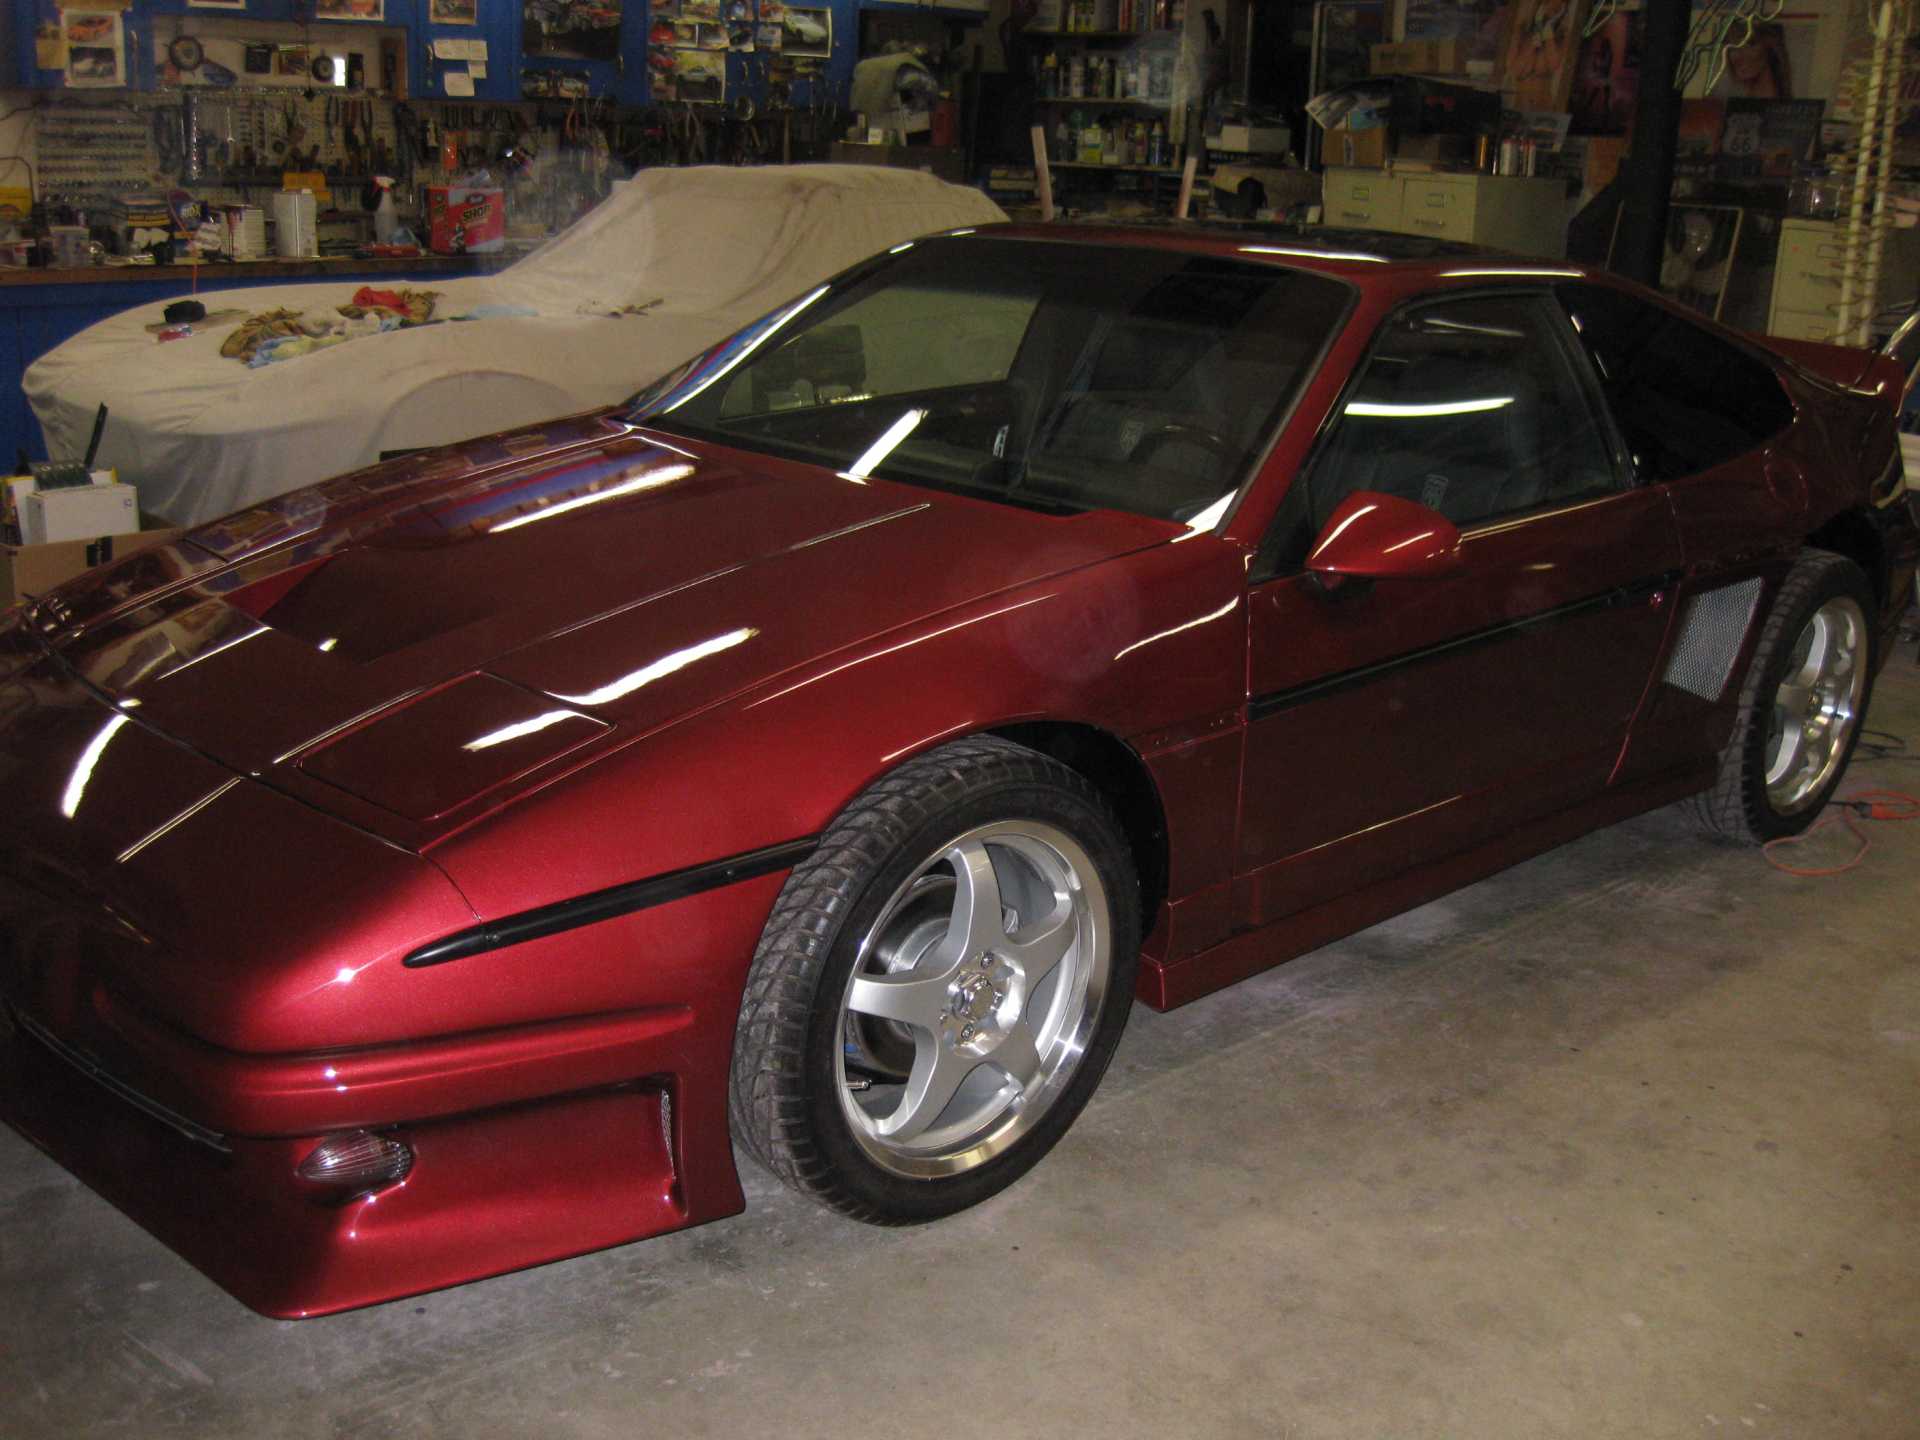
Got the car back on the ground last evening. Richard came by while I was at work and did some buffing. Still needs another pass on the deck lid and rear bumper. New windshield being installed on Thursday. After Christmas lights, some more reassembly. Ordered some interior dress up stuff from Russ. Saving those Caddy tail lights for last. I know there are some who can't wait!
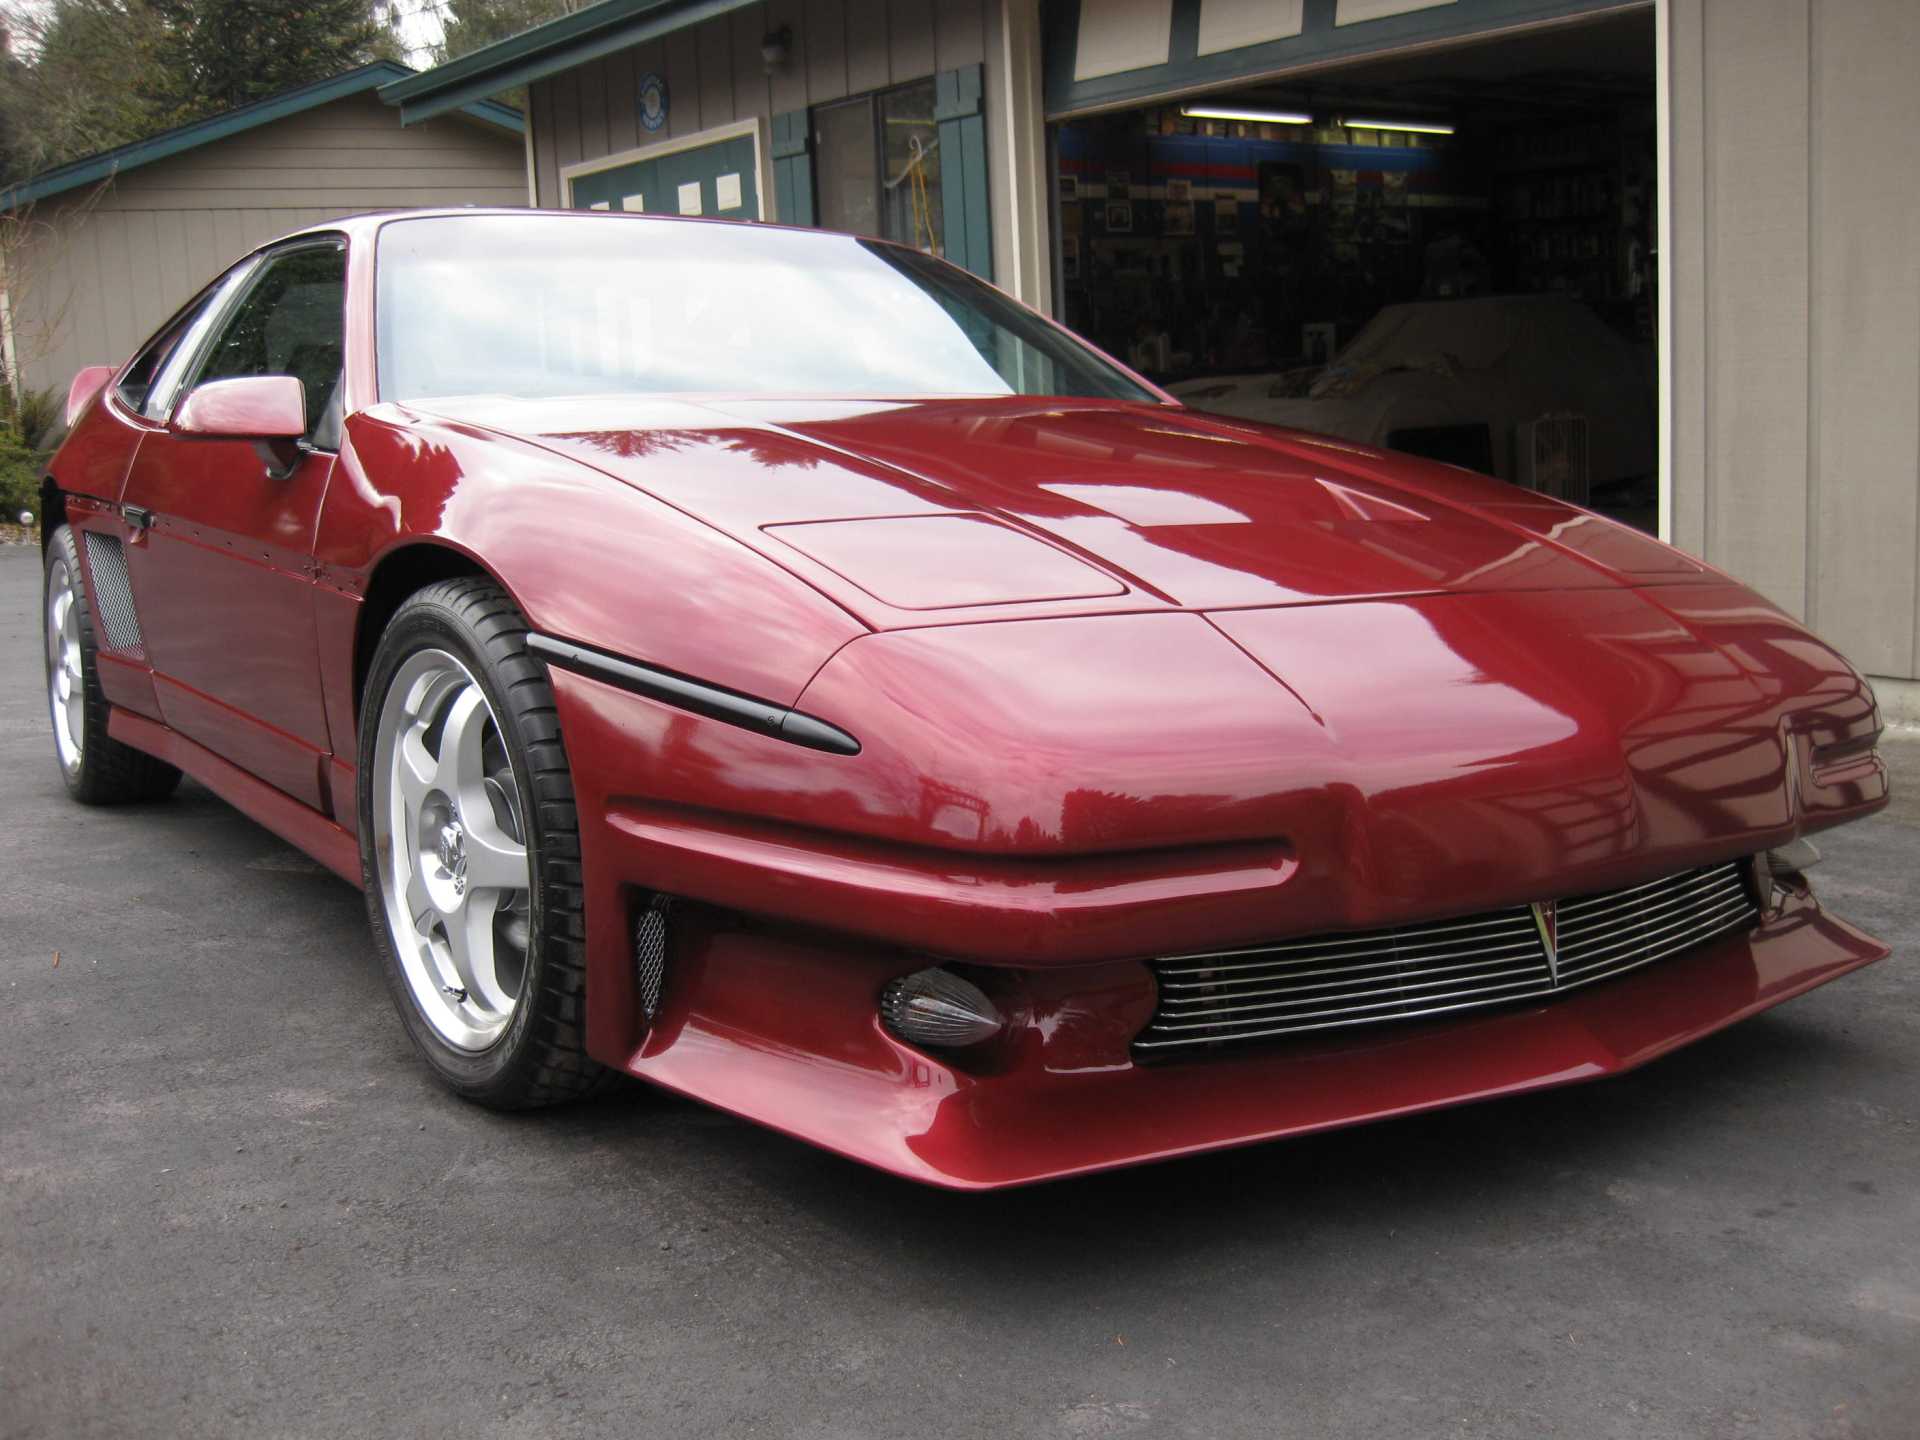
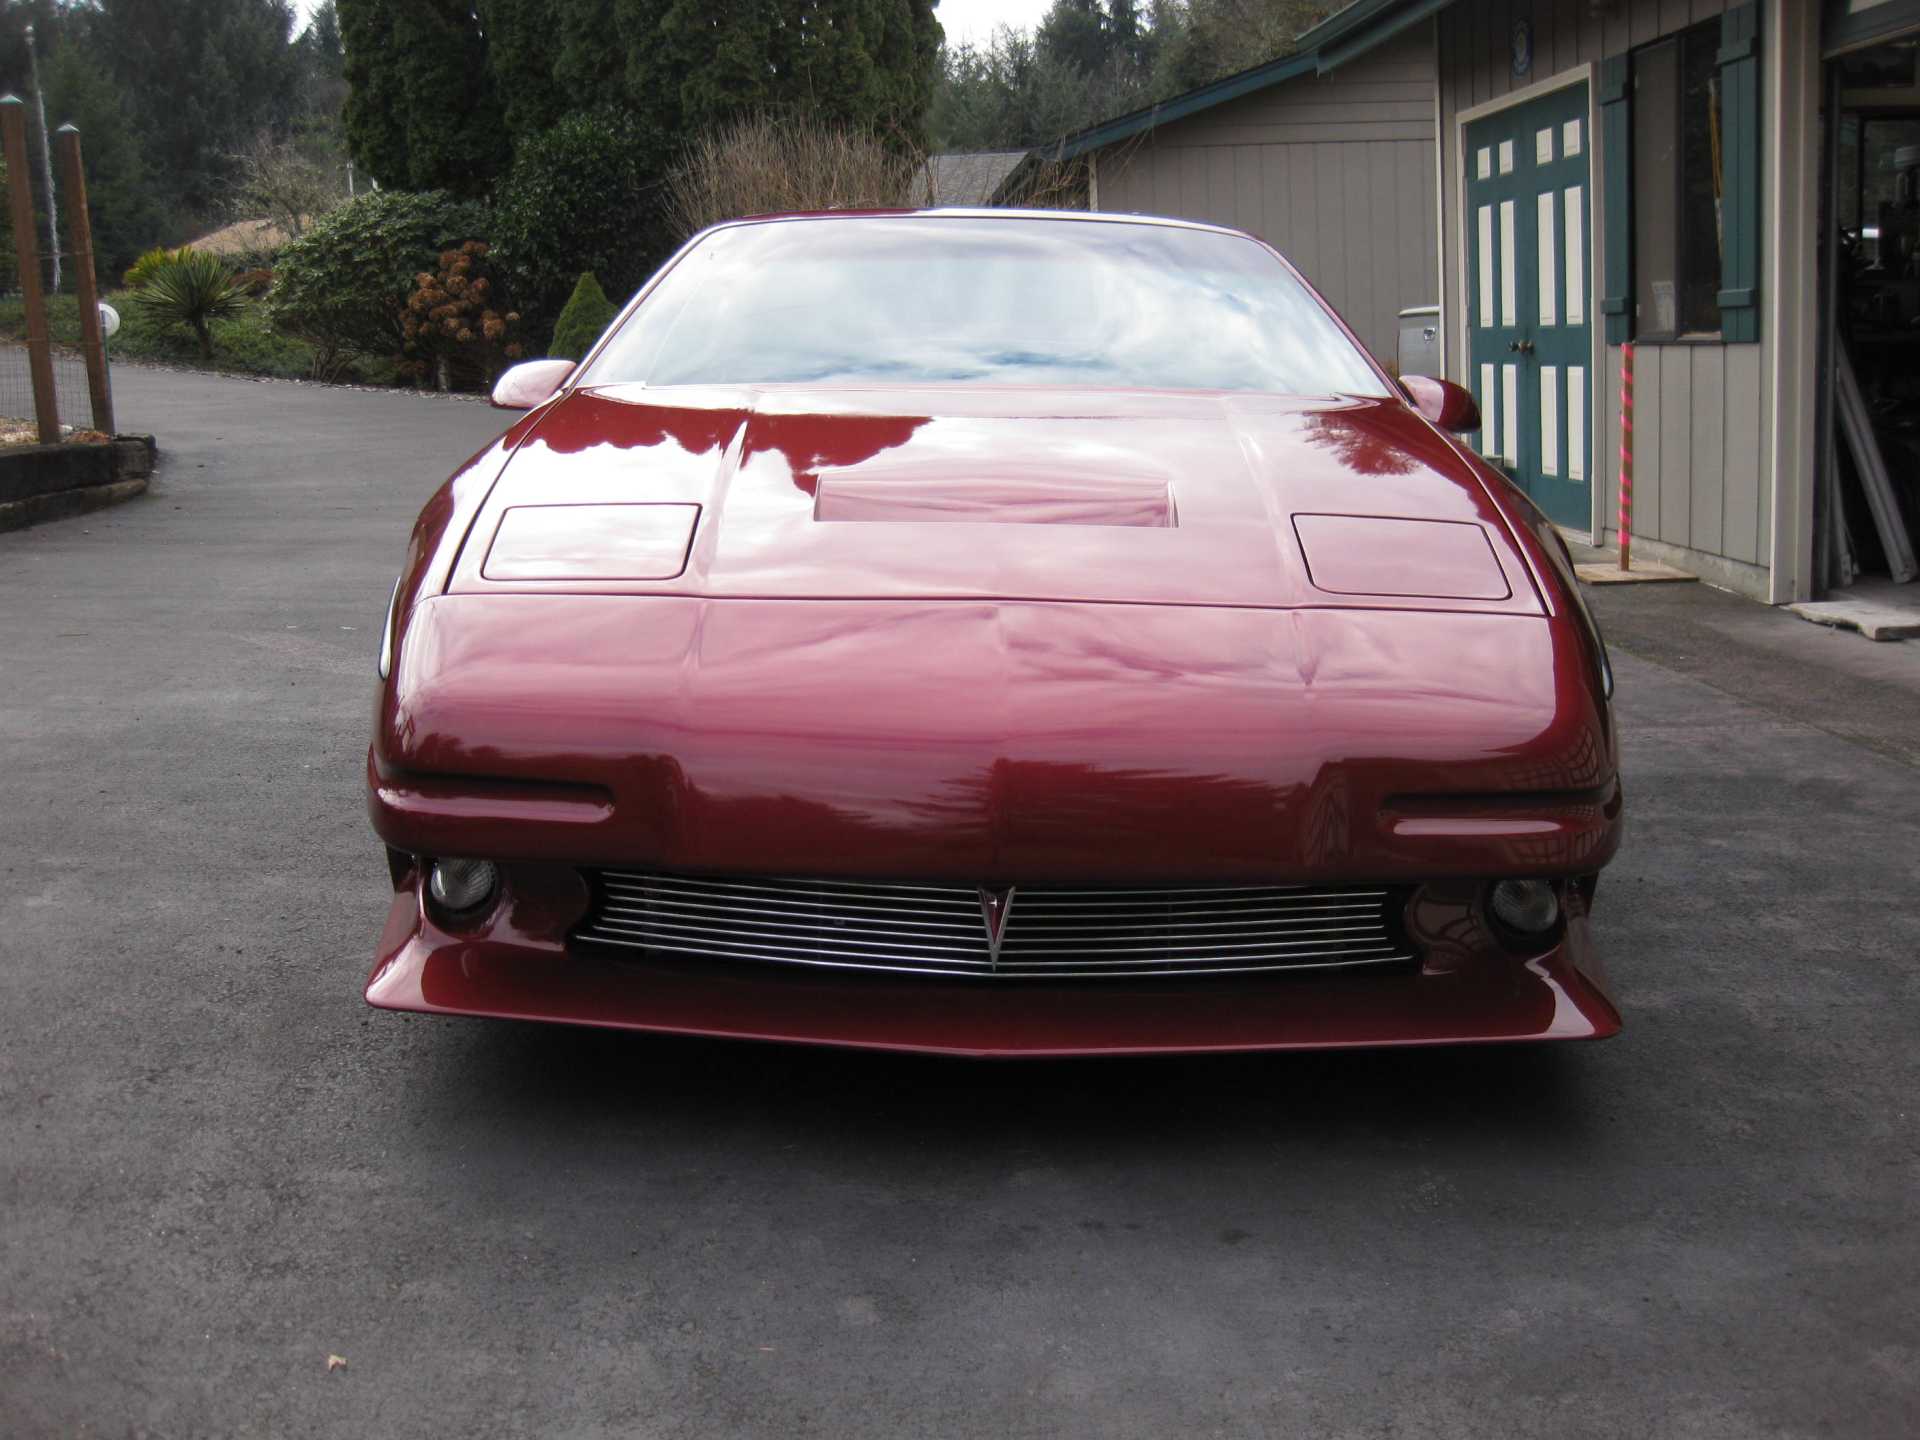
Finally got a break in the weather so I could get the car outside. It looks pretty good, but still needs more buffing which Richard plans to do tomorrow. I have made a bit of progress on the moldings and detailing and reassembly, but still plenty to do. Windshield guys showed up and got it installed. After they left I was able to get the Khines quarter windows installed. They had been sitting in a box for more years than I would like to think, waiting for this day. Attached find some pictures of the progress.
I used the 3M tape. I bought a huge roll of it some years back, so went with it. It seems like they are really stuck on, but have heard now and then that this brand of windows can let go because of the paint used. We will see how it works out. Passenger side nearly hits the rolled up window when closing the door. Too late now! I was aware of that possibility, but still got it installed almost too close for comfort. First side went on fine, but guess I was over confident on the second one.
Richard stopped by this morning to do some buffing on the hood, rear bumper and decklid. He found that I had managed to assemble the remainder of the beltline moldings by late last evening. After returning from a trip into town, I pulled the car outside between rain storms and took a few more pictures. Still have the rear light panel to wire and install. I noticed a pegged fuel gauge as well. He still has a bit of overspray to remedy on one door jamb and a few more niggly items to fix. I'm still waiting for some interior dress up items to arrive as well. Then a trip to DMV and an alignment shop. Lots of positive camber at the rear. A bit too much wheel gap at the rear as well. But the coil overs are set at their lowest setting, so the struts would have to be removed to fix that issue.
The car is coming along nicely. Not a fan of the lights but I certainly respect you for doing what you like. I like everything else, very cool changes that are subtle.
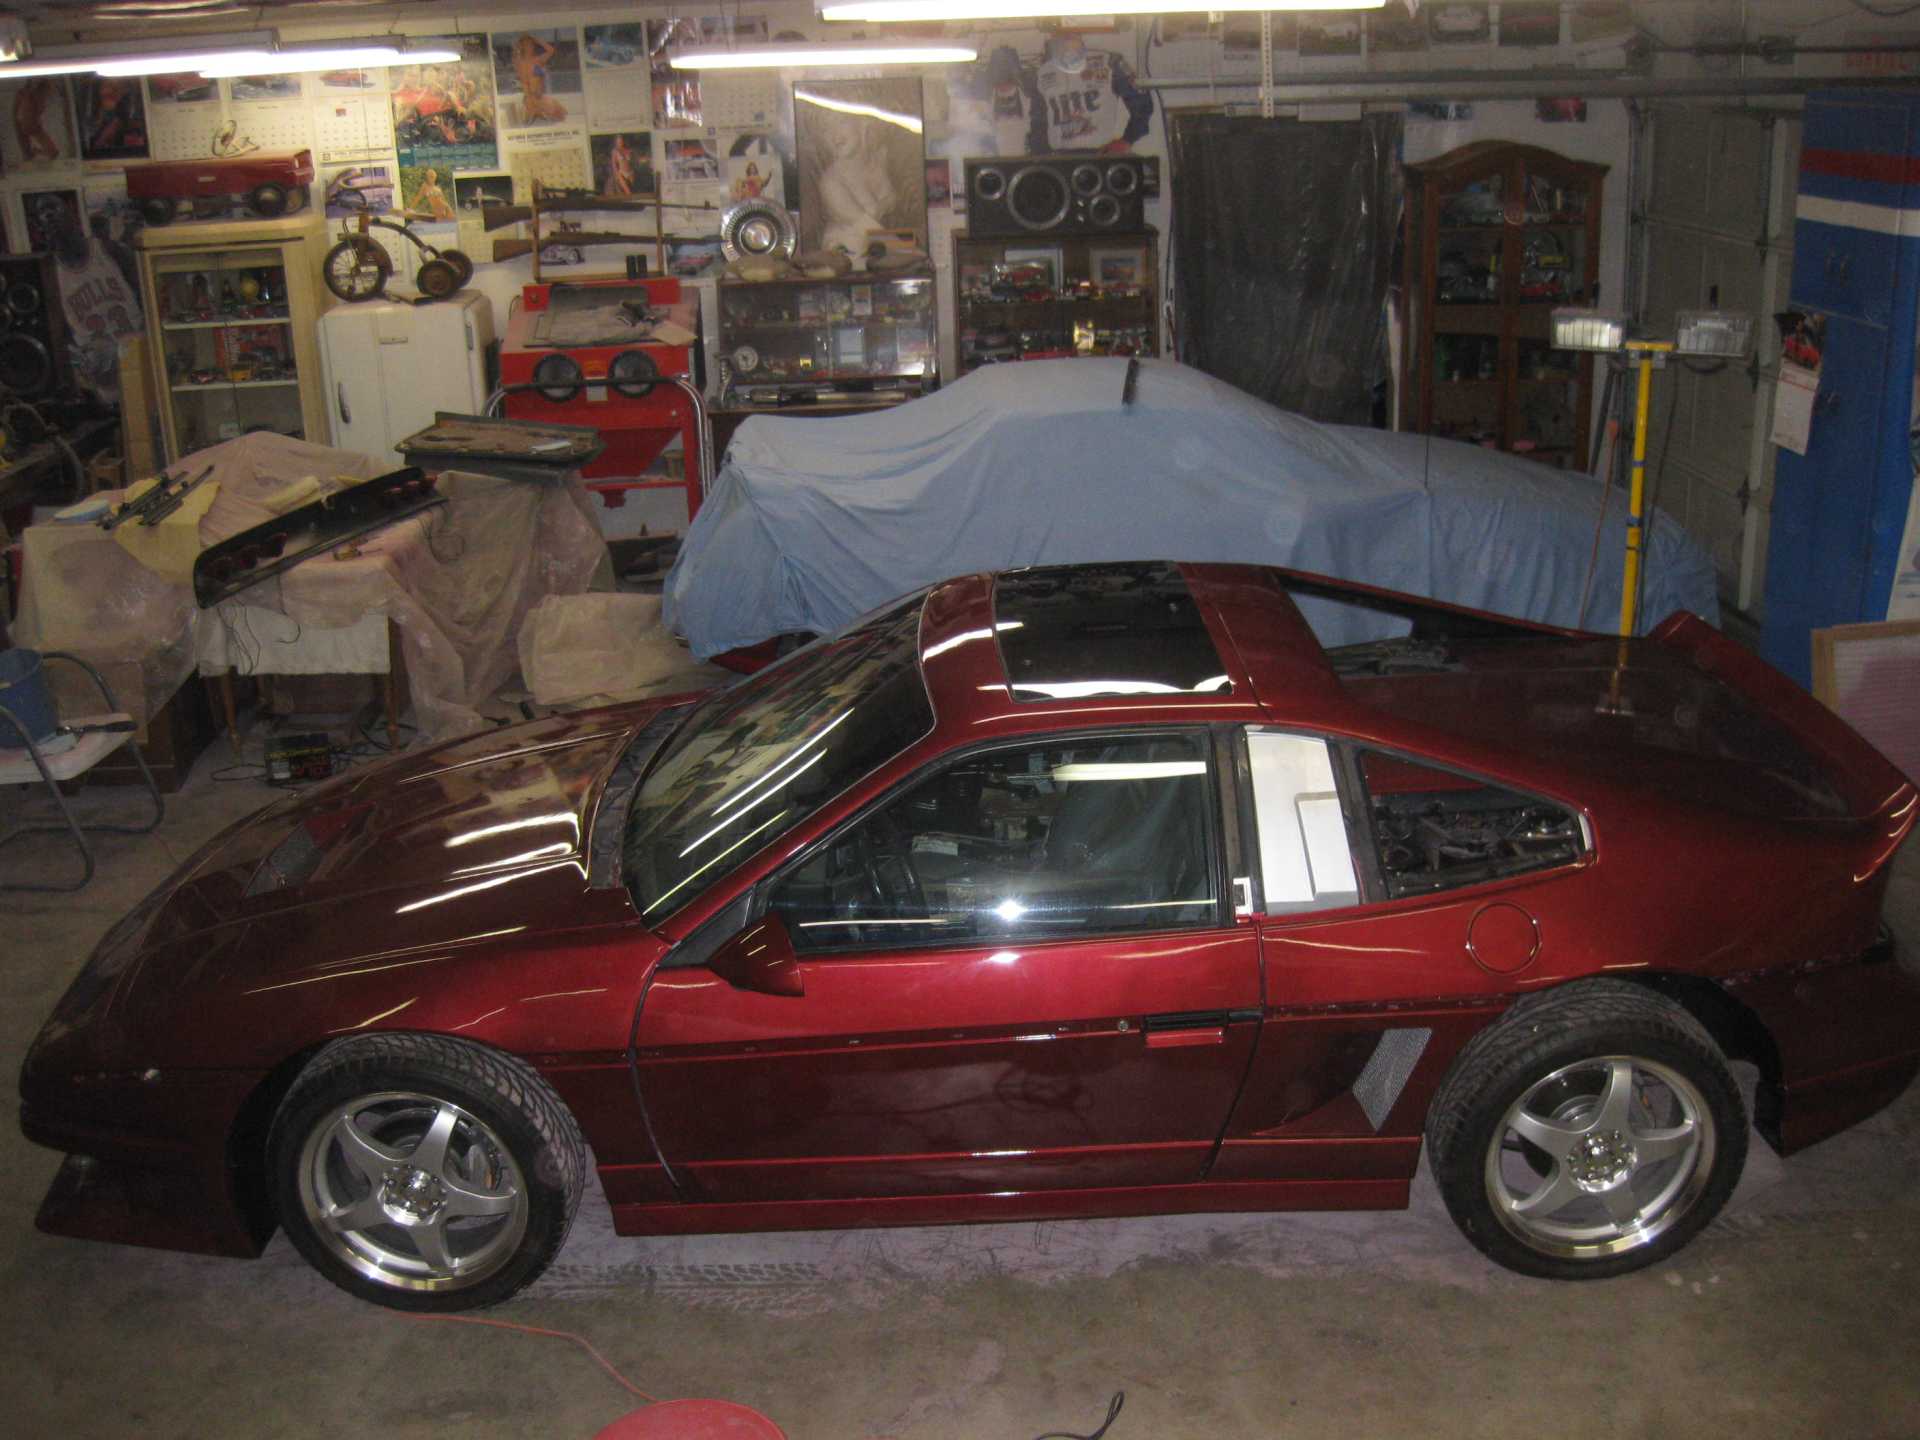
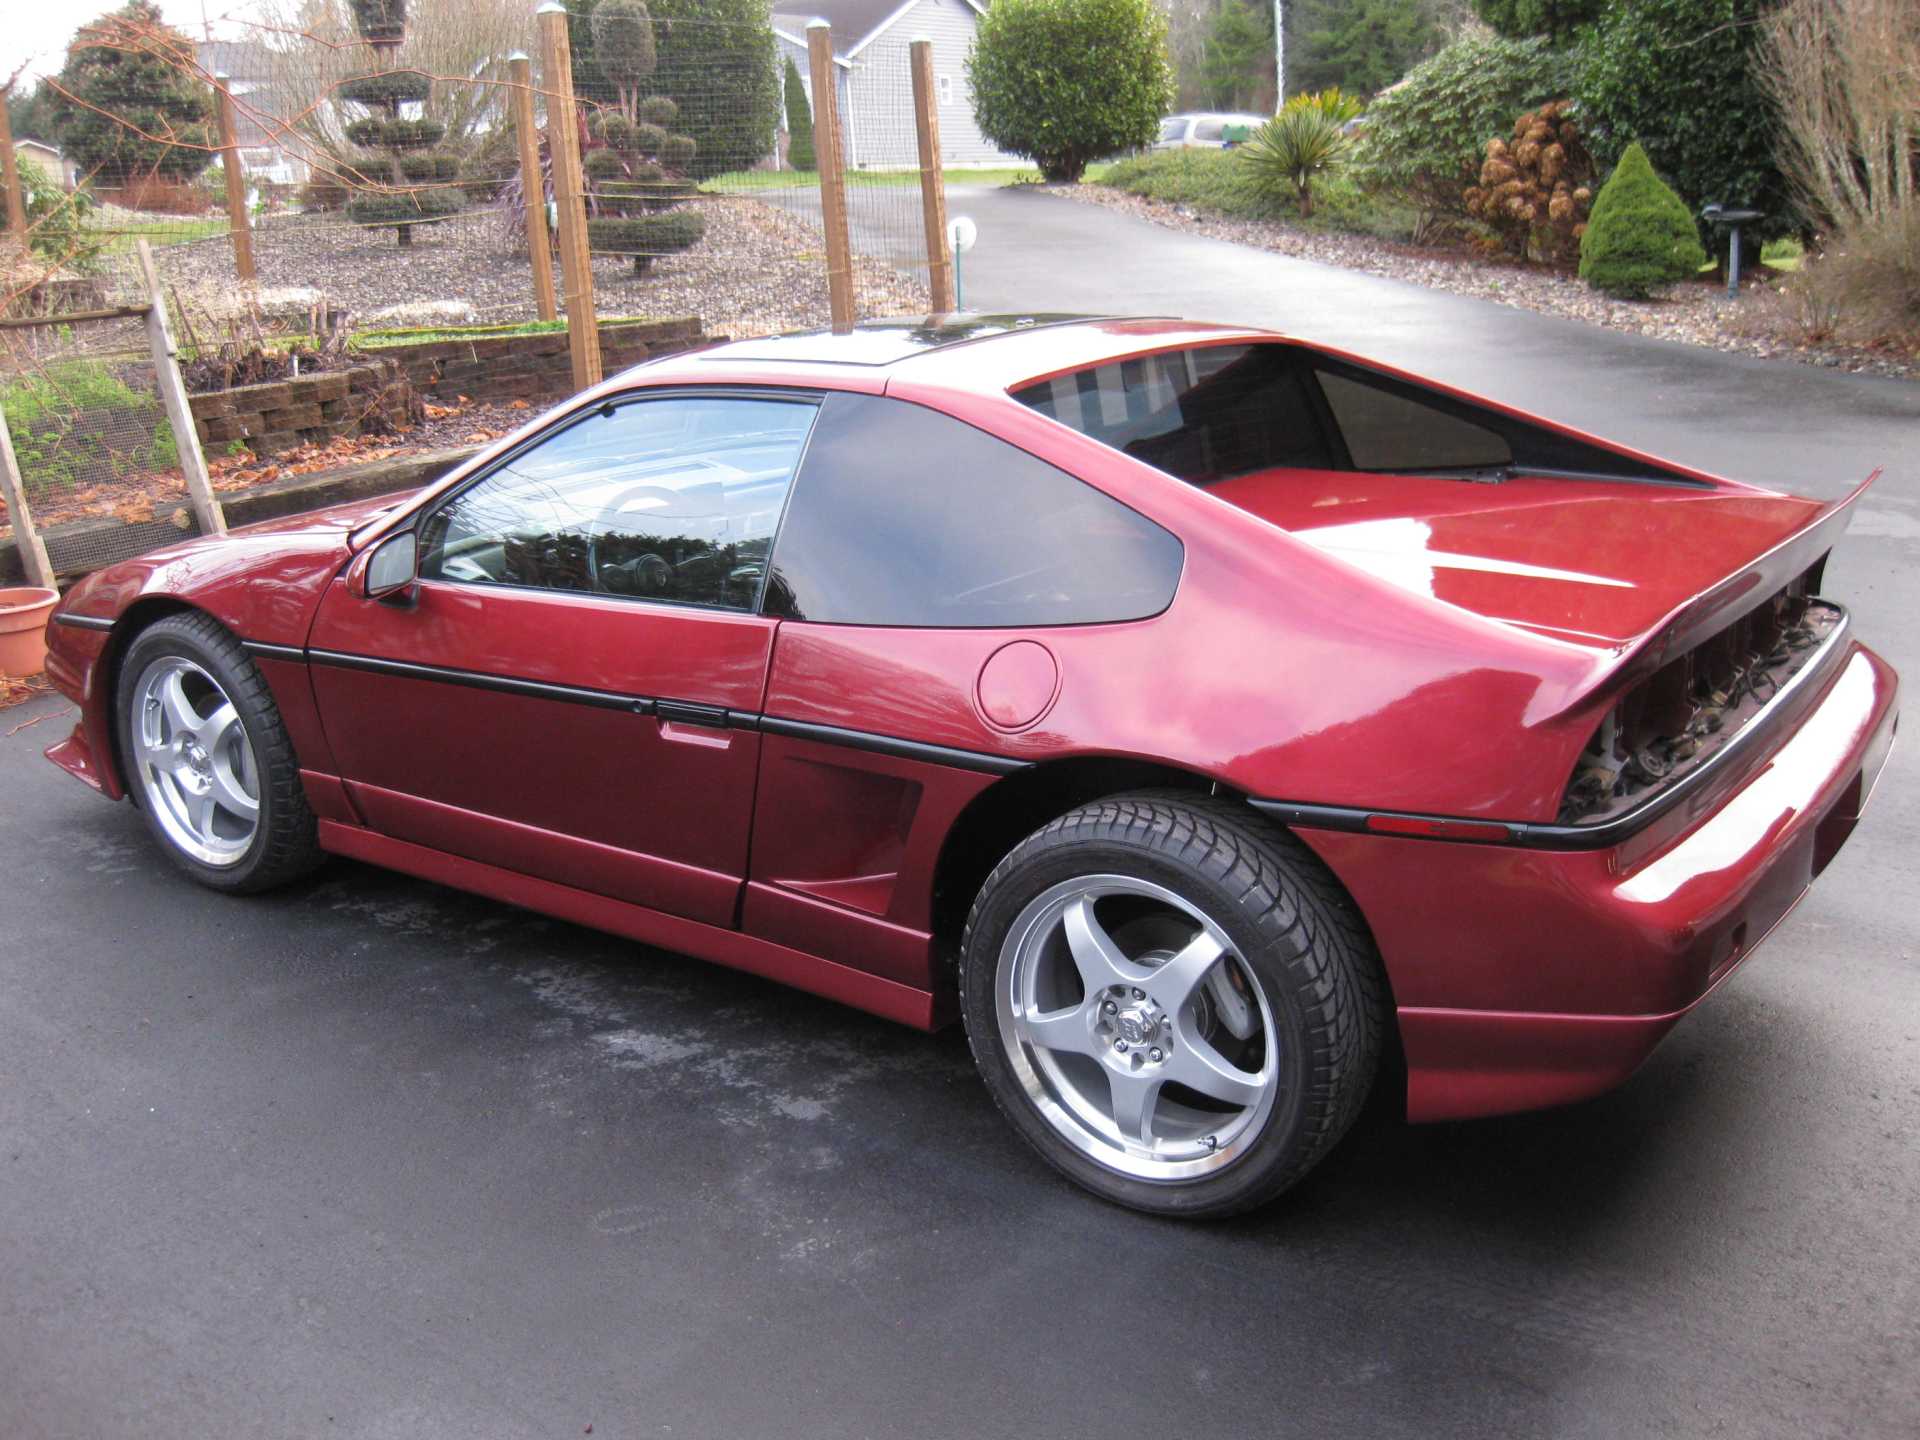
Spadesluck, I understand the tail light thing. But I just had to try it. I did save the better than average set of original lights as well as the mounting points, So could always go back. They will be controversial, but I like 'em. This has been a lot of slow work for the amount of change to the look. Unless, I look at the Fiero parked next to it and realize we did accomplish the change I was looking for. The stock body is really "slab sided" compared to the "Rokit's" look. Sometimes I have had to pull the cover of the V8 car to remind myself that it has been worth the work. Other than the lights being gaudy, I think we got a near production look of a more muscular Fiero. Now for the engine, right? Thanks for looking.
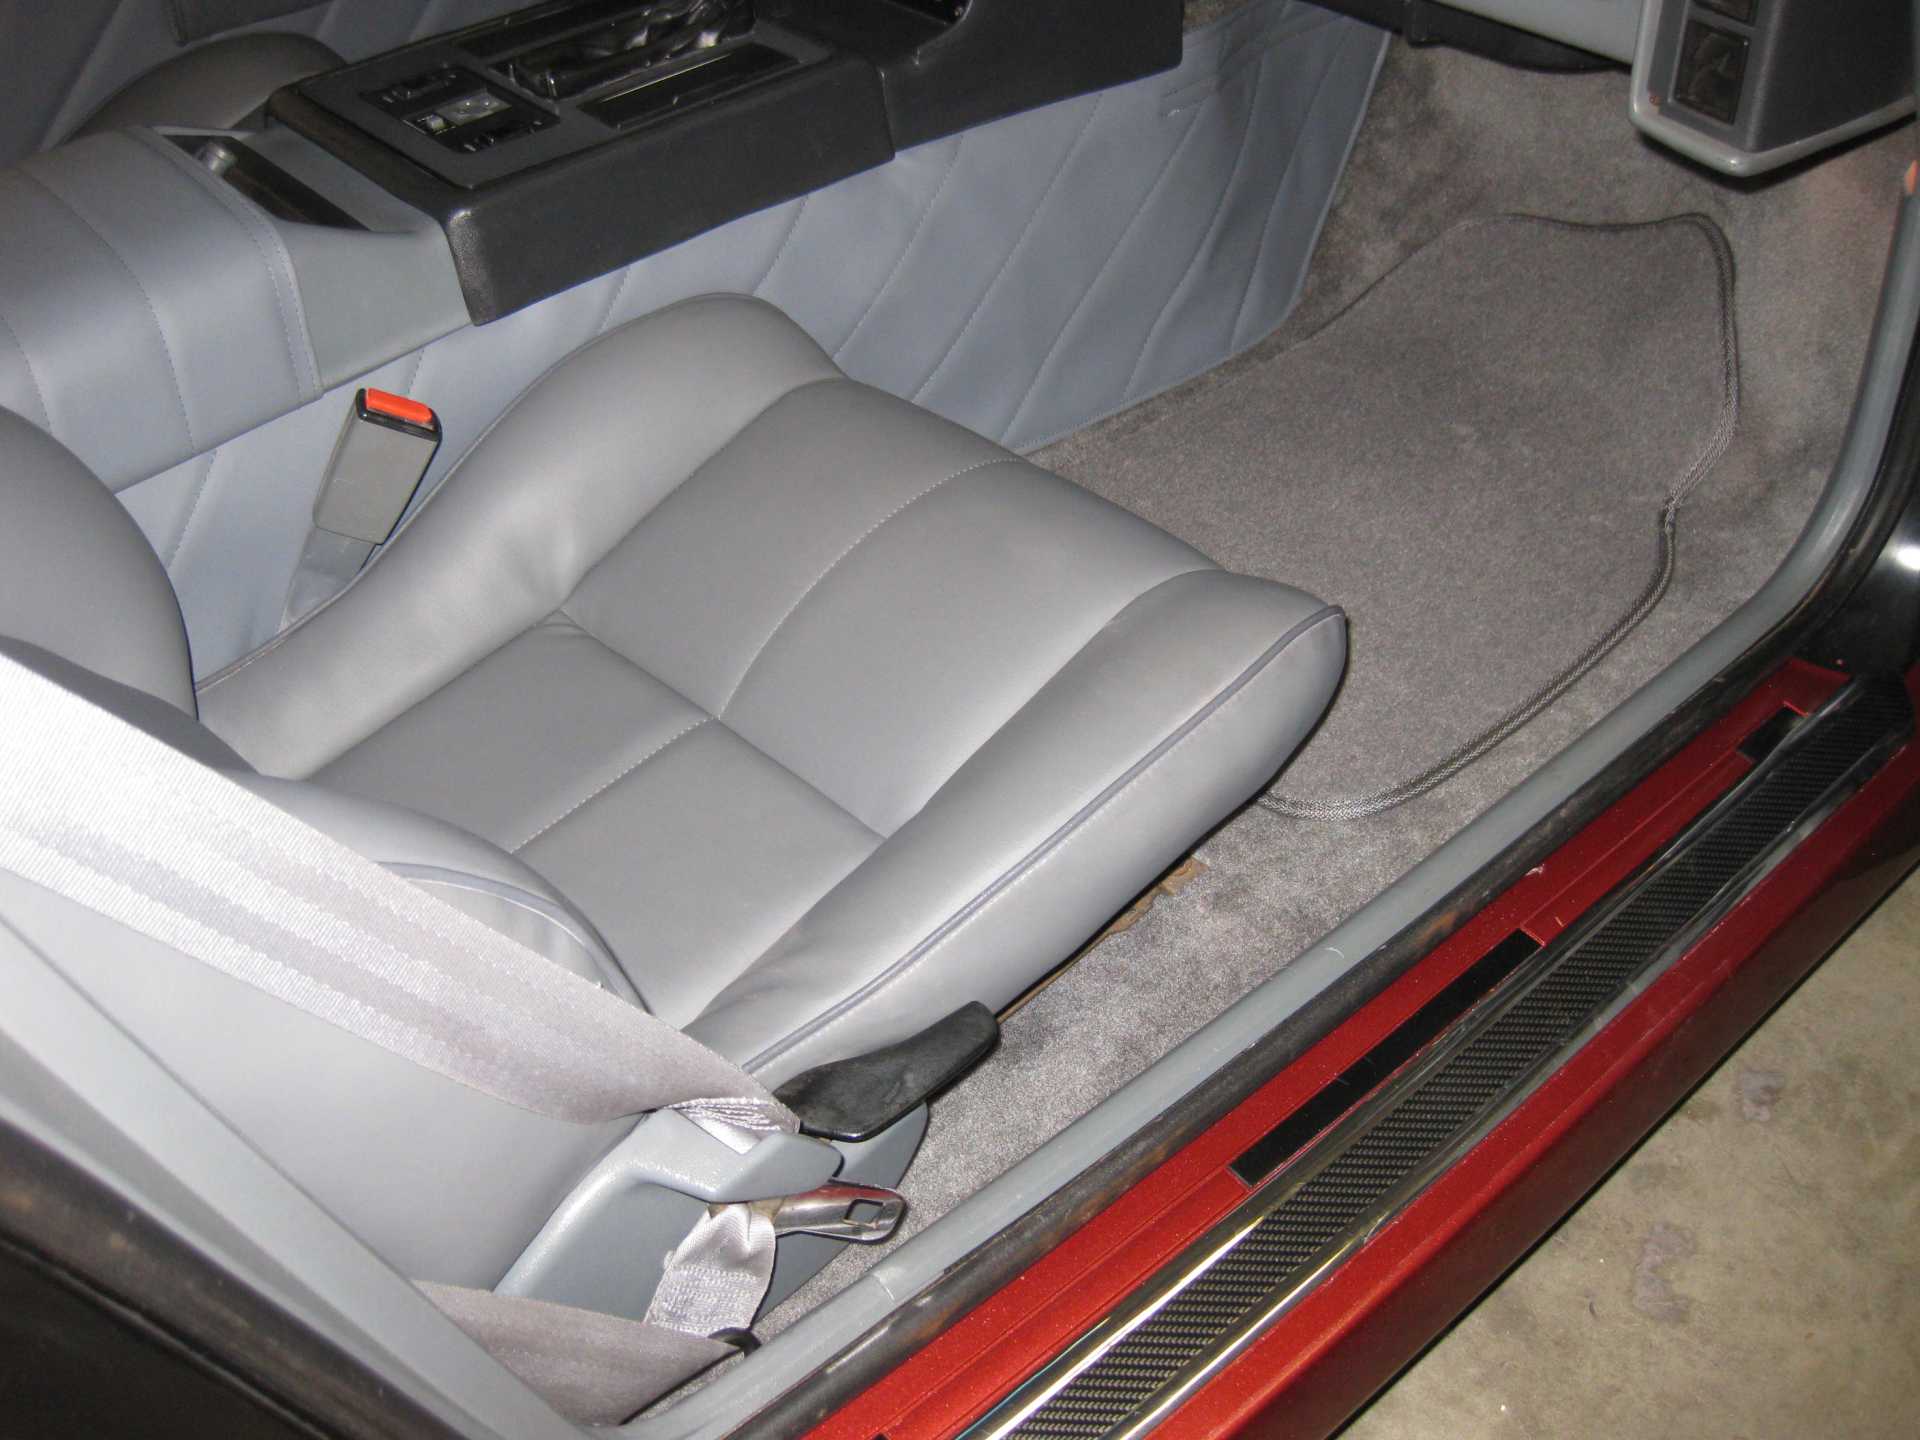
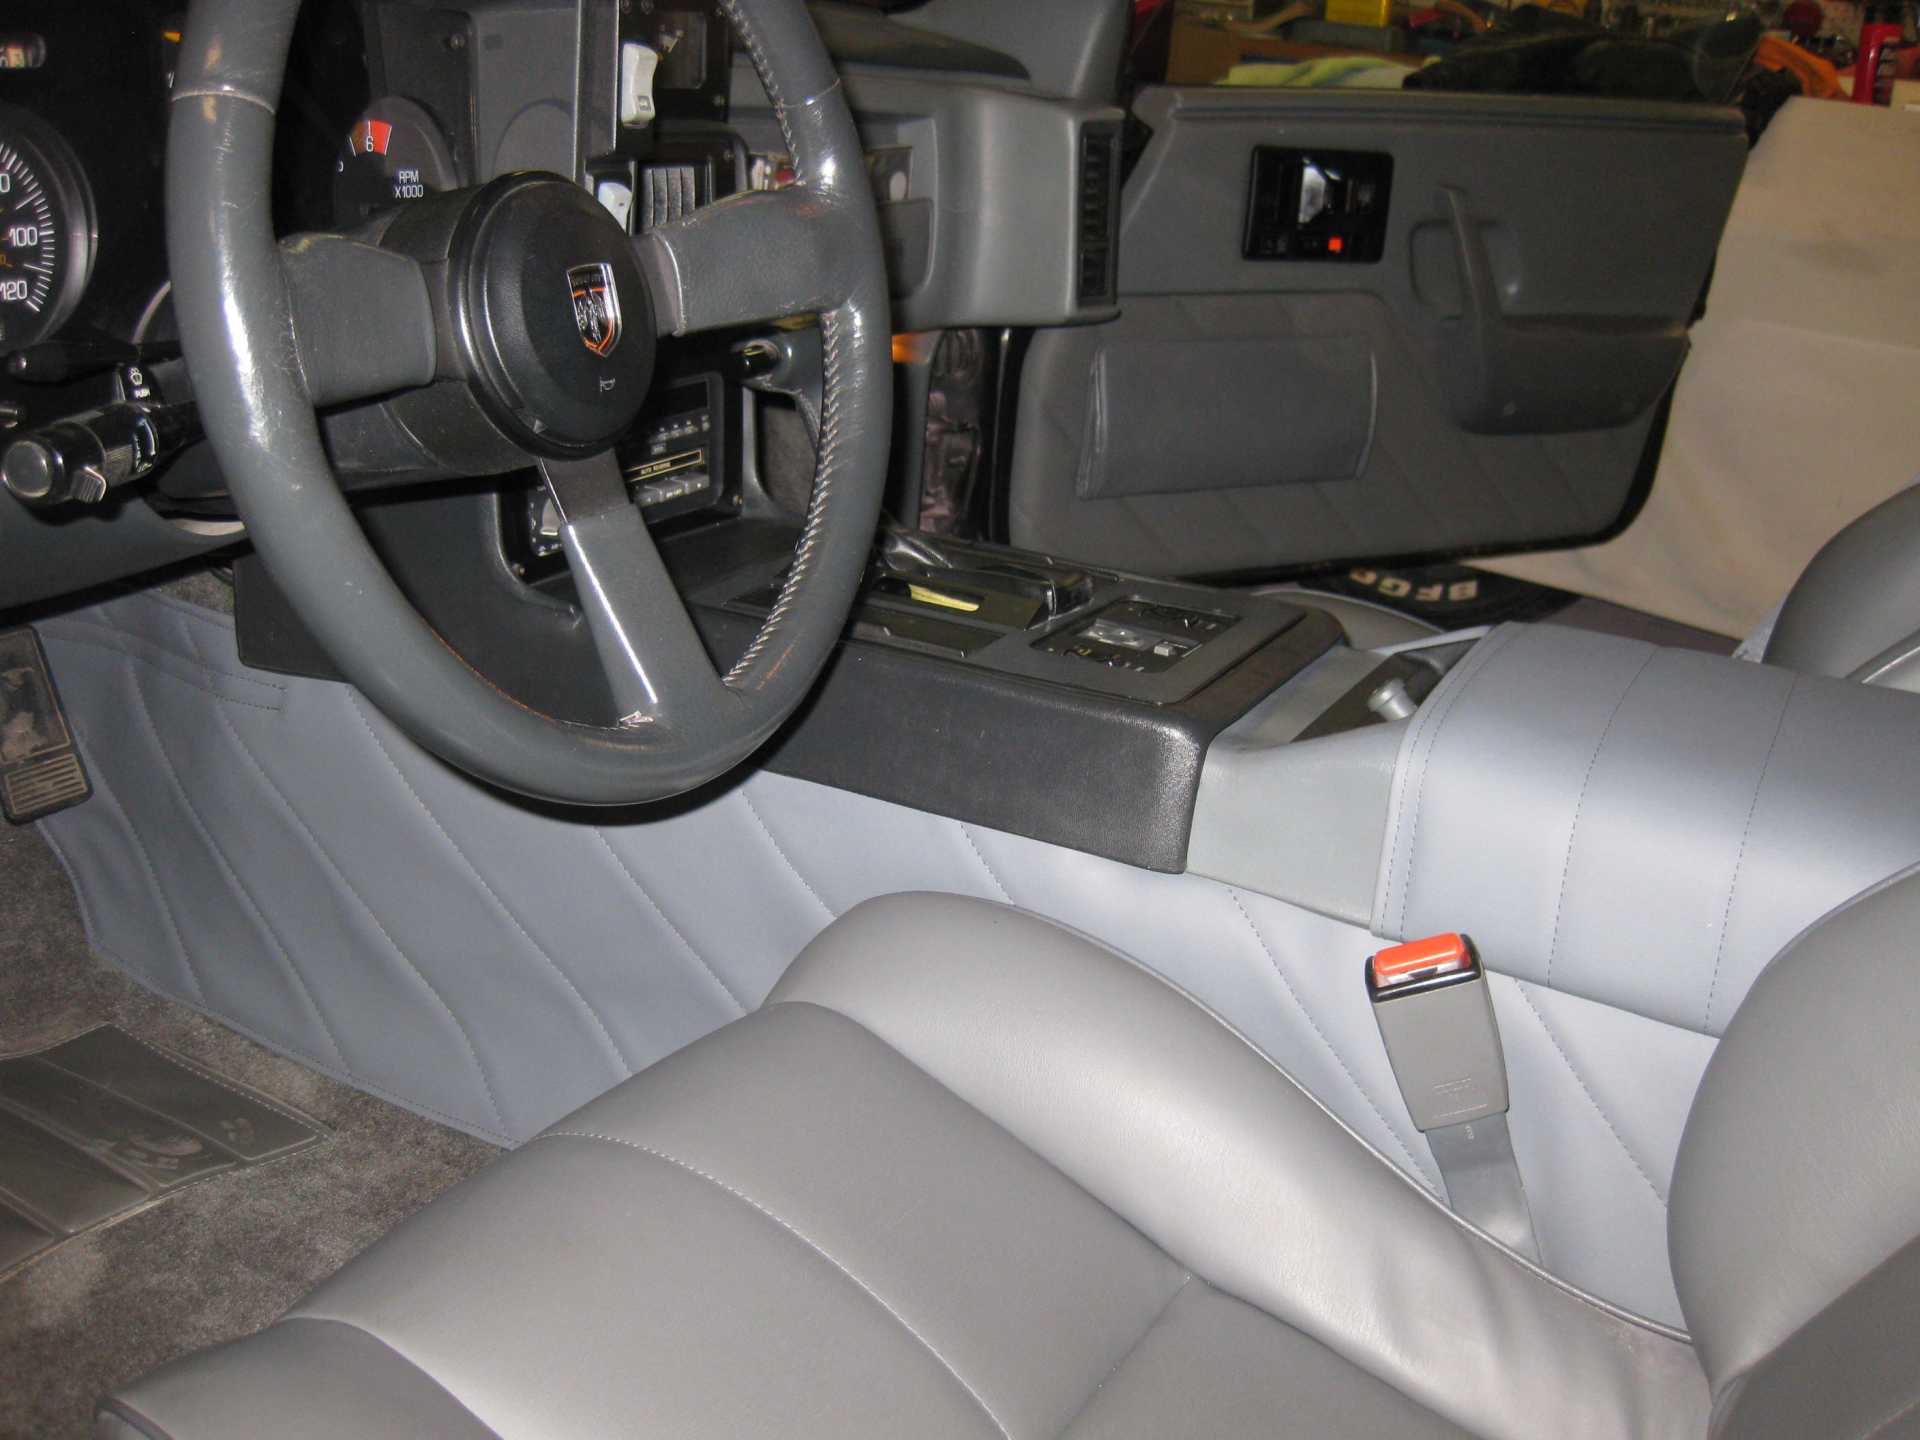
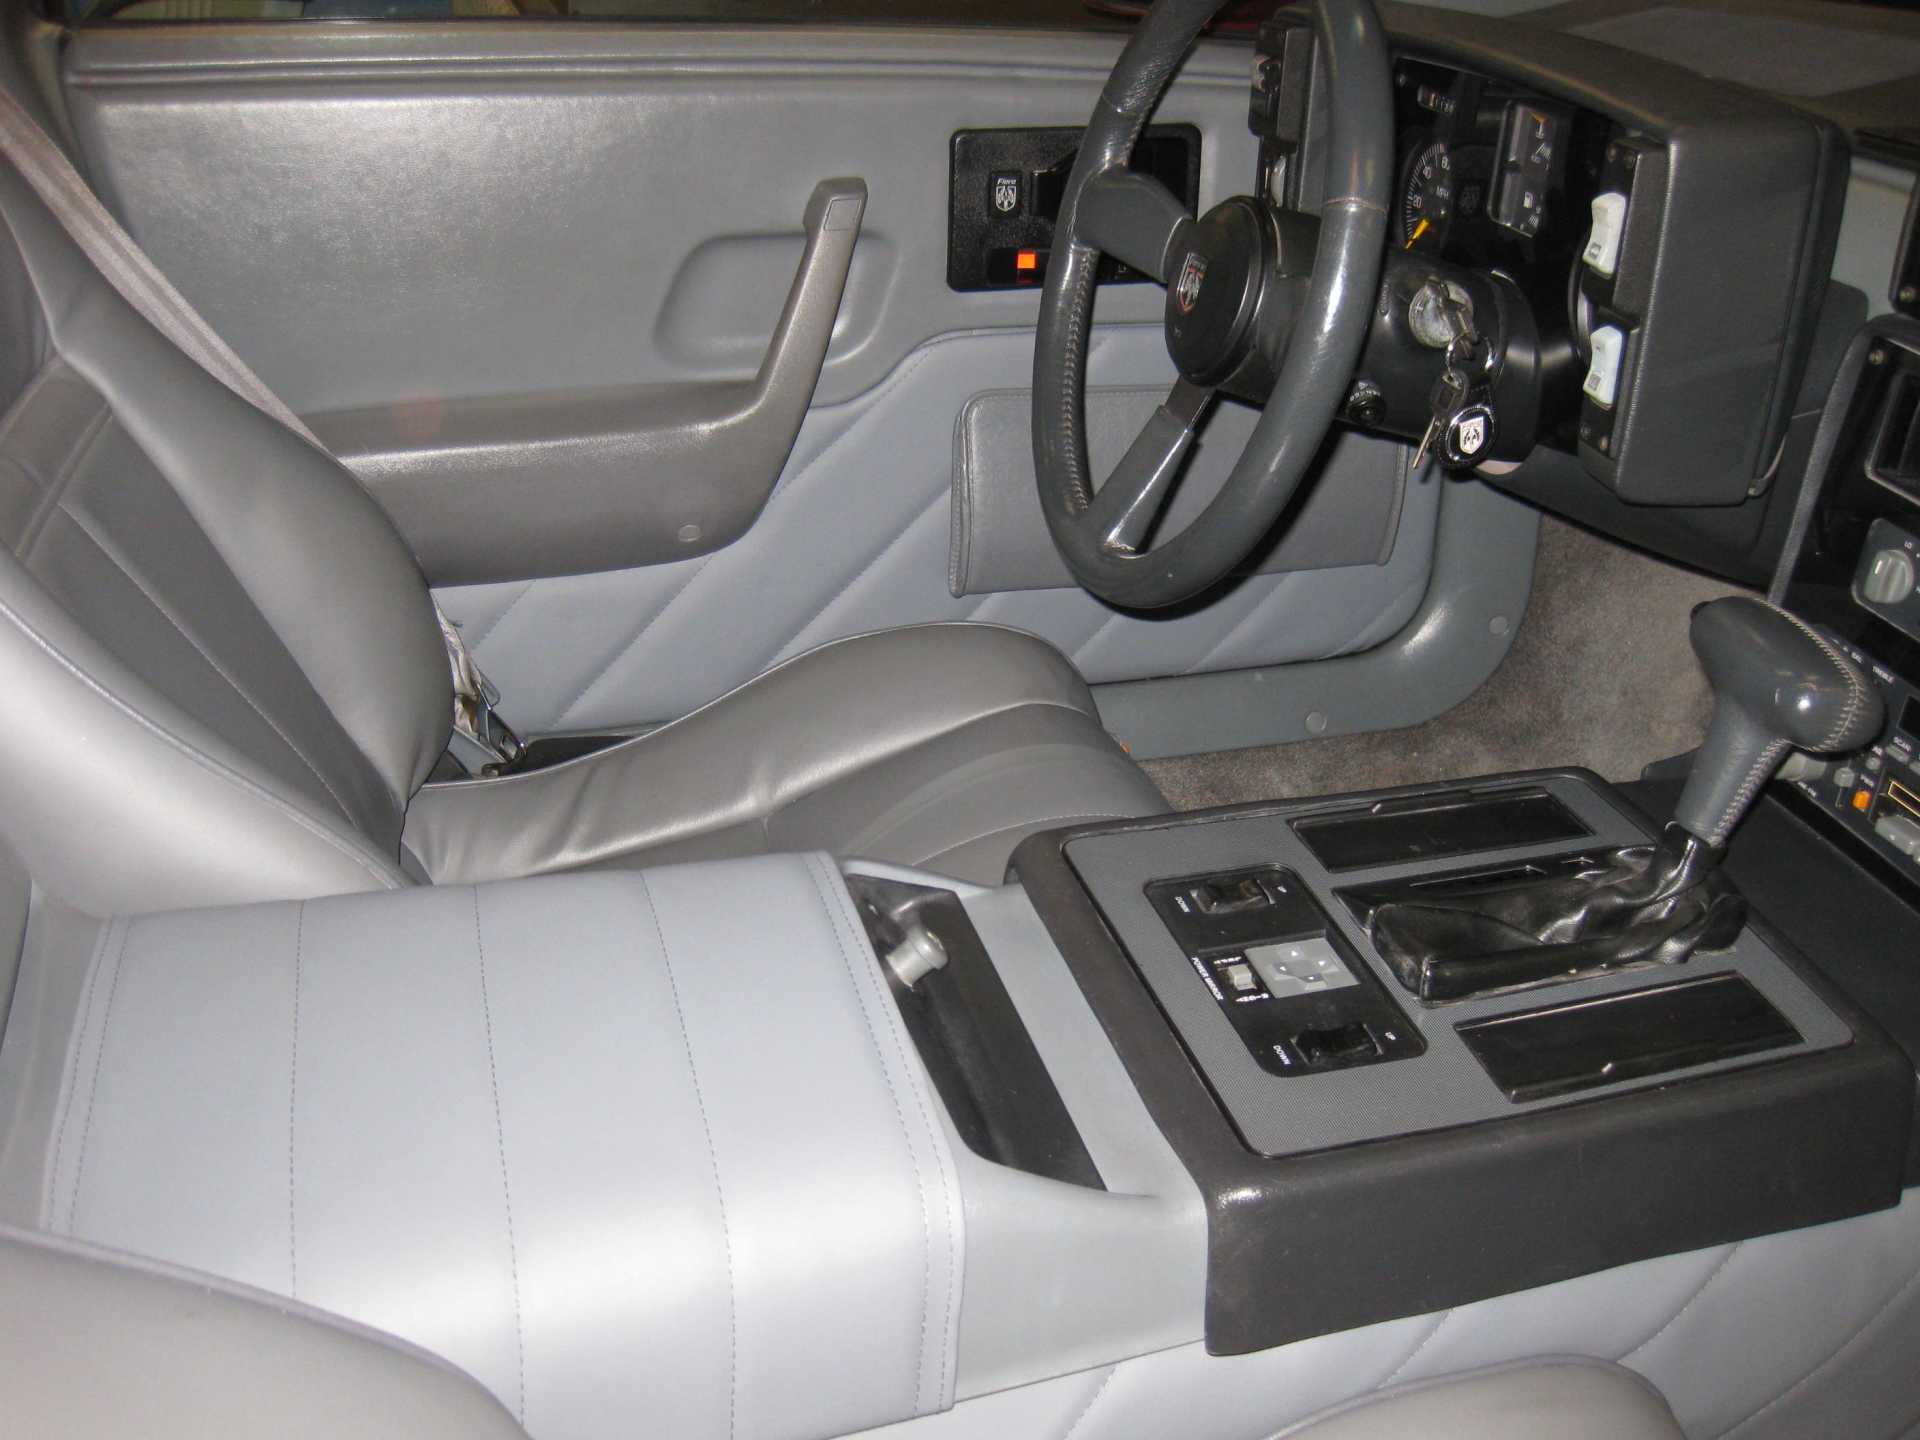
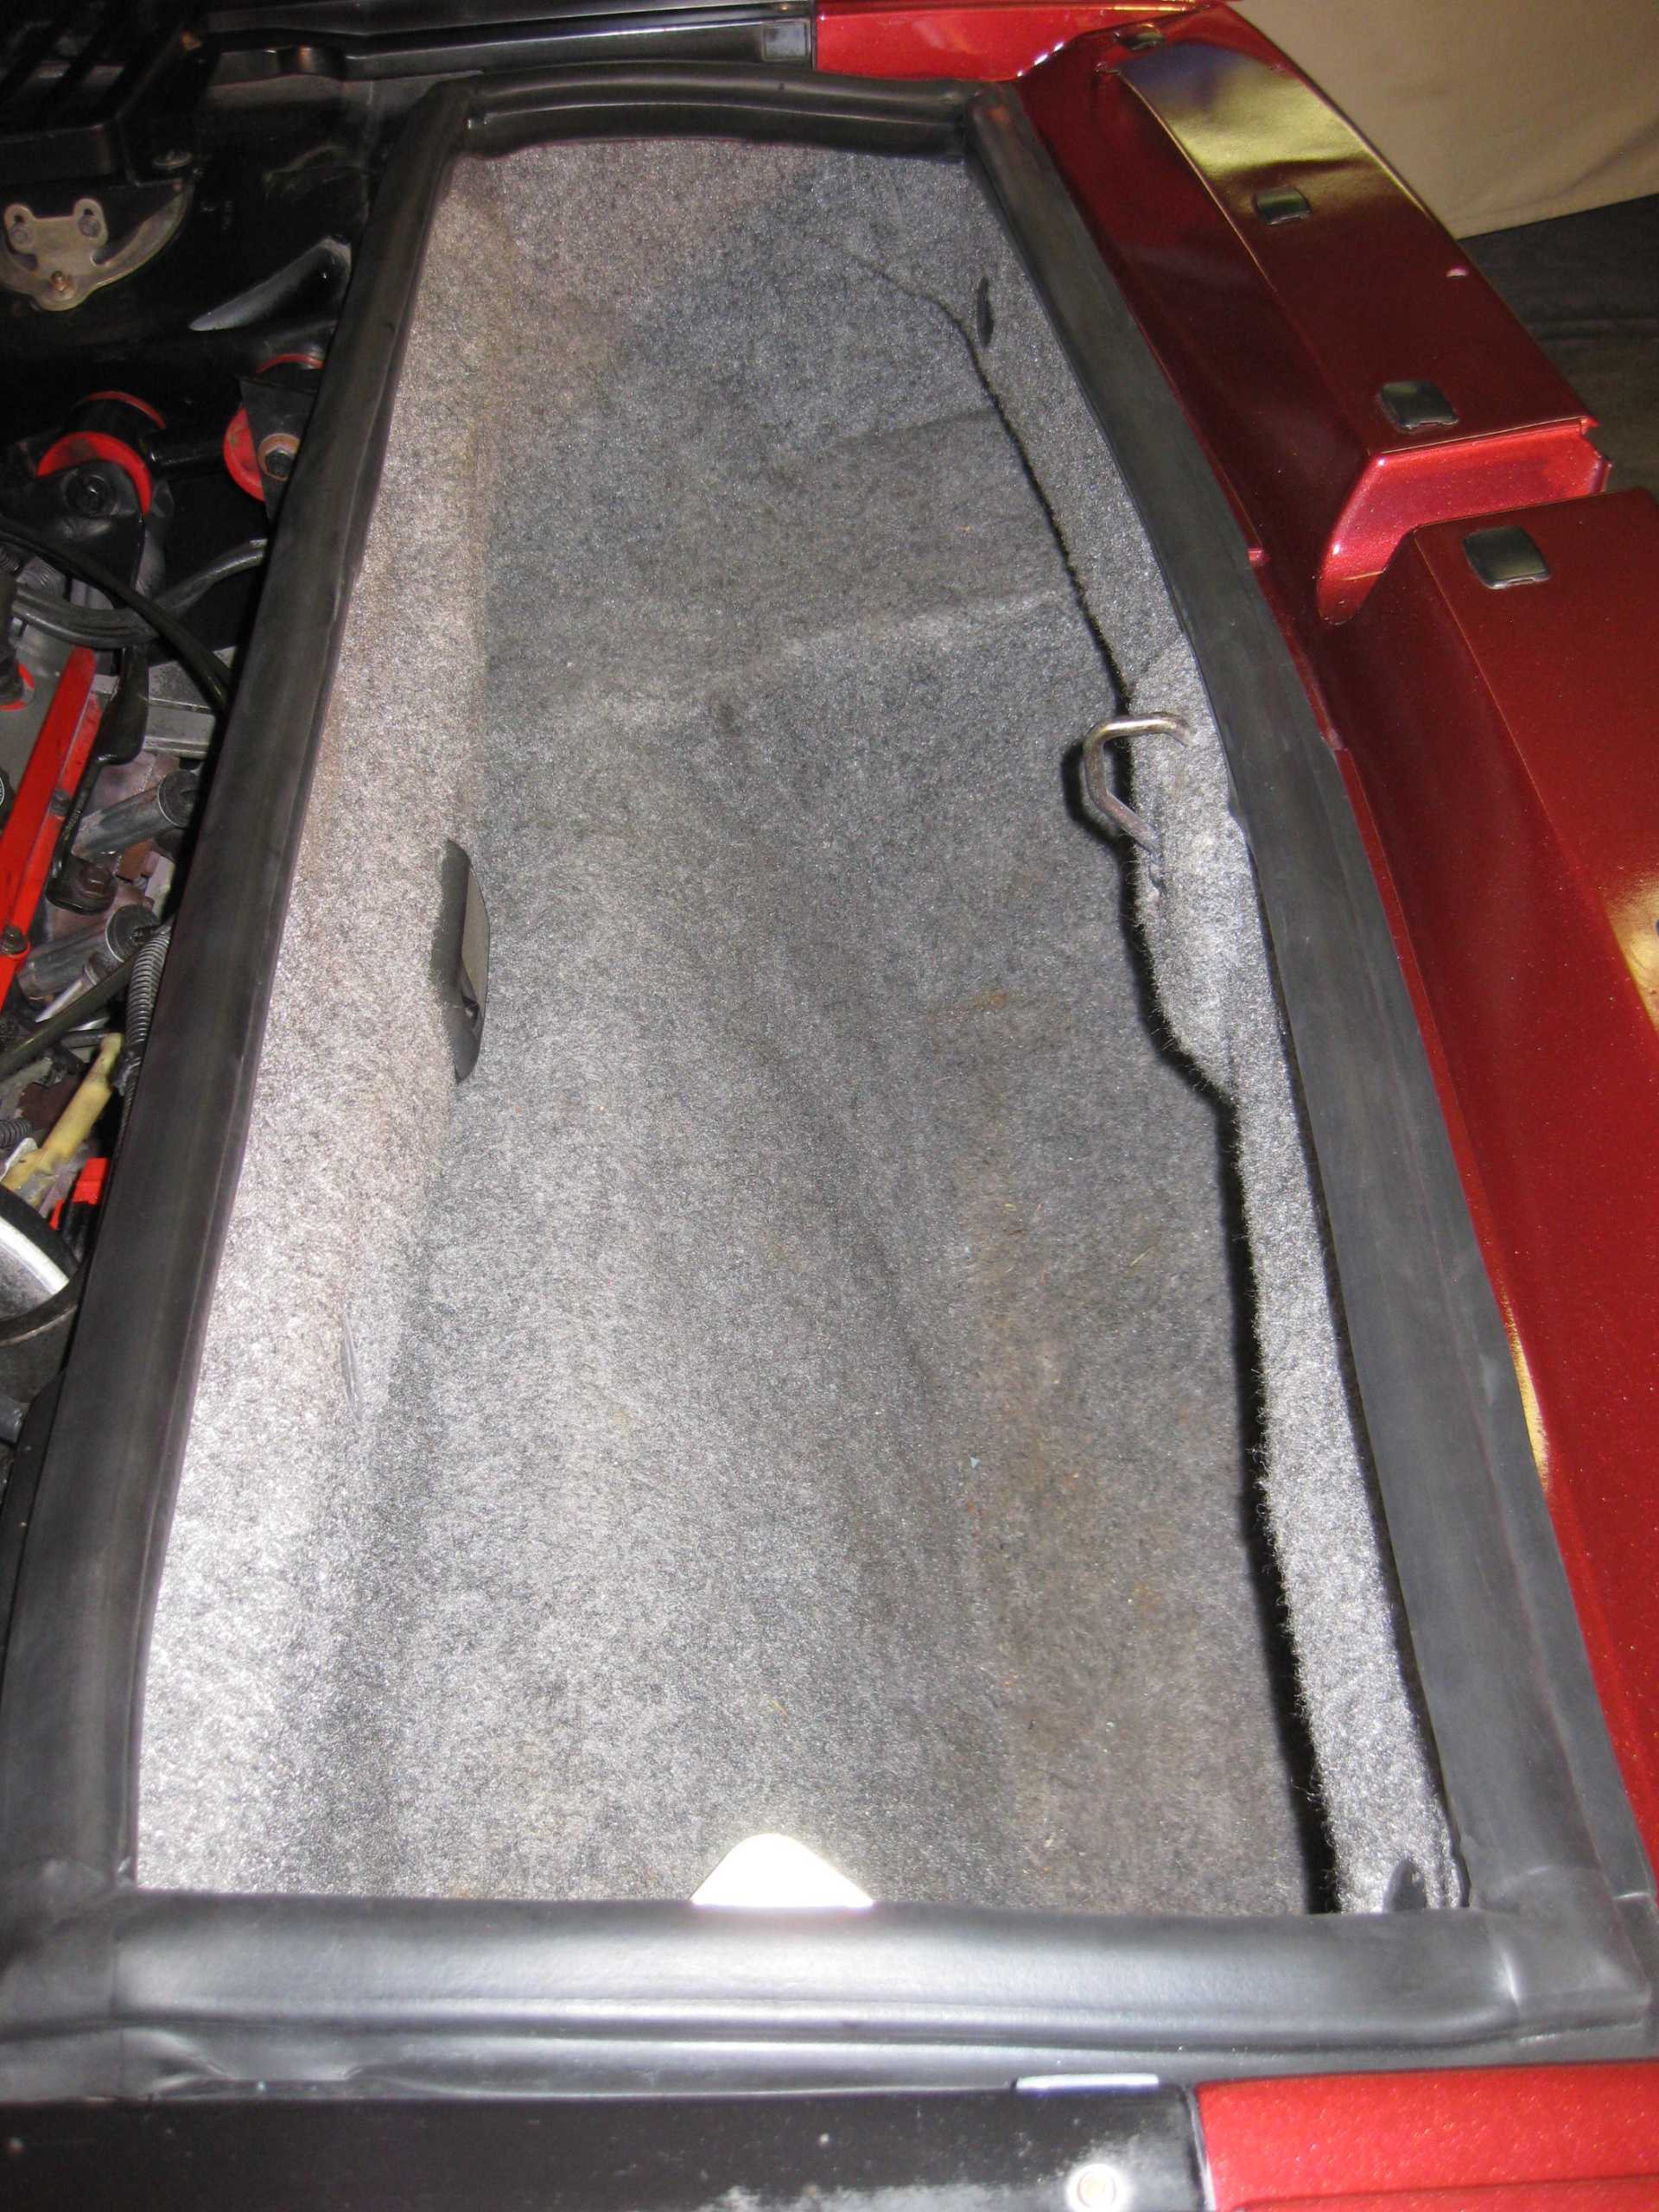
Happy 2020! Finally found some time to continue the work on the car. Holidays and family visits have taken up lots of time. Worth it to see the extended family, though. Got RW Upholstery interior kit installed. The center tunnel covers look a bit wrinkly in the flash pictures, but actually look fine in normal light. They are attached with velcro to the carpet, but my aftermarket carpet is cut pile unlike the stiffer factory carpet. So it is a bit tougher to get things smooth. There are a variety of shades of gray in the interior, but again, without the camera flash, they look much better. Fiero friend, Lucas brought me a hood tension spring so I could finally latch the hood. Fits pretty good. Radio antenna installed. More detailing and cleanup done. Installed Fiero Store trunk gasket. Fits great. Still need to install the new sunroof hardware. I am trying to get the glass to pull down into the new gasket a little more. Will see how that goes.
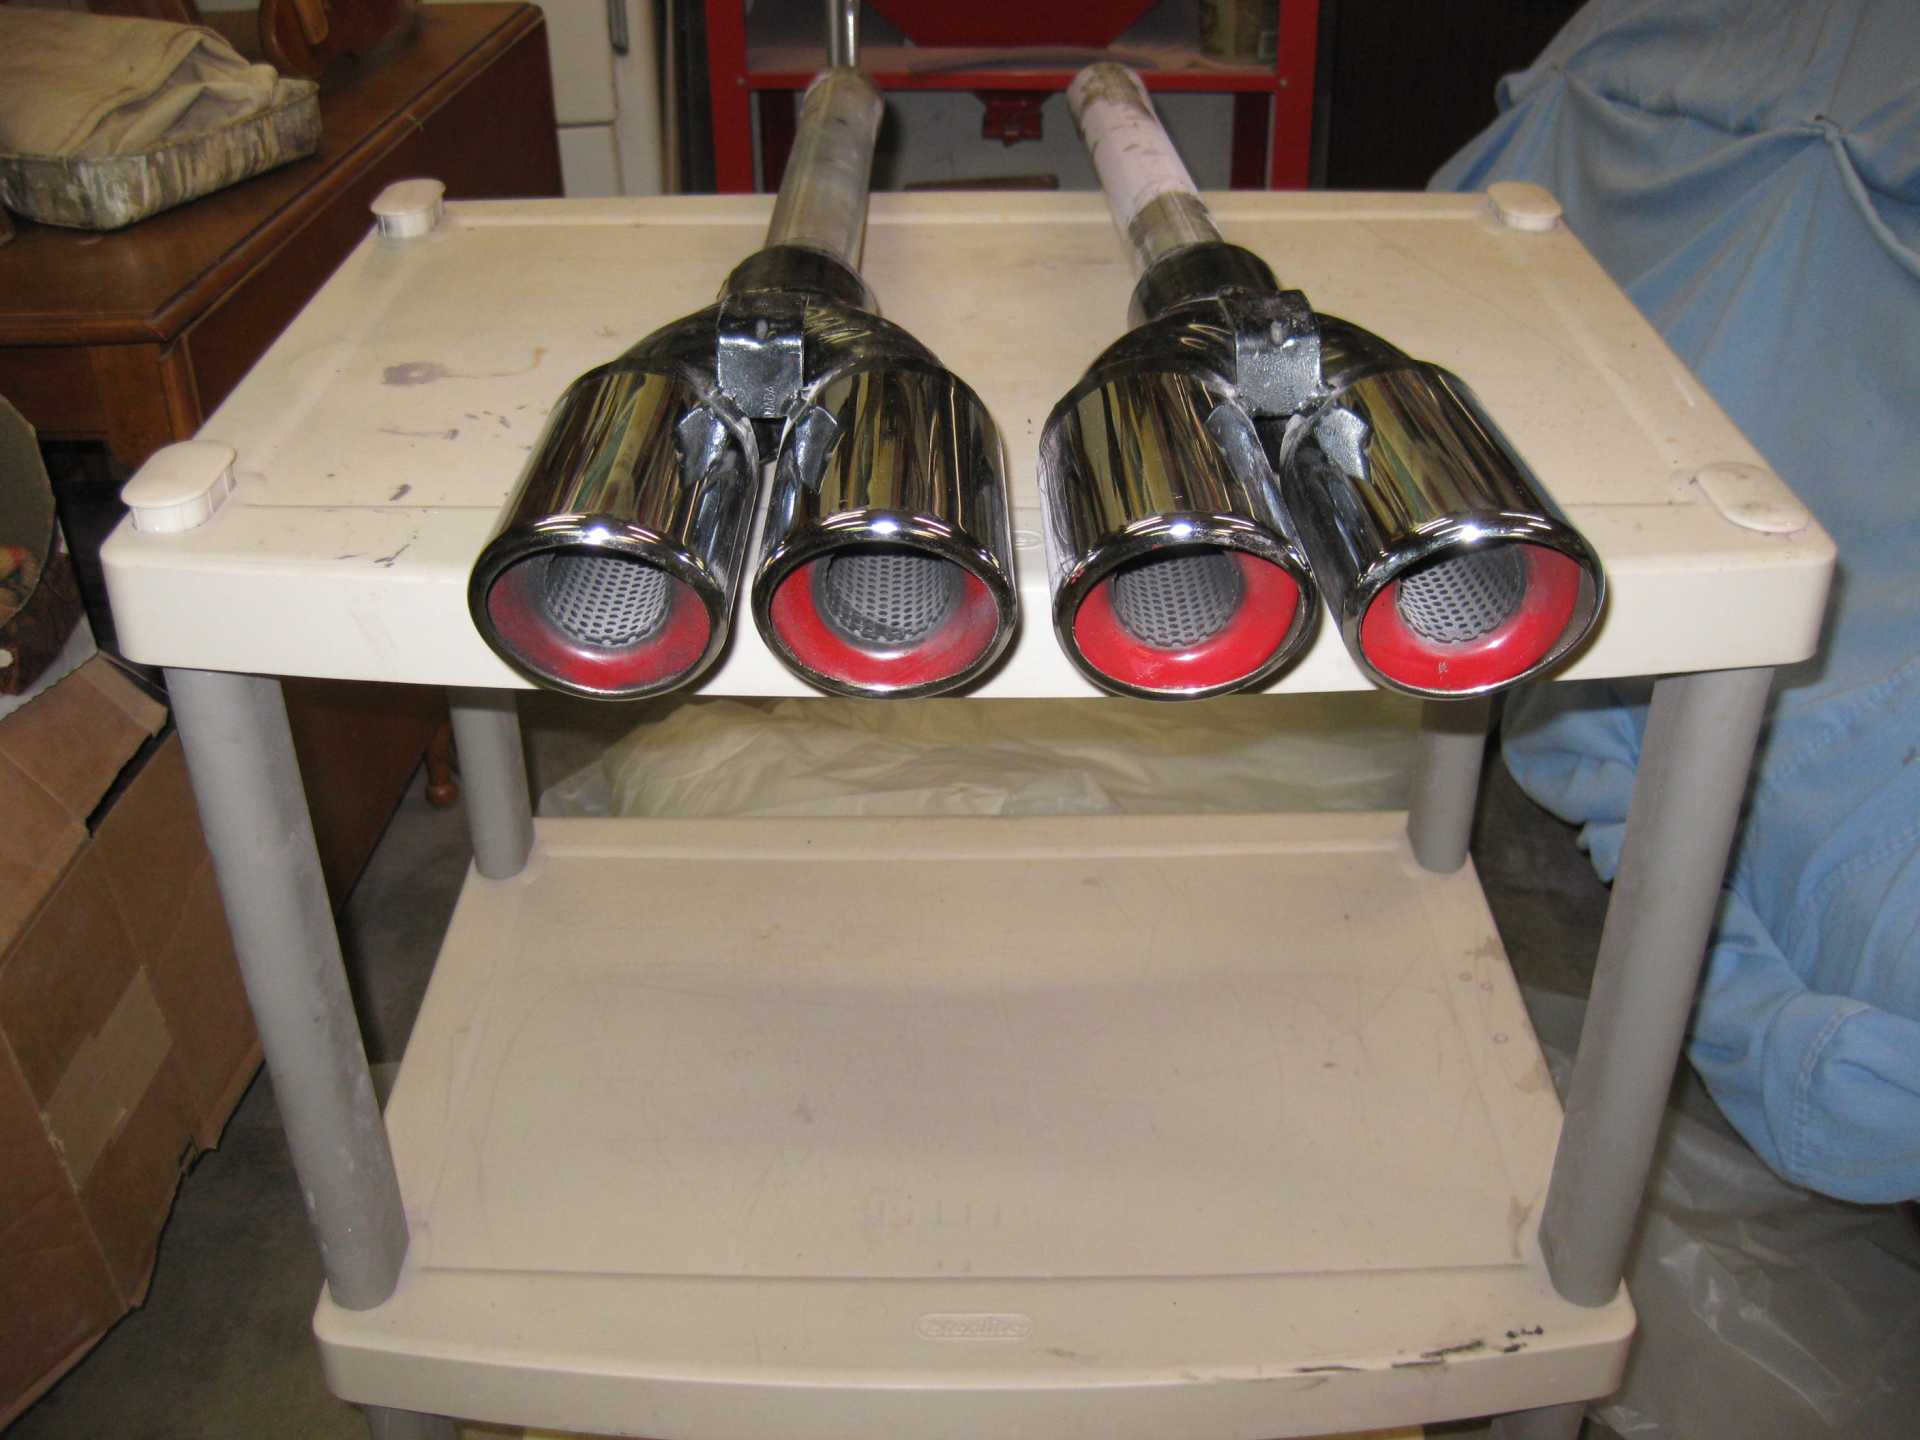
Car still needs the exhaust tips installed after I weld in the correct pipe curves. Rear lighting panel still awaiting my wiring attempt. Air conditioning needs charged. Wheels need aligned. License plates/tags need done. Need to drive it to DMV so they can check out of state vin. Punch list of niggly things being picked away at.


.jpg)
.jpg)
.jpg)
.jpg)
.jpg)
.jpg)


.jpg)
.jpg)
.jpg)
.jpg)
.jpg)
.jpg)
.jpg)
.jpg)
.jpg)
.jpg)

.jpg)
.jpg)
.jpg)


.jpg)
.jpg)
.jpg)
.jpg)
.jpg)
.jpg)
.jpg)
_(2).jpg)
.jpg)
.jpg)
.jpg)


.jpg)
.jpg)
.jpg)
.jpg)
.jpg)
.jpg)
.jpg)
.jpg)
.jpg)
.jpg)
.jpg)
.jpg)
.jpg)
.jpg)
.jpg)
.jpg)
.jpg)
.jpg)
.jpg)

 I like everything else, very cool changes that are subtle.