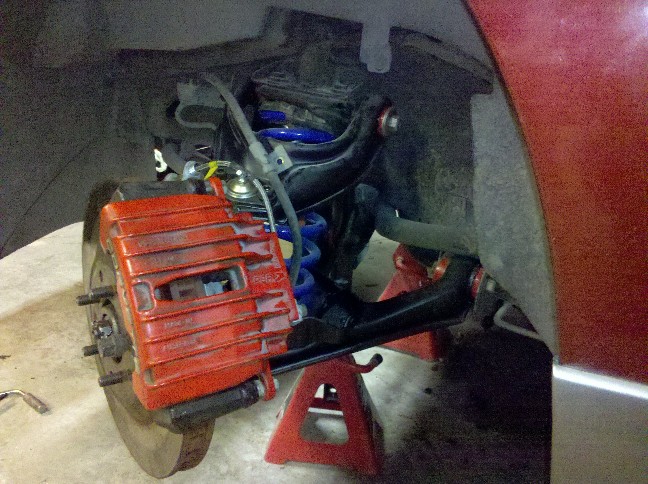
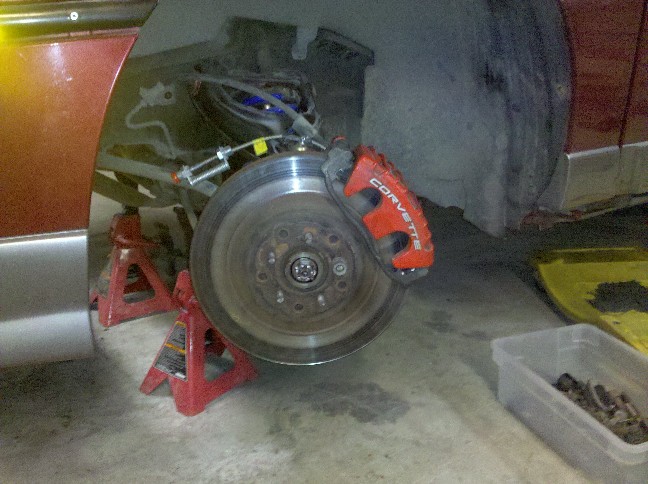
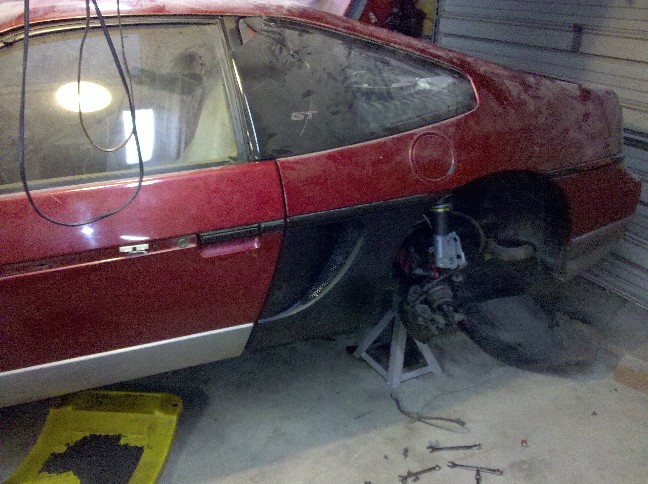
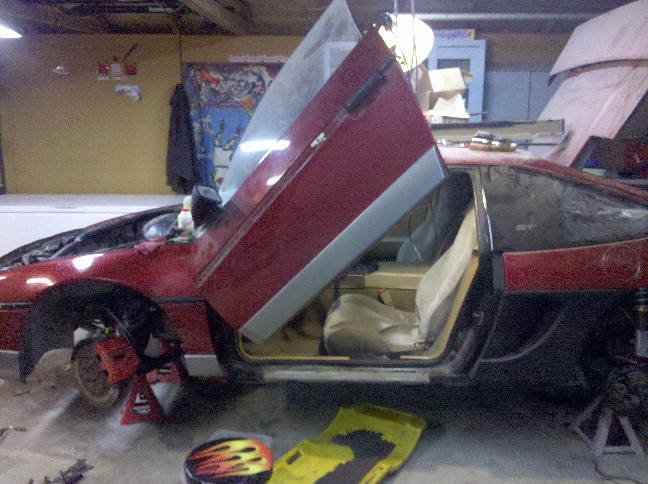
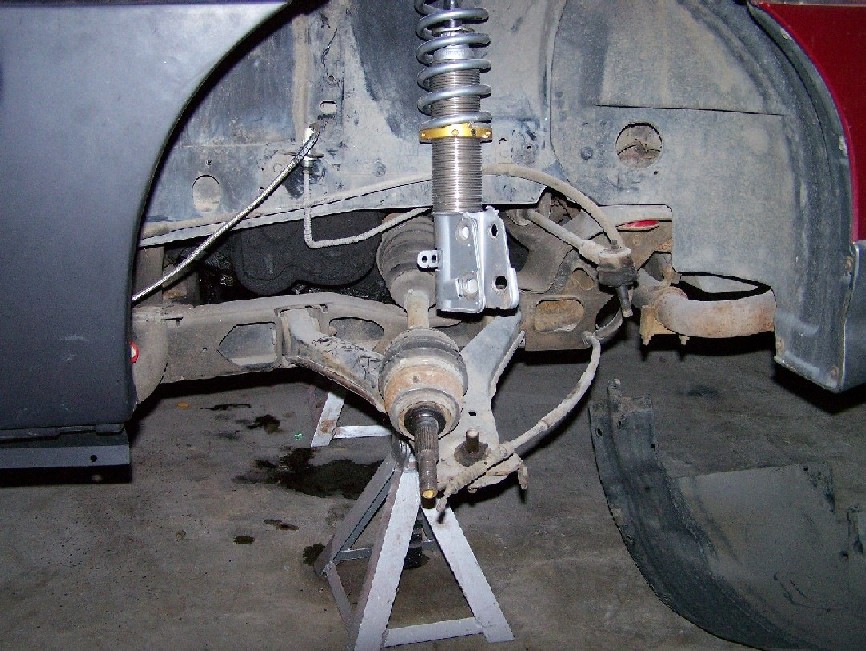
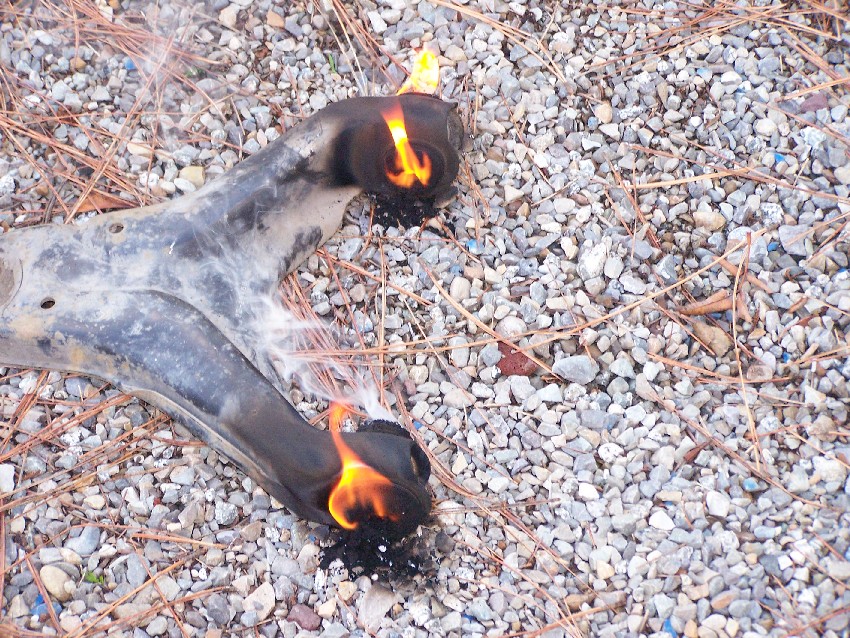
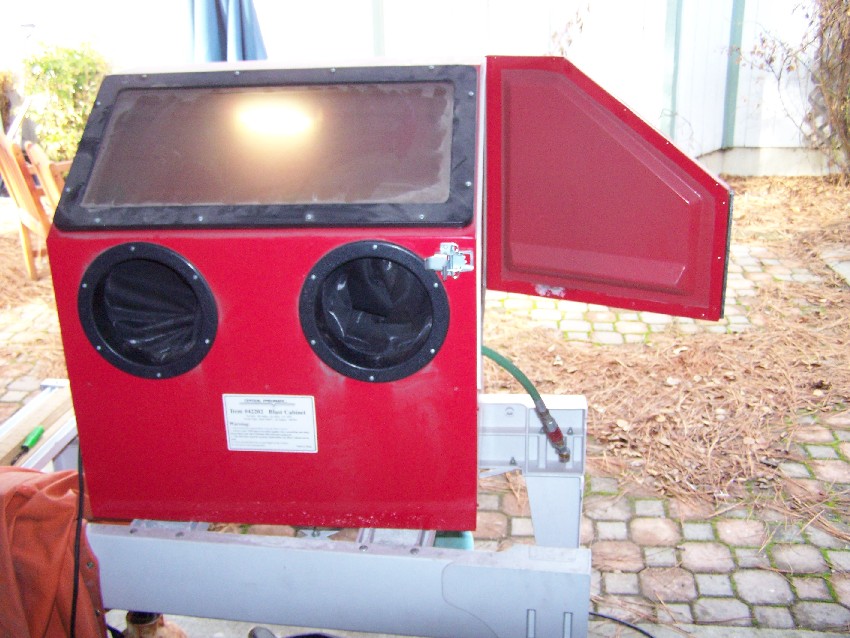
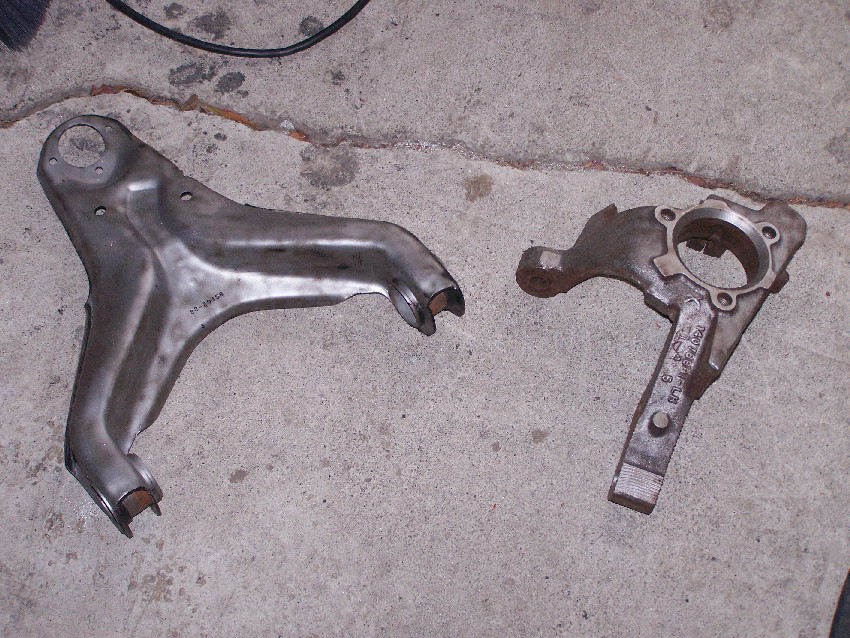
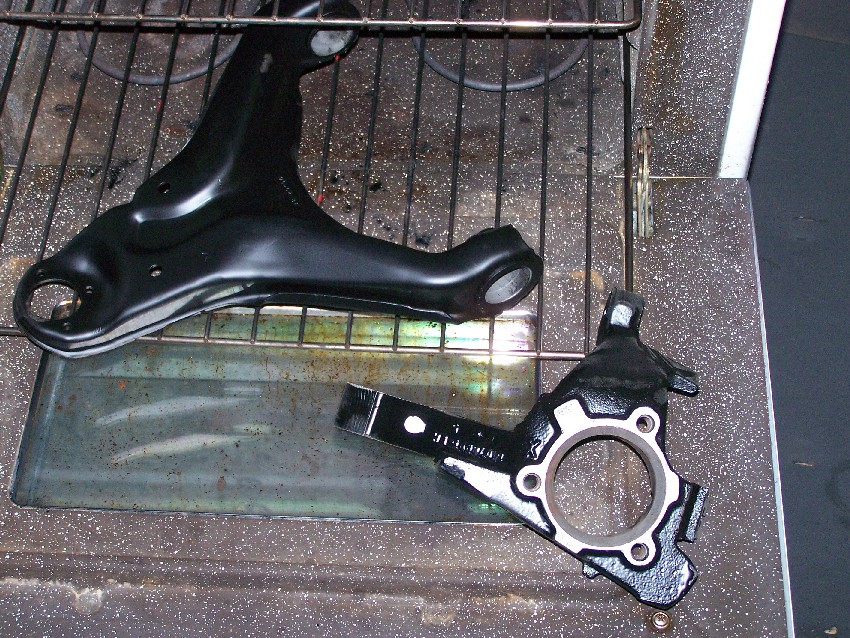
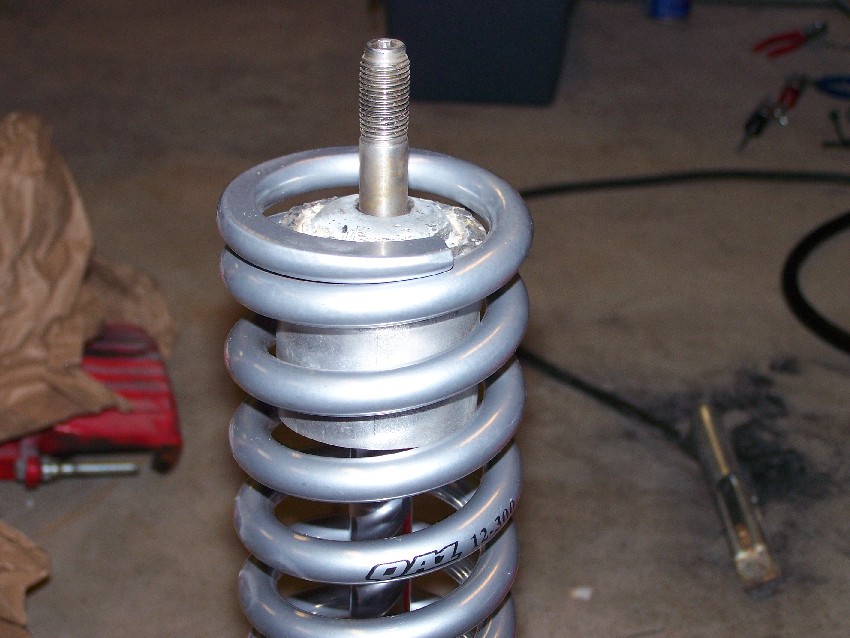
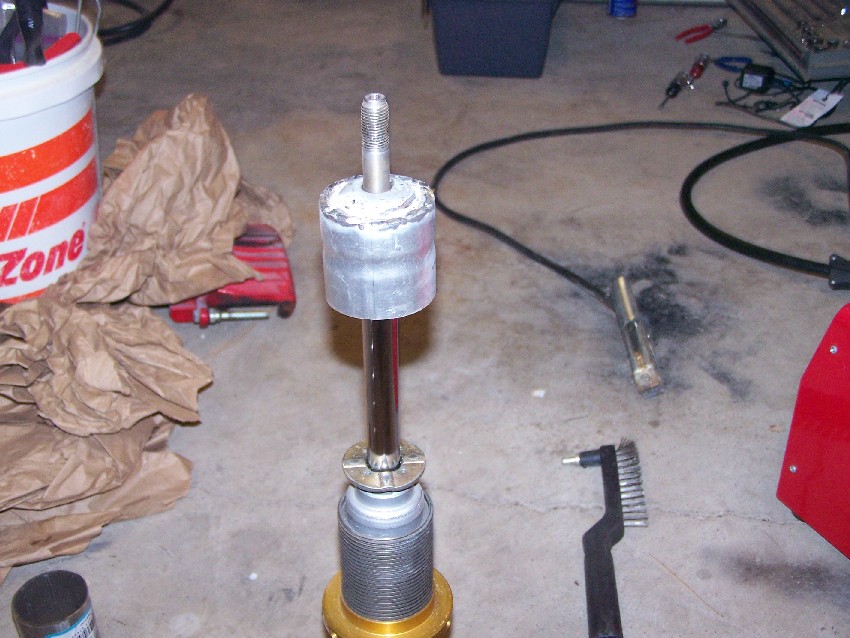
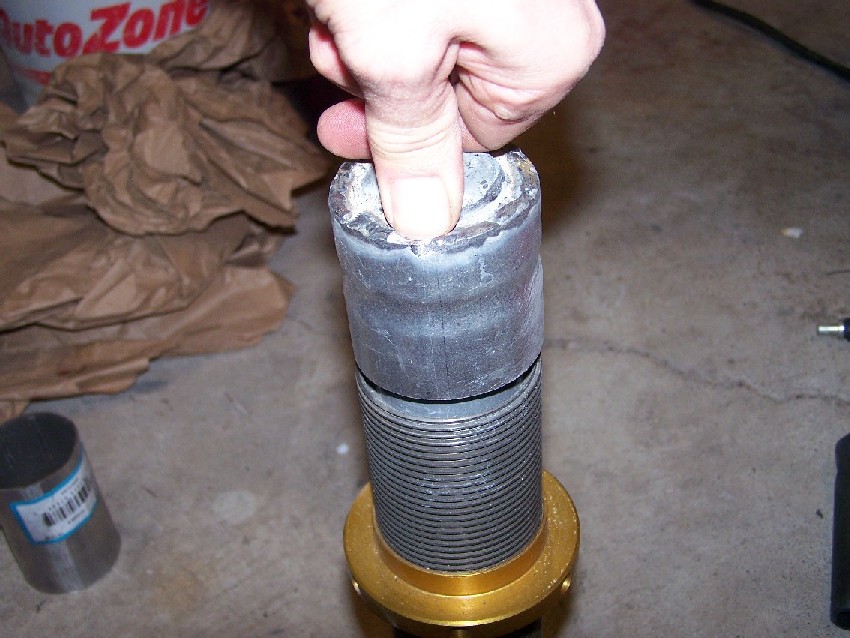
Hi all, well the biggest reason I have decided to try a thread is to give credit to the vendors and the PFF members I have used and got Ideas and insperation from. I have an 87 GT that I have owned for 13 years was a daily driver for 9 of those years I put a 3.4 pr out of a camaro in it in 2000. The car has 240,000 miles on it and pretty much needs every thing, perfect candidate for a big project. Over the last year + I have been reading here and collecting some parts. Over the next year or 2 it is going to get done I hope. I have not decided on a power plant yet. I'm for once going to do the exterior first. The next 2 things to buy will be norms c6 flipper and Archie's hatch. As I post pics of parts and mods I tell were and who I got it from. Most of which has been through this forum. so heres were we are at now. Thanks to Design 1 Kevin's brake kit bolts up easy. West cost fiero for the front lowering springs and the fiero store for new bearings and all the poly allthe way around. When I removed the a arms I bead blasted them and powder coated them black Harbor freight powder coat gun and an old oven works pretty good. I have to admit I went for the corvette brakes more for looks then stoping power plus got a smokin deal on the calipers. JimmyS side scoops look nice and are well made. The coil overs I made with the info I got from here on a couple of threads The lambo hinge was much more dificult then I had planned as with most things. It was a hinge for an eclipse I cut it apart and adapted it twice to get it right still have to do the other side. On the roof sits a Oslo C6 tail pipe they look great but it will be awhile before they get mounted. Thanks for looking comments and ideas welcome. Also thanks to MadCurl he has already answered questions from me and I'm sure I will have many more.
[This message has been edited by JPH87 (edited 02-05-2010).]
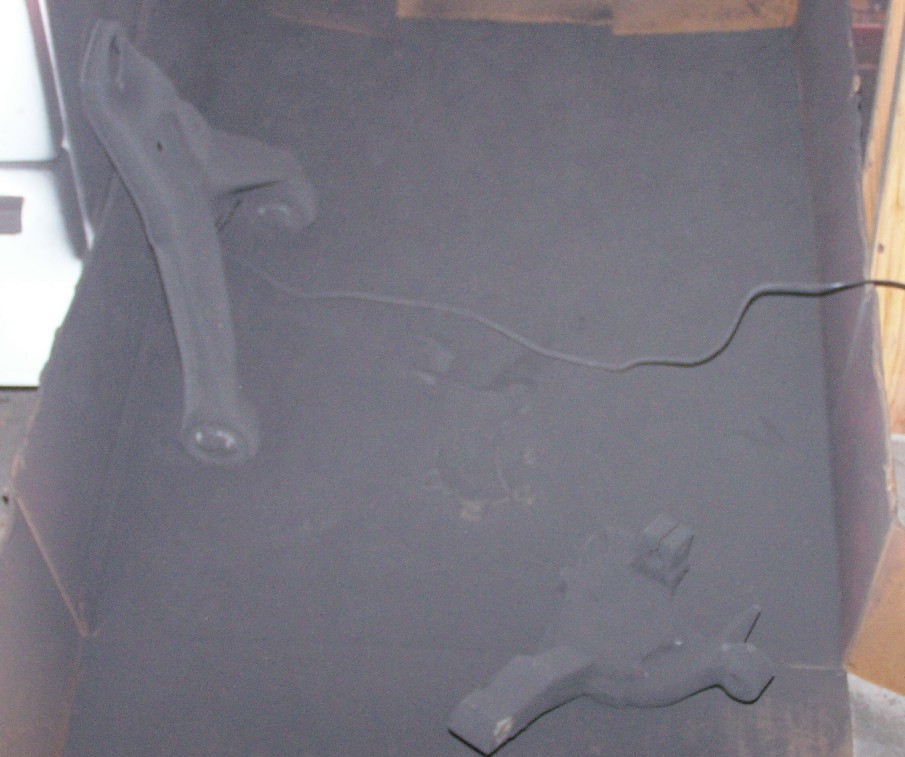
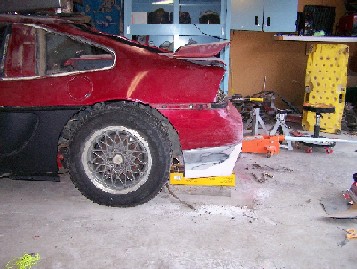
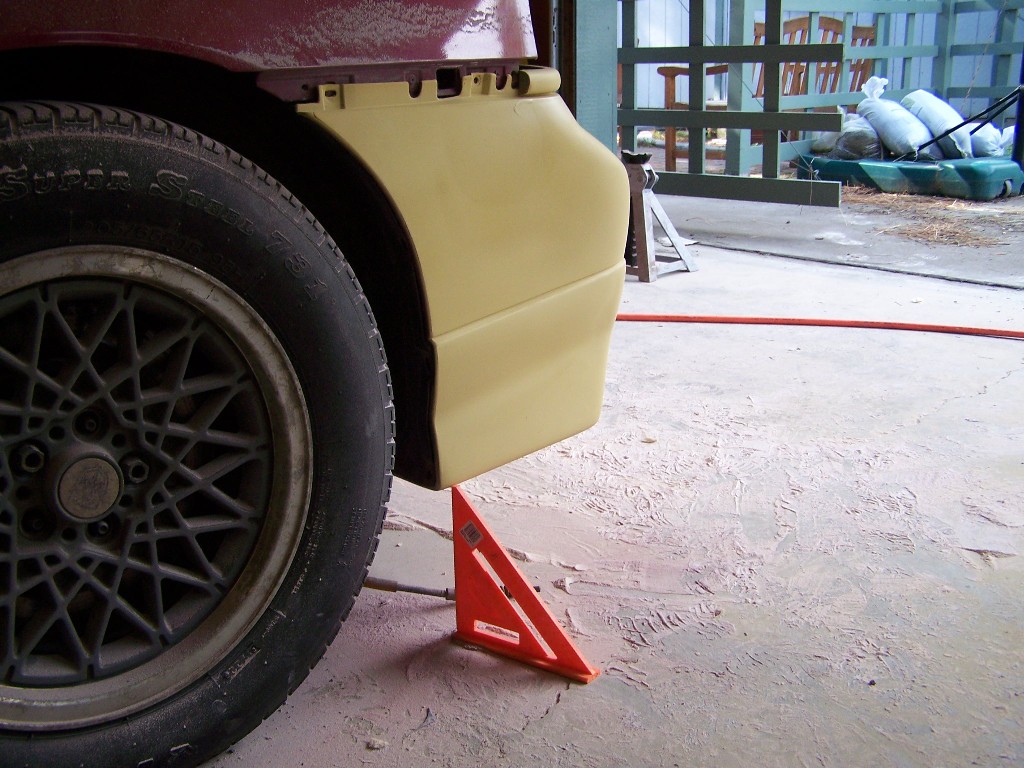
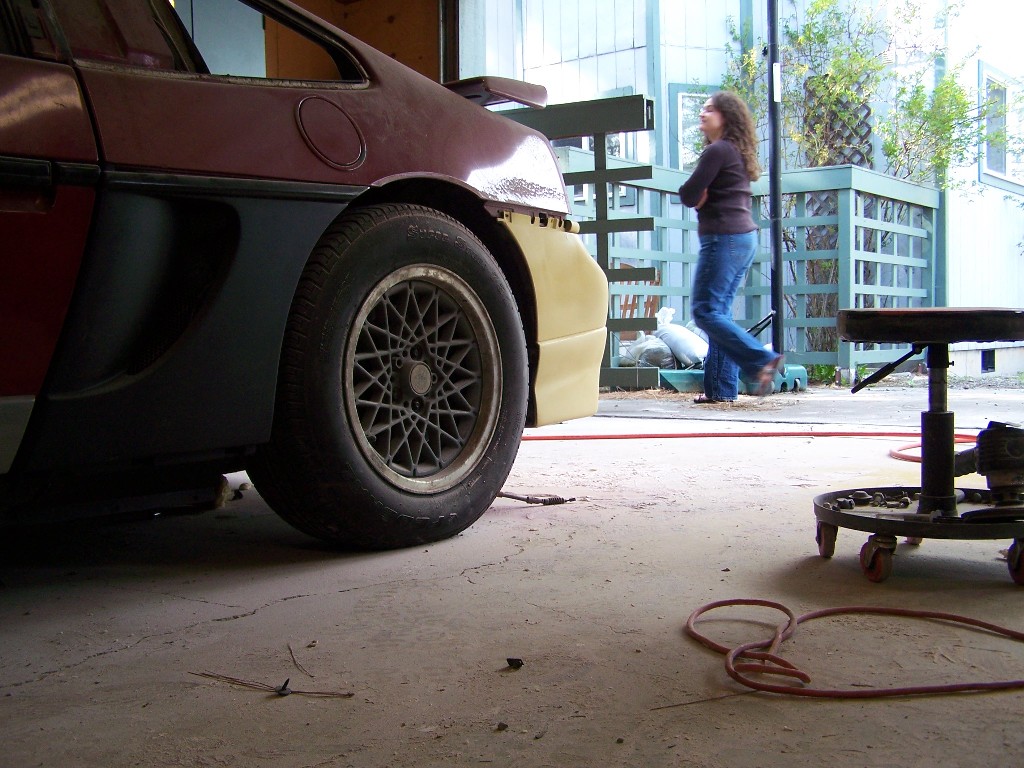
Got some time yesterday nothing to exciting but I need to get this suspention done so I can roll it forward to start on redesigning the rear bumber. Having a little BBQ Litte bead blasting Ready for powder coating Ready for the oven Ding ding cookies are done oh wait wrong oven My version of a spring locator Today I'm going to get the other side done and hopefully have it ready for wheels thanks for looking.
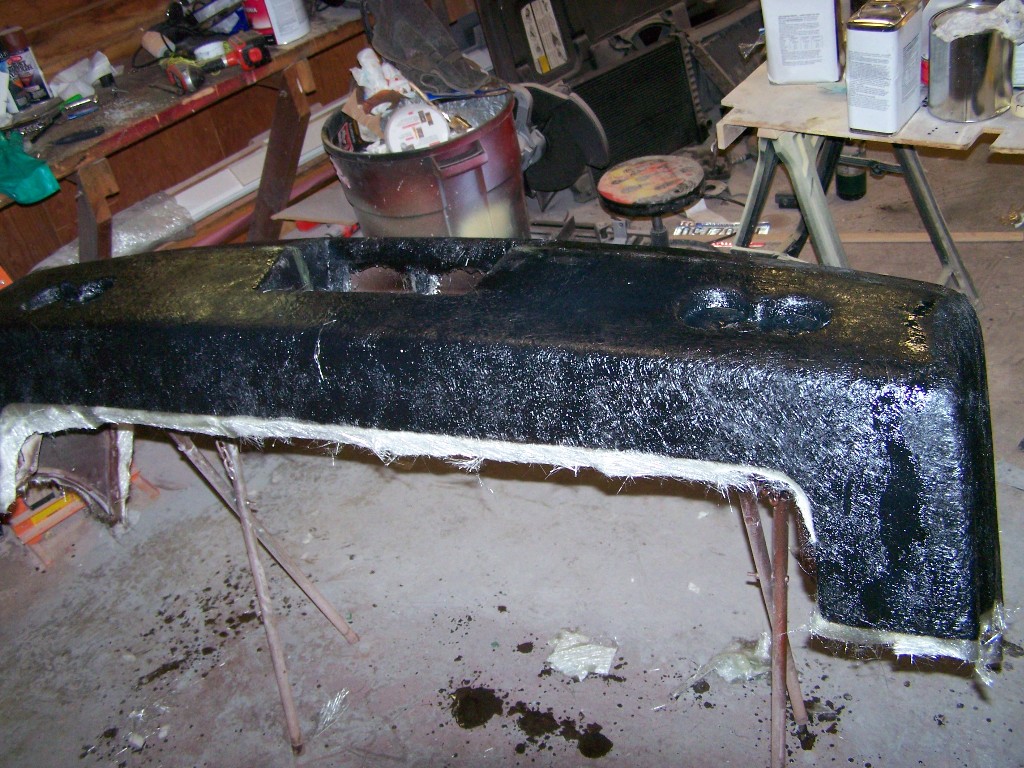
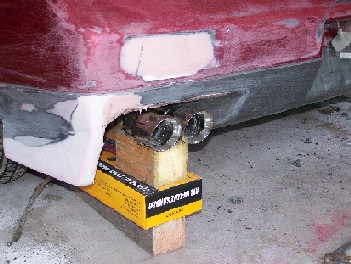
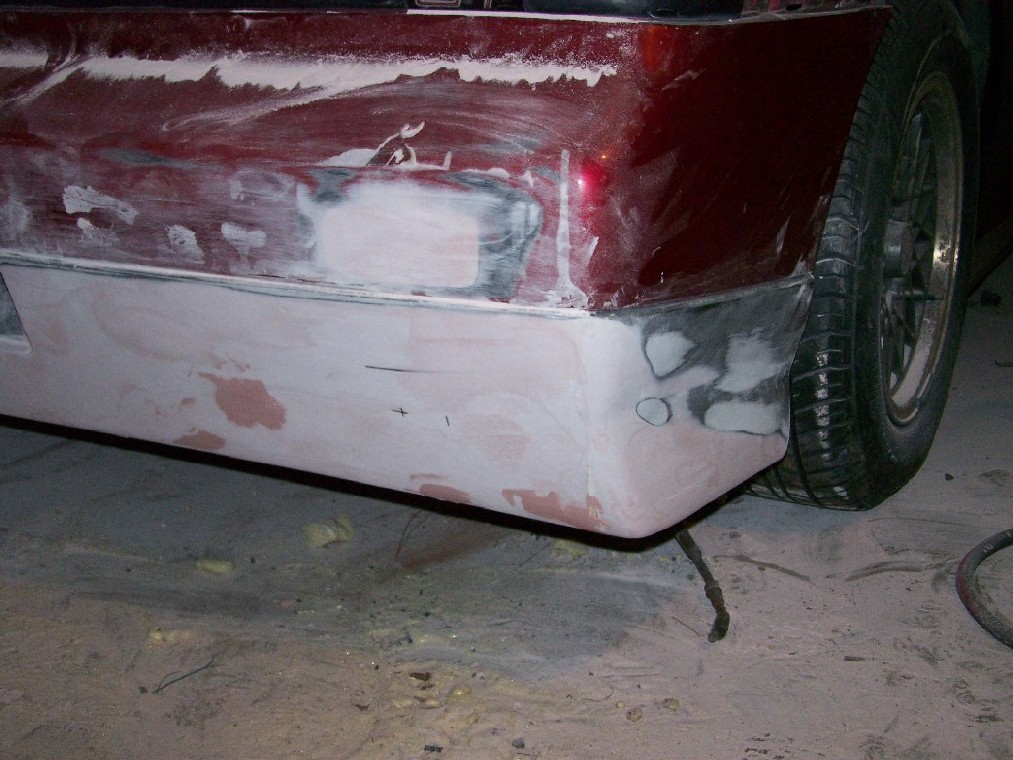
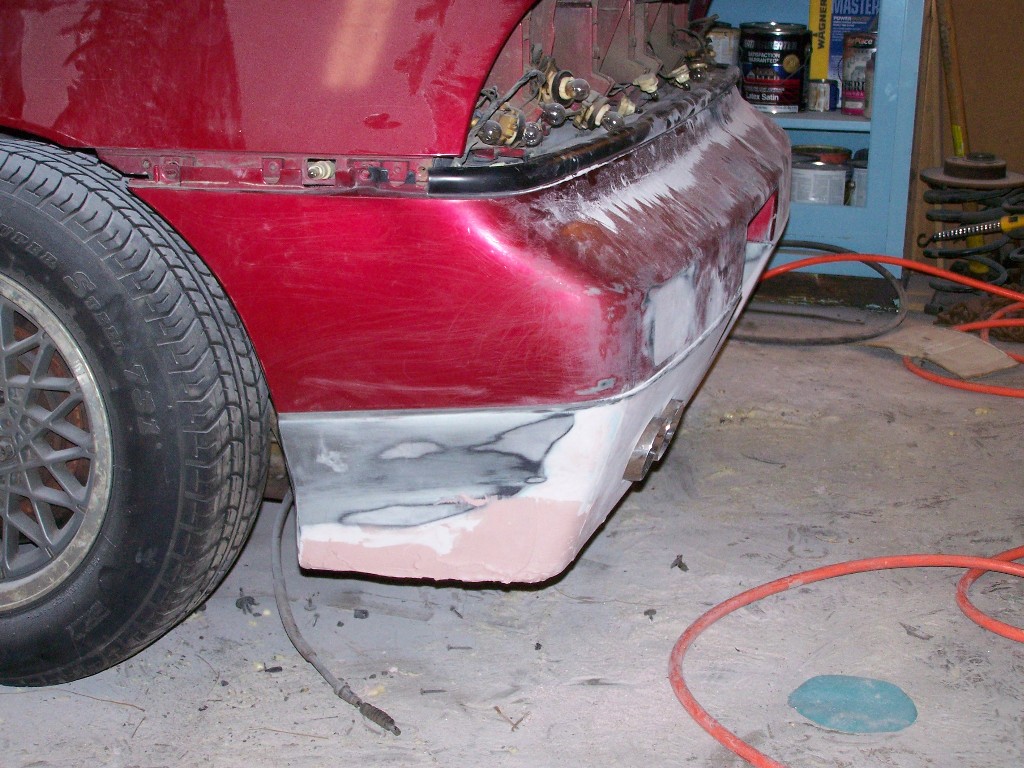
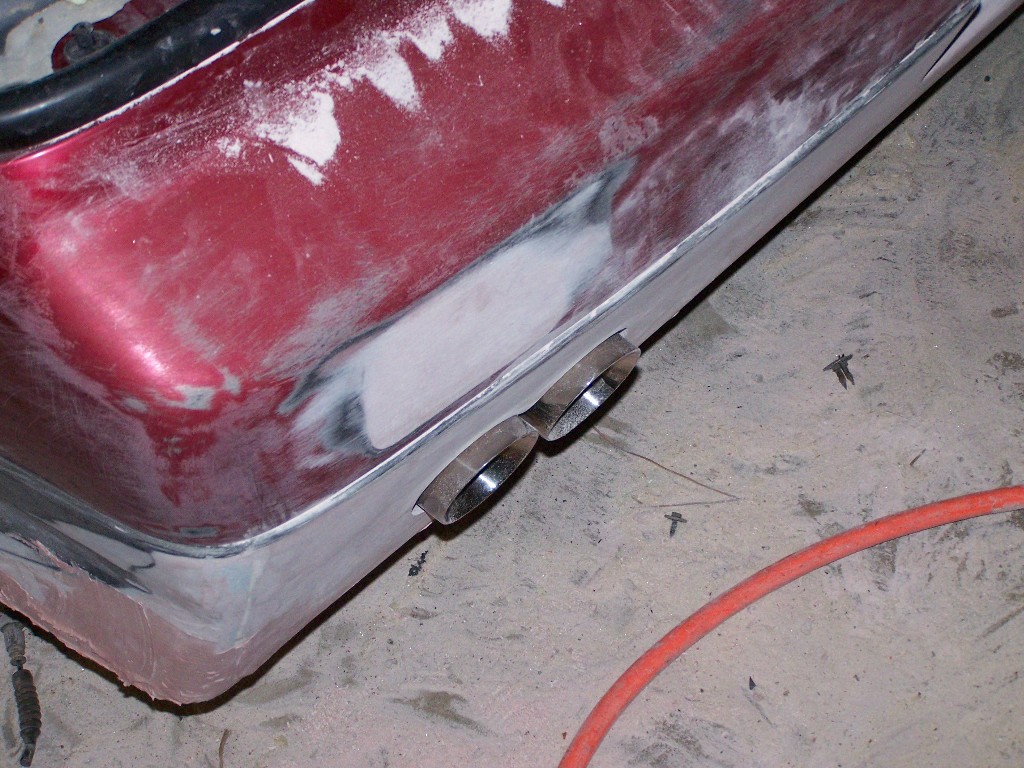
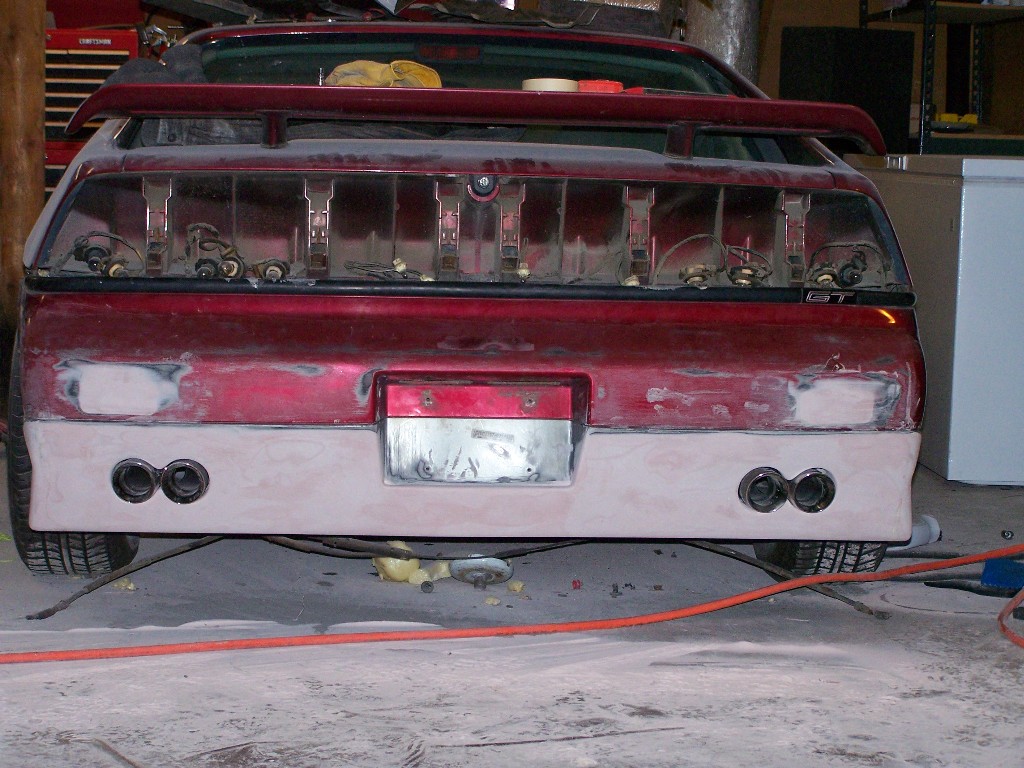
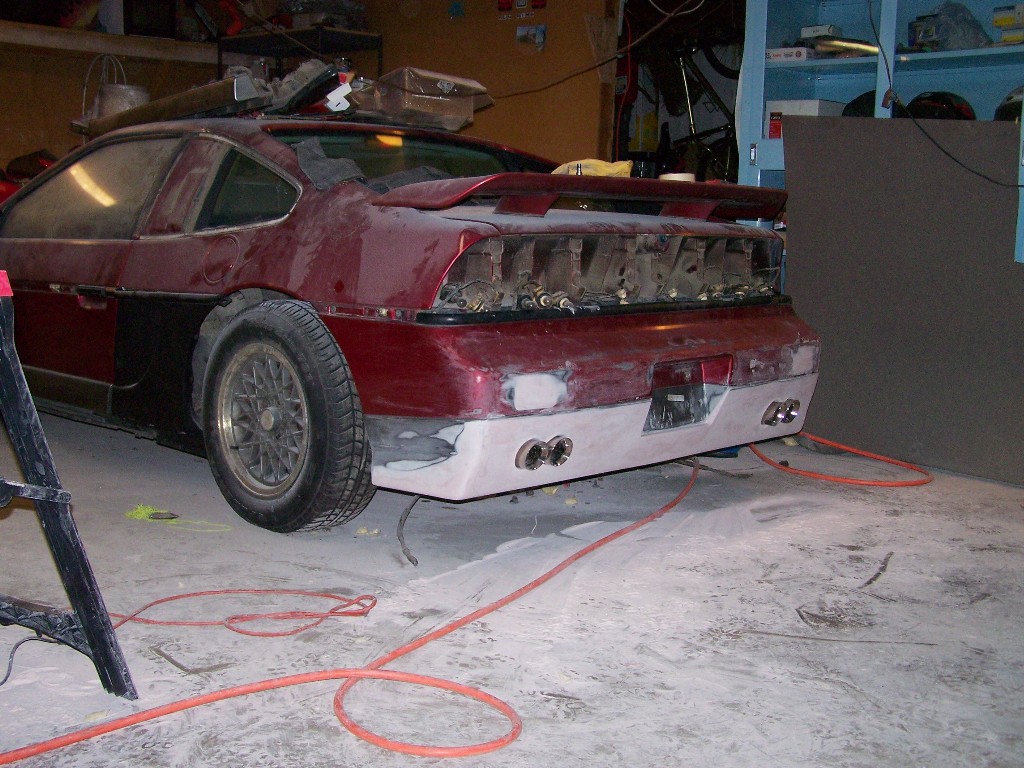
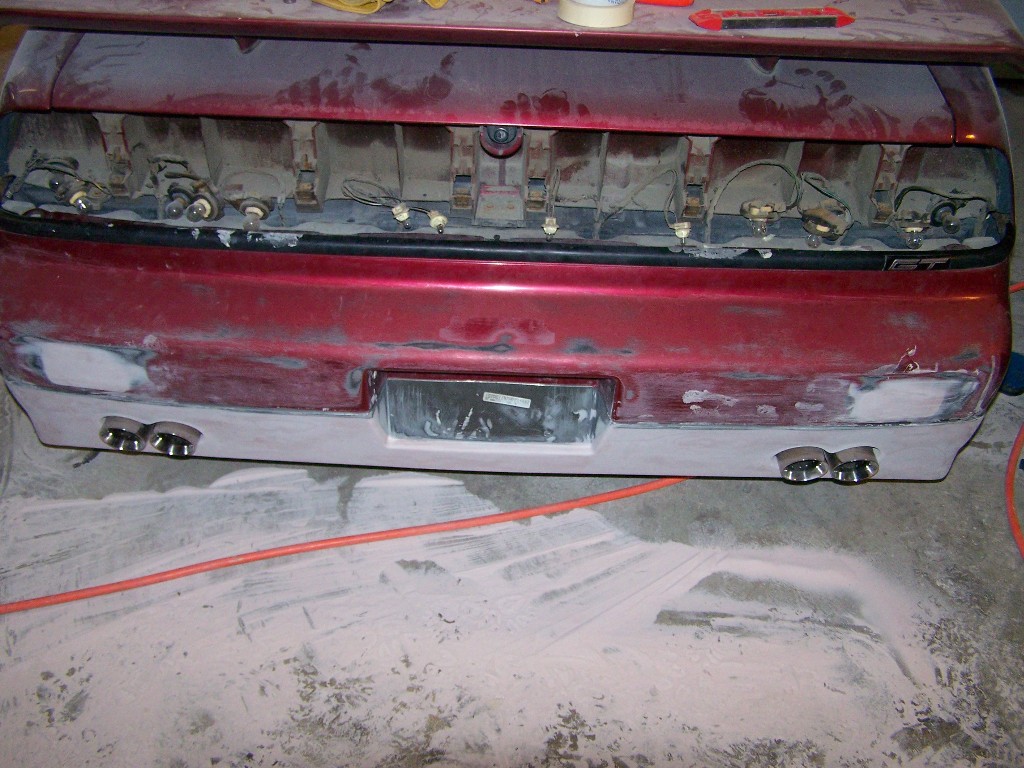
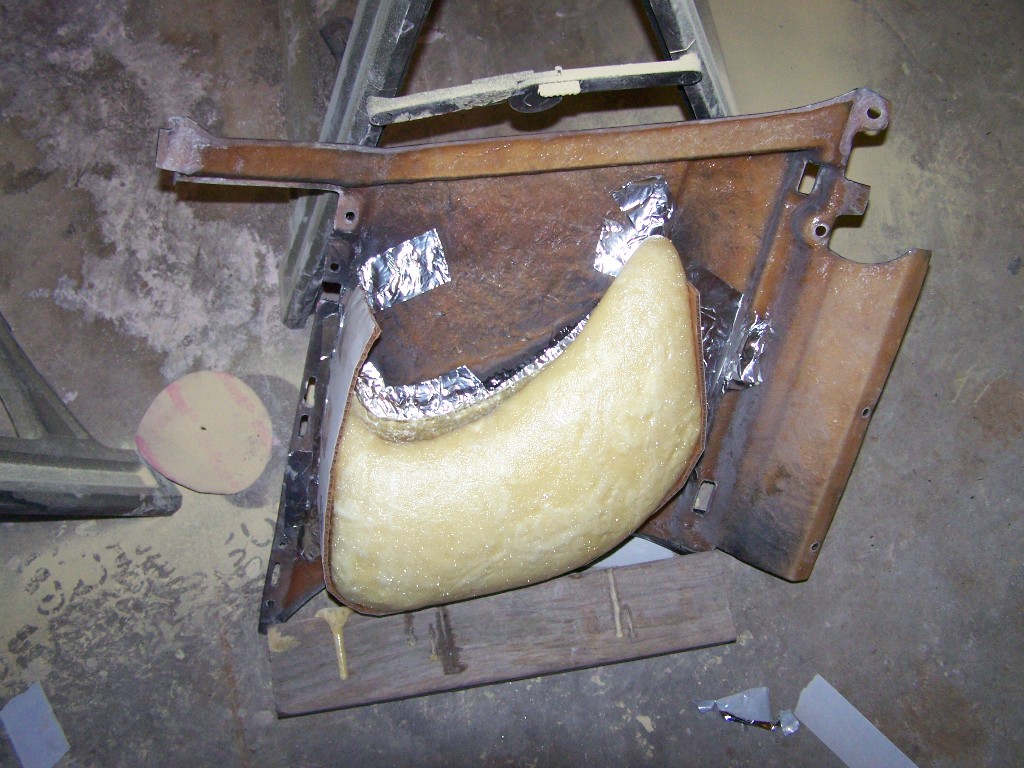
Well Finally started to work on the rear bumper here is progress on the plug I'm waiting on some A B foam I ordered to fill in were the exhaust is and other large voids the exhaust tips will be frenched in with just a small amount of clearence I'm going with KAHINES tail light panel so I would like to put in Back up lights down low in the bumper any sugestions on a light thanks for looking
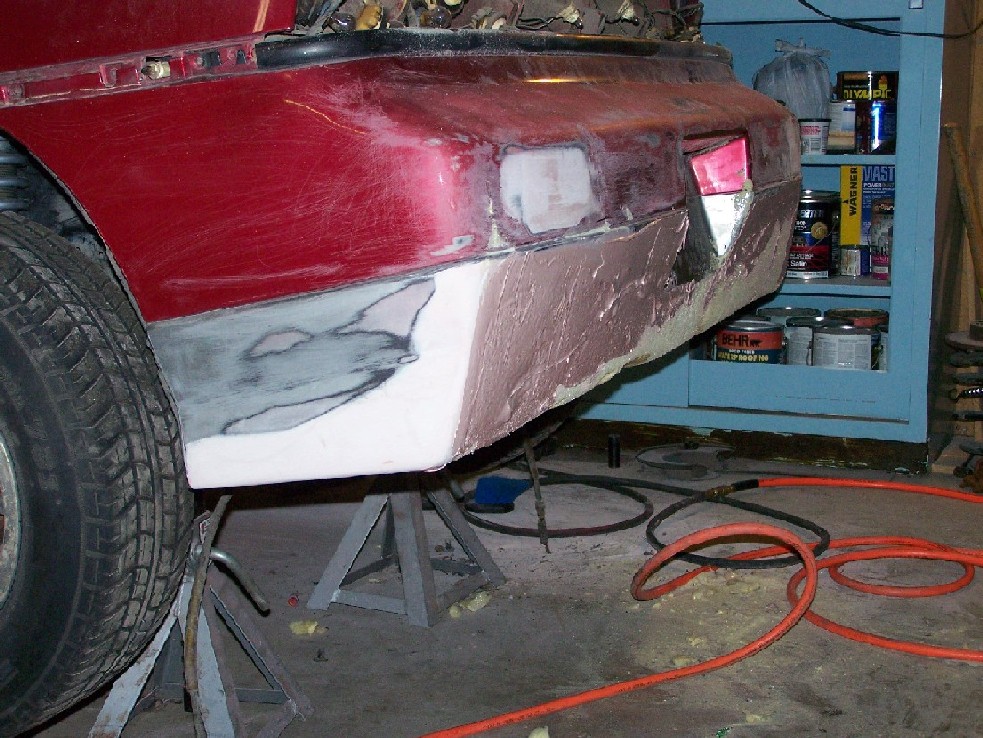
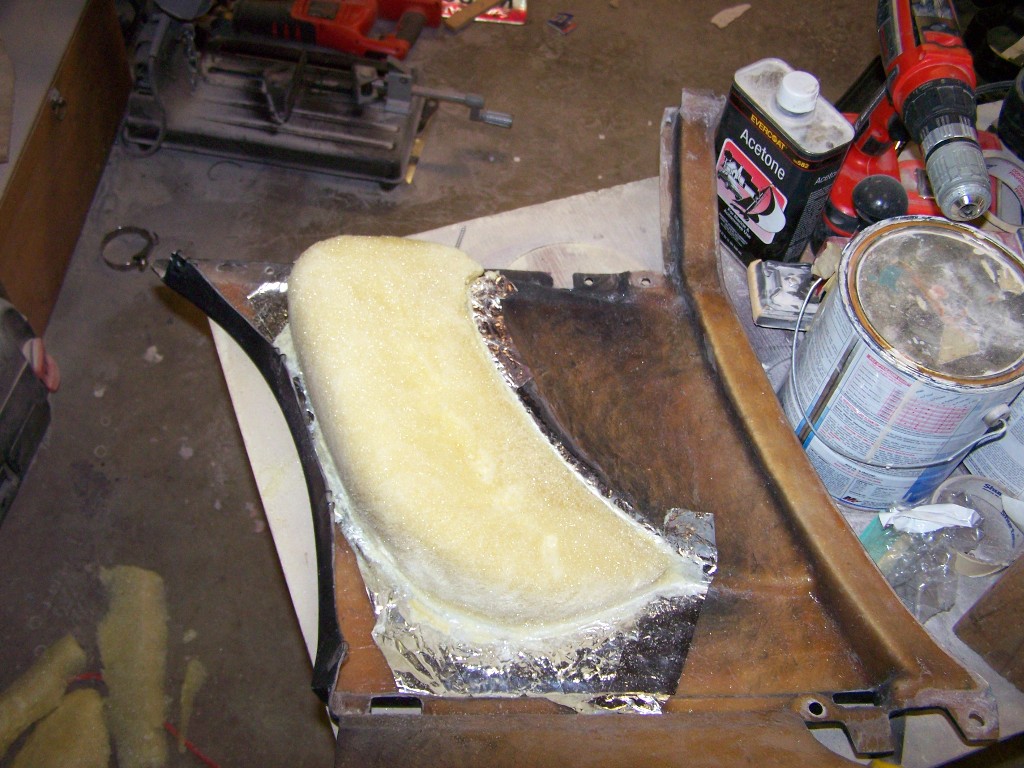
AB foam arrived this is the first time I have used it to build up a plug worked well This is going to take a while to finish I'm not happy with the boxy look going to half to add some curve
thanks exoticse was begining to wonder if anyone was looking at this. There will be many more pics this weekend I have nothing else I have to do and 2 gallons of mud to get creative with. May need more LOL
Man you need to get together with us INW Fiero club dudes (and brides) We love getting together and helping each other on their builds... Looking Good!
Thanks Jeff, aaronkoch sent me the info to get involved. Your swap looks like it is going well. Today went pretty well didn't get as far as I wanted but that is the way of these things went through 2 gallons of mud on this so far getting it close. Might get it in primer on sunday if all goes well
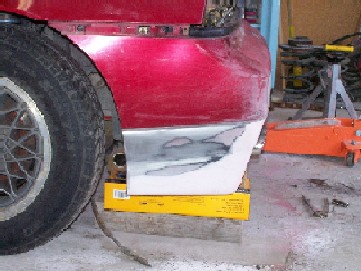
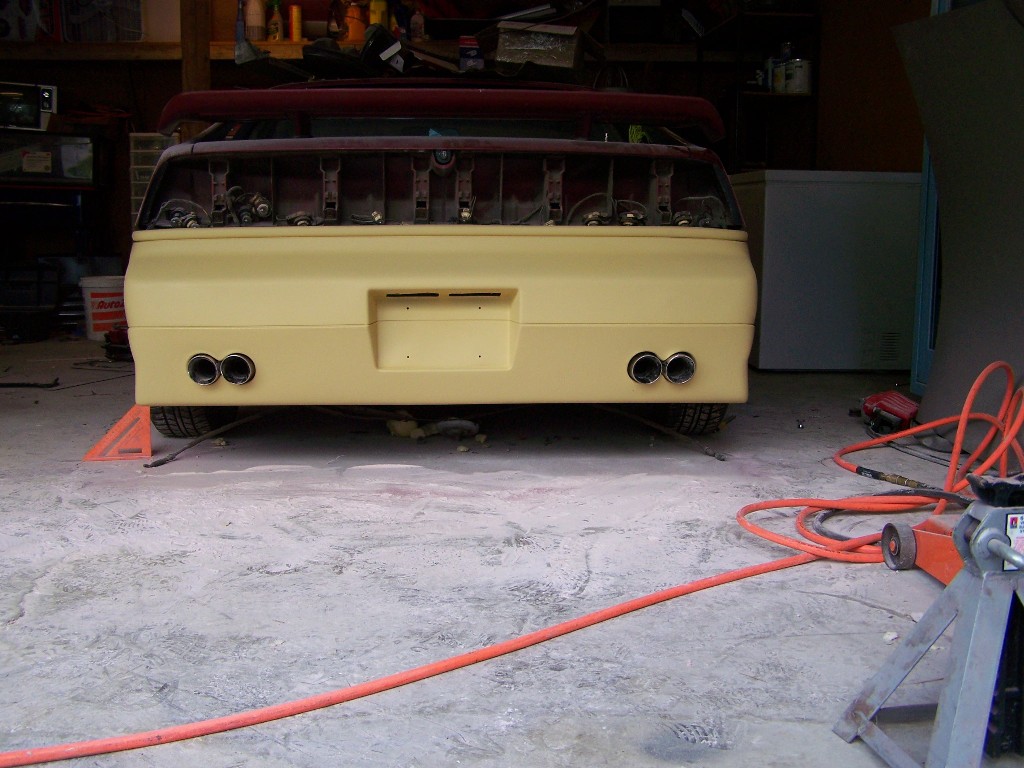
didn't get much done today but I did get it in primer so I could get a better look at what I have left to do. Lots of pin holes 6 inches to the ground I like it
Looking good. I'd like a little more curvy, it a little to boxey for my taste. Are you using regular bondo to build it up? If you are please be aware that bondo does not stick to the urethane bumper very well. You need to use a product called evercoat, it is designed to work with urethane. Keep up the good work. Drop me a PM or call me (208-699-2648) if you have any questions.
Joe Sokol
------------------ 85 SE Daily driver with a 3.4 DOHC OBD II 88 Formula/GT 4.9 Allante Intake (My Baby)
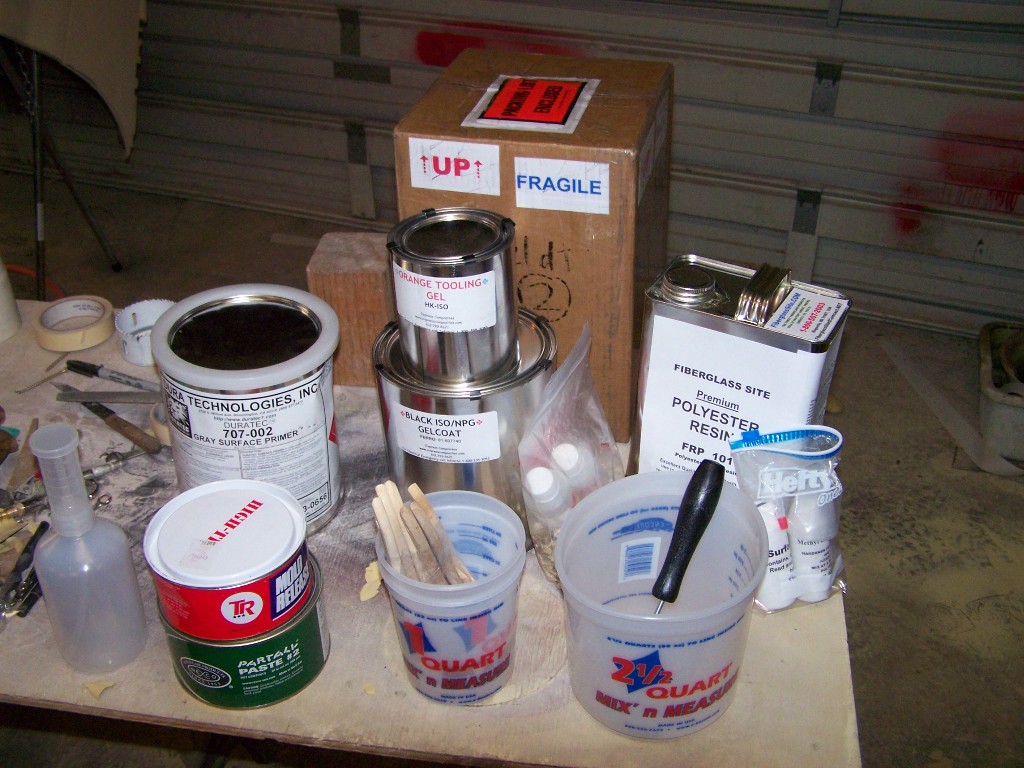
Didn't work on the bumper today. Took the headers out off the 3.4 and beadblasted them to sell there over in the mall. I also took apart a set of AMC 401 heads for kid who's building a AMC Javlin I have to say for a 401 cubic inch motor they have little intake and exhaust ports. I will be ordering some resin and duratec on monday. hopefully start making the mold in 2-3 weeks. oh ya I also used the shopvac on the floor
[This message has been edited by JPH87 (edited 04-26-2010).]
Looks good, but i am still trying to determine if it is too boxy ? It is hard to get a good feel with all the different colors and no aftermarket wheels, but i like what i see for the most part.
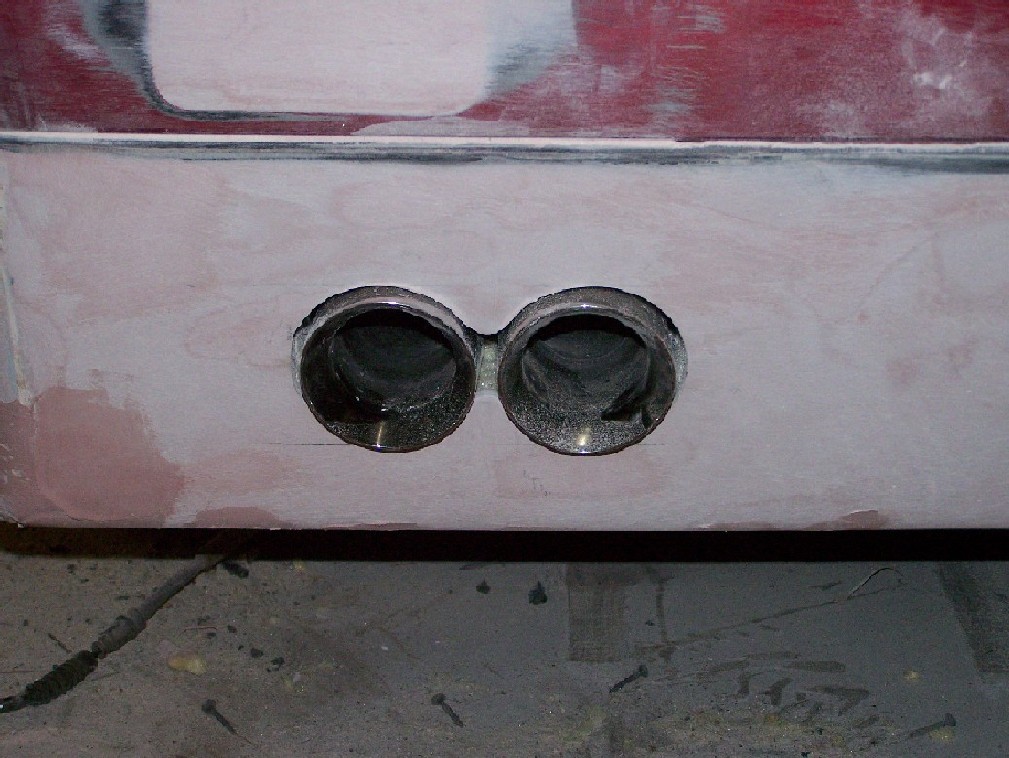
Do you anticipate any heat problems from the exhaust pipes ? Are any heat shields required ?
Originally posted by exoticse: Very impressive work !
Looks good, but i am still trying to determine if it is too boxy ? It is hard to get a good feel with all the different colors and no aftermarket wheels, but i like what i see for the most part.
Do you anticipate any heat problems from the exhaust pipes ? Are any heat shields required ?
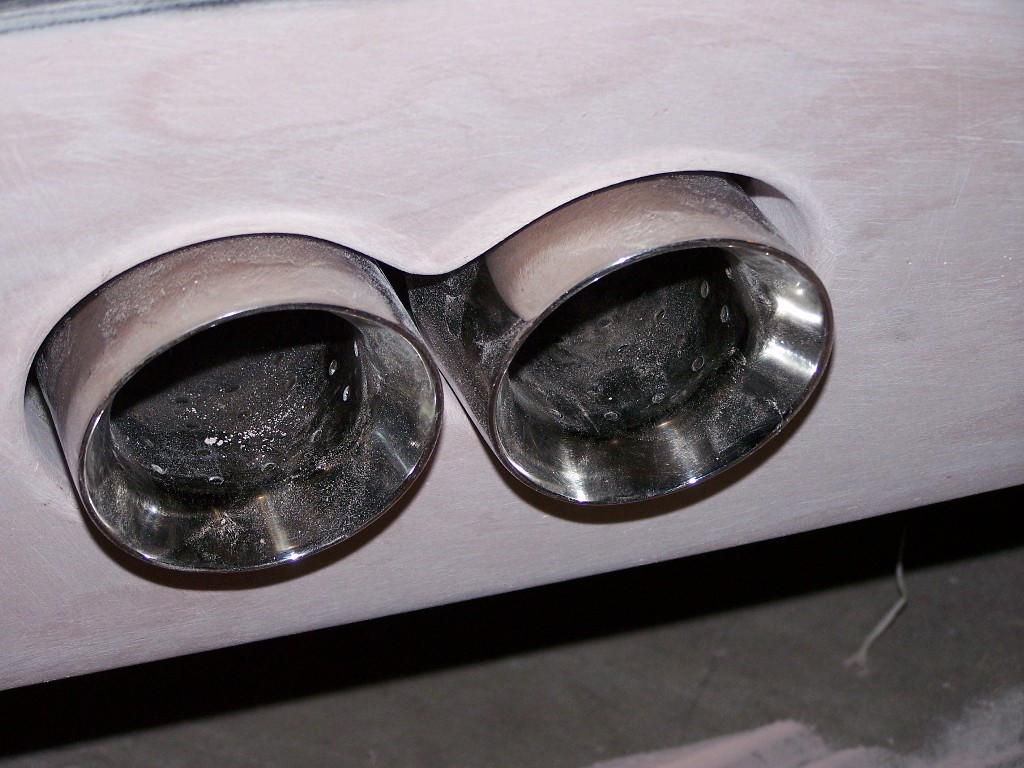
There is about 1/8 inch clearance around the pipes I don't think it will bother the fiberglass if it does I will open them up a little. Looking at Troyboy's his seem very close also
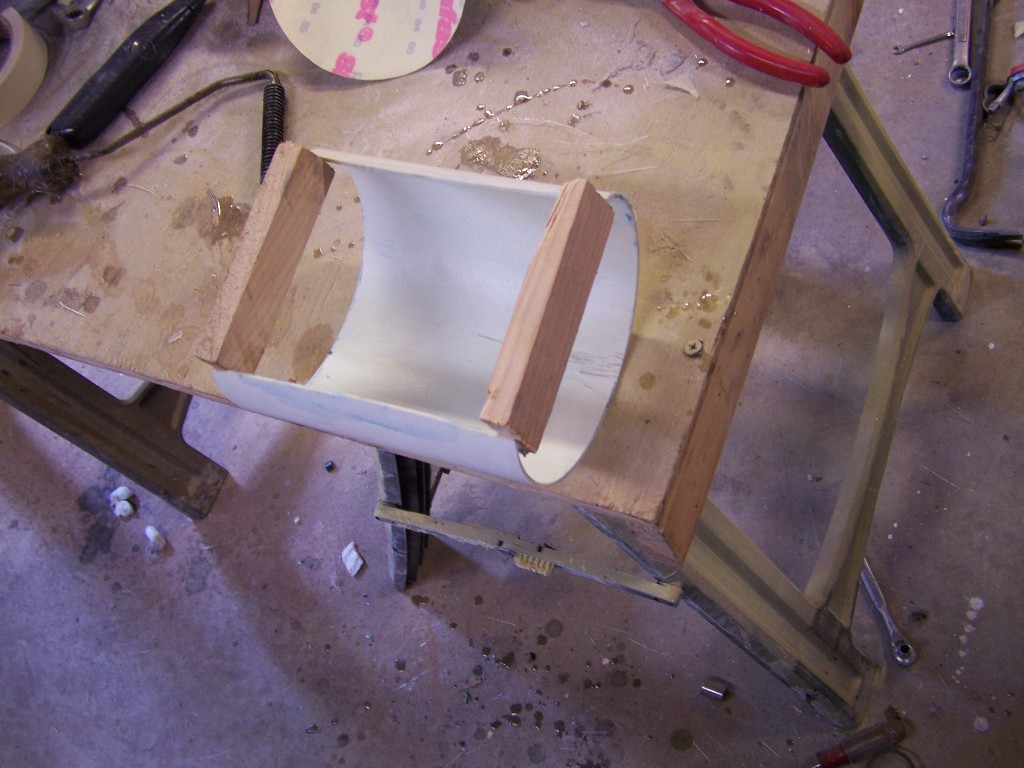
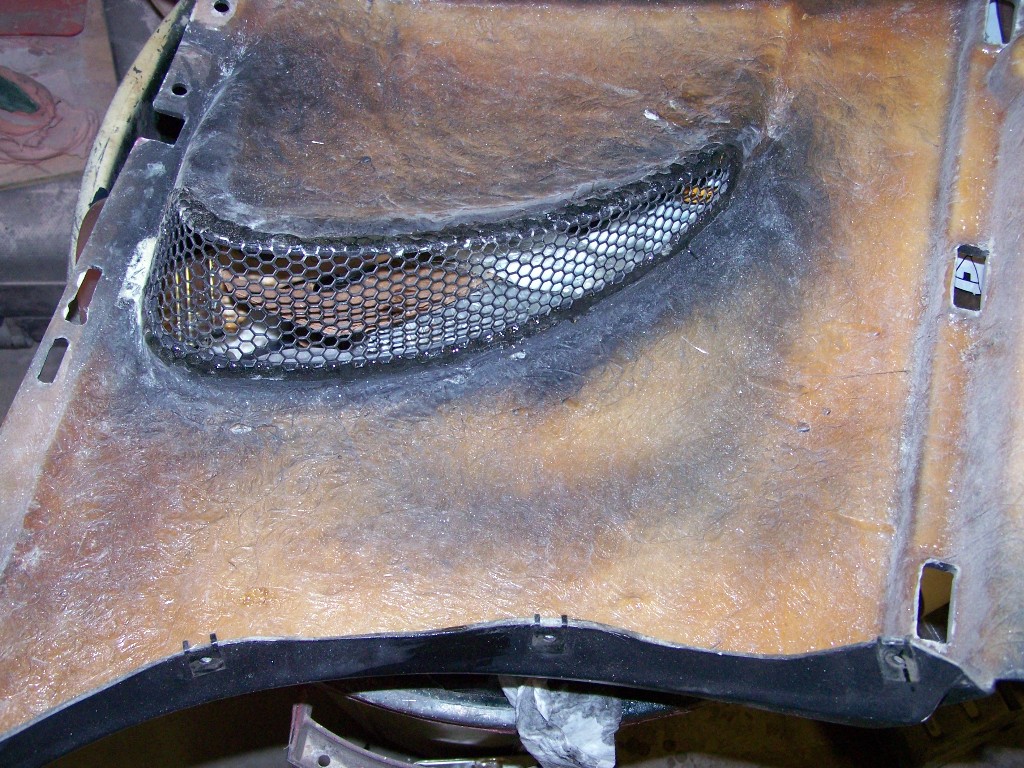
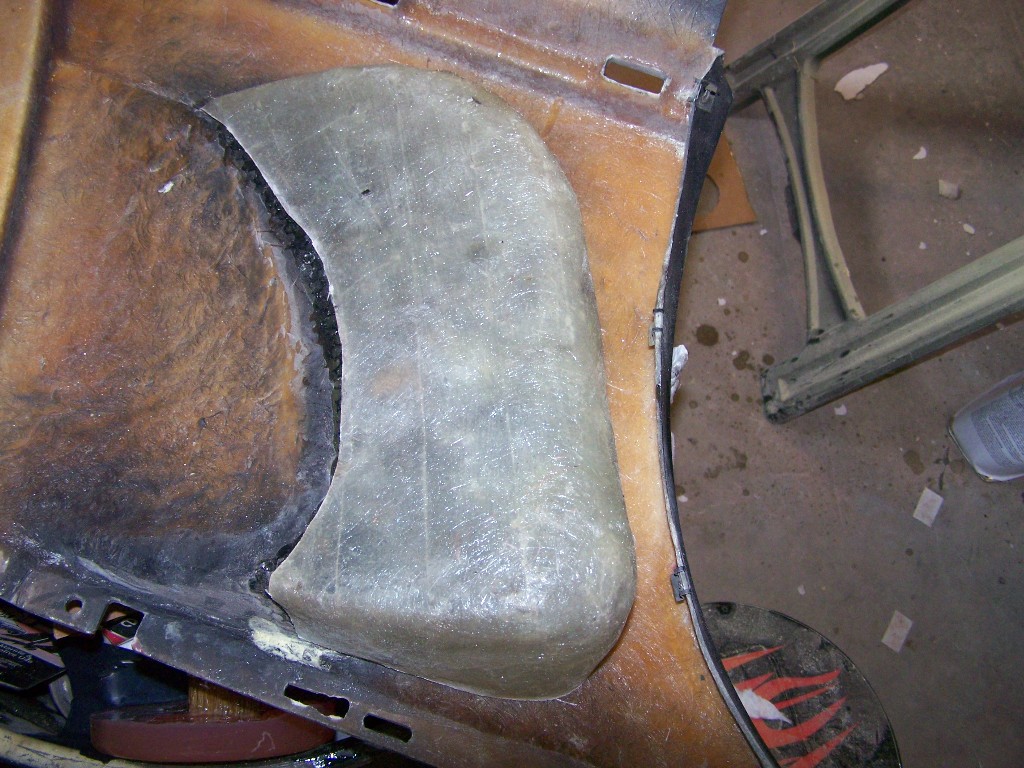
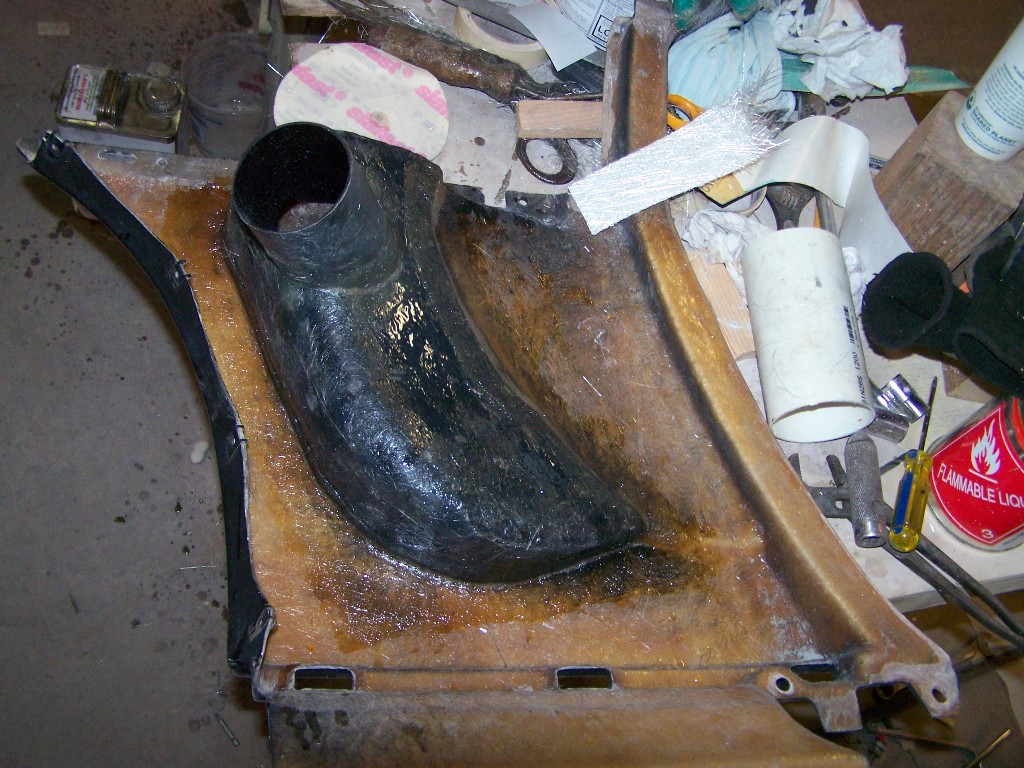
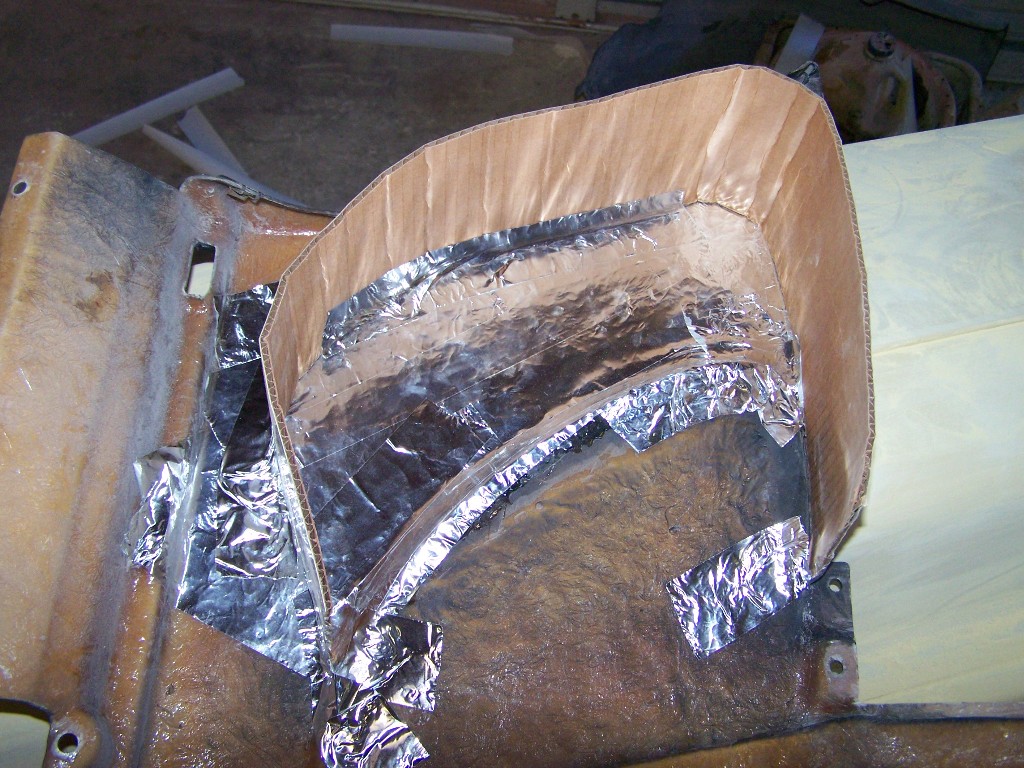
Not much progress lately wating on some supplies to arrive mainly duratec and resin. I did take 1 of the side scoops off and make a plug so I can make it more functional to the air cleaner. first I made a form out of cardboard and foil tape Then poured in some AB foam love that stuff watch it grow then carved it down and shaped it Then foil taped over it when I get my resin I will wax the foil make the part and fiberglass it to Jimmy's scoop creating an air box that will have a 3 inch pipe coming out going to the air cleaner and a small hole in the bottom to let water out
Since you've tweaked it; how much lower is the rear bumper? Looks similar to the one that I'm having tweaked too. Keep up the good work. I like people who think outside the box.
------------------
"Friends don't let their friends drive stock."
[This message has been edited by madcurl (edited 05-10-2010).]
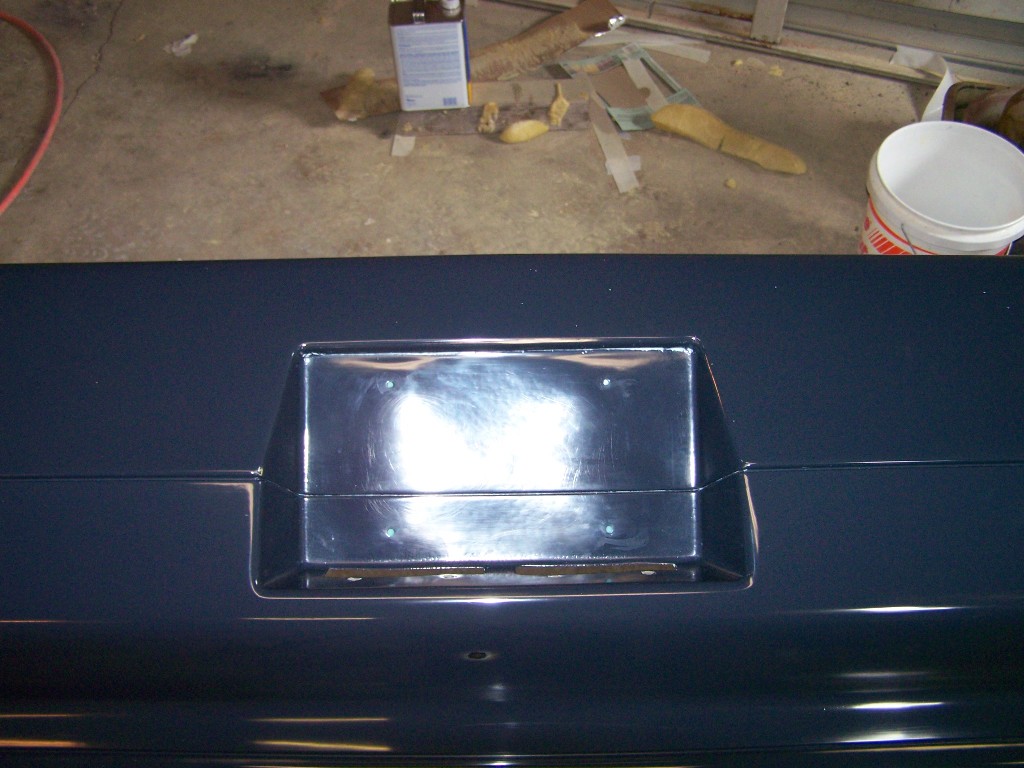
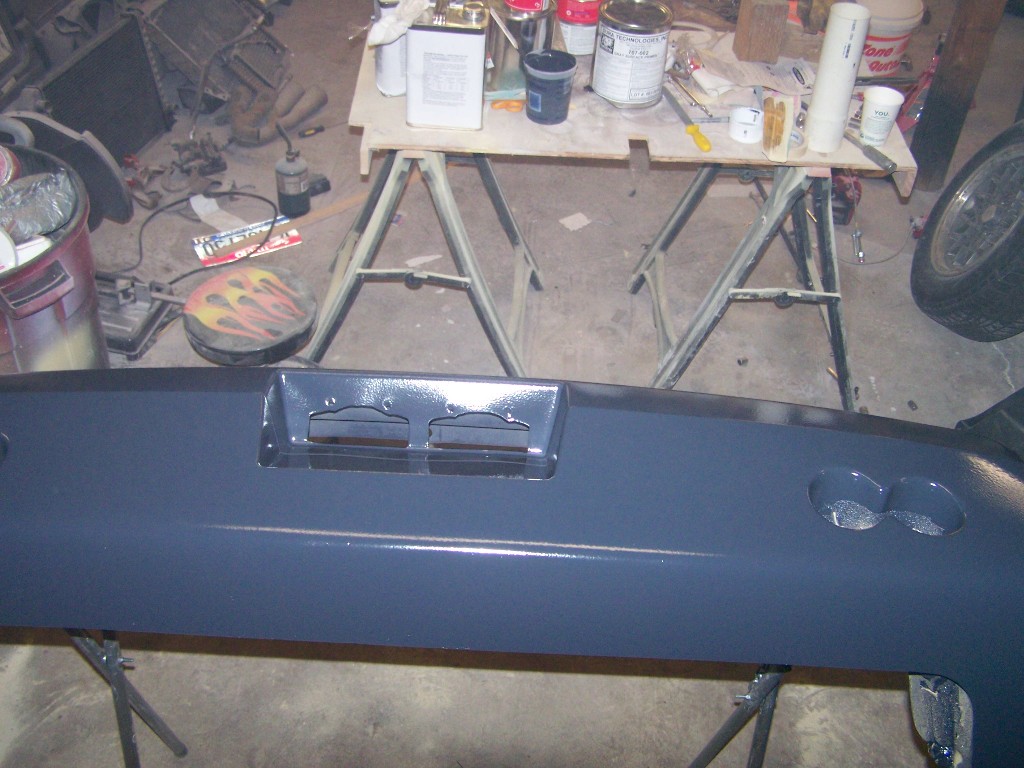
Thanks Madcurl the front edge of the bumper closest to the tire is stock I just brought that level back. At the back its about 3 inchs lower then the stock bumber were it make its turn up. I think I may put a vent in the middle under the plate similar to Troys not the same but similar idea to break it up a little.
Thanks Madcurl the front edge of the bumper closest to the tire is stock I just brought that level back. At the back its about 3 inchs lower then the stock bumber were it make its turn up. I think I may put a vent in the middle under the plate similar to Troys not the same but similar idea to break it up a little.
PM replied A year or 2 ago I messaged you with alot of questions and you took the time to answer them all thanks again now the project has begun in ernest.
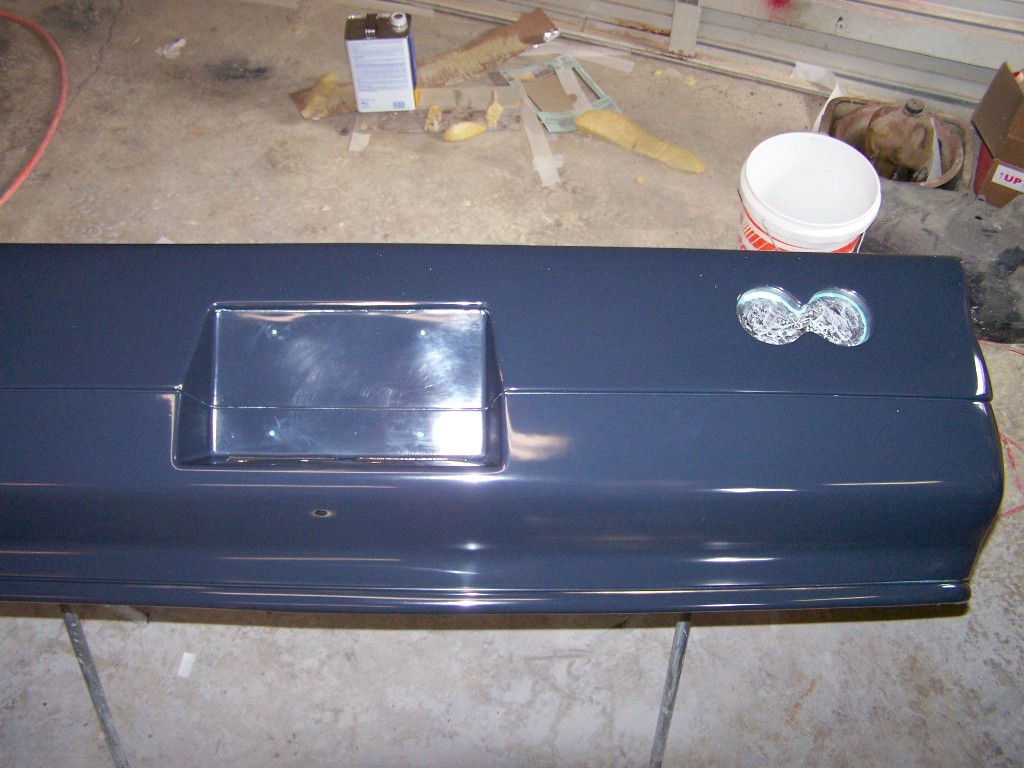
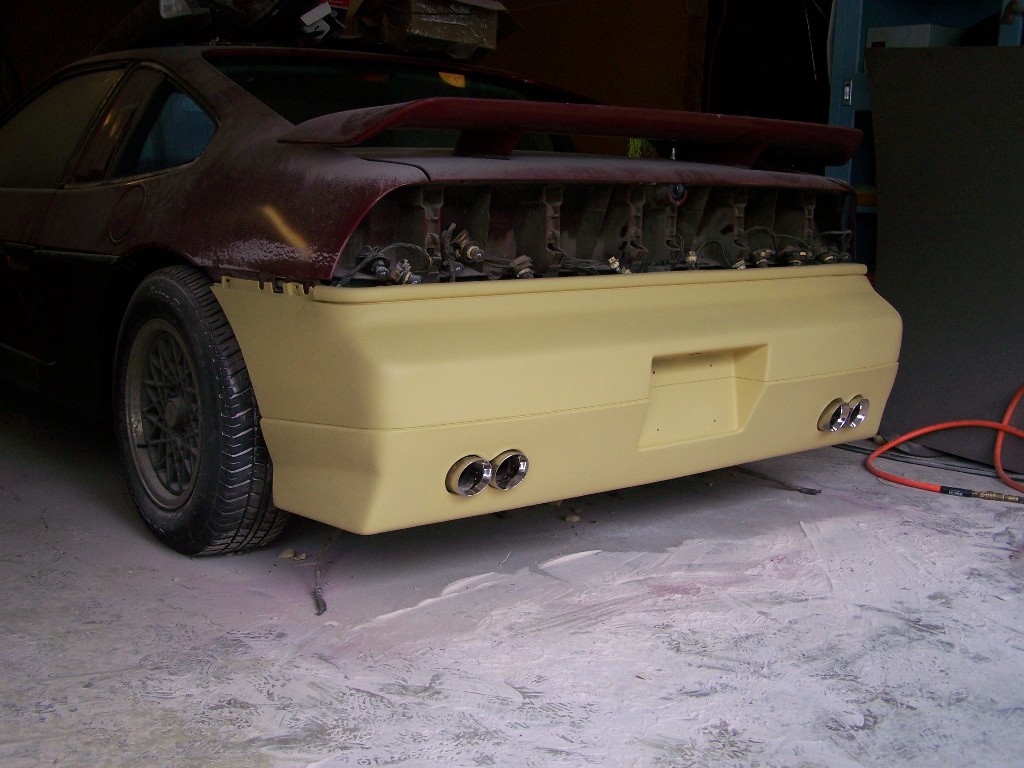
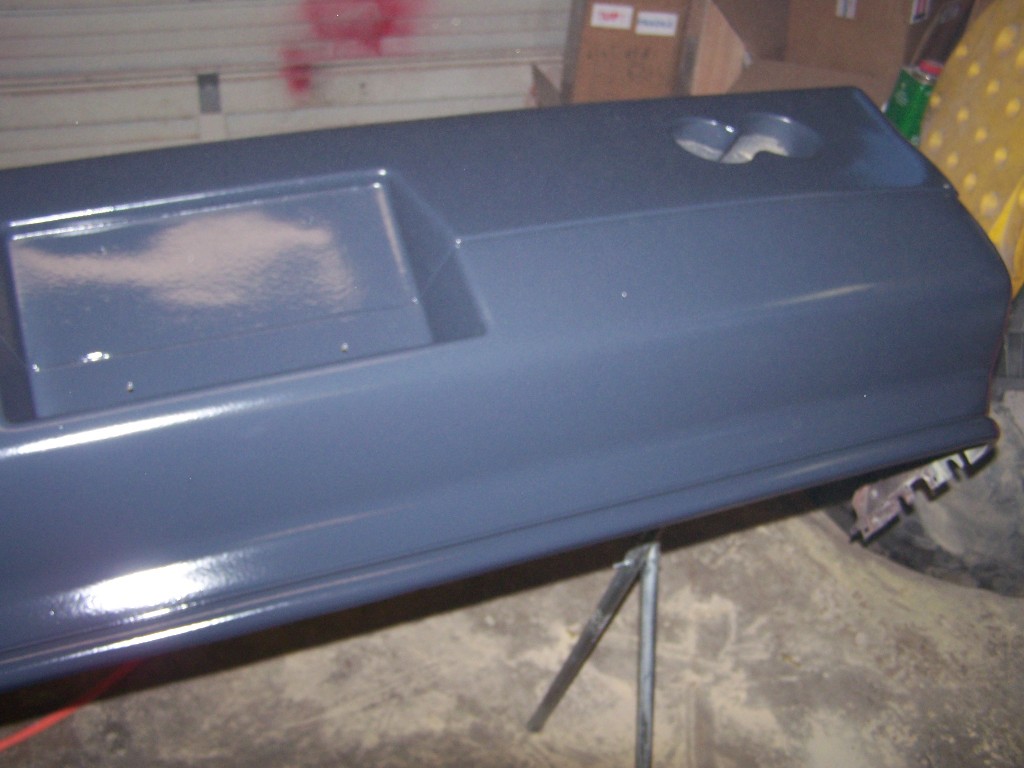
Did a little more body work and filled pin holes so I could shoot the duratec now I have to cut and buff the bumper. Then put on about 8-10 coats of mold release so there will not be much to take a pic of for a few days. Hope to be able to shoot gel coat and start fiberglassing on sun or monday. Heres what it looks like in duratec. I'm starting to remember why I have not this kind of work much in the last ten years I'm not a big fan of wet sanding and buffing, But the better the plug the less work you have to do to the part
[This message has been edited by JPH87 (edited 05-12-2010).]
Hi there Justin! I got to meet you the other day at the car show. I must say, I am glad that you are doing all of the body mods to your GT. I like being the only one around with a "mostly stock" looking GT. I am PMing you my #. Hit me up some time if you are ever in the South Hill neighborhood. Or if you just need an extra hand wrenching. We have some of the most knowledgeable, caring, and friendly folks here in the Inland Northwest Fiero Club.
I PMed JohnWPB thinking he was you. He was a pretty nice guy about it when I talked with him on Sunday.
------------------
[This message has been edited by Tony Kania (edited 05-12-2010).]
pardon my ignorance, but what is duratec? is it like a hard workable shell to make the mold smooth?
Its like primer but you can buff it to a gloss so the mold will come out smooth and it sands real easy. It is also poly based so it uses the same catylist as resin and gel coat.
Thanks Hey Tony and Arron it was nice meeting both of you Tony you have a very clean car with some very nice touches. Soon as I get this plug cut and buffed If you want to see how you lay up glass your more than welcome to come over and check it out.
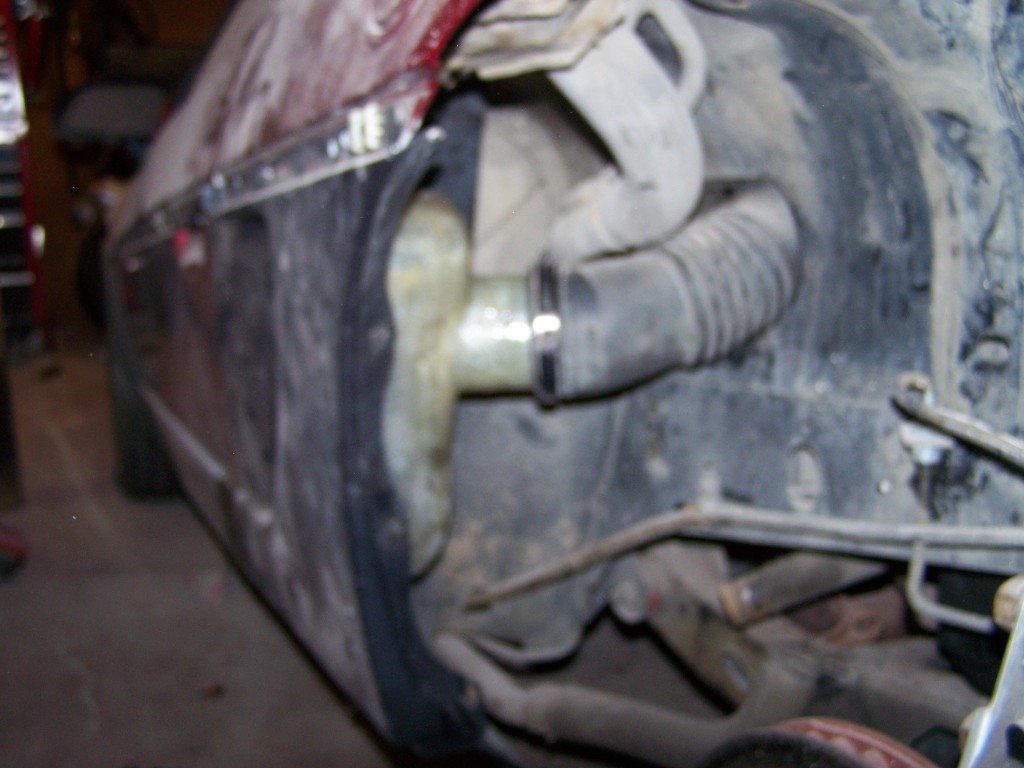
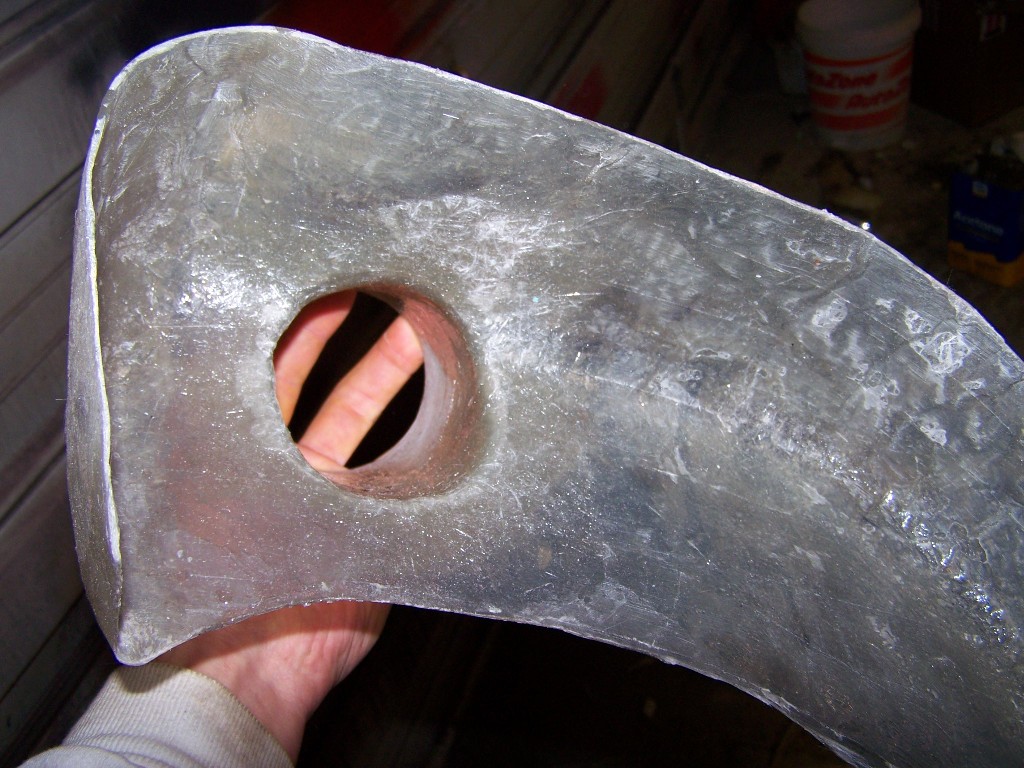
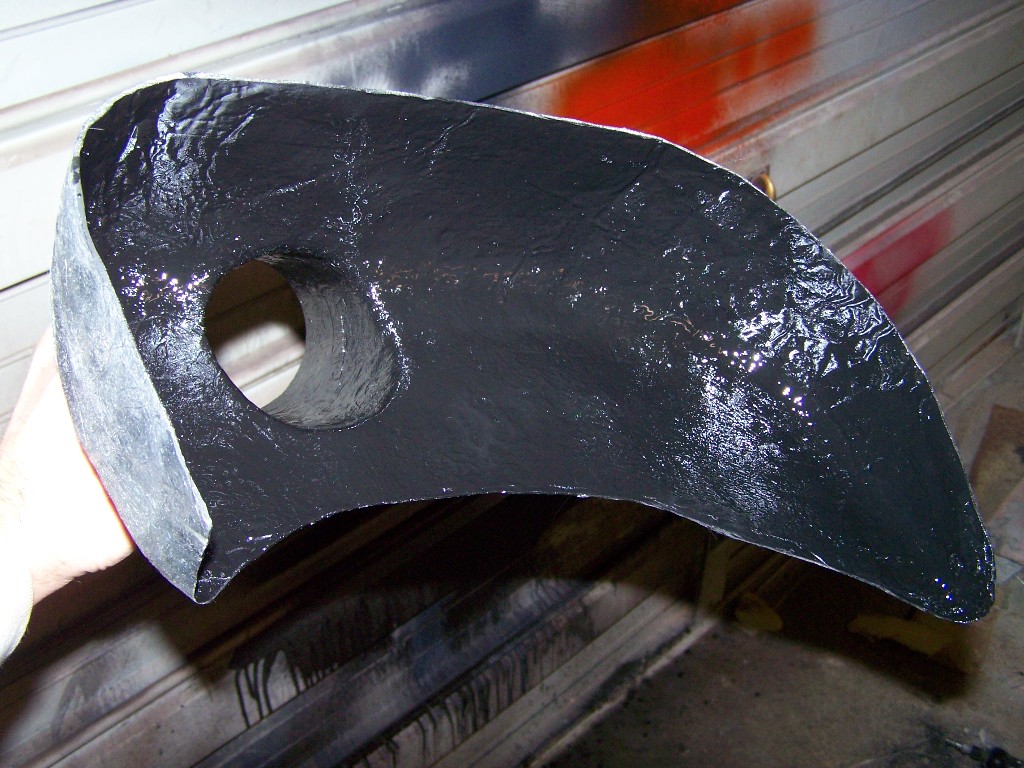
Ok its been a little while since I posted progress there is not much to show the bumper mold is still being laid up couple more layers and it should be good. I did get the air box done today. So here are some pics of the progress. Here's the plug all ready after buffing and 8+ coats of mold release shot it with orange gel coat and backed it in black. after the first layer of glass looks the same now only thicker I needed to make a fiberglass 3" out side diamiter tube so I took a peice of 3" inside diamiter PVC. Cut it on one side using a very thin dremal cut so I would not take it out of round. spread it apart laid in 2 layers of glass closed it up and put 1 layer on the seam and presto a tube. Here is how thin of a cutter I used, tiny went thru a few they have a tendancy to explode Here are some pics of the air box and fitting the tube the back side of JimmyS scoop trimmed up and test fitting tube all glassed in painted the inside so when you look in the scoop you will not see raw fiberglass All done ready to install tomorrow Thanks for looking Later J
didn't get much done today but I did get it in primer so I could get a better look at what I have left to do. Lots of pin holes 6 inches to the ground I like it
I like that a lot, looks so clean. What do you have planned for the front?


 not a fan of lambo doors but always like reading on what was used to make them. Good work. Chop top?


 I am PMing you my #. Hit me up some time if you are ever in the South Hill neighborhood. Or if you just need an extra hand wrenching. We have some of the most knowledgeable, caring, and friendly folks here in the Inland Northwest Fiero Club.
  He was a pretty nice guy about it when I talked with him on Sunday.