Are you going to cut a hole in the bottom to let water and junk fall out?
Yes a small hole for water I'm hoping the vent screen keeps any thing of size out. I want to keep the hole small so there positve air pressure to the intake
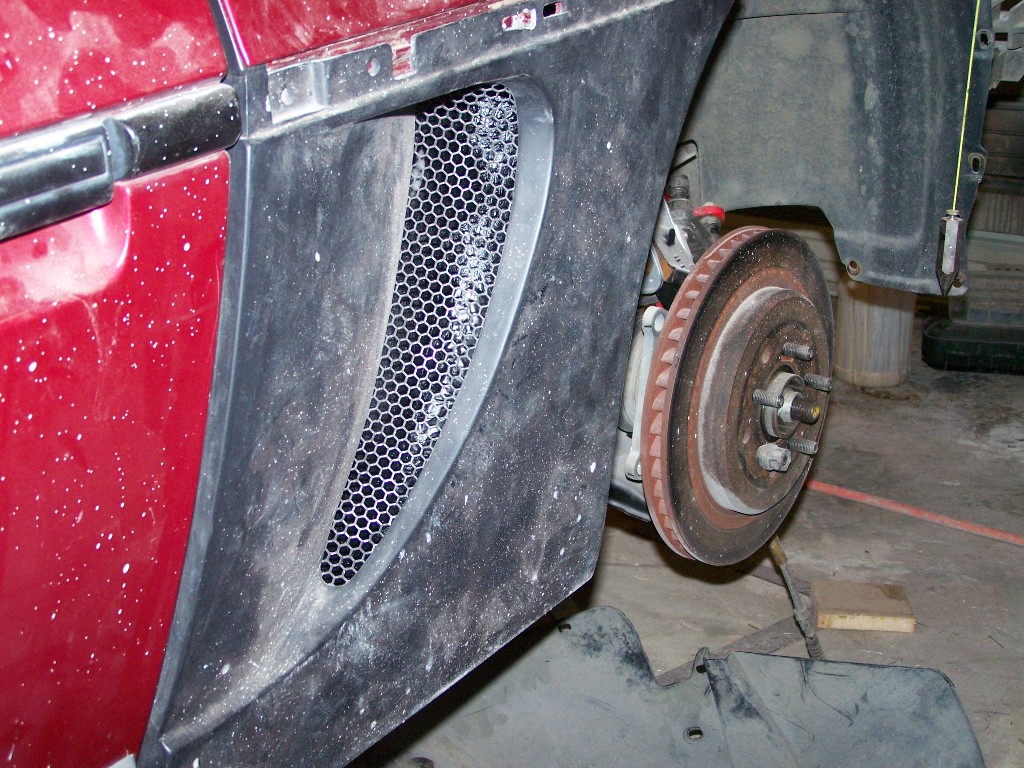
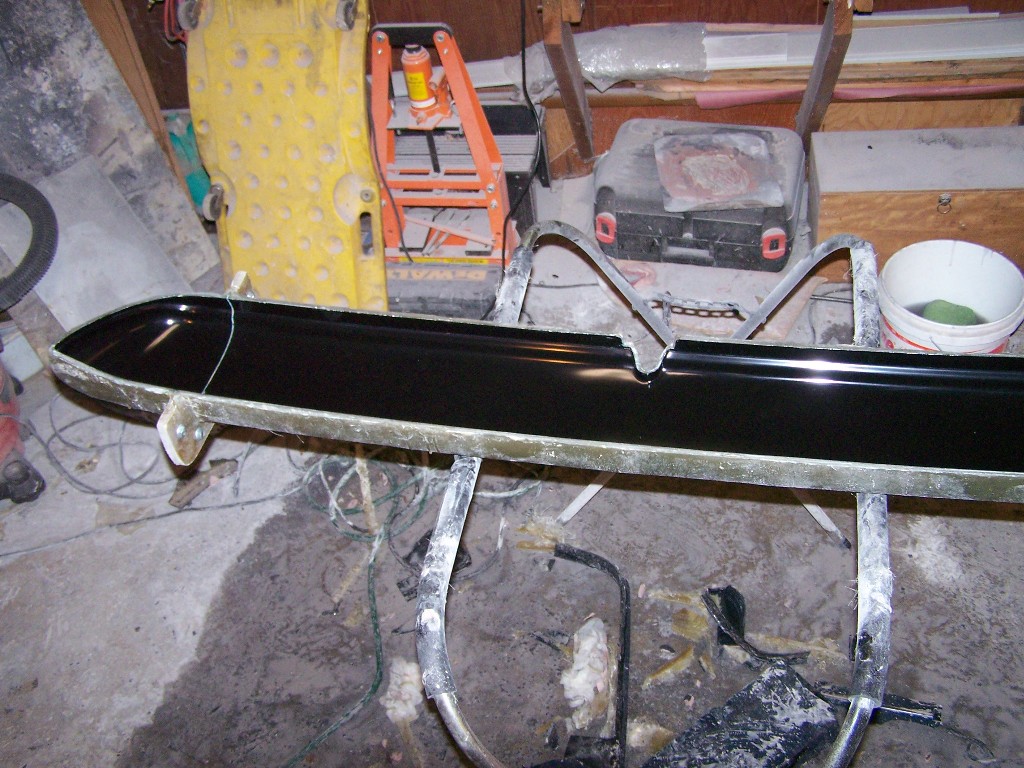
Side scoop is done you can't see it in the pic but I drilled a 3/8 hole in the bottom to let out water. Should have the bumper mold done this weekend and hopefully a part.
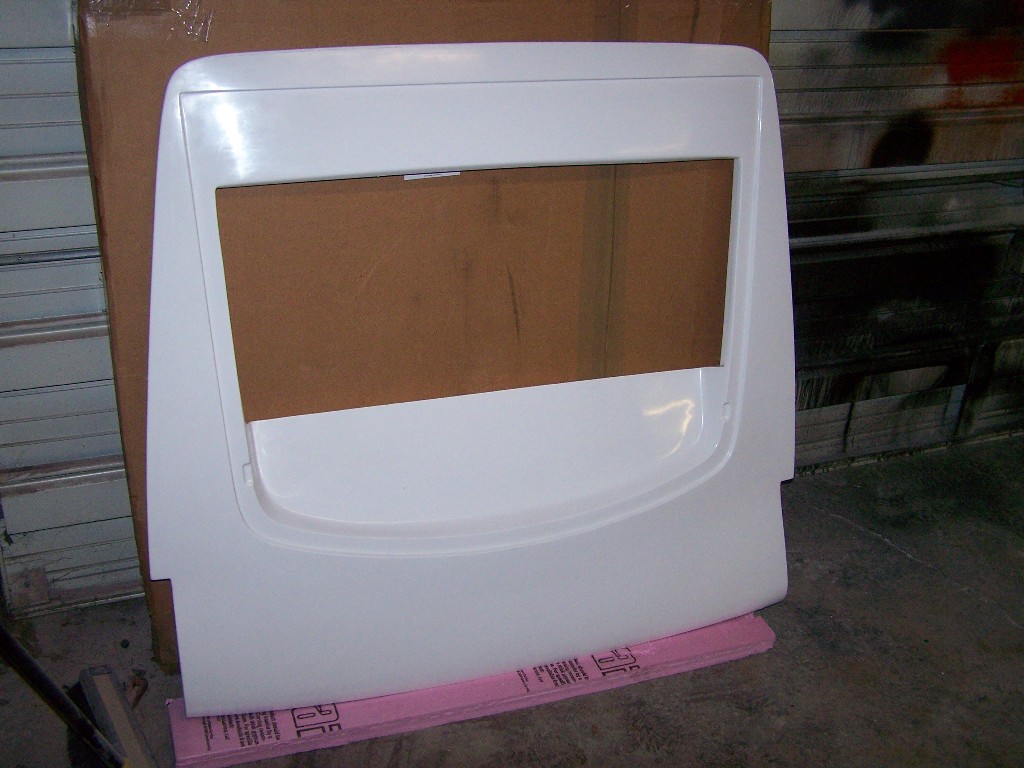
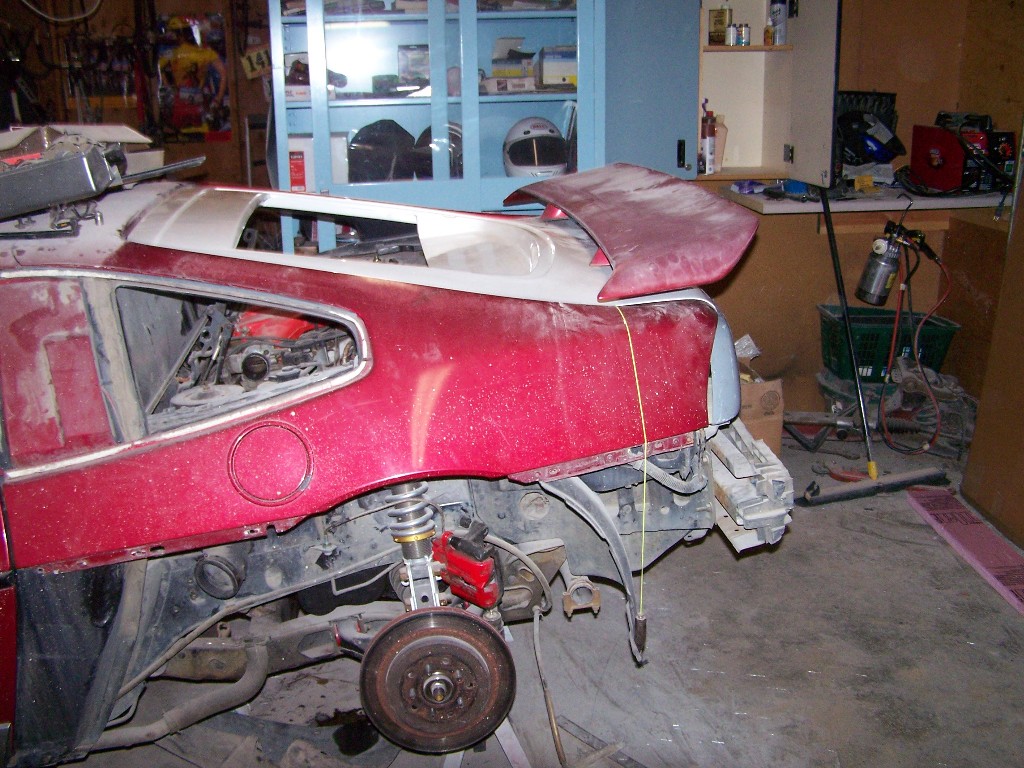
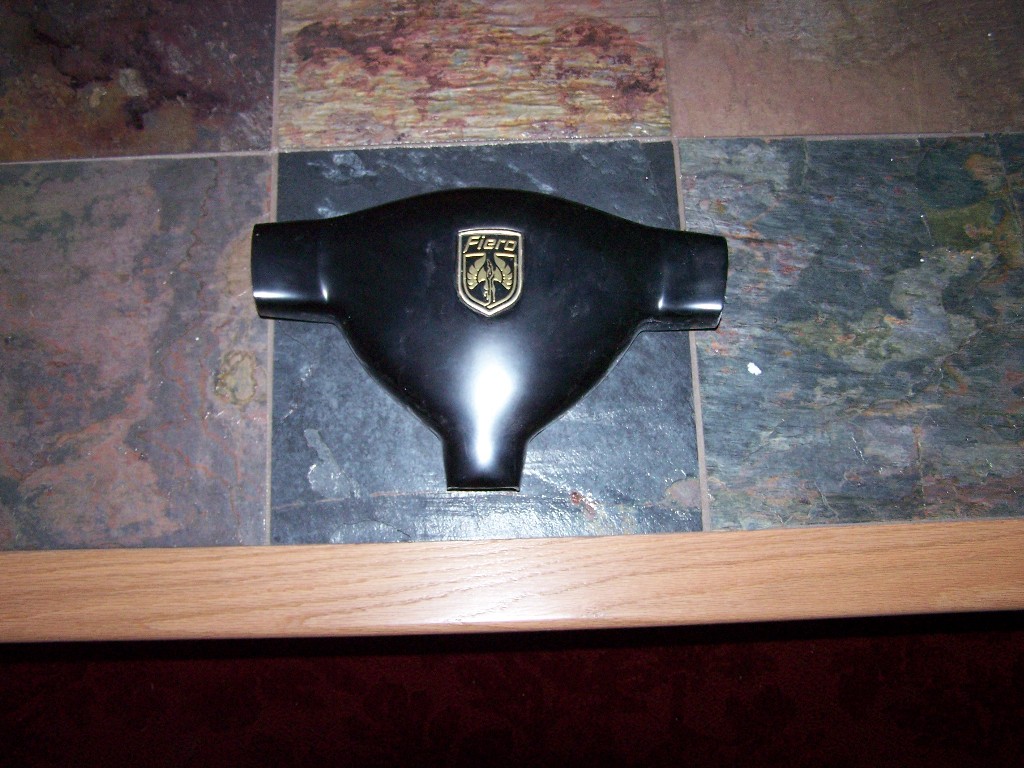
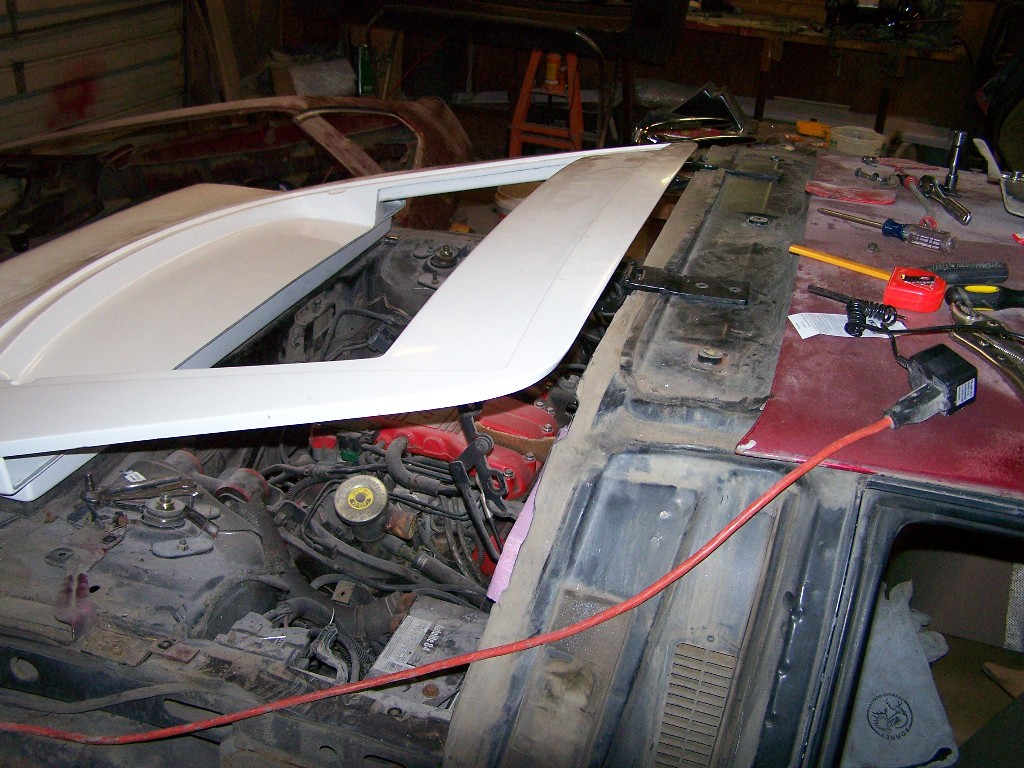
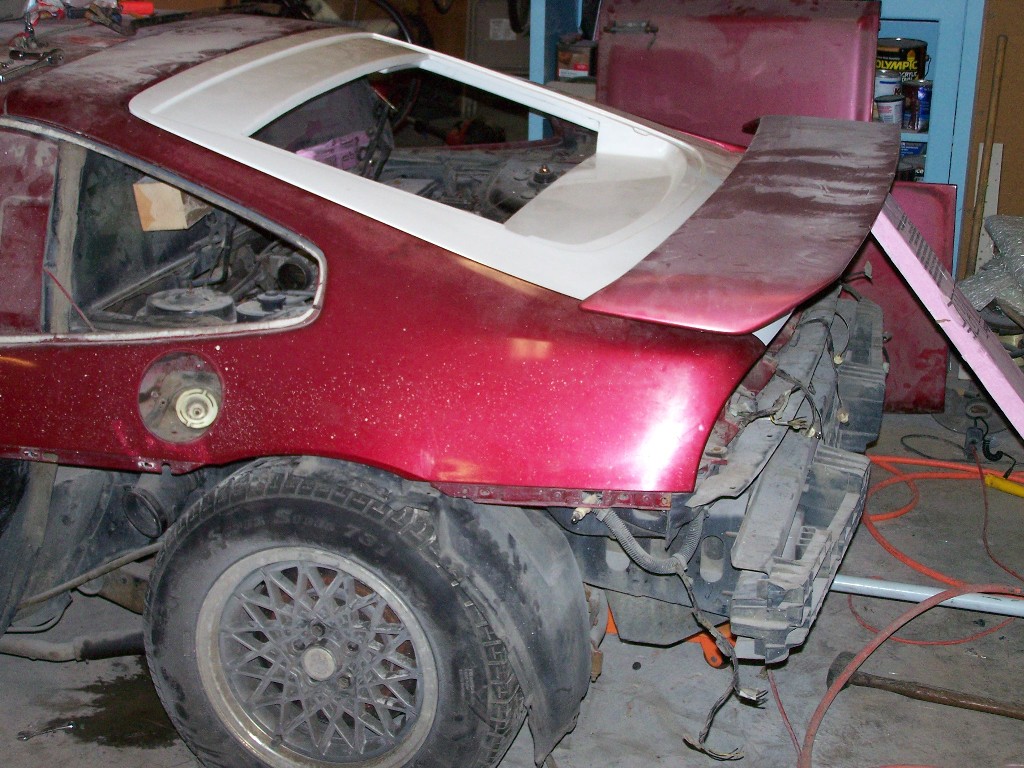
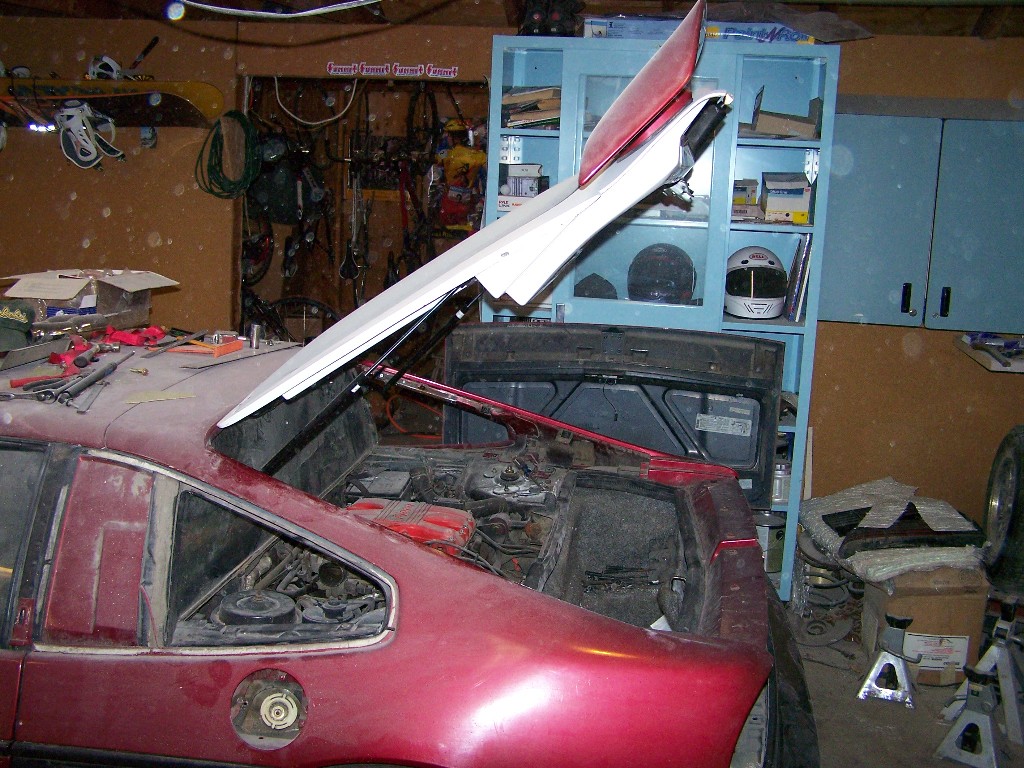
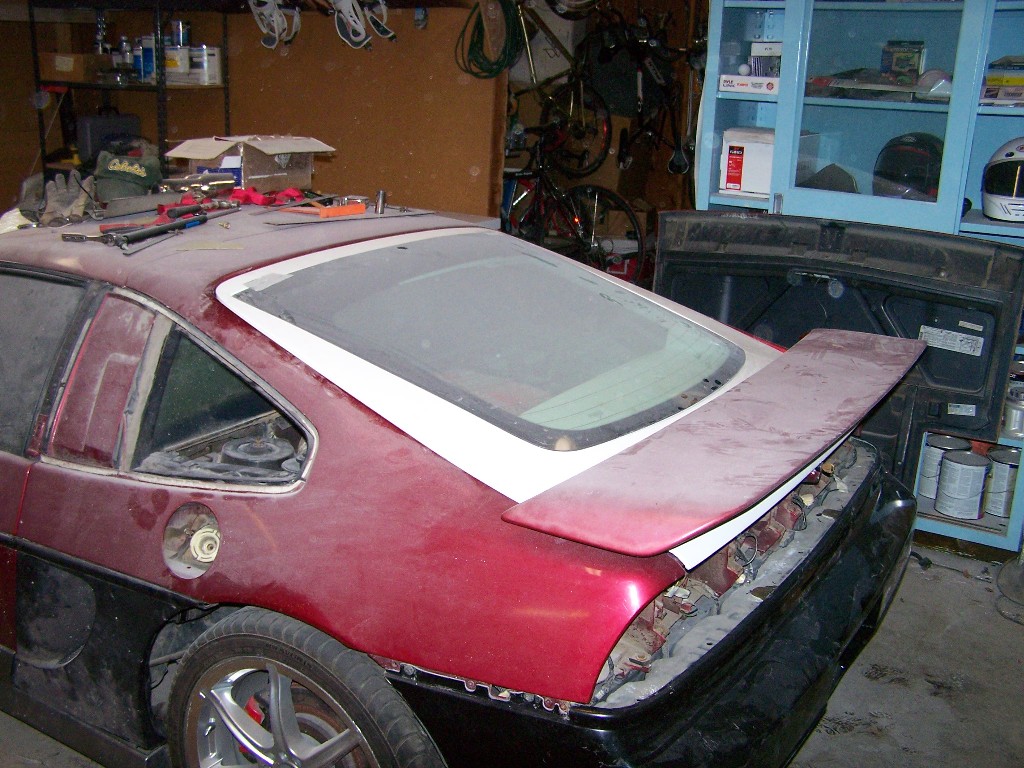
WOW time flies when you work to much. I have not had a lot of time lately to work on the car but I have been collecting parts and helping a bit with Dogcreeks LS4 build. I did pick up Archies hatch the fit and finish are very good its a very nice piece. Here it is just mocked up on the car. I picked this up on the forum from Cheeta it has realy nice LED's Here is the bumper mold ready to go. Have not had a chance to lay up the part yet has been way to hot for a 1 person lay up on a part that big soon as we get a cool patch I will get it done. This is the steering wheel cover I made for Dogcreek's LS4 I made a mold so I can make one for myself when I do my LS4 swap.
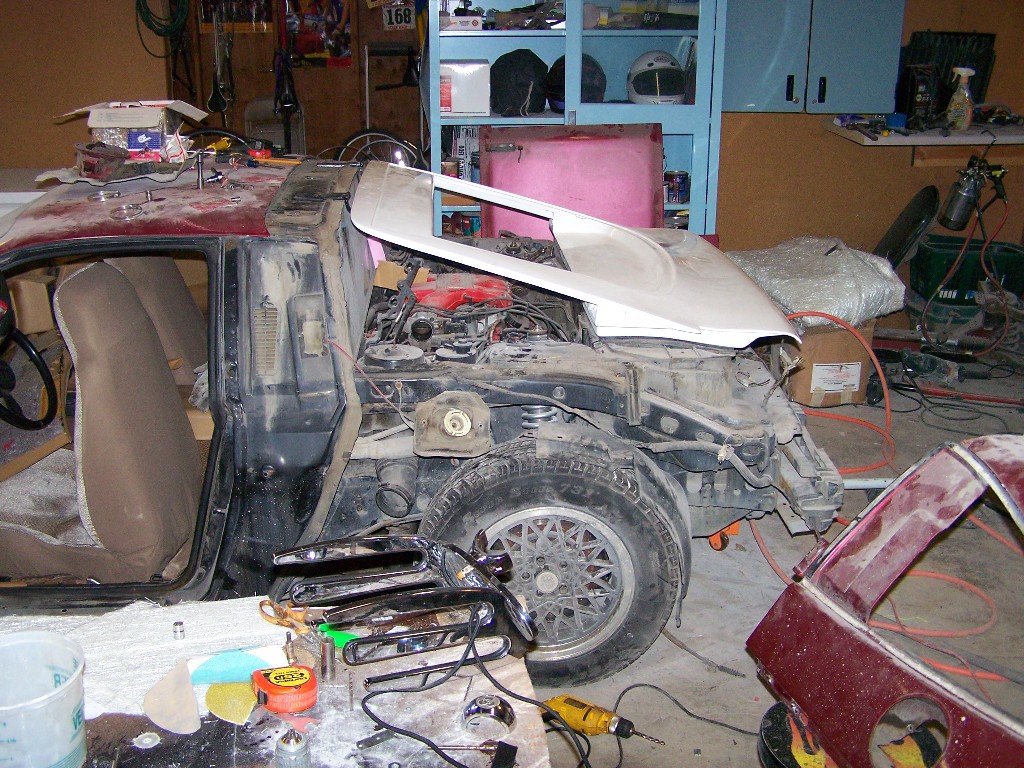
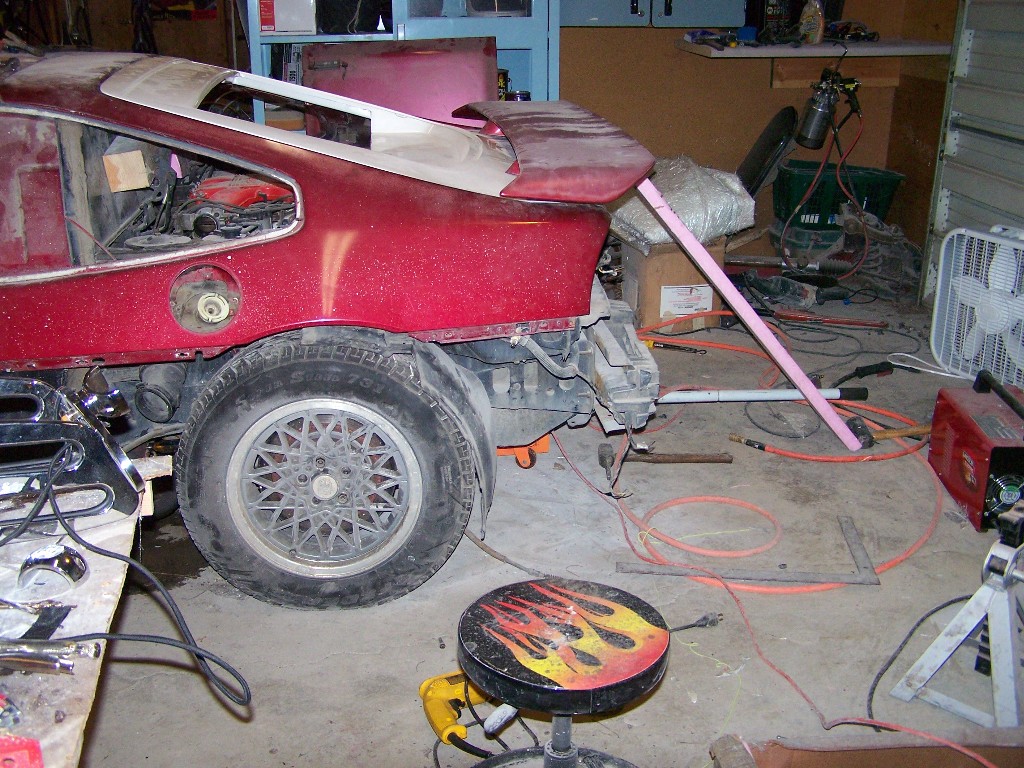
Well I had some time yesterday so I got to work on mounting the Archie hatch here are some pics The install was very staight forward and again it is a very nice piece from Archie you get what you pay for. I don't have to spend hours fixing it or makeing it right like alot of fiberglass parts. It is made very well. I have a little bit more work to do today adjusting the hinges and getting it just right. I also have to modify the wing stands to fit the curve of the hatch. I think the hatch with the factory wing is going to look real sharp. I will also have to cut in the vents on the sides of the hatch I will use the 1/4 " honey comb screen to match the side scoops. If anyone knows were I can get that screen I would love to know I plan on using it thru out the car. Also if anyone has Vent design ideas I would like to see them as I'm undecided so far. I don't want to just copy what they did on Clay's or Curl's needs to be it's own thanks for looking. Justin
That looks really cool Justin... I was having a hard time picturing it in my head but now it looks just like you had described... BTW, thanks for the excellent work on the wheel cover... It looks amazing....
Are you willing to produce your bumper to the public? I really like that look, it's different but it still holds the Fiero look. If so what will the price after it's all said and done. Even the intake box for that particular scoop, will you be producing that for the public too?
Are you willing to produce your bumper to the public? I really like that look, it's different but it still holds the Fiero look. If so what will the price after it's all said and done. Even the intake box for that particular scoop, will you be producing that for the public too?
Not sure on the bumper yet maybe. The intake box I can make easy enough but I would need your scoop to glass it together and fit it.
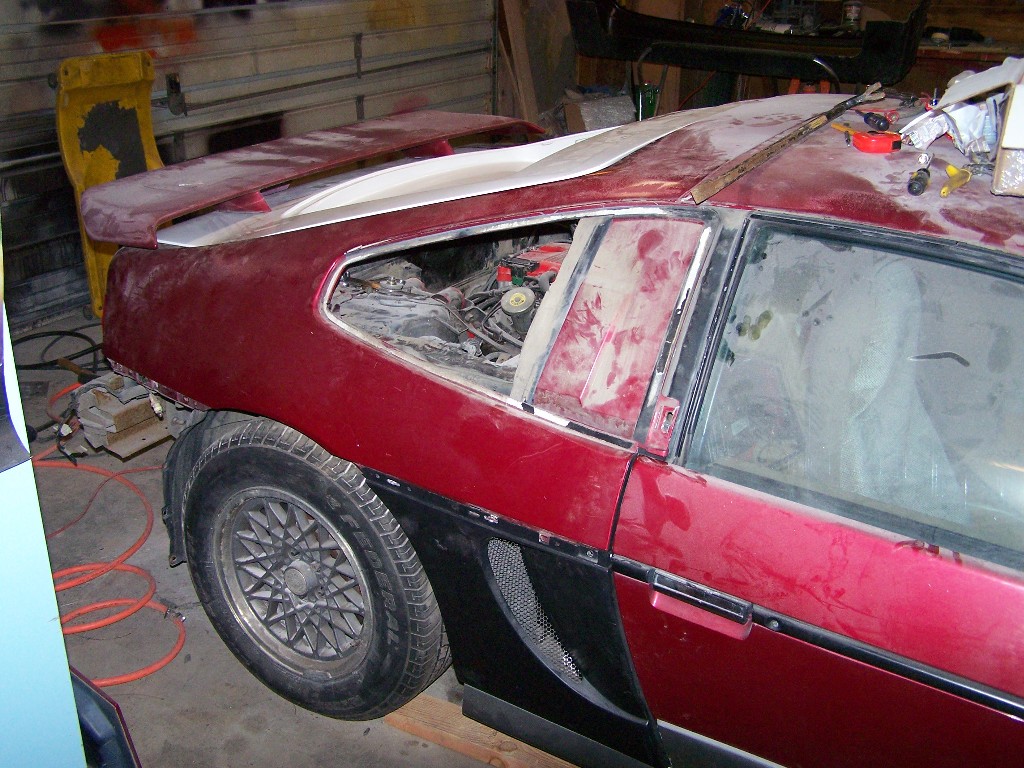
Today I got the hatch fitted near perfect and modified the stock wing stands to fit the hatch. Got it bolted on little tuff drilling holes in a brand new piece but it looks good. Forgot to take a pic will try tomorrow. Now I have to work out the gas struts to lift it and buy the glass
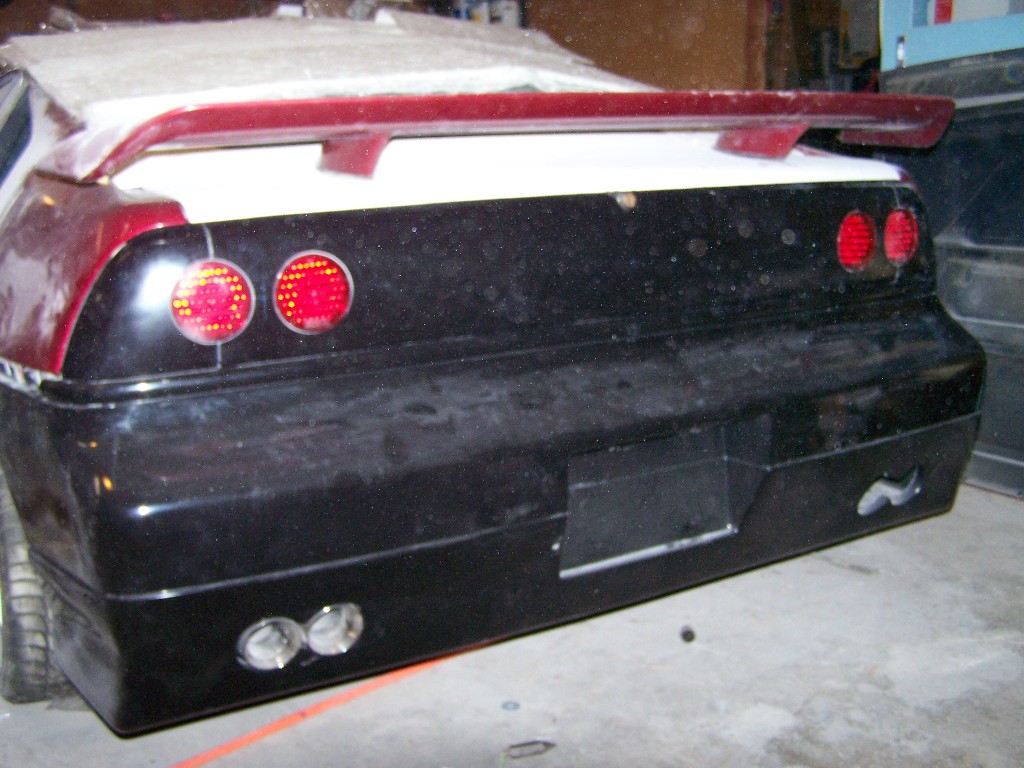
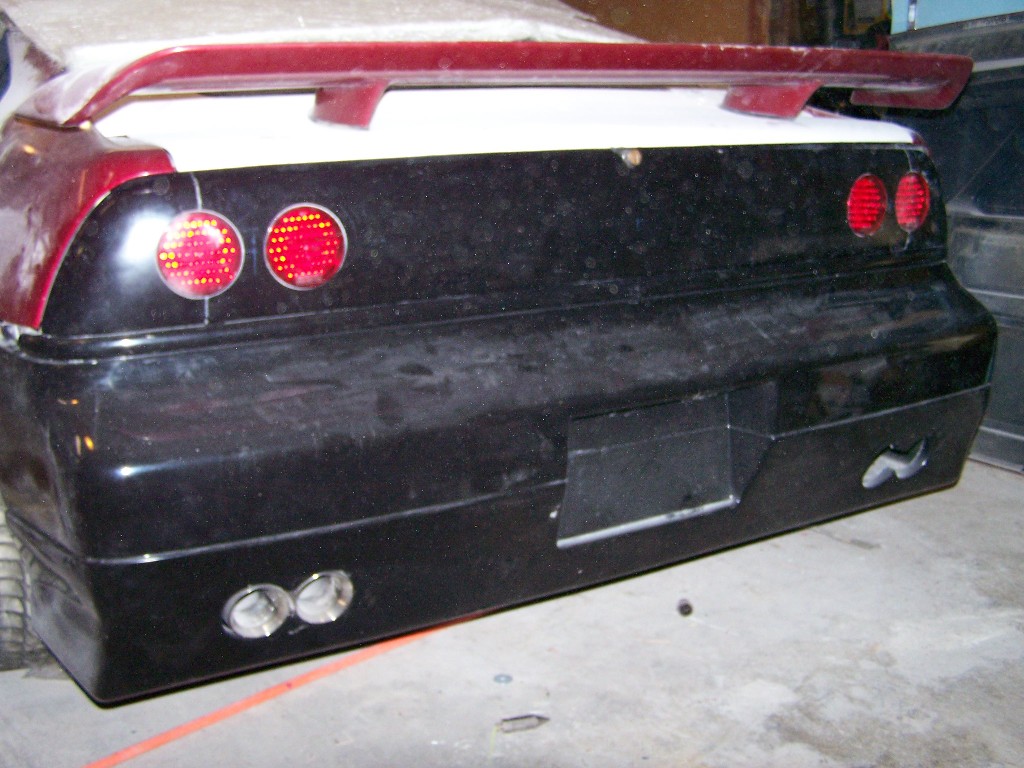
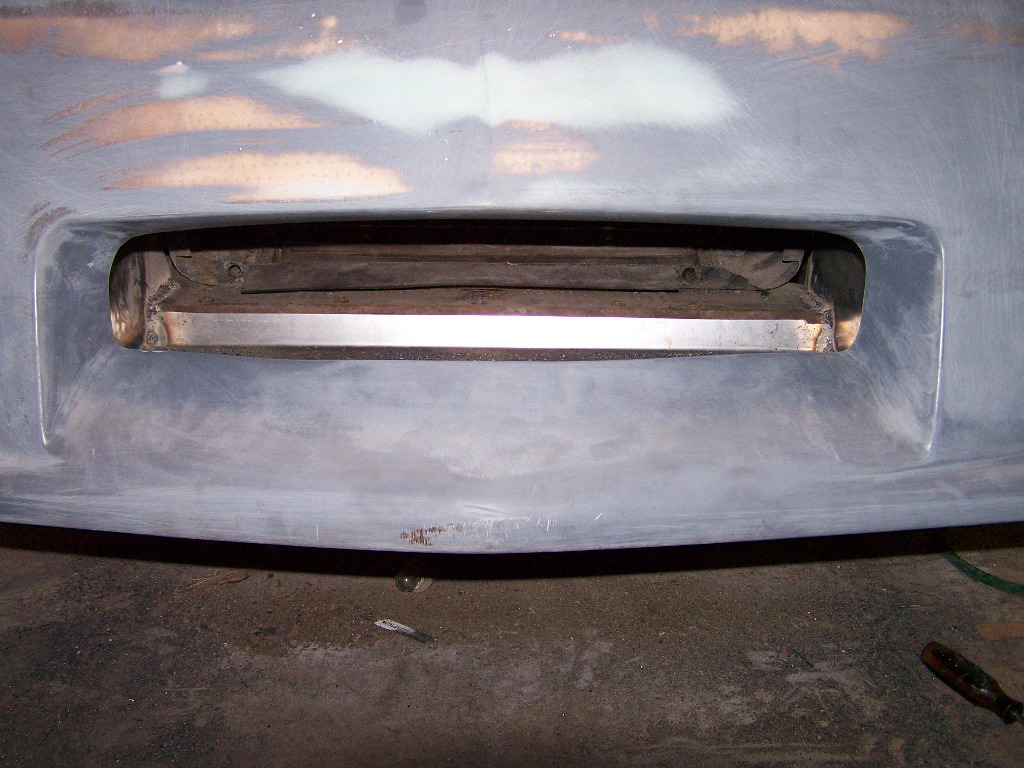
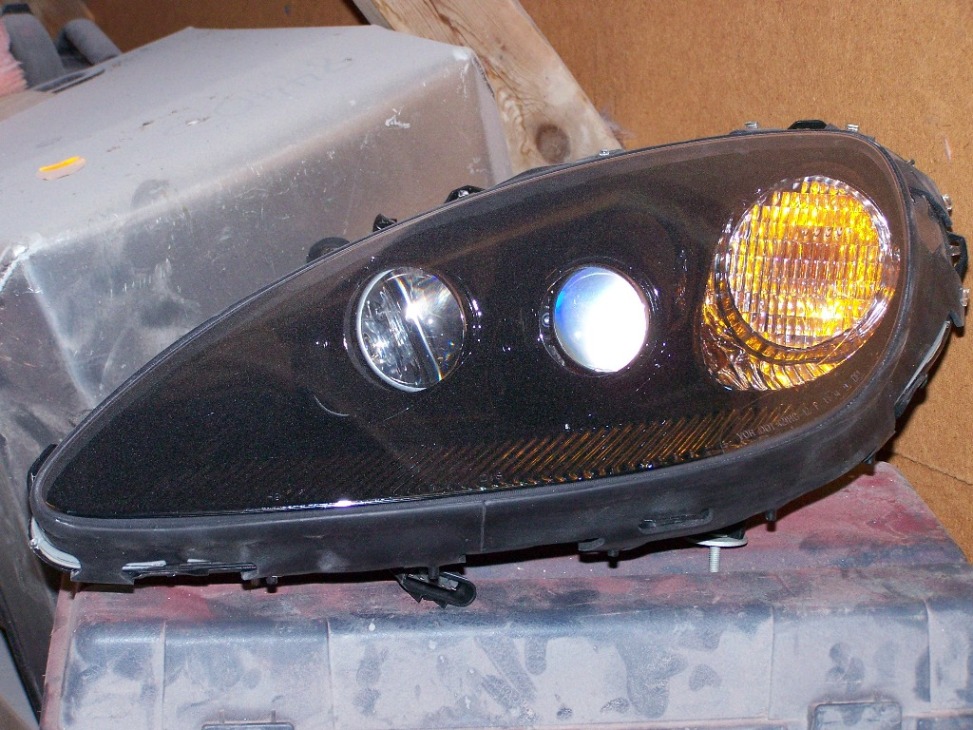
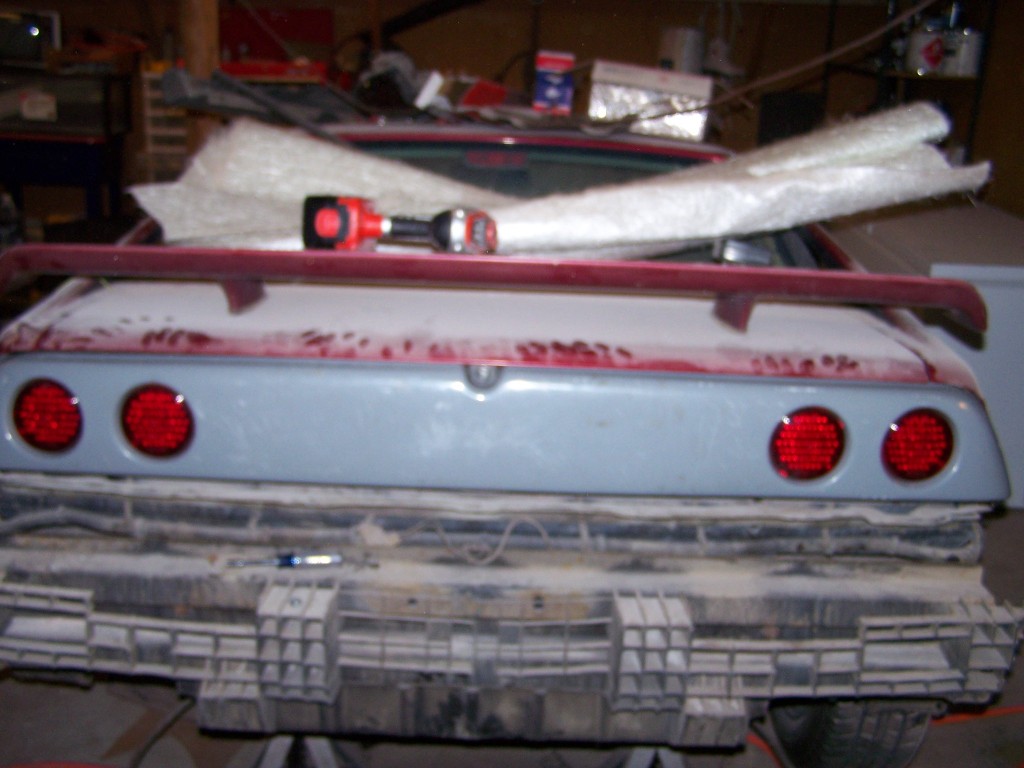
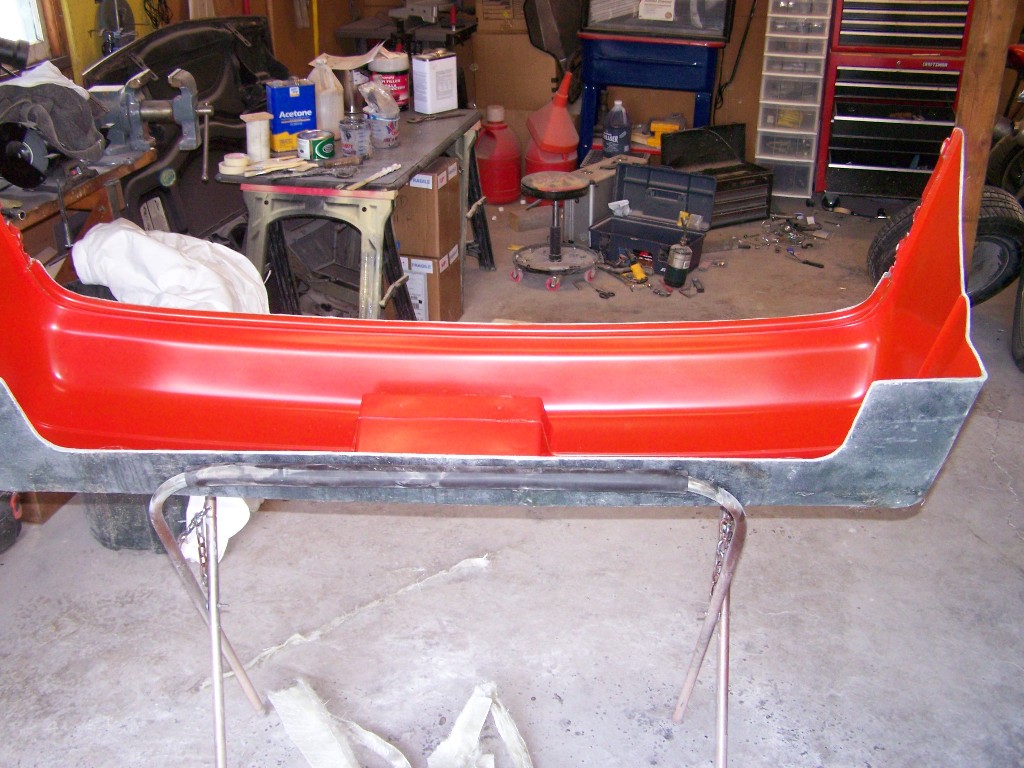
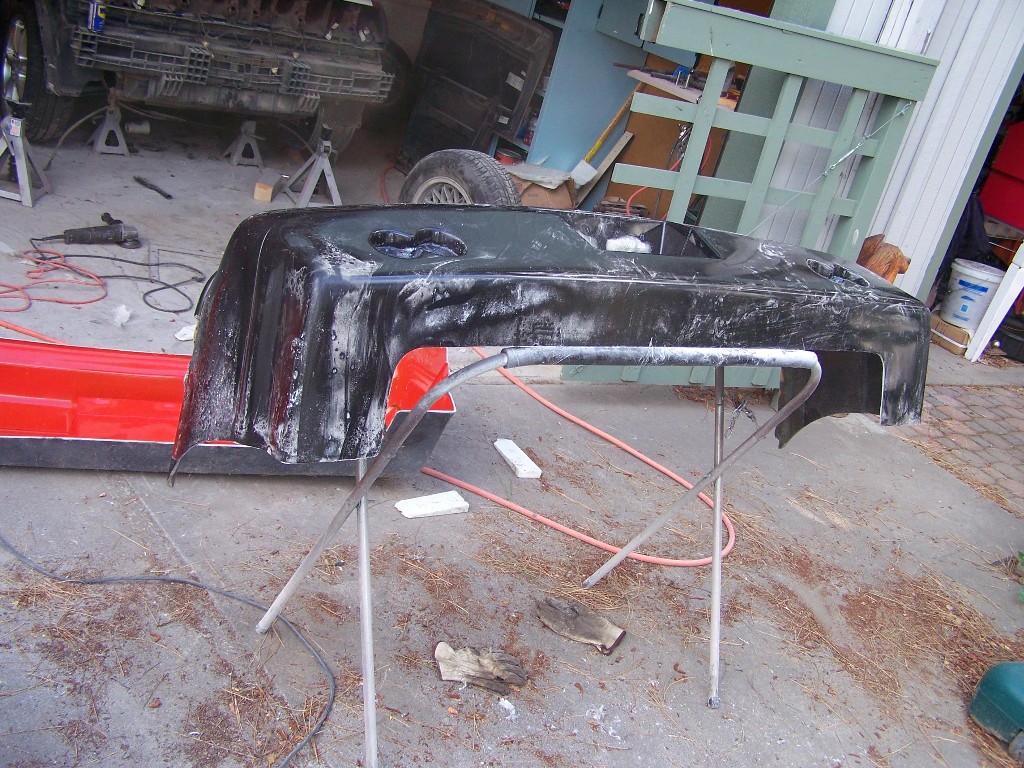
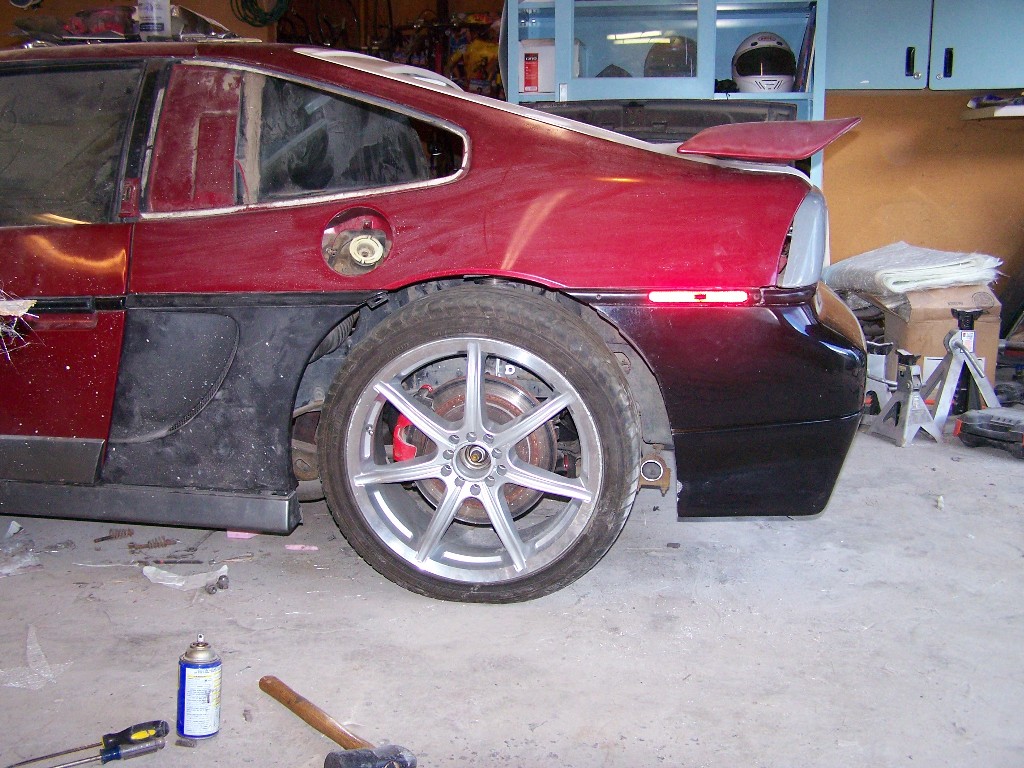
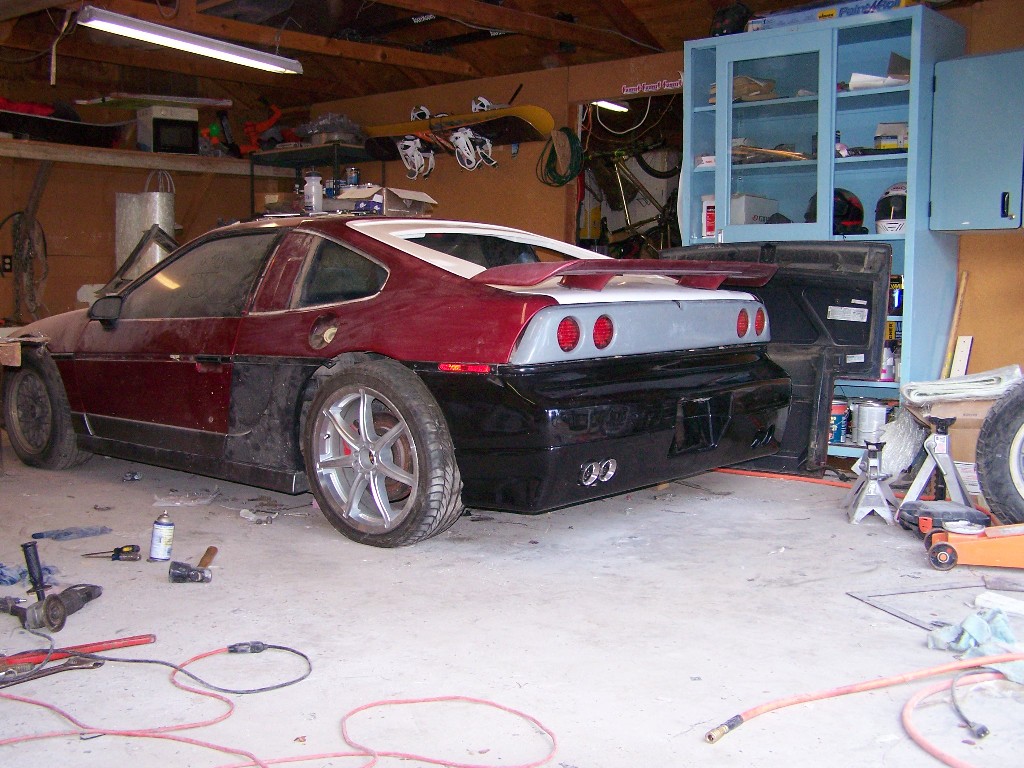
Okay finally got the bumper layed up and out of the mold Here are some pics mocked up on the car. Sadly I will have to do some glass work to the tail light panel the fit is poor but it can be corrected. I also picked up some temp 18" wheels of craig's list super cheep they will work till I find the "IT" wheels I just don't quite know what the "IT" wheels look like I will know it when I see them. I called Norm and the c6 flipper is being made hope to have it in a month so if anybody has a line on some c6 headlights drop me a line. thanks for looking.
Well Fieroking came by today and after about an hour of cutting prying twisting on my tail light panel we came to the conclusion that I need to make my own so here we go with another mold. The fit of this tail light panel was really crap and there was no real way to make it right. At least it came with really nice LED lights and I will cut parts of it out and use in the new mold which will keep the shape of the original taillights much better. The fit and finish of my JimmyS side scoops and Archie hatch are great they are both nice pieces. This tail light panel not so much oh well
Justin, thanks for hanging out with us yesterday. How did the seat time feel? I understand when you declined to drive my 3.1. What with all the power available ahead of mine!
Really nice to meet your wife at dinner last night. Too bad that we did not stick around for very long. I can easlily blame it on Amy being 8 months pregnant, but in all reality, I was just dog tired.
The pics of the glass in Archie's hatch look fantastic. It is nice to hear such positive feedback about the hatch. Some folks actually do great work. Now, get back to work on her!
This weekend was fun I won't pass up the chance to drive you car again but I have to say it makes me a little nervous driving someone elses pride and joy. I will have picks of the new tail light panel progress and the hatch this week. With a little luck might get some picks of the new front end from Norm hope it gets done soon so I can get it shipped out here.
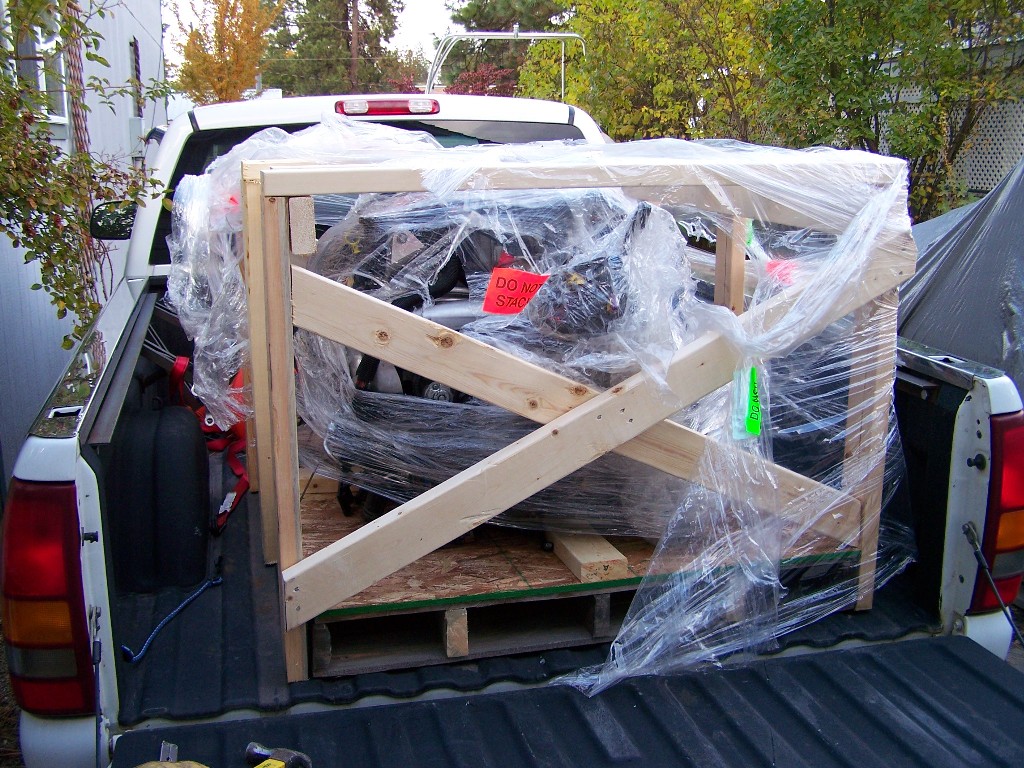
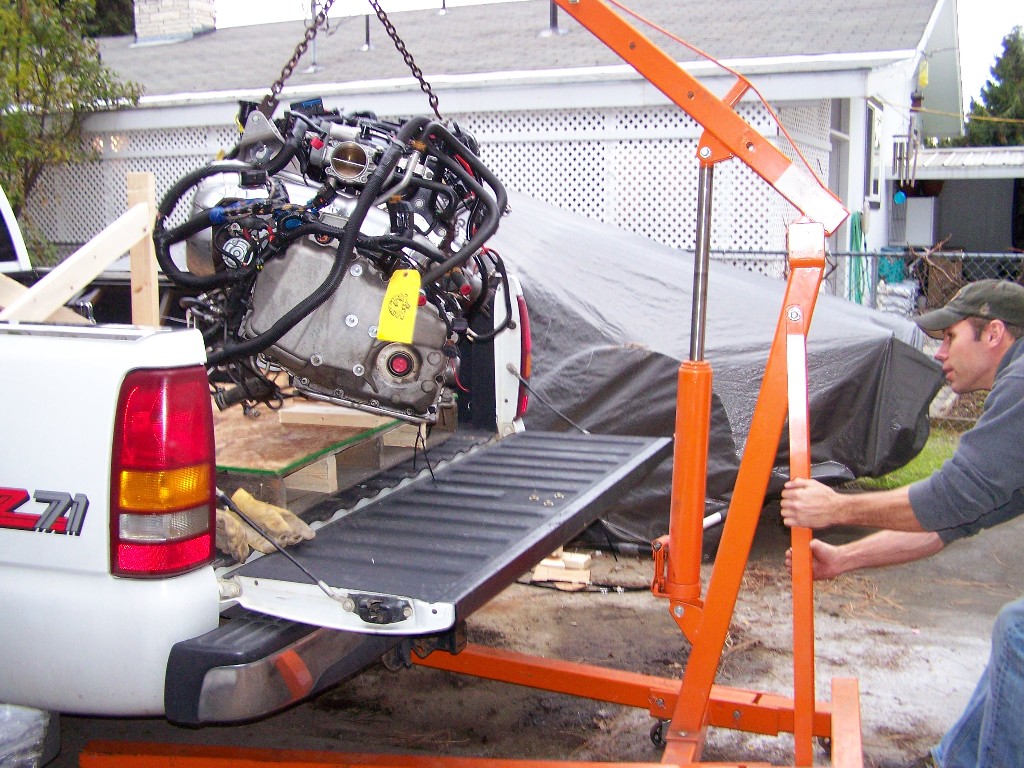
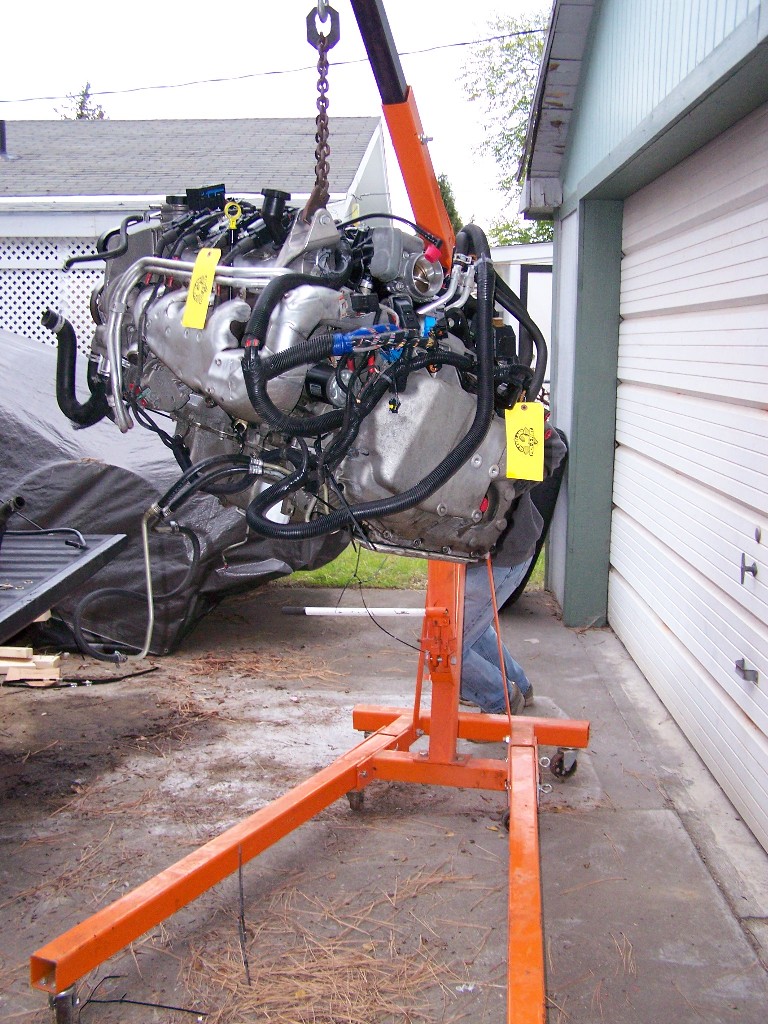
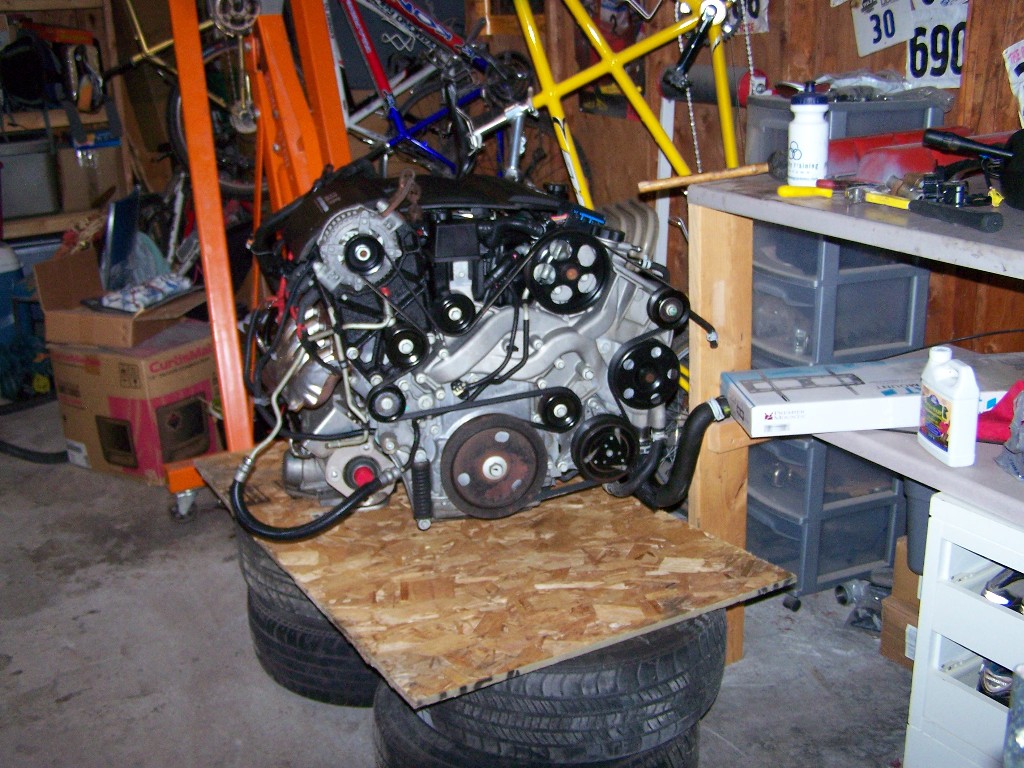
Well I'm broke for awhile now I ordered a front end from Norm 4 weeks ago can't wait to get it. Then yesterday I had the good fortune to purchase an LS4 and tranny out of a GXP with all the trimings including the steering column and wheel throttle pedal. It was a good deal a little sooner then I was planning but oh well. I'm going to half to step up the pace now all the big purchases are done. Hope to be done by summer
Woo Hoo!!! There you go!!! the fun has really started now! Glad to catch up during the ride around the lake... Love the rear hatch ... look just as you described..
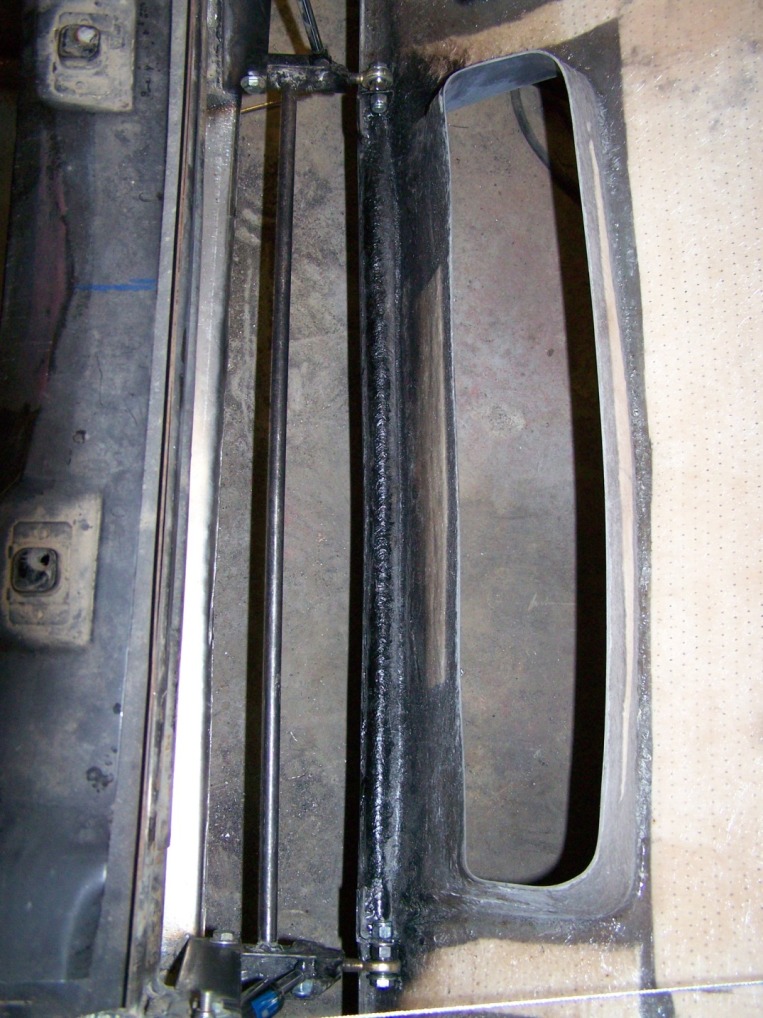
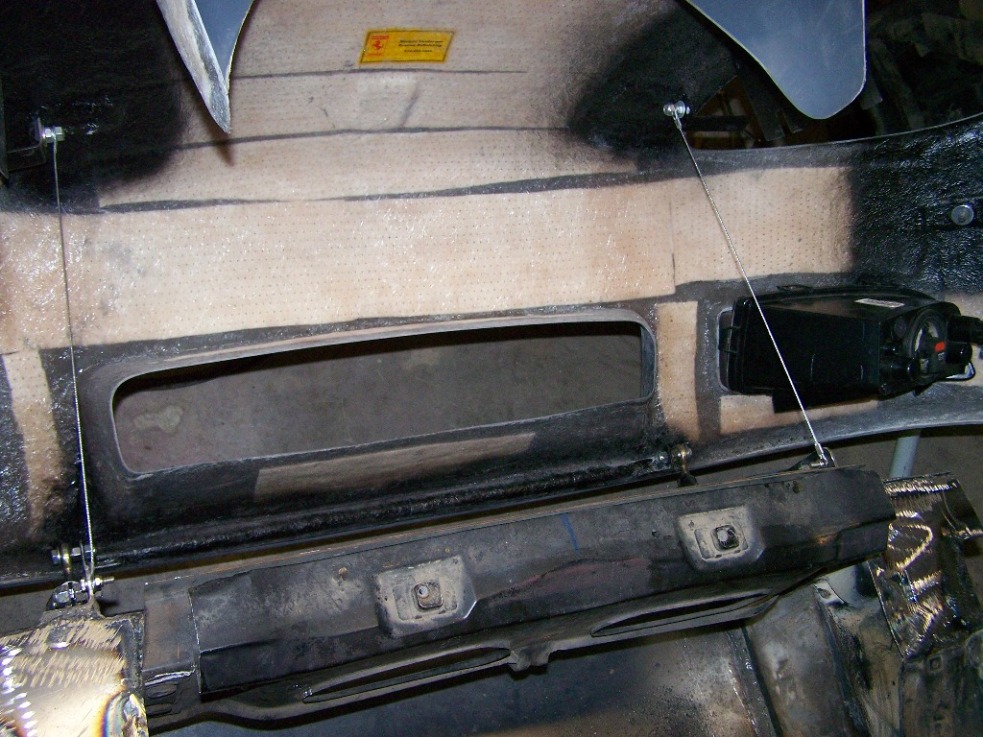
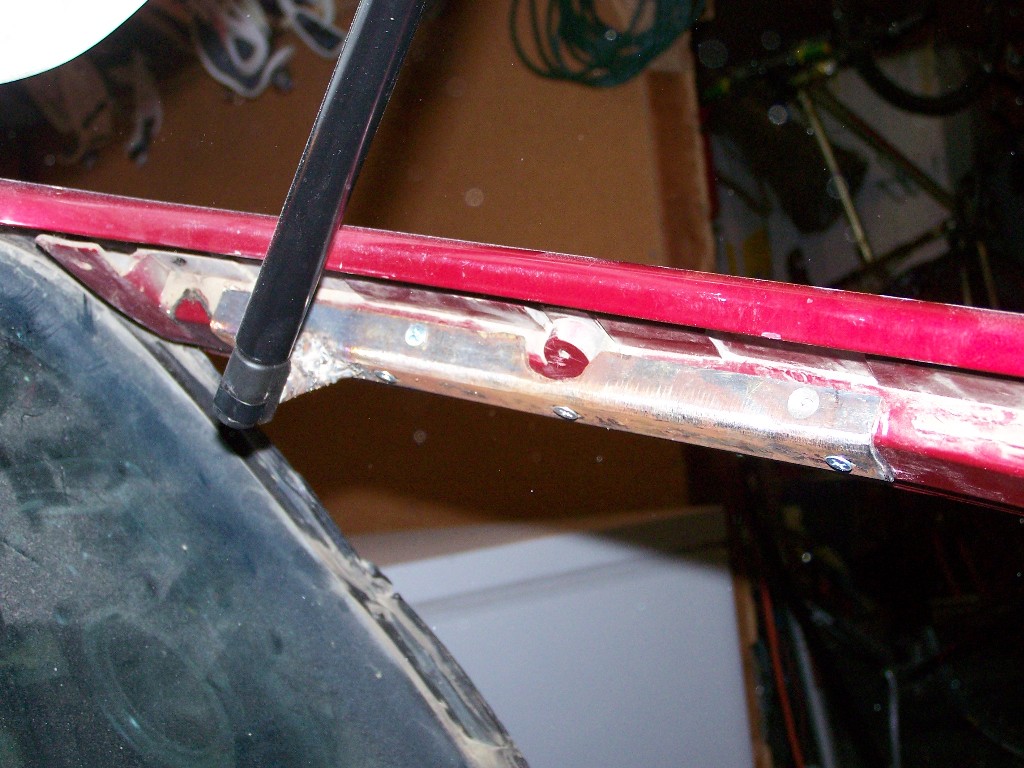
Well it took me awhile to come up with a strut placement for the hatch but I think I figured it out here it is. open with the struts holding up I made this bracket for both sides and attached it with several counter sunk screws to spread the load out cover goes back on and all you see is the mount post sticking out clean I forgot to take pics of how the strut mounts to the hatch but it is real easy there is a inner frame work that goes from the hinge to the trunk I drilled a hole thru it and it had steel in it for support nice suprise Quality hats off to Archie and crew then I made a bushing the width of this frame work out of 1/2" tubing and ran my stud for the strut thru that. Thanks for looking
Here are pics of progress not quite as far along as I had hoped but should be able to lay up the first part after work tomorrow. Heres the mold it's a 3 piece that's what took a little longer but will be worth it Here is a sample of how I'm doing my taillights
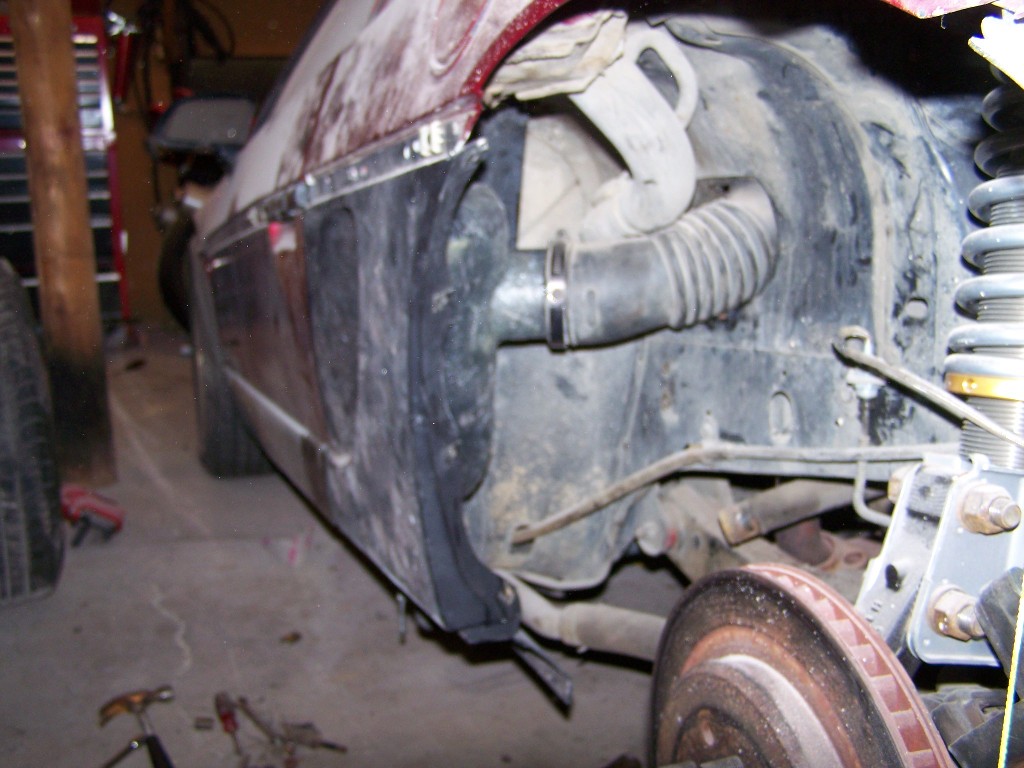
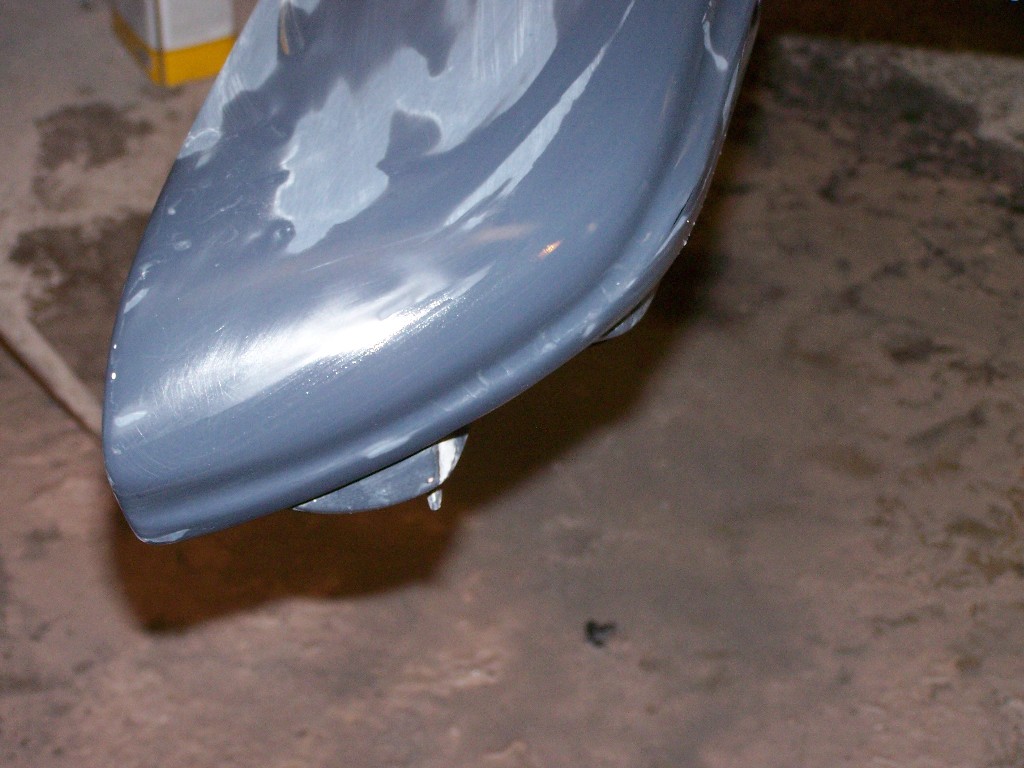
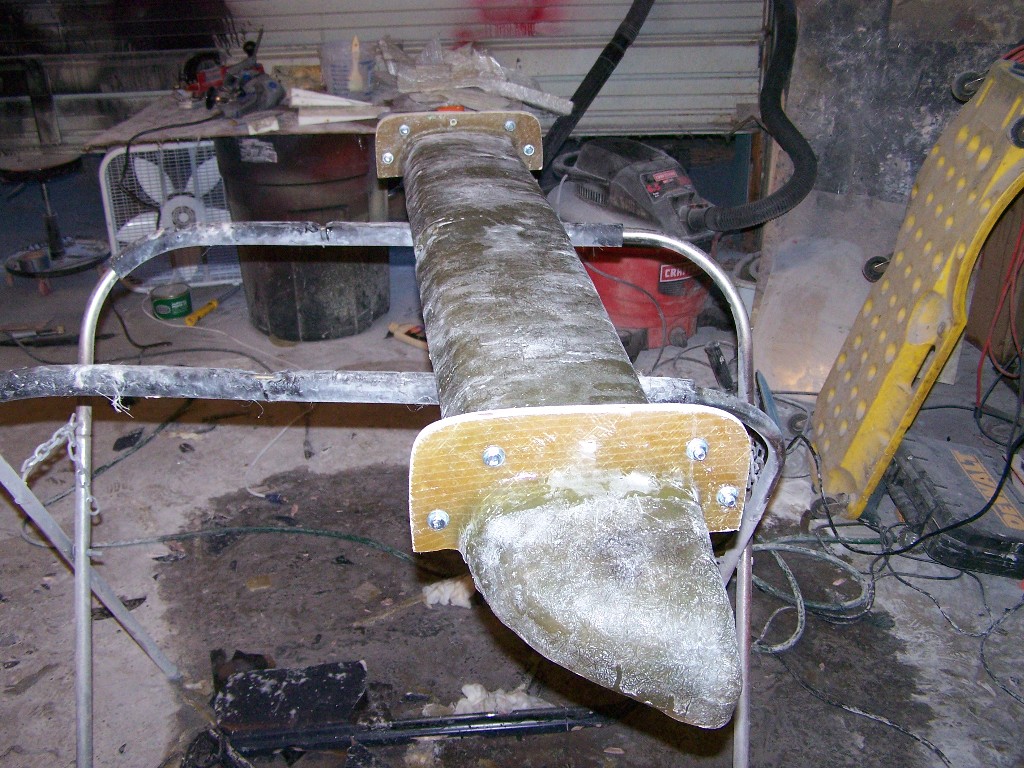
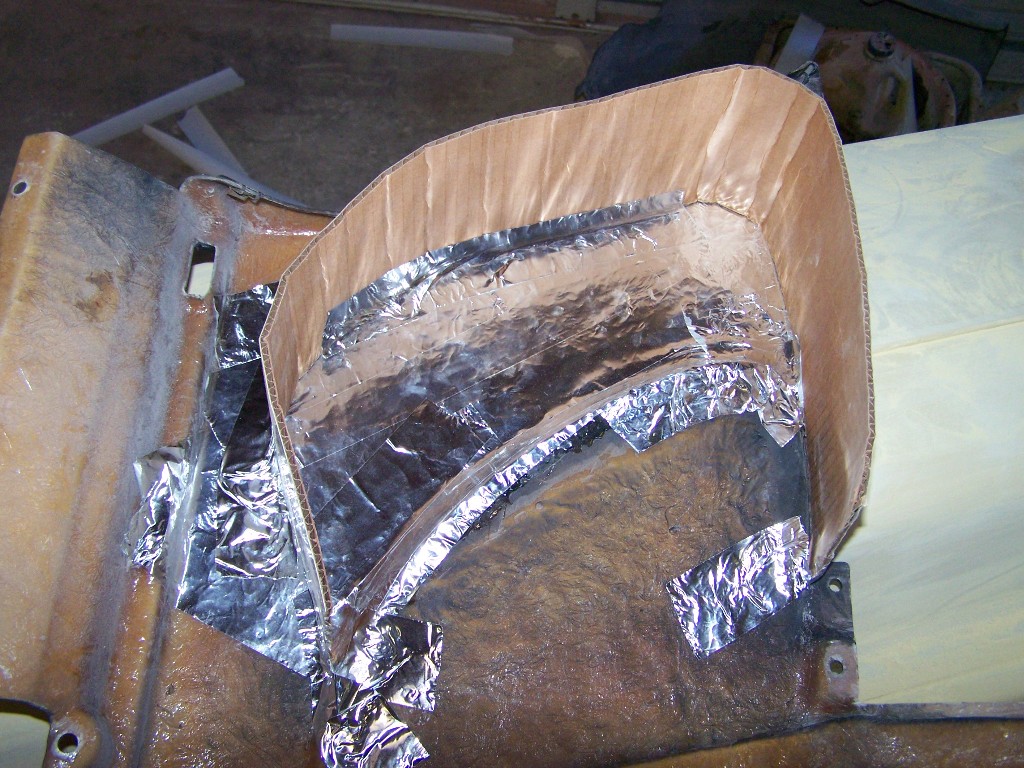
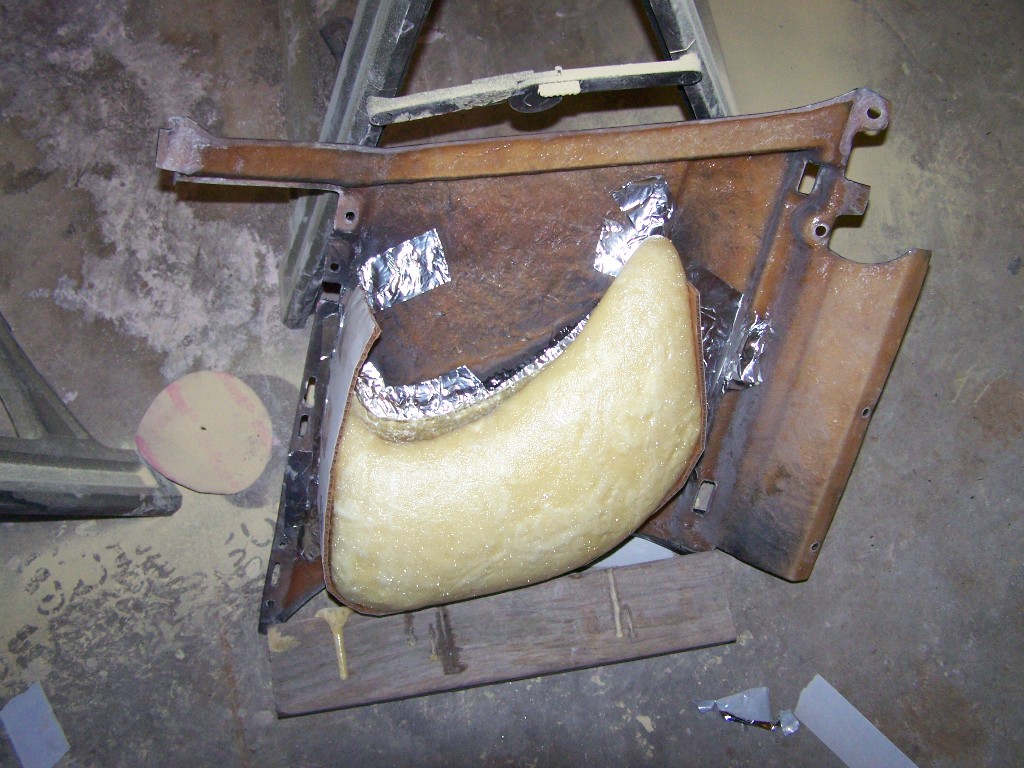
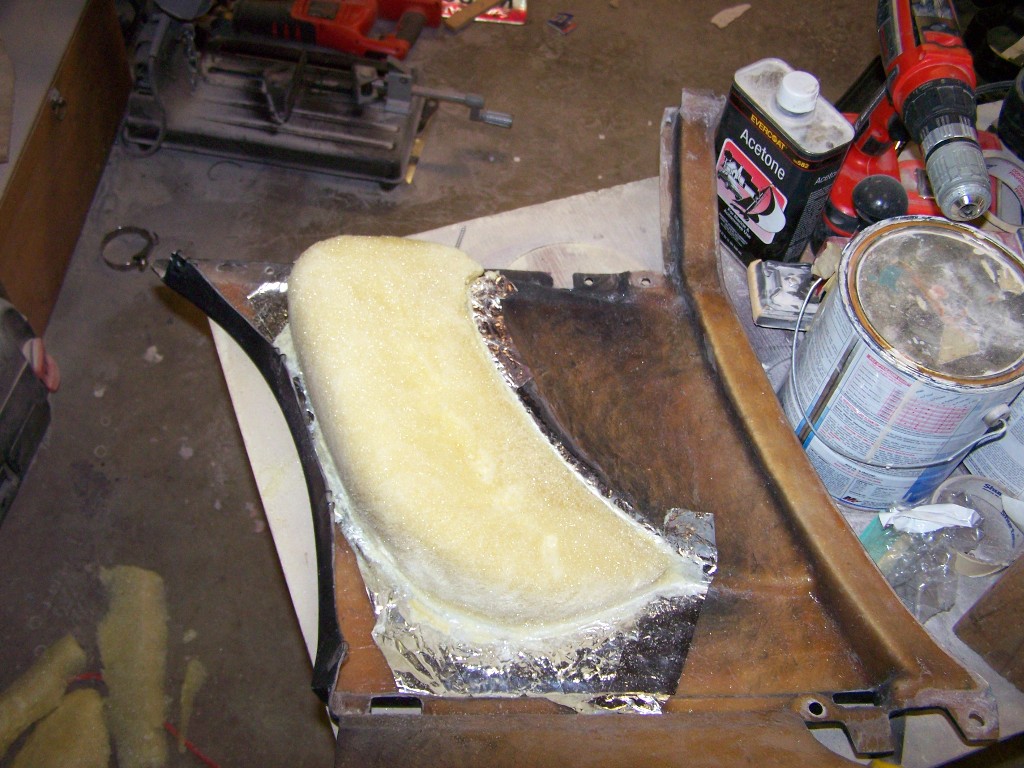
Not much progress lately wating on some supplies to arrive mainly duratec and resin. I did take 1 of the side scoops off and make a plug so I can make it more functional to the air cleaner. first I made a form out of cardboard and foil tape Then poured in some AB foam love that stuff watch it grow then carved it down and shaped it Then foil taped over it when I get my resin I will wax the foil make the part and fiberglass it to Jimmy's scoop creating an air box that will have a 3 inch pipe coming out going to the air cleaner and a small hole in the bottom to let water out
great original thinking. added to favorites.
------------------ Steve Aka. "SmoothGT" (r.i.p.) " SmoothGT-'w8c' "..... rough est. date 04/02/2011.....
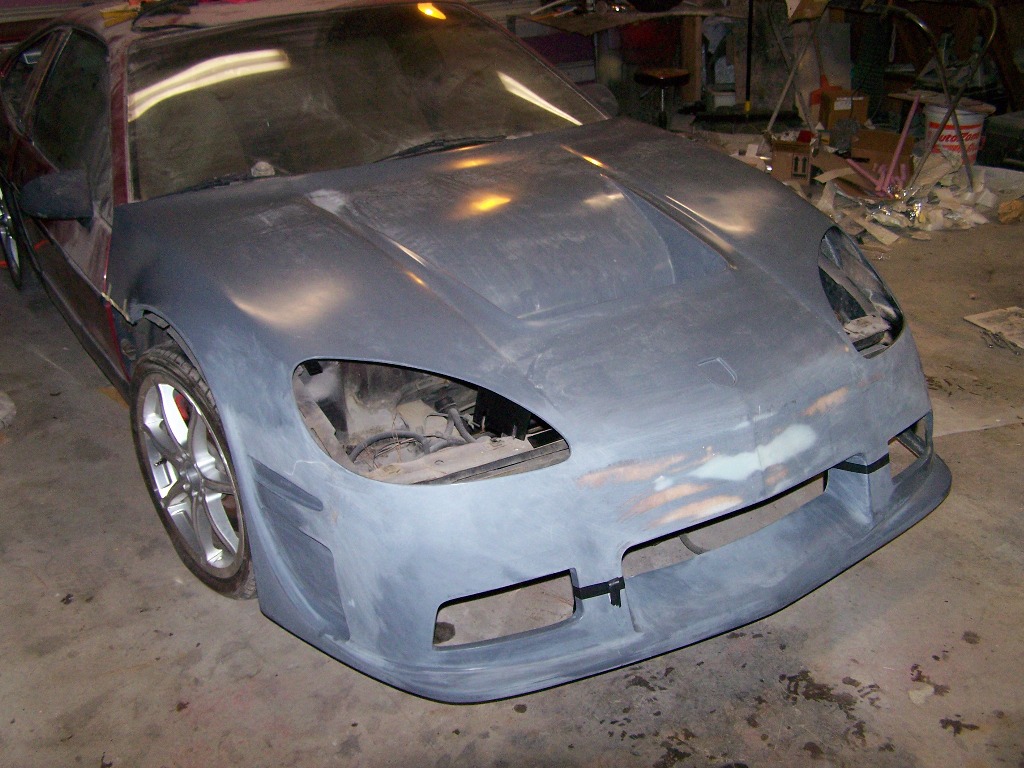
Well I have wanted one of these for 2 plus years and I finally got it Friday. It's just kind of mocked up setting on the frontend. Norm's sending me pics and instuctions so I can hopefully get it mounted while I have some time off at Christmas. Norm does nice work. Merry Christmas to me and everyone else Hope the holidays find you healthy and happy
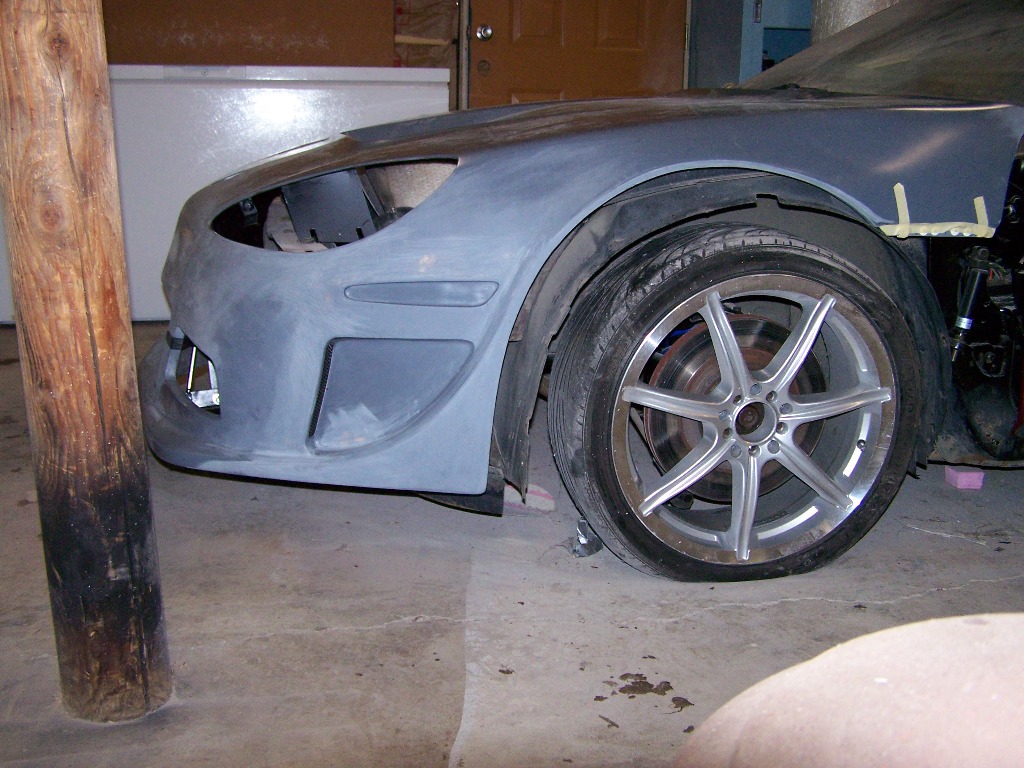
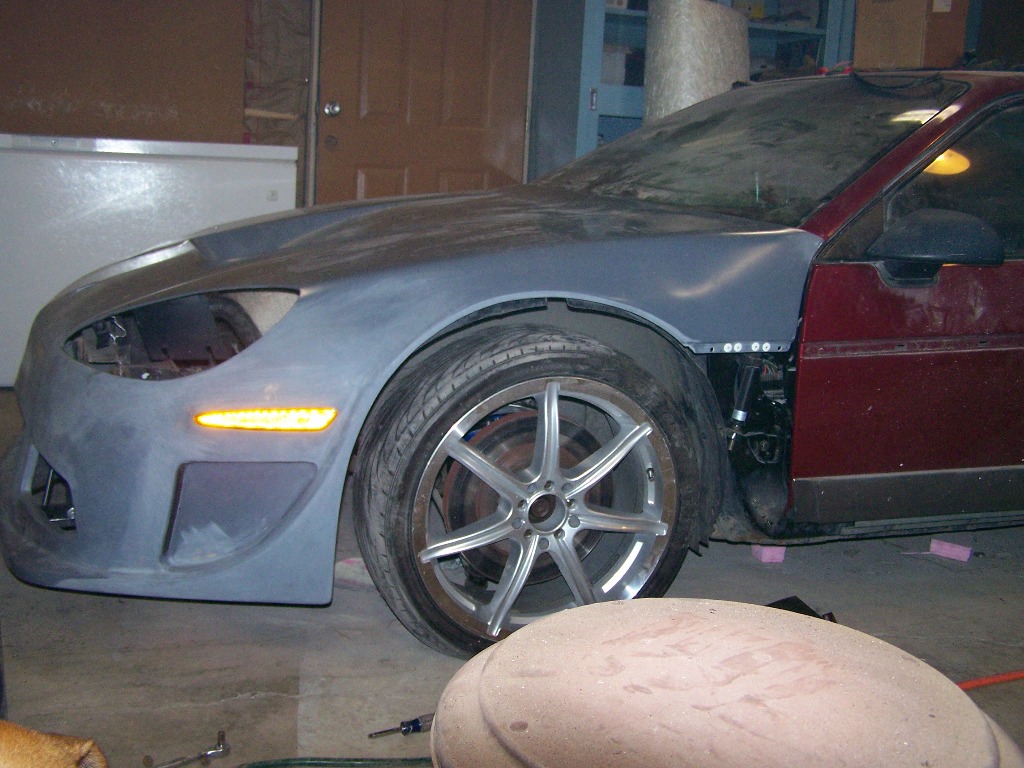
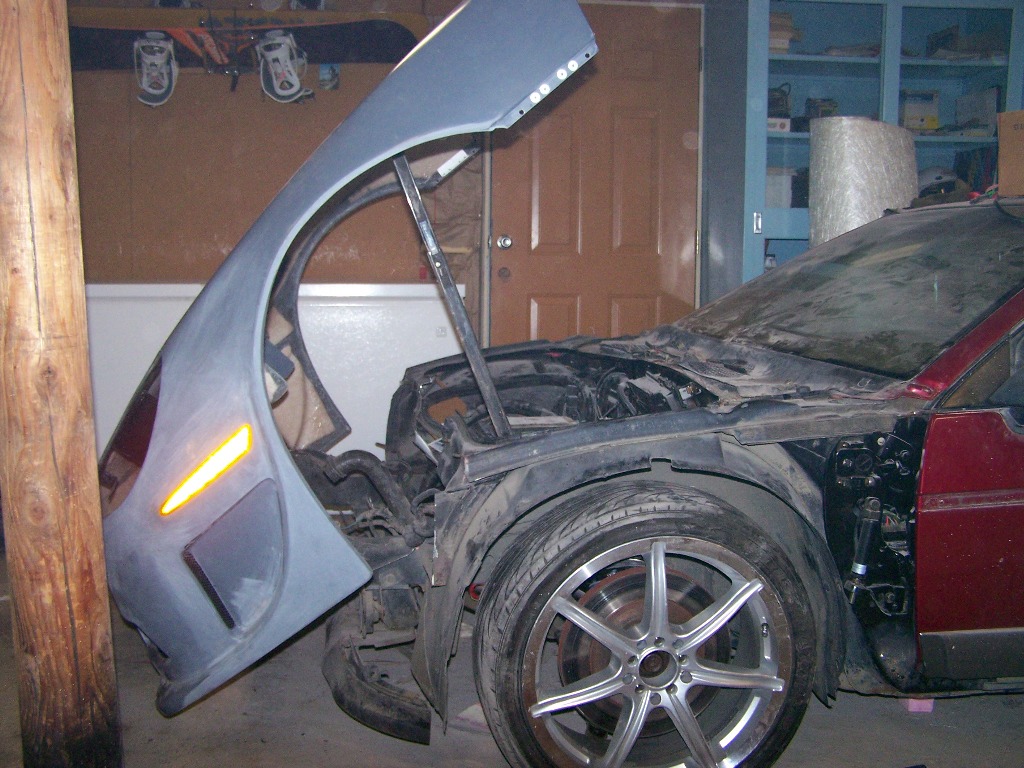
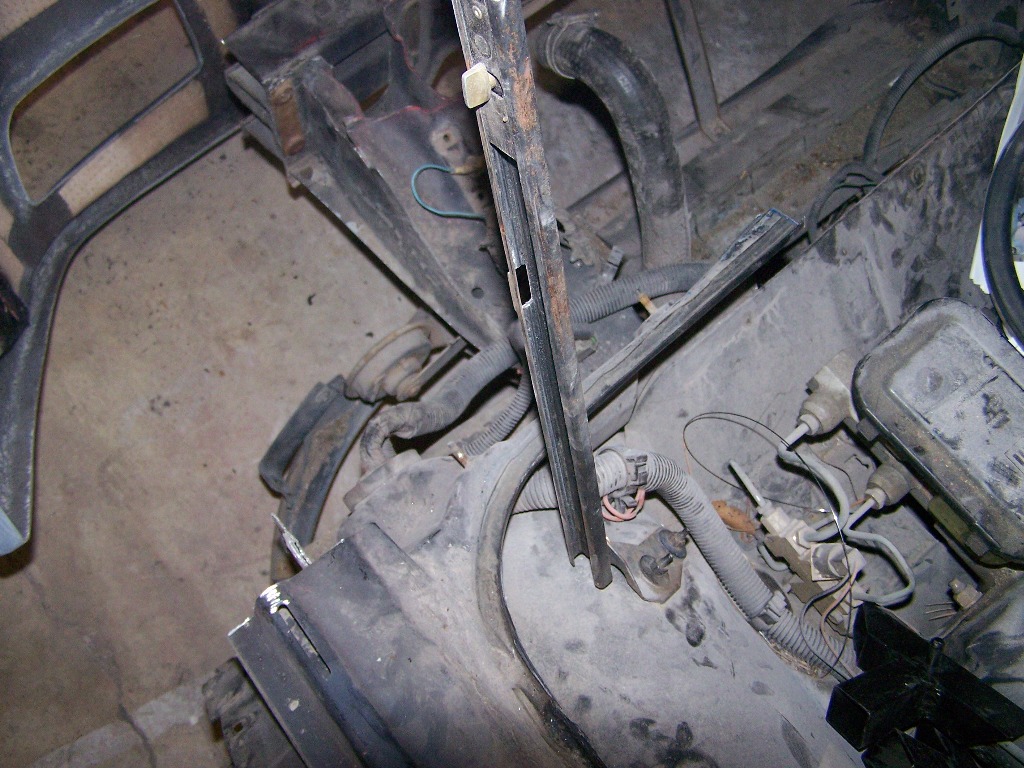
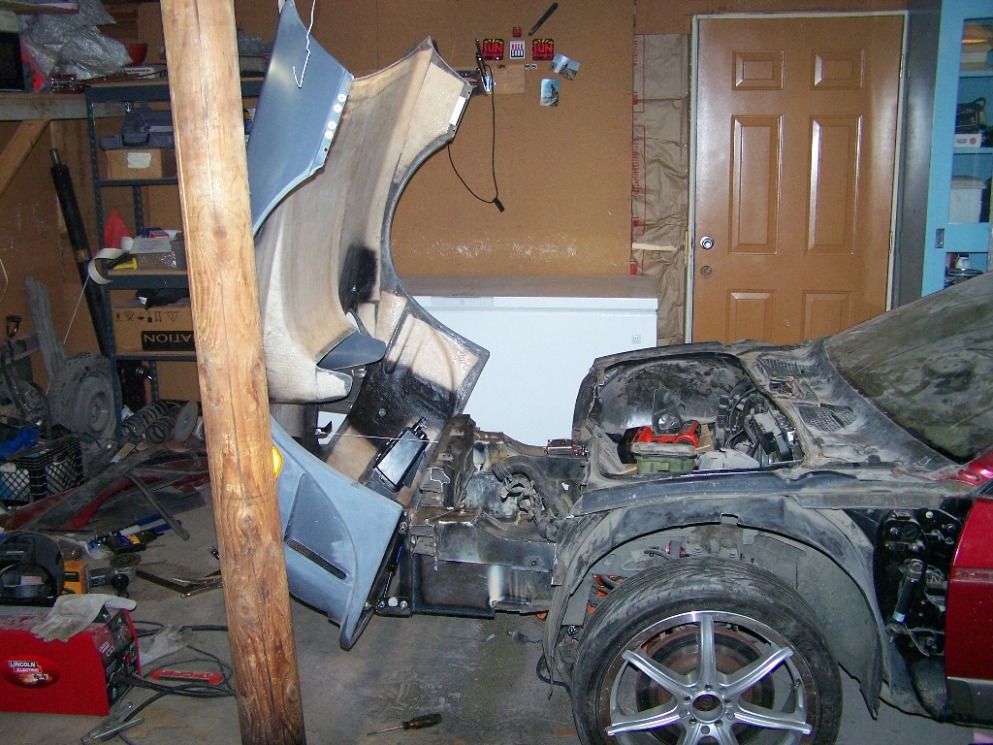
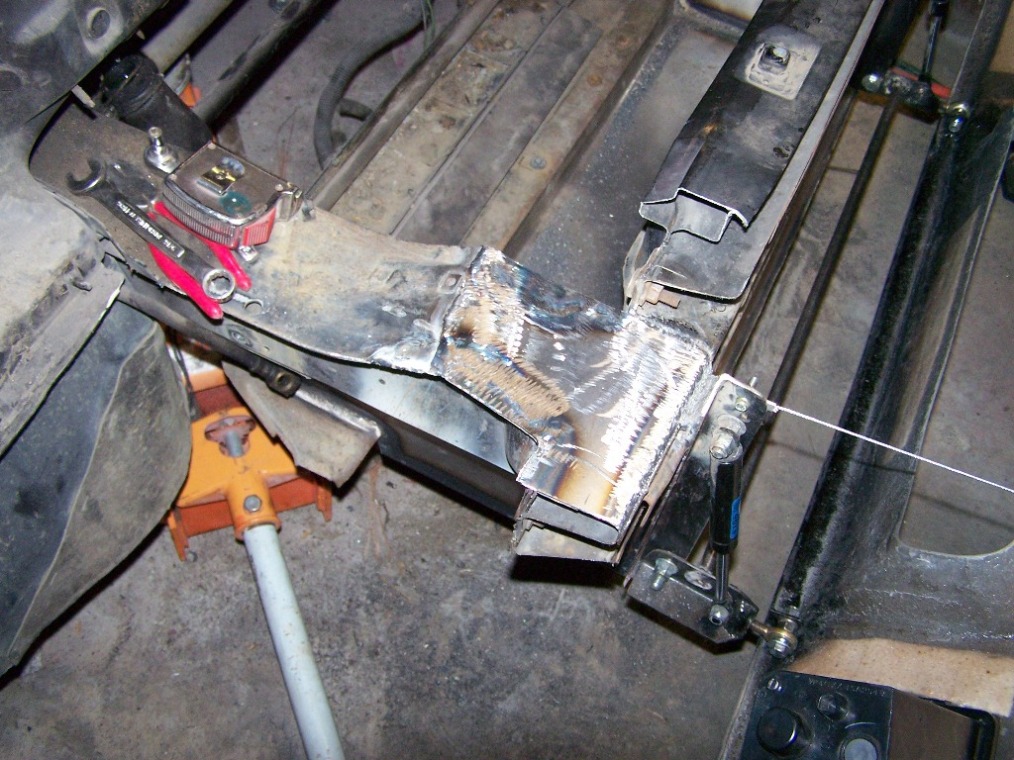
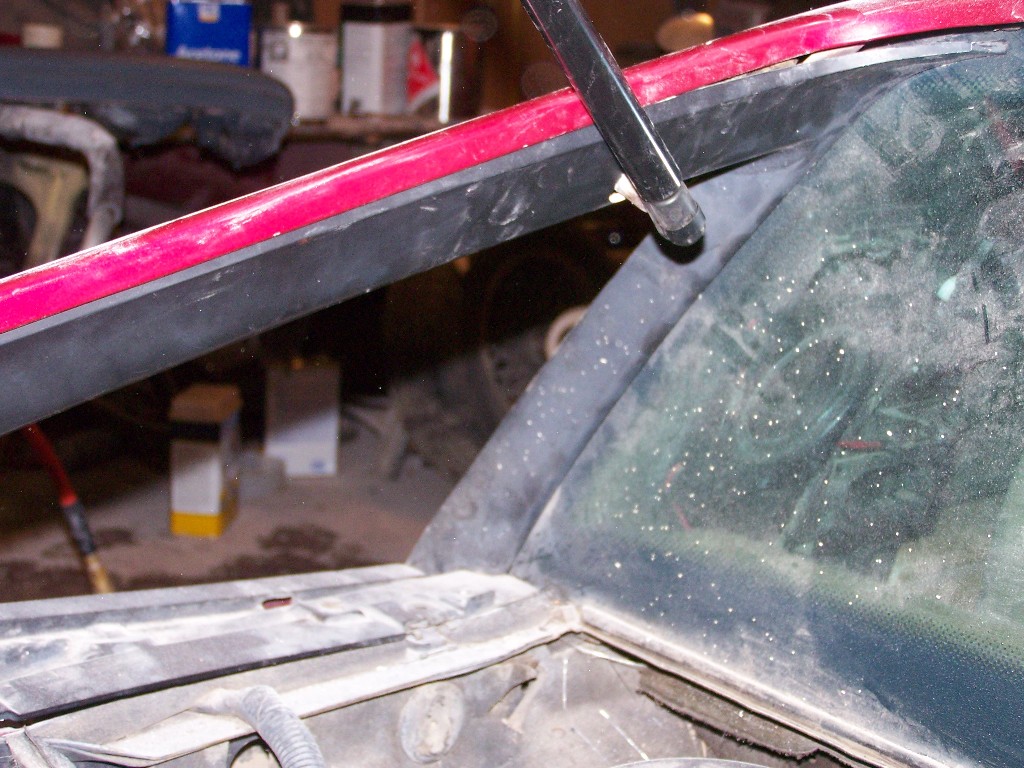
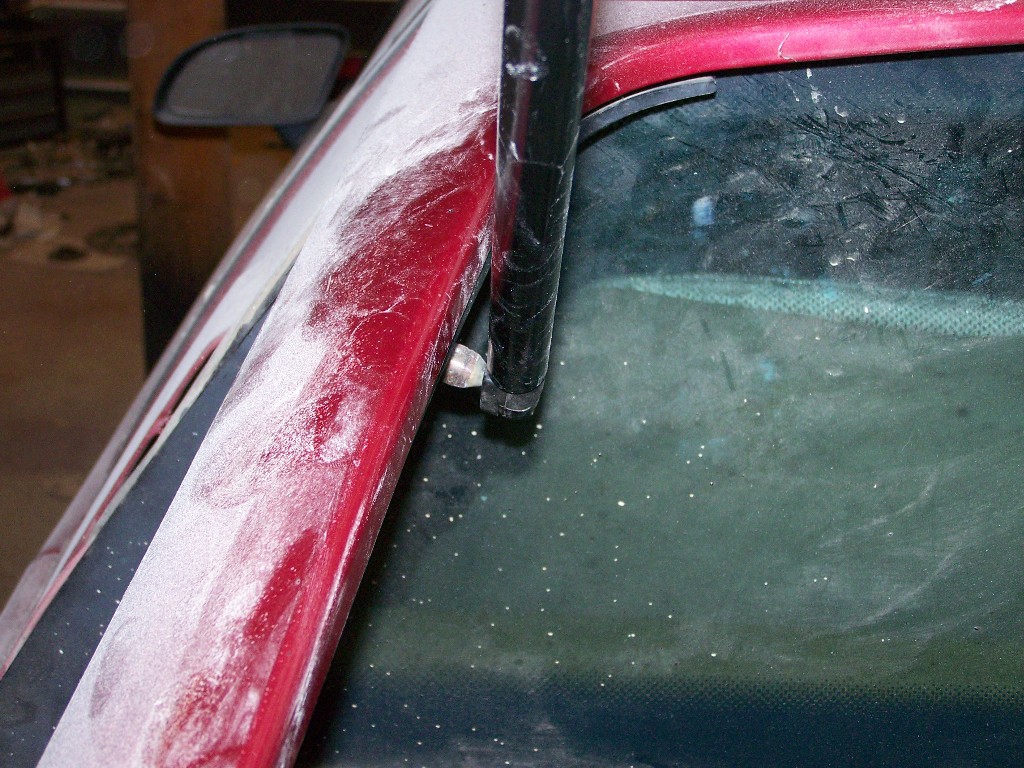
Well I got the car cut and the front end mostly mounted. I really like the way the front end looks but this mod is not for the faint of heart there is a lot of cutting and I still have to figure out a windshield wiper and better wheel wells and clean up the area with some tin work so it will look presentable when the hood is open. I also think I will use some linear actuators to open and close it.
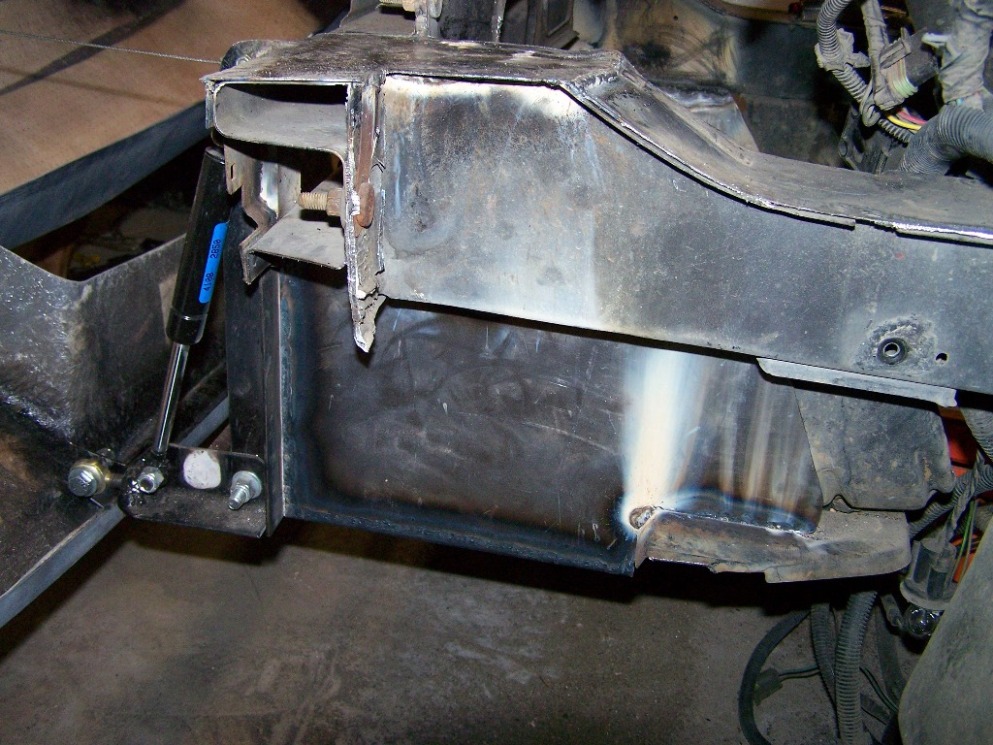
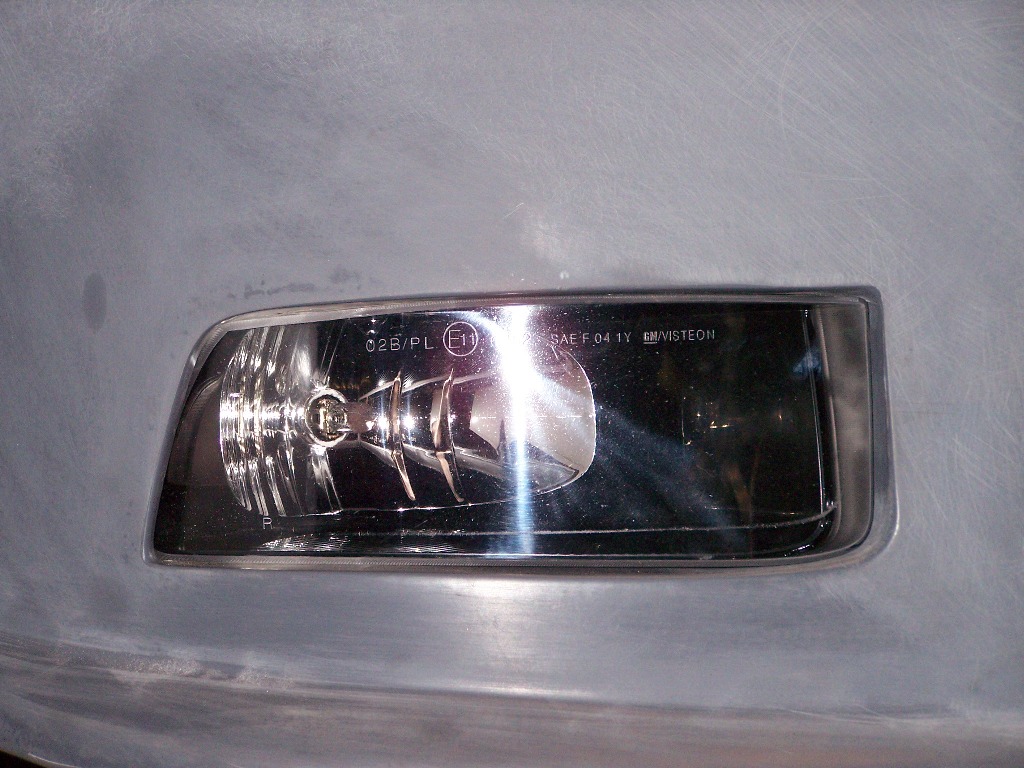
Well I have decided against the linear actuators and went with simple cables and lost the prop rod it opens much further I like it. I also made an air box to feed the radiator from the front scoop and stiffend up the mounting brackets and did most of the tin work on the front. I also modified the fog light opening to better accept the corvette fog lamp now I just have to figure out a mount for them
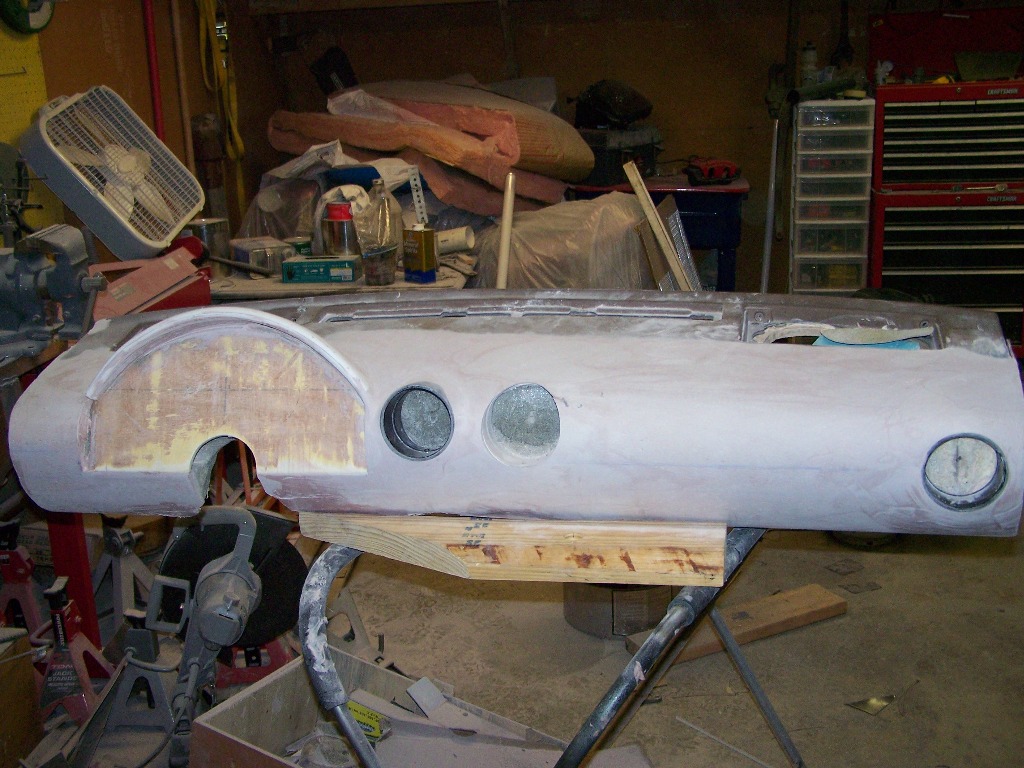
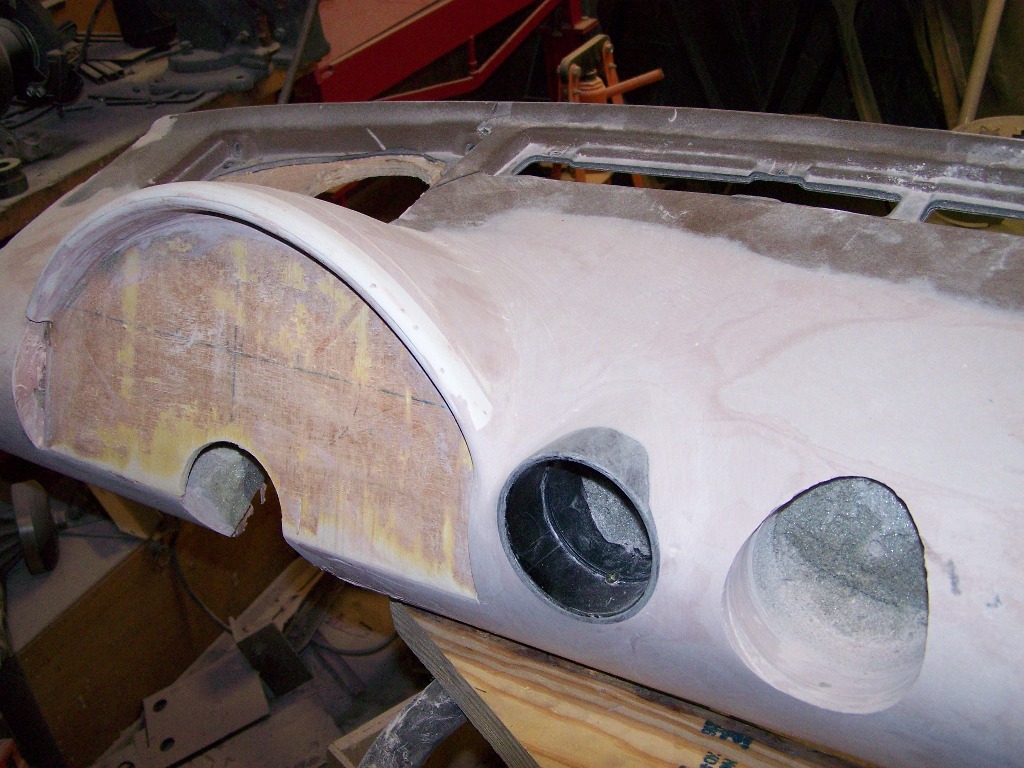
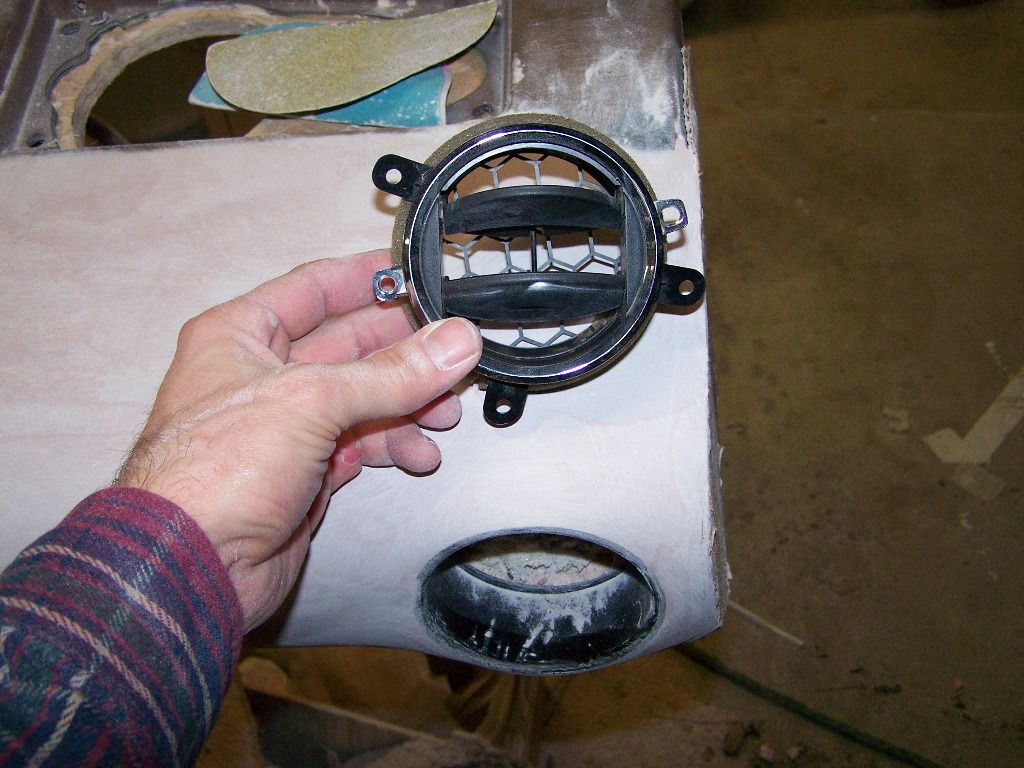
Well I started this thread a year ago I thought I would be further but it is still coming along and I'm having fun and meeting some good guys along the way. I got some 1/4 inch alumminum honey comb and made the front grill I finally got one headlight the other is on the way I have not said much about these next pics I wanted to wait until I was far enough along you could see what I was going for and I would know if I could pull it off or not. These are pics of the pig I'm building for a new fiberglass dash combining new and old it should mount pretty much like the factory one. All new guages thou Speed Hut is in my future. The vents are out of an HHR they have the honeycomb pattern in them to continue the pontiac theme
You are some of the insperation here Curl. You have answered pm's with honest advise that has helped alot. The local crew here has been awsome Fiero King, Tony, Jeff, and Don Thanks. Its about half way there just money and time to finish HAHA
[This message has been edited by JPH87 (edited 02-13-2011).]
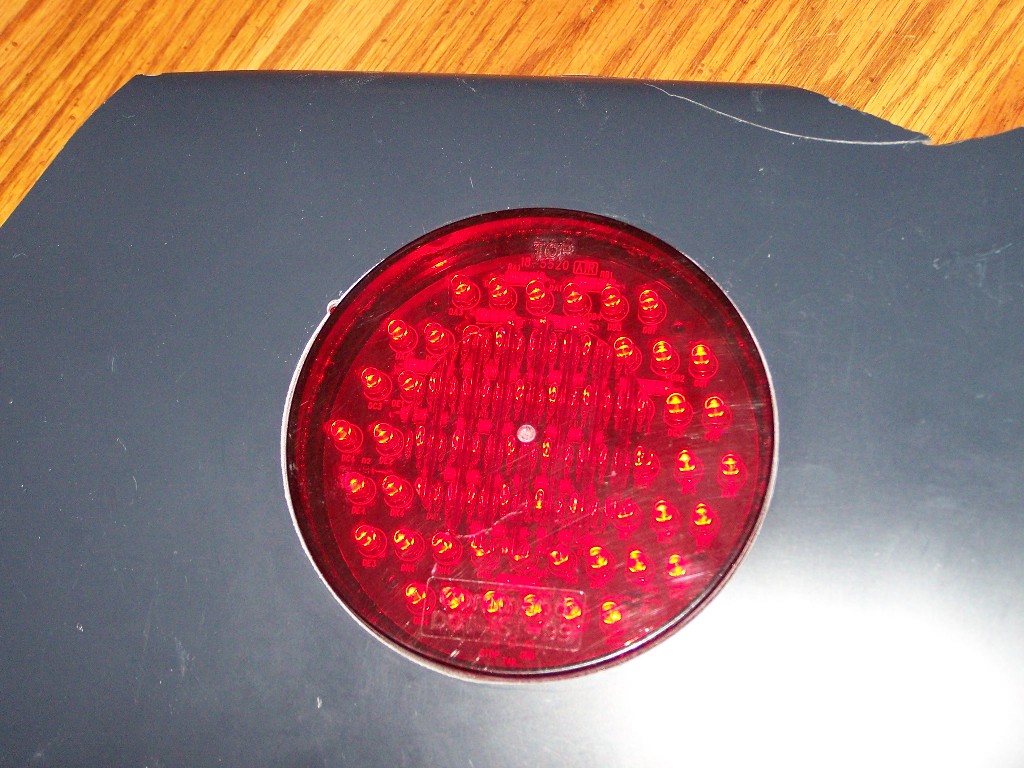
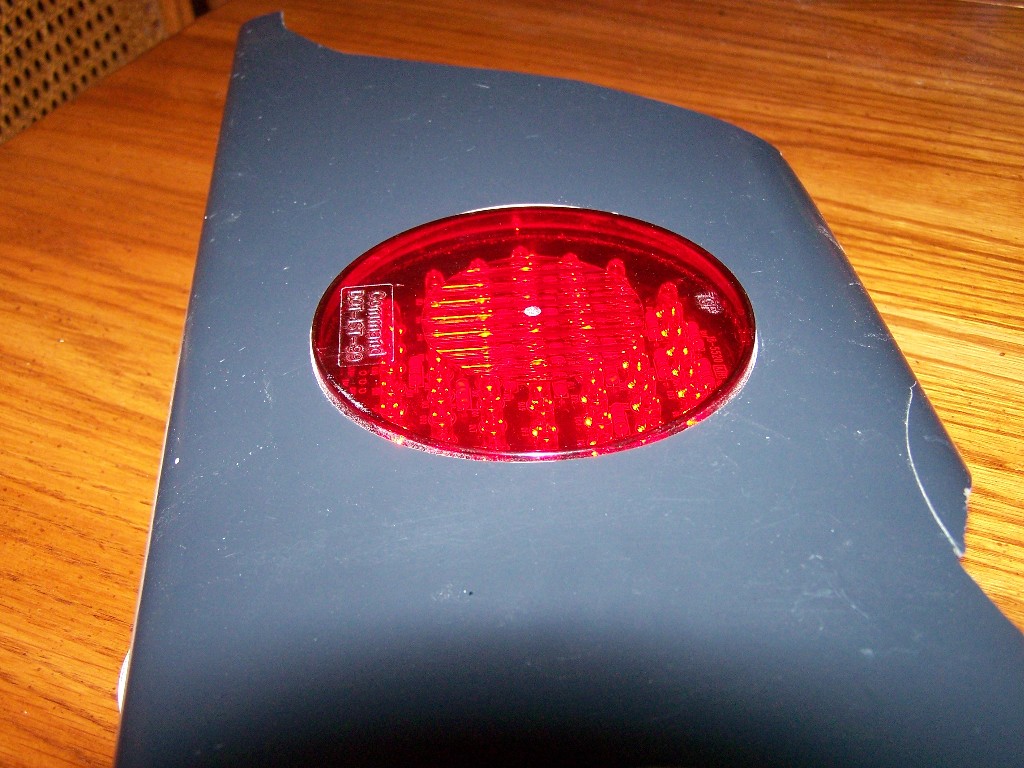
i bought on of your tail light pieces and it looks really good .where are your tail lights from ? i have been looking at vette lights on ebay but i cant make up my mind . your lights look good .really like the work you are doing .keep us posted .....
I tell you what, Justin is one of the good guys. I have seen his car, and can tell you that he has a lot of patience, knowledge, and ability to complete a project like this. Madcurl definately deserves credit for his Fiero pioneering. The overall design of the hatch is just sic. I really like the flow of the 350's window over the Fiero lines. And the Norm's Flipper hood is just awesome. Justin is putting a lot of extra work in making his presentation flow with the Fiero lines. He is a master with fabrication.
And thank's for swapping out that drivers door for me brother. I have it polished out, and it matches frickin' perfectly! I should have it mounted this week sometime, and will return your rivet gun. The Fiero Store came through with the hardware, but I have not touched my fiero for a minute now. Story goes, I had a horrible wave melted into my driver's side door, due to sitting in a garage with a giant window beating sun down on it. My paint is mostly original, and I just don't see painting her just yet. Justin has an 87 GT, Med Red Met, that just so happened to be getting a paint job in the future. I timidly asked if I were to pick him up a skin, would he be so gracious as to swap his good one out with me? (He said yes!) And the match is awesome. I should check your VIN. Maybe they are close?
Originally posted by JPH87: I will also have to cut in the vents on the sides of the hatch I will use the 1/4 " honey comb screen to match the side scoops. If anyone knows were I can get that screen I would love to know I plan on using it thru out the car.
Also if anyone has Vent design ideas I would like to see them as I'm undecided so far. I don't want to just copy what they did on Clay's or Curl's needs to be it's own thanks for looking. Justin
i bought on of your tail light pieces and it looks really good .where are your tail lights from ? i have been looking at vette lights on ebay but i cant make up my mind . your lights look good .really like the work you are doing .keep us posted .....
the tail lights I have came with the panel I bought used they are from command Electronics model #003-5520 they are very bright have about 60 leds per light. Good luck


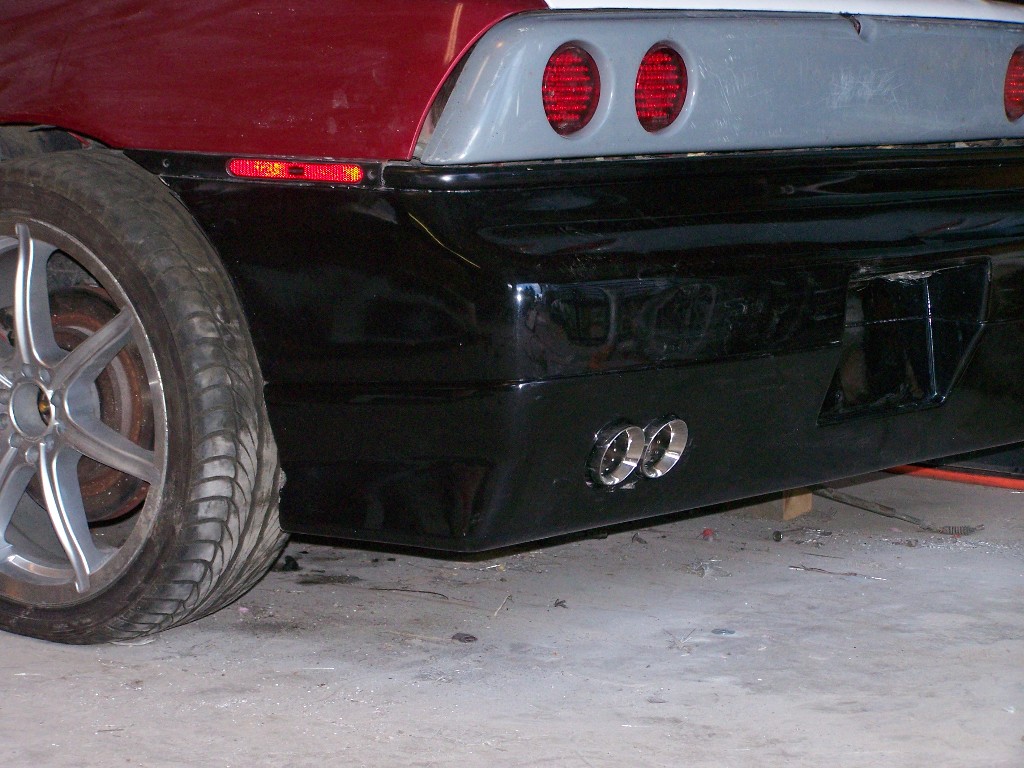

 The rear hatch looks very factory. Love the way the exaust fits through your new bumper cover.


 The window looks absolutely gorgeous in the Archie hatch.


 great original thinking. added to favorites.