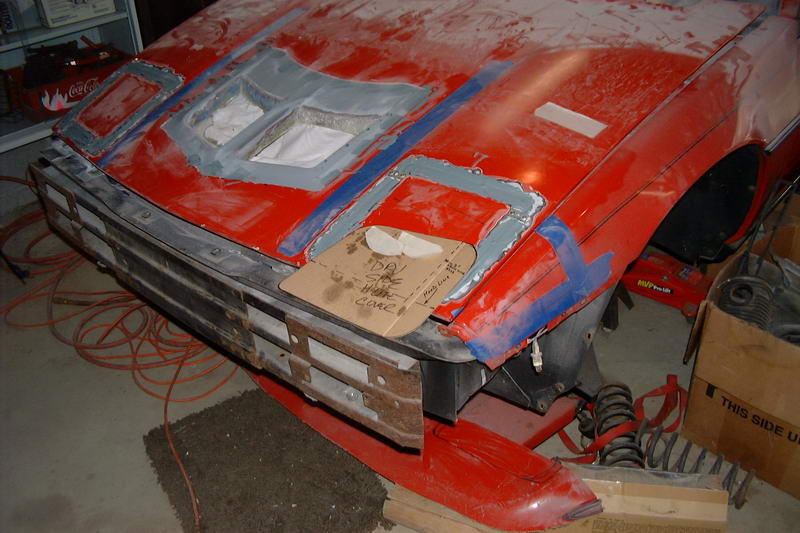
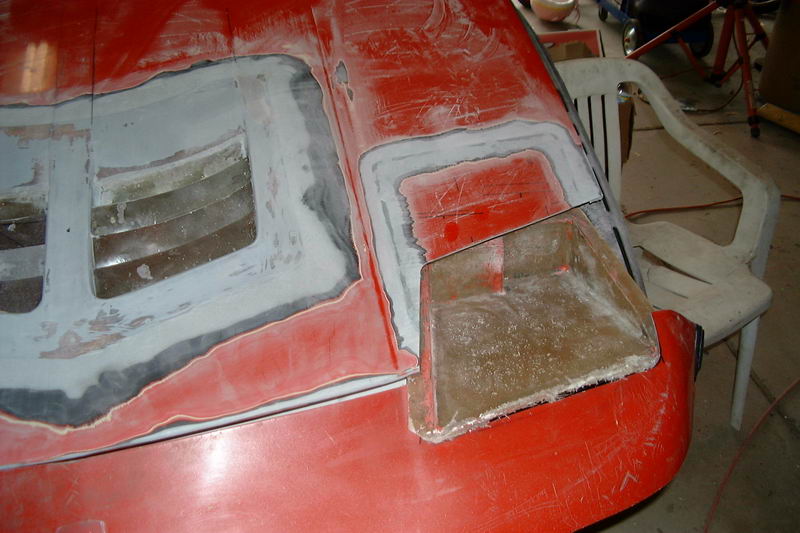
As can be seen in a couple of the above shots, I'm also redoing the headlights. No more popups. I'm flushmounting them and moving them forward. I will be fabricating fiberglass light buckets to support two 60mm Hella halogen lights, and vacuum forming my own acrylic/polycarb lenses (How? don't ask yet...).
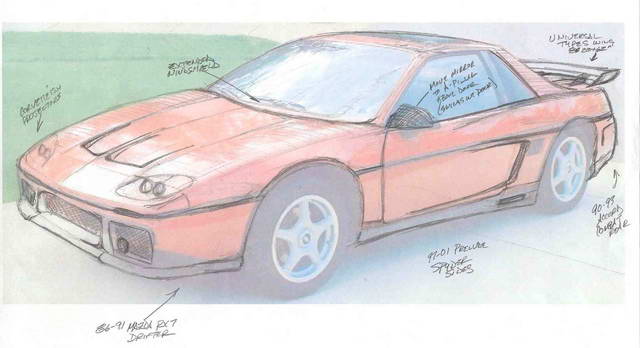
Here is the start... Getting ideas:
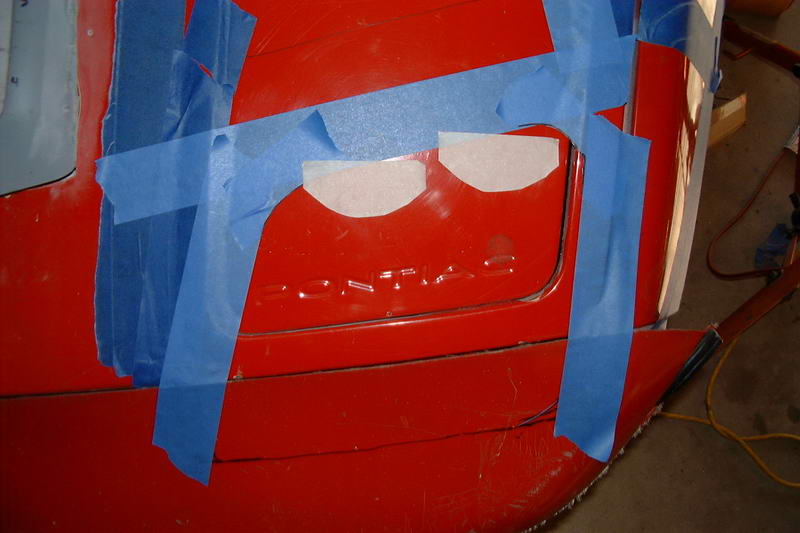
Headlight covers glued in:
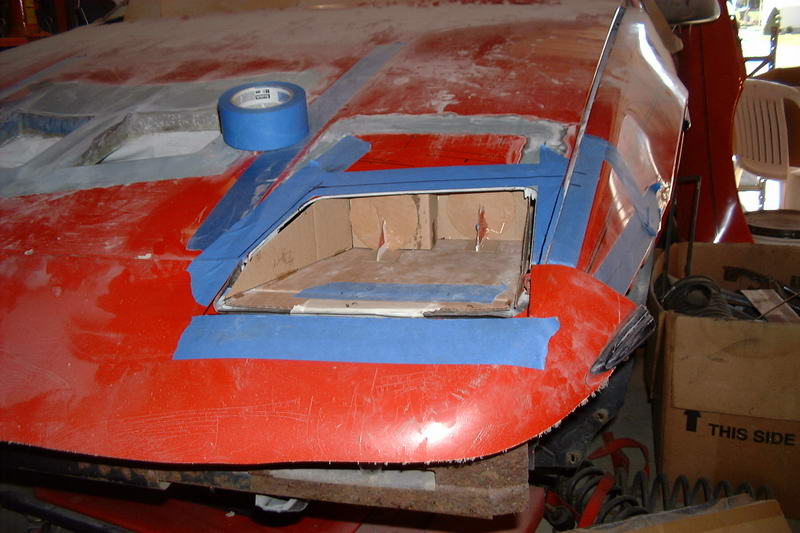
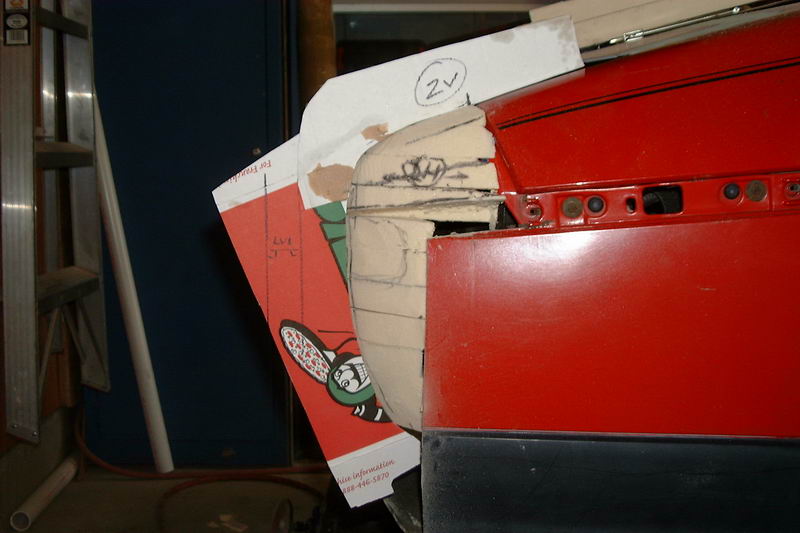
Card board mock-up:
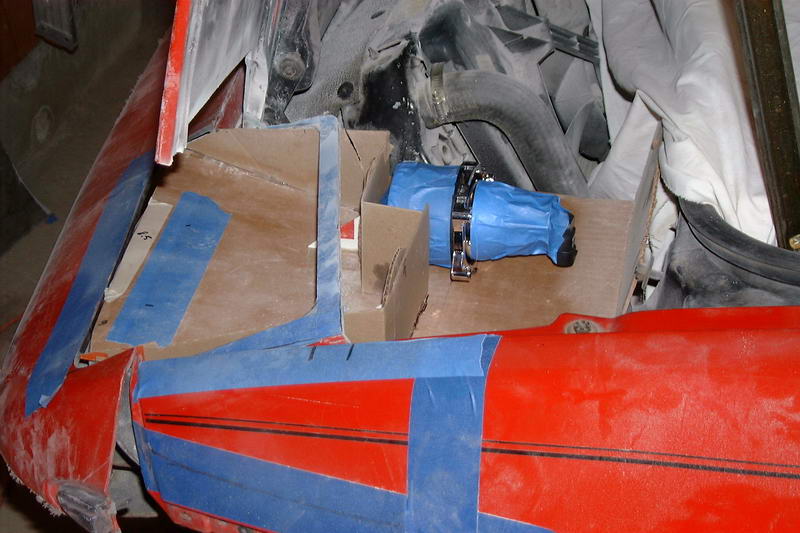
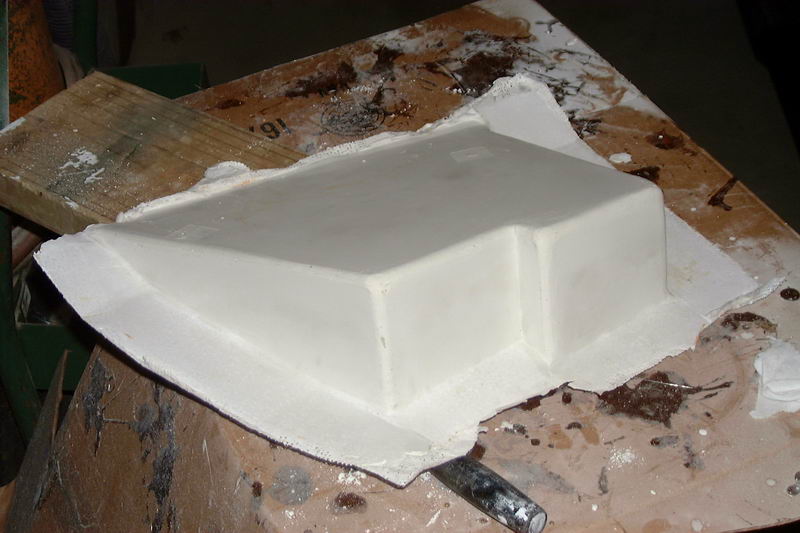
Masonite buck:
Into plaster mold:
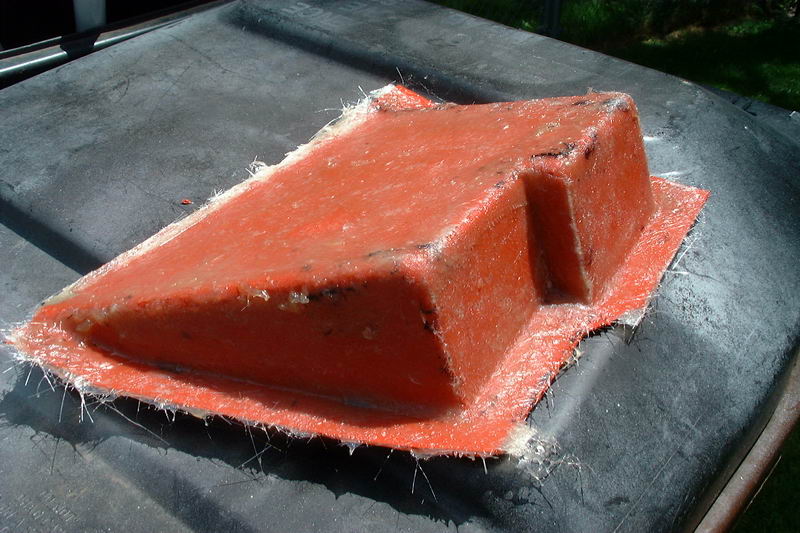
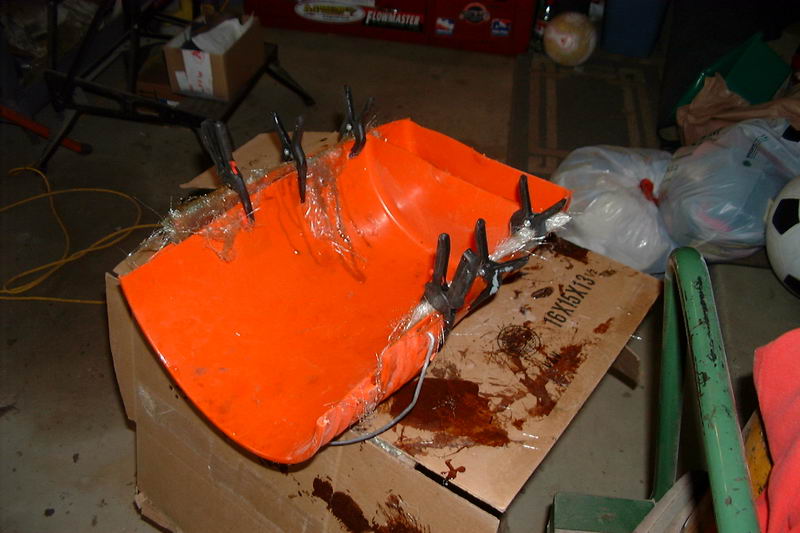
Into a fiberglass part. Important lesson...Do not paint the mold with engine enamel...Sticks like glue, even with wax and PVA release...
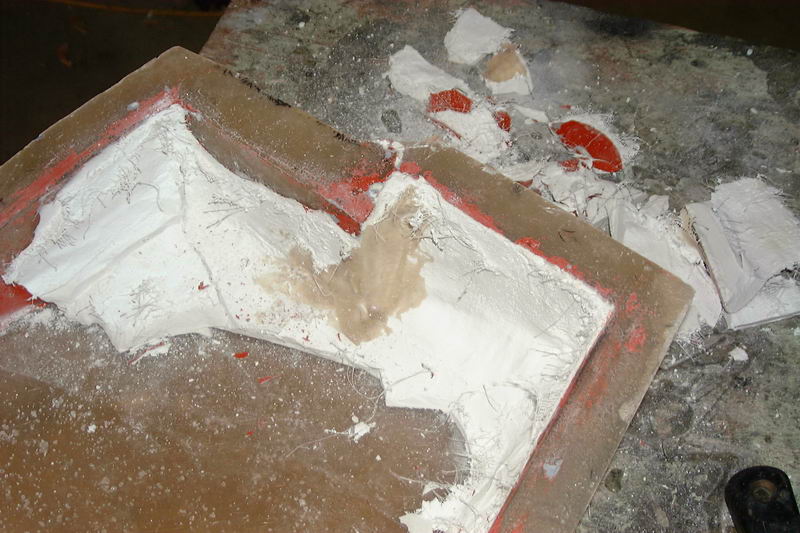
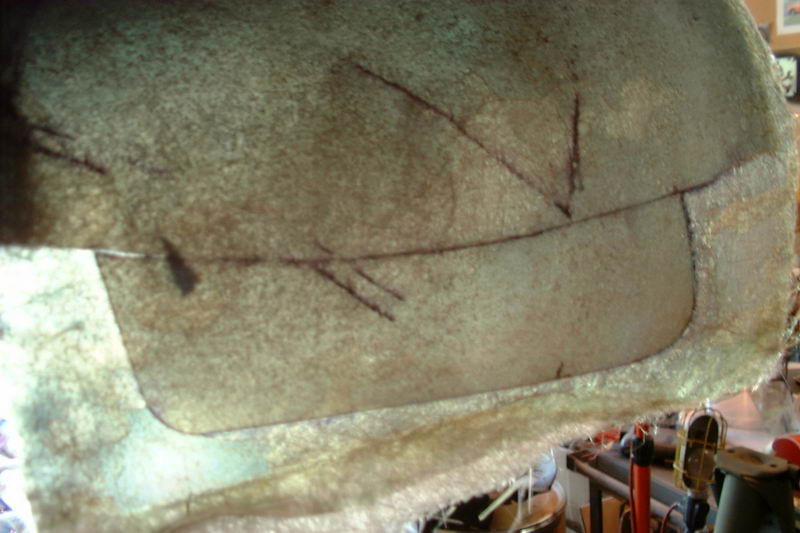
Chip by chip removal of mold:
But, a molded part...rough, but good enough for now...
Bob
[This message has been edited by RCR (edited 06-15-2009).]
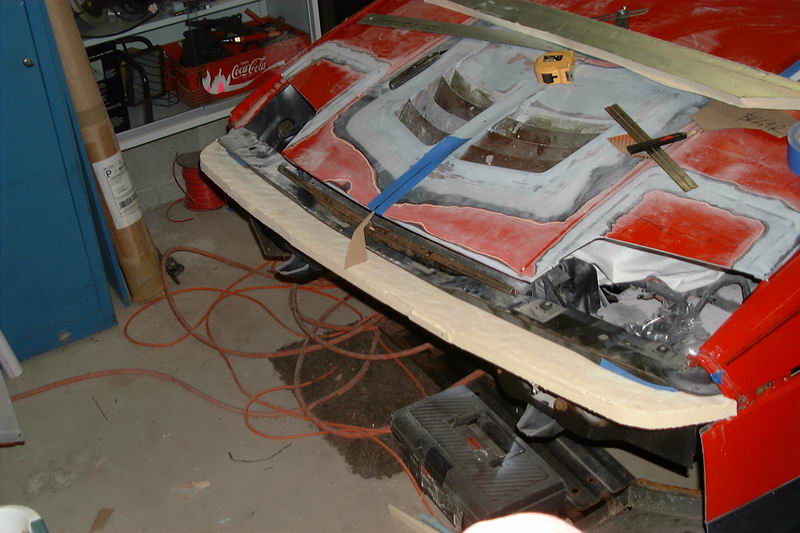
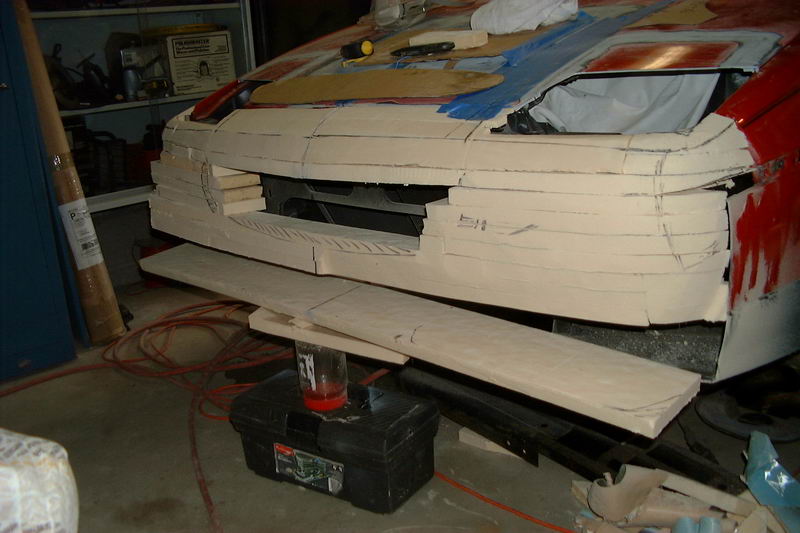
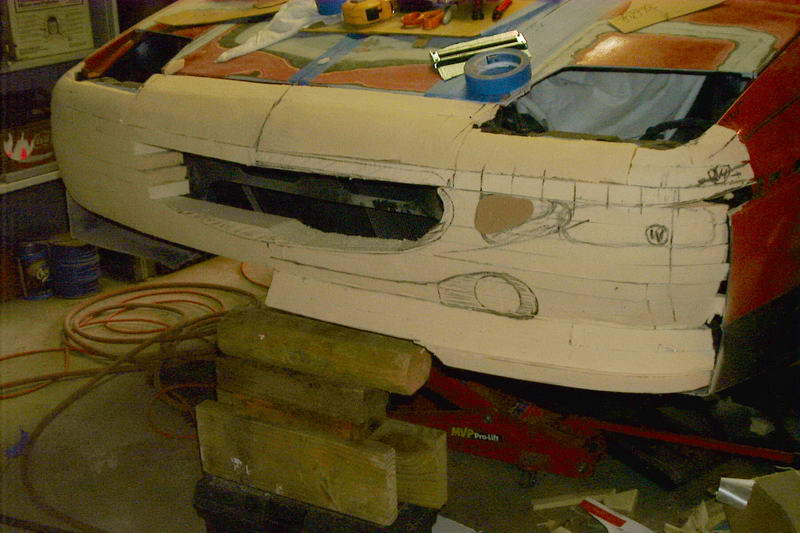
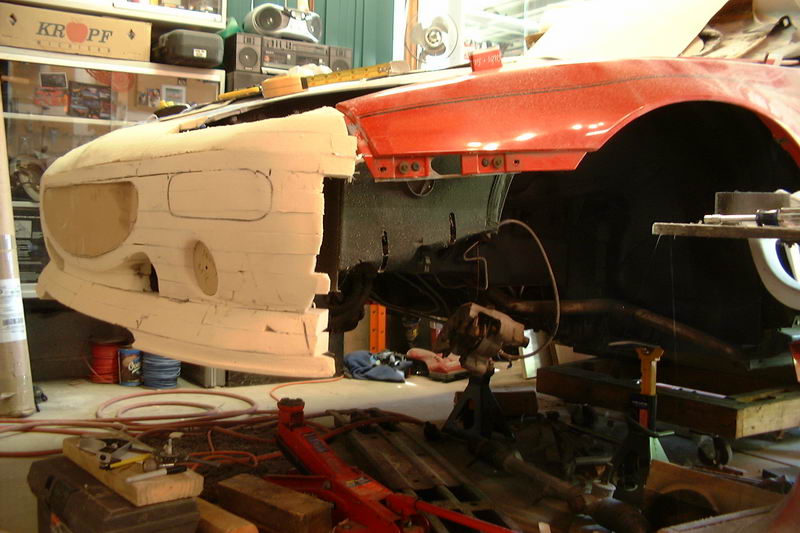
And, last but certainly not least... The mods to the hood and headlights tie directly into the bumper cover. I've never been fond of the GT nose nor the bumper pad nose and although I like the 87/88 coupe nose, it still needs mods. After looking high and low for a nose I could afford (read really cheap), I decided to try making my own. How this will ultimately end, I have no clue. But if you don't try, you'll never find out. So here is the debut...
First piece fitted. A piece of cardboard was cut to give a profile for the hood to bumper interface. The foam is the same stuff I used to make my door panel. I can glass over it without fear of it turniong to goo.
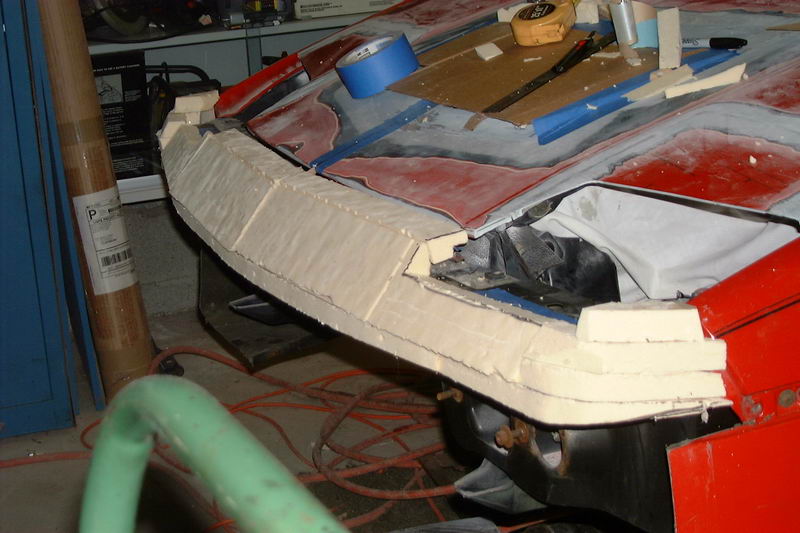
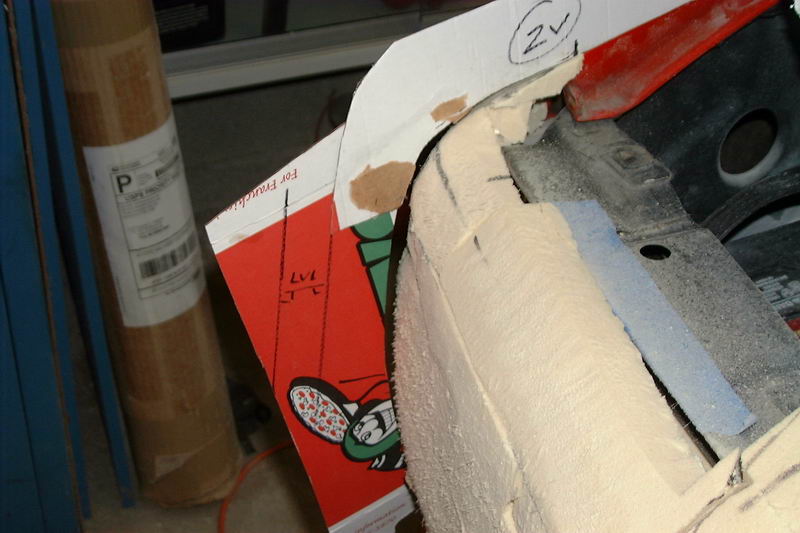
Filling in the top and giving it shape:
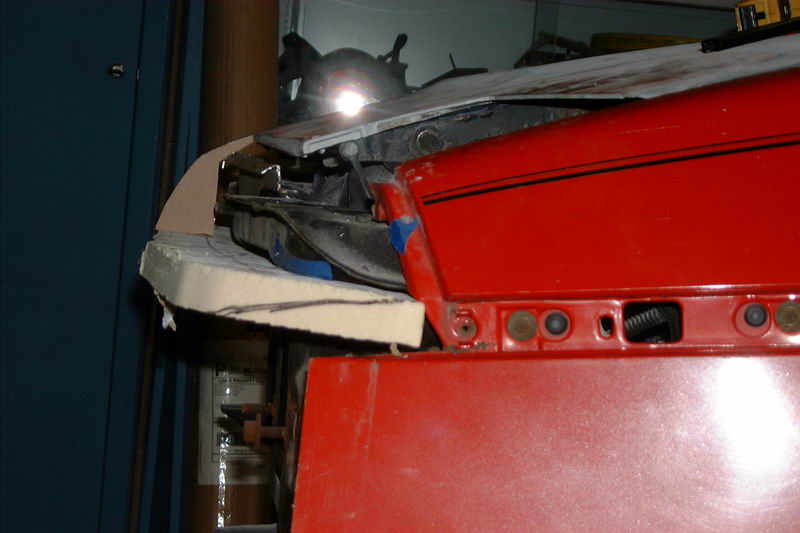
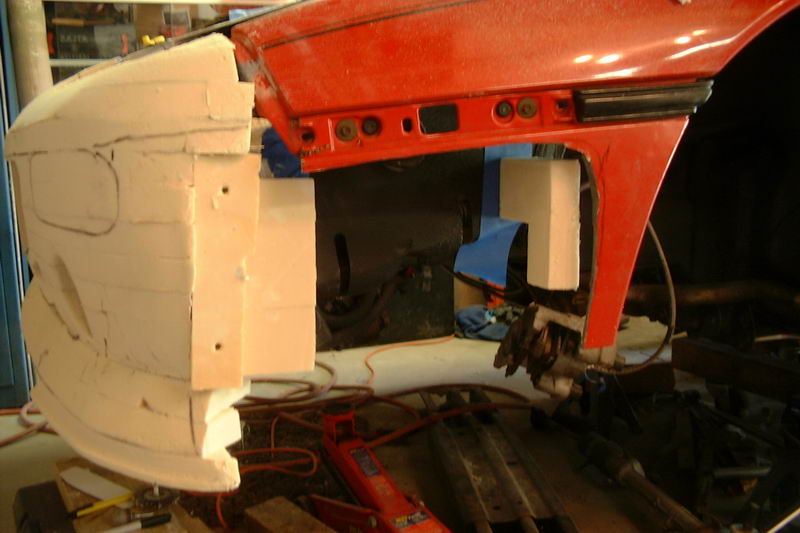
An idea of how low it will be with the winglets:
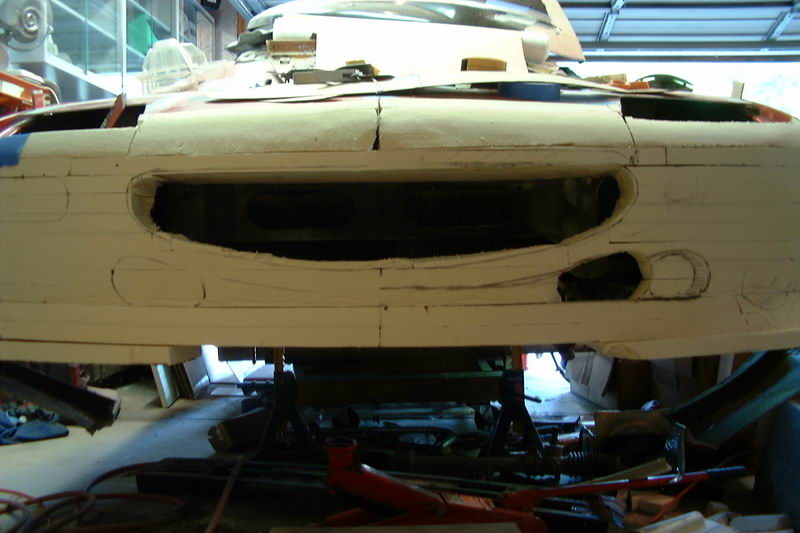
And filling in the front;
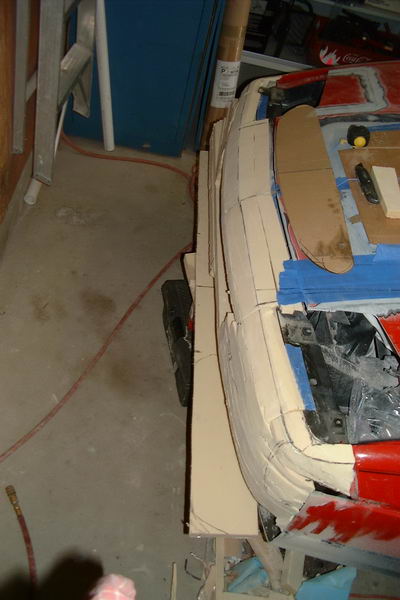
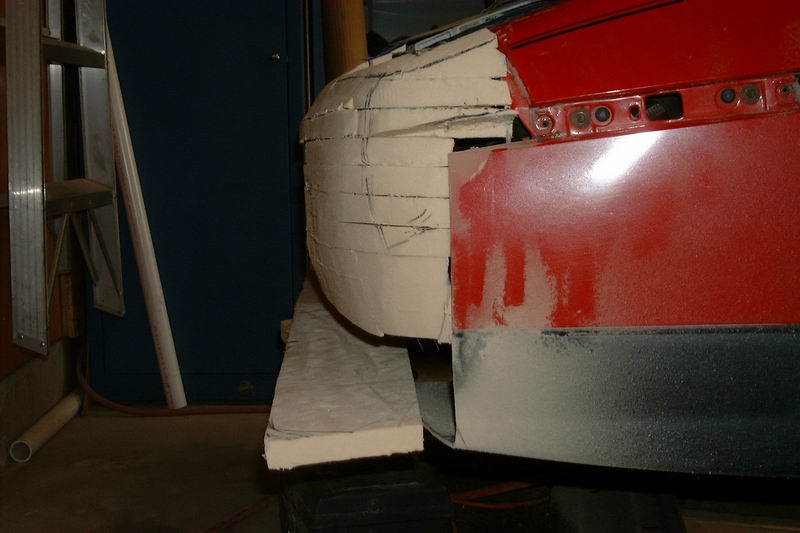
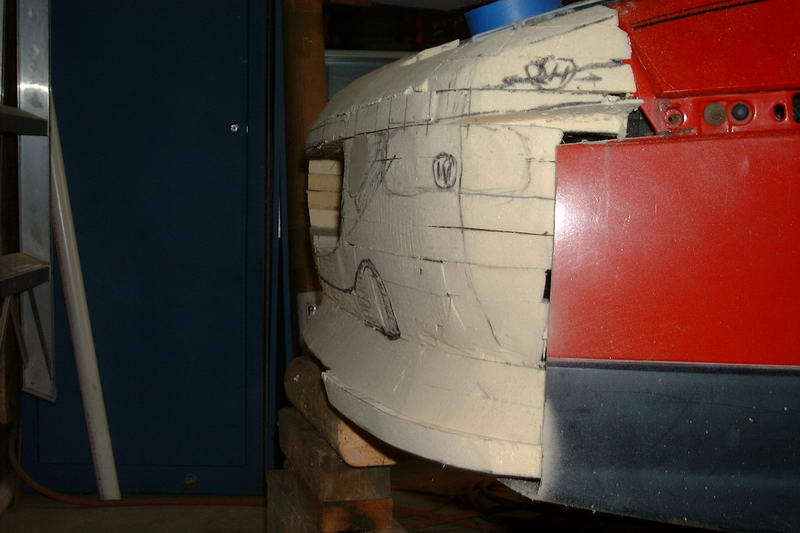
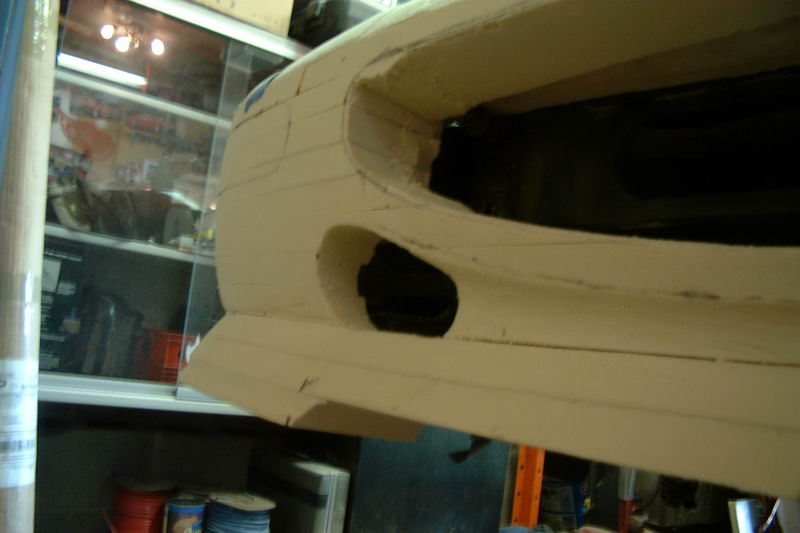
Some profile shots:
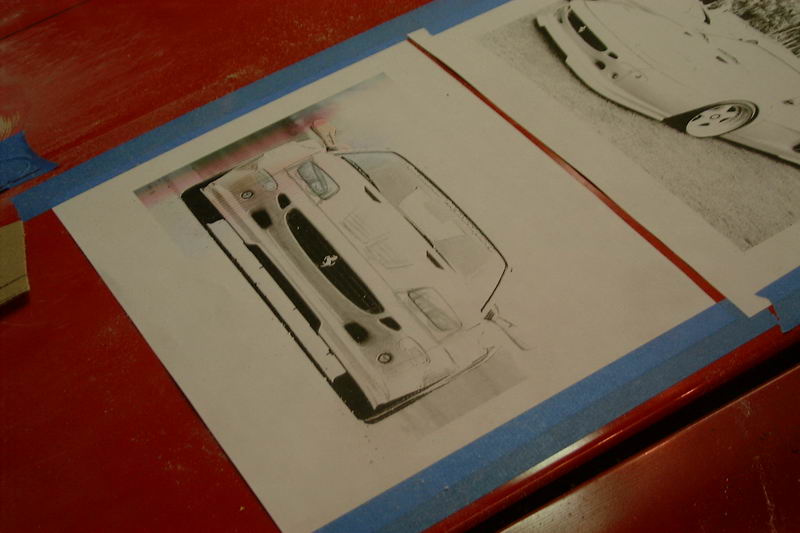
And the inspiration: The Hamann Ferrari 512.
More later... Bob
[This message has been edited by RCR (edited 06-15-2009).]
I'd really like to see you build your own decklid scoop so that I know what the f I'm doing when I attempt it in the next few weeks. btw, don't steal my idea
very cool custom front bumper! theres been many posts about a short bumper but i think you may be the first to create one. and the fieroadiction vent looked nice before, now its awsome
with those lights and that front mouth it almost looks like the rksport street fire body kit for the 96-02 sunfires from the mouth up and thats not a bad thing.
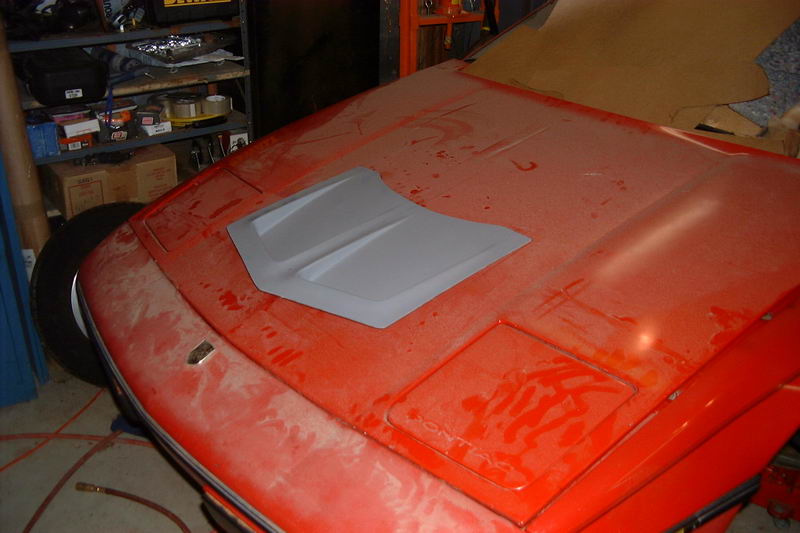
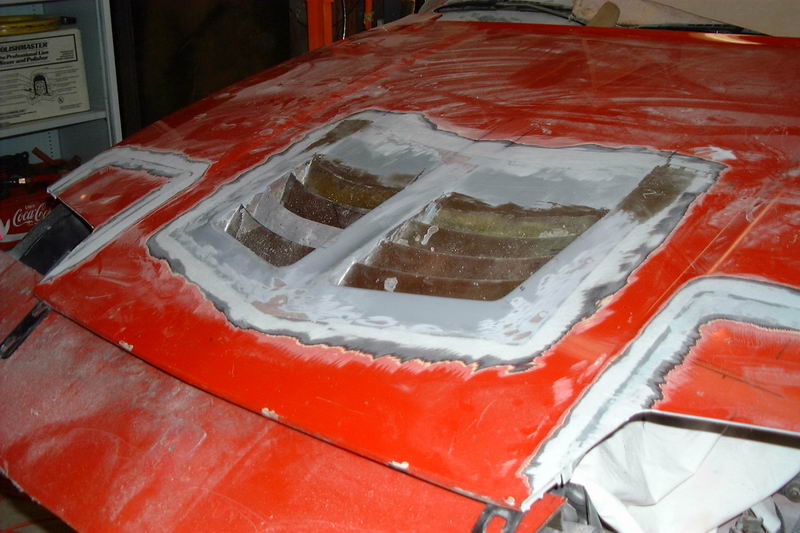
The louvered hood vents are bad ass. I would like to do something similar, just more squarish
Thank you...
I was originally going to do them flat, but i got the "never tried it before bug" and voila...
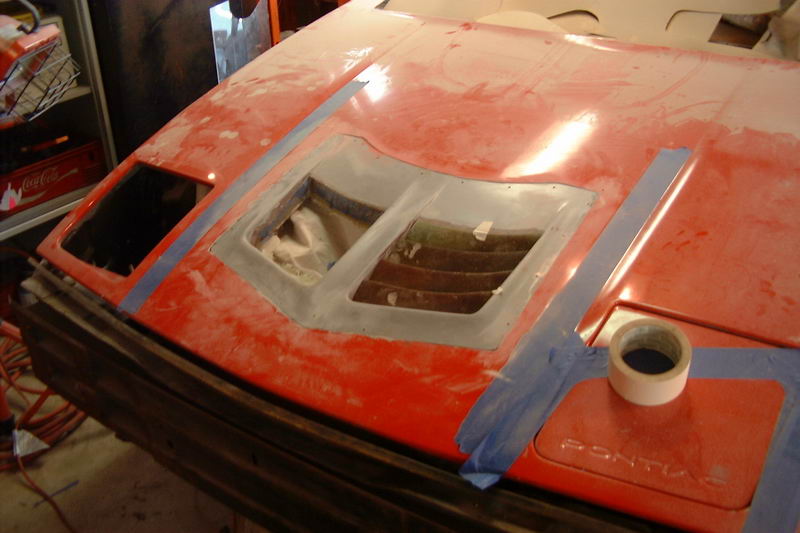
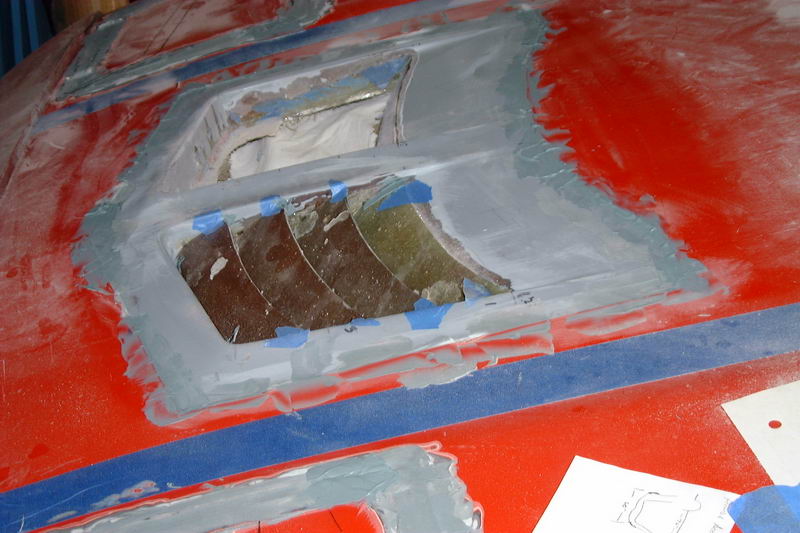
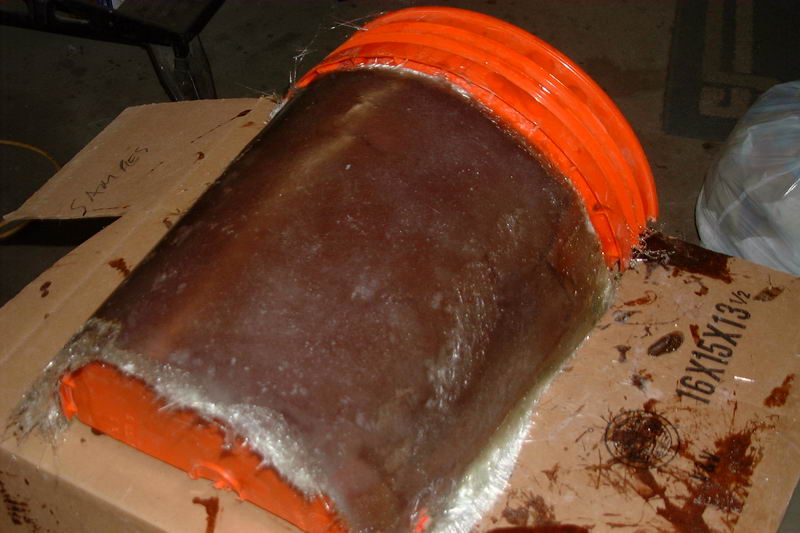
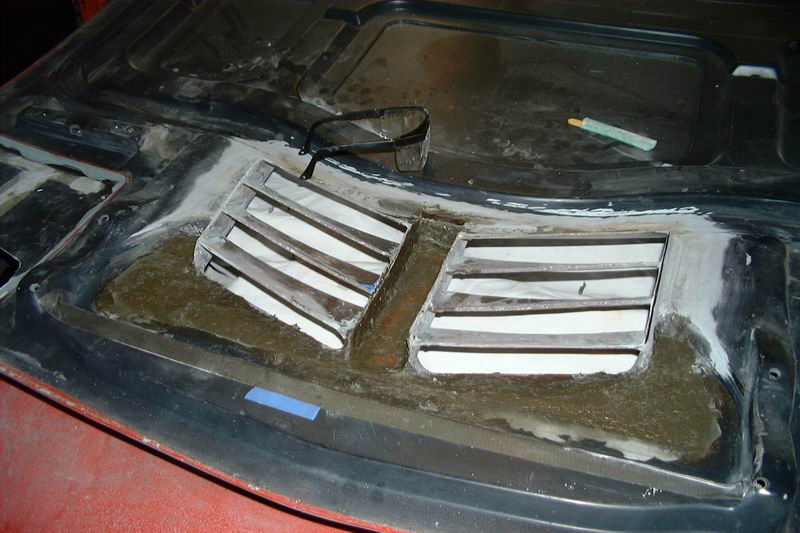
To make the flat pieces, I was going to sandwich the fiberglass between two sheets of glass. To make the curved pieces, I sandwiched the FG between two 5 gallon bucket halves.
Then made the basic shape out of cardboard and matched it to the blank from the mold, traced it out and cut with a Dremel tool.
The hardest part was matching the curvature for the two sides.
The louvres are glued in using the SMC panel adhesive, then blended in with short hair plastic filler.
Bob
[This message has been edited by RCR (edited 06-16-2009).]
As can be seen in a couple of the above shots, I'm also redoing the headlights. No more popups. I'm flushmounting them and moving them forward. I will be fabricating fiberglass light buckets to support two 60mm Hella halogen lights, and vacuum forming my own acrylic/polycarb lenses (How? don't ask yet...).
Here is the start... Getting ideas:
Headlight covers glued in:
Card board mock-up: Bob
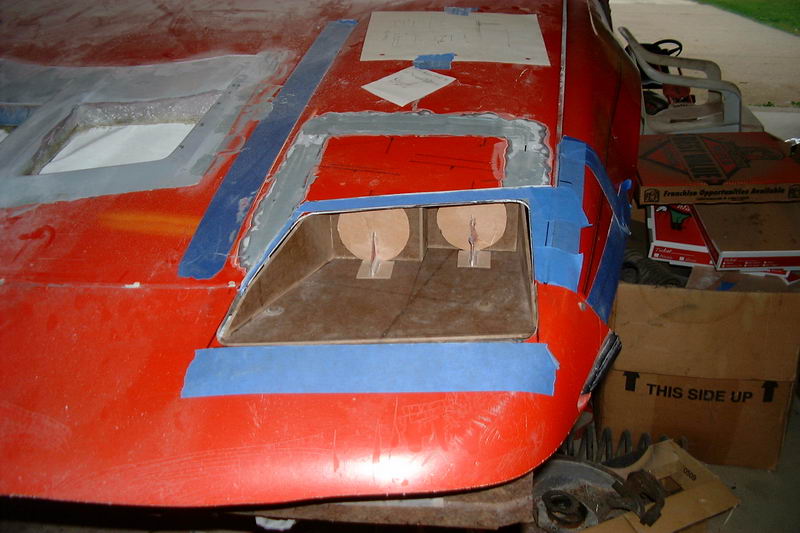
This is my biggest complaint about the flush mounts that just go in the stock opening. They always look too far back to me. This is cool.
Originally posted by FieroFanatic13: This is my biggest complaint about the flush mounts that just go in the stock opening. They always look too far back to me. This is cool.
Same here. This should also help alviate the dark stop in front caused by standard flushmounts.
Continued shaping. Made some profile gauges so I can match the sides. Un fortuneately I don't have a lot of room to manuveur, so it's kind of a PITA to work on.
Here are some pics:
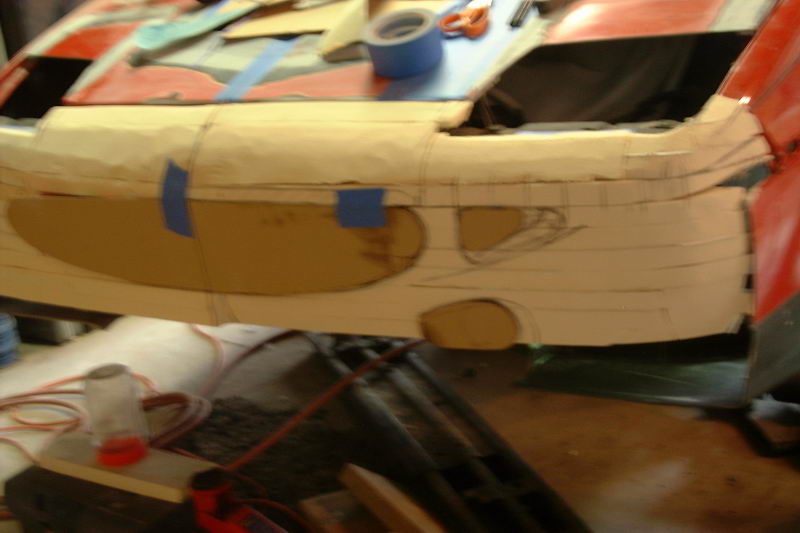
A little blurry, but taking shape. You can see how I'm thinking the aux vents will be placed.
Filling in the extra space with the air dam and splitters - just temporary to get an idea how it will look.
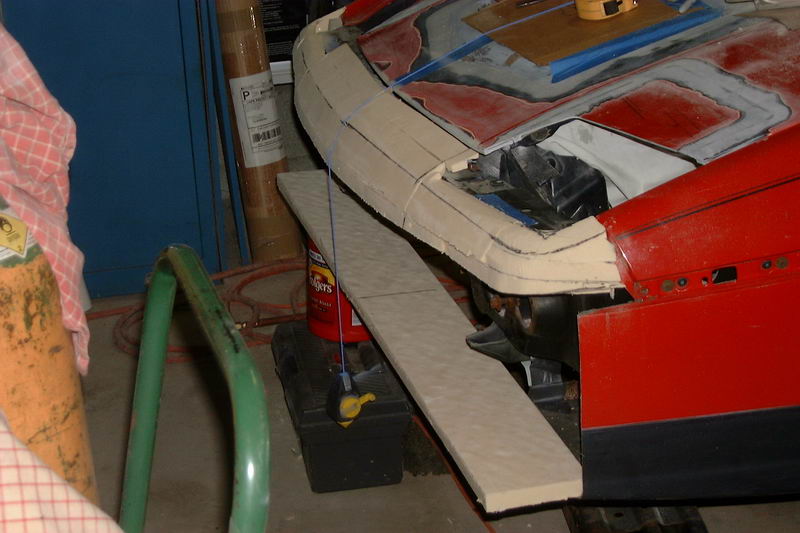
Profile gauge on one side:
Versus the other side. This side still needed about a 1/2" taken off the bottom
I officially hate you now. There are no great pizza's to be found in Spokane. And there you are, flaunting your Jet's Pizza box in my face. That is my favorite pie! Damn you and your pizza enjoyment. Damn you! Arrrrrghhh!
I officially hate you now. There are no great pizza's to be found in Spokane. And there you are, flaunting your Jet's Pizza box in my face. That is my favorite pie! Damn you and your pizza enjoyment. Damn you! Arrrrrghhh!
P.S. Your concept looks great.
Tony, Now you know the secret of great ideas...Jet's 10 (minus olives-yuck) and BBQ chicken pizzas. What can't be seen is that the cardboard mock-ups for the lights is made from Little Cesars boxes, too.
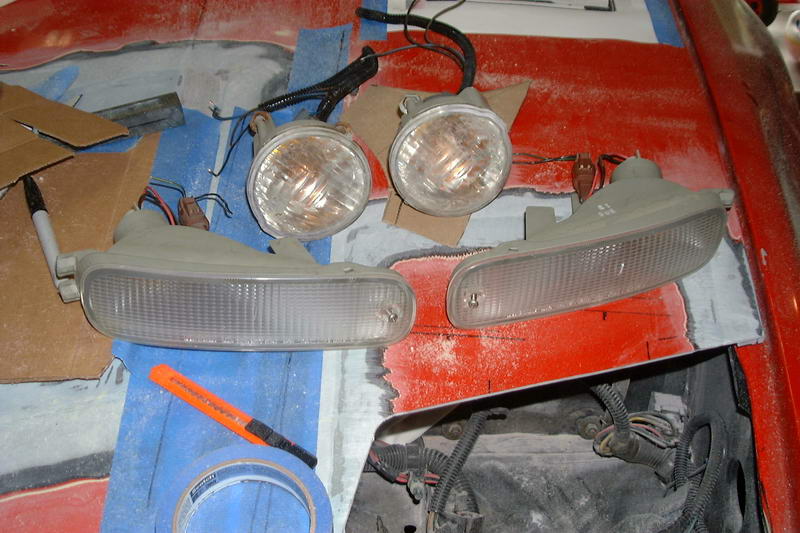
Looks a lot more like something now, but the pics are still on the camera. Tomorrow morning, I'm headed to the local salvage yard to see if I can pick up the turn signals and driving lights. Then I should be able to finalize the shape. -yeah!!
Thanx for all the comments guys. Helps keep me motivated.
Into a fiberglass part. Important lesson...Do not paint the mold with engine enamel...Sticks like glue, even with wax and PVA release...
Chip by chip removal of mold:
But, a molded part...rough, but good enough for now...
Bob
Lookin' good there Bob.
Been there before with enamel. Heat from curing can make seemingly dry paint sticky again. Now I just use quick dry Duplicolor lacquer. Wax one time & PVA 3 times is normally enough for my work. Quick & dirty moulds are made to be destroyed in the end anyhow. My Fi40 glovebox plug was made of waxed cardboard & clay, no paint. After the mould was layed-up I just pulled the carboard plug apart.
Been there before with enamel. Heat from curing can make seemingly dry paint sticky again. Now I just use quick dry Duplicolor lacquer. Wax one time & PVA 3 times is normally enough for my work. Quick & dirty moulds are made to be destroyed in the end anyhow. My Fi40 glovebox plug was made of waxed cardboard & clay, no paint. After the mould was layed-up I just pulled the carboard plug apart.
Thanx Rob. Maybe someday I'll have your mad skills. You've shown me what can be done, but you've raised the bar so high it's kind of hard to see.
It sure doesn't look like a whole lot has occurred, especially in the pics, but I've been cutting, glueing, and sanding a whole lot. I know, I know...Here are the pics. Let me know what you think.
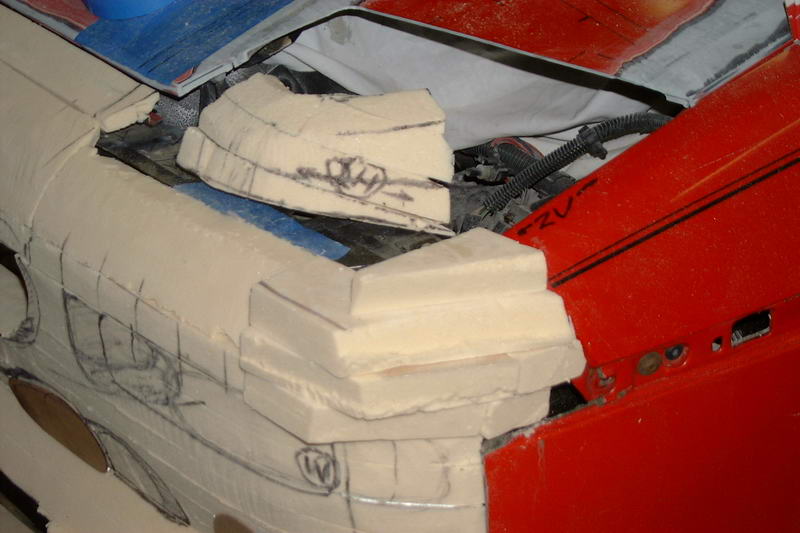
Driverside corner didn't match the passenger side, so...
Starting to map things out a little better. Trying to match the shape of both sides.
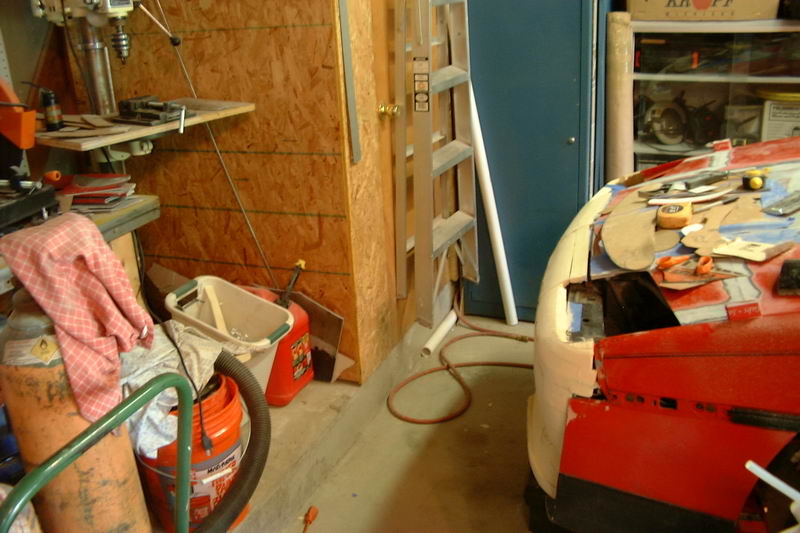
Tough shot to take, not a lot of room. No smiley face here (at least not yet).
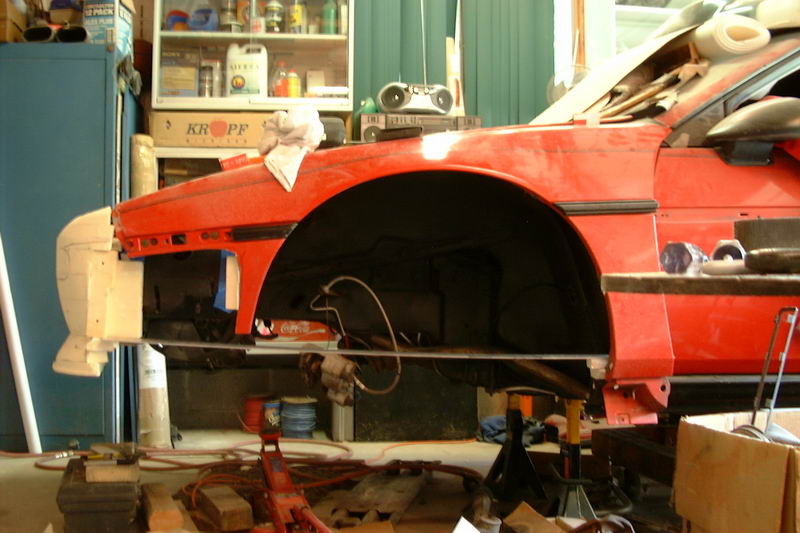
Speaking of room... I wish I could have turned the car around to face tthe garage door, but it has not front suspension or wheels.
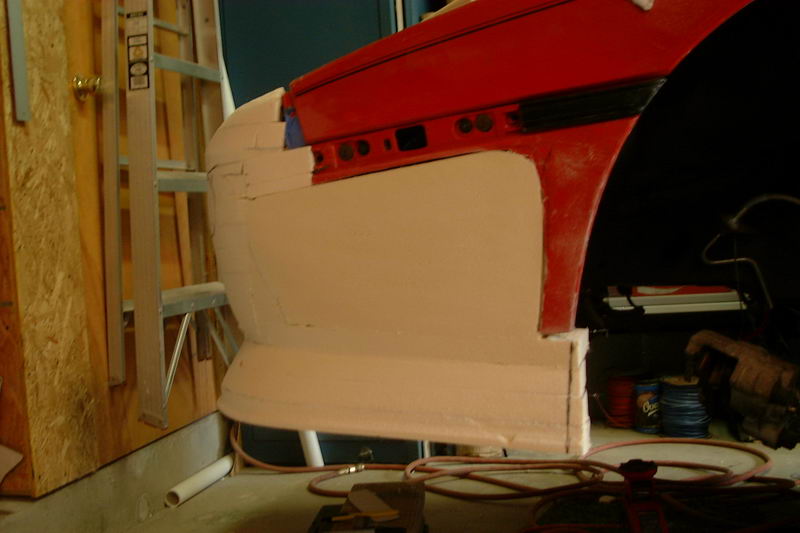
Starting the sides. I cut the front flat so everything tied together easily.
Then started building up. This time,I tied the side to the chassis (better than I did the front) to make things maore stable. I also cut up the remaining GT side to use as a guide for the wheel well and interface for the upper fender.
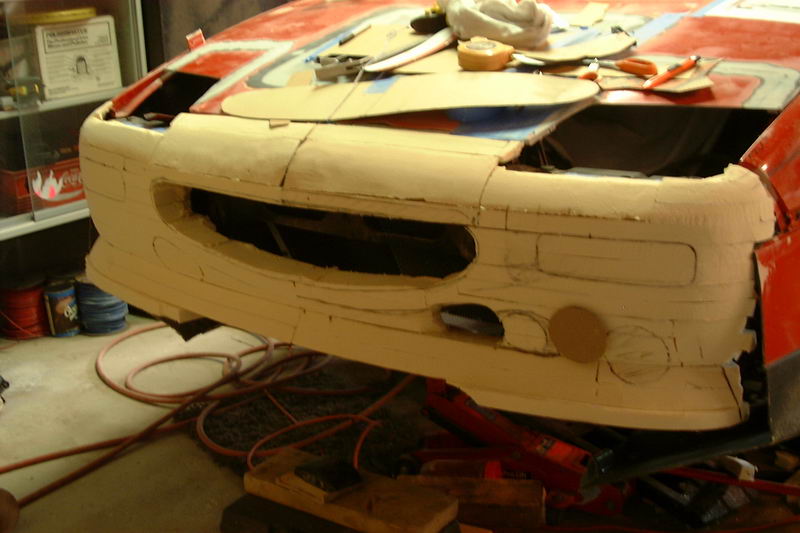
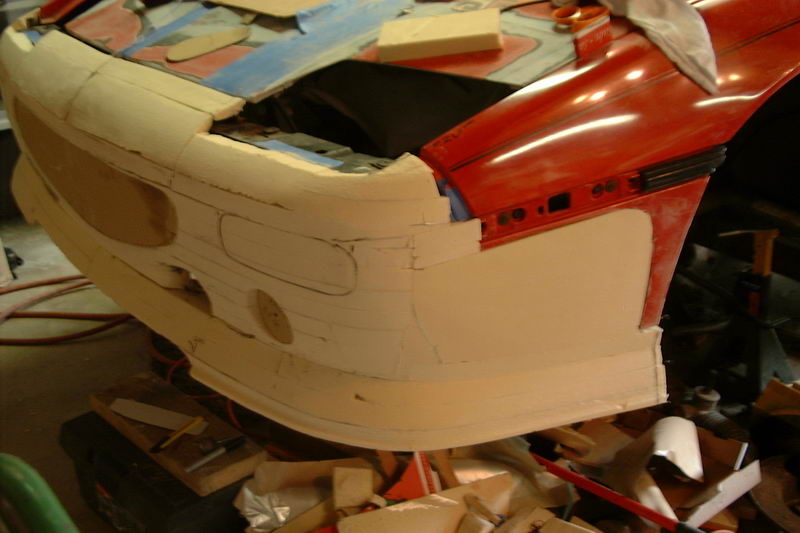
I used the slight bow in my straight edge to advantage to line up the front valance with the side ground effects/body line.
Filled in and sanded smooth.
Just need to trim the wheel opening and on the the other side.
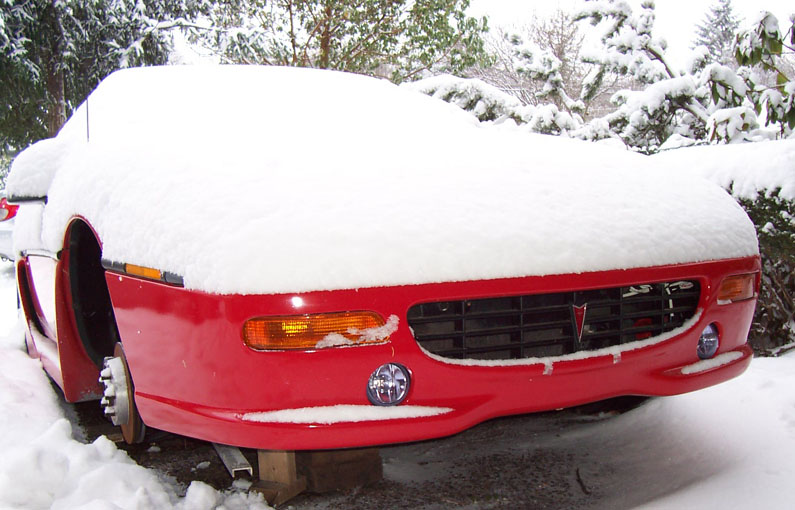
Snub nose huh? Like the ".38 special". Nice to have a flat & level floor indoors. I did the Fi355 nose outdoors on a tilted & sloped driveway on rocky concrete...wore out my kneed pads real fast. One of my fav symbolic shots.
. Nice two tone job.
[This message has been edited by Amida (edited 06-28-2009).]
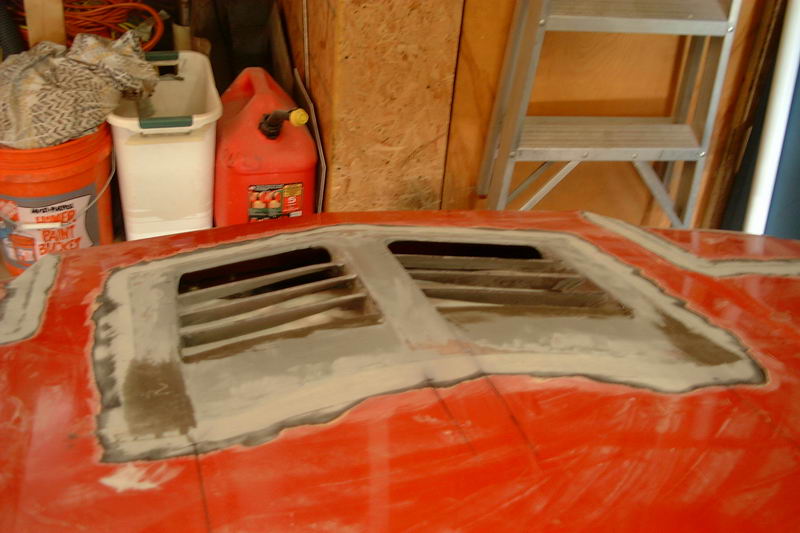
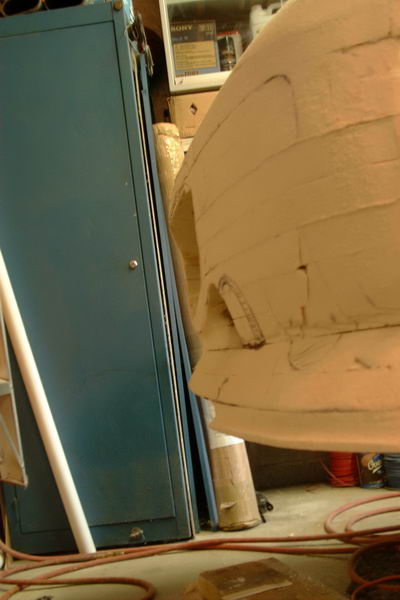
Quickie bump...Been working on it off n on the last week. I've started to layup a layer of drywall mudd. It's a PITA, but from a few feet away it looks cool. I'll post pics later...