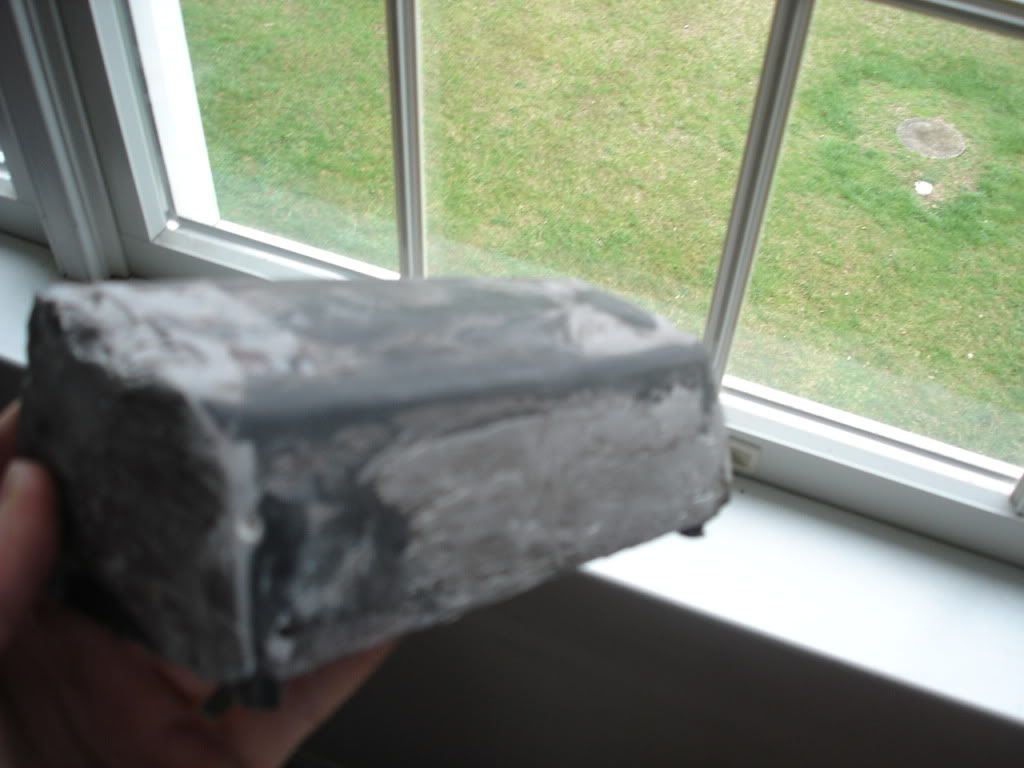
Work has finally begun on my center console! If you haven't heard the concept on any other thread (I talk about it alot ), here it is. I'm going to start with the small piece around the shifter. I take the plastic skeleton (under the warped vinyl) and glass over it. HAZARD: This is my first encounter with fiberglass, so if your in the MD area in the next few days, stay out of Kingsville . I'm then going to put a wood veneer over the top, and black leather around the rest. On a side note, I'm going to take all of the plastic plates that look like brushed aluminum, and replicate themin glass and cover those in veneer also. SO... on with the pictures. if you can notice the tape square under it, that is going to be the opening for the shifter. I measured this by just going into every gear, and putting tape at its limit. THANKS FOR LOOKING!
IP: Logged
04:51 PM
PFF
System Bot
grkboy707 Member
Posts: 3019 From: Kingsville, MD Registered: May 2009
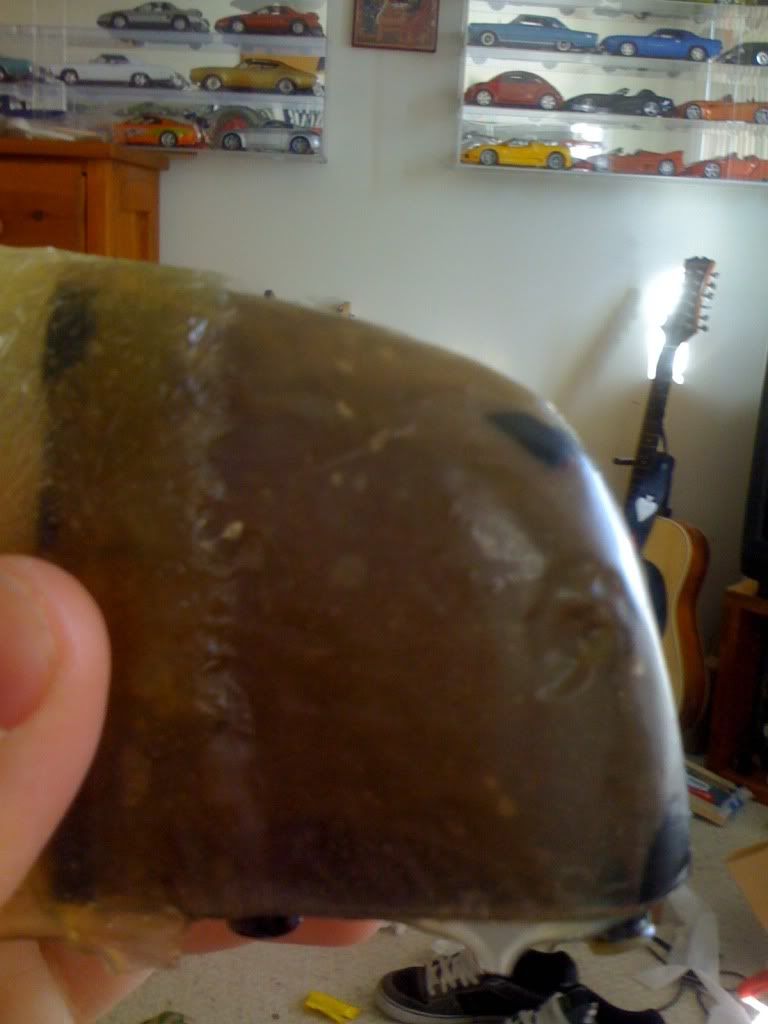
I know its been a while for updates, so here ya go . Well first off, I got some nice veneer for the surface. I dont know if you've ever heard of the wood, but its called zebrawood... Basically because it looks like a zebra.. I'll try to remember for the next updates, but heres the pictures of the near-dried progress. As you can see (or I hope you can. Sorry about the darkness) in the pictures, there's some serious sagging going on. Its fine, it just means there's gonna be some serious sanding. Without further adieu, here they are!
interesting choice of wood. not a big fan of the look in a fiero, but I've never seen one in zebra wood either so that remains to be seen. Good luck with the project I'll be following it as I'm getting ready to attempt my own foray into fiberglass.
IP: Logged
07:47 AM
TXGOOD Member
Posts: 5410 From: Austin, Texas Registered: Feb 2006
Zebra is nice looking wood. I hope your veneer is thick enough not to buckle. I have had problems in the past with thin veneer, that it goes on smooth, but when the contact cement starts to dry it buckles. I`m curious, why are you making new plates instead of just covering the stock ones? I`m interested to see how you do yours. I made some one time but had a hard time trying to cut the openings square and uniform. It ought to look really nice when you get it all done. Good luck. Mike
IP: Logged
07:57 AM
grkboy707 Member
Posts: 3019 From: Kingsville, MD Registered: May 2009
...I`m curious, why are you making new plates instead of just covering the stock ones?
Mike
I was contemplating that all day. I think I just trust the strength of the glass over the plastic, which already has a few of the cracks coming off the screws. However, for the one on the gauge cluster, I might just cover it. That would be the hardest to make. I'll think about it when I get there.
IP: Logged
01:55 PM
grkboy707 Member
Posts: 3019 From: Kingsville, MD Registered: May 2009
interesting choice of wood. not a big fan of the look in a fiero, but I've never seen one in zebra wood either so that remains to be seen. Good luck with the project I'll be following it as I'm getting ready to attempt my own foray into fiberglass.
Well when you do, account for sagging! That was my biggest problem. My second biggest problem was probably not enough hardener. For optimal drying time, wait for a nice hot, sunny day, and it will dry faster than you can clean it up. Today, I did approximately 4 layers at once (I mixed too much resin, and so I had to use the rest of it), which is horrendous for drying time. But when finished laying it, I went in side to wash my hands and put everything away, and when I came back out, the top was dry. Good luck!
IP: Logged
03:00 PM
Mar 29th, 2010
grkboy707 Member
Posts: 3019 From: Kingsville, MD Registered: May 2009
Ugh... Sorry to any followers...I haven't posted any updates in a long time. The steps I skipped are pretty boring though. Well my progress at this point is having the shifter surround completed, and I just took out the temp/ battery gauge pod. I plan on doing that very simply, just glassing over the plastic piece for stability, and making a front plate for it. Right now, the epoxy is drying, as the plastic piece disintegrated as soon as I took it out. I'll post pictures later of my progress. And btw, its spring break, so plan on seeing many updates
Congrats on those first "fiberglassing" steps. You've just entered a whole new world. I'm really excited on how this project is going to look. And no matter what, remember 3 things - 1) Think your project through each step before beginning 2) Most everything can be undone and fixed and 3) POST LOTS OF PICS!
IP: Logged
03:26 PM
grkboy707 Member
Posts: 3019 From: Kingsville, MD Registered: May 2009
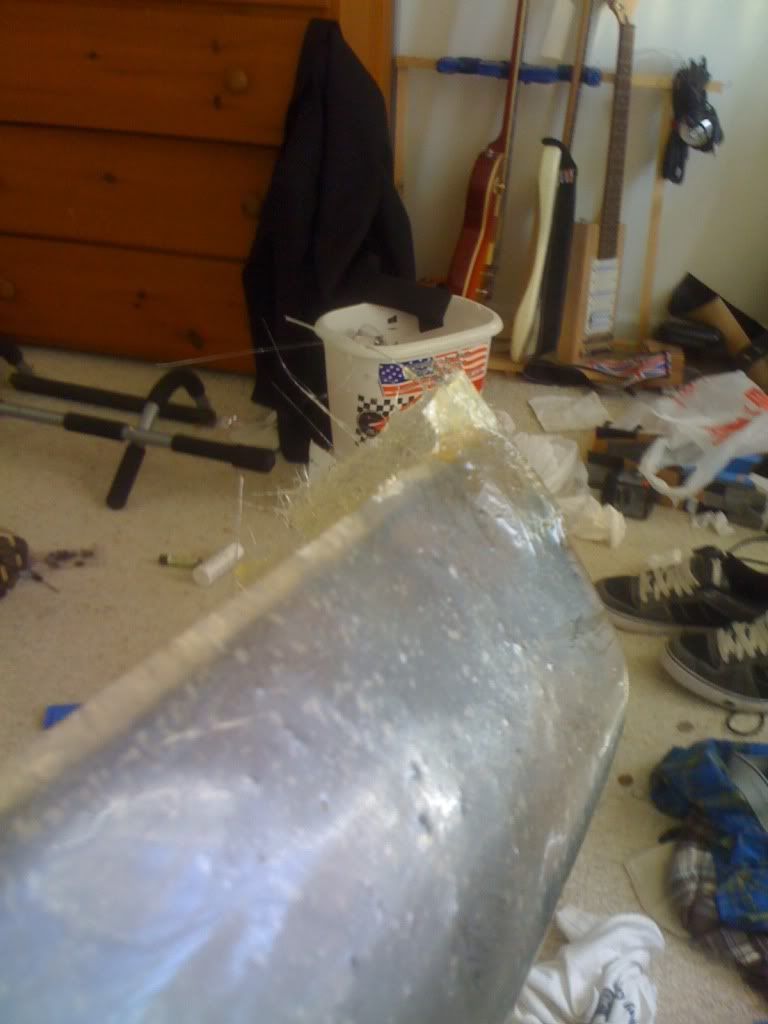
And here is what I am working on. So far, I have filled in a few parts with putty, to make the fiberglassing a breeze. I also sanded this edge to make it a bit more of a curve ...which meant I needed more support back here
I LIKE IT! I really do. I really like the look of the wood. Be sure to add several coats of clear gloss lacquer for protection. Are you going to extend the wood look into the dash and door panels? You have to admit, that would look really sharp.
I can't stress enough to take your time (unless you've mixed resin ) And feel free to ask questions.
Keep up the fantastic work. It's looking really good so far!
IP: Logged
08:55 PM
PFF
System Bot
katatak Member
Posts: 7136 From: Omaha, NE USA Registered: Apr 2008
Oh God, of course I'm going to extend it everywhere! Also, you can't tell from the pics, but the black leather really looks out of place. I need to make everything that was the color of the shift surround, also black. This is gonna be a long project...
Funny you should say that. I was looking at that groove earlier this week, wondering:" hmm, why would GM want to put a groove all the way around the interior?... Unless.. Unless they want me to put something in there!" I thought about how gret the zebra wood would look, but also realized how impossible that would be. What would you think if I got an ordinary dowel, and stained it to a similar color? Or, I could rum a leather-wrapped-PVC pipe through... Either way, how could I go about attaching it? Glue?
IP: Logged
12:30 AM
Vonov Member
Posts: 3745 From: Nashville,TN,USA Registered: May 2004
Looking great so far...3M makes a contact adhesive designed for attaching emblems, can't remember the exact name of it, but it comes in a red tube, you put a bit on the piece you're attaching, and a tiny bit on what you're attaching it to...leave both pieces exposed to the air for about 90 seconds, put the piece in place, and hold it for one minute.
If you really want to do the dash in the zebrawood, I strongly recommend finding someone (or a shop) which has a machine similar to the new computerized woodworking machine that does intricate scrollwork from a pattern in sheet stock...or, if you have a lot of patience, and really steady hands, you could do it with the new multi-tools available (Fein's patent protection ran out) and a dremel-type tool to shape the edges. I'd start by putting a light coat of spray paint on the back side of the wood piece, using a dash plate for a stencil.
Between this thread and a call I got this weekend, telling me my former silver and white Formula was sitting on the track at Daytona, it sort of makes me itch for another Fiero...but I have a VR944 to finish first, lol...
Funny you should say that. I was looking at that groove earlier this week, wondering:" hmm, why would GM want to put a groove all the way around the interior?... Unless.. Unless they want me to put something in there!" I thought about how gret the zebra wood would look, but also realized how impossible that would be. What would you think if I got an ordinary dowel, and stained it to a similar color? Or, I could rum a leather-wrapped-PVC pipe through... Either way, how could I go about attaching it? Glue?
First, yes. They do want you to put something in there. I heard them talking about it. ; ) If I read through your post correctly you said that you used veneer to create the shifter plate? I'm assuming the veneer is very thin or did you use an actual piece of wood?
If the veneer is very thin (similar to an overlay) I don't think this will be that difficult a project. Do you have an extra dashboard laying around?
IP: Logged
08:44 AM
grkboy707 Member
Posts: 3019 From: Kingsville, MD Registered: May 2009
First, yes. They do want you to put something in there. I heard them talking about it. ; ) If I read through your post correctly you said that you used veneer to create the shifter plate? I'm assuming the veneer is very thin or did you use an actual piece of wood?
If the veneer is very thin (similar to an overlay) I don't think this will be that difficult a project. Do you have an extra dashboard laying around?
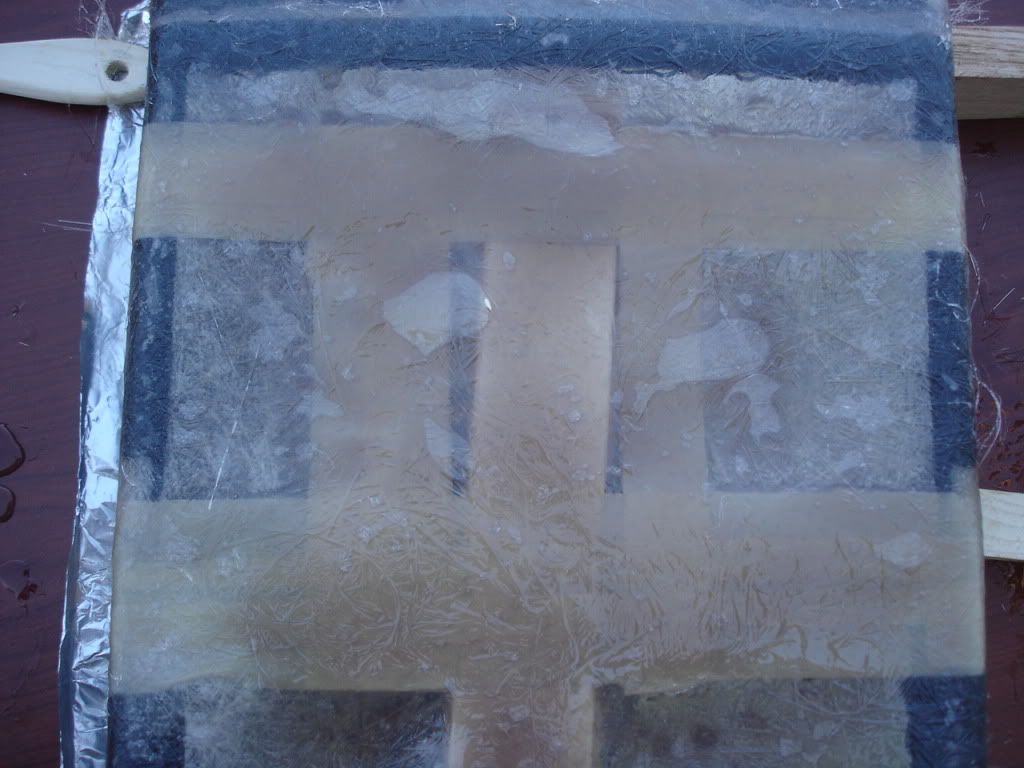
Veneer comes from a tree that is spun, and a blade cuts a sheet of of it. So yes, it's essentially very thin wood. But I dont see how that would make it easy to do? Its rather frail, so I cant bend it or anything. I think I'll sorry about this channel once I get the interior matching . As for now, PICS! Heres the lovely curve
And here, you can really tell how smooth it turned out (other than a few tiny bumps)
Sorry for my dirty room...
[This message has been edited by grkboy707 (edited 04-01-2010).]
IP: Logged
09:41 AM
grkboy707 Member
Posts: 3019 From: Kingsville, MD Registered: May 2009
By the way, is it saying that anyone else is posting at a time that is definitely not when your posting? Its nearly 10am here, and it says I posted this at 4.
Veneer comes from a tree that is spun, and a blade cuts a sheet of of it. So yes, it's essentially very thin wood. But I dont see how that would make it easy to do? Its rather frail, so I cant bend it or anything.
Hey G,
The parts look good so far.
If you have an extra piece of veneer, try soaking it in water - I have no idea how long. But that "should" make the veneer flexible enough to create soft bends and curves. Then apply the veneer to the curve, tape it in place and let the veneer dry. It should retain the same shape.
IP: Logged
09:47 AM
grkboy707 Member
Posts: 3019 From: Kingsville, MD Registered: May 2009
If you have an extra piece of veneer, try soaking it in water - I have no idea how long. But that "should" make the veneer flexible enough to create soft bends and curves. Then apply the veneer to the curve, tape it in place and let the veneer dry. It should retain the same shape.
I'm an avid woodworker, so logically, I would rule that out. However, if I have a little extra, I suppose it wouldn't hurt to try.
IP: Logged
05:08 PM
PFF
System Bot
TXGOOD Member
Posts: 5410 From: Austin, Texas Registered: Feb 2006
I used to make Oak starter steps for staircases and they have rounded ends. About a 5" radius and I tried using a thin veneer, but I found with just the moisture in the glue the veneer would tend to try to shrink along the grain instead of laying down flat. I don`t know how putting in water would affect it. Good luck
IP: Logged
05:16 PM
grkboy707 Member
Posts: 3019 From: Kingsville, MD Registered: May 2009
Hey guys, I have pics of the final sanding, but I'm gonna wait till its covered to post them. It should be done tonight, but I have a very busy schedule, so maybe tomorrow?
I'm an avid woodworker, so logically, I would rule that out. However, if I have a little extra, I suppose it wouldn't hurt to try.
Being a woodworker, you would know much better than I "wood". I've seen a couple people use that process with a considerable amount of luck so I'm just tossing out suggestions. Then again, I am insane so who knows what I'm thinking.
Oh lawdy. I totally forgot about this thread! I'll post pics of my progress in a little while. I need to reglue the leather with contact cement. the spray did not stick in the heat.


 ), here it is. I'm going to start with the small piece around the shifter. I take the plastic skeleton (under the warped vinyl) and glass over it. HAZARD: This is my first encounter with fiberglass, so if your in the MD area in the next few days, stay out of Kingsville
  . I'm then going to put a wood veneer over the top, and black leather around the rest. On a side note, I'm going to take all of the plastic plates that look like brushed aluminum, and replicate themin glass and cover those in veneer also. SO... on with the pictures.


 . Well first off, I got some nice veneer for the surface. I dont know if you've ever heard of the wood, but its called zebrawood... Basically because it looks like a zebra.. I'll try to remember for the next updates, but heres the pictures of the near-dried progress. As you can see (or I hope you can. Sorry about the darkness) in the pictures, there's some serious sagging going on. Its fine, it just means there's gonna be some serious sanding. Without further adieu, here they are!
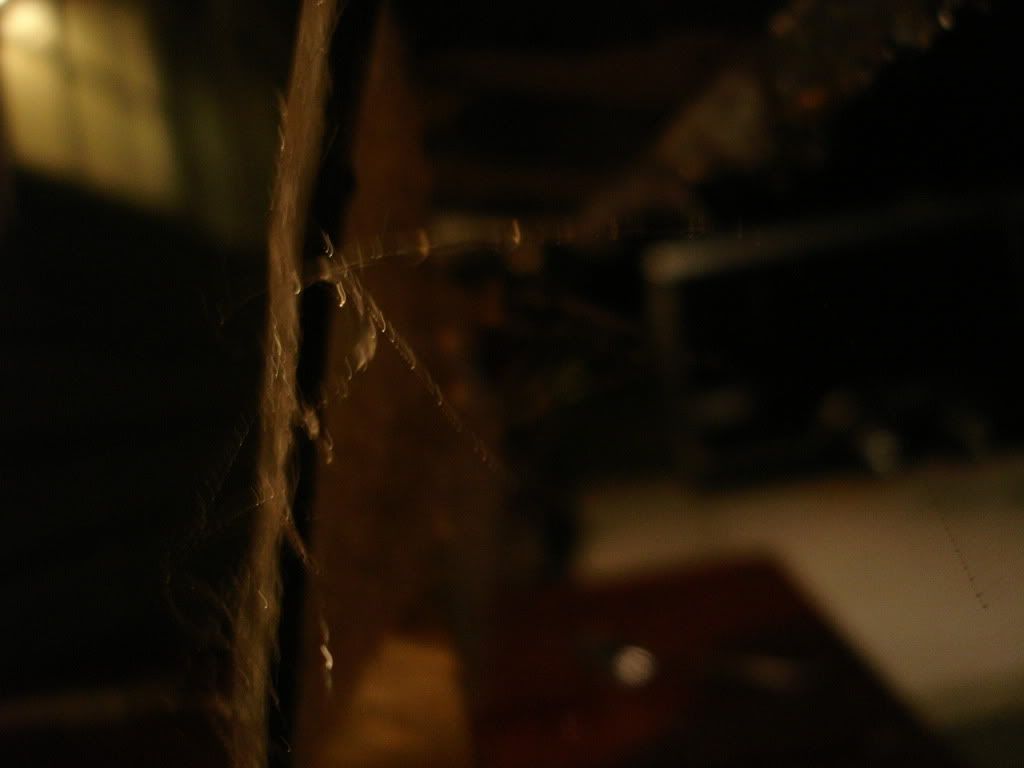


 )
)