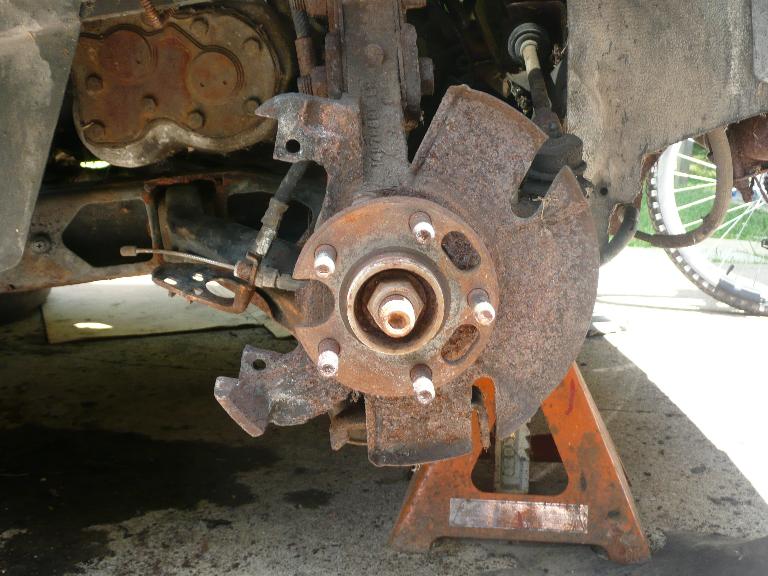
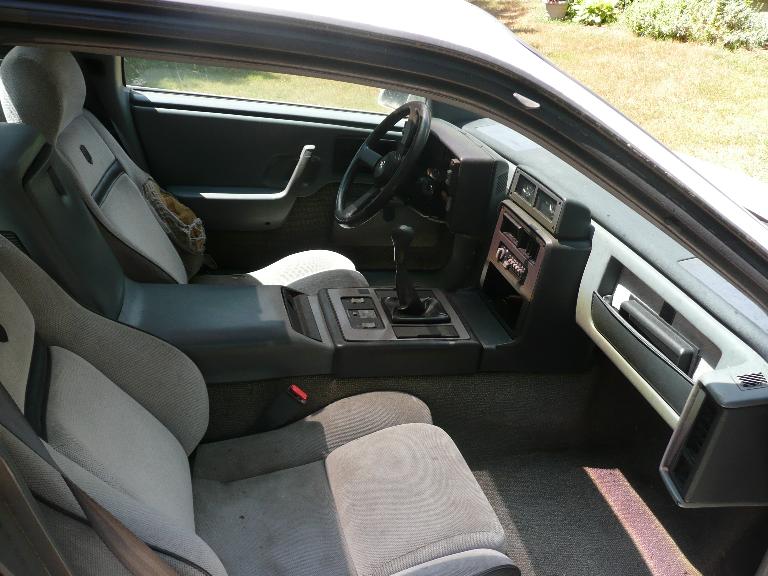
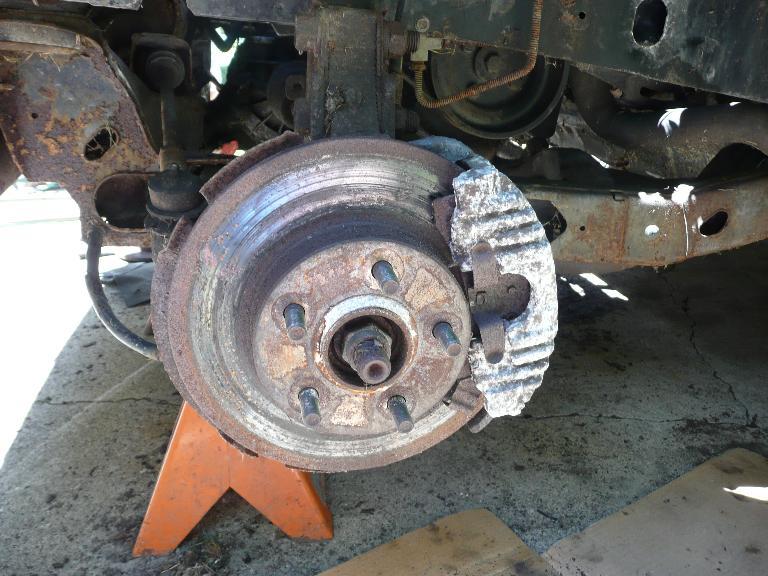
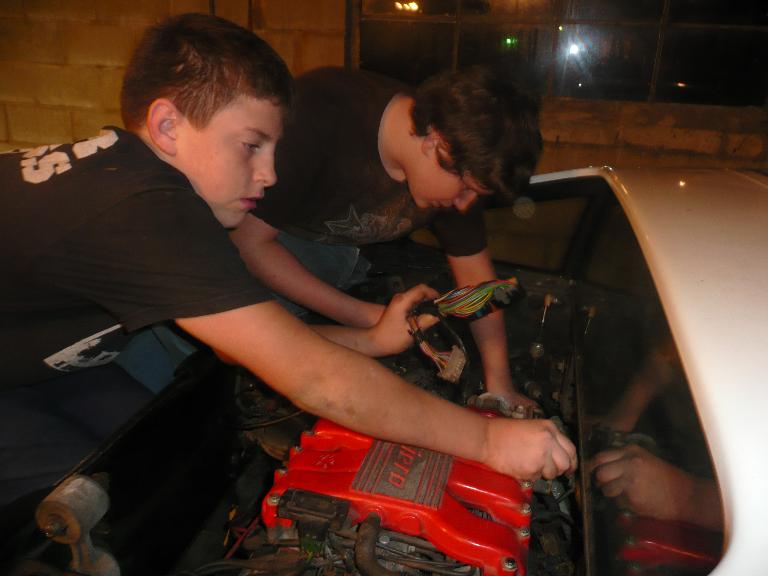
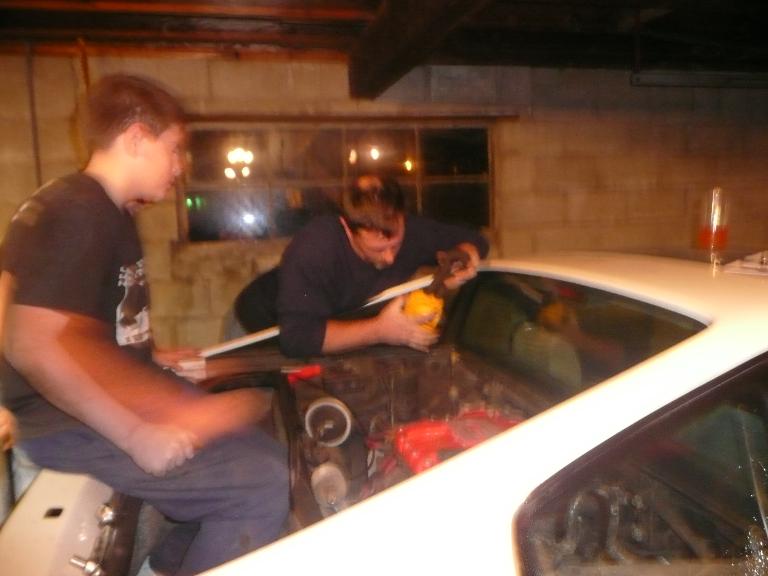
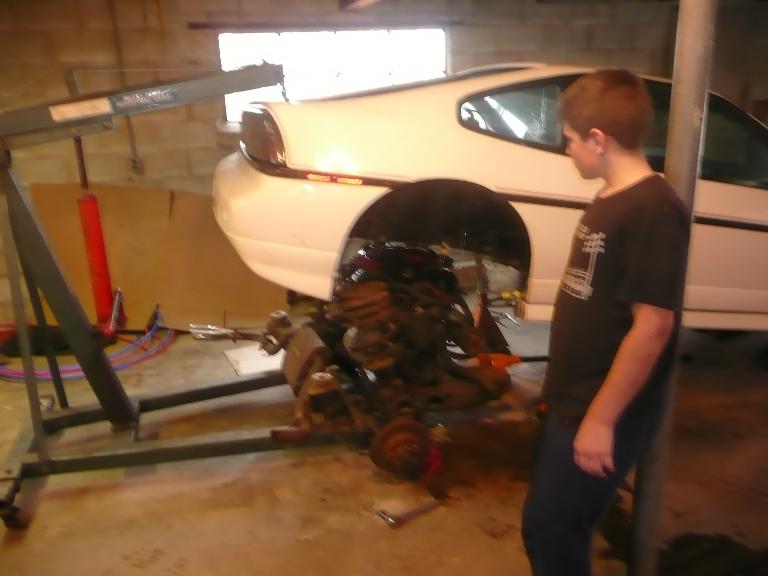
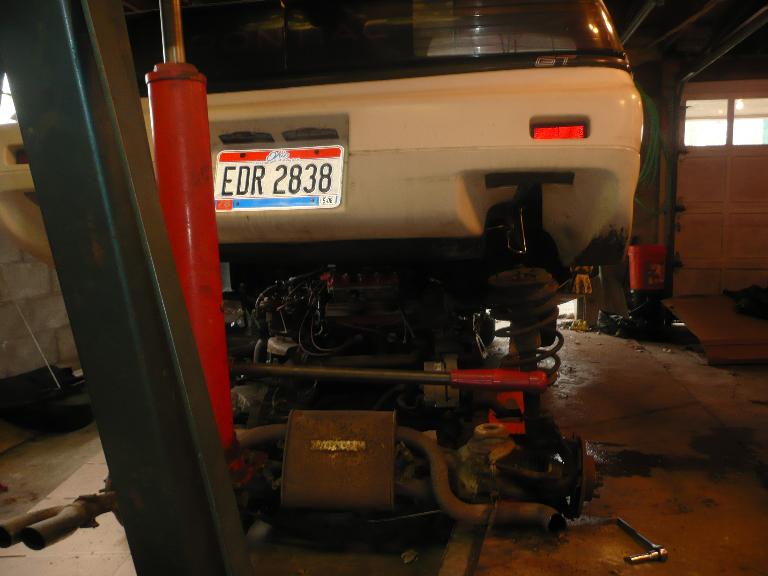
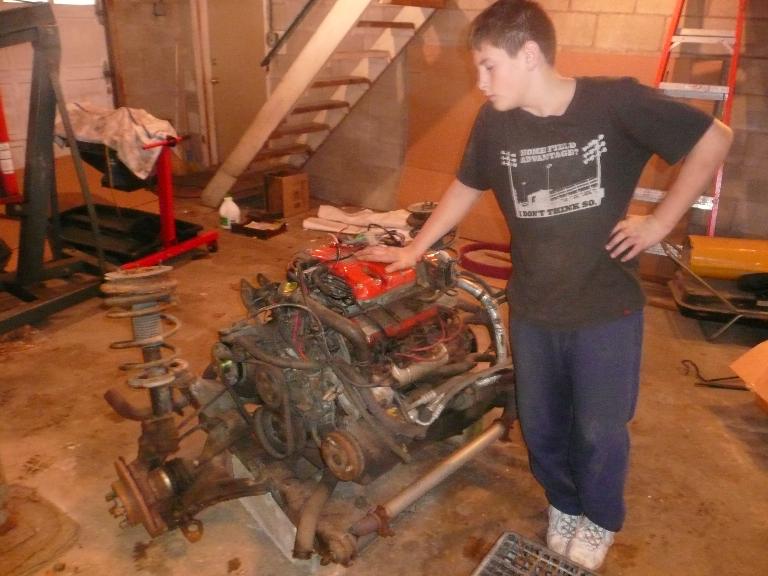
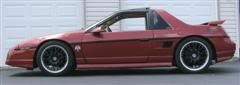
Let me give you guys and gals the low down on myself. I've owned a fiero ever since I was 16. In order they were 84 silver 2m4, 86 silver fastback, 85 red gt, 86 red fastback, and the 1 I have now is 87 fastback(all standard shift ). All of them had very low miles and in great condition except the one I have now. The silver fastback I threw a rod racing and got my 1st lesson tearing an engine out of these. The red fastback only had 20k when I sold it. I joined this forum last summer and decided to take my car apart late last fall. I'll be doing a 3800SC, new getrag, suspension, wheels, one day a chop top then paint. I'll post some of the pics of the work I have done already. Check out my work and tell me whatcha think. Heres some of the car coming apart. The people in the pics are of me, my son TJ and Chase,my daughter Erin, and nephew Tyler. We were originally gonna do a V-8 swap. I had the kit, a small journal chevy 302, brodix heads, aluminum rods, forged 11:1 pistons, steel crank (still got these parts I'm gonna save them for 65 Chevy II project), and then I decided to do 3800 swap instead. I post pics of progress soon.
[This message has been edited by Dementia (edited 05-29-2008).]
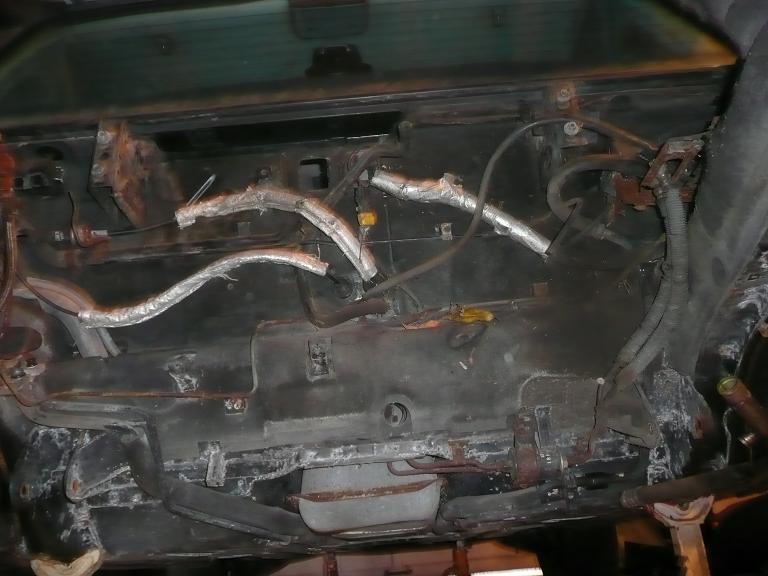
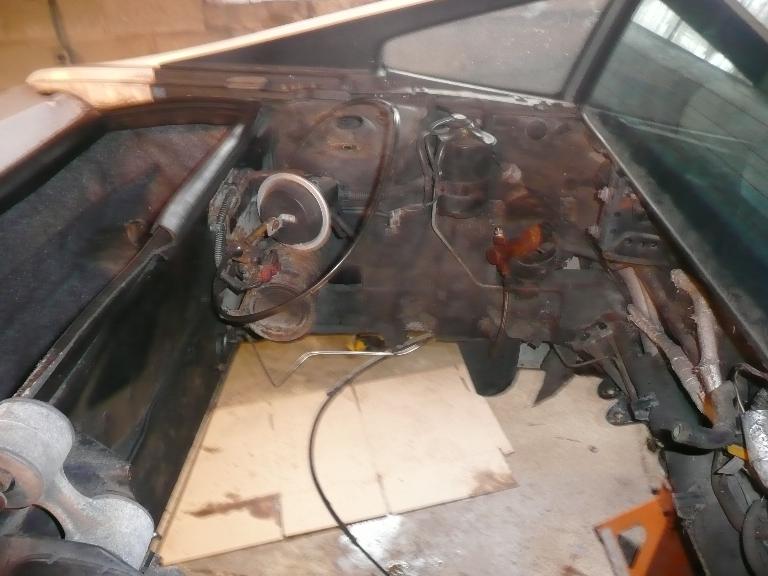
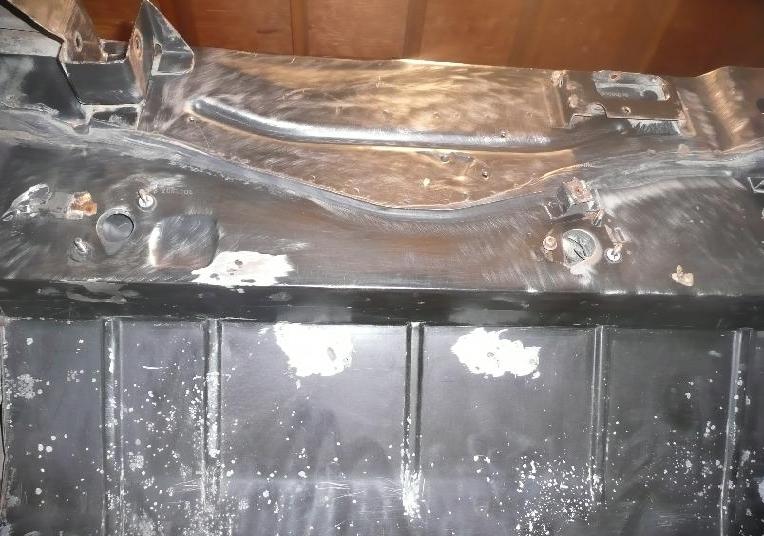
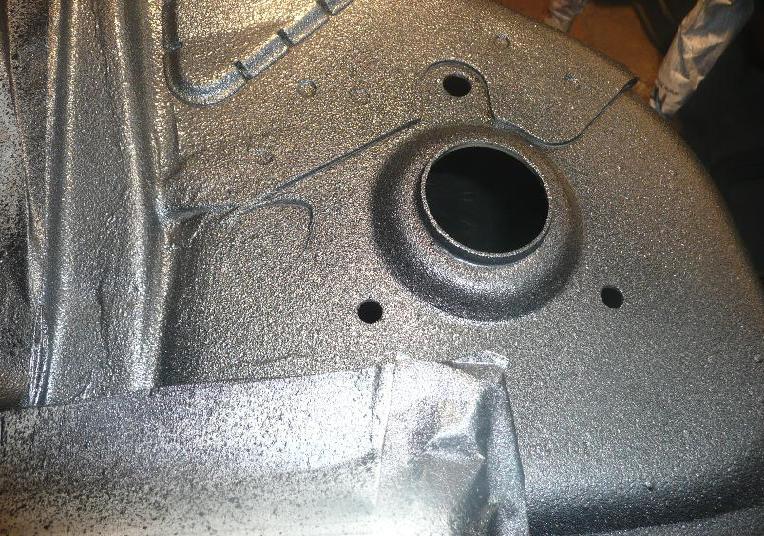
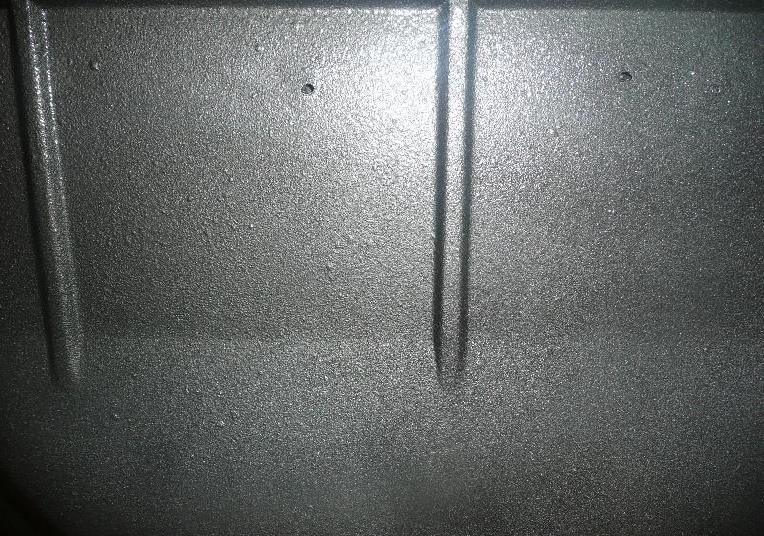
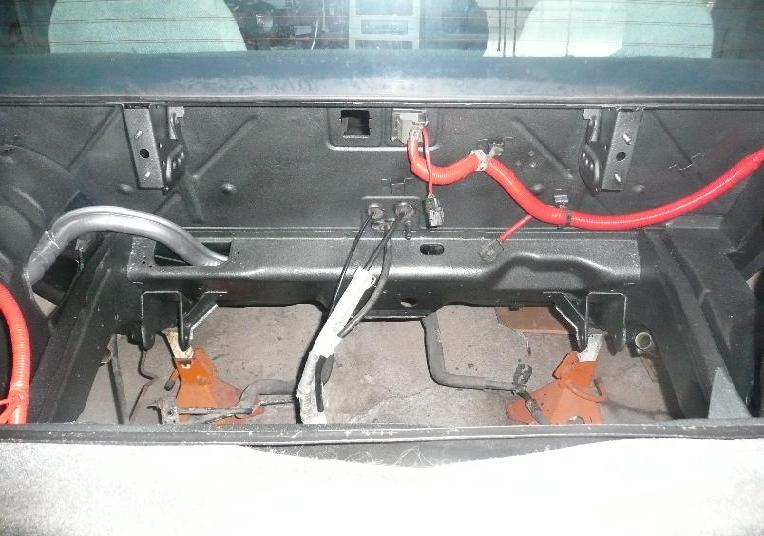
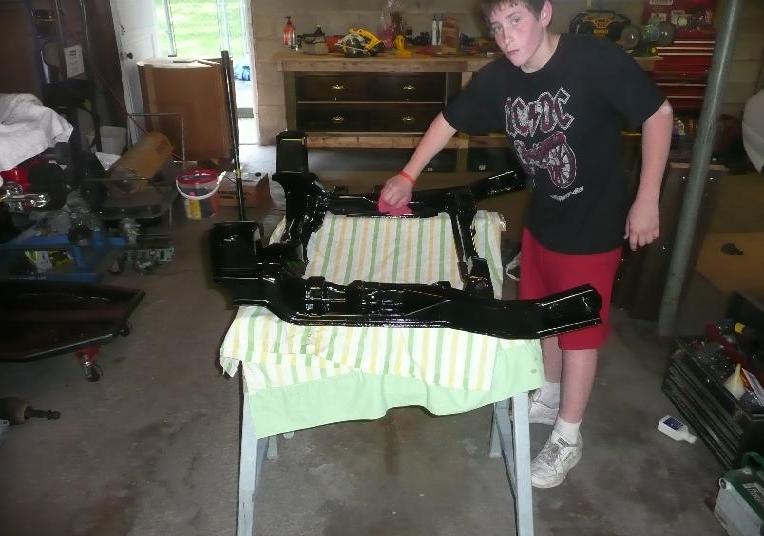
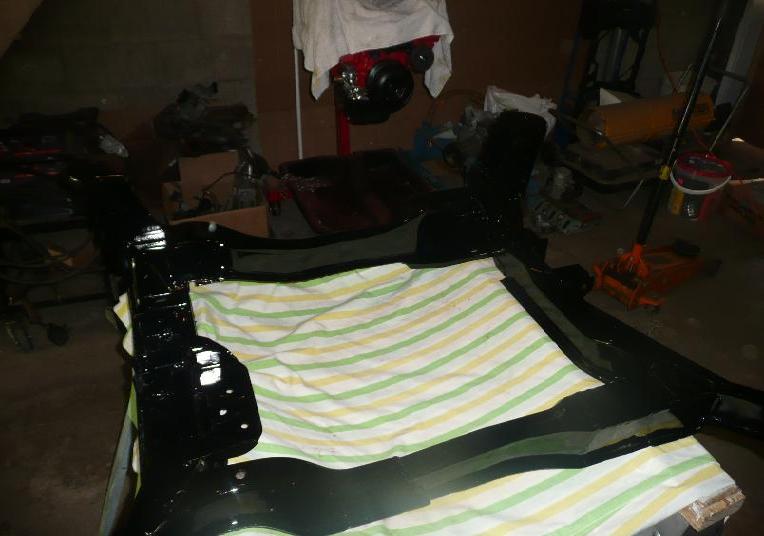
Here are some pics of the engine bay degreased, most mounting tabs ground off, ground down, sanded, primed, sprayed with 3m undercoat, and painted to match eventual color of the car (titanium metallic).
IP: Logged
08:57 AM
rooster1012 Member
Posts: 71 From: Mt. Blanchard, Ohio Registered: Dec 2007
Awesome progress so far, looks like you are off to a good start, and sounds like it will be a nice project. Good luck and keep us updated with your progress!!
IP: Logged
10:00 AM
myersports Member
Posts: 191 From: Millville, NJ USA Registered: Mar 2008
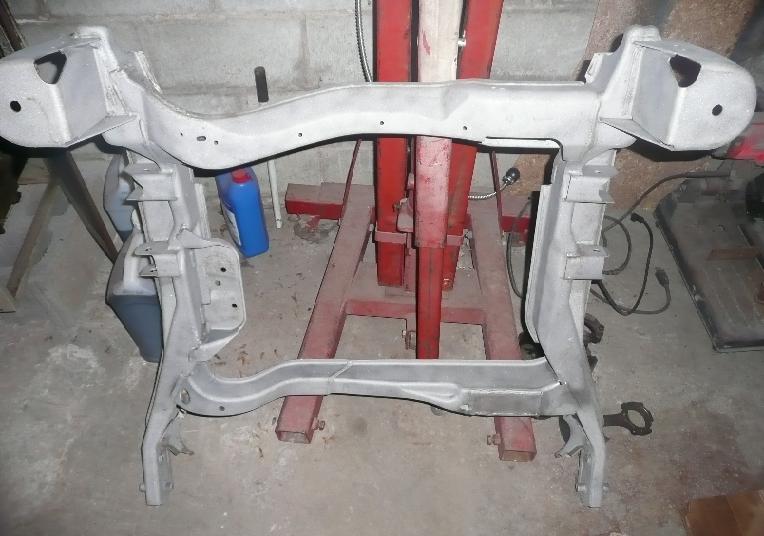
Here's my cradle after being cleaned up, sand blasted, and powder coated. I'm doing the 88 cradle swap. I think it turned out pretty sweet. More pics to come.
[This message has been edited by Dementia (edited 05-30-2008).]
IP: Logged
02:21 PM
exoticse Member
Posts: 8656 From: Orlando, Fl Registered: Jun 2003
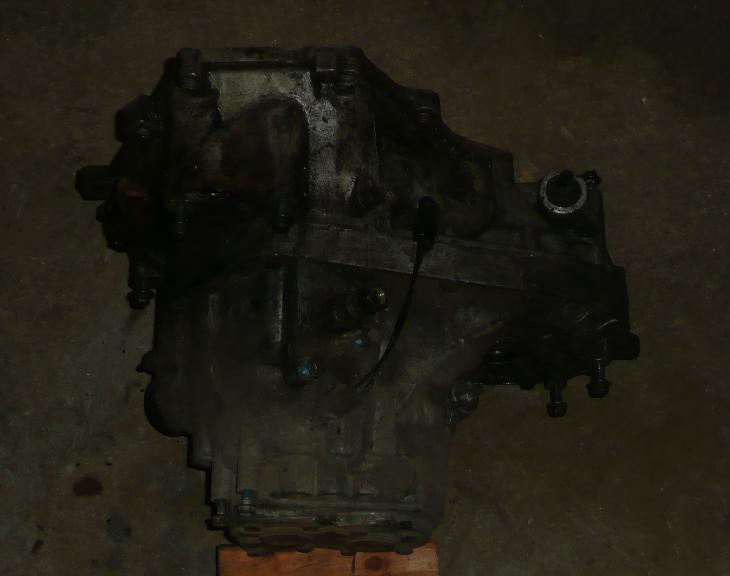
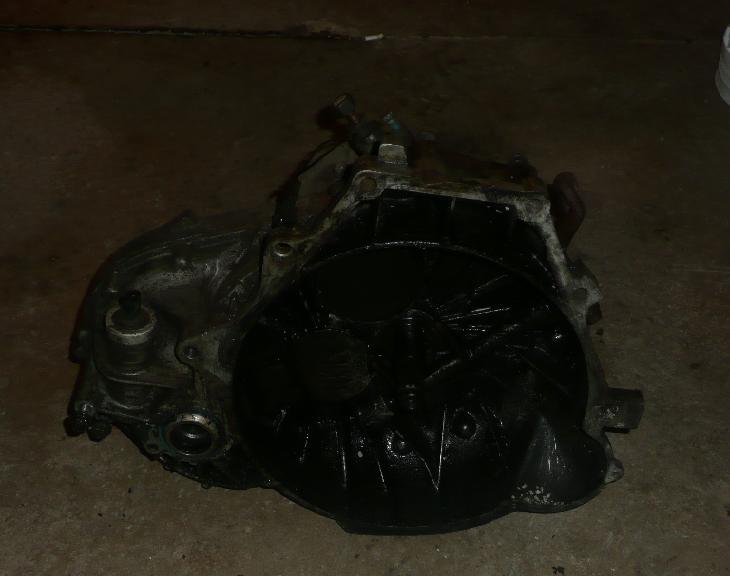
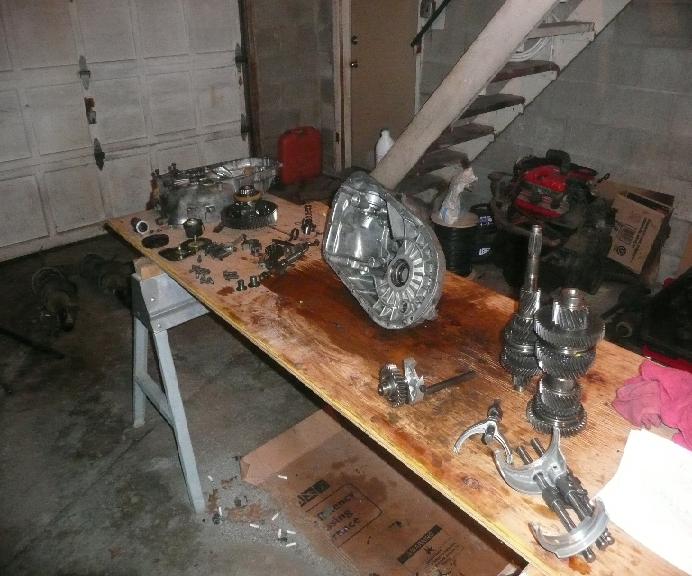
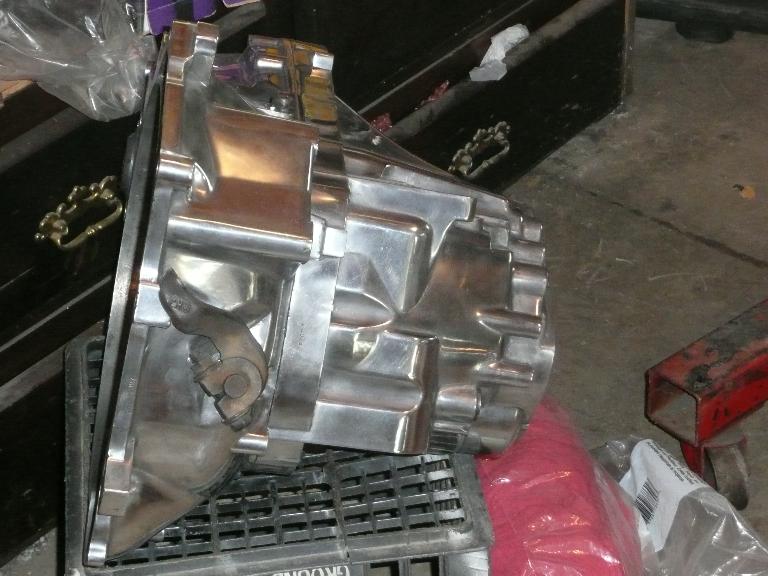
Heres the 5 spd getrag I took out of it. As you can see it looks like a 20 yr old transmission. I took all the guts out of it and replaced them with all brand new parts from a quad 4 beretta with the bigger spider gears and a 3:94 final drive. All bearings and seals replaced too. The only parts I kept were the shift rail, plastic speed gear, and vss. I've got about 25 hrs in cleaning, sanding, and polishing this housing. I'm thinking about switching over to the V-6 beretta bell housing using the internal throw out bearing so there will be some polishing going on. It didn't come out to bad for my 1st time polishing aluminum. Theres gonna be a lot of polished aluminum on this car before I'm done . Well here some pics of the process.
[This message has been edited by Dementia (edited 09-03-2008).]
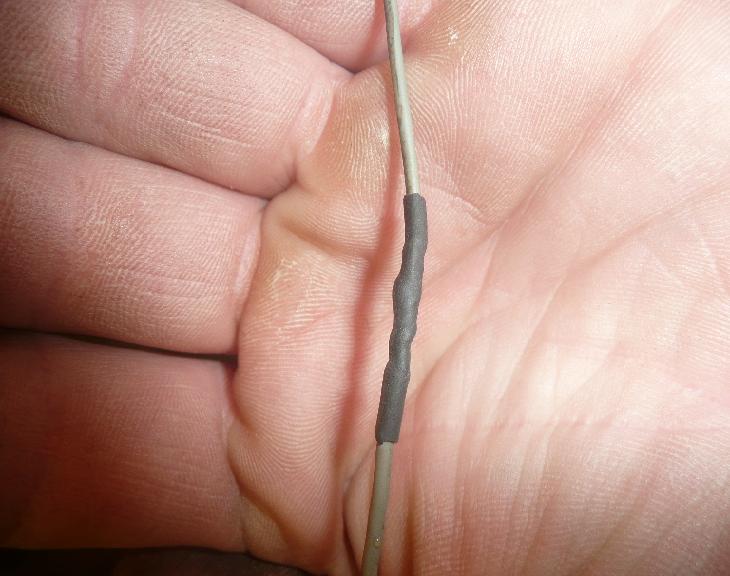
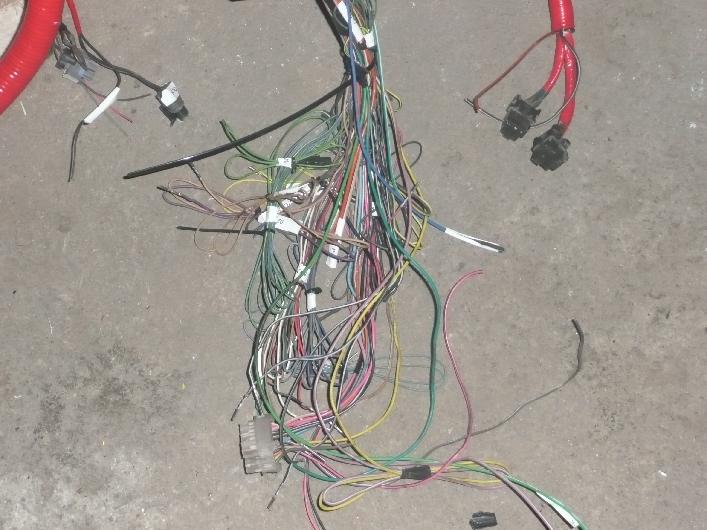
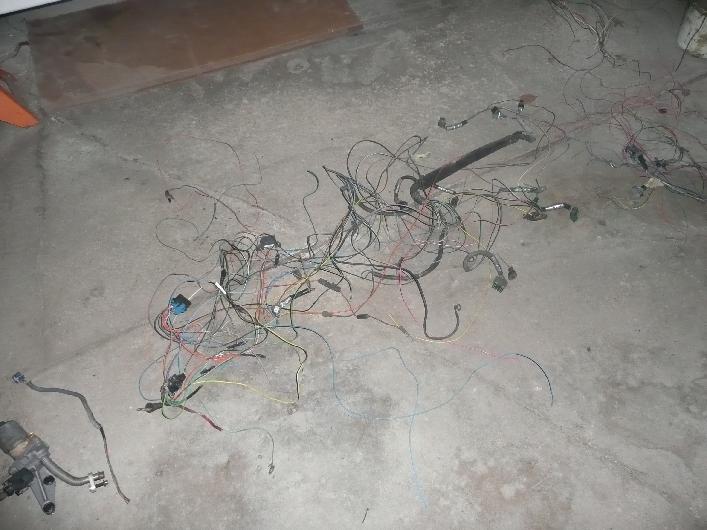
Alright wiring harness is done. All I have left to do with it is put the c1 and c2 connectors back on. Kind of time consuming doing it this way and a little confusing at times. I just did some then read some more, then do some more read some more. Hope I can turn the key and the harness don't burn. Thanks to Fieroflyer for all the help and pin outs for the pcm. Anyone that may need these pin outs or diagrams I would be more than happy to post them here or pass them onto you. Well here are some I took along the way. Heres how each connection was made. I went to radio shack and bought a small soldering iron and heat shrink Heres some of it finished up. And heres whats left of old harness If I am posting to many pics to this tread let me know. The engine is nearing completion and I will post more on that later. Flywheel was sent to purplerein and I'm waiting on clutch and pressure plate. So I'm getting close.
IP: Logged
07:41 PM
PFF
System Bot
Back On Holiday Member
Posts: 6238 From: Downingtown, PA Registered: Jul 2001
I'm looking at mounting the pcm inside the car in the original location. How have others gone about it? Which way does it mount? Did you do any cutting? I'm waiting on my 98 pcm are they smaller than the 97 I have right now?
IP: Logged
10:31 AM
thismanyfieros Member
Posts: 3468 From: Red Deer, alberta,canada Registered: Dec 2002
mine is in stock location but i have never even bother to take a peek at it as fieroflyer built my car for me....personally i think thats exactly where it belongs.....tim
IP: Logged
11:25 AM
Jun 25th, 2008
MOBILE Member
Posts: 768 From: Linwood, MN, USA Registered: May 2002
I believe the PCM's should be the same size. In 1999 they kind of "hollowed" out the center of one side of it, but all of the series II PCM's have about the same outer dimensions. I have done a half dozen swaps now, and the first couple were series I's and I did the PCM in the trunk. I was very happy in doing the rest as series II's because I was able to fit the PCM in the stock location. I also integrated a single plug for the engine under the hood for easy removal. This has come in very handy on a few cars (ahem...Purple Reign's ) as his cradle has been in and out dozens of times.
Looks good! Keep the progress pics coming....
MOBILE
------------------
Member MN Fieros Forever Self Installed SC3800/getrag. 13 years in Car Audio and Car Electronics Experiance........ 19"s.. w/ 13" Brakes all around.
IP: Logged
09:56 AM
Sep 3rd, 2008
seegeer Member
Posts: 492 From: punxsutawney pa Registered: Oct 2007
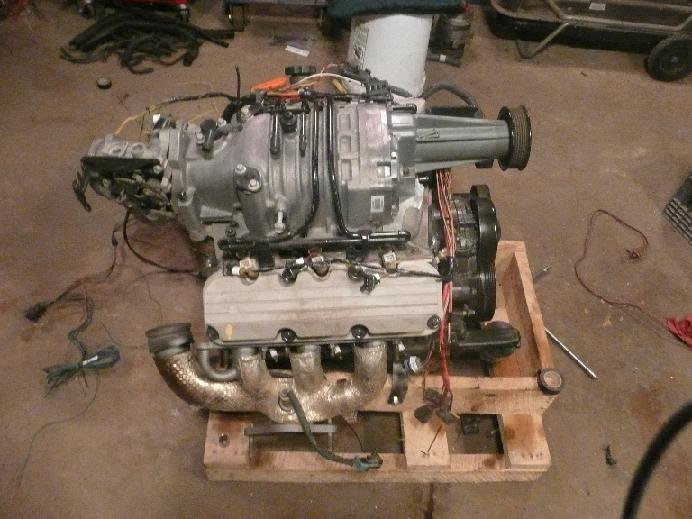
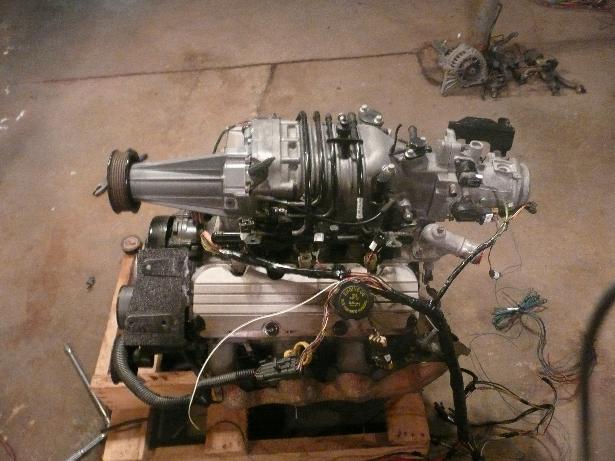
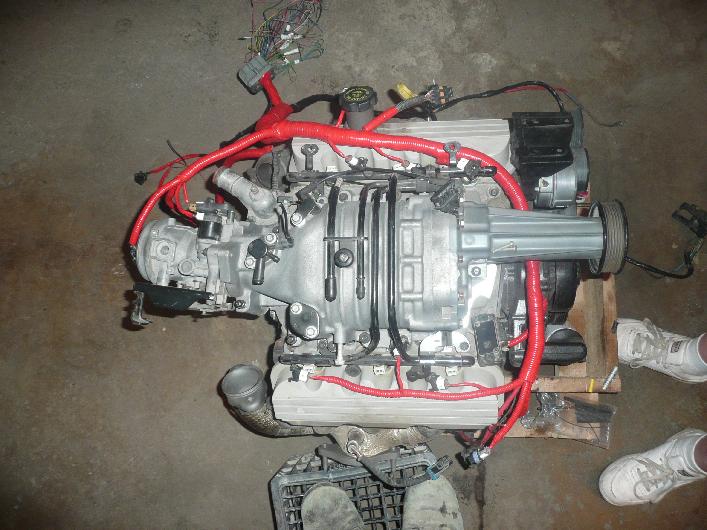
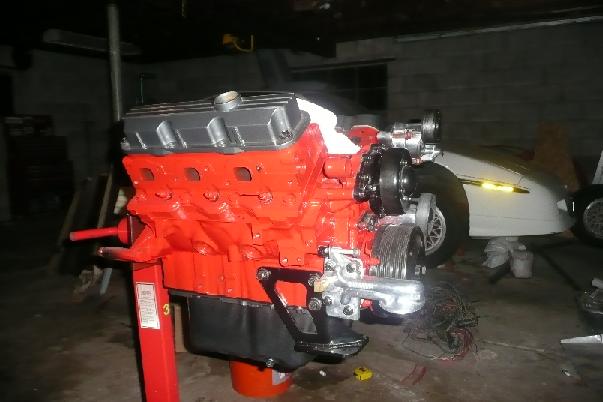
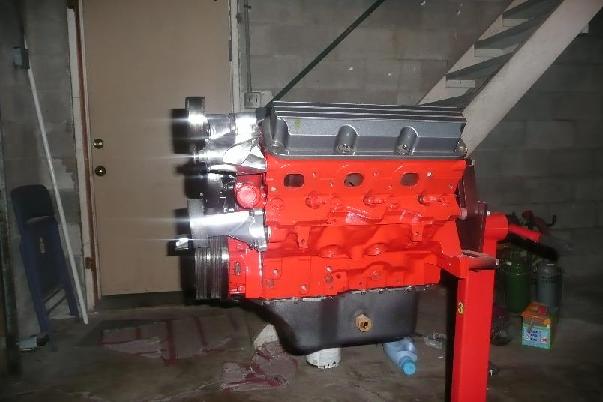
Thanks for all the nice comments guys. Progress has been a little slow do to time and $$$ but I'll be getting back to it soon. I just can't resist mods as I go and we all know they cost ya. I was raised on the saying "Speed cost money! How fast do you want to go?" So far I blew my engine budget by getting a gen V blower, zzp mps with a 3.25 pulley, 3.8 ford headers, and zzp fuel logs. Now I dont think I can fight the urge to get a bigger cam and heads. Time to tear that pretty engine back down. Heres a few pics with the gen 3 torn back off. It looks good but oh well. Hey Mobile if you happen to look back in here I wouldn't mind to see a pic of that plug you mentioned.
Edit to say that polished aluminum sure is bright with flash on.
[This message has been edited by Dementia (edited 09-03-2008).]
Aren't you worried that a 3.25 pulley is too small for a non camed motor, especially being a gen V blower? From what I've read, you can make short work of the motor without supportive mods for the pulley. I'd hate to see all of that good looking work go to waste.
Here's what ZZP recommends:
quote
Generation V Blower (04+ grand prix) 3.8� pulley � totally stock car 3.6� pulley � Colder Tstat & spark plugs, downpipe, Cold air intake 3.4� pulley � all of the above plus a VS cam, or SS intercooler 3.3� pulley � 3.4 mods and a XP cam 3.2� pulley � 3.4 mods and a fullsize intercooler or an SS ic and a VS cam. Anything smaller than a 3.0� pulley will require a camshaft, headers, intercooler & injectors.
You might be ok if your blower were ported. Anything to reduce top end pressure and resultant KR. Food for thought.
I'm not to worried. The rest of the mods I have planned are XP cam, 105# springs, P&P the heads, P&P the LIM and blower, upgrade the TB and injectors. Eventually I'll put an IC on but not right now. I have read where DH was talking about having used a 3.25 pulley on manual swap with the mods I already have and said all was fine. Also ohio86se is running a 3.4 with a stock engine, stock exhaust, and only a CAI with no problems and has good results. Thanks for the input though.


 ). All of them had very low miles and in great condition except the one I have now. The silver fastback I threw a rod racing and got my 1st lesson tearing an engine out of these. The red fastback only had 20k when I sold it. I joined this forum last summer and decided to take my car apart late last fall. I'll be doing a 3800SC, new getrag, suspension, wheels, one day a chop top then paint. I'll post some of the pics of the work I have done already. Check out my work and tell me whatcha think. Heres some of the car coming apart.
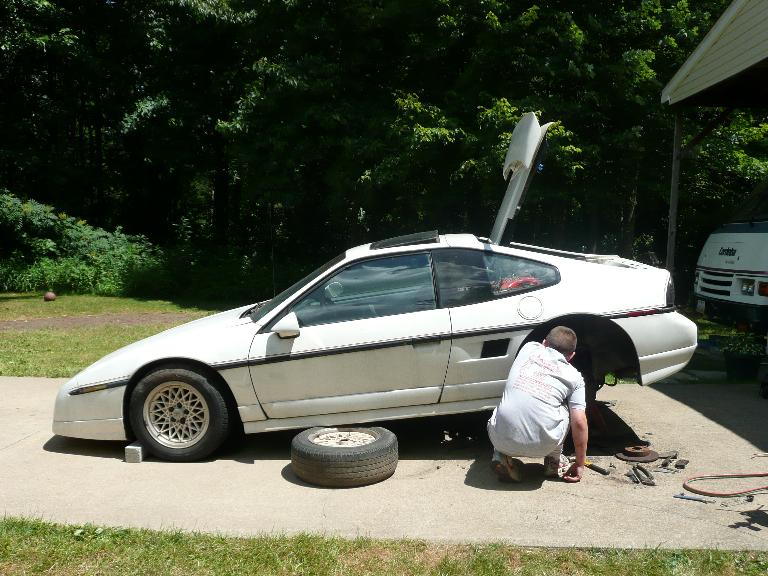


 .
.


 Thanks to Fieroflyer for all the help and pin outs for the pcm. Anyone that may need these pin outs or diagrams I would be more than happy to post them here or pass them onto you. Well here are some I took along the way.