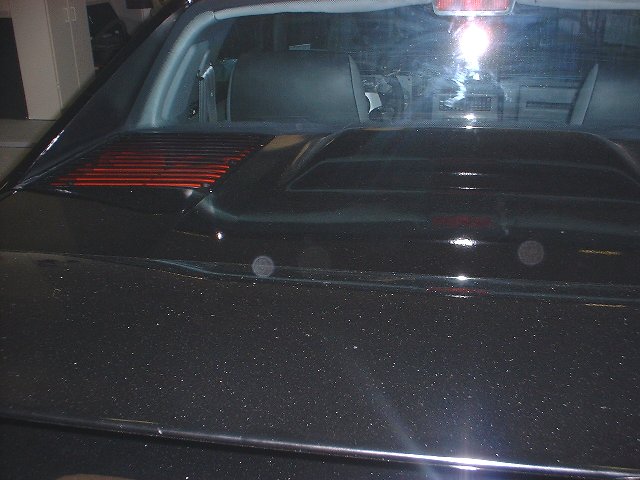
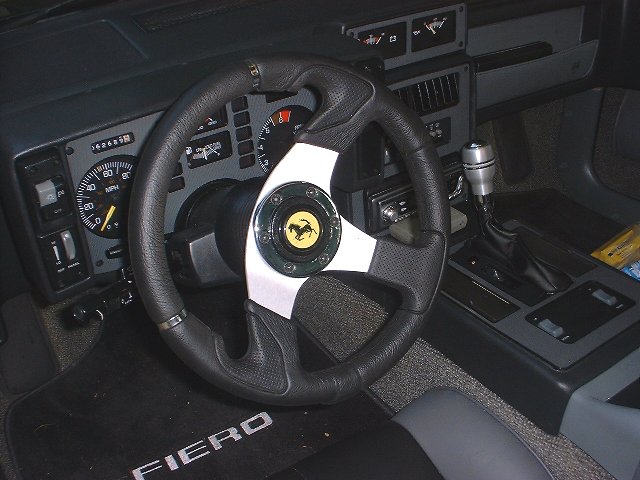
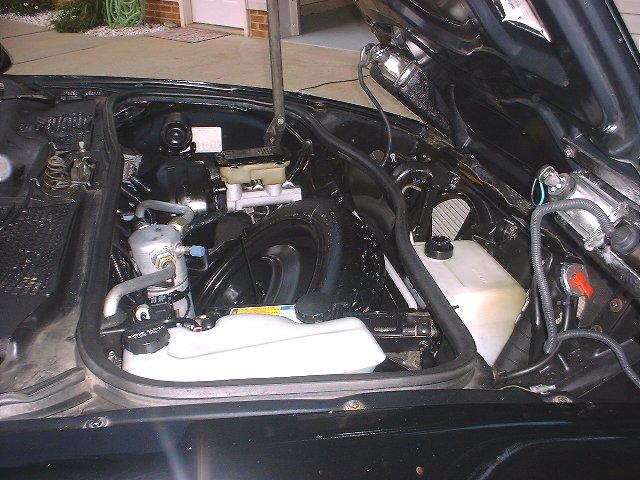
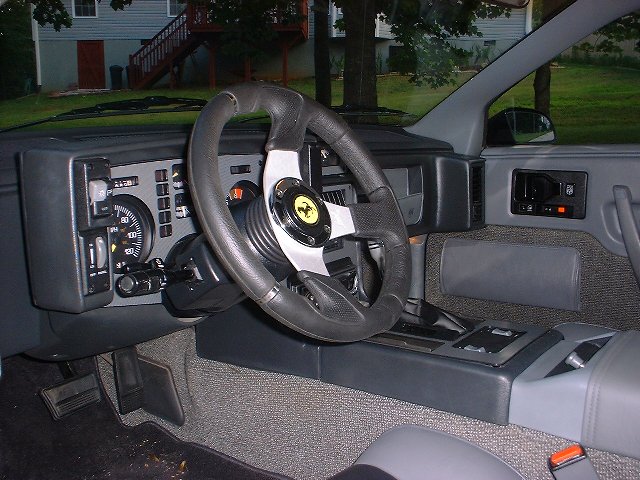
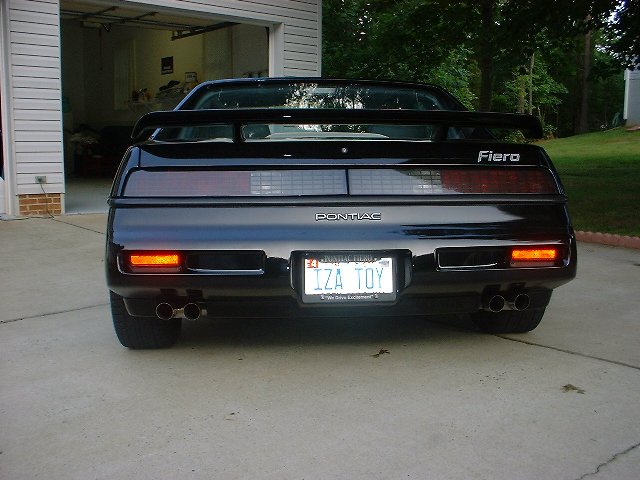
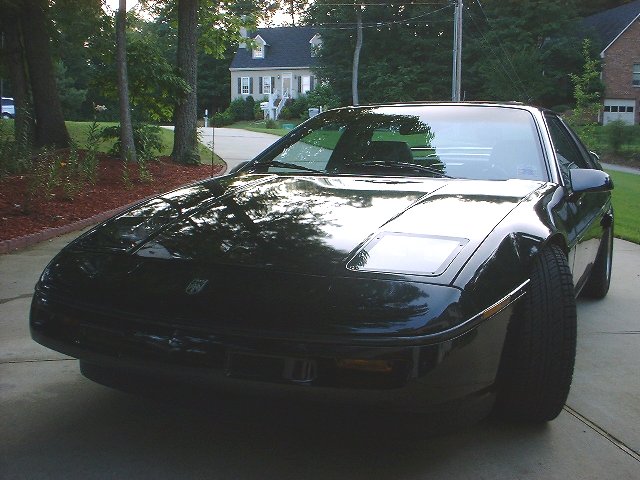
Here ya go, lots of work has gone into IZA TOY to get it right, but still more to go. This weekend will be new black carpet and headliner and a strut brace and polished Thermostat cover and more cleaning!
all new suspension from poly to lowered springs to new ball joints etc. You get the point...
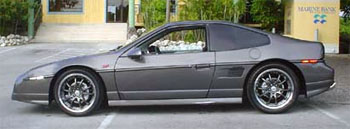
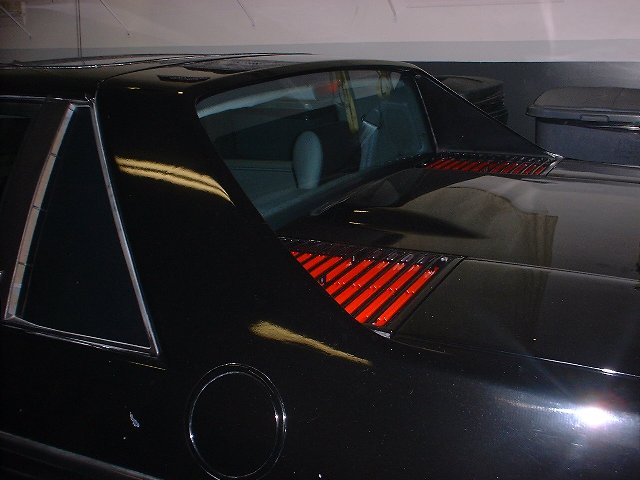
anyway here she is!
More in the next post!
Special thanks to Norm's Fiberglass Fiero Store Autozone Junkyards Mr. Mikes Leather seats Momo Firestone
And last but not least to the people of this site that I have learned so much from while doing this project. Without each and everyone of you my efforts would not be appreciated!
Now for the next project, a 1986 SE 4 speed with a V-6!
That certantly is one bad-azz black notchie!! just a question....... are your tires "Lemans"? because i have some of those on my GT and they look great (on your car that is, mines are a little dirty)
------------------ I own an original yellow 1988 pontiac fiero GT, (wingless, currently purple) very proud also....Truly is...Driving Excitement! Matching numbers GT #17889 of 26,402 made in 1988
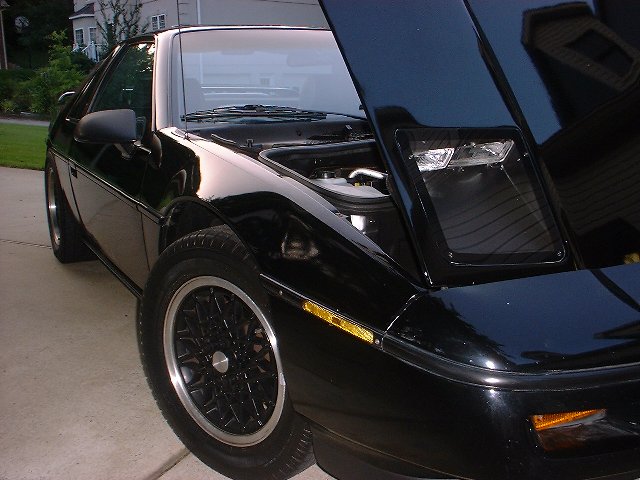
Yes they are, they only have about 10K on them since put on the car. I sandblasted the rims, then cleaned and painted them. With the new suspension on the car it looks better now then when it was stock.....
thanks
IP: Logged
09:48 PM
Fierokid87 Member
Posts: 4954 From: N. Ridgeville, Ohio, USA Registered: Jan 2001
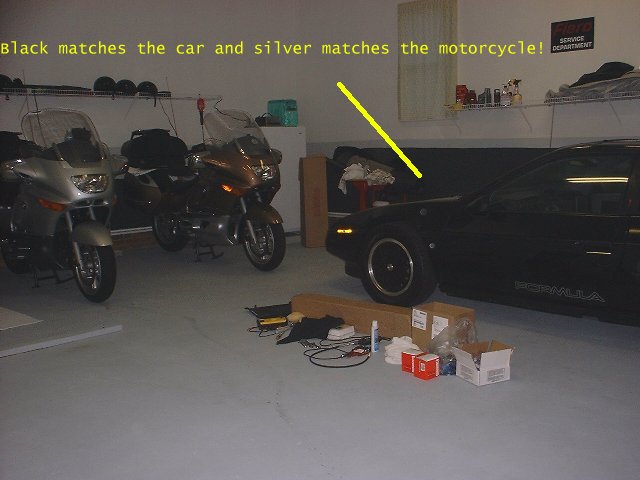
IZA TOY has the following done to her in the suspension area...... New ball joints Poly everything Fiero Store one inch lowered springs KYB shocks KYB struts all new nuts and bolts all wheels trued etc etc etc and then the Lemans tires on stock rims
We do need to meet and share stories and ideas....
I have in my lower garage a sandblasting cabinet, Welder (mig) all the tools that I would need to do anything and weekends free! I will be going to Charlotte in the AM, we have an office with a new server so my crew is doing the work. I am taking the BMW K1200LT down for the trip. I should only be a half a days worth of work. Then off to the Blueridge for some riding!
Just let me know when you have sometime!
Talk to you soon!
IP: Logged
10:49 PM
ca_xtreme Member
Posts: 536 From: vacaville, ca Registered: Aug 2003
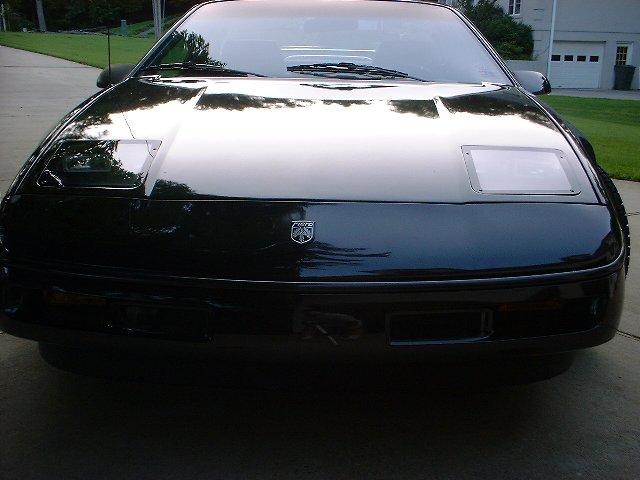
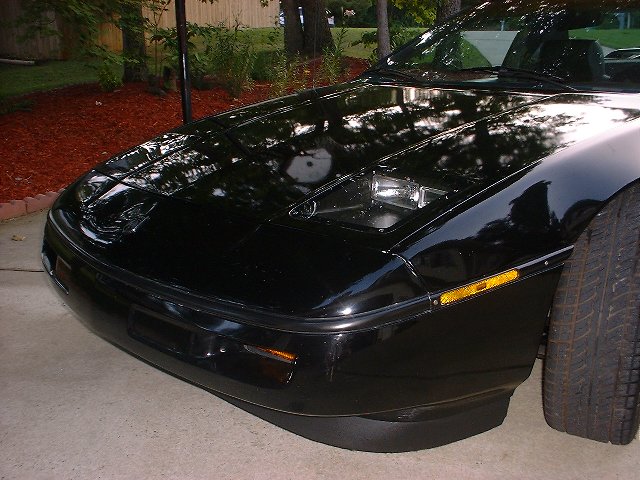
hows the light output on your flushmount kit im really thinking of doing that on my car from my recent headlight dilema also how much did the lights actually cost ya? ------------------ my car is for sale interested pm me!
[This message has been edited by ca_xtreme (edited 06-18-2004).]
IP: Logged
11:09 PM
Iron_Mark_2003 Member
Posts: 1767 From: Northeast Kansas Registered: Jun 2004
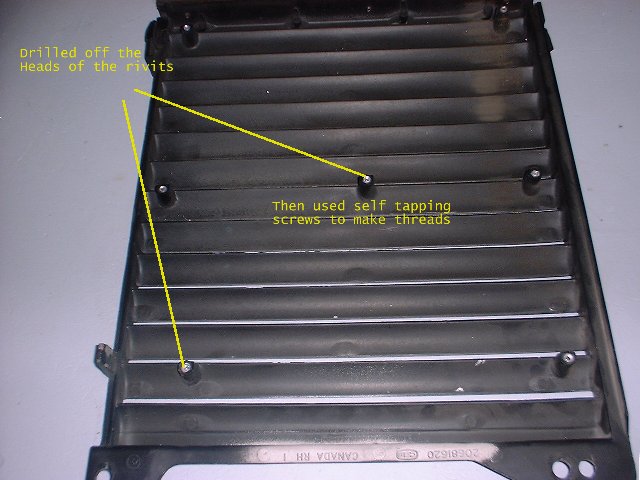
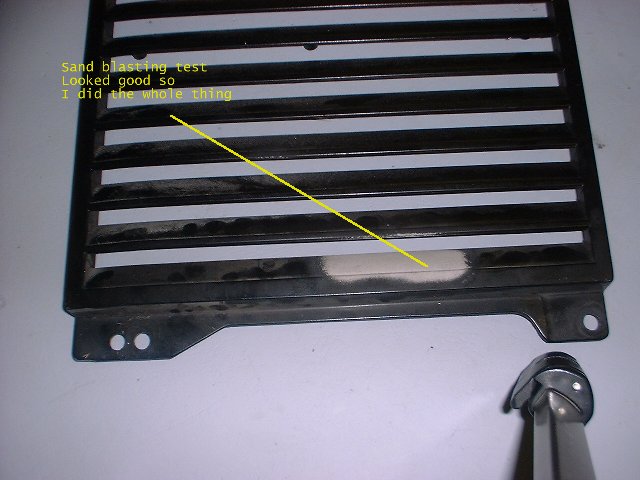
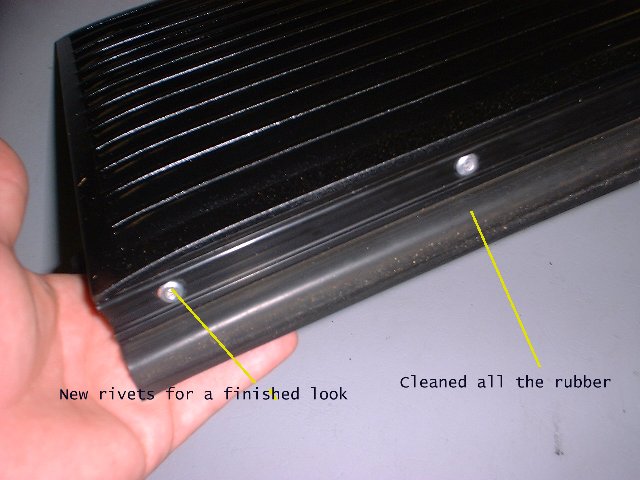
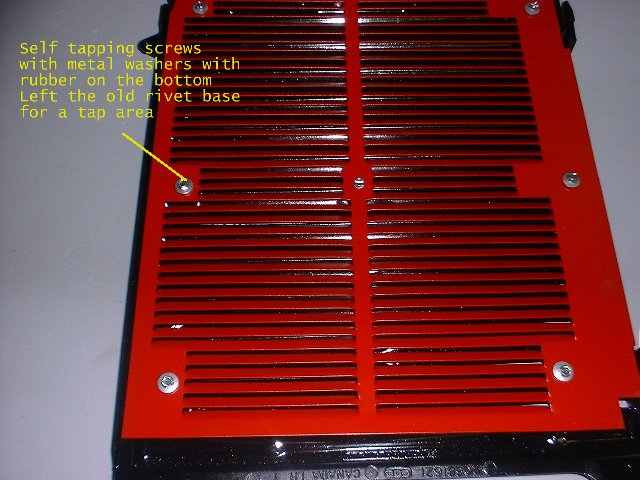
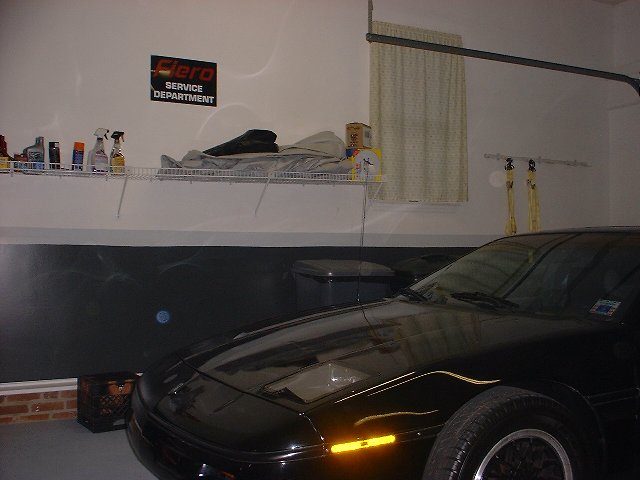
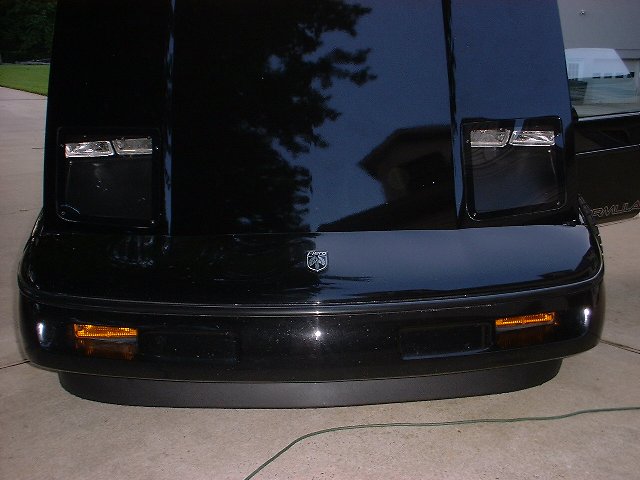
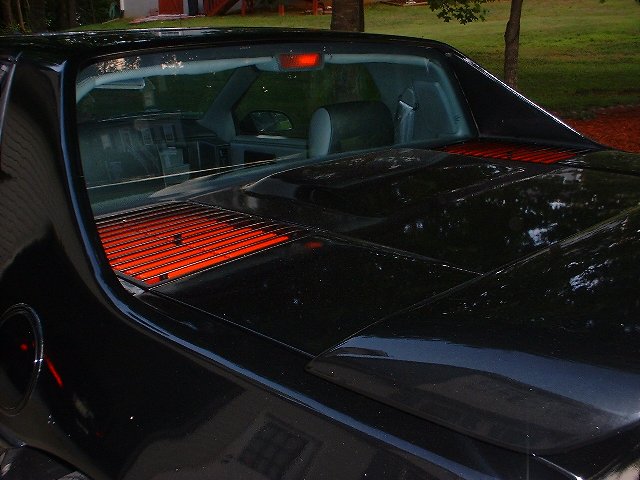
I will post some pictures of the grills on Saturday since it is getting late here.... I will show you what I did.. In the easy form I just drilled out the rivits and sandblasted the whole thing. Then I primed the grills then painted them. I used self tapping screws to put back in the holes and they were done! Simple but effective....
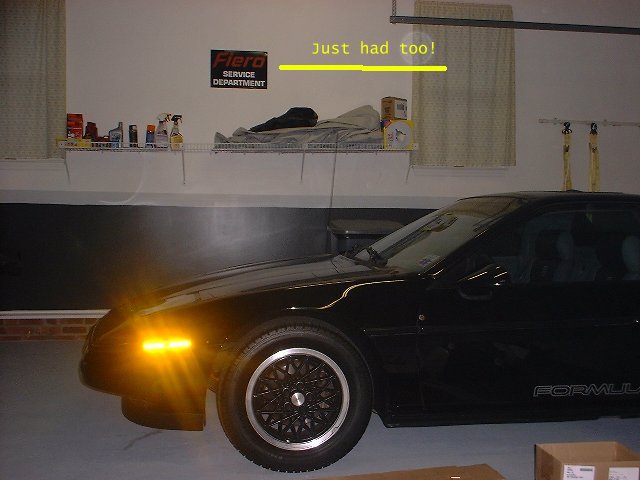
Headlights The output was a little less then I expected, but working with the headlights for two nights I was able to get them just right. I get more looks with the new headlights then any other mod that I have done. Norm's headlights are worth the effort. I paid a little less then what he is selling them now for since a man needs to make a profit on his products. With all of the work that Norm does to these headlights he was not charging enough for the labor and parts.... WE almost lost him doing this since it was not profitable for him. So even though the price went up to cover the costs I still would have bought these.... the cool factor out weights any issues!
Hello, Wow your car looks beautiful very nice job and it certainly was a pleasure doing business with you and thankyou for your patience. thanks again Norm.
------------------ Norm Vandermee
IP: Logged
11:59 AM
PFF
System Bot
Tabs31 Member
Posts: 2049 From: Toronto Ontario Canada Registered: Nov 2001
------------------ -Chris - Custom Gun Metal 86 GT 3.4 5spd "It's too low, too rough, too loud, drinks gas, it's totally impractical, but damn good lookin. In other words, It's almost perfect!" Build up tread or MODS w/ Pics
Thanks Norm, I am spreading the word on your headlights. They are a must have! I love them. Everywhere I go someone has something nice to say about them....
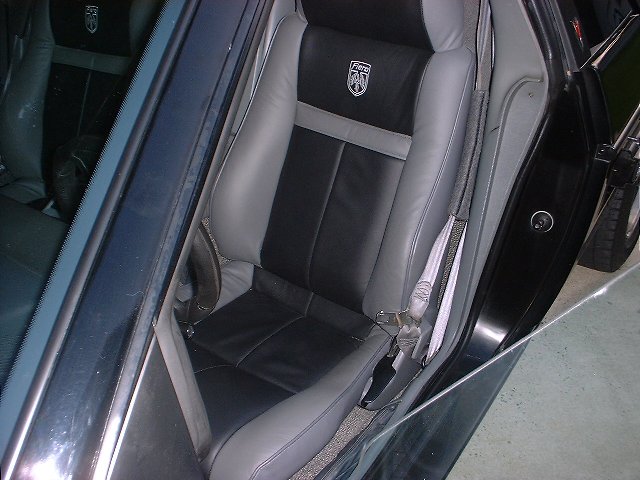
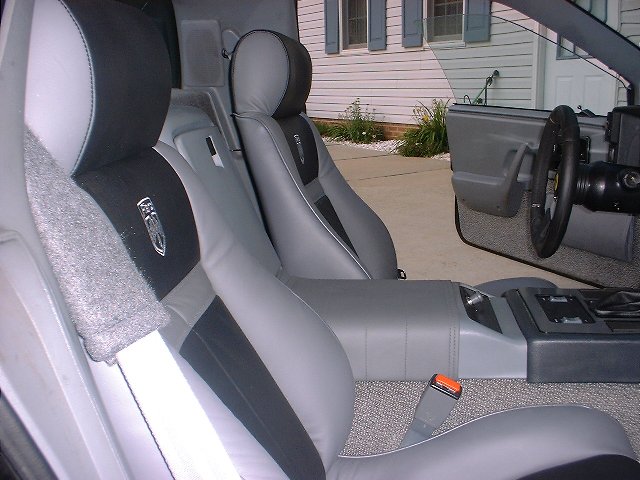
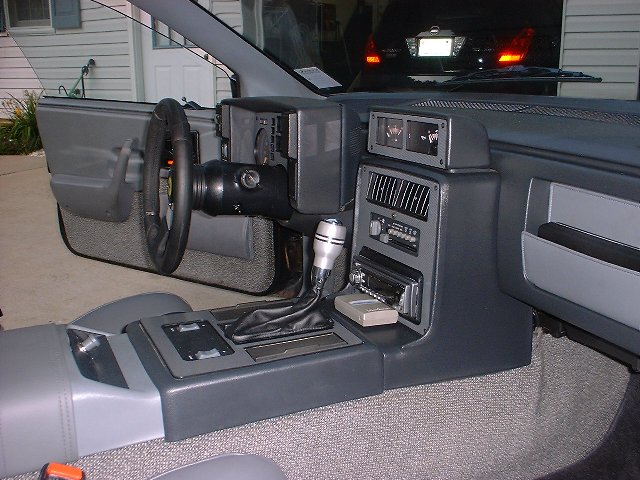
I like the amount of light that I get out of them and the way that they look. Besides Mr. Mikes leather seats, yours (product, headlights) have added so much to my Fiero.
THANKS FOR MAKING THESES! DO NOT STOP, THEY ADD CLASS!
To all of you, thank you without you this project would not have happened. I read, review, ask questions and then read more... with the knowledge on this board you can do anything with a Fiero. It just takes time and money...... I have the time
Hey Norm, I need to talk to you about the headlight information, the fabricators are interested in mass producing the fiberglass parts out of Alum. and having it powered coated for you. Just send me a PM and we can talk about it. They need a fiberglass model already done without hardware......
I will give you the number and you guys can work out the details....... Just trying to help!!!
IP: Logged
02:58 PM
Master Tuner Akimoto Member
Posts: 2267 From: South Florida,USA Registered: Jul 2003
Looks great! I'm also imperssed with the grill painting idea - looks very nice. Can't wait to see more pix of them from diff angles / as if seen from another vehicle behind you / as if standing next to the car... keep up the good work +
------------------ Black '87 GT Auto - Daily Driver & Autocrosser Eibach springs, Koni shocks, Kosei K1s, Kumho Ecsta V700s, poly bushings, rear swaybar, front mounted battery, MSD ignition, shift-kit, custom intake scoop
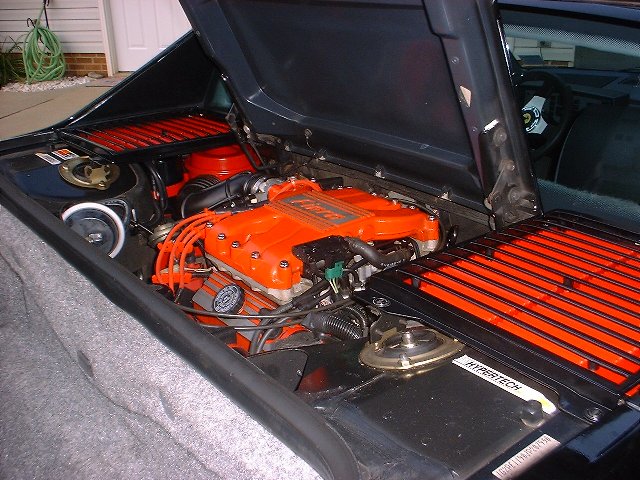
I drilled the heads off the rivets and left the rivet base in the hole.... then I used self tapping screws to make threads in the old rivets in the base I then sand blasted the whole works and only took around one hour primed the grills rattle can painted the grills black and the diffuser in a red that matched the engine
waited for the whole thing to dry then just drove the car for about an hour place the old grills on the hood as they are to be installed and let the engine bake on the paint
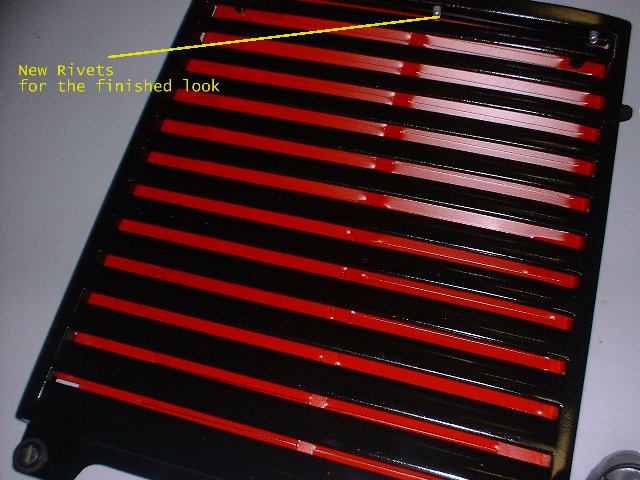
riveted the rubber back on screwed the red diffuser back on the grills drove around for a little while with them installed and baking in the paint got back to the garage and that new car smell flooded the garage (new paint smell)
Thanks for the heads up, I will try that idea with a lot of towels all around so I do not spray the whole car with polishing gum.... LOL anyway, I will post what the outcome looks like, I just put in the new black carpet this last weekend and boy does that look great...


 .........................