When swapping ECM chips it is important to verify the chip is being inserted in the correct position.
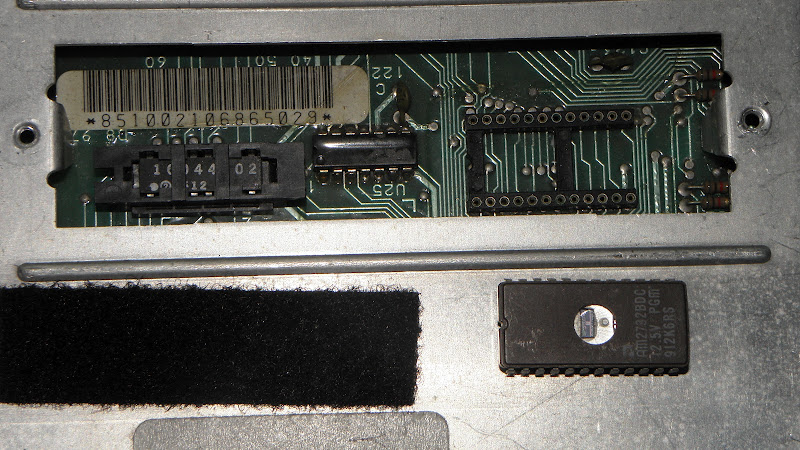
1226869 - 85 2.8 ECMs
The 1226869 ECM uses a standard 24 pin socket. The problem is that the chip can be inserted in either direction with this socket. So it is VERY important to make sure to verify the direction of the notches in the center of one of the sides of the chip. Note - MOST electrical boards are made to have all the notches aligned in the same direction. Note the socket ALSO has a notch in one end of the chip.
Also when removing the 1226869 chip. Assuming you have a standard set of automotive tools, the best tool to remove the chip is a small straight screwdriver. Start by prying up one end till the pins are almost out of the socket. Then go to the other end and do the same. Be careful not to bend the pins. CAUTION - Trying to just pull the chip out vertically almost always ends up bending the pins on one end of the chip.
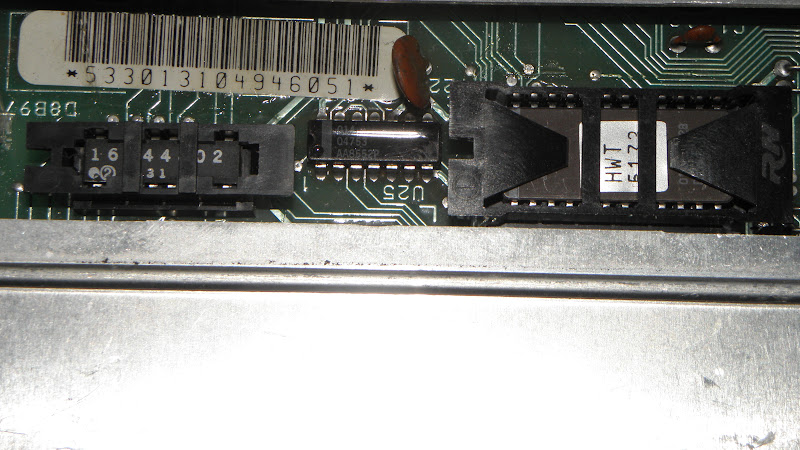
1227170 - 86-88 ECMs
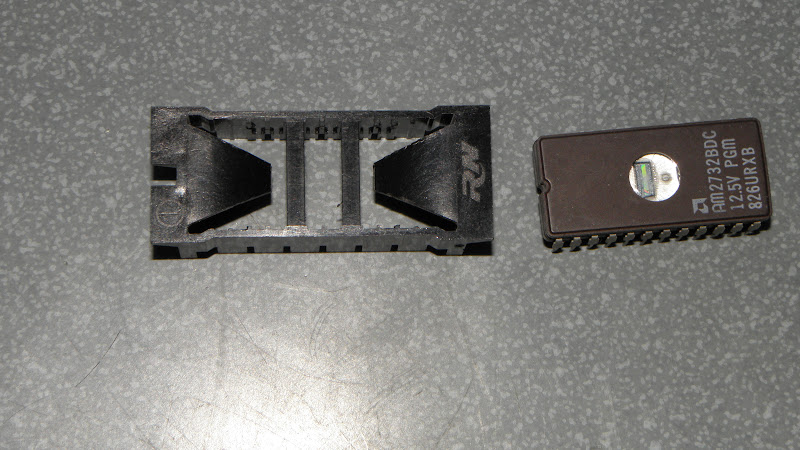
The PROM chip on 7170 ECMs are in a plastic carrier. The old chip needs to be removed from the carrier, and the new chip installed in the new one. Note - it is possible to insert a chip into a 7170 ECM for testing, but with vibration, the chip WILL slide out of place. To remove the chip from the carrier - push the chip up into the carrier slightly to release the pins and then pry the plastic sides of the carrier away from the chip. It is difficult to remove the chips without damaging the pins.
When installing the chip in the carrier - The notch of the chip MUST be aligned with the notch of the carrier. If you reverse this, the chip will be destroyed.
[This message has been edited by phonedawgz (edited 05-22-2012).]


