For the longest time I've been trying to find the culprit to the "Ghost wiper" problem. This is when out of nowhere the wipers decide to just turn on. From what I understand there are a few fixes out there that are fairly cheap and I am in no way trying to step on anybody's feet here.
With that said.... Here we go...
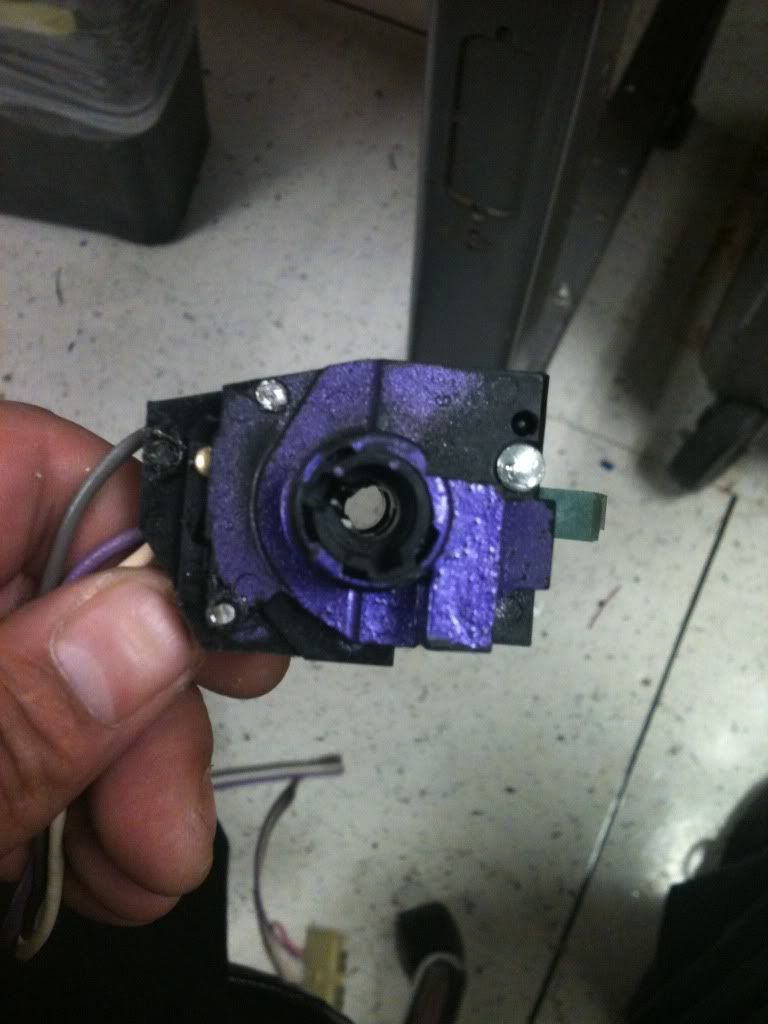
What I have found with a bunch of these is the inner contact disk wears out and the spring loaded fingers make random contact when you don't want it to. So with the help of "daveyhouse" here on the forum. I got one to tear apart and try to fix his for him.
Here's what i found with his....
The black "resting" spots are worn down. Sadly i didn't get a pic of the contact fingers. (thought i did).

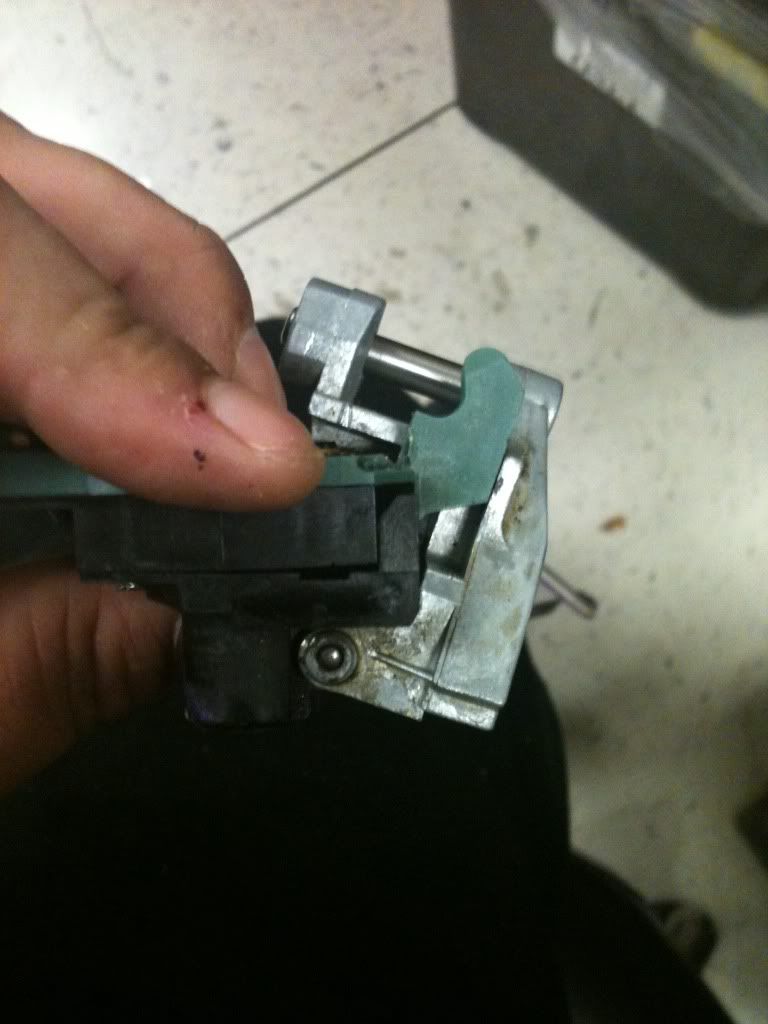
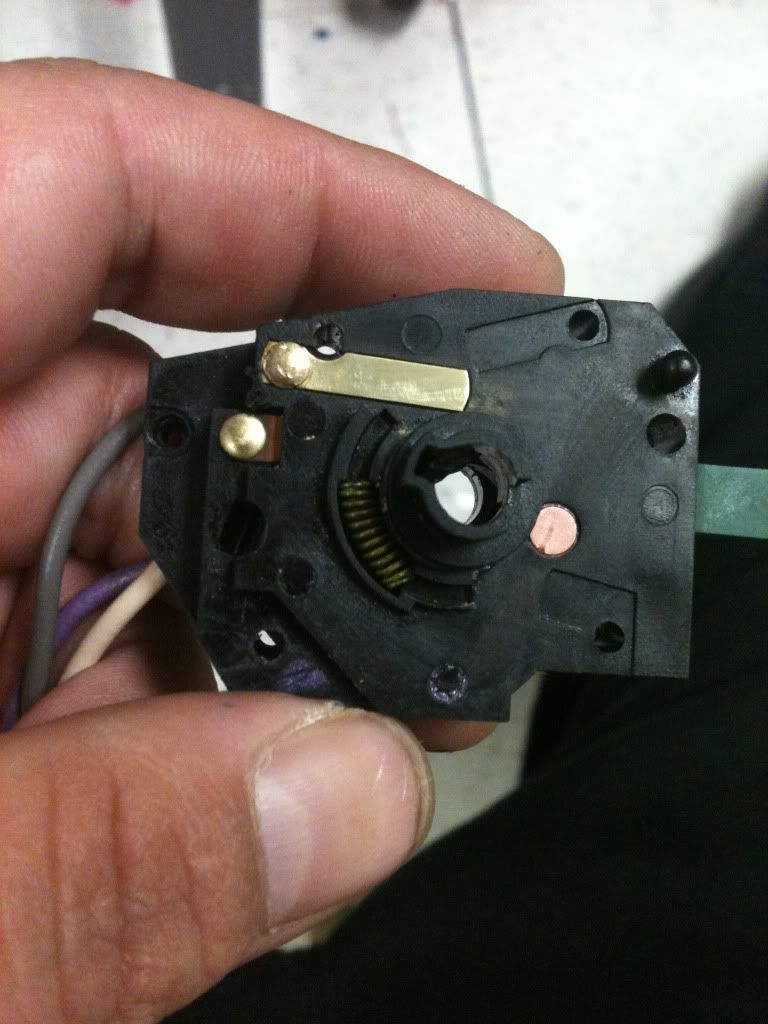
What i did to get to this point was to remove the aluminum bracket by punching the pin through with a punch and hammer then finishing with a old crappy jewelers screwdriver. Any that fit the hole will work. Taking care of the spring loaded plastic tip. (this is also the thing that hold the stalk tight).
Then remove the two bottom and one top rivet you see in the below pic. The smaller rivits will come out with a punch or shock punch. The top (largest) your going to need a drill bit to thin out the walls.
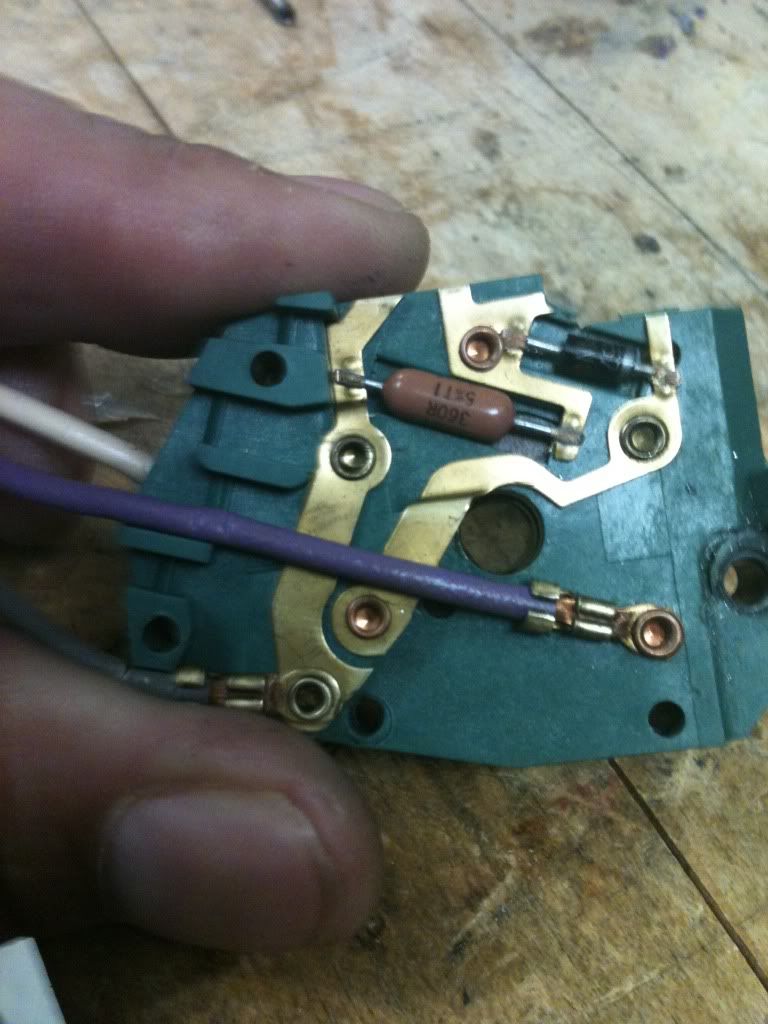
Then the two you can see exposed in the below pic on the left hand side. (remove)
Now the top layer will come off. Careful of the springs. One in the corner with a brass cup and one inside.
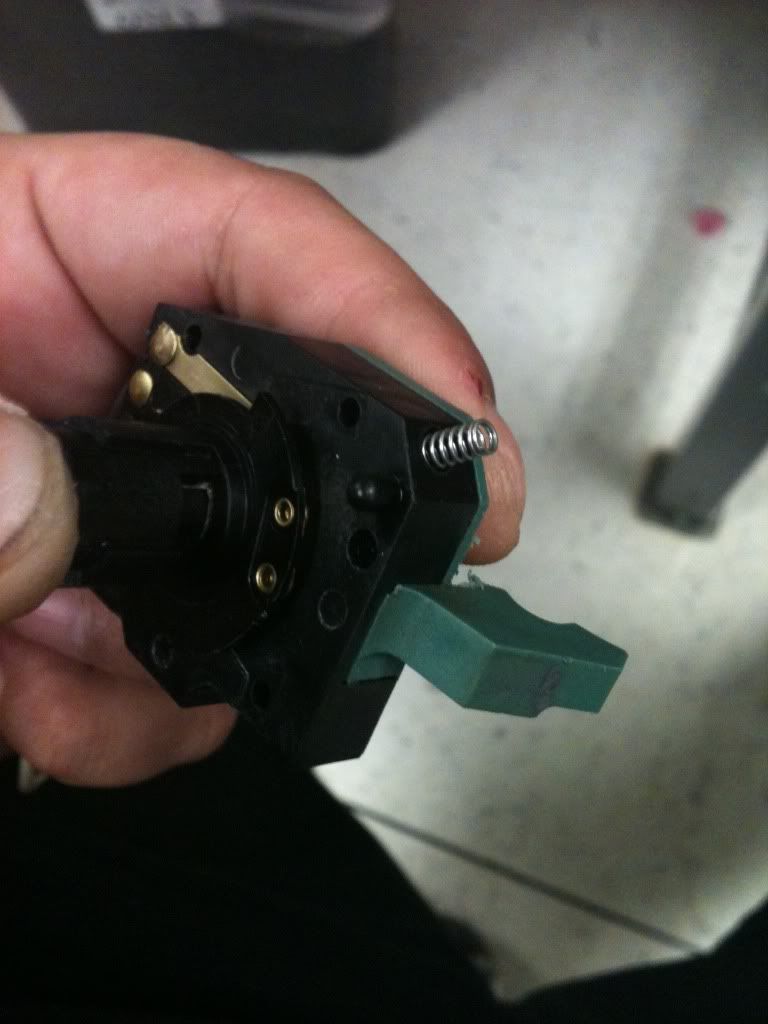
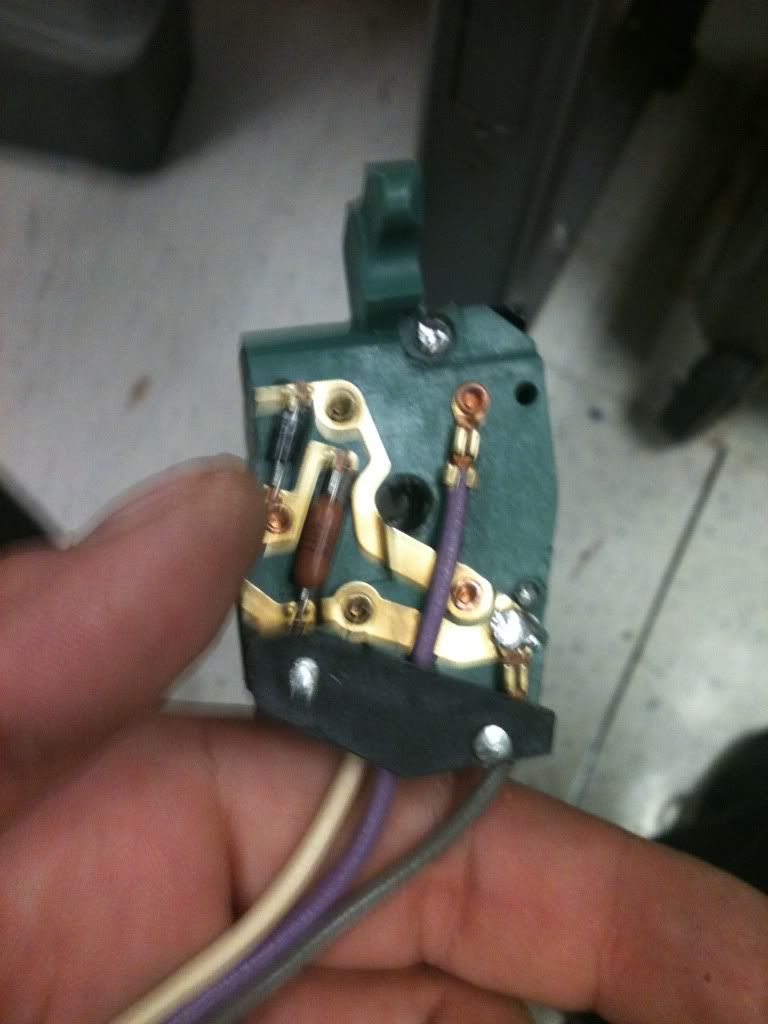
What you'll see is a spring and some contacts. Carefully remove the spring.
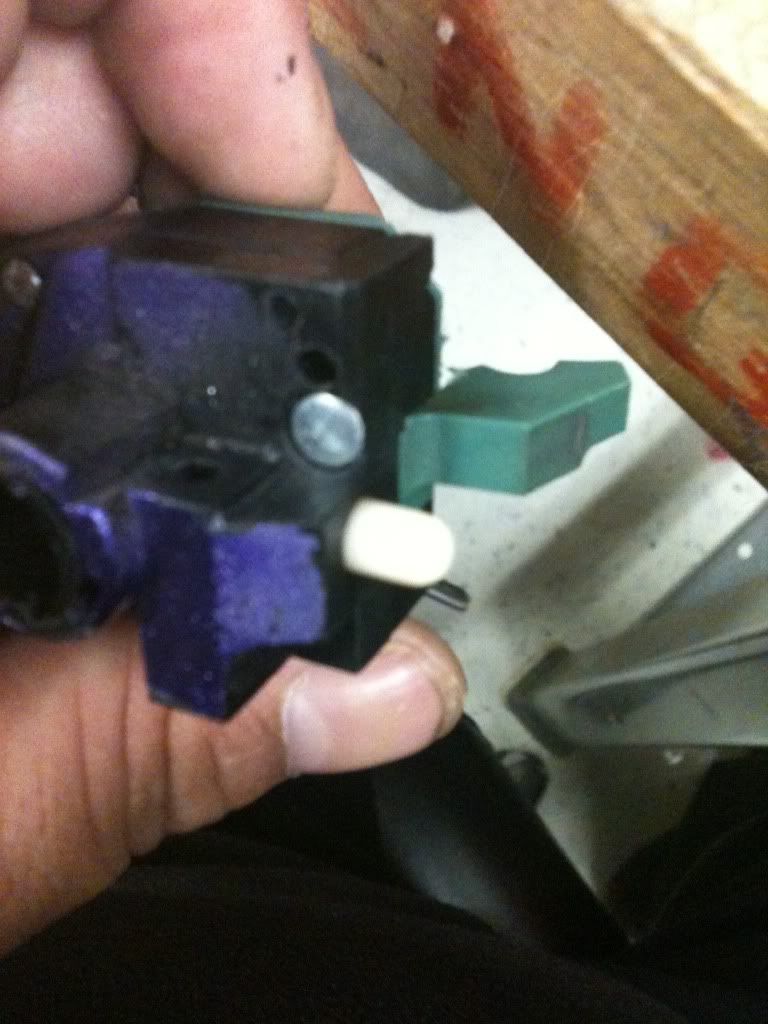
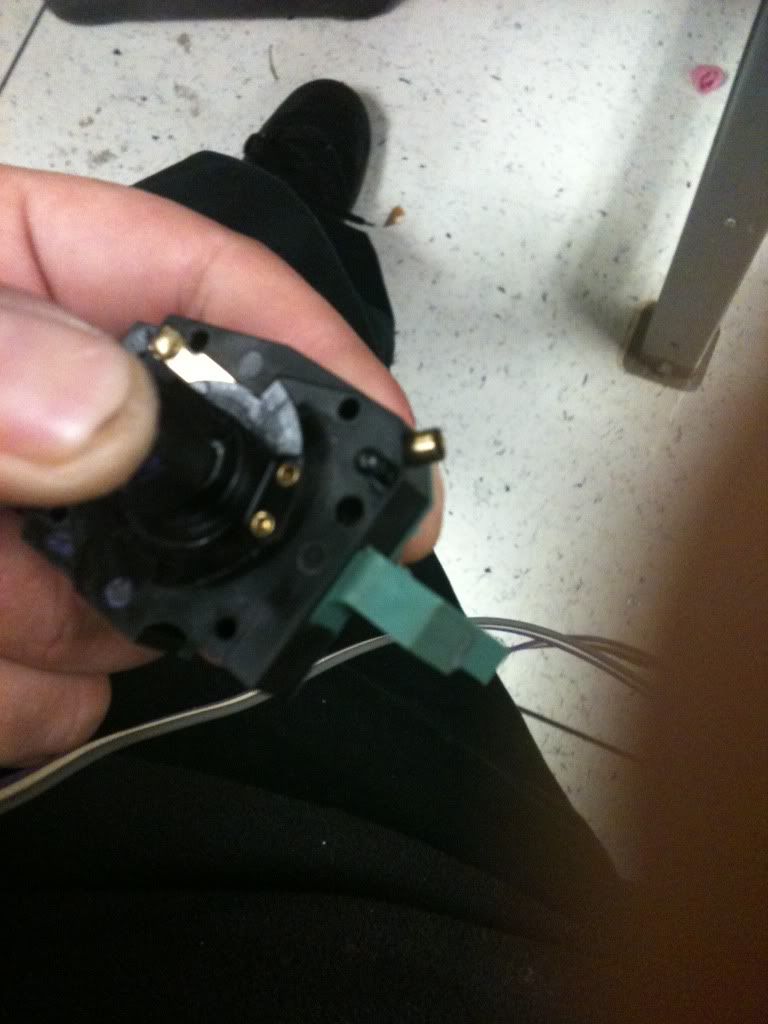
Now you need to remove the rivet where the gray wire is. On the top side the contact will come out as well.
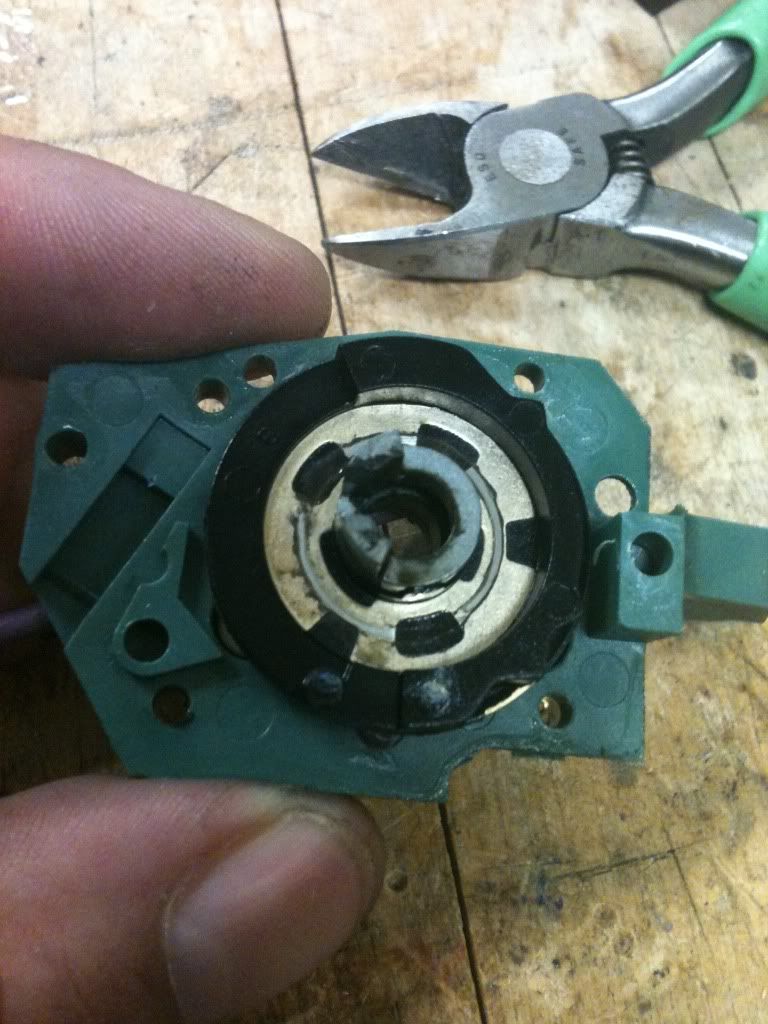
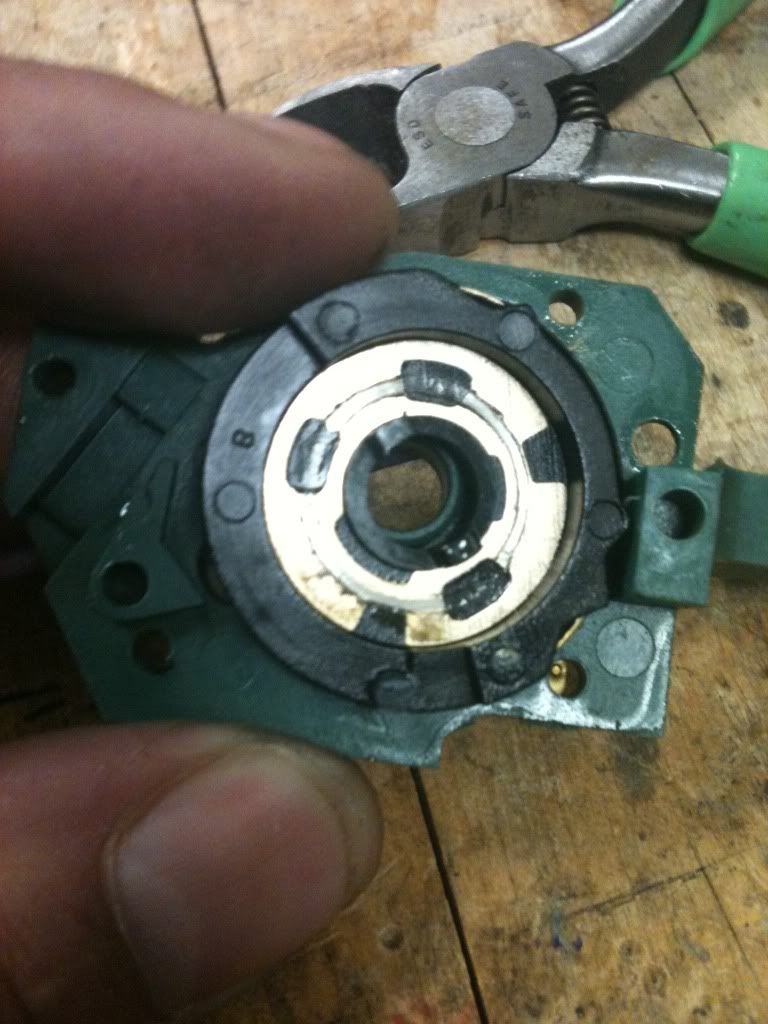
Withe a little bit of prying the black piece will separate from the green and what you'll find is the disk and metal piece the stalk moves.
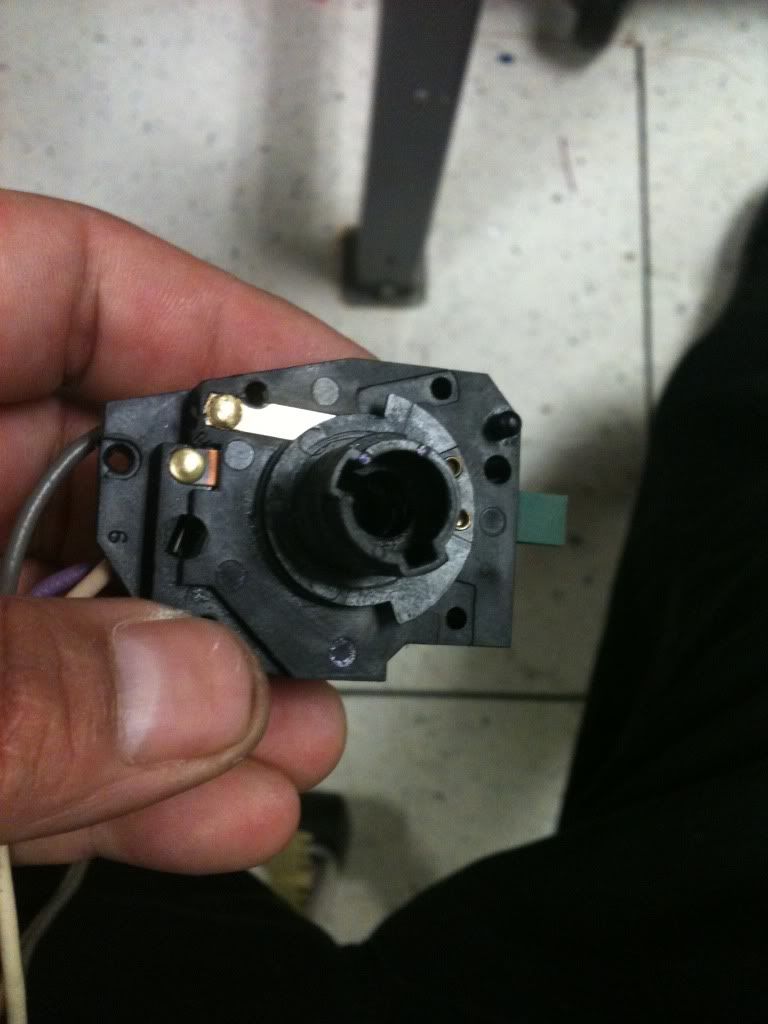
Here is where the problem is. You'll notice the three black pads are the resting area for the three fingers on the black cover. (thought i got a pic of that but for some reason i must not have). These black pads need to be above the metal. I've seen much worse then his.
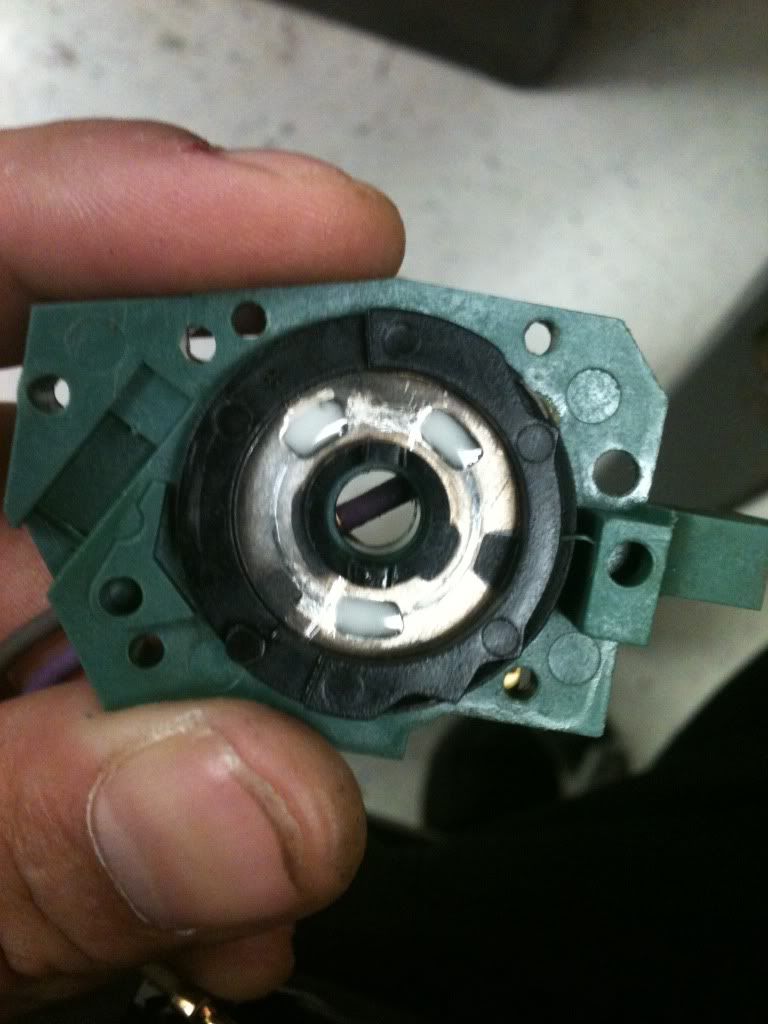
You can trim around the bubble of the pad or you can add something to the black pad to remove the problematic contact point. With daveyhouse's I put a UV active gel I have at work that should hold. Was going to use quikplastic from autozone but thought i would try this new stuff i got at work.

Anything non-conductive will work.
I'm really not good at write ups but i figured i would give it a try. Anybody wants to, feel free to improve this. Thank you.
For the rest of the pics i took click
Here------------------
"Remember: amateurs built the ark ....
professionals built the Titanic."
| | | quote | timgray
Because that is all a corvette is good for, parts for the fiero.. |
|
Part of the Rallaster "Overhaulin" project. 6/4/2011
https://www.fiero.nl/forum/Forum1/HTML/085568.html[This message has been edited by Finally_Mine_86_GT (edited 02-14-2012).]


