Tools:
-7mm (or 9/32") nut driver
-Very thin (think precision size) flat screwdriver
-Toothbrush (or similar somewhat soft-bristled brush)
-Degreaser (I used Purple Power, stuff works wonders)
-6-8" length of small-gauge wire or paper clip
-Sandpaper or file
-Needlenose pliers (optional, depending on finger size/dexterity)
Before shelling out the $70 or so after tax for a pair of window motors and looking for another power mirror switch, I figured I would first make an attempt at cleaning the switches. The driver window moved extremely slow, and the passenger window didn't move at all. Movement of the mirrors was extremely spotty too... left/right was totally unresponsive and I was lucky to get up/down movement.
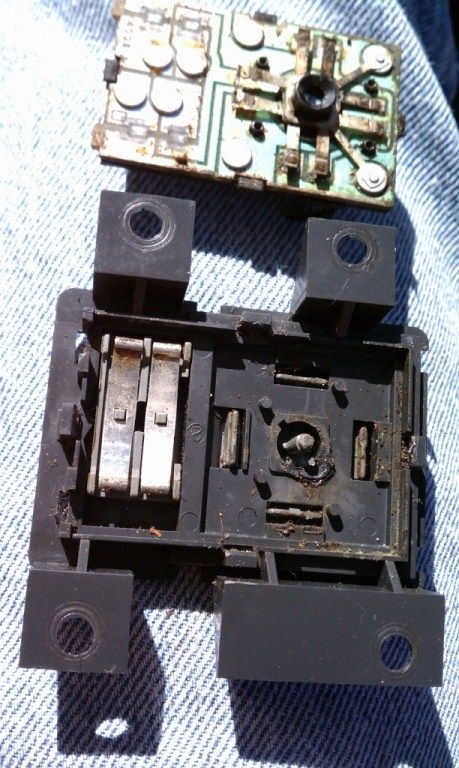
Your first order of business is going to be to remove the ash trays and remove the 4 screws holding the shifter plate in place. The mirror switch is held in by 4 screws, and the window switches are 2 screws each.
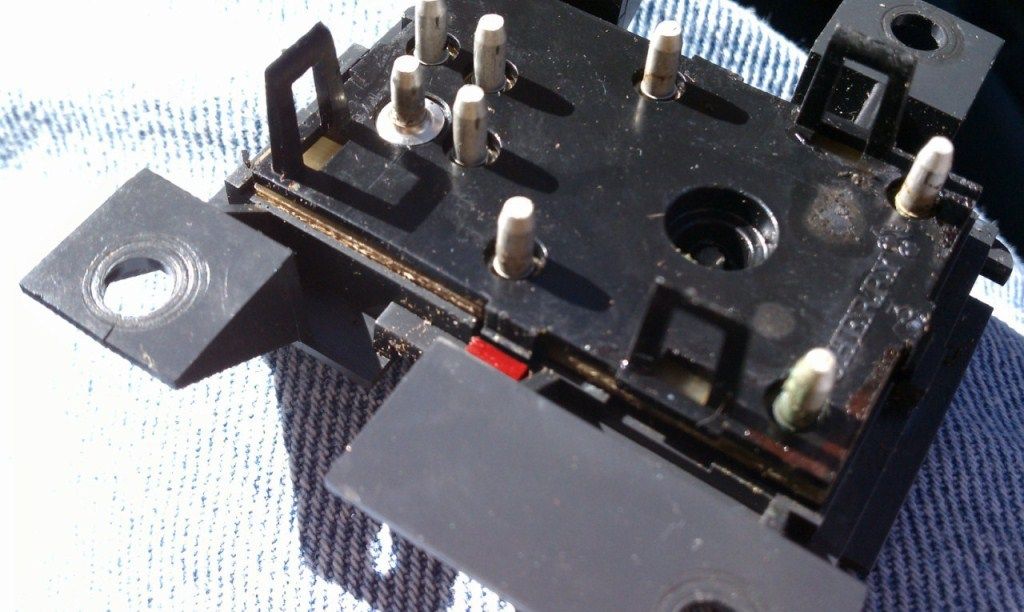
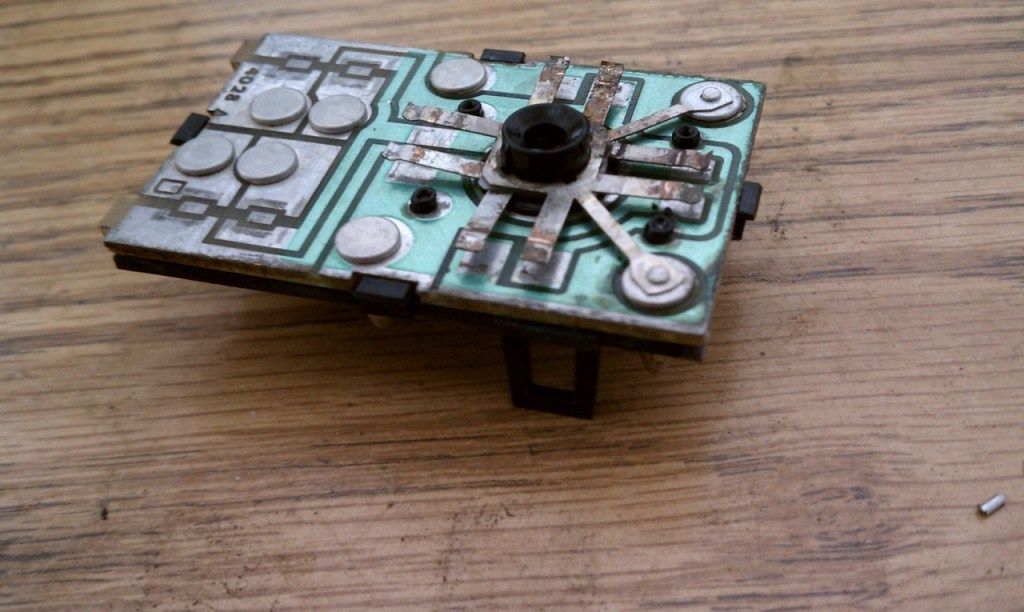
Mirror switchYou'll find the electrical connector is held in place by 3 clips, seen sticking up in the first picture. You'll also see the 4 tabs (highlighted in red) you need to manipulate to free the circuit board. A precision flat screwdriver would work best here, though if you have a flat screwdriver with a very thin head it will also work just fine.
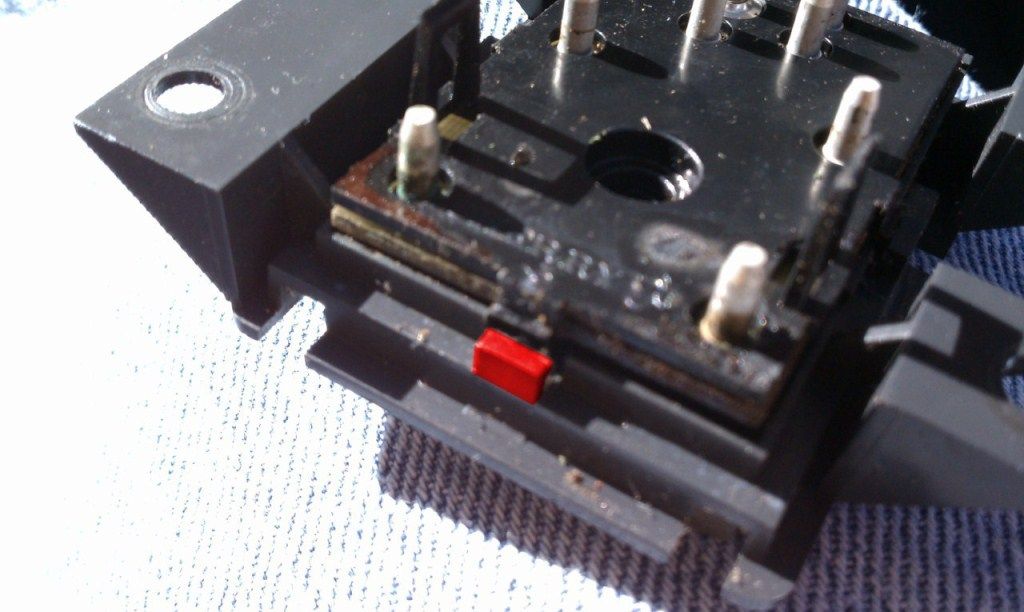
After freeing up the circuit board and opening up the switch, you will find this:
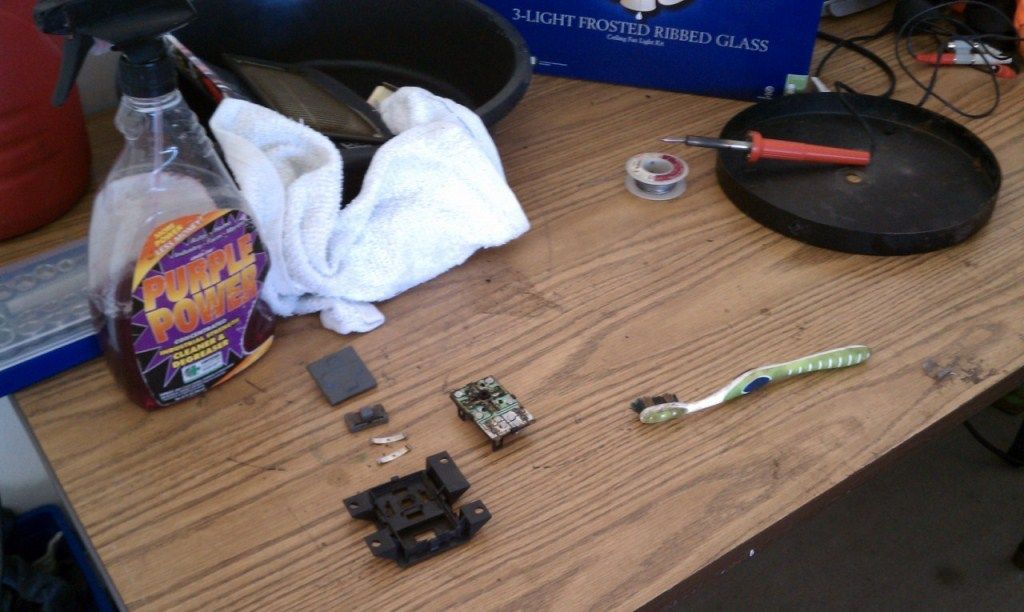
This was my work area... I had the solder/iron out in case I needed it, but I didn't.
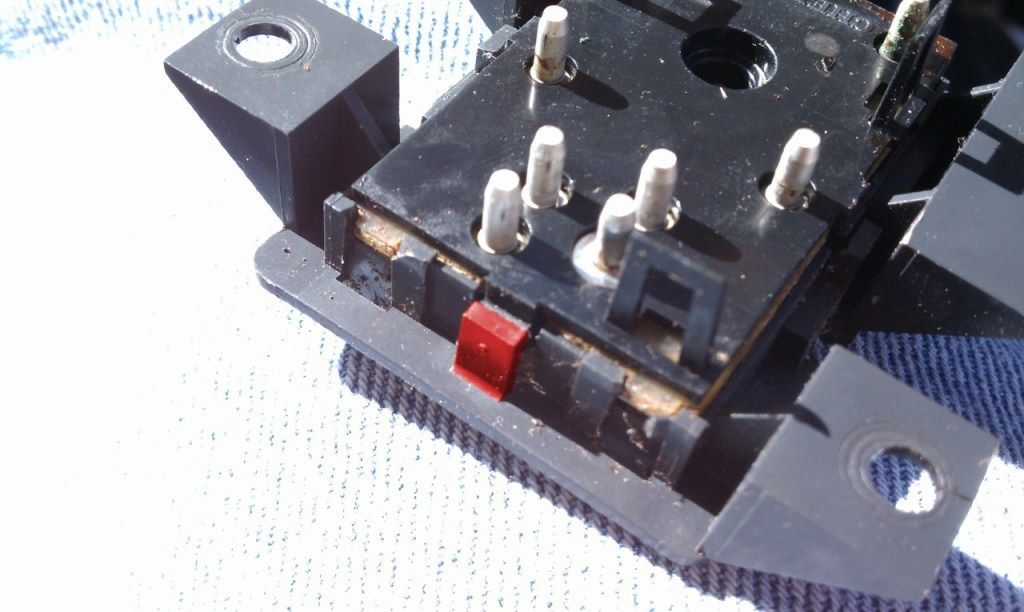
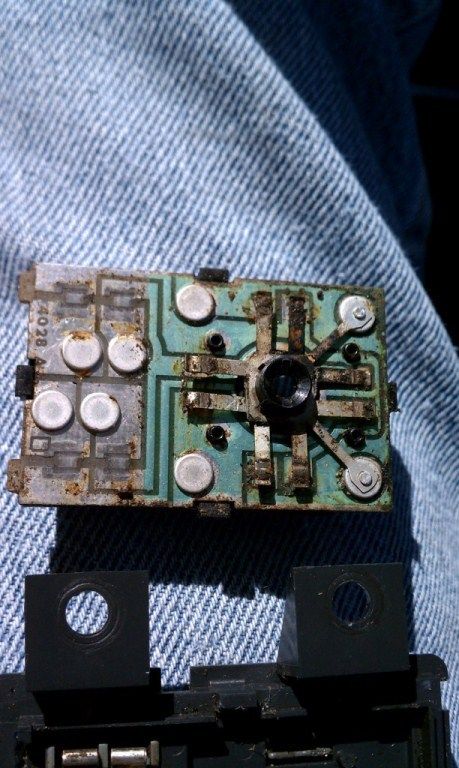
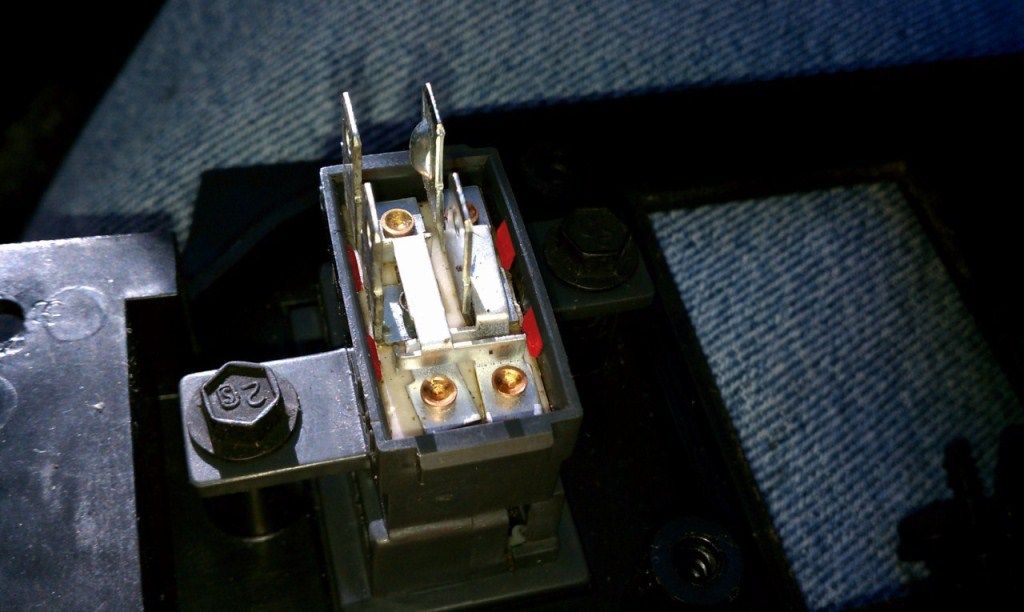
After a little spray and brushing, your switch will look like this (be careful not to bend/break the switch 'fingers'):
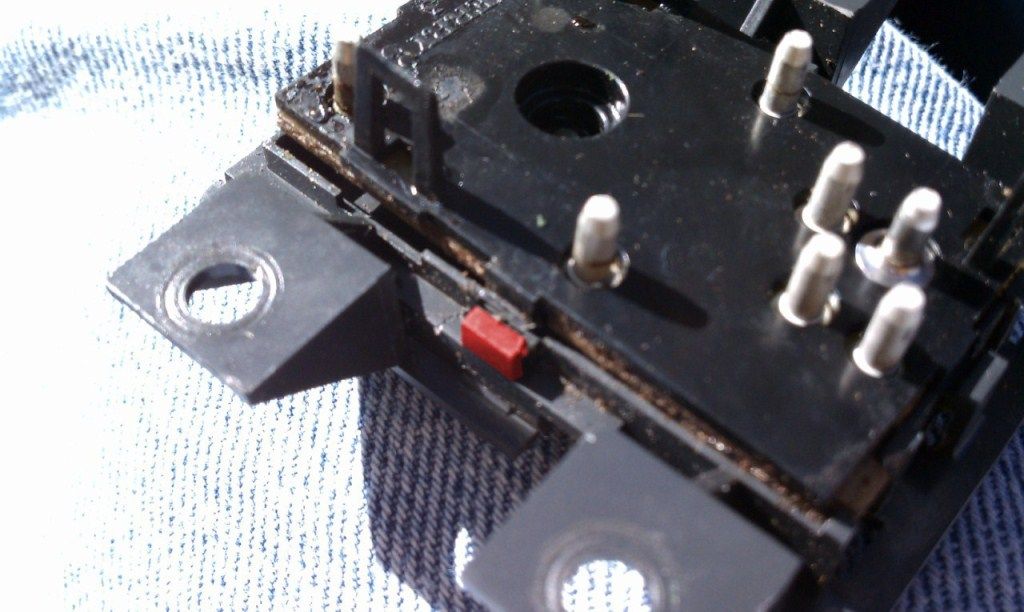
After this the mirrors worked just fine

For some reason after putting the switch back in it doesn't seem to work all that great, it may be due to age/wear, either way I was a little bummed after putting it back together.
Window switchesThese are a little more fun to put back together.
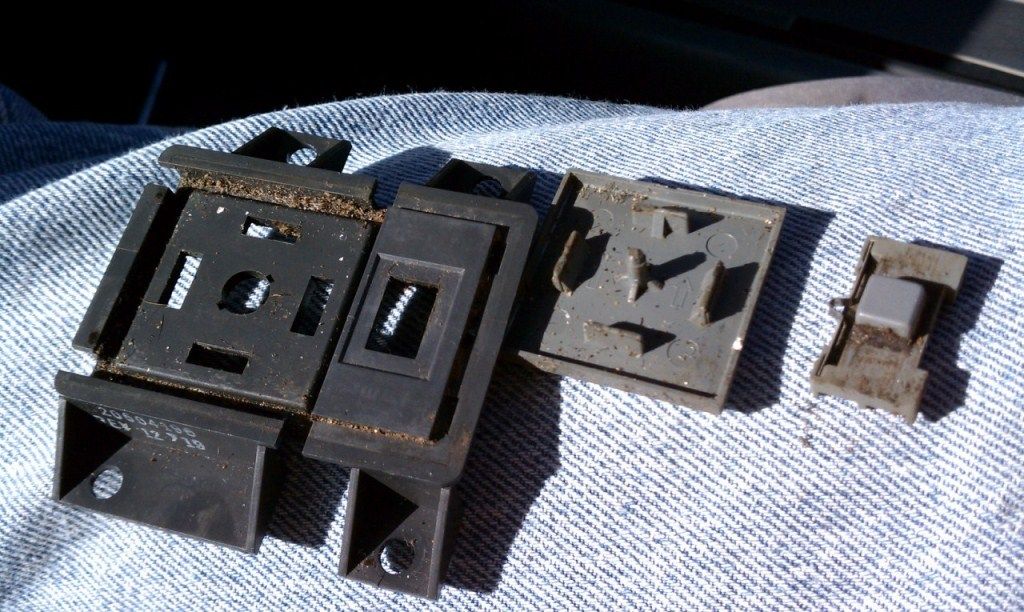
To take them apart, insert the screwdriver between the two highlighted tabs and simply pry up (gently, of course), taking note of which direction the board came out. If you reassemble with the board in the opposite direction, up will be down, and down will be up

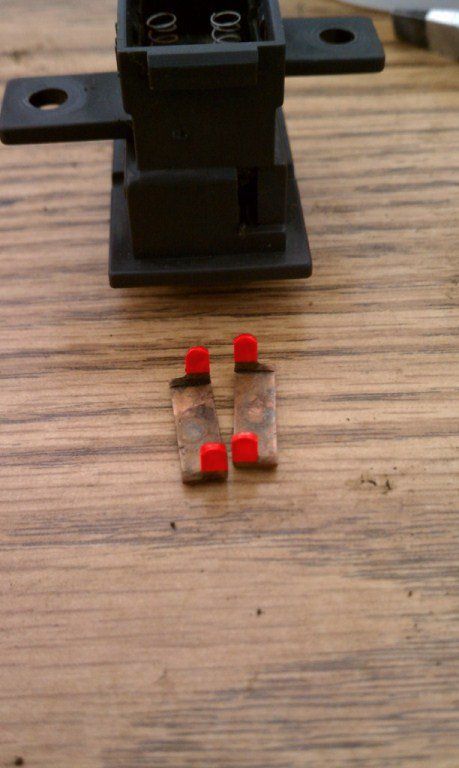
You will be rewarded with these parts:
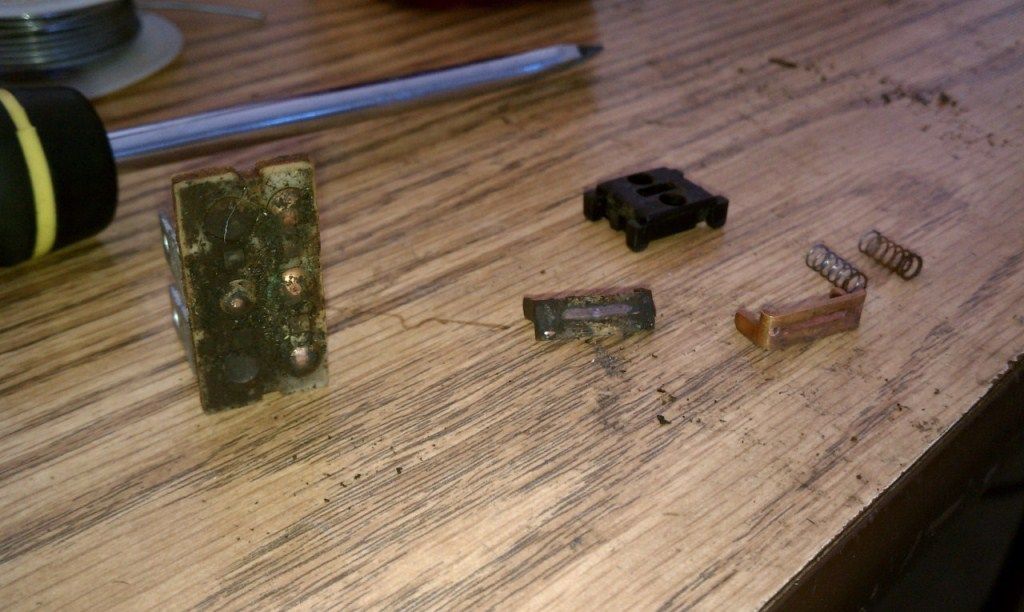
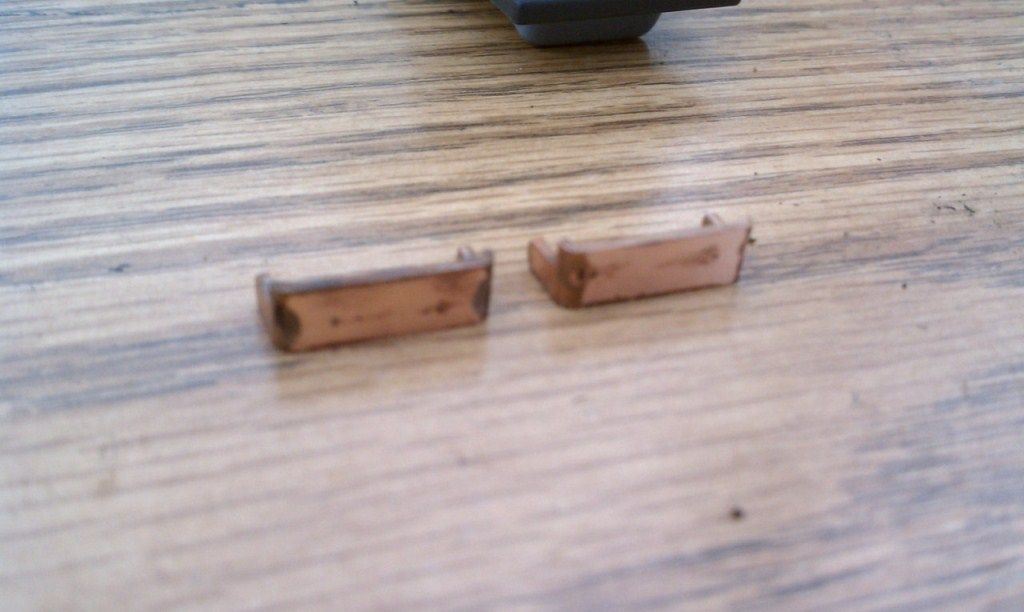
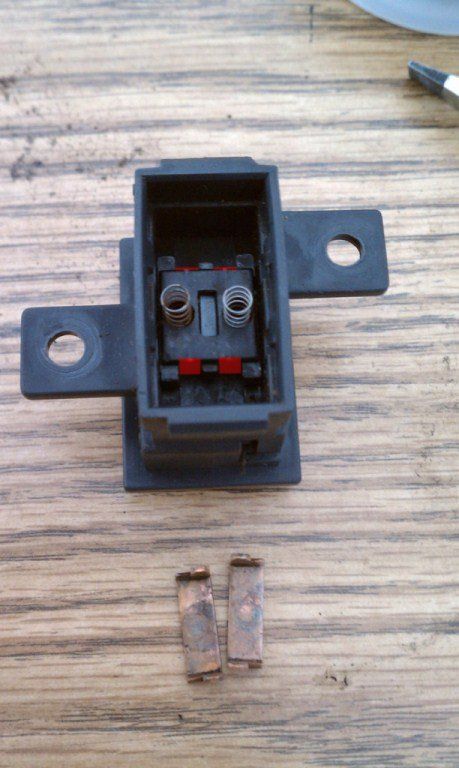
You can see why the windows were either slow or nonfunctional... so much dirt and crap was built up over the years the sliders (little copper pieces) wouldn't even make contact. Once again, you'll just do a simple cleaning on the board with a brush/cleaner. The two sliders is where you will use sandpaper or a file. I used a file, taking just enough to clean them up. I also did the same on the circuit board... the contacts are semi-spherical and don't make much contact with the sliders to start with, so I made a small flat spot to make a little more current available.
After cleaning you start reassembly. The little plastic guide only has holes on one side for the small springs, and you'll also see the guides in the same plastic piece for the sliders.
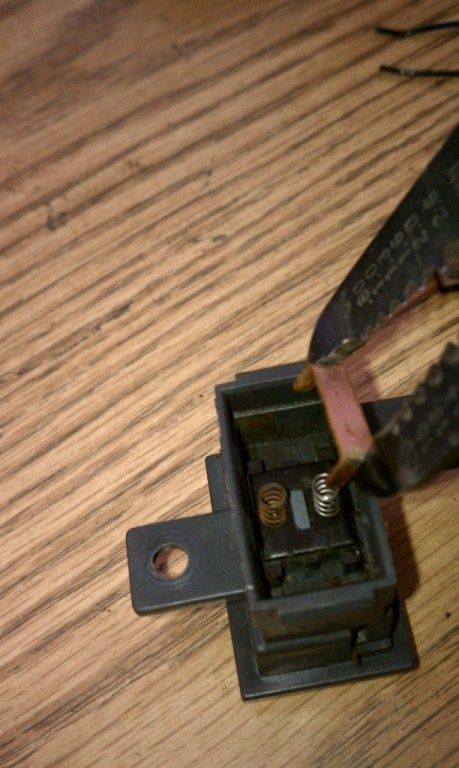
After some fighting (needlenose-type pliers didn't work very well for me, but they may for you) I was able to get the sliders back in place. You'll see there are two holes on either side of the switch, this is where you insert the length of wire as shown
while holding the sliders down. This will allow you to put the circuit board back in place without the sliders falling out of place.
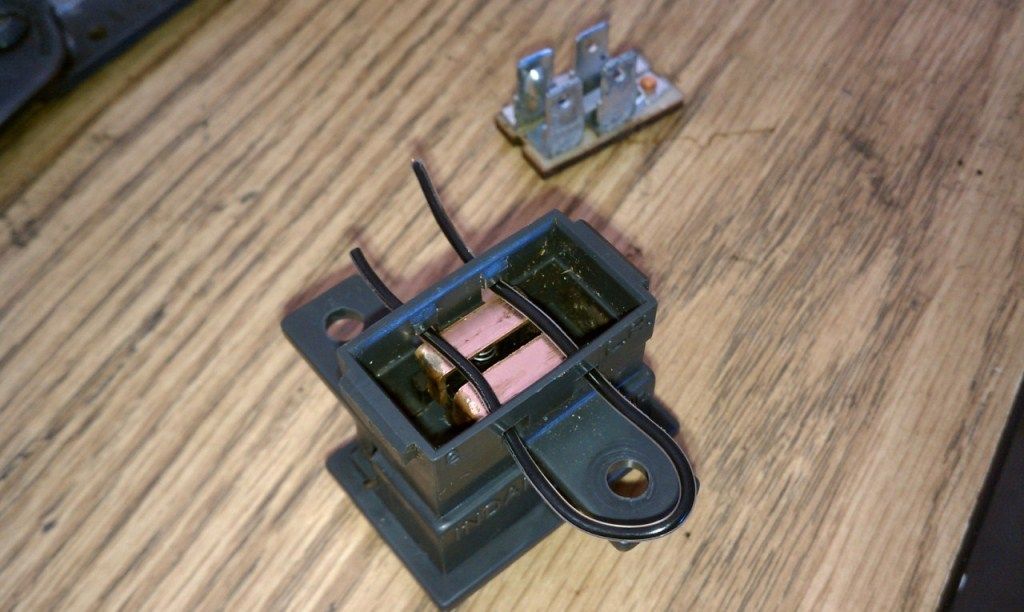
After you're done, simply reassemble

------------------
-Darren
'87 GT 5-speed
'78 Malibu frame-off project (Vortec'd 350/4-speed)
'92 Sierra rcsb (TBI+Vortec 383/4L60)


 Nice write up.

