Notchie to Fastback conversion
By: CrazyDragn
I have searched high and low to find a write up on a notchie to fastback conversion but was never too successful is doing so. Therefore, I’m doing the write up and placing it on the forum. Enjoy!
The first thing to do is to take off the vents by unscrewing the two (2) screws on the vents themselves then its time to take off the trunk lid. This is done by taking of the four (4) screws at the hinge on the trunk lid.
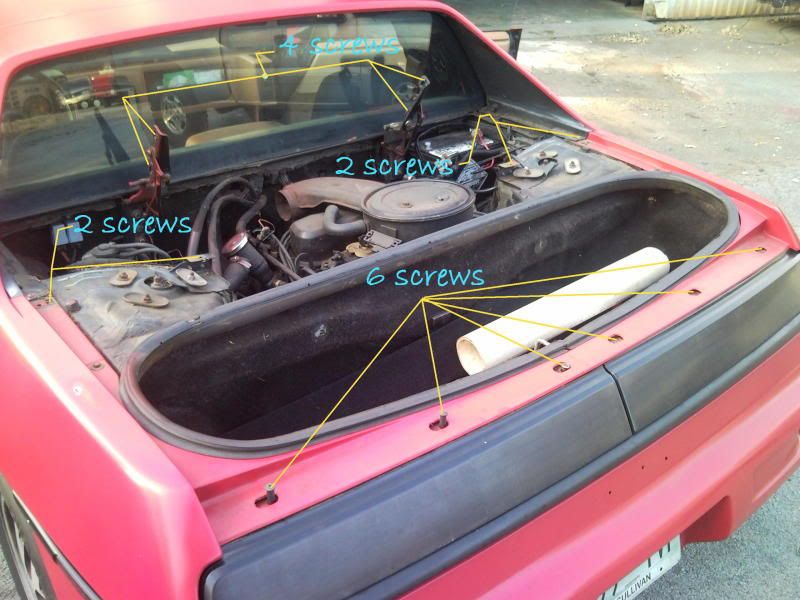
Next, take off the black covers at the top of the tail lights exposing the screws underneath. These come out with a simple Phillips head screwdriver.
Next, there are about 16 bolts that need to be taken off of the back where the lights are and up the siding of the rear clip as seen in the picture. (note) You will also need to take off the side markers.

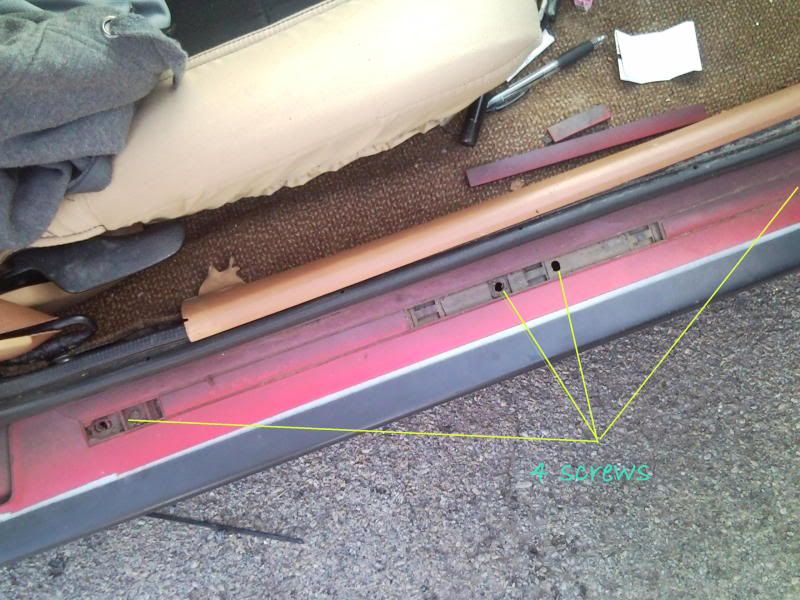
Next, take off the clips of the runner boards by opening the doors and using a flat head screwdriver flip them up and off exposing the screws underneath. These 4 screws are 9/32 screws. There are screws under the runner board underneath the car that are exposed to the elements; these can be very fun to take off. There are about 5 to 6 of these bad boys. Then, do the same thing on the driver’s side of the car.
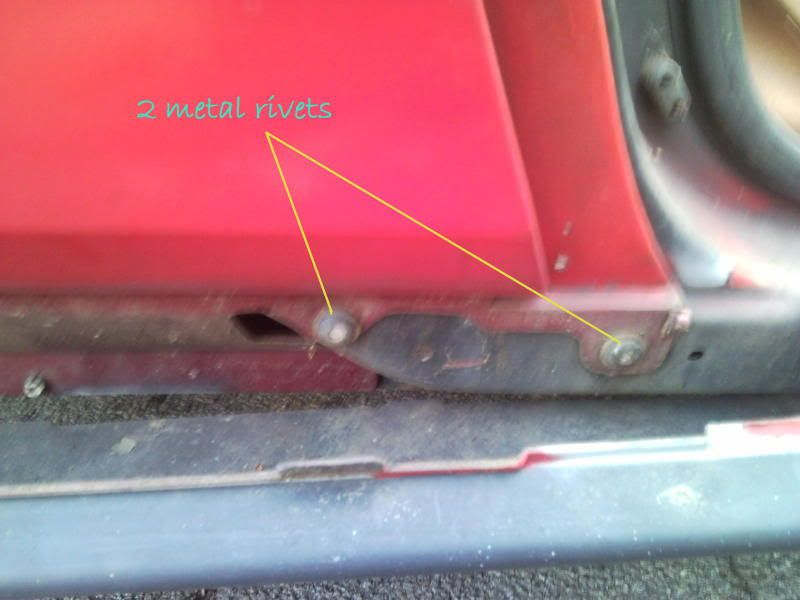
Pull the runner boards down but not all the way off. This will expose the two metal rivets on the bottom of the side ¼ panels (the one with the scoops). Drill these out thru the center, they’re made of aluminum so they will drill out quickly. Take off the side molding on the ¼ panel and expose the back plastic rivets, there are two plastic and 1 metal closer to the door – Drill these out as well. Then do the same n the other side.
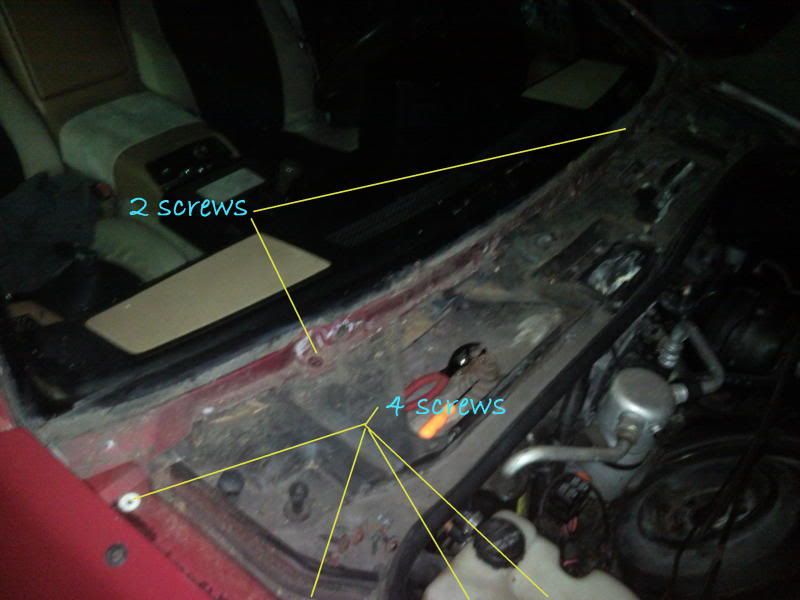
Next, take off the black mesh on the front of the car to expose the bottom side of the windshield. You will need to take off the windshield wipers to do this. This is where there are 2 screws that need to be undone to loosen the pillars so they will not crack. Also, there are four (4) screws on the front of both fenders that need to be undone – these are located on the top. Be sure to take off the antenna.
Next, remove your headliner. Undo the seatbelt with the torx screw on both sides, the two coat hanger clips in back, the light fixture up front has four screws – 2 in light and 2 where the sun visor hooks in, remove the sun visor, remove the upper molding and the back inside molding. This will expose the screws located on the roof of the car.
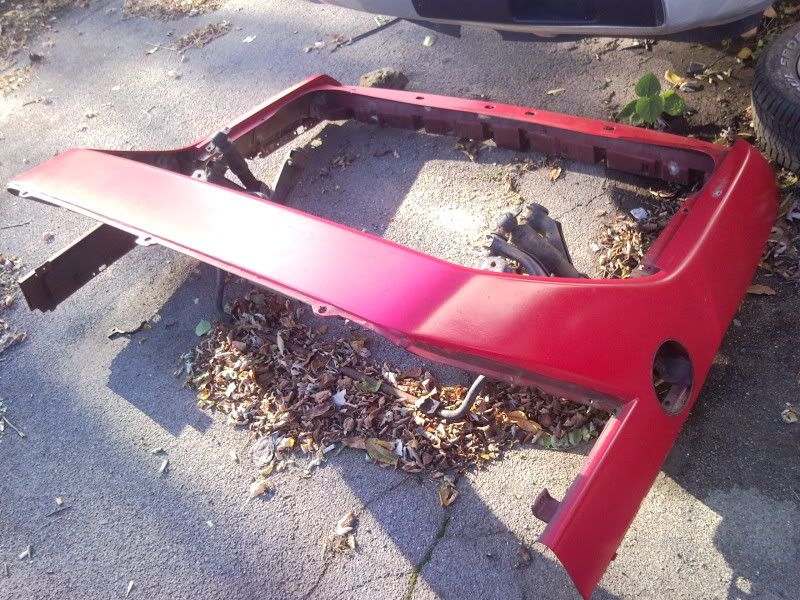
There are three bolt nuts that run along the back, the are two silver bolts in back, there are three silver bolts in front and there are two bolt nuts one at each pillar. With all of these loosened up you are now ready to have a buddy help you slowly, very slowly, start at each pillar and pry it up…..take you time in loosening these, they are glued in and will crack if your too hasty. Work your way thru the whole roof and there are three bolts under the roof that hold the back clip on. With the roof loosened up, you and a buddy lift the rear clip up and out, your half way done. (the metal you see in this picture is from the cross members on the bottom end of nother car, they are there just to keep the clip off of the ground)
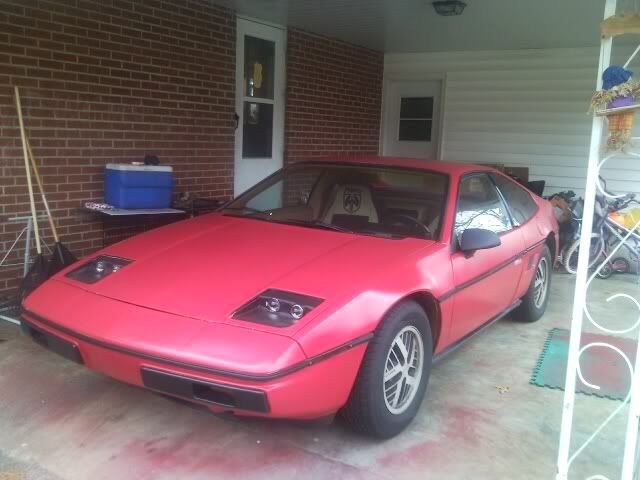
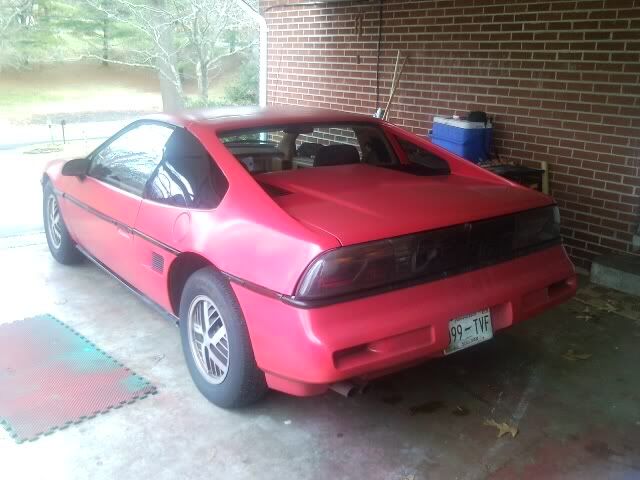
Next, is to put the fast back clip on and then simply put the car back together the same way you took it apart. Line everything up and now you have a fast back!!
Good Luck,
CrazyDragn
[This message has been edited by CrazyDragn (edited 11-30-2011).]


