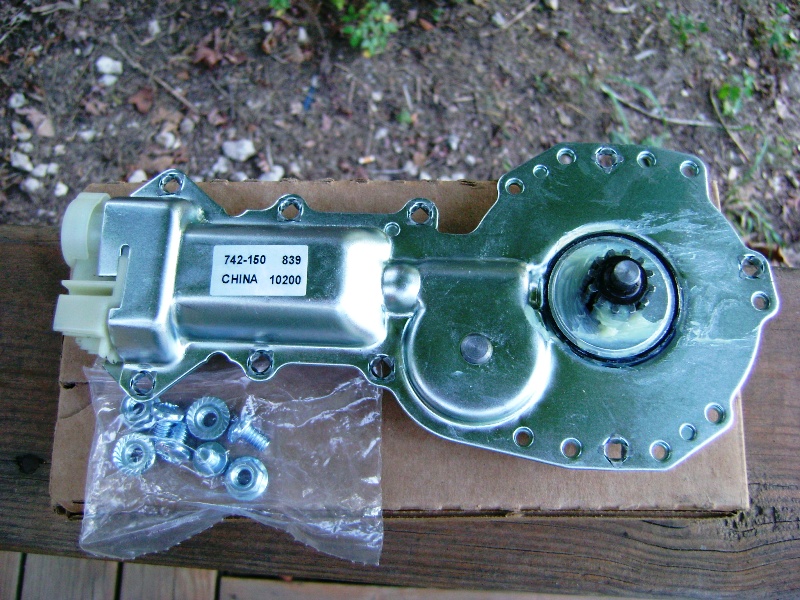
I cleaned both power window switches, and was able to get my right window to move on its own un assisted. I had never seen it move at all. The left window has always moved, but in slow motion unassisted. I ordered two new Dorman motors from RockAuto. Made in China, $50. shipped. I didn't know that they were Chinese before I ordered. I removed the drivers side door first, and replaced it's motor yesterday morning, but it was a bit of a problem, as the pictures in the service manual were all of a passenger side door. So I recommend to do the passenger side first so you can match up the door to the photos if needed, and make your life a little bit easier.
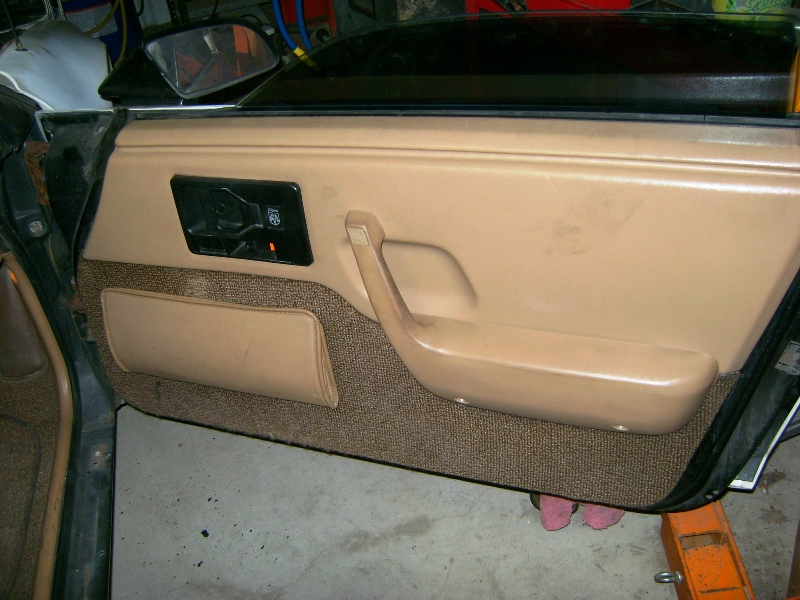
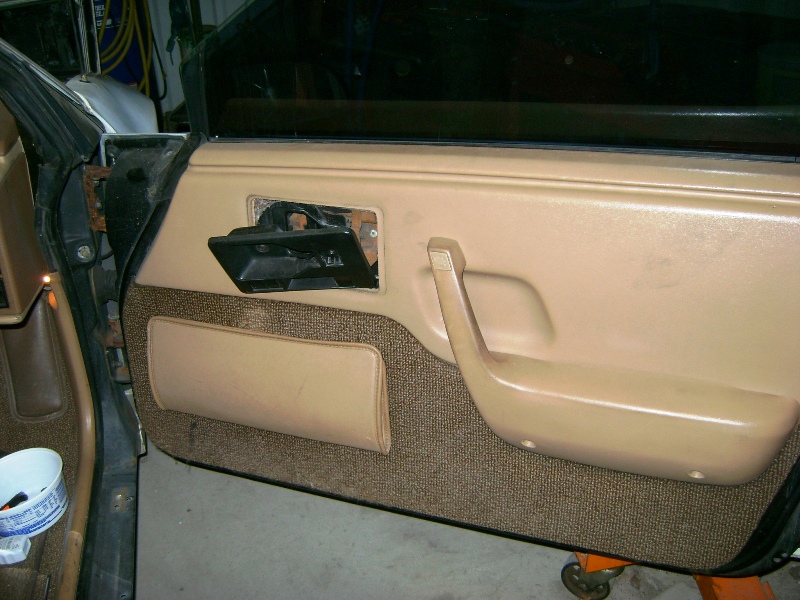
The passenger side door before surgery. If you can't remove this panel , stop reading because it just gets worse from here.
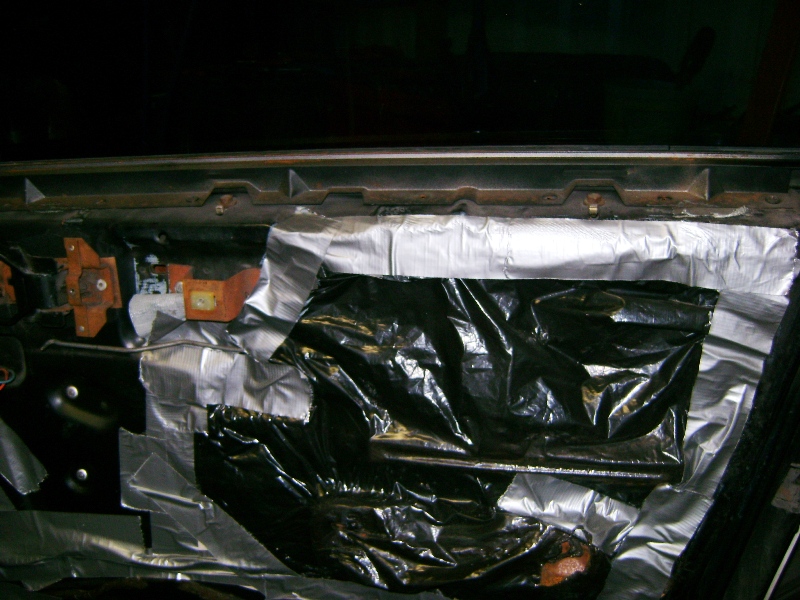
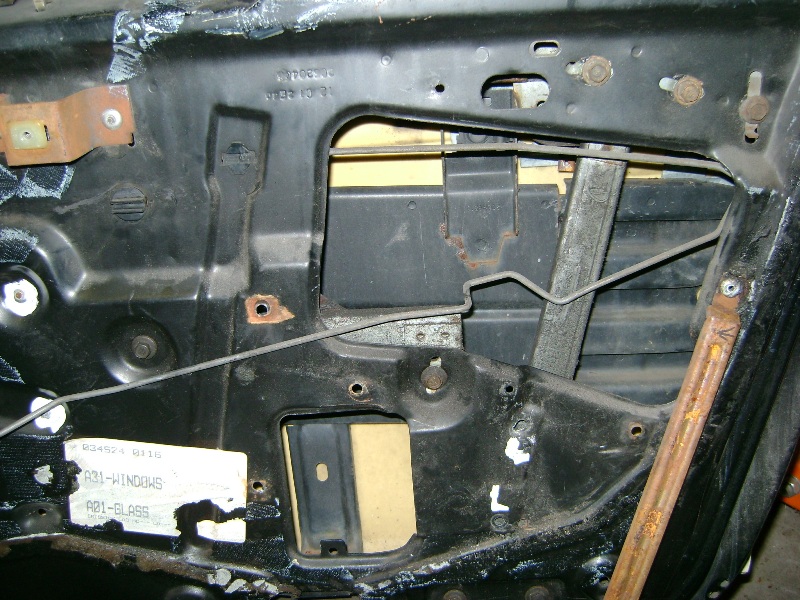
With the inside panel removed. If your panel had never been removed before you will have a large piece of brown paper with a black back side. Remove the moisture barrier or what ever you have on the door:
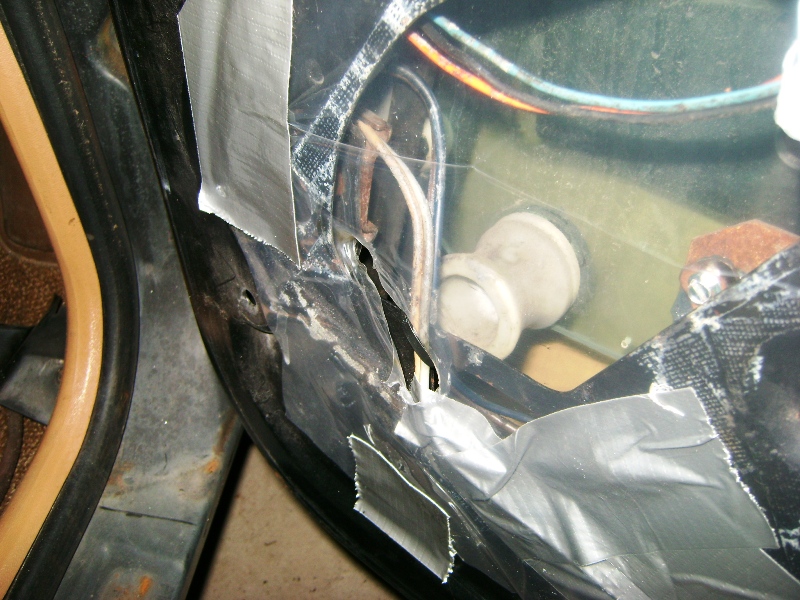
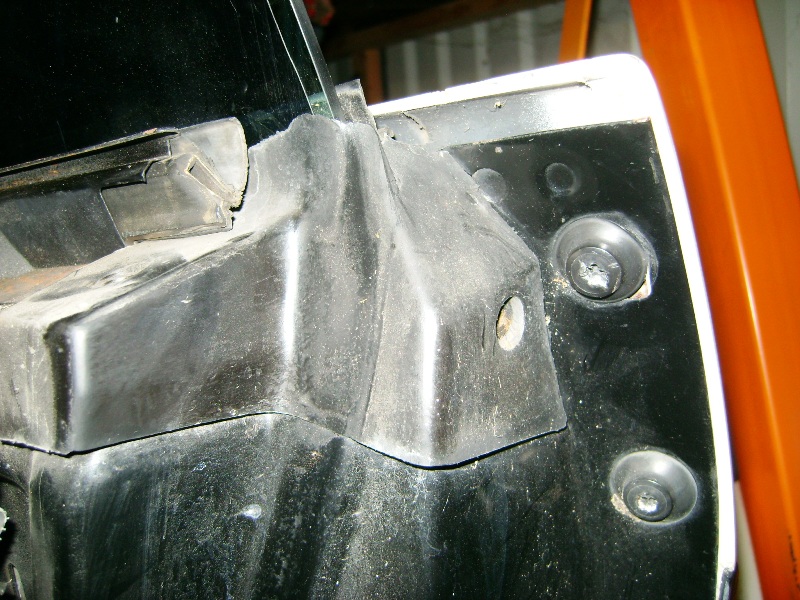
Remove this rubber end cap from the rear of the door. I'll show you why in a bit:
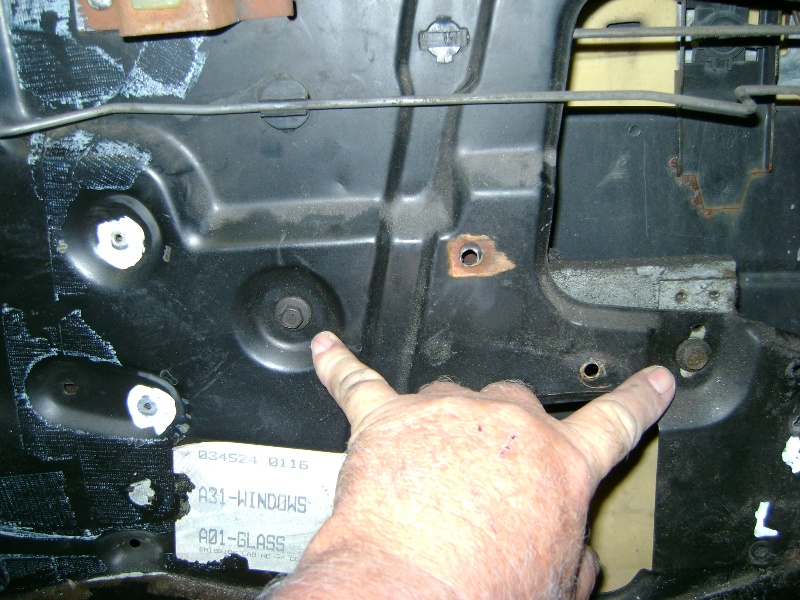
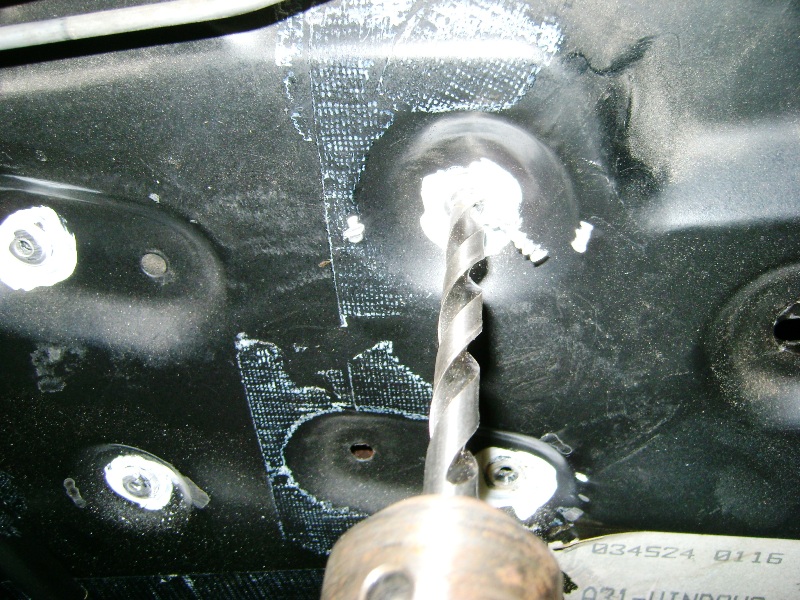
I used white out to mark where the five rivets are to drill out.
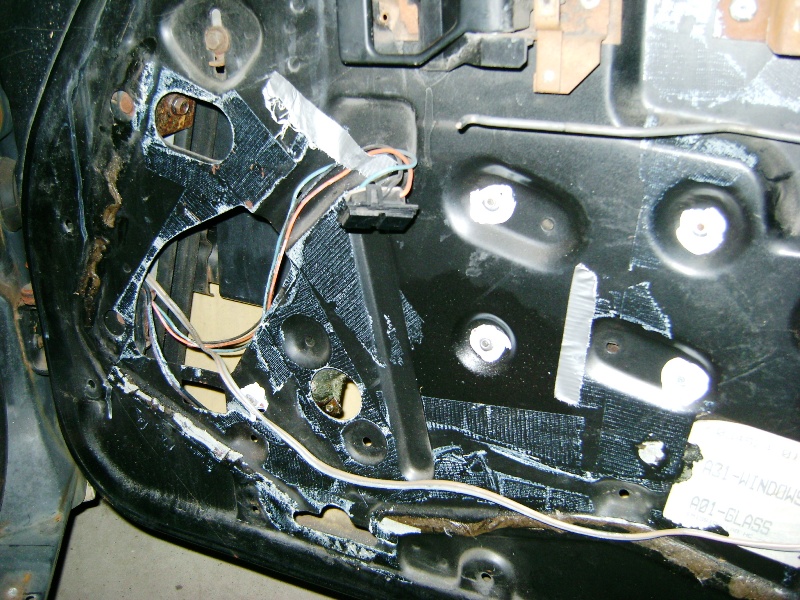
Photo of the power door lock pieces that need to be removed from the door. The photo will assist you in getting it back on the door in a working manner. I also drew an arrow on the pieces facing the front of the car to help my 63 year old memory out a bit:
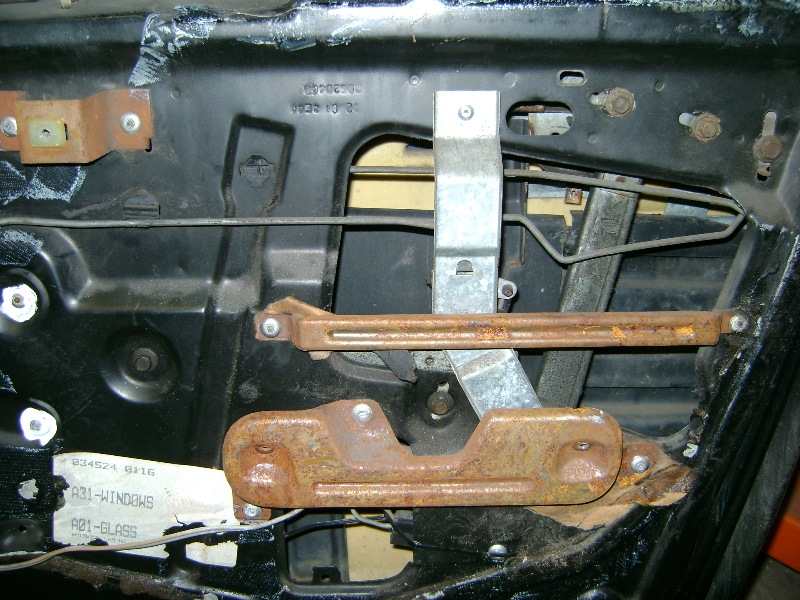
Power door lock hardware all removed. You will need to replace the rivets or use screws with nuts when you replace them on the door.
The rivets to drill out. I punched out the center with a nail set, and it made this an easier job as the drill bit wasn't dealing with the steel center:
With the center punched out. Poor quality picture, but you can see the black center:
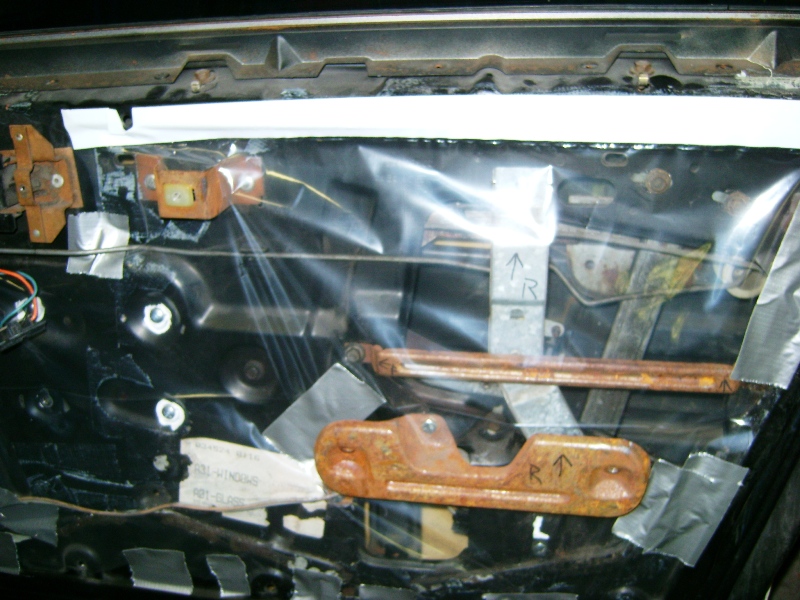
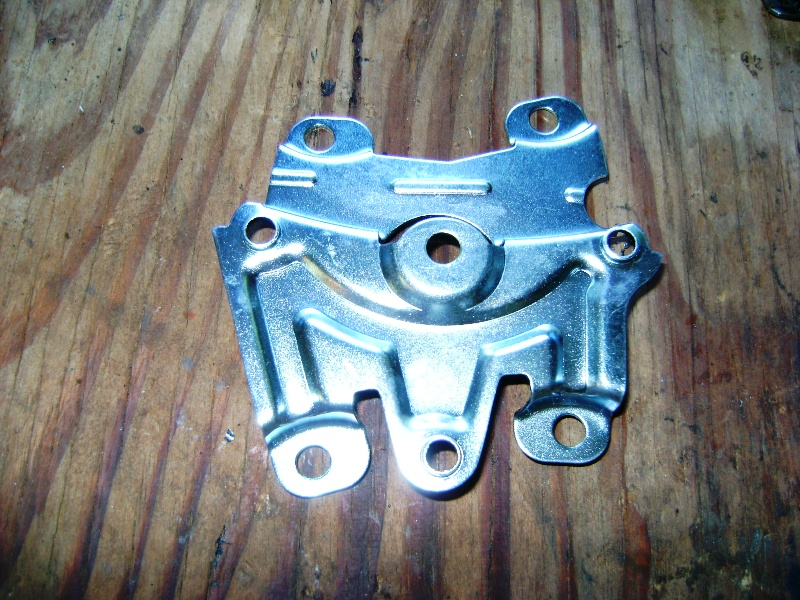
Remove these two 10mm headed small bolts to take the door inner panel cam assembly
Take the cam assembly out of the door. Just slide it rearwards and it will come off the white plastic roller. The cam assembly:
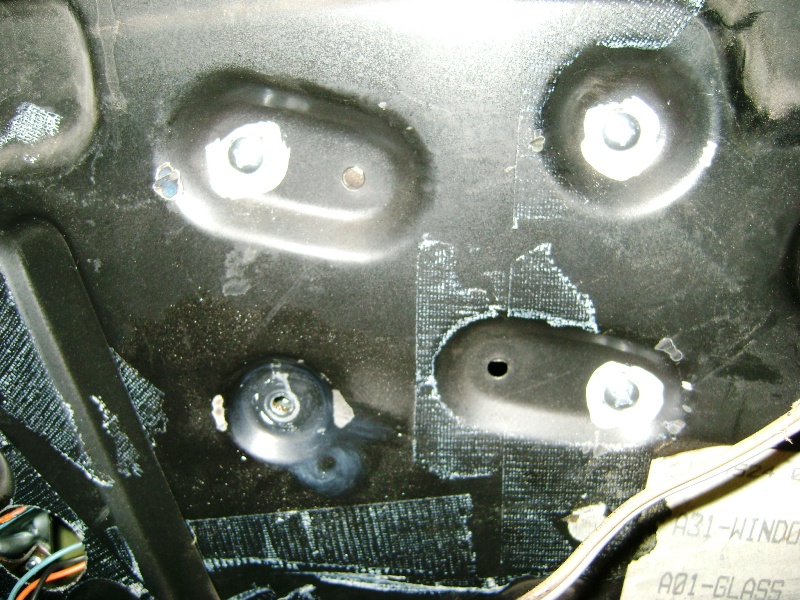
Drill out the 5 rivets holding the motor assembly in the door:
My largest Phillips screw driver:
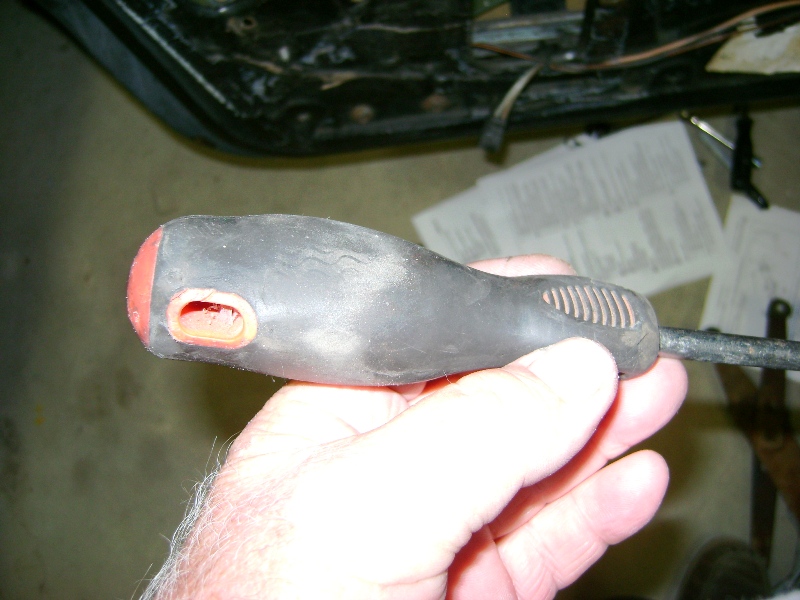
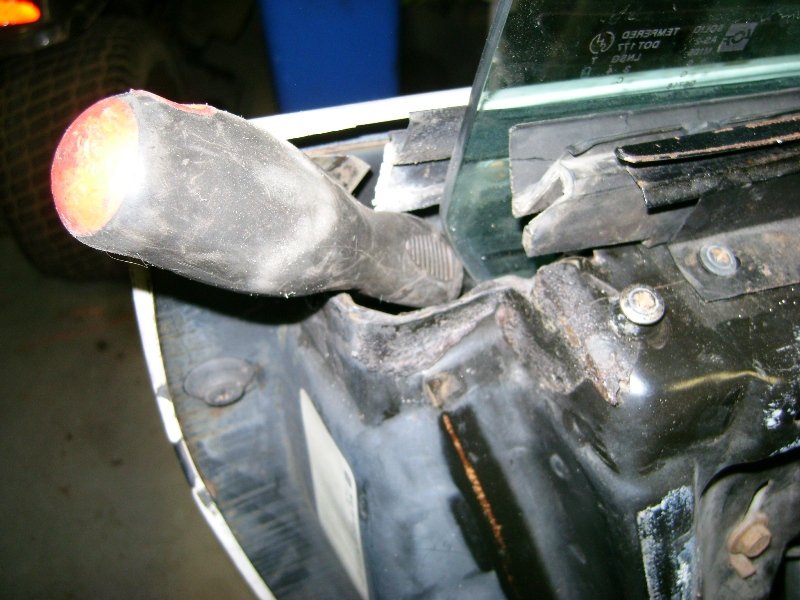
inserted at the rear of the door where the glass has a bevel. We removed the rubber cap earlier to do this:
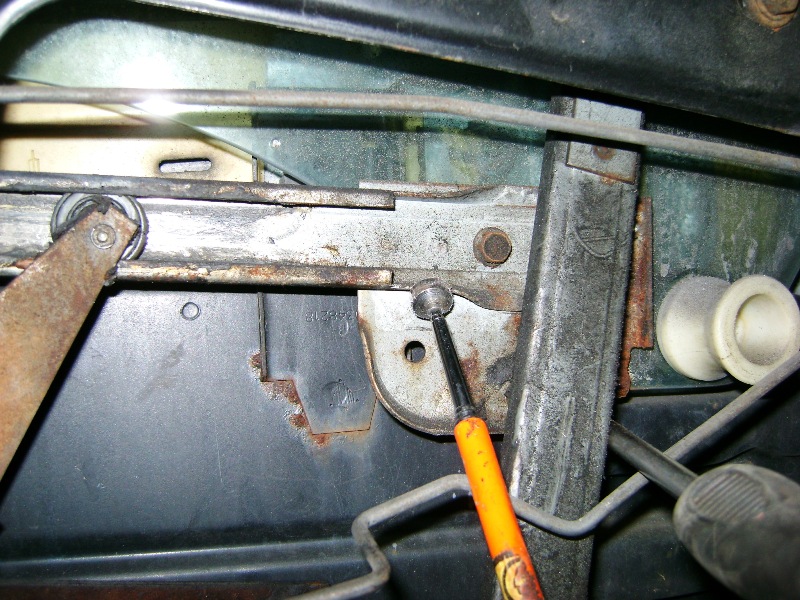
This photo shows the window channel that is attached to the glass. The books say to remove it, but I don't see why it needed to come off and out. They also call this the window cam assembly. I have done two now with out removing these. I have my extend able magnet touching where the rollers will come out of the glass channel. The glass will need to be lowered about 5-6 inches to do this. Once the motor assembly is free raise the glass back up and put the screw driver back under the glass at the rear of the door:
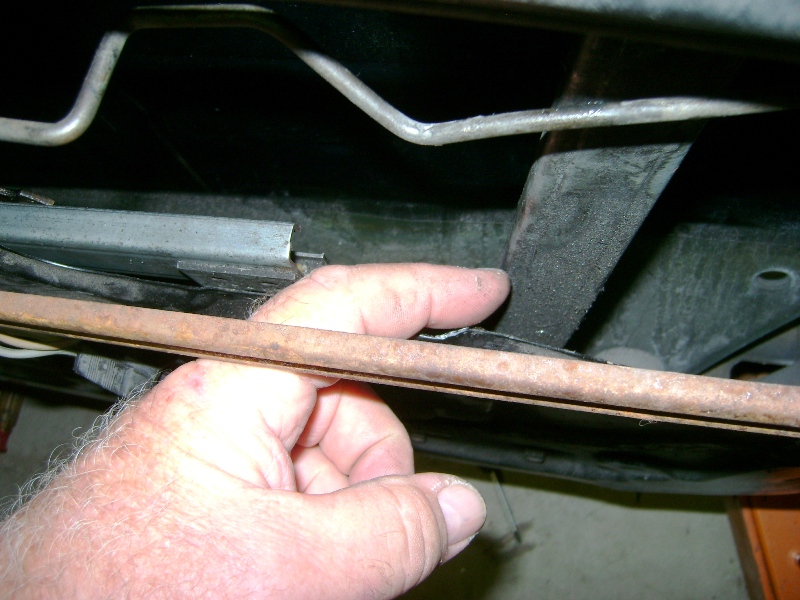
Once the motor assembly is free raise the glass back up and put the screw driver back under the glass at the rear of the door. Left door shown:
Remove the motor/regulator threw this hole. motor down and the two rollers up and out: :
The teeth on the regulator will have to be between the door frame and the rear vertical channel:
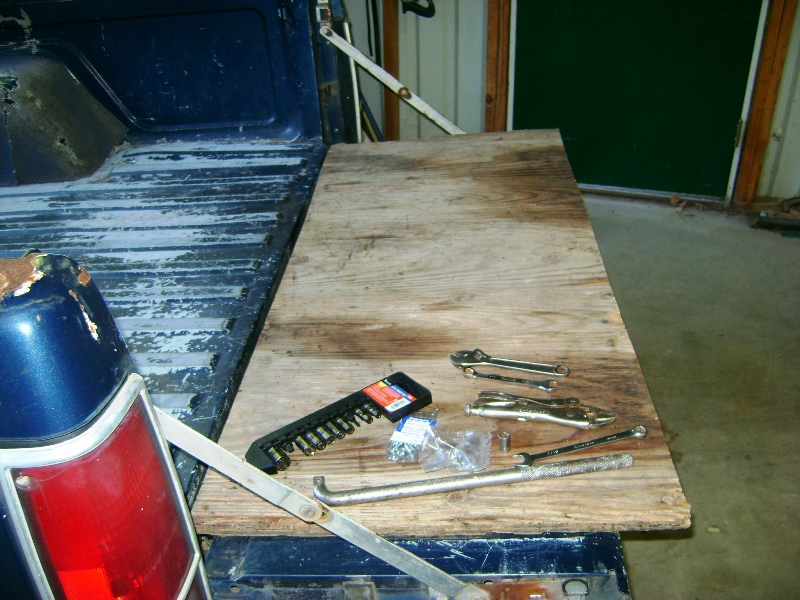
Half my portable work bench:
And the other half:
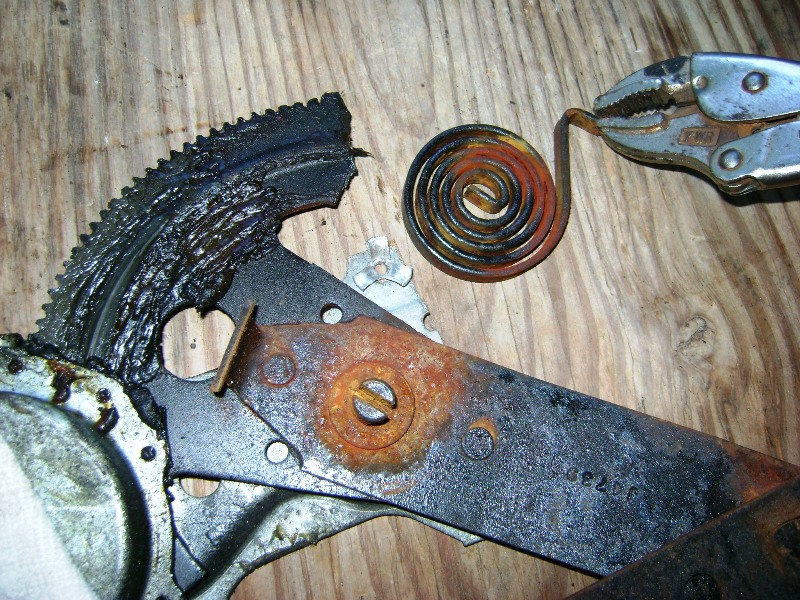
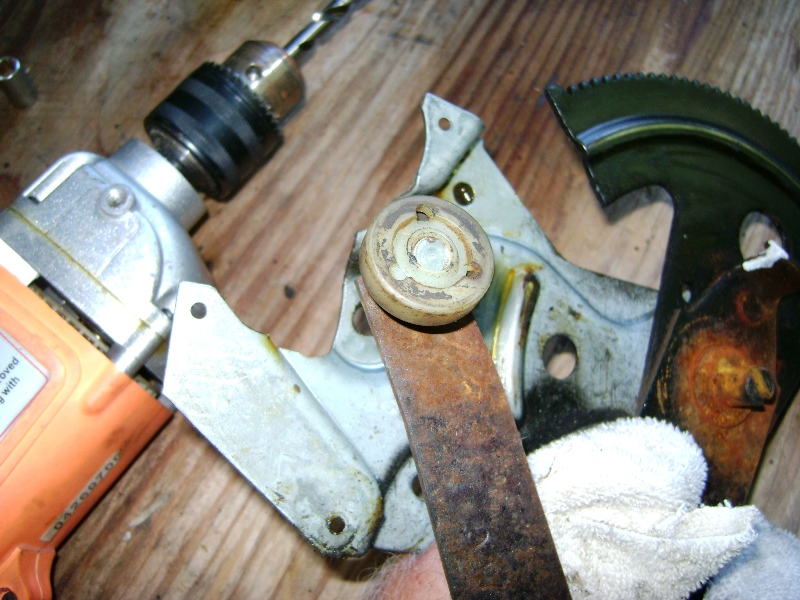
Photograph the large coil spring good enough to see how it is attached to the regulator. Vice grips to release the spring. This spring it to assist the motor raising the window glass. If you put it back in incorrectly the motor will be working against the weight of the glass, and the tightening of the spring. Not good, hence a photograph:
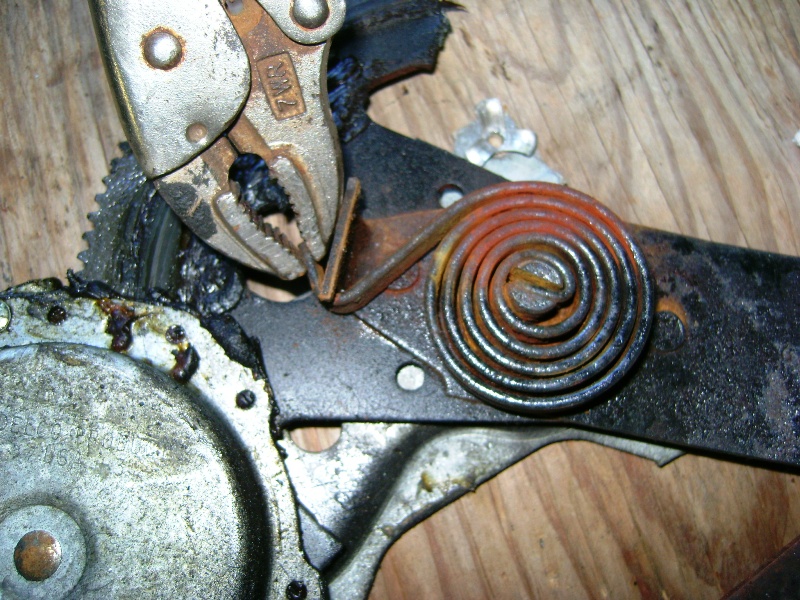
And off the regulator:
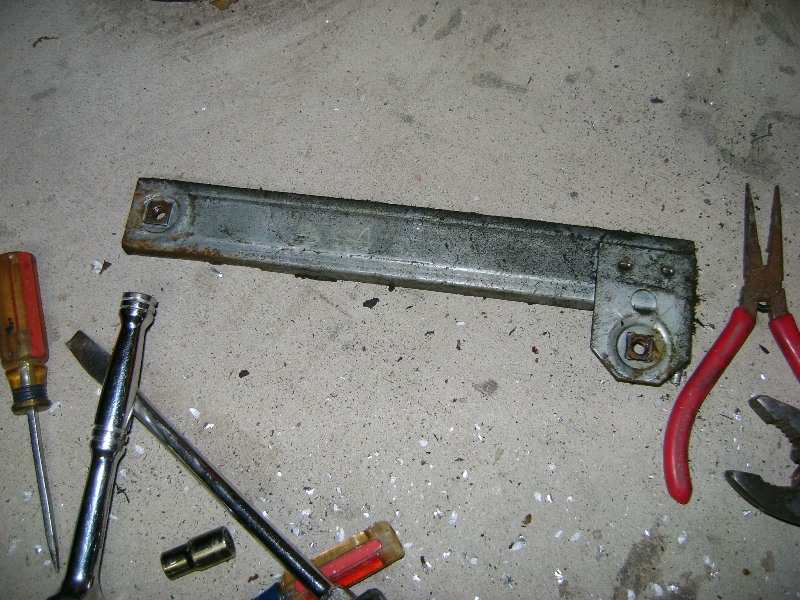
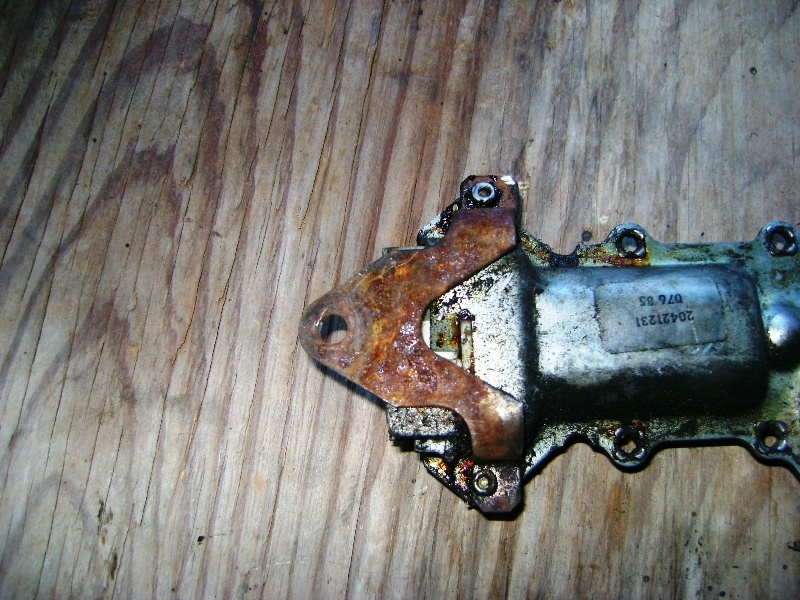
Old motor with the forward mount installed. This needs to be transferred to the new motor on the correct side. Hence the photo for reference. I used a cut off wheel to remove the head of the rivets:
Some one had greased the crap out of this t attempt to make the window move faster. It just gathered dirt and made a grease mud. I removed all of this and just put grease on the teeth of the assembly only:

The roller end of the regulator. It is a wobble headed ball, and this is where the lube is needed to be added. I had one that would just barely roll. I used a drop of motor oil on both sides and it worked free after I wiggled it around and turned it back and forth:
If your new motor comes with this piece, just discard it as we will not need it in the Fiero door:
My Dorman motors came with the screw and nuts to attach the motor to the regulator assembly. They only furnish 4, but I used some of my own to make it 5 total. They had a lock washer built onto the nuts, but I staked all of them: This is a good place to use Locktite too.
Insert the new motor and regulator assembly back into the door threw the large rear hole that you with drew if from. Insert the rollers back in to the window channel You will have to lower the glass again about 5-6 inches:
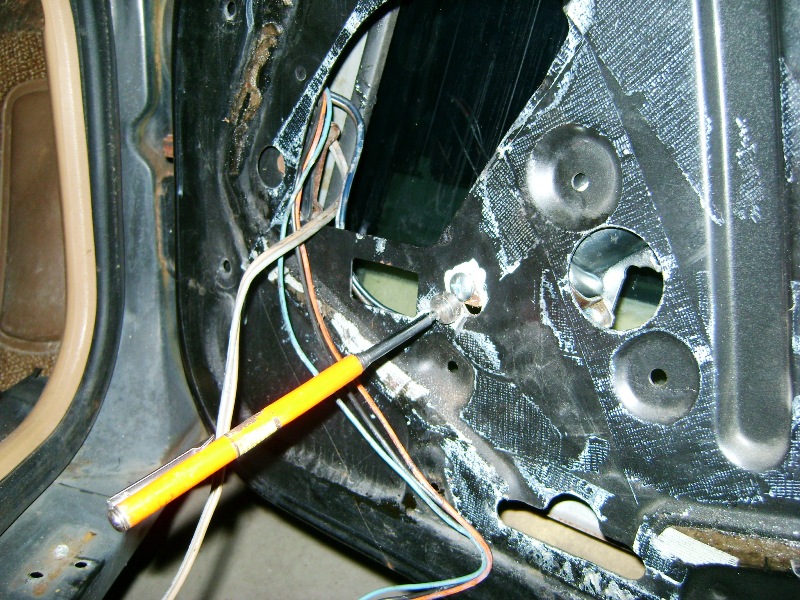
On the drivers door the wiring connector was accessible to the motor easy. On the passenger side I had to connect the wires before I mounted the motor to the door frame. Right side do ir now.
The one hole in the mount part over the wiring connector, attache it to the door frame loosely.
Make sure that the slider rollers do not come out of the glass cam channel. The motor will now need to be either raised or lowered to insert the last three mounting bolts, or rivets if that is your method of attaching. Just bump it a bit at a time until you see the motor in the right position threw the holes you marked with the white out Turn on your ignition and use the window switch to bump it until you can inset one of the fasteners. Use a nut on the back side to keep it in position. Now you will need to add the small channel piece they called a cam that was attached by the two small 10mm bolts. Slide it onto the slider/roller and insert one of the two bolts. You might need to bump the switch again to get the second one lined up and started. I could see the marks where the factory had mine adjusted to and returned them to this same spot.
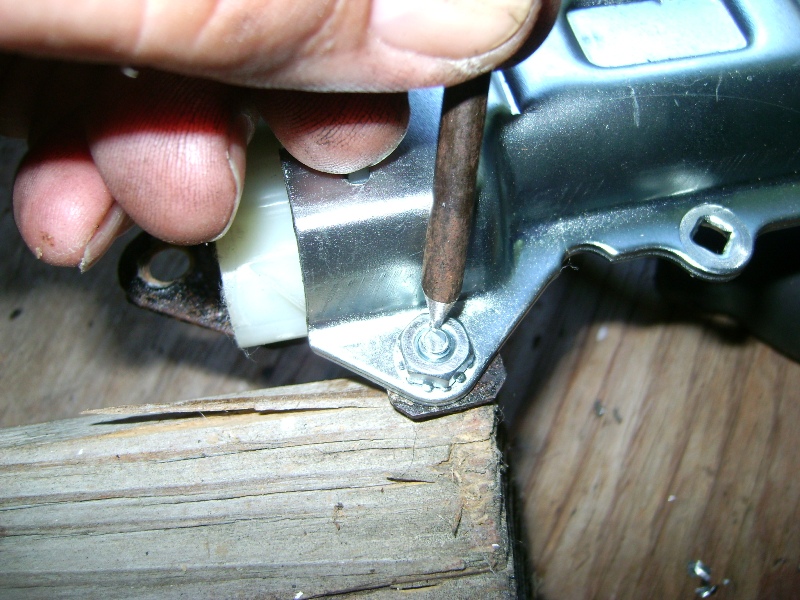
In this photo I show wher I had removed the white out on one of the hese 4 mounting holes. If you are using rivets good, if not it is noot accessable from behind to add a nut. The others wer accessable wit the glass all the way up or down depending on which one I was installing. After I had them all started I tightened them all good. Nylon headed lock nuts are wonderful!!
Tighten all fasteners and replace the power door lock hardware. I used screws and nuts instead of rivets. Make sure the wires do not interfere with the window moving its full range of motion BEFORE you re attach the inner door panel.
It took me a while longer to do the first one, but the second one was only an hour and a half total. It took me longer to type this instructional thread. I would not purchase these China made window motors if I had to replace these again. Don't forget to relax the spring before you remove the regulator, as it WILL bite you.
Joe
[This message has been edited by josef644 (edited 10-01-2010).]