I was asked by some to give them a guide to removing the injectors from a 4.9 Cadillac for servicing .
I ordered the O rings and filter kits from Mr Injector, about $24.00 delivered. He also throws in a few extra o rings and filters so you cam fix a messed up replacemant. He was fast, I had them two days after ordering. There are several places on the net you can get these, and it cost about the same.
http://www.mrinjector.us/index.html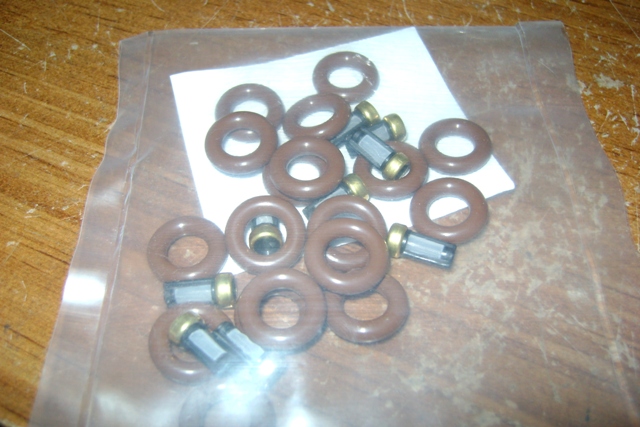
Useing the correct tools remove the fuel supply and fuel return lines from the fuel rails.
The only tools I used were, 13mm socket and a long extension, a 10mm socket with the same extension and a 3/8" ratchet. I used a pair of needle nose and a small flatblade screw driver also.
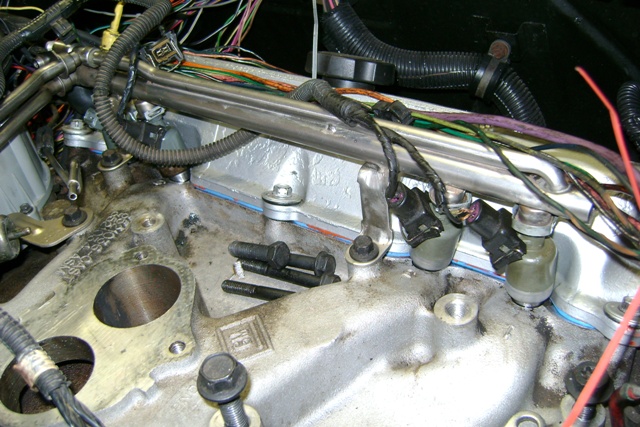
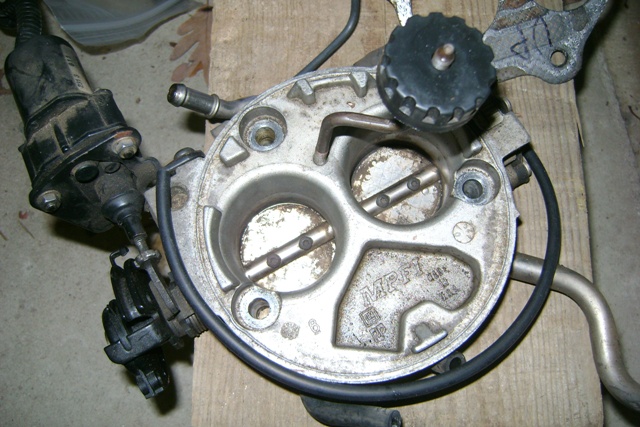
First I would remove the whole throttlebody. The injectors and fuel rail will come off without doing this, but it will make your life easier if you do. I didn't, and wish I had. I ended up removing it anyway so I could clean the injector holes and the intake manifold better. One of the fuel rail retaining bolts is partialy hidden by the IAS motor anyway, so you will have to work around it. Unless you just remove the throttle body. Un plug the vacume lines and remove three bolts and lift it off the intake. I am gonna clean it up real good before I re install it anyway
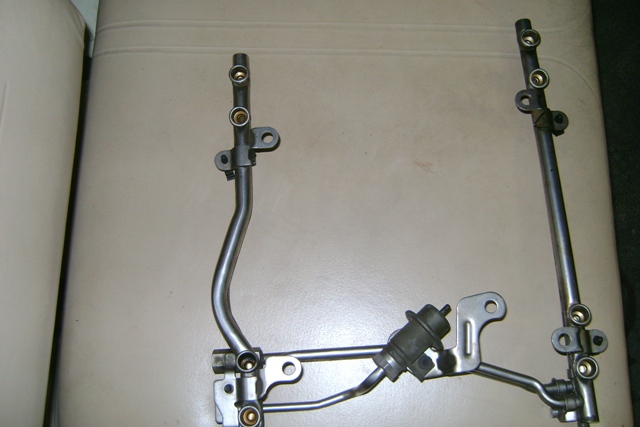
Depress the center of the schreader valve and release the fuel pressure from the fuel rails. Use a rag over the valve to keep gas from entering your open mouth. Don't ask me how I know. Valve is shown in the lower left of the rail. It looks like an auto AC gauge connector:
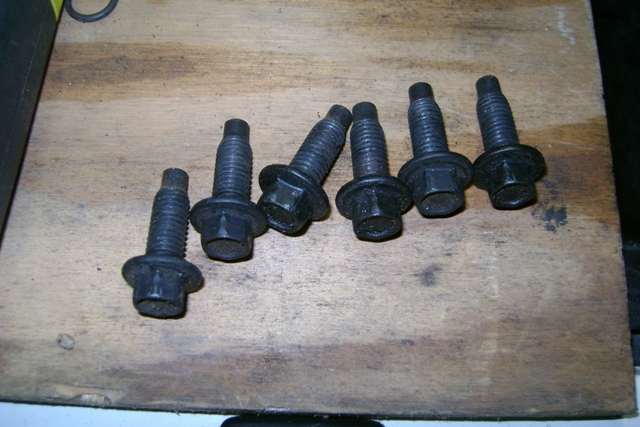
Next remove the throttle cable mounting bracket and the 5 bolts securing the fuel rails to the intake. They all have 10mm bolt heads and were all the same length. Two bolts on each rail, and one next to the regulator. Notice that all the retaining bolt holes are on the inside if the fuel rails. The sixth bolt was in the throttle cable bracket
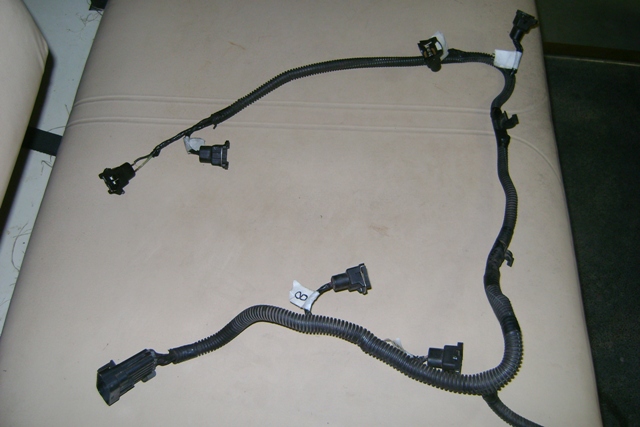
Unplug the injector harness from the engine harness. If you have a 91 harness there will be two plugs with a connector that goes to the water temperature sensor. 92 and 93's have one connector for all 8 injectors. The water temp sensor is not in the injector harness as it was in the 91's.
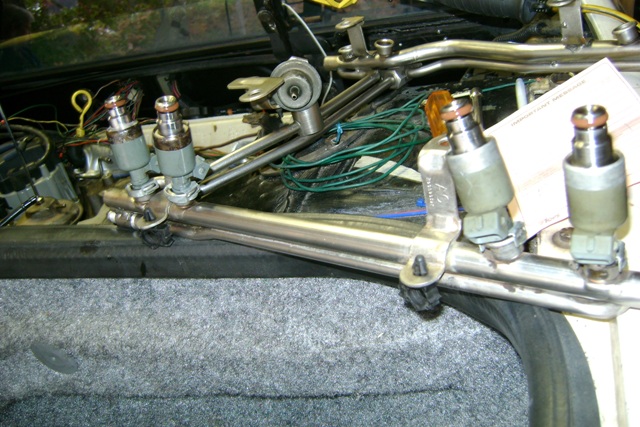
Next I started removing the fuel rails on the # 1 and 3 injector by pulling up and wiggeling forward to rearward a bit on the fuel rail. It as an easy removal. I then moved rearward to the #'s 2 and 4 injectors. Same process., Then # 5 and 7, and finally 6 and 8. 5 & 7 were the hardest to lift up for some reason.
Mark each injector wire 1 - 8. I used white tape, and marker.
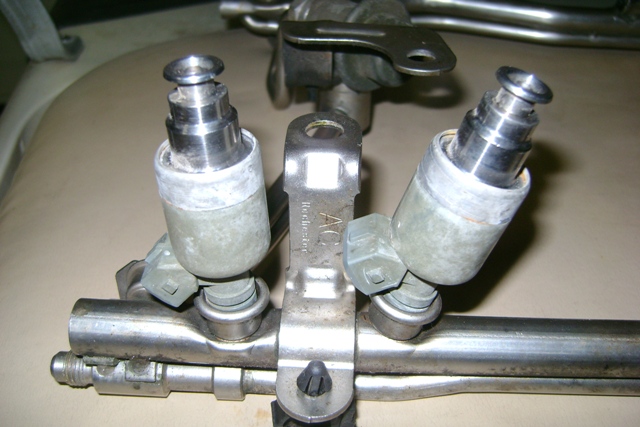
Take photos and make note of how the injectors anr indexed on the fuel rails. On mine two were indexed towards the end of the rail on each end. So I had four pointing to the waterpump end, and four pointing to the transmission end of the engine.Two on each rail
AllData .com states that the injectors should point:
"The electrical connectors should be facing the front for injectors one through four. The injectors should be facing rear for injectors five through eight."
I have looked at many photos here on PFF of 4.9 installs where I could see the injestors . I found one photo where this was as AllData states. I found many that were as mine were clocked and indexed.:
I am going to return mine as they were. I think this will keep the wiring harness happy, as these wires are sotra hardened in their present locations and shape.
Fieroseverywhere has suggested that we can move the harness underneath the rails to help clean up the apperaence of the engine.
Depress the little wire retainer and pull the connector off of each injector. If you depress them all the way,they come off real easy:
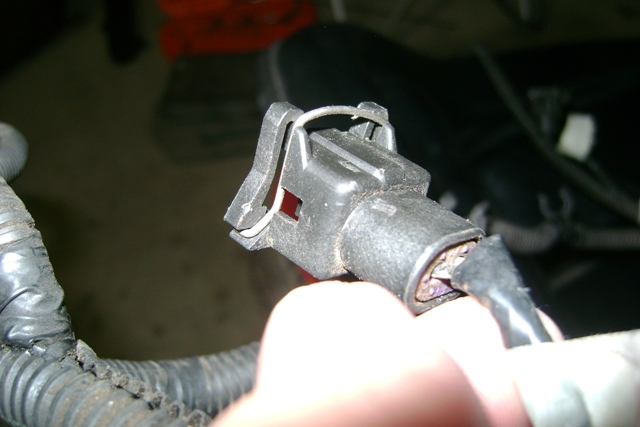
And look for any of the wires like this. This one was twisted 360* and was shorting out. I had two like this:
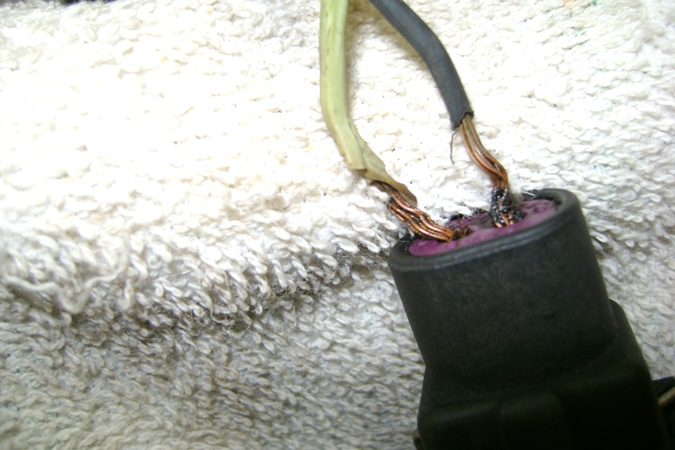
Rock auto charges about $23.00 each for these. So be careful with these.
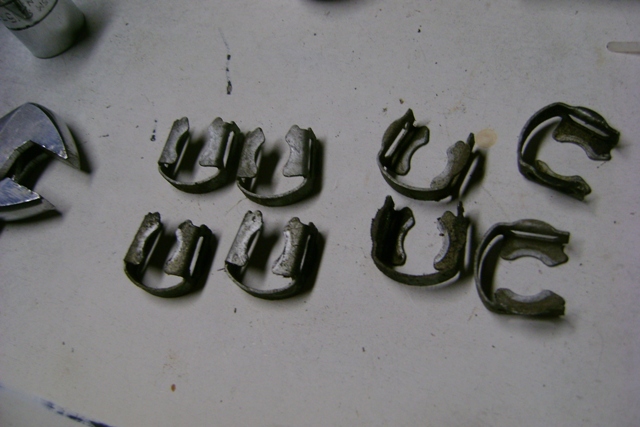
Use the small flat blade to start the retaining clip holding the injectors on the rails, moving. Then the needle nose pliers to remove the injector retaining clips. Notice how they are on the fuel rails and injectors before you remove all of them. AllData says that the retainers are to be put on the injectors before they are put back on the fuel rails. If you have them on upside down they will no go back on. They should 'Snap" when seated. They also advise to use new retainers. If you are gonna reuse these , clean them well befor reusing. Mine had old oily mud on them:
I copied this next part out of my swap thread:
| | | quote | Originally posted by josef644:
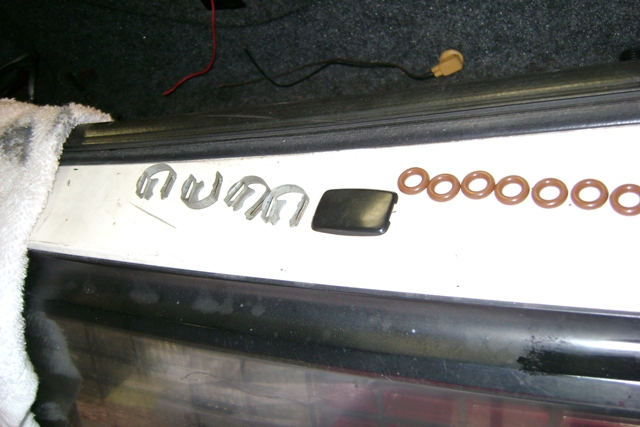
I removed all 8 injectors from the fuel rails. The rail ends of the injectors had this awful smell and a chocolate brown color on inlet end where the filters insert:
Here is what I used to remove the filters from the inlet on the top:
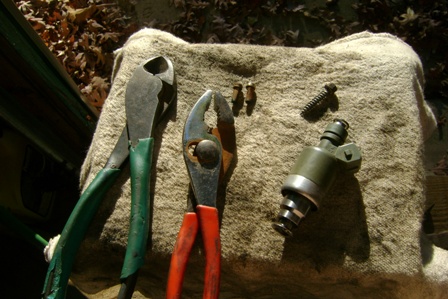
Just screw in the patented filter remover, and pull it out. I used the side cutters because it was a bit larger and gave me better leverage
A shot of all 8 removed and the patented fuel injection filter remover:
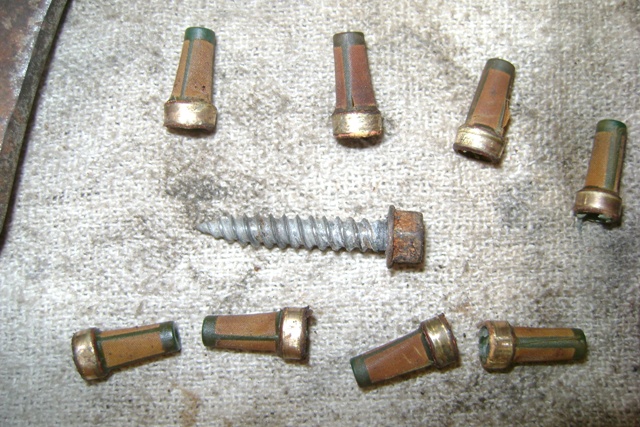
8 injectors ready to be cleaned up and tested sometime tomorrow.
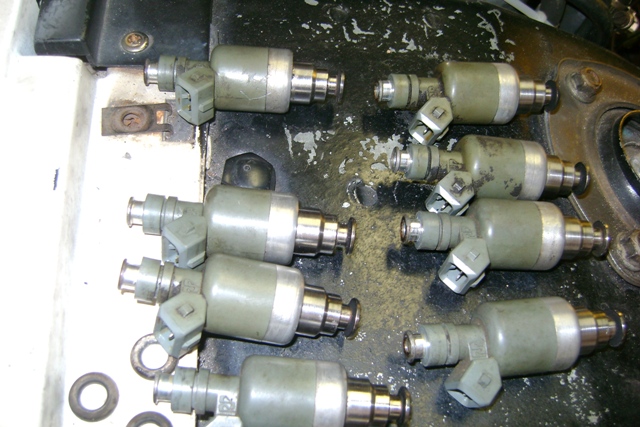
A bit of sour gas was in the top of all 8 injectors
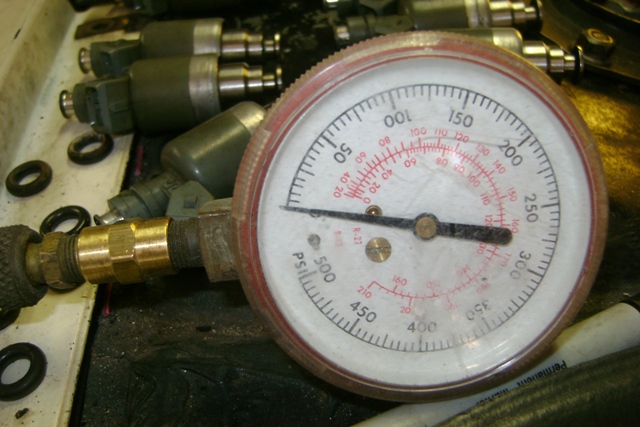
I went to the hardware store an scored me a brass adapter so I can connect the pressure gauge to the fuel rail after I reinstall this mess:
 |
|
I removed all of the old sour gas from my rails using my air hose and some rags to block the holes. Borrowed the wife for a few min's, and cought heck from painting her with stinky gas out the exit hole. So caution is advised here to keep from being exicuted at dawns early light the next morning.
After removing the filter screens as shown above I set my regulator to 42 lbs of pressure on my air compressor, and using my 'Patented' injector checker, checked my injectors. The three that worked had a pattern like a can of spray paint. I had one that just dripped, and four that would not do anything. I now have six that work good, and set from rdean on the way.
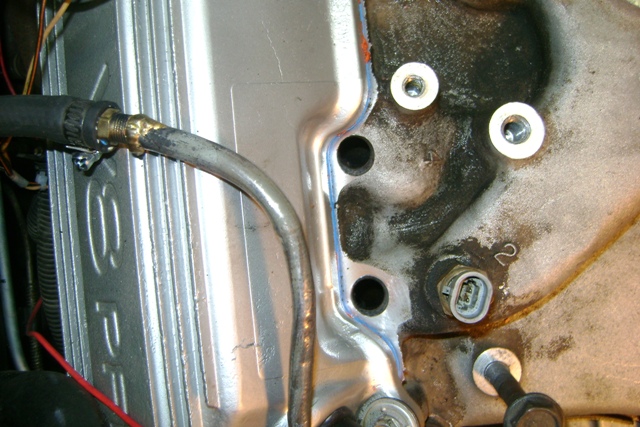
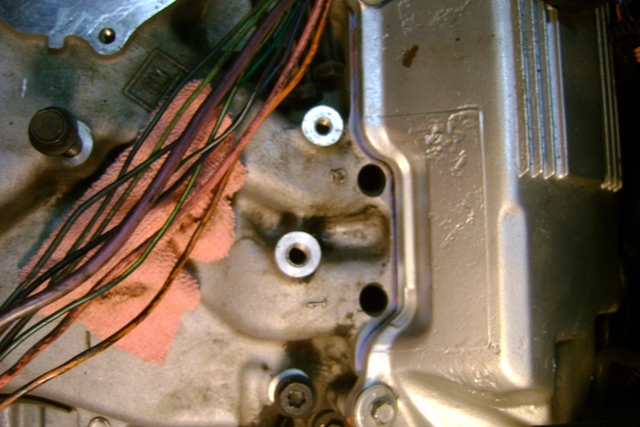
Clean your intake injector holes
Installing the injectors is the reverse of removel. Install the o ring and the filter screens. Clock the injectors on the rails before seating. Alldata says use motor oil, others say use 3 in 1 oil on the o rings and injector holes in the intake manifold.
Mickey_Moose and Fieroseverywhere both say you just sit the injectors back on the intake and push down on the rails unitl they seat. Both say it goes real easy.
| | | quote | Originally posted by Fieroseverywhere:
I don't know what to tell you exactly. Just line up the injectors with the holes in the intake manifold and press the rail down. Then add the bolts and torque to spec. There is no trick to it really. For me its always gone in quite a bit easier then it comes out. Almost too easy. I replaced my o-rings during the rebuild so I never had the joy of working with old ones. Hope this is somewhat helpful Joe.
|
|
| | | quote | Originally posted by Mickey_Moose:
install as one part - add some 3 in 1 oil to the o-rings to aid in them going into the holes (on both the manifold and fuel rail). Just set the rail on top of the manifold, line up the injectors and press down. |
|
The Haynes says torque the fuel rails to 18 Ft Lbs, and the throttle body to 132 in lbs
Reconnect the fuel lines.
As I havent put mine back on my engine yet I havent 'been there' yet and I will make additions to this as are necessary afterewards.
Please feel free to offer suggestions or corrections to this guide.
Joe
[This message has been edited by josef644 (edited 12-02-2009).]


 )
)