I think everyone can handle the crossover and accessories bolt on's.
.
.
Please PM me if you need me to add.
.
.
Fastener Tightening Specifications
Application.....................................................Specification................Metric........ English
Air Conditioning Compressor Bracket to Lower Crankcase Lock Nut........30 N�m........22 lb ft
Air Conditioning Compressor Bracket to Lower Crankcase Stud..............25 N�m........18 lb ft
Air Conditioning Compressor to Block and Bracket...............................50 N�m........37 lb ft
Air Conditioning Compressor Mounting Bracket to Compressor...............25 N�m........18 lb ft
Brace--Left Bank (Long)...............................................................75 N�m.........55 lb ft
Brace--Left Bank (Short)..............................................................50 N�m.........37 lb ft
Braces--Right Bank.....................................................................50 N�m.........37 lb ft
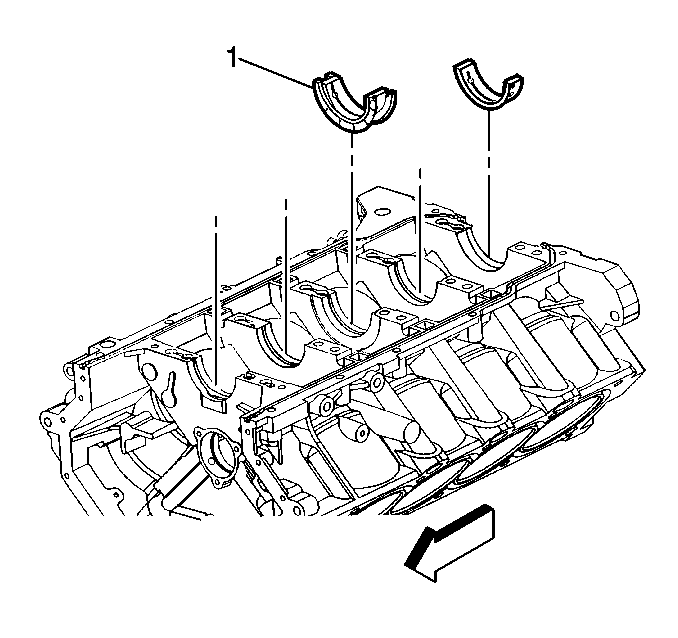
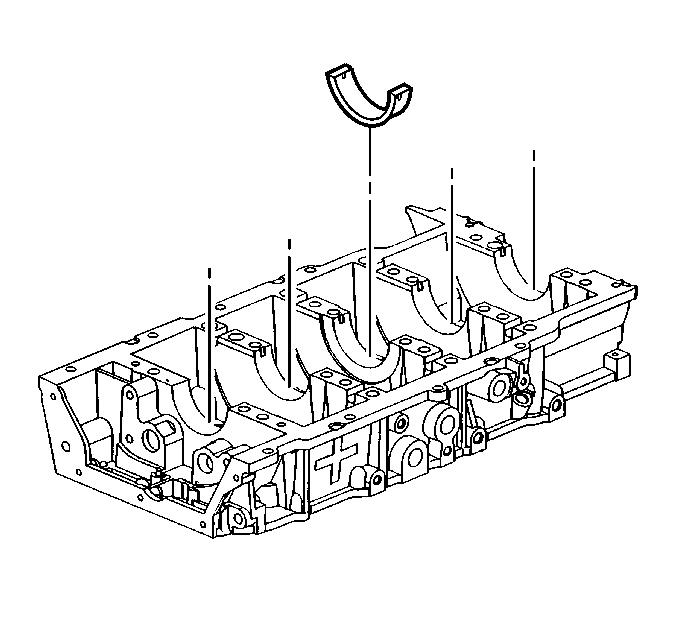
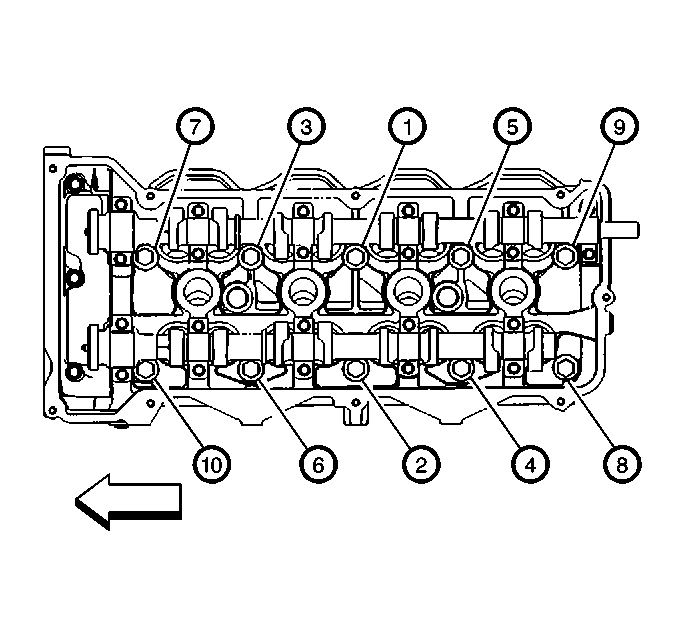
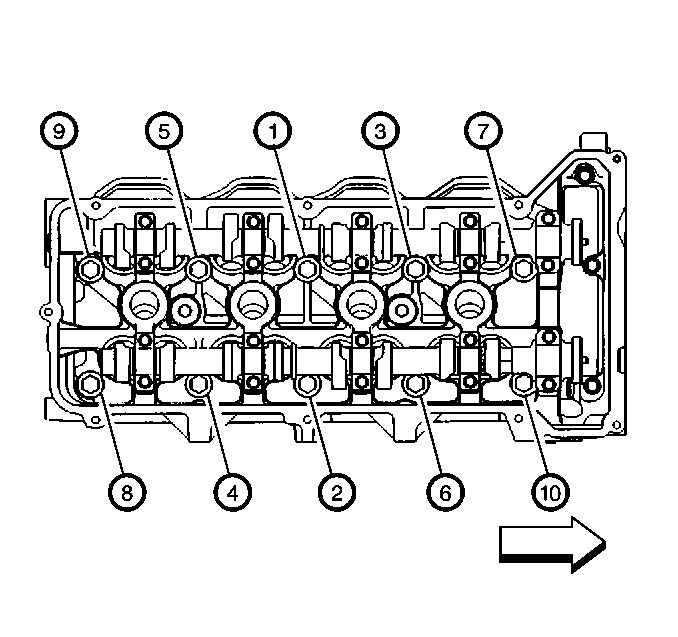
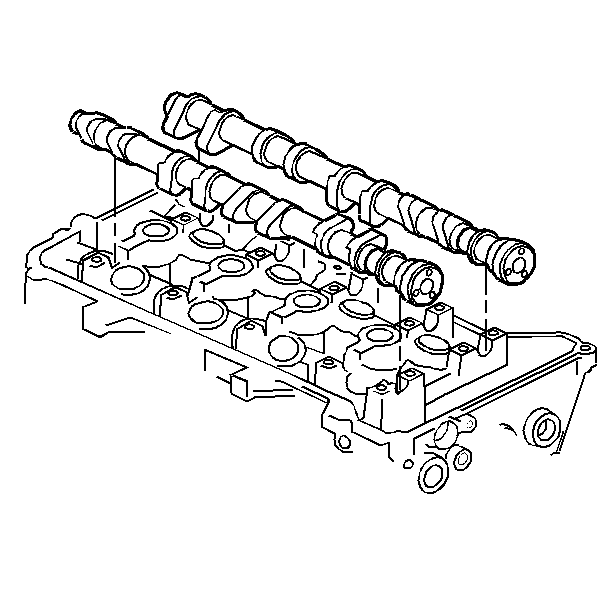
Camshaft Bearing Cap....................................................................12 N�m.........106 lb in
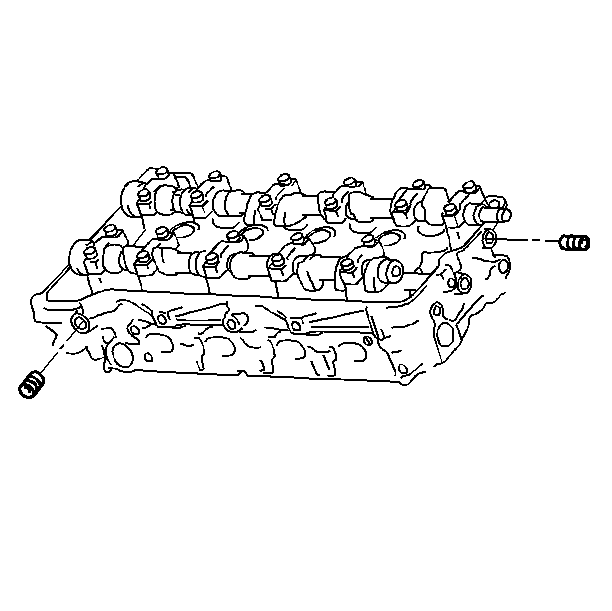
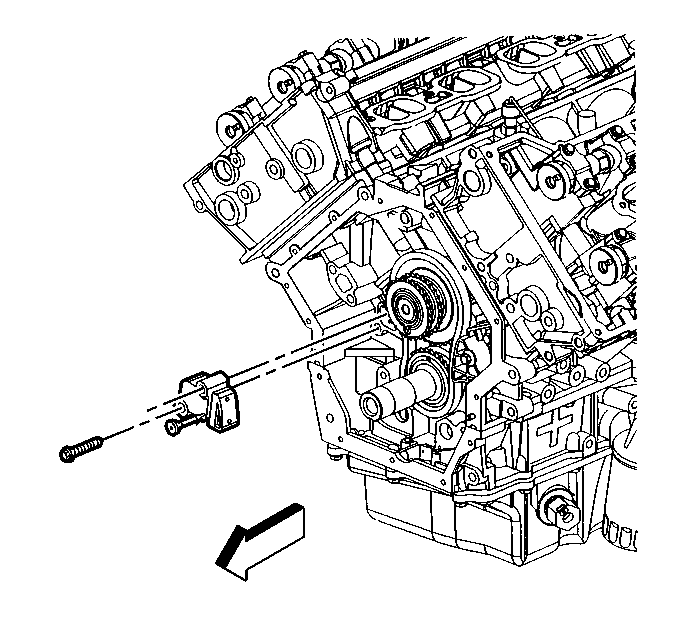
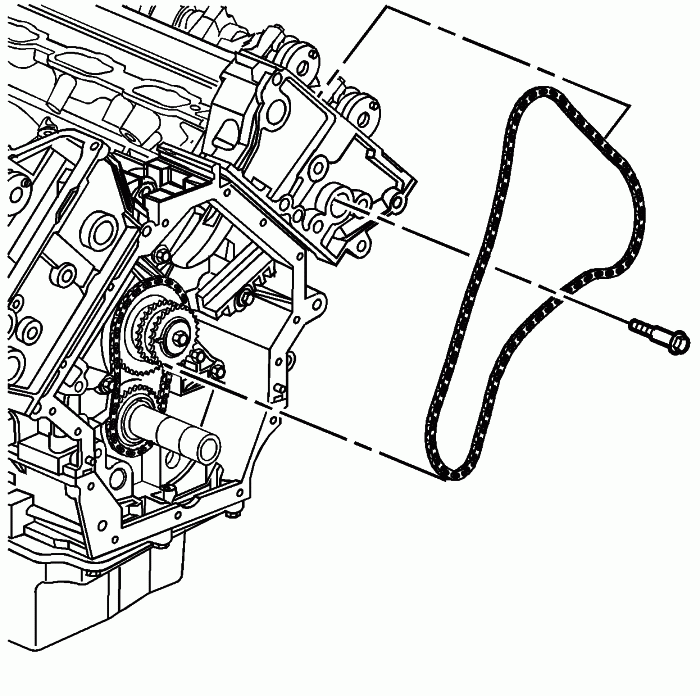
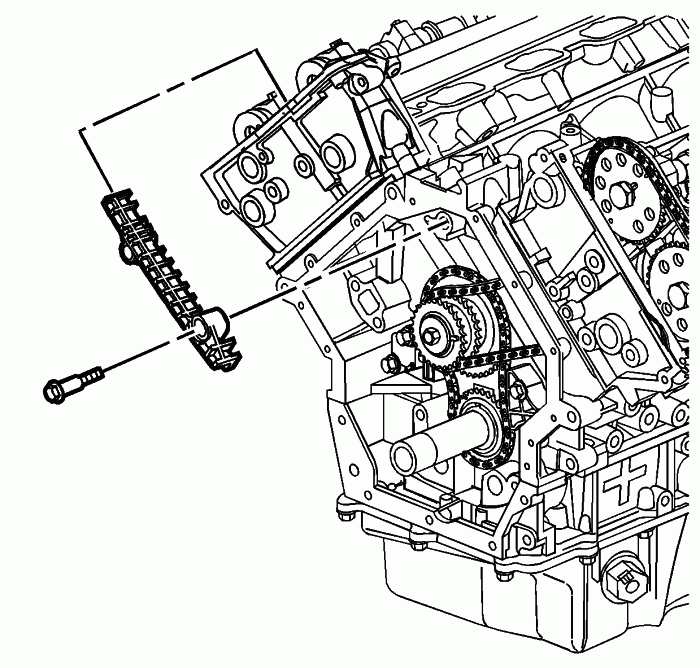
Camshaft Chain Guide Access Plug...................................................4.5 N�m........39 lb in
Camshaft Cover.............................................................................10 N�m..........89 lb in
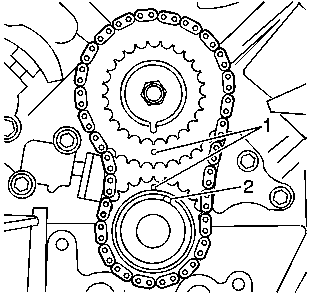
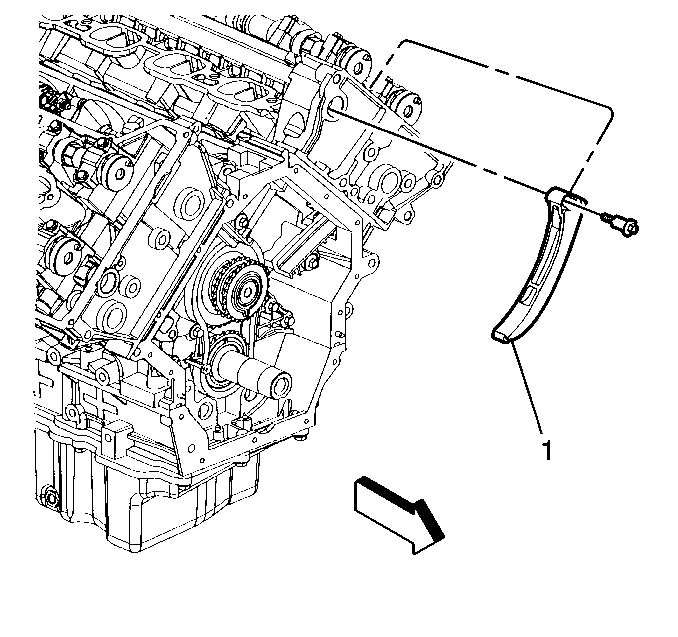
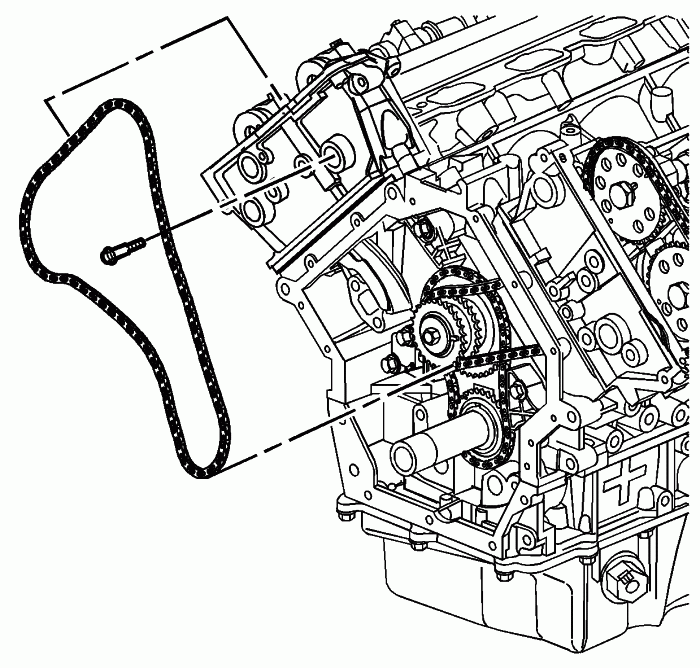
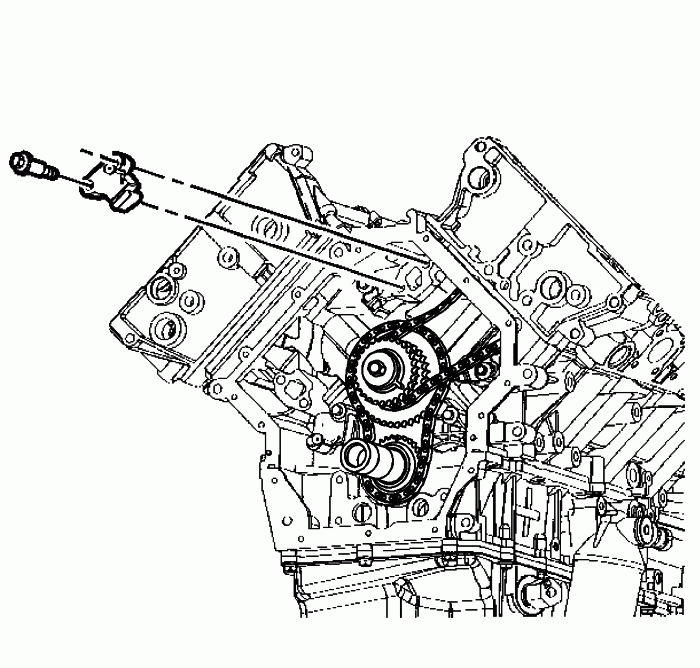
Camshaft Drive Chain Guide Bolts......................................................25 N�m.........18 lb ft
Camshaft Drive Chain Tensioner to Block............................................25 N�m.........18 lb ft
Camshaft Seal Retainer to Cam Cover (Left Hand Head)........................3 N�m.,........27 lb in
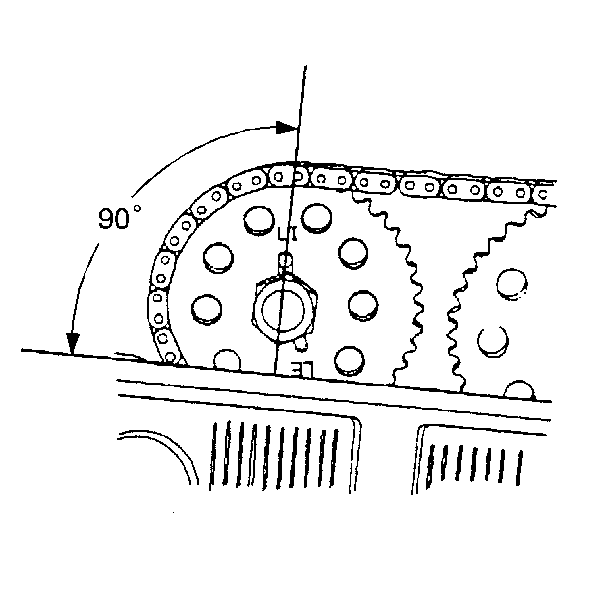
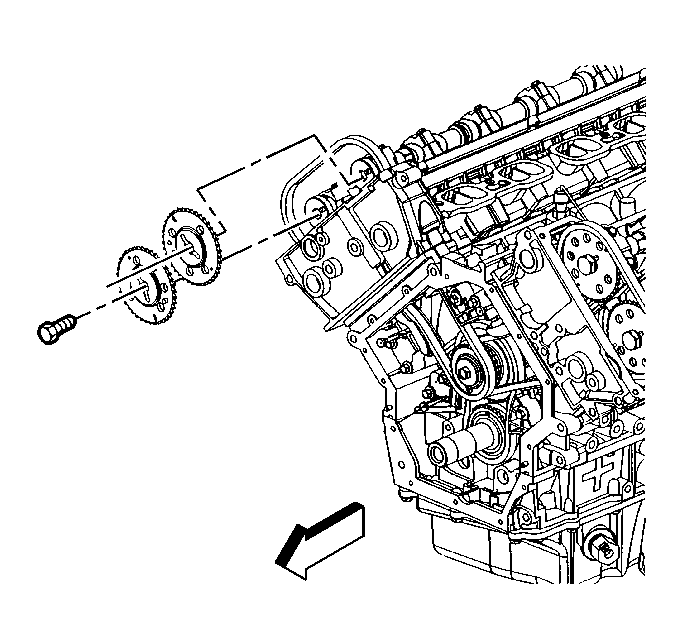
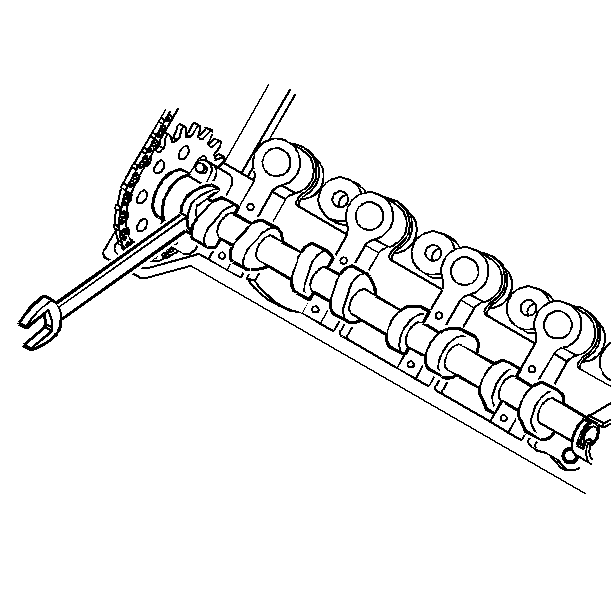
Camshaft Sprocket........................................................................120 N�m........89 lb ft
Catalytic Converter to Exhaust Manifold Rear Pipe............................... 50 N�m.........37 lb ft
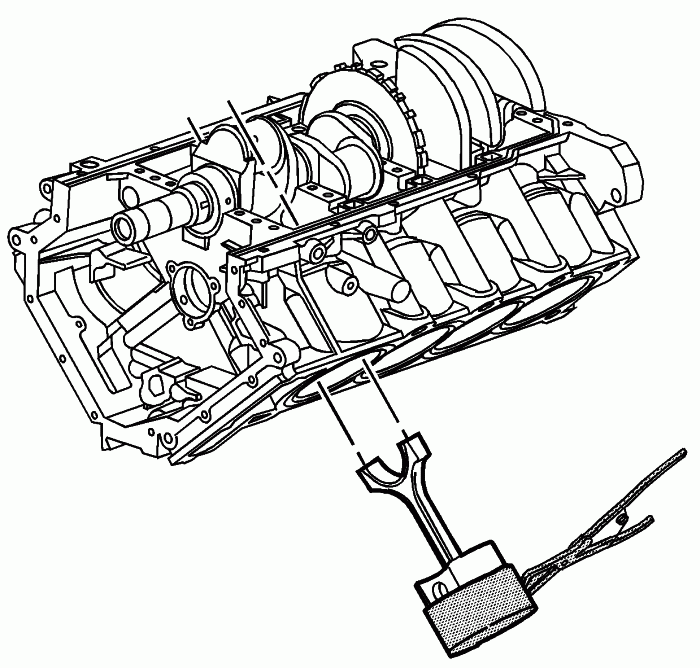
Connecting Rod Bolt
First Pass ..................................................................................... 30 N�m.........22 lb ft
Second Pass ...................................................................................Back off to zero
Third Pass ...................................................................................... 25 N�m.........18 lb ft
Final Pass ...................................................................................... +110 degrees
Coolant Temperature Sensor..............................................................20 N�m......... 15 lb ft
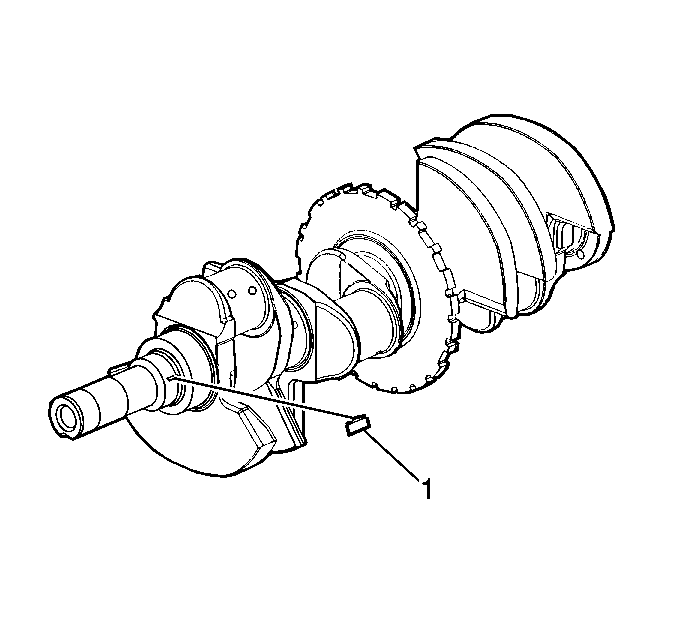
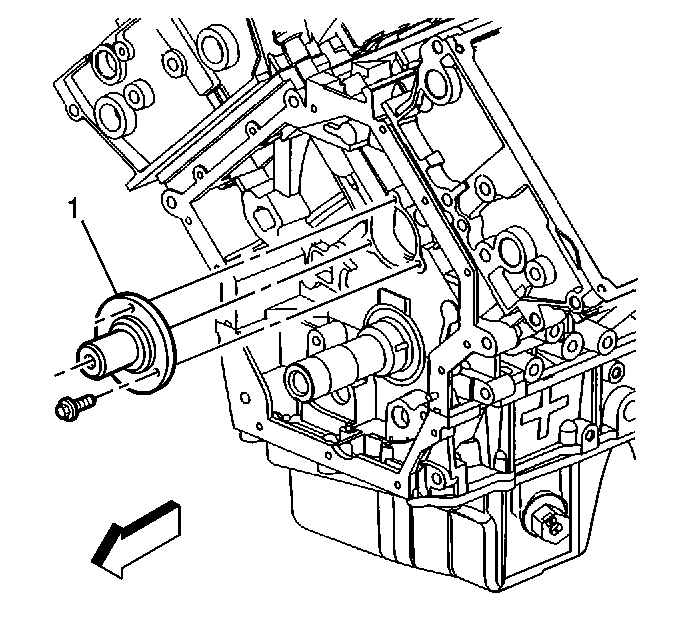
Crankshaft Balancer Bolt
First Pass .......................................................................................50 N�m.........37 lb ft
Final Pass .....................................................................................+120 degrees
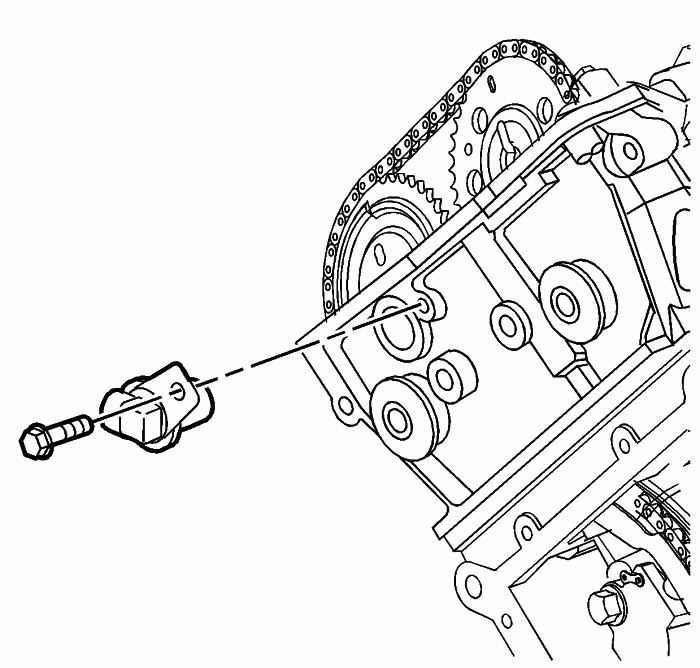
Crankshaft Position Sensor...............................................................10 N�m..........89 lb in
Cruise Control Bracket to Throttle Body Bracket.................................12 N�m..........106 lb in
Cylinder Block Coolant Heater - Right & Left.......................................10 N�m..........89 lb in
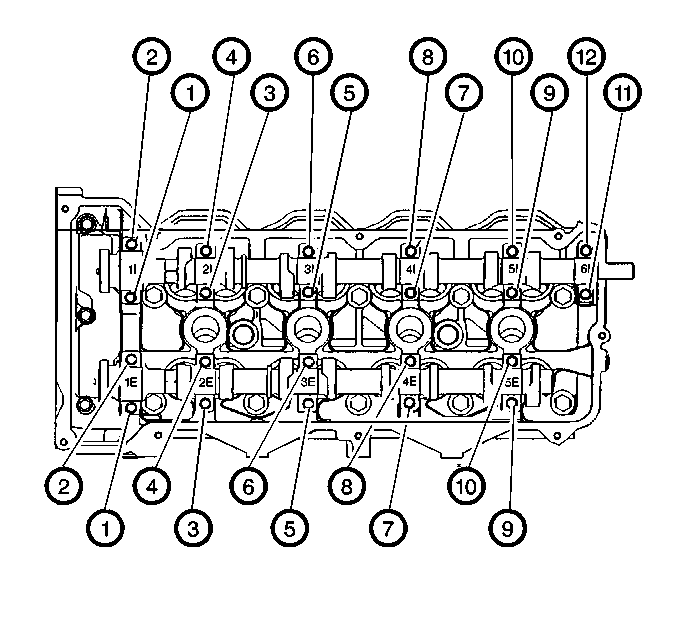
Cylinder Head Bolt (M11)
First Pass .......................................................................................30 N�m.........22 lb ft
Second Pass ...................................................................................+60 degrees
Third Pass .......................................................................................+60 degrees
Final Pass ...............................................................................+60 degrees (180 degrees Total)
Cylinder Head Bolt (M6).....................................................................12 N�m.........106 lb in
Cylinder Head Plug............................................................................80 N�m..........59 lb ft
Cylinder Head Plug (Oil Gallery).........................................................12 N�m.........106 lb in
Cylinder Head Plug (Soc Hex)............................................................5.5 N�m.........49 lb in
Drive Belt Idler Pulley.........................................................................50 N�m..........37 lb ft
Drive Belt Tensioner...........................................................................50 N�m..........37 lb ft
EGR Pipe (to Intake Manifold).............................................................25 N�m..........18 lb ft
EGR Tube (to Water Crossover)..........................................................25 N�m..........18 lb ft
EGR Tube to Intermediate Pipe Nut.....................................................60 N�m..........44 lb ft
EGR Valve........................................................................................25 N�m..........18 lb ft
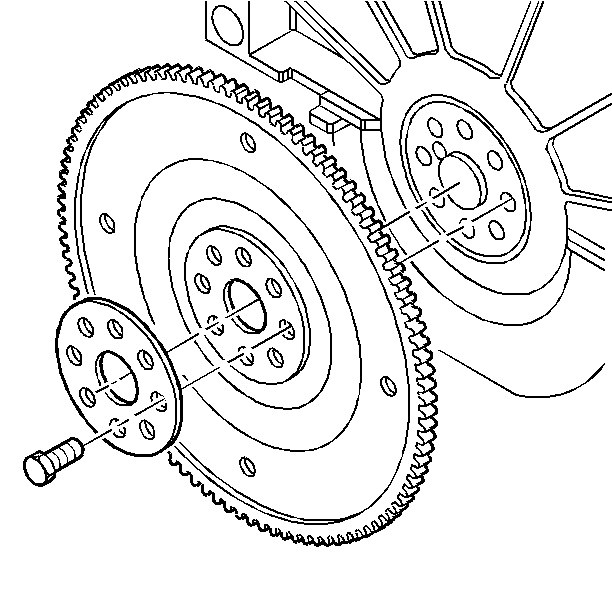
Engine Flywheel Bolt
First Pass .......................................................................................15 N�m...........11 lb ft
Final Pass ....................................................................................... +50 degrees
Exhaust Manifold Pipe to Cylinder Head...............................................25 N�m..........18 lb ft
Exhaust Manifold Pipe to EGR Tube....................................................60 N�m..........44 lb ft
Exhaust Manifold Pipe to Exhaust Manifold Rear Pipe...........................25 N�m.........18 lb ft
Exhaust Manifold Pipe to Lower Crankcase..........................................25 N�m..........18 lb ft
Exhaust Manifold Rear Pipe to Right Manifold......................................40 N�m...........30 lb ft
Exhaust Manifold to Cylinder Head Lock Nut........................................25 N�m..........18 lb ft
Exhaust Manifold to Cylinder Head Bolt...............................................25 N�m...........18 lb ft
Flywheel Housing Cover Bolt...............................................................9 N�m............80 lb in
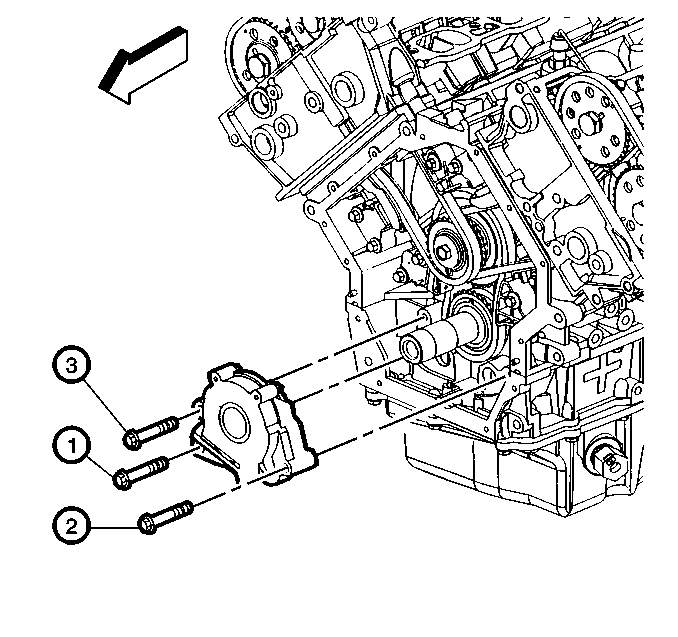
Front Cover Bolt................................................................................10 N�m............89 lb in
Generator and Air Conditioning Bracket to Block Bolt...........................50 N�m............37 lb ft
Generator Bracket to Block (Rear Bolt)...............................................47 N�m............35 lb ft
Generator Bracket to Block (Rear Nut)...............................................38 N�m.............28 lb ft
Generator to Bracket (Front Lower Bolt)............................................ 50 N�m.............37 lb ft
Generator to Bracket (Front Upper Bolt).............................................50 N�m.............37 lb ft
Generator to Bracket (Rear Bolt).......................................................50 N�m.............37 lb ft
Ignition Module Bolt (to Cam Cover)..................................................12 N�m.............106 lb in
Intake Manifold Bolt
10 N�m
89 lb in
Intermediate Sprocket Retaining Bolt
60 N�m
44 lb ft
Intermediate Sprocket Shaft Bolt
10 N�m
89 lb in
Knock Sensor
20 N�m
15 lb ft
Lift Bracket--Front
50 N�m
37 lb ft
Lift Bracket--Right Rear
50 N�m
37 lb ft
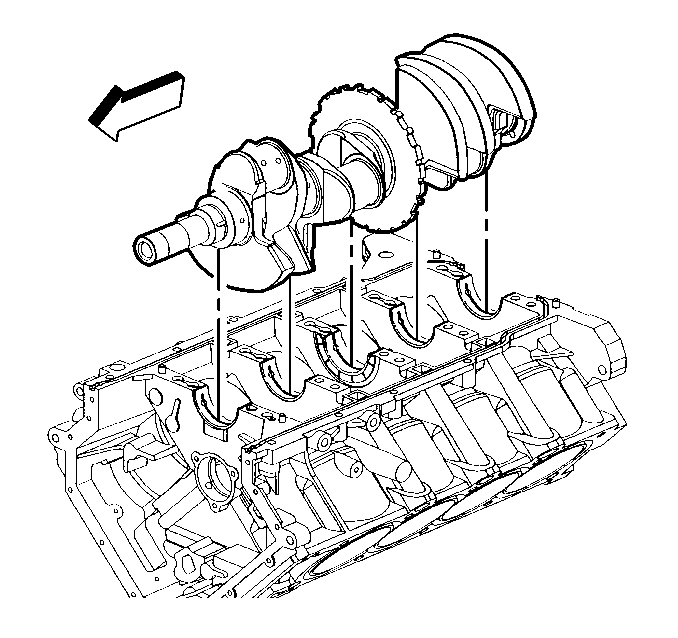
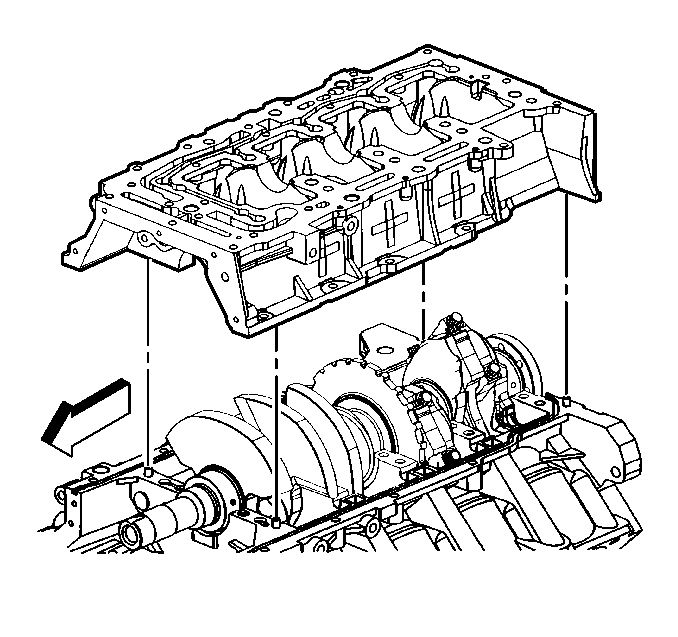
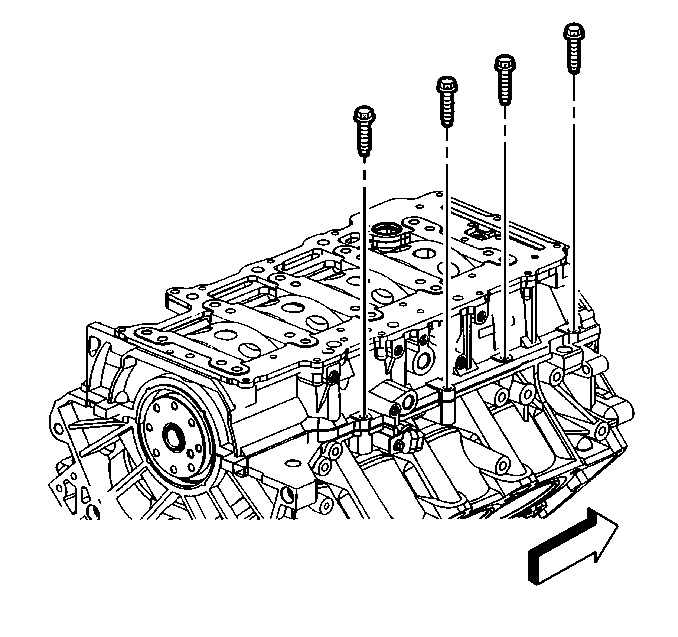
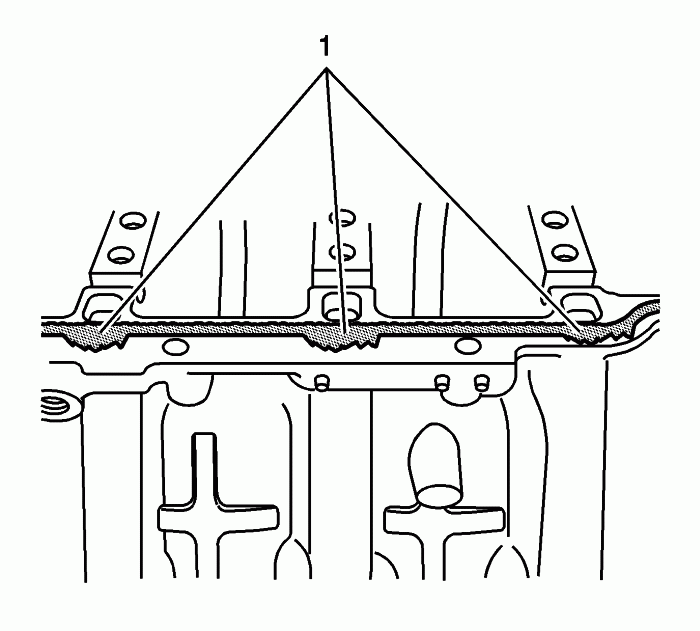
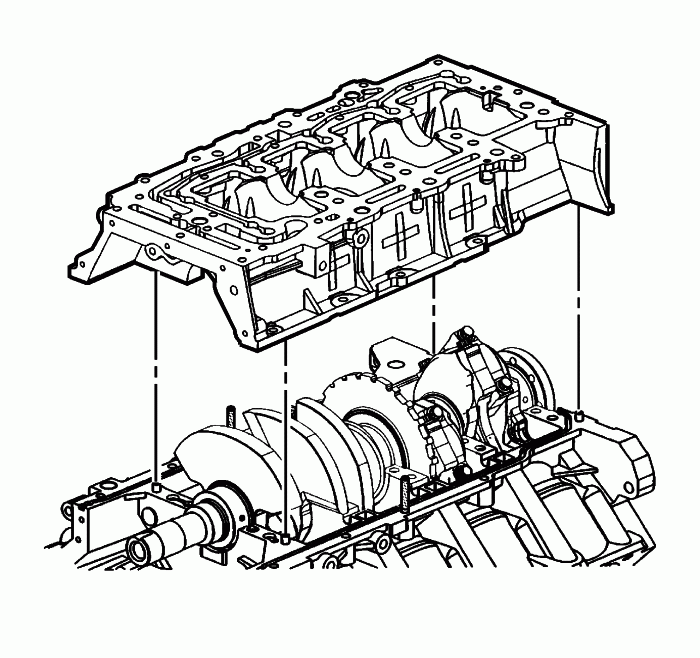
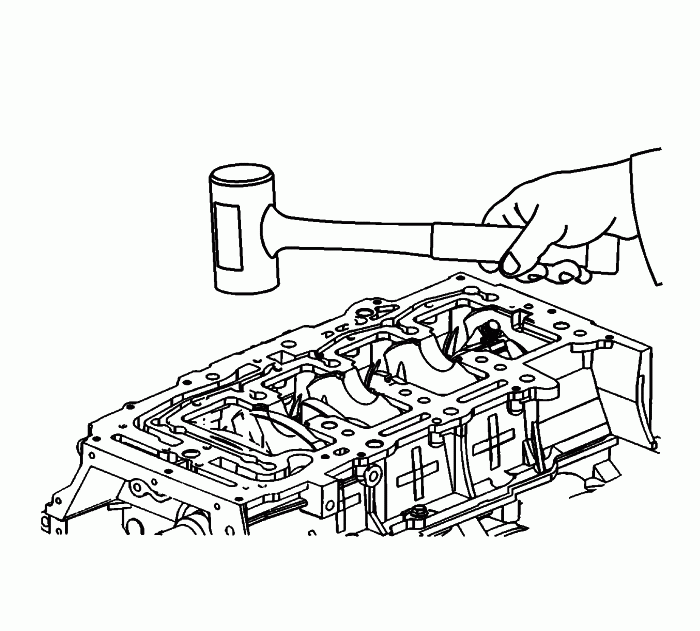
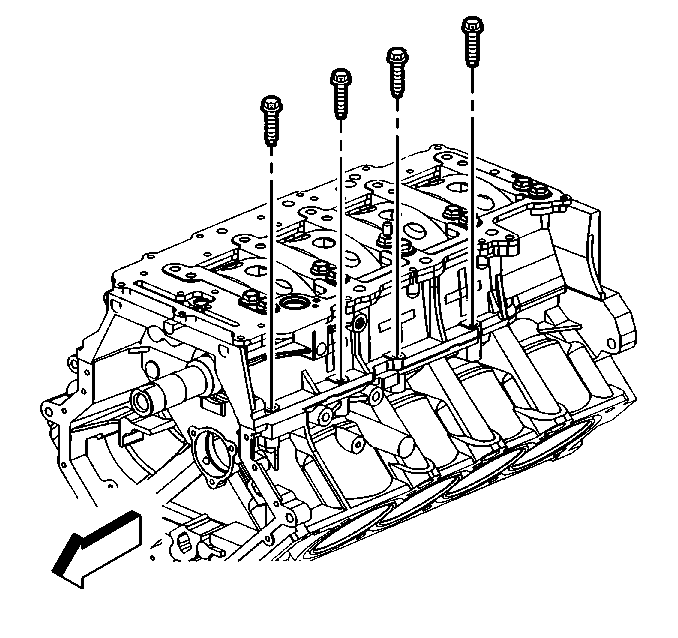
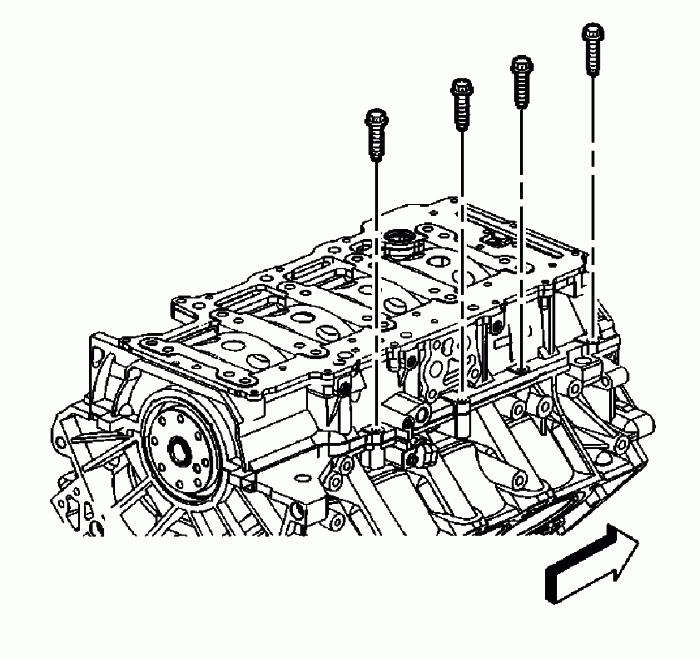
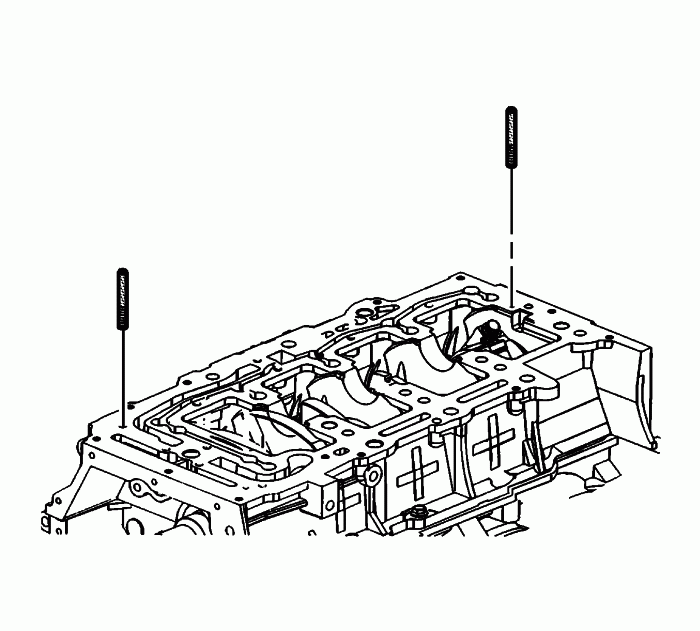
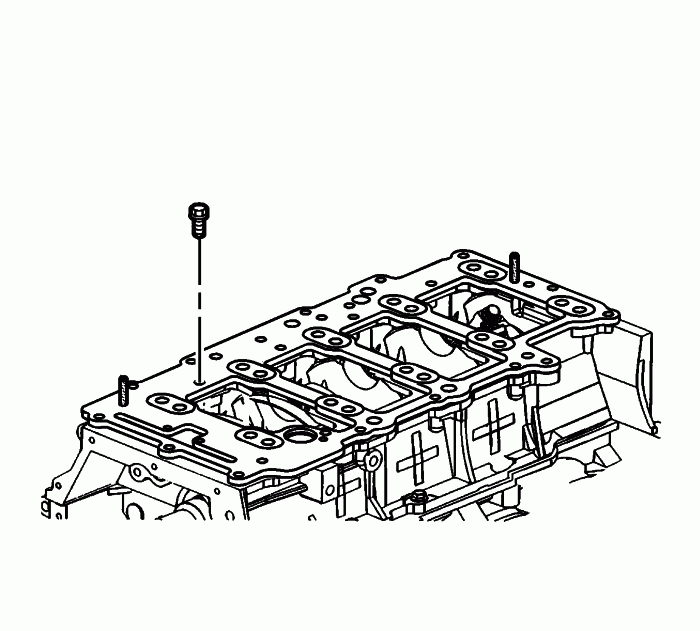
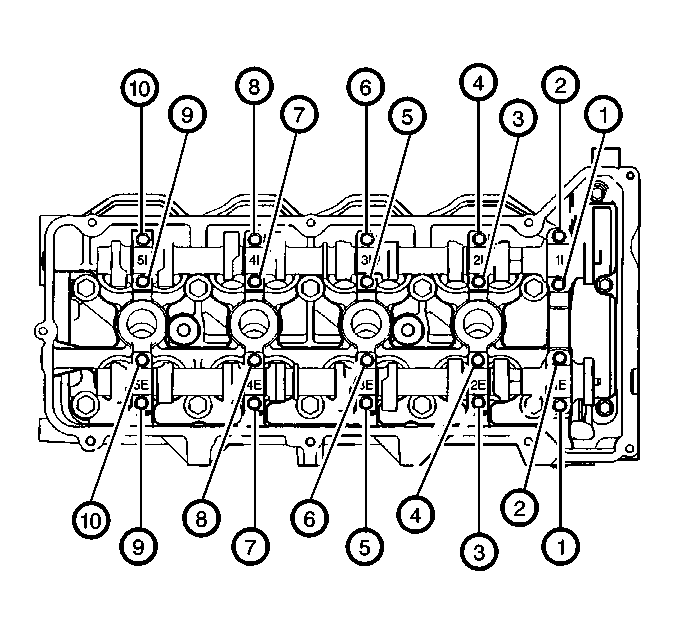
Lower Crankcase to Block (M8 x 1.25)
30 N�m
22 lb ft
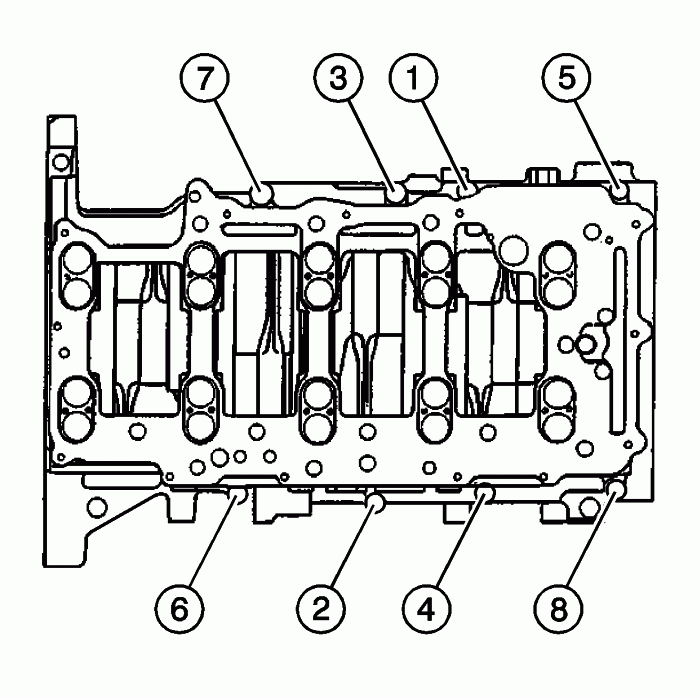
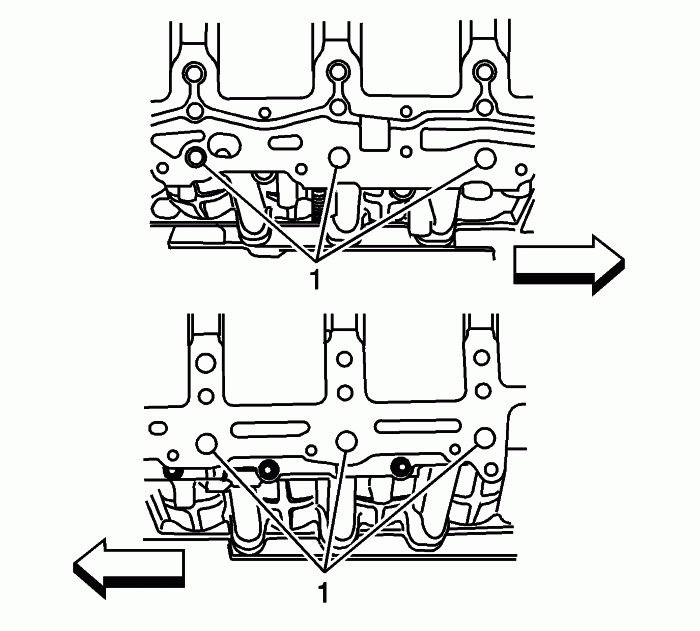
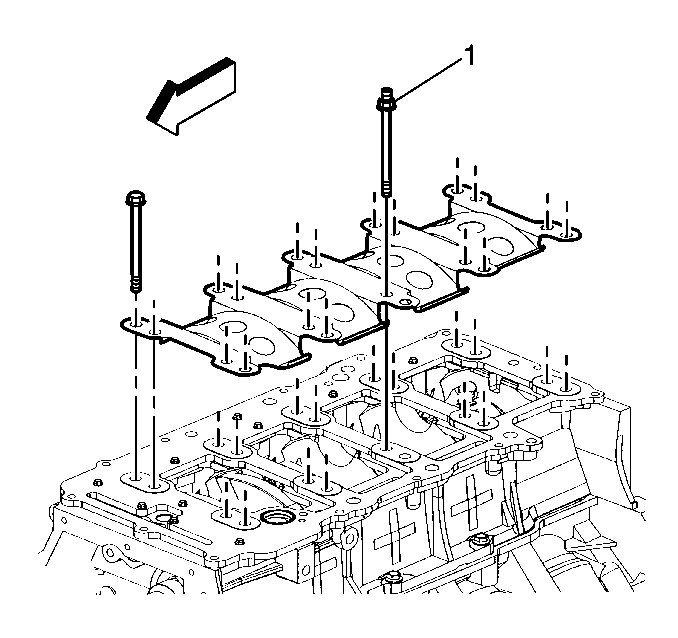
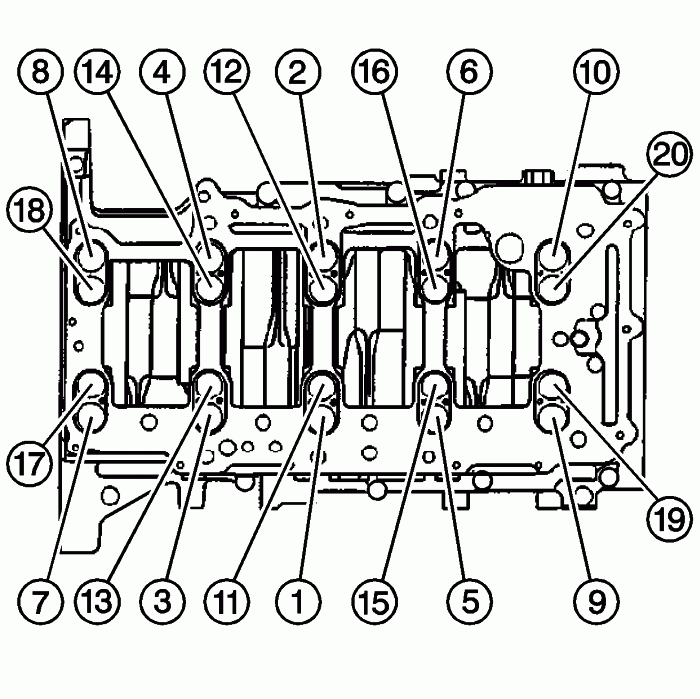
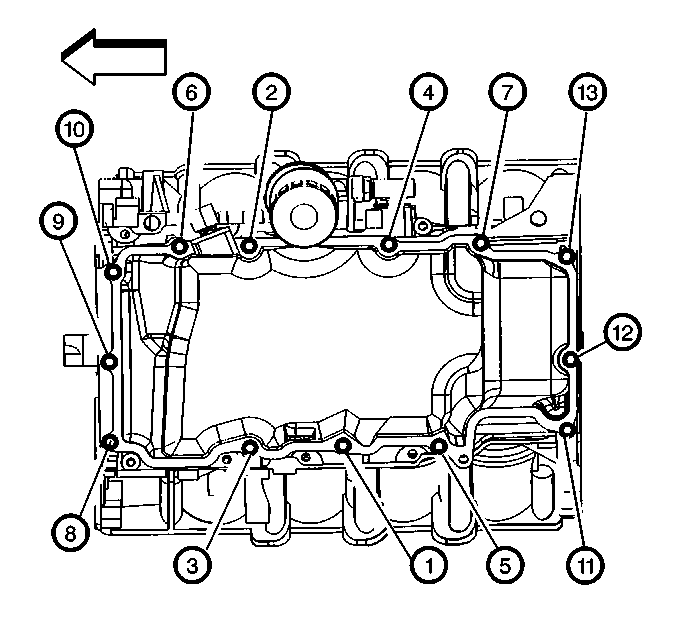
Lower Crankcase Bolt/Stud (In Sequence) (M10 x 1.5)
First Pass
20 N�m
15 lb ft
Final Pass
+65 degrees
Oil Cooler lines to Oil Cooler
18 N�m
13 lb ft
Oil Cooler Lines to Oil Filter Adapter
18 N�m
13 lb ft
Oil Filter Adapter
16 N�m
12 lb ft
Oil Filter Adapter Plug w/Oil Cooler
20 N�m
15 lb ft
Oil Filter Adapter Plug w/o Oil Cooler
18 N�m
13 lb ft
Oil Level Indicator Tube
10 N�m
89 lb in
Oil Level Sensor
20 N�m
15 lb ft
Oil Manifold Plate to Lower Crankcase
10 N�m
89 lb in
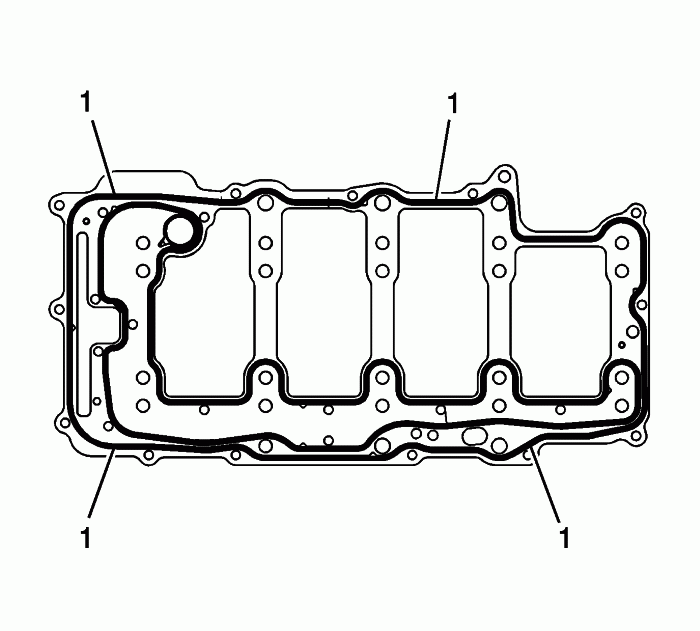
Oil Pan Bolt
First Pass
8 N�m
71 lb in
Final Pass
12 N�m
106 lb in
Oil Pan Brace
50 N�m
37 lb ft
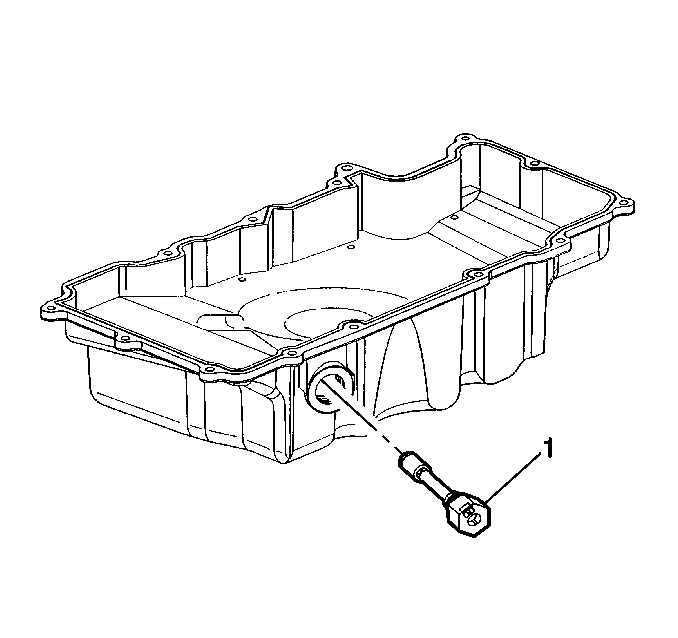
Oil Pan Drain Plug
20 N�m
15 lb ft
Oil Pump Suction Pipe (Lock Nut)
25 N�m
18 lb ft
Oil Pump to Lower Crankcase
First Pass
10 N�m
89 lb in
Final Pass
+35 degrees
Oxygen Sensor
40 N�m
30 lb ft
Power Steering Pump (to Bracket)
25 N�m
18 lb ft
Power Steering Pump Bracket (to Block)
50 N�m
37 lb ft
Starter (to Block)
30 N�m
22 lb ft
Starter Motor (Lock Nut)
10 N�m
89 lb in
Thermostat Outlet to Water Pump Cover
10 N�m
89 lb in
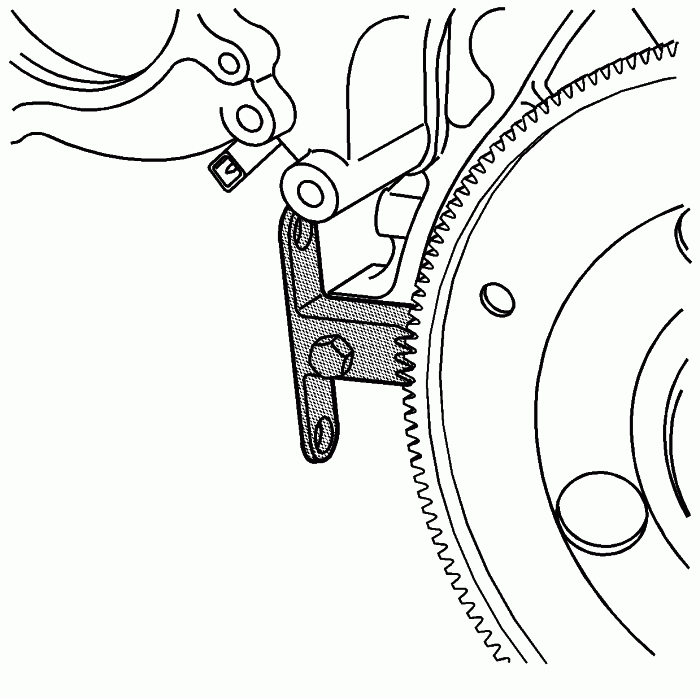
Torque Converter to Flywheel Bolt
47 N�m
35 lb ft
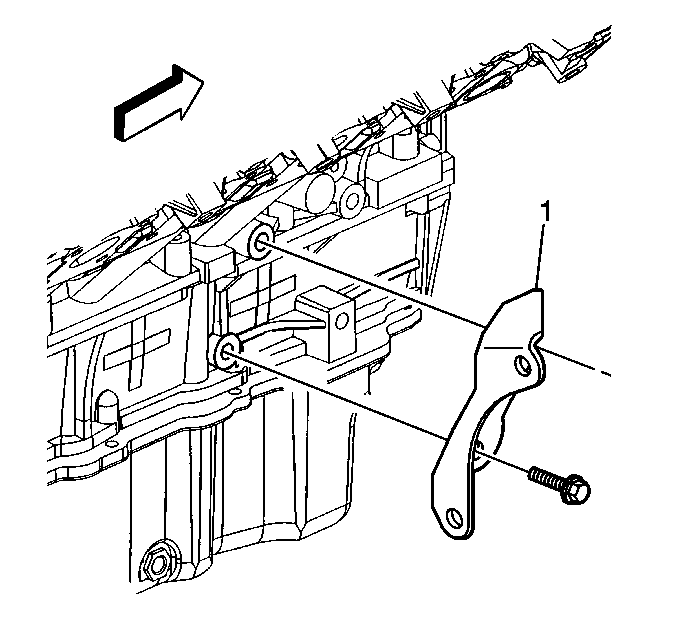
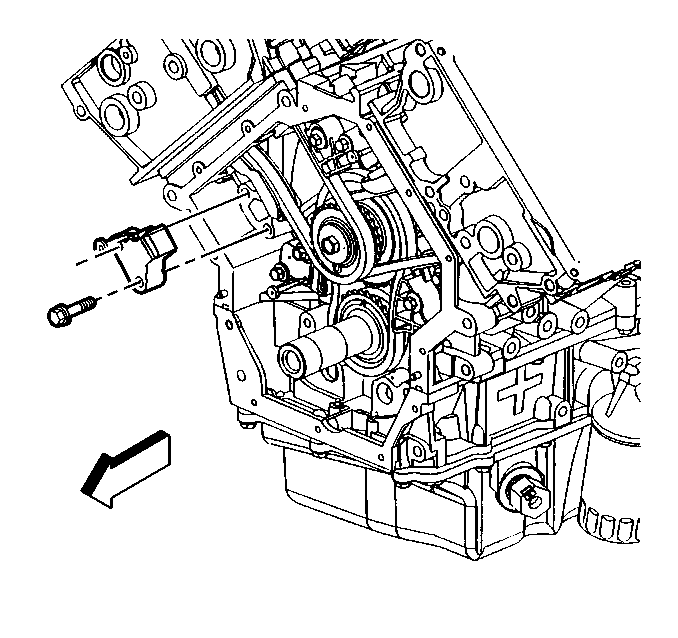
Torque Strut Bracket to Cylinder Head
50 N�m
37 lb ft
Torque Strut Bracket to Cylinder Head (Stud)
50 N�m
37 lb ft
Torque Strut Bracket to Water Manifold
25 N�m
18 lb ft
Transaxle Bel Housing to Engine
75 N�m
55 lb ft
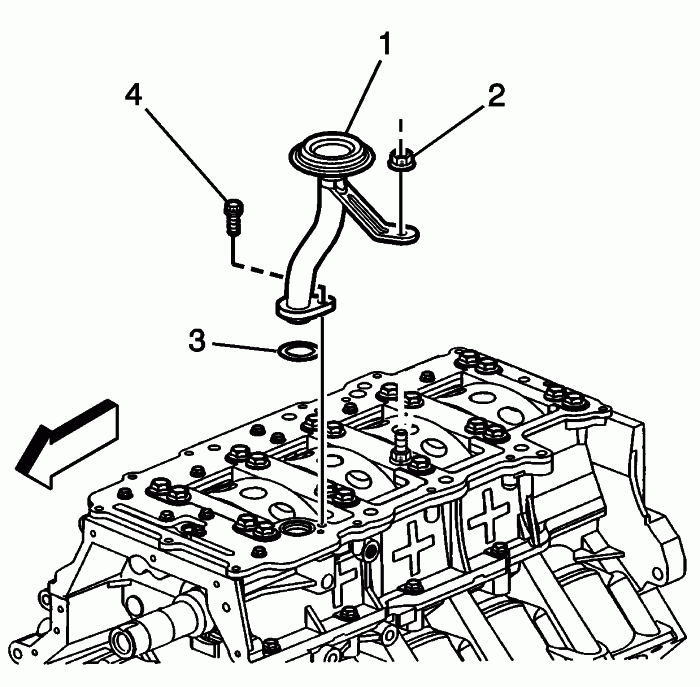
Water Crossover (to Block)
25 N�m
18 lb ft
Water Crossover (to Head)
25 N�m
18 lb ft
Water Crossover Plug
25 N�m
18 lb ft
Water Outlet Fitting
50 N�m
37 lb ft
Water Outlet to Cylinder Head
25 N�m
18 lb ft
Water Pump Assembly
100 N�m
74 lb ft
Water Pump Drive Belt Shield Retaining Bolt
10 N�m
89 lb in
Water Pump Drive Belt Shield Retaining Nut
10 N�m
89 lb in
Water Pump Drive Belt Tensioner to Water Crossover (Stud)
10 N�m
89 lb in
Water Pump Cover to Water Pump Housing
10 N�m
89 lb in
------------------
Cadillac Tech
ASE MASTER TECH since 1988

86 Northstar Fiero
85 RX7 former SCCA car
56 TR3 small mouth 6.0L
A.J. Whiteley
[This message has been edited by AJxtcman (edited 03-17-2007).]