Fiero Argento Signora = Proud Silver Lady
A little history on the car.
It is an 85GT 2.8 4 speed with approx 150,000 miles on her. She came with a rebuildable 88 motor with a spun rob bearing. Its never been hit. Silver with grey ground effects, headlight conversion, alpine deck with infinity rear speakers in the firewall, cut springs and the ugliest 90 grand am wheels you've ever seen. Everything else is stock. It only has power windows, tilt steering, and decklid release. No AC, cruise or any other features. It is a pretty light fiero to begin with. Here is a pic of how she looked when I first got her. It will be a good "before" picture. Cost - $200 dollars
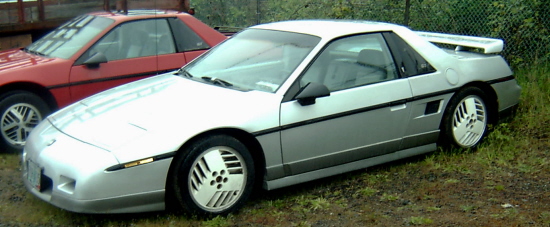
List of the mods being done to this car as the build continues. We will do all the work ourselves using available parts and a minimal amount of modification.
Rebuilt 4.9 cadillac engine, ported with Delta 480 lift cam - Cost ~$1000
Rebuild threadCustom exhaust and shaker style intake intake
Wired as a 91 seville with dual O2 sensors and superchip programing
poly motor mounts with Rockcrawl main mount
New engine bay insulation
88 isuzu tranny with Rodney competiton short throw shifter, shifter kit and select kit.
88 cradle swap with poly suspenison bushings
85 front suspension with poly bushings
New KYB all around
Einbach lowering springs front, coilovers rear
Rodney Dickman poly tranny mounts
12" corvette rotors, 88 fiero calipers, and stainless braded lines all around
Fastback conversion
Hood vent
Front mount battery tray
New lightweight 16" wheels/tires
86-87 gauges with aux gauges
Sound deadened interior
I got the car stripped this weekend and will be installing the motor, cradle and tranny next weekend.

First thing I started on was the new cradle.
The old suspension busings were removed and new poly bushings were installed along with the poly tranny mounts.
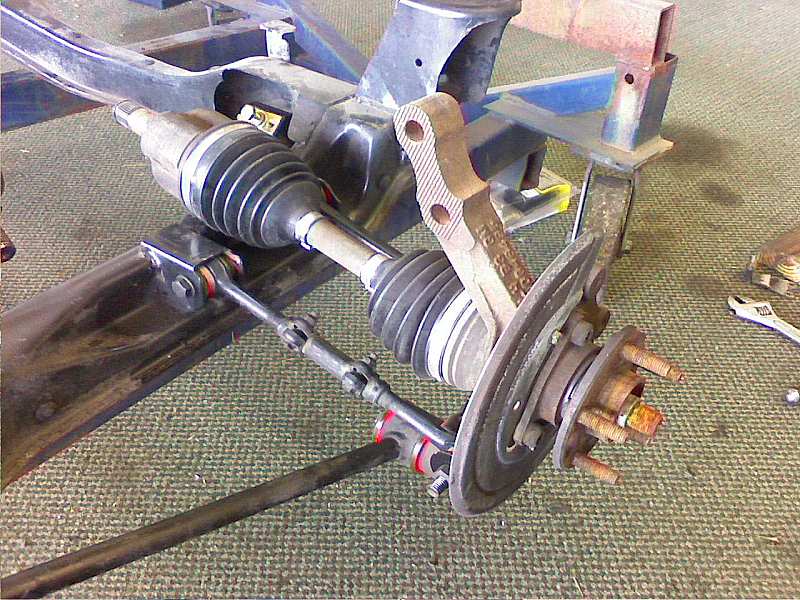
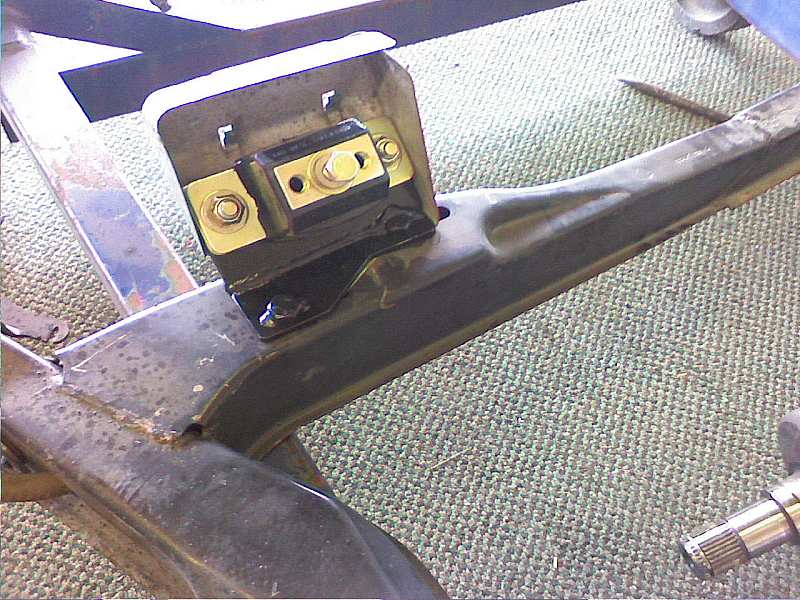
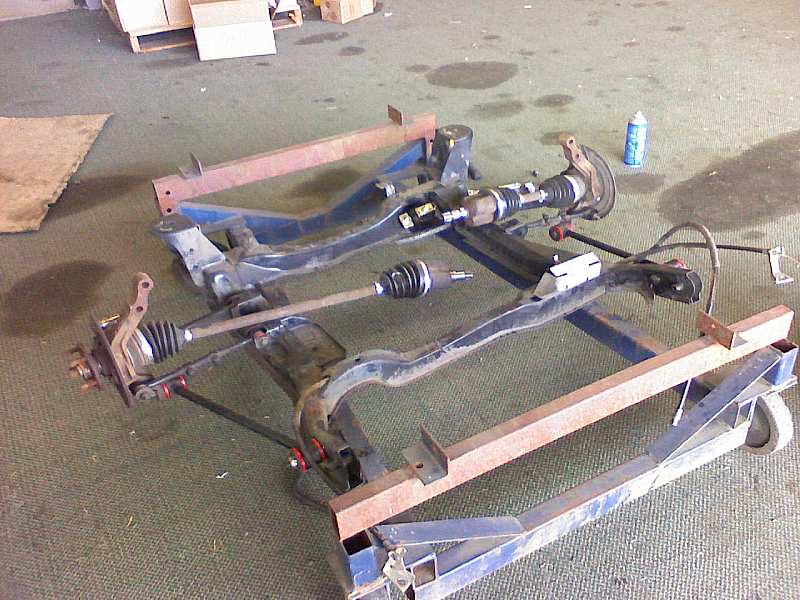
With the cradle ready to go I got started on the teardown of the car.
First we had to drag it out of the blackberry bushes that had started to overtake it. We draged it out using a fork lift since it was handy.
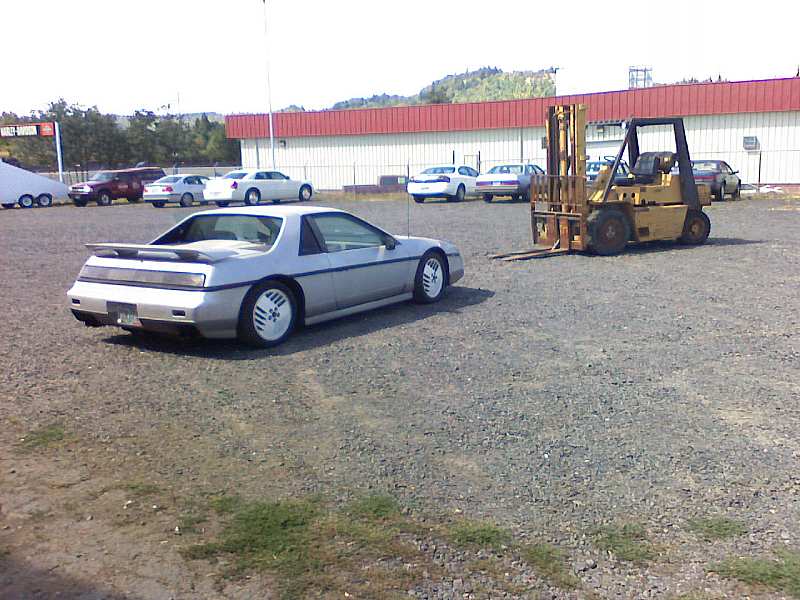
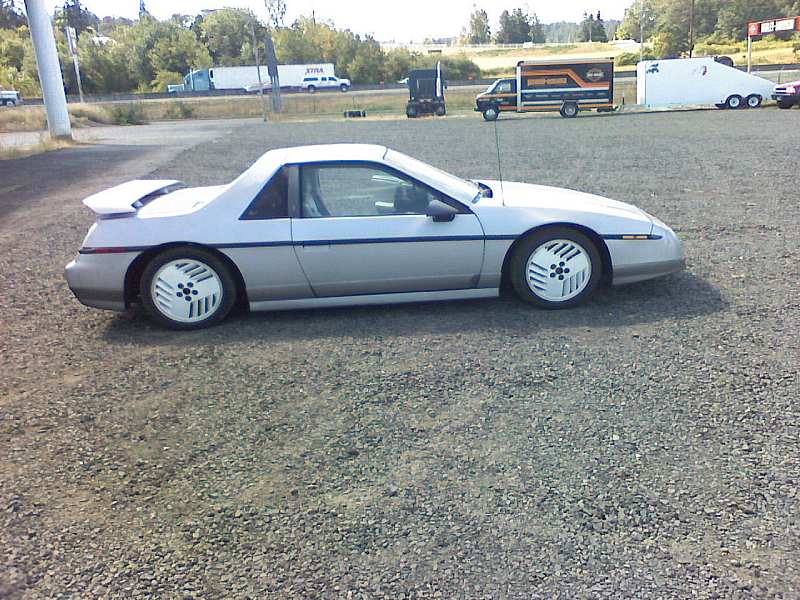
You have to laugh at the wheels. They are the wrong offset and sit way too far in. Also they are all exactly the same. This means that the drivers side actually helps keep the brakes cool by forcing air in while the passenger side vents are out creating a cross draft inder the car. We were laughing about it for a while. One side sucks while the other side blows.


I immediately started disconecting the motor and anything else attaching to the car. Meanwhile, Dad went to get the motor and rest of the parts we have so far.
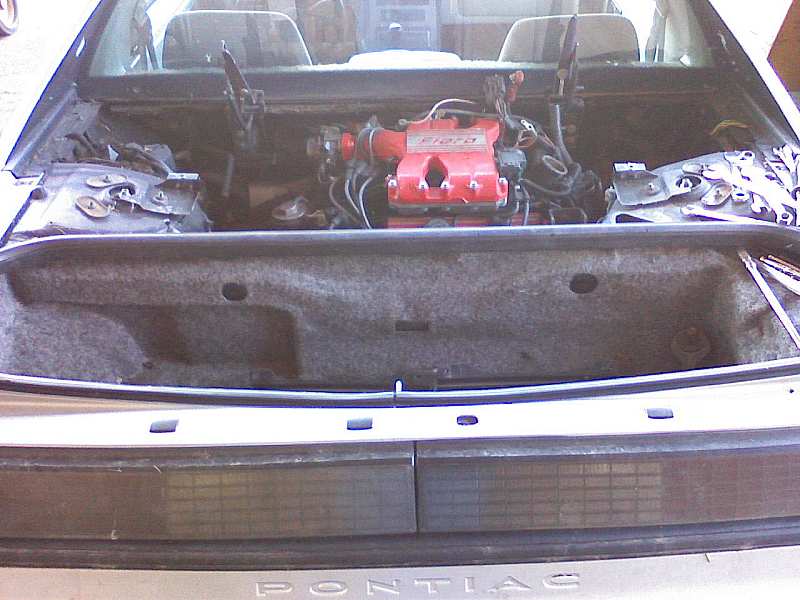
Dad showed up a few minutes later with the engine complete with stand and pretty much ready to go in.
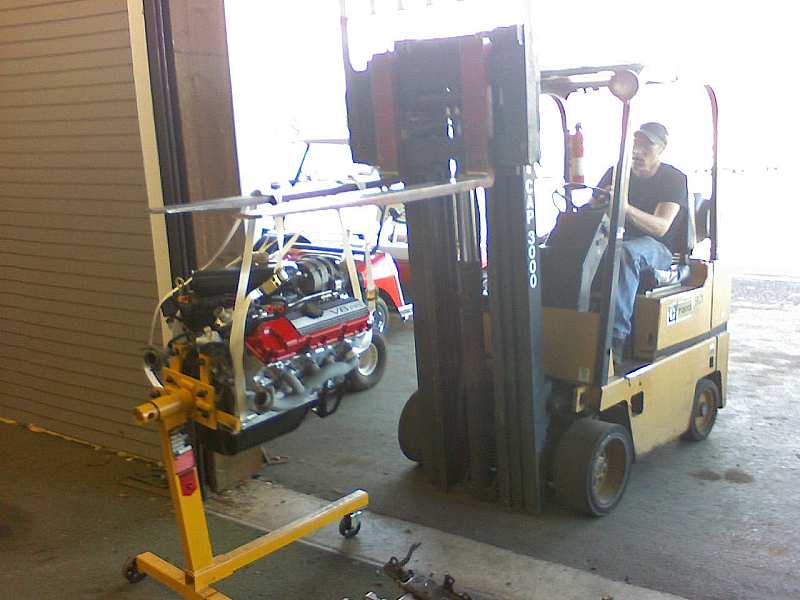
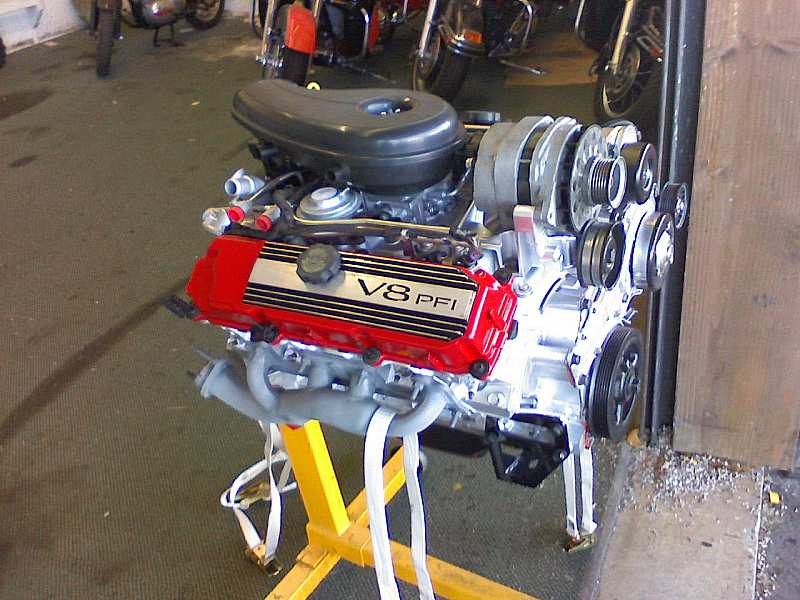
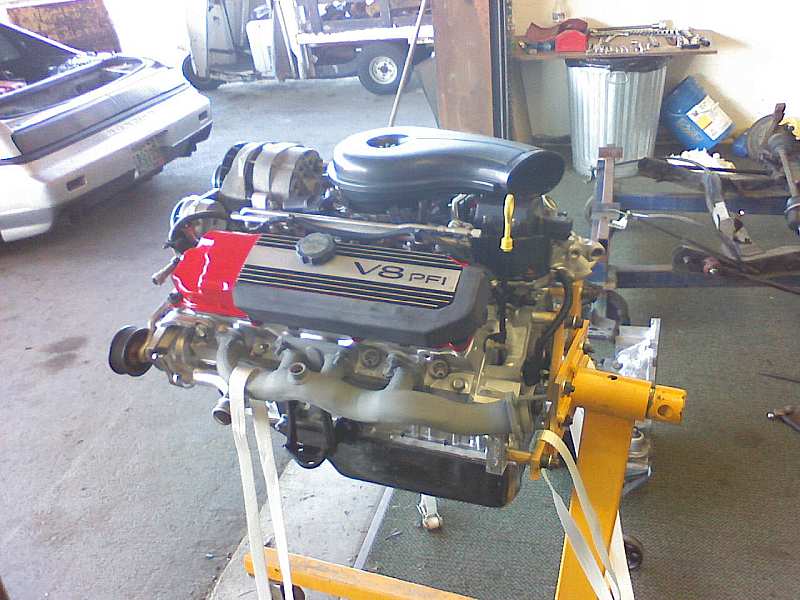
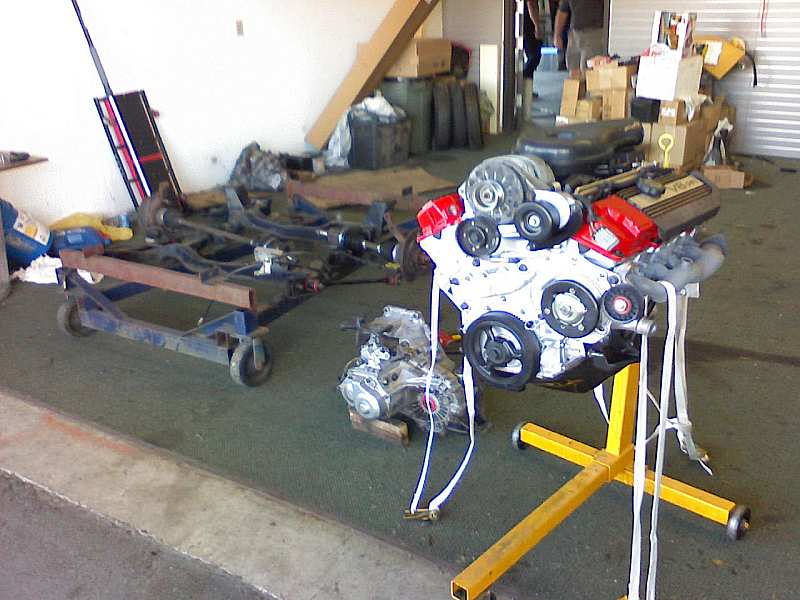
Time to pull the old cradle and motor out. This is our prefered method and if you want details PM me.
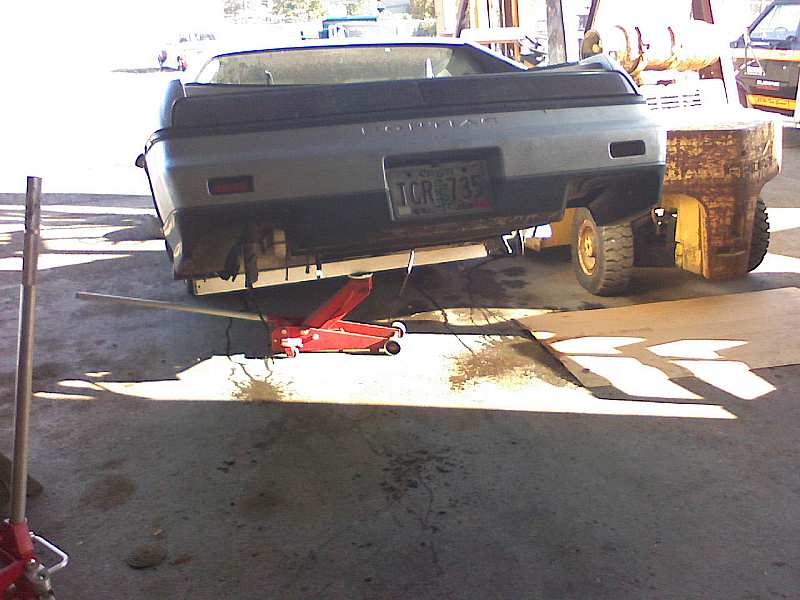
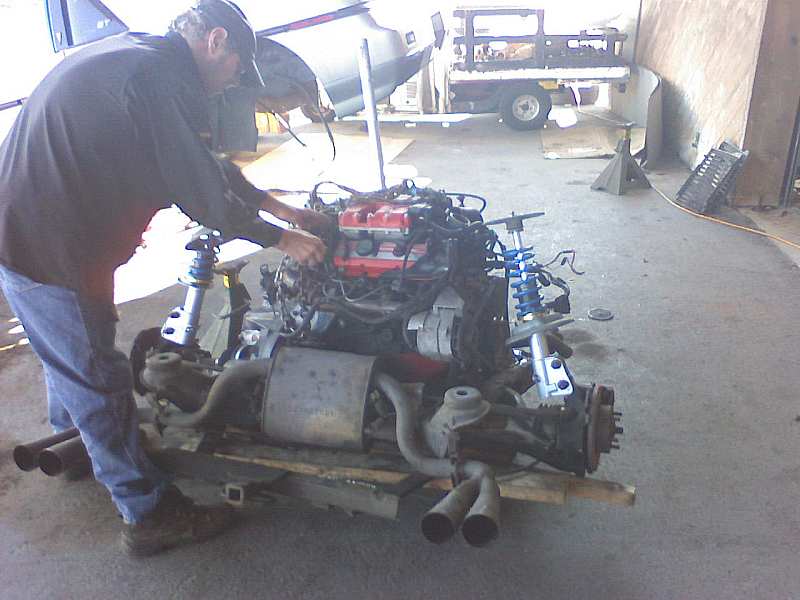
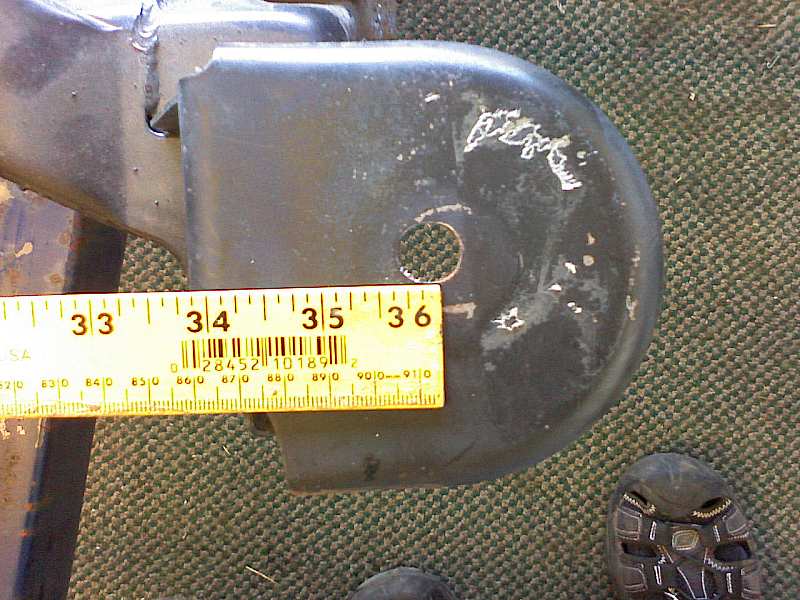
We measured up the stock 84-87 cradle, the 88 cradle and the car to see if there was a difference in mounting. It looks to fit perfectly but we'll find out for sure later. I measure center to center and got the same measurment on all three.
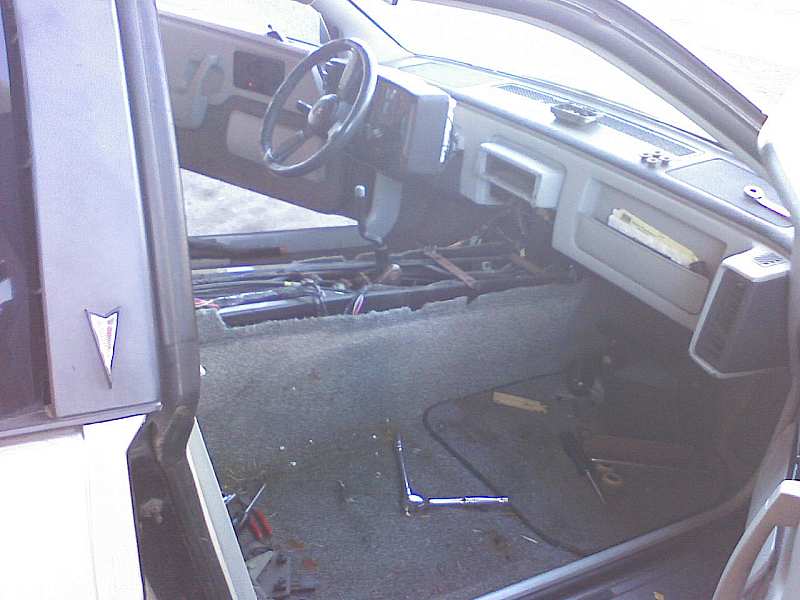
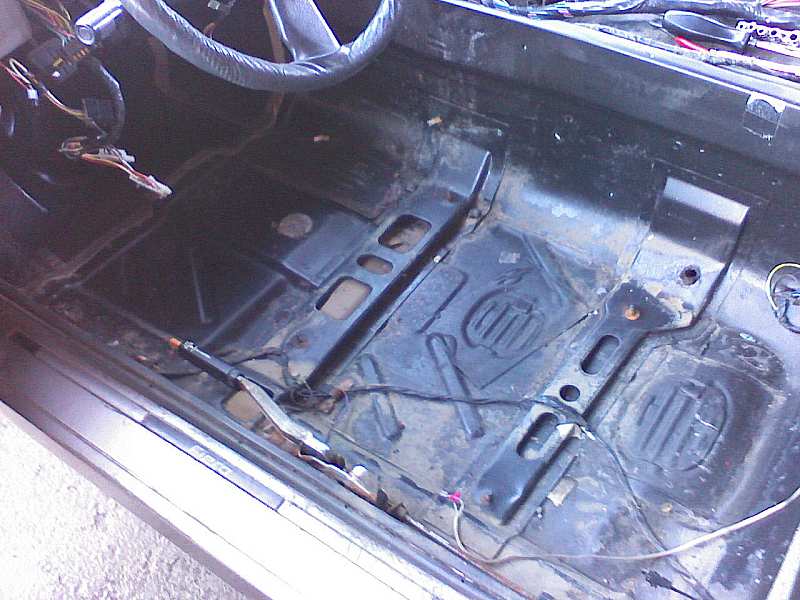
Next up I started tearing apart the interior. Almost everything had to go. There is no headliner. Nice, this car is rust free!

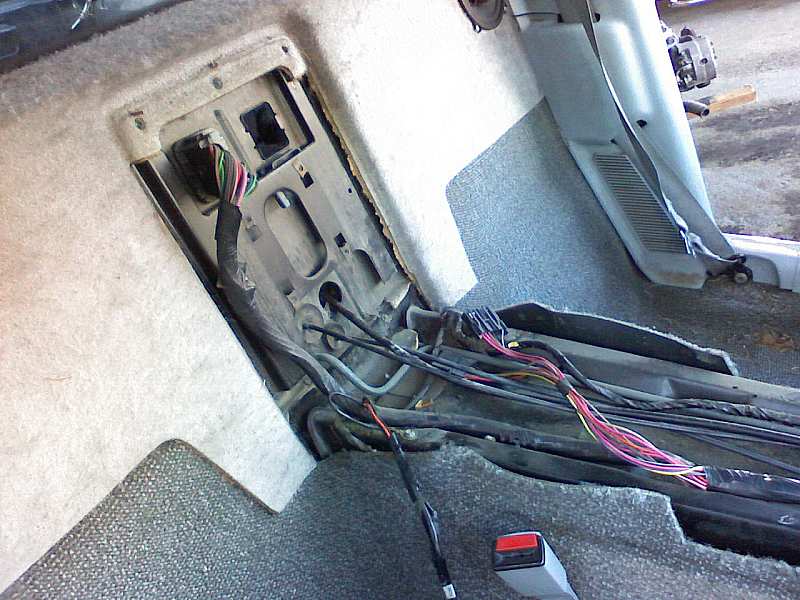
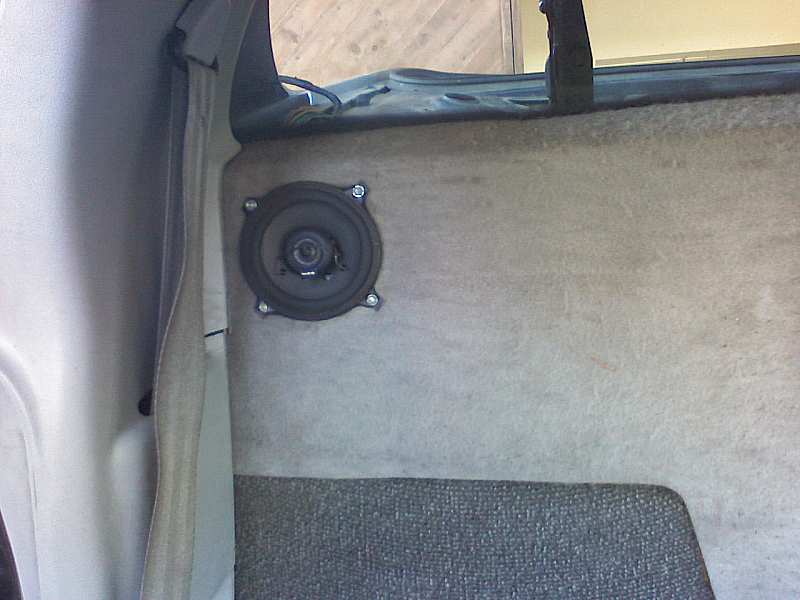
I thought the speakers in the firewall looked OK at first glance...
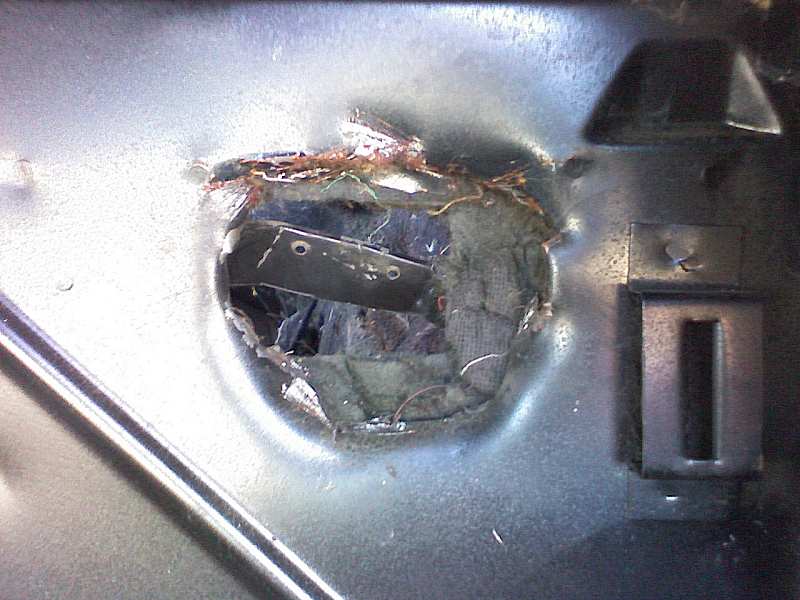
but they did a horrible job installing the stereo equipment. Wiring under dash and at seat speaker plug all hacked up along with the firewall. They even cut out the mount for the relays in the engine bay. This is what you call a complete "Hack Job". I think they used a chisel.

I will fix the holes and replace the factory connectors.
Everything was piled up for sorting later. Some pieces will have to be replaced but not many.
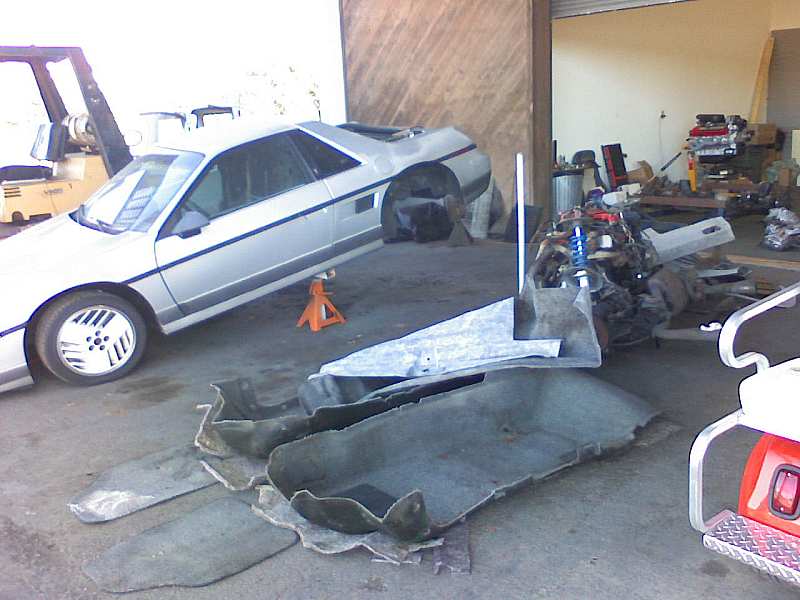
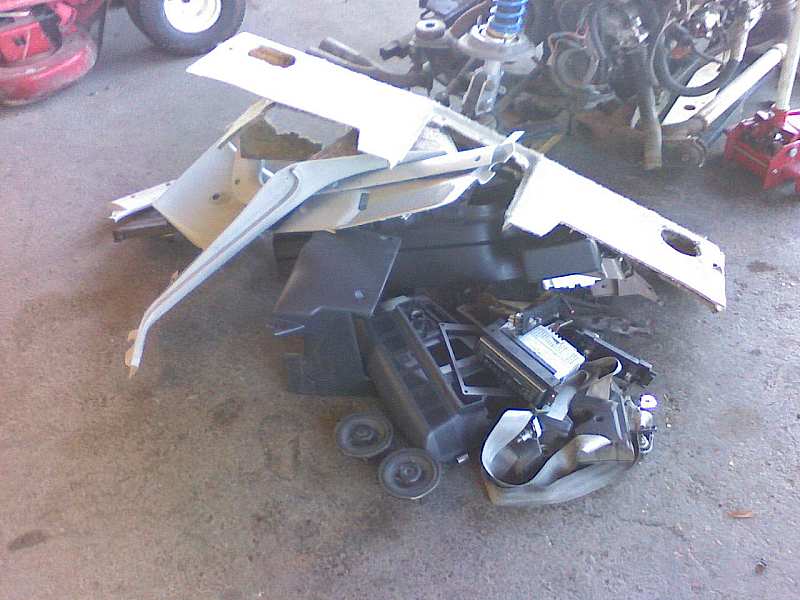
I finished removing everything from the engine bay and trunk. I am going to replace the truck carpet with some out of an early coupe. I removed the blower and tubing from the trunck, insulation, and pretty much everything except the slave cylinder and coolant tubes. Not much rust here either except for the battery tray and thats coming out anyway.
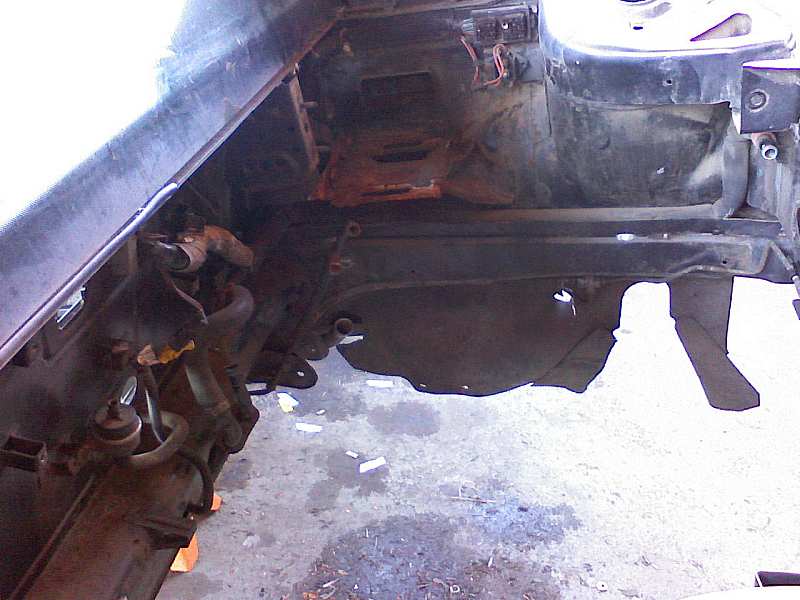
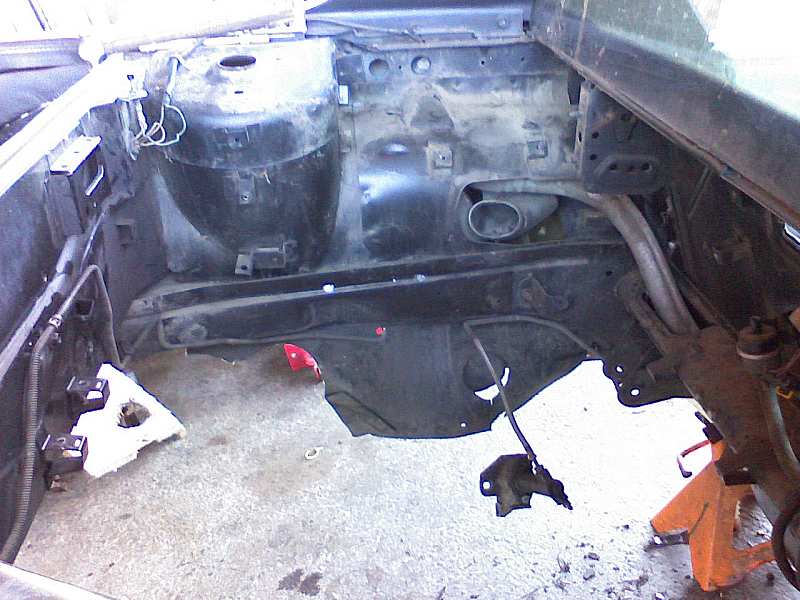
Dad pressure washed the engine bay and seatbelts to make them look good again. Marla took care of the mats for us. The passenger side mat looks to be bleached so I'll be on the lookout for a new one eventually. Her car is coming up next.
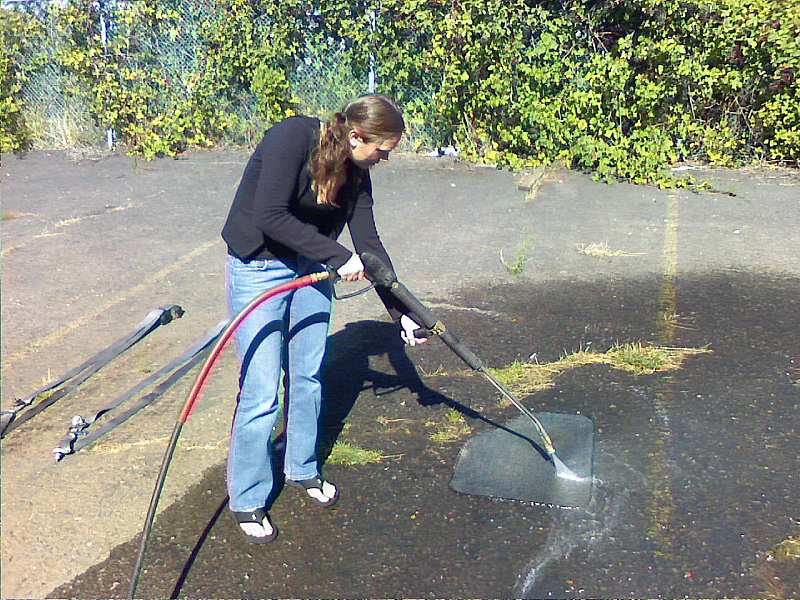
Here is a good before and after shot of the seatbelts. A little scrubbing bubbles and a pressure washer or wand style carwash can do wonders.

We sorted the piles and organized everyting for make it easier for next weekend.
Next we started getting the struts and strut towers ready for the 88 cradle. I am using the Held adapters for this.

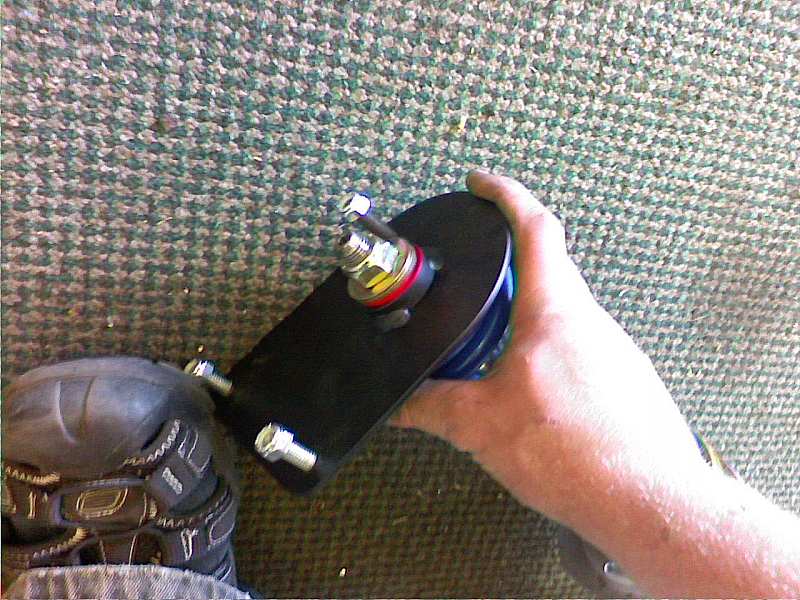
The drivers side was pretty easy. The two adapter bolts nearest the fender were put in to give us a center for the hole
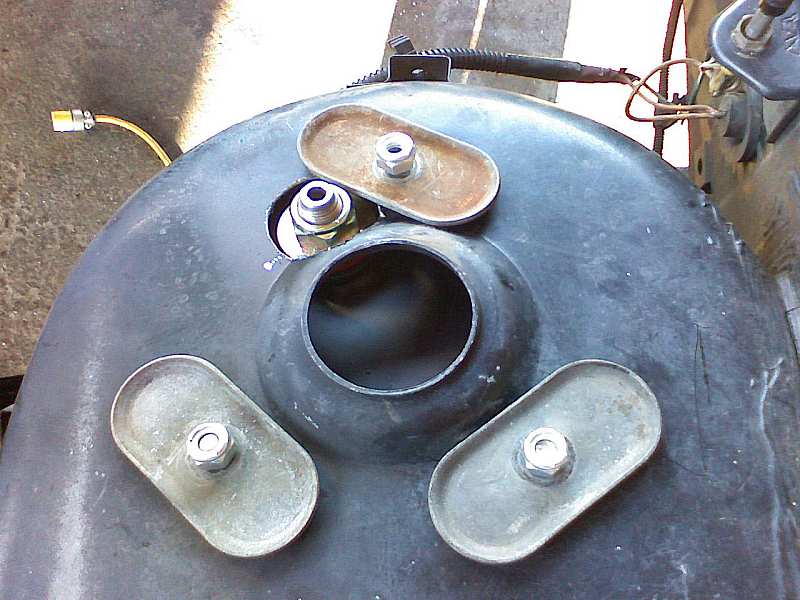
The passenger side required more work to get it started. We used a die grinder with a milling bit to remove the spot welds from the dogbone mounting bracket so we could remove enough to drill the hole. We will probably take it all out later since it is not needed for this install.
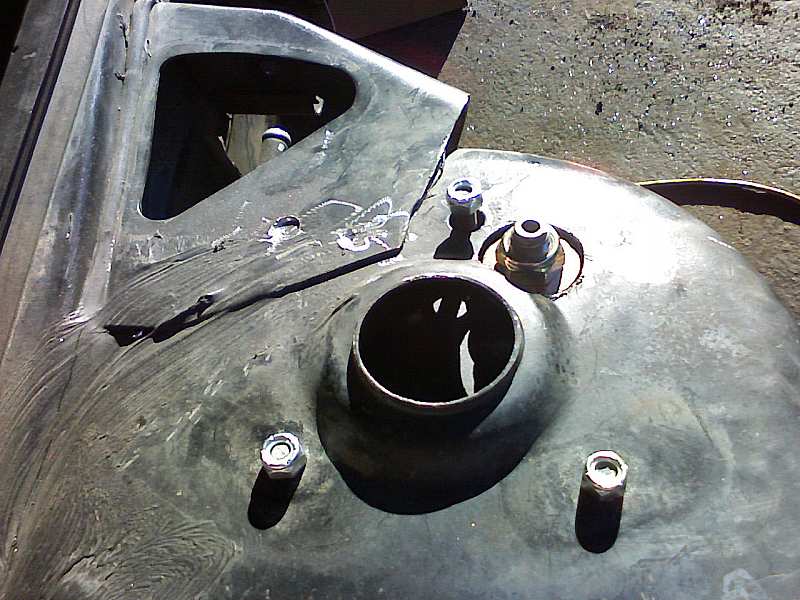
We did not have time to complete either hole but dad will finish this over this next week so the car is ready for the install next weekend.
That was all we had time for this weekend. I will be playing with many different ideas so if you have something you think I should try let me know. Questions or comments are always welcome. More to come.

[This message has been edited by Fieroseverywhere (edited 09-03-2007).]


 I will fix the holes and replace the factory connectors.


