I happen to have an 86-87 GT gauge cluster sitting right here. I was going to replace all of the bulbs before it goes into the 85GT. I decided to take all of you along for the ride. Ready or not here it comes.

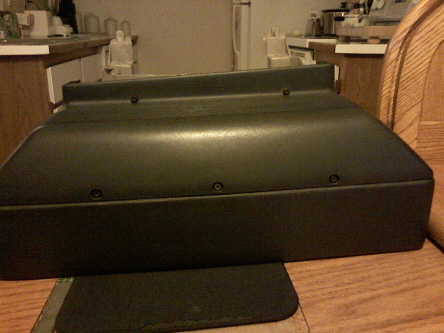
First thing you need to do is remove the cover. This is done by removing the five T-15 torx screws that hold the top cover on. Sorry about the pic, I didn't realize it til I was done.

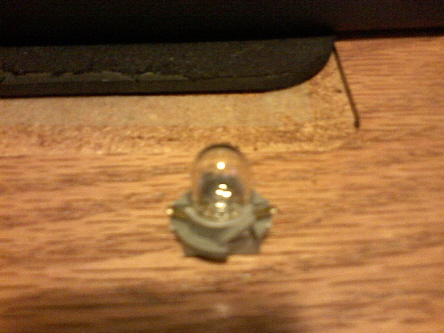
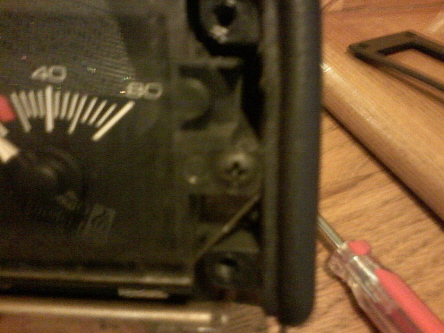
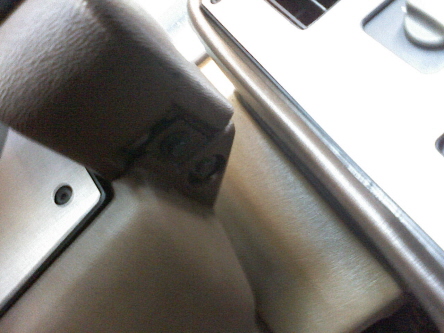
Next you have to remove the two bottom 7mm screws. They are the ones towards the front of the car. Drivers side.
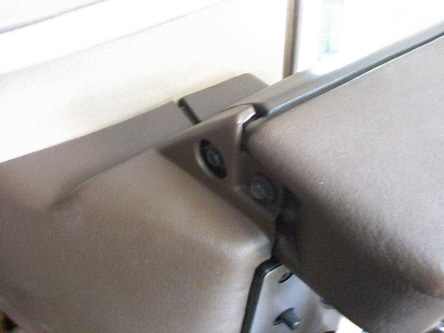
passenger side.
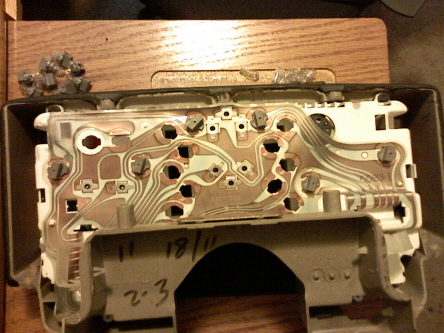
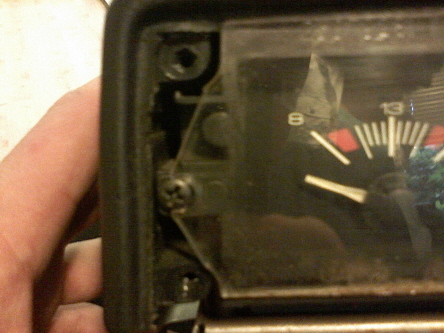
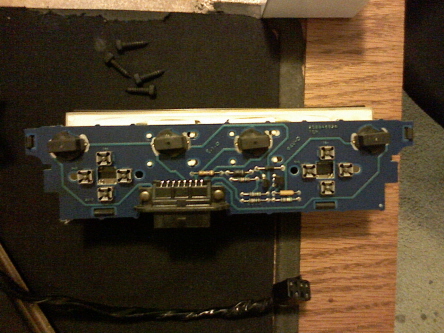
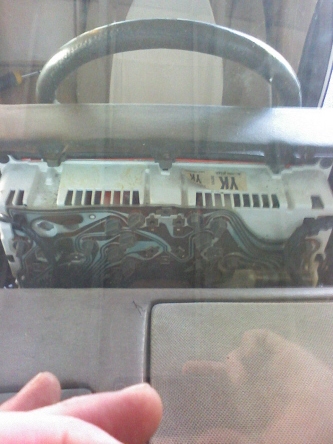
Now you can remove the cover. There may be some wires that will hold it back a little. Take it slow and you wont have a problem. Now you can get a good look at the bulb holders. If doing this while in the car look through the window. As you can see this one has a couple bulb holders missing. Oh and the one in the upper left corner without any wires next to it is where you keep an extra. You can keep an extra bulb and holder there for quick change on the road if needed. This pic is from an 86-87GT.


From through the window. This is an 85SE V6 4 speed.
Twist the bulb holders counter clockwise to remove and obviously clockwise to put back in. They have two small contacts on either side that run the power through the bulb. Make sure that these sit above the bulb holder. You can bend them gently if you need to to make sure there is a good connection. Also make sure the bulb does not move in the bulb holder. You can gently bend the inner contacts aswell. They should not move at all if they are connected right.
Thanks to Tjme4fun for the diagram. Its out of the 86 FSM (factory service manual).

If anyone need a FSM, 22P (fiero parts and illustrations manual), SD4 guide, or some tons of other fiero info you can find it here
http://spad.sytes.net/fiero/manuals/These are the idiot lights. (the bulb holders that are in the pic)
These are for gauge illumination.
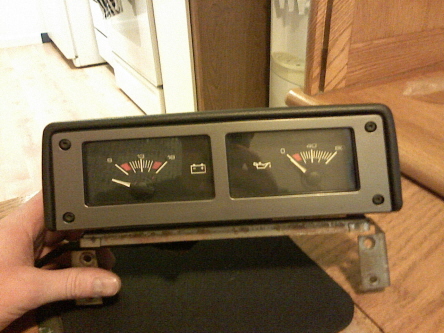
Thats it for the dash. Pretty easy huh? No we move on to the aux gauges. There are four T-15 torx screws that hold on the gauge face.
Then there are 2 phillips screws that hold the plastic cover onto the gauges. Pay attention to the counter sunk holes in it. You will need to install it back the same way, otherwise those screws will hit the gauge face.
Now you can remove the gauges from the surround. When you look at the back you will see the four bulb holders. The two on the outside are for illumination. The other two are for the oil and temp idiot lights.
Thats it for the aux gauges. Another easy one huh?
The standard bulbs that fit are a 194 automotive dash bulb. They are 3watts. You can also use a #168 bulb that is 5W. Otherwise know as a T3 1/4 wedge base bulb. I use a version used for home undercabnet lighting. They are a xenon bulb and are slightly brighter then the standard bulbs. They also use slightly less power then their standard counterpart and produce less heat. They are made by Seagull Lighting and Juno Lighting and come in a 3 watt, 5W sizes. To be honest they are also available in 10W but DO NOT use these. They burn too hot for the dash and will start to melt things.

They are available at most of your home lighting stores. This includes Home Depot. Just tell them you want xenon wedge base bulbs. I use the 5 watt for everything except the idiot lights. The 3W are for idiot light replacement. There is no need to use a brighter bulb here because they are directly lit, while the illumination light are indirectly lit.
Just so we're all on the same page, everything means (with bulb numbers)...
6 for dash illumination (194/168) (stock is 194 unless noted)
10 for the idiot lights (194)
2 for illumination of the 86-88 aux gauges (194/168)
2 for idiots lights in the aux gauges (194)
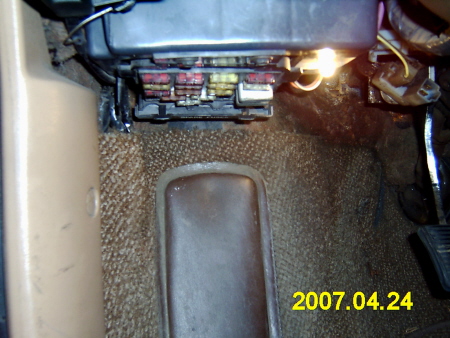
2 under the dash for courtesy lights (194/168)
4 side marker lights (194/168)
1 near the spare tire (168)
The 4 bulbs in the dome lights are bigger but these will still work just fine. I find them easier to remove later also. (168) (906stock)
The 2 bulbs by the ash trays (70 stock)
1 in the H-vac controls (37stock)
The trunk is also a different bulb. (561stock)
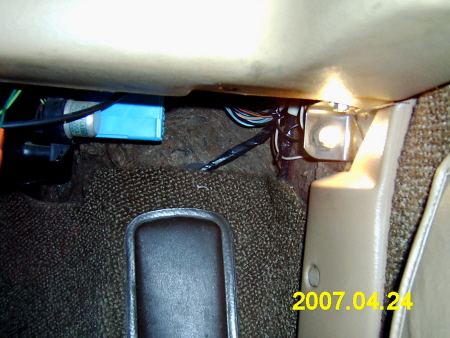
Here are the ones for the coutesy lights. Drivers side.
Passenger side.
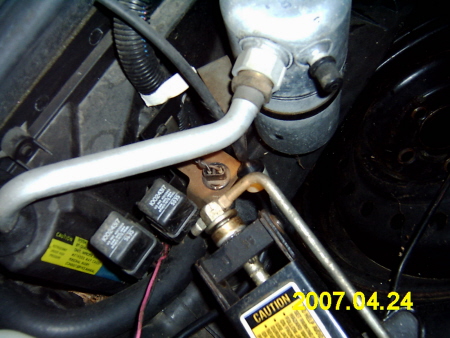
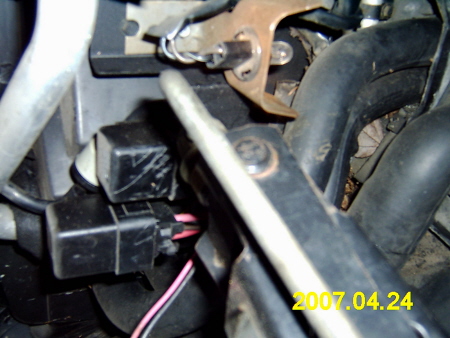
Under the hood. Notice the rusty looking bracket that holds the bulb, just above the jack in these pics.
Thats it! Total time to change all the bulbs is about 10 min out of the car and about 30 inside. Remember that these bulbs don't just go out. They actually dim over time. Replacing them is easy, cheap and worth every penny. If you have any questions feel free to ask. Good luck!

[This message has been edited by Fieroseverywhere (edited 06-04-2007).]