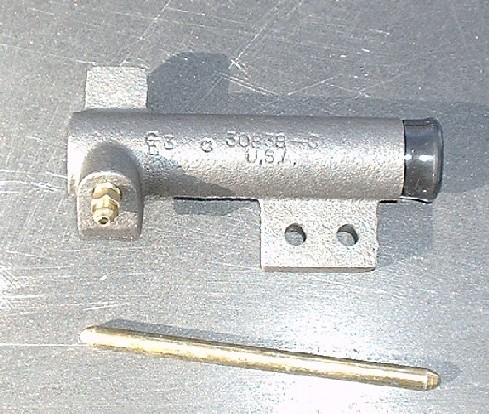
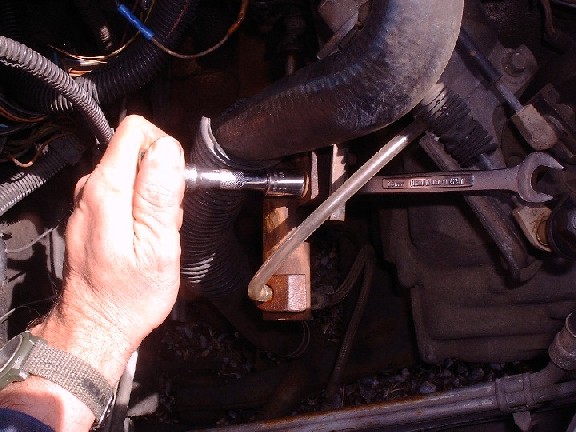
now that the new cylinder is installed, it's time to bleed it.
this is the "gravity bleed" method, and i have a special tool (patent pending) composed of a bit of clear tubing and a soda can. i take about 6" of clear tubing and stick one end on the bleeder screw, the other into the can. this serves three purposes: it catches the old fluid as it drains, it allows me to see dirt and bubbles in the fluid, and it holds fluid outside the bleeder, keeping air from getting back in.
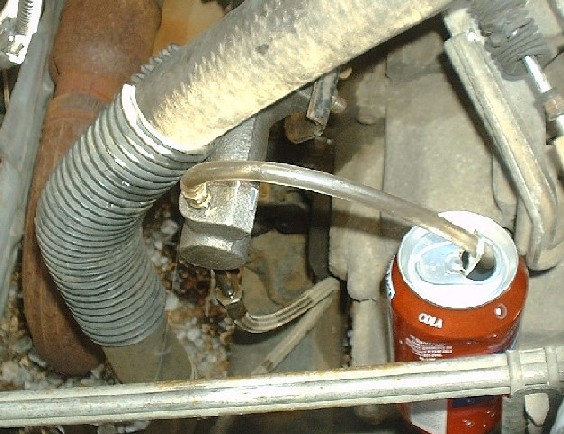
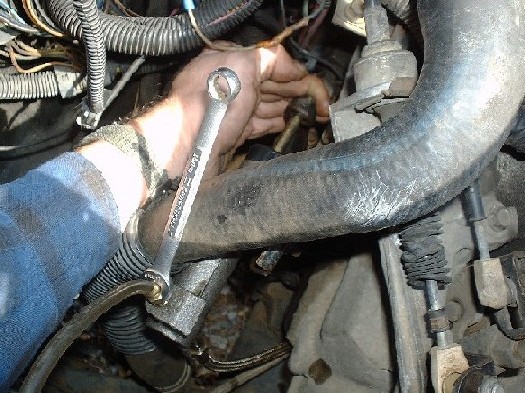
now open the bleeder screw, 10mm.
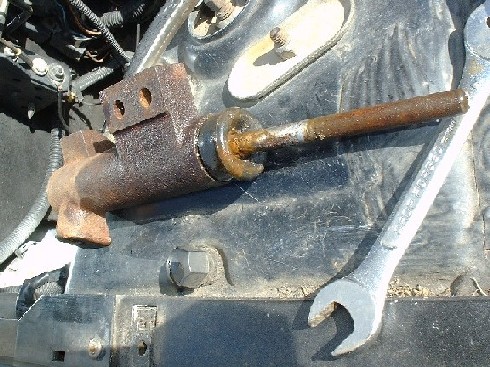
fluid will begin to run out the bleeder, along with collected air and goop. notice the bubbles and dirt in the old fluid.
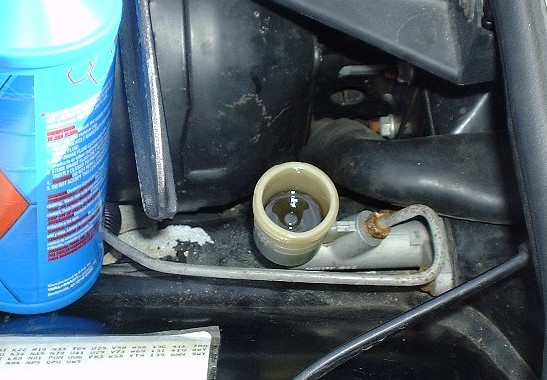
now open the front hood and find the master cylinder, next to the fender. remove the cap and the rubber seal. there's a little plastic "flying saucer"-shaped thing in there hidden by the murky fluid, dont let it go dry, or you'll be starting over with the bleeding.
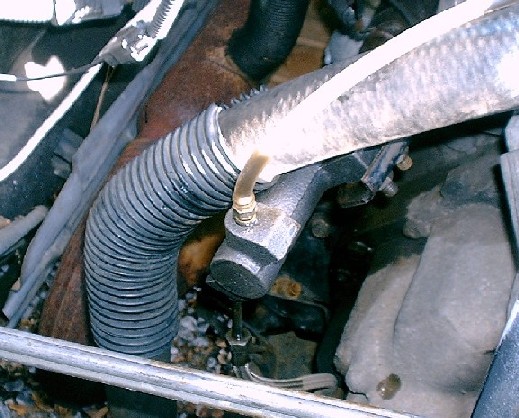
go back and forth between the slave and master cylinder, watching for clean, bubble-fre fluid coming out of the slave, and keeping the master topped up. this may take several minutes, especially if the fluid has gotten really nasty.

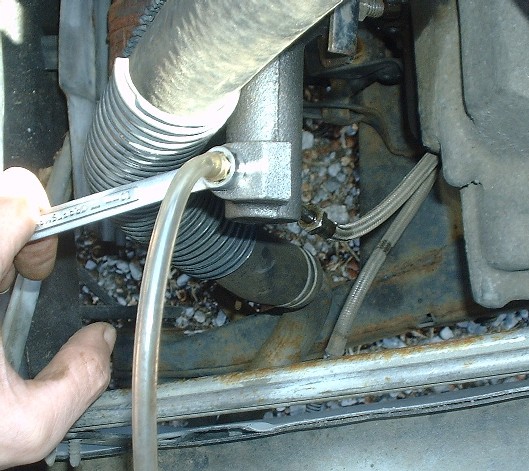
when the fluid coming out the slave cylinder is clean with no bubbles, close the bleeder. now it's time to bleed the slave.
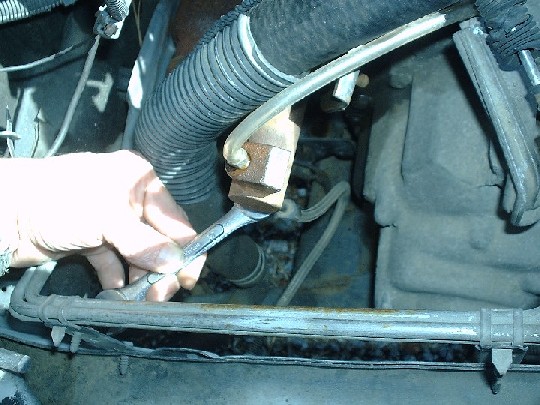
reach around to the clutch lever, and press it toward the slave cylinder. as you do so, open the bleeder, and press out any air trapped in the slave cylinder. close the bleeder before releasing the lever. repeat this a couple of times.
press lever, open bleeder, close bleeder, release lever.
almost done! top up the fluid one more time if needed, replace the cap and seal. remove the catchcan with its contaminated fluid, replace the CAI duct and the side cover, close decklid and hood and you're ready for a test drive. i drove mine up closer to the house so i could use the hose to wash off spilled brake fluid which is probably flammable and eats paint. works great so far!


 .
.


