|
| Ferrari 288GTO build (Page 30/61) |

|
fourpoint9
|
FEB 07, 06:31 PM
|
|
another view

|
|
|
|
La fiera
|
FEB 07, 09:34 PM
|
|
|
|
|
dobie1
|
FEB 12, 09:55 PM
|
|
|
|
|
dobie1
|
FEB 13, 09:06 PM
|
|
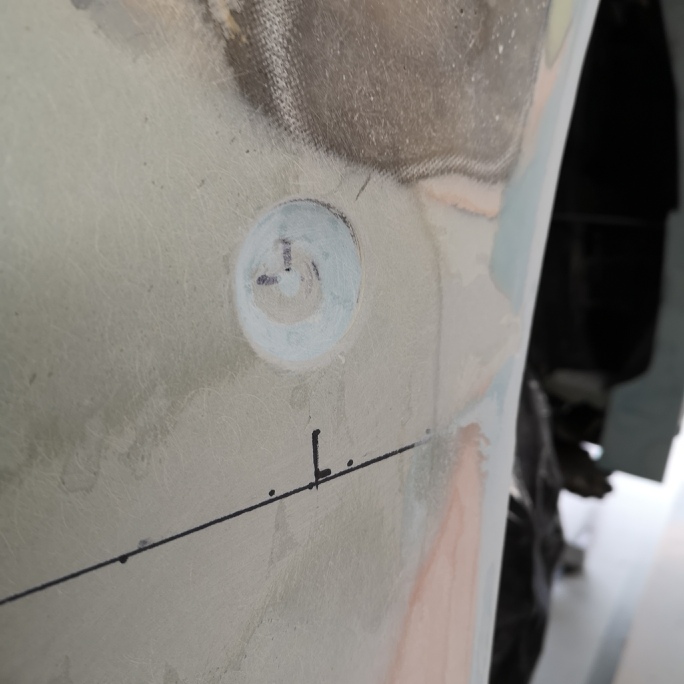
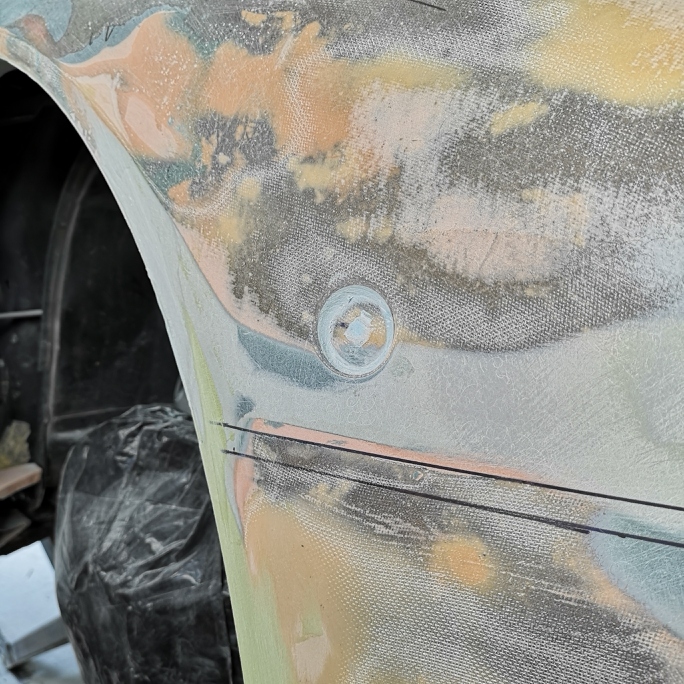
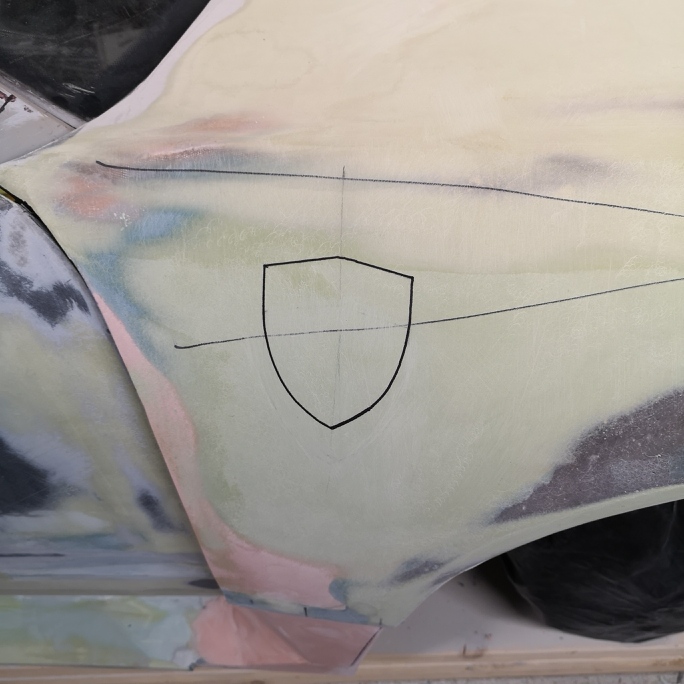
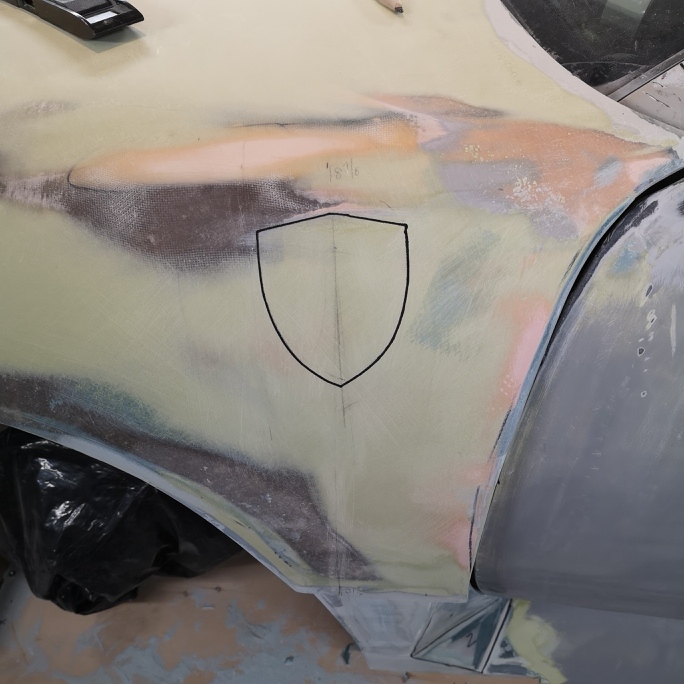
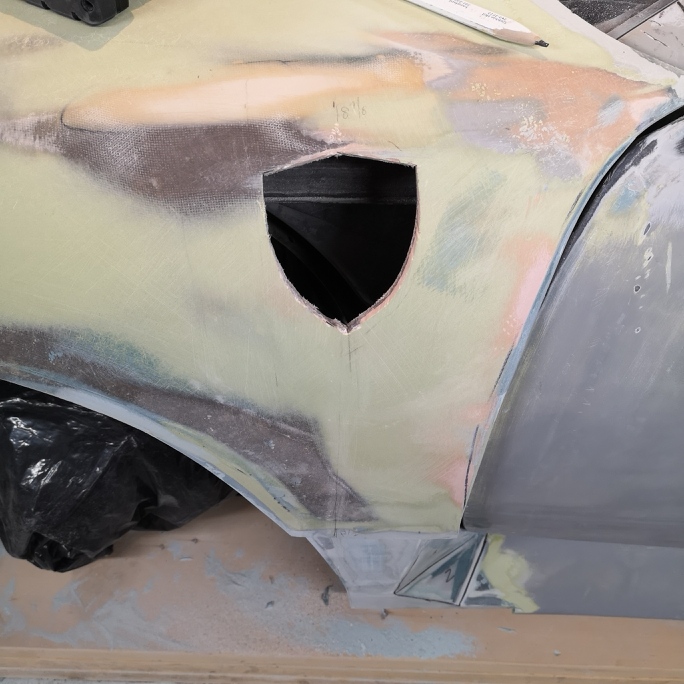
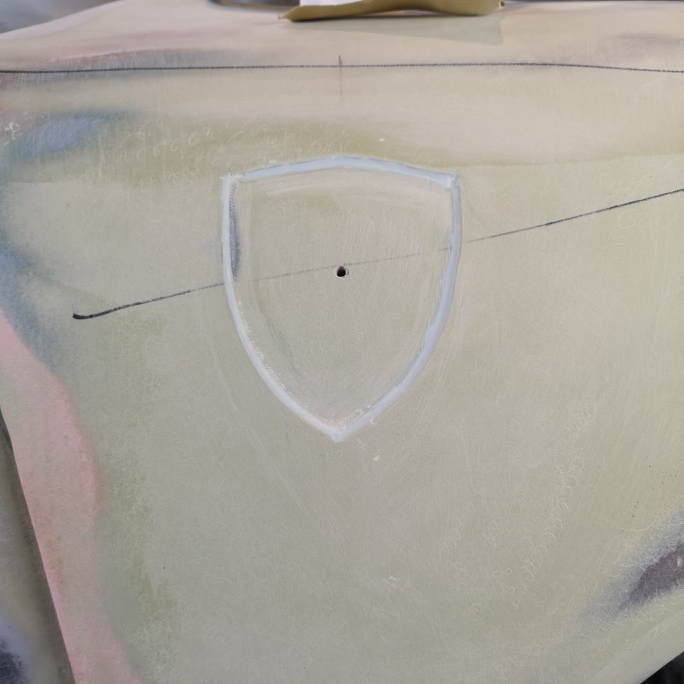
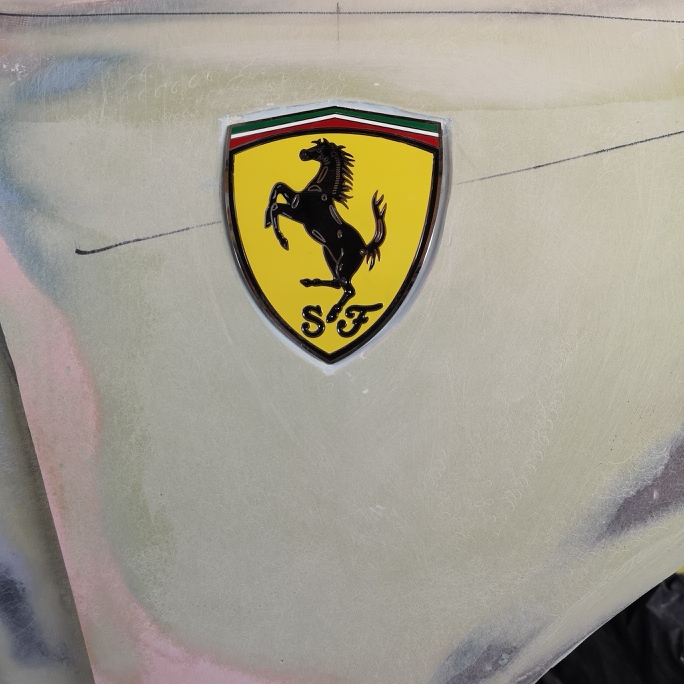
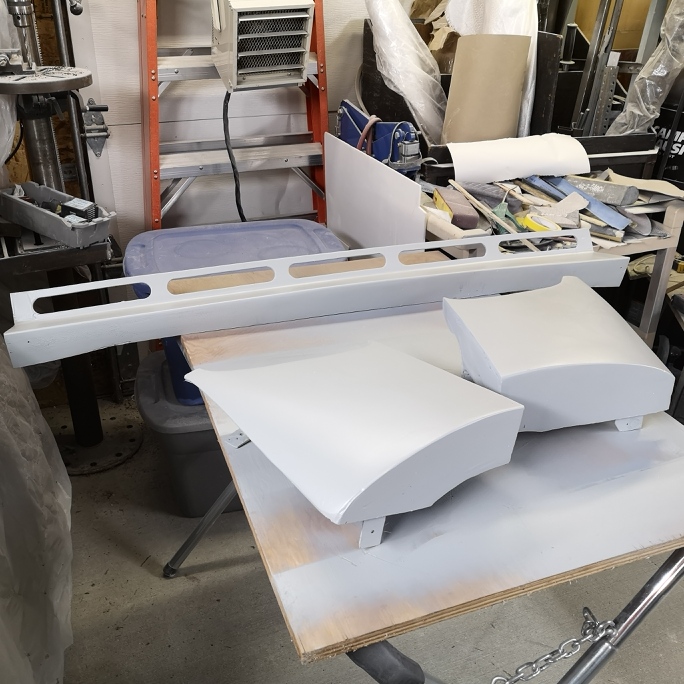
I finished up the fender shield mounting recessed areas, I'm happy with the way they came out. I tested one of the shields for fit ,fits like a glove.
Thanks for visiting
Wayne
|
|
|
|
dobie1
|
FEB 15, 08:49 PM
|
|
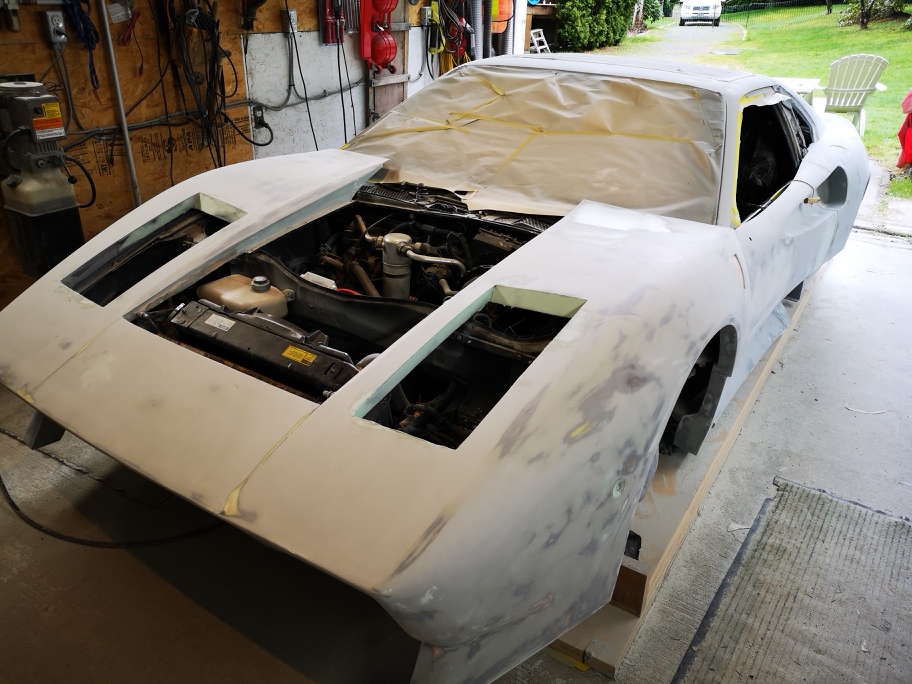
Don O came over to give me a hand today as well as pick up some parts I did a carbon fiber vaacum bag. they came out pretty nice
Here are a few pics of the car in one color again, looks way better
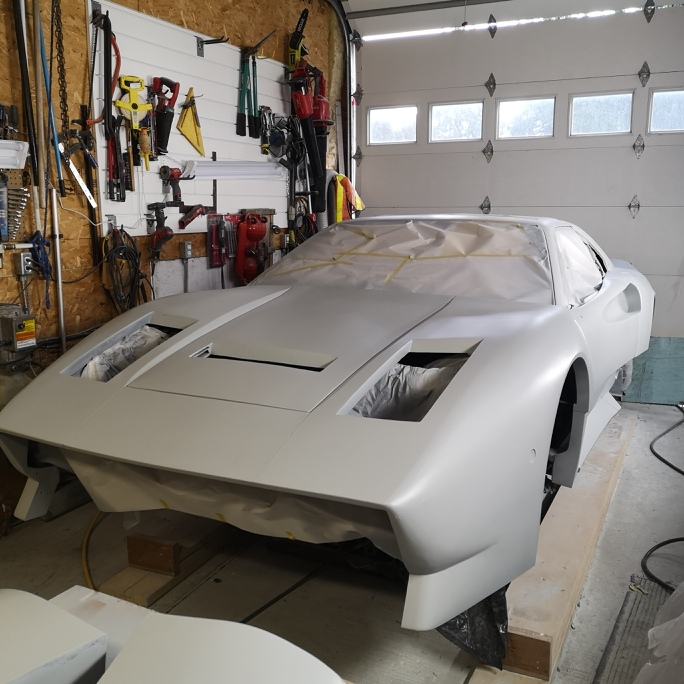
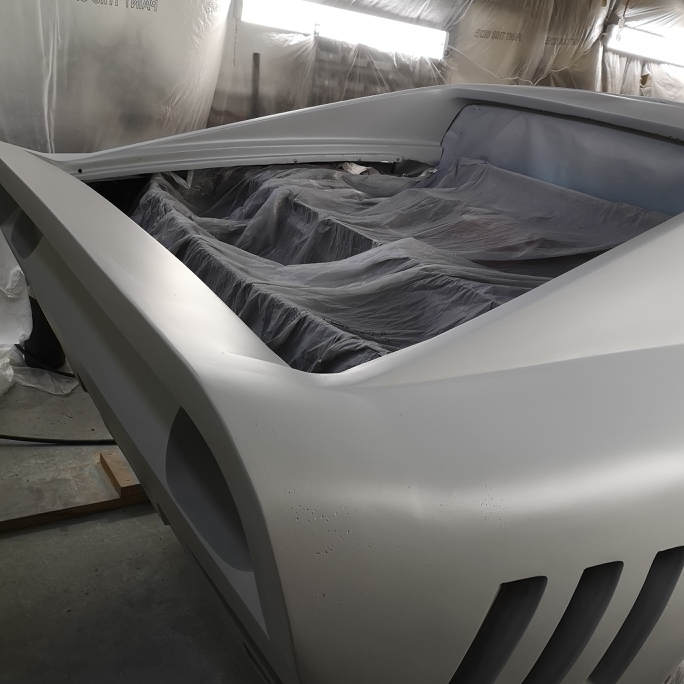
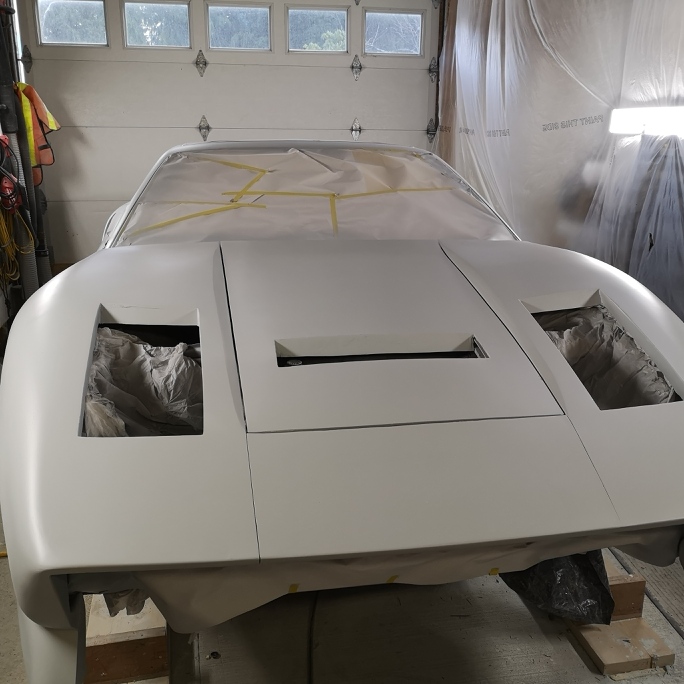
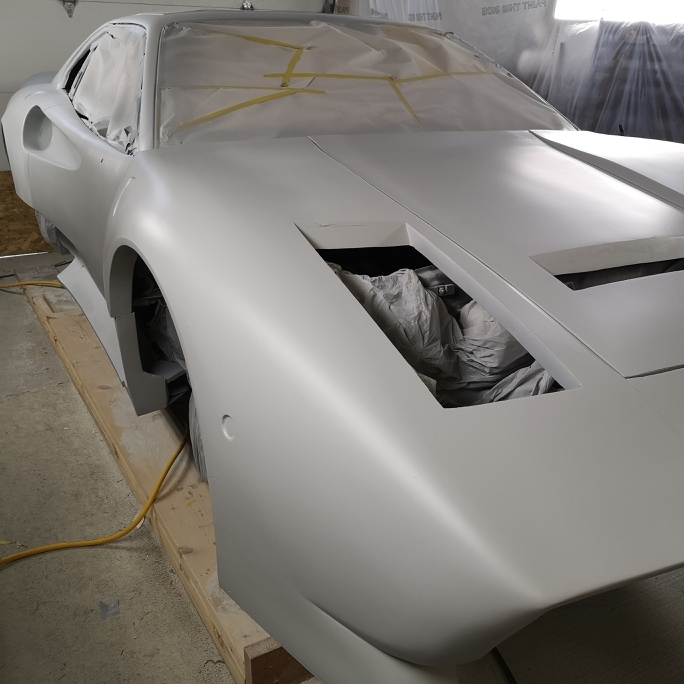
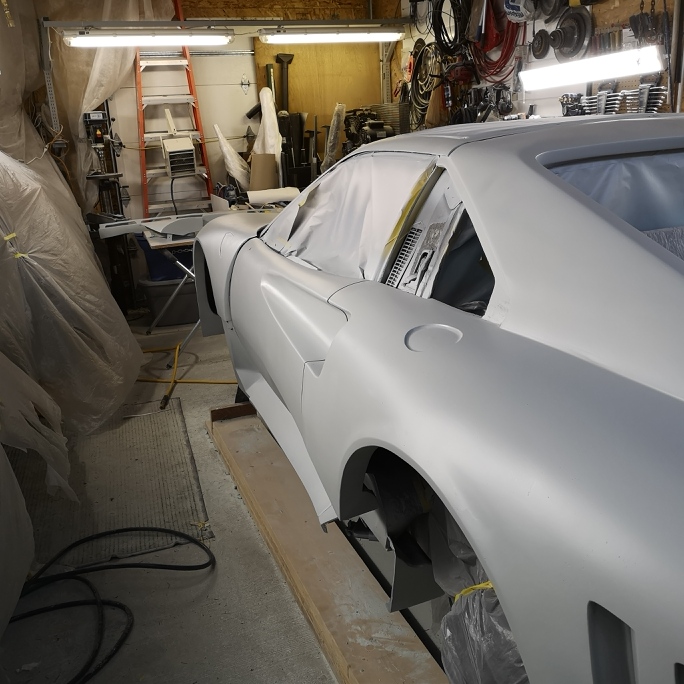
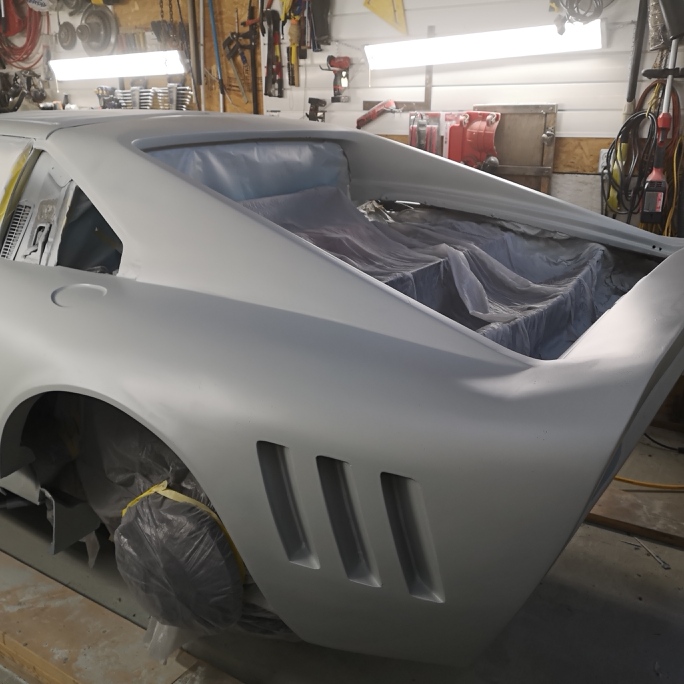
Thanks for looking
Wayne
|
|
|
|
RCR
|
FEB 16, 10:29 AM
|
|
Looks great Wayne... Definitely giving me a ray of hope once it warms up a bit.
Bob
|
|
|
|
Rickady88GT
|
FEB 27, 08:50 PM
|
|
|
|
|
dobie1
|
FEB 28, 10:41 PM
|
|
| quote | Originally posted by RCR:
Looks great Wayne... Definitely giving me a ray of hope once it warms up a bit.
Bob |
|
Hi Bob
I’m looking forward to seeing you get back on your build, your so close !!!
|
|
|
|
dobie1
|
FEB 28, 10:59 PM
|
|
Thanks Rickady88GT, I appreciate the comments.
For those following the build it’s been a lot of Block sanding !!!! To 120 grit.
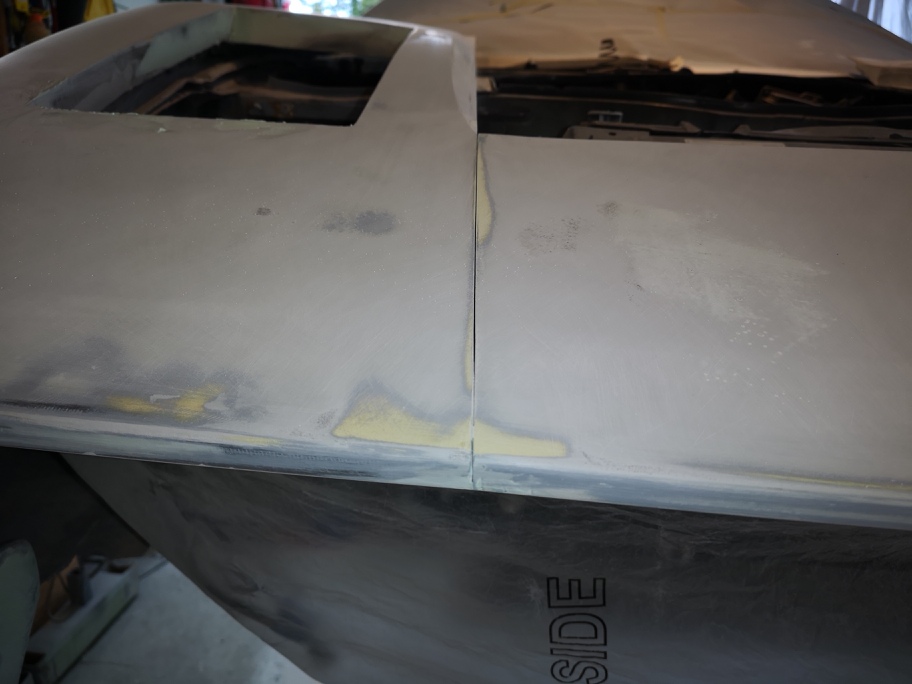
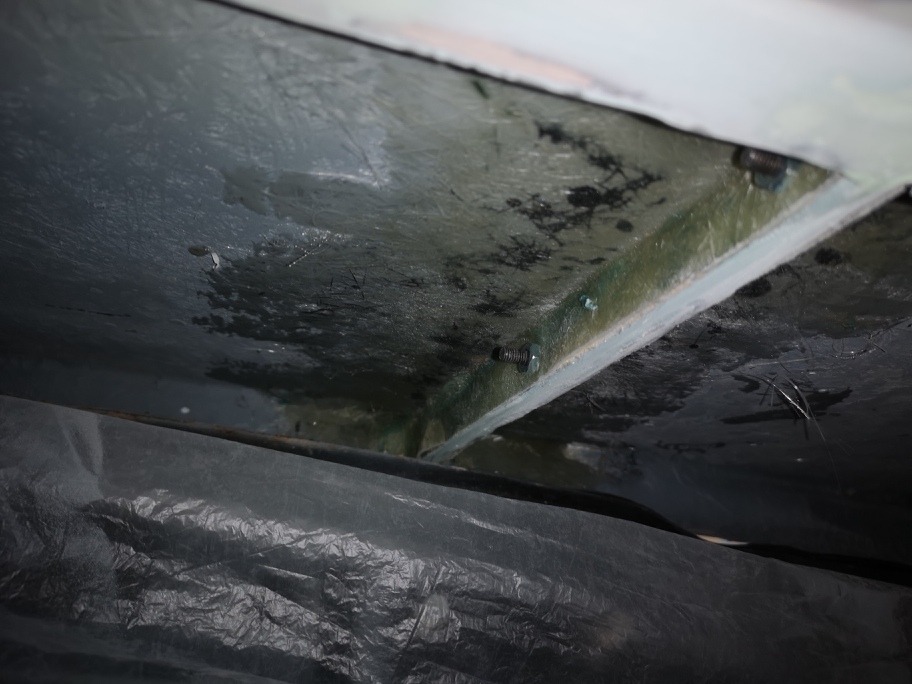
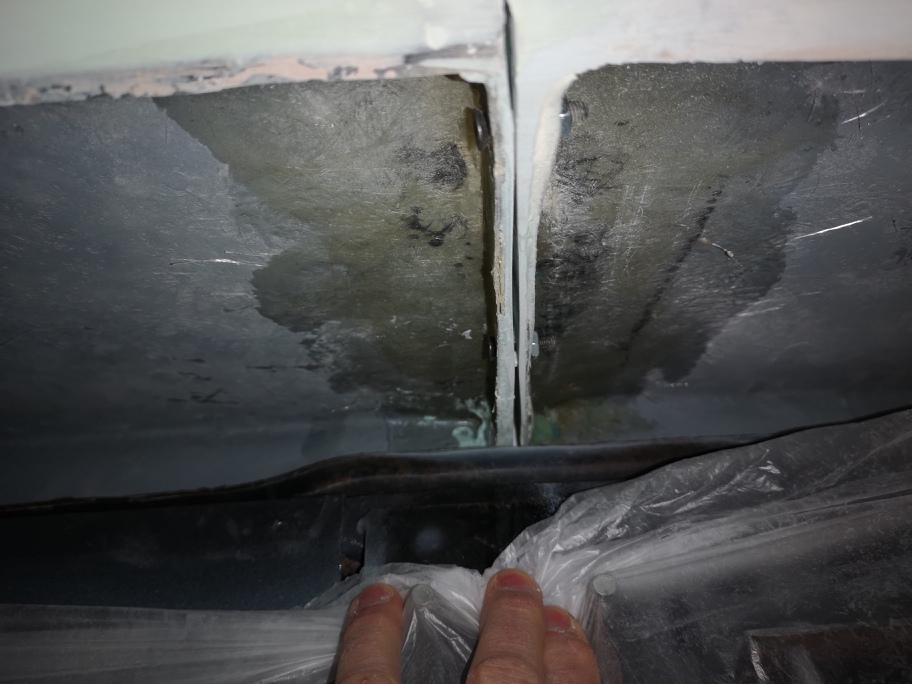
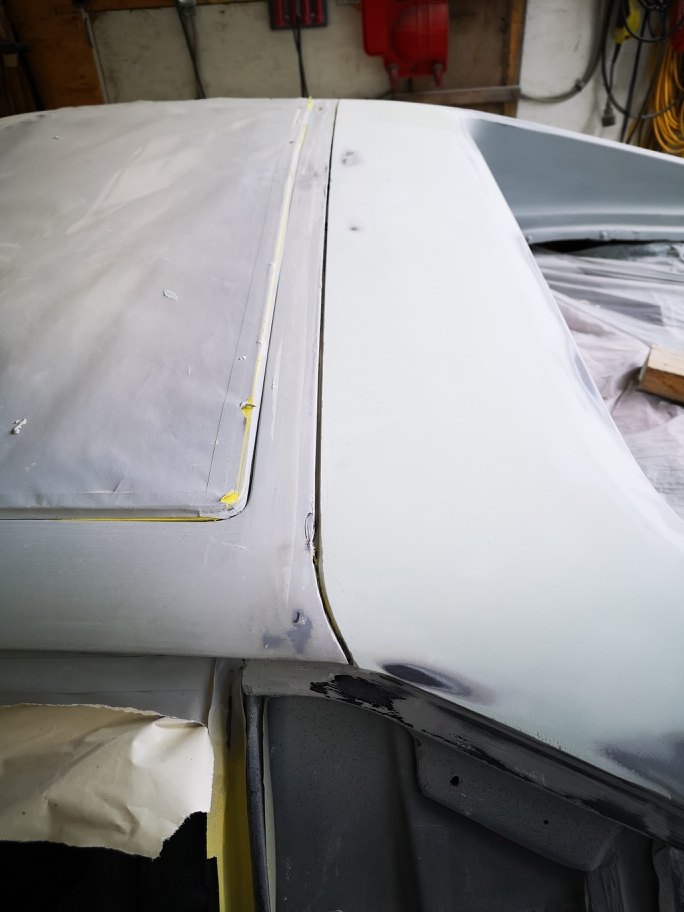
Since the last Post I Ended up adding some end caps to the fender and center fill , I found there was to much flex between the pieces making it difficult to block sand . The parts now are attached with riv nuts and 10-32 bolts very solid now. Don O. Also felt I needed to narrow the gap along the roof where the rear sail plane attaches.
I’m hoping to spray it again this weekend with thinned slick sand in preparation for the final sand to 600 before painting.
I’ll post some pics later.
Thanks for looking
Wayne
|
|
|
|
dobie1
|
FEB 29, 10:48 PM
|
|
|
|