
 
     |
| 85 SE 2M6 Refresh (Page 1/4) |

|
TiredGXP
|
APR 22, 11:34 PM
|
|
Yes, it's yet another build thread.
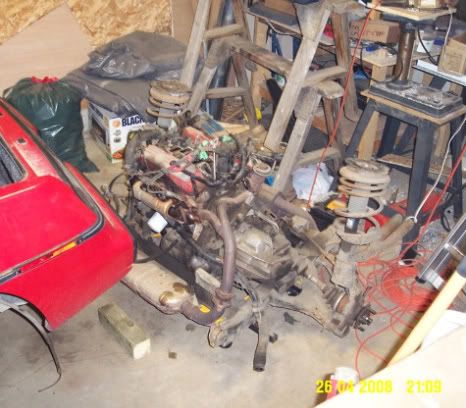
The vehicle: As per the title, a 1985 SE with the 2.8 and 4-speed, nearly 147,000 miles on the ODO. Here it is when it came home:
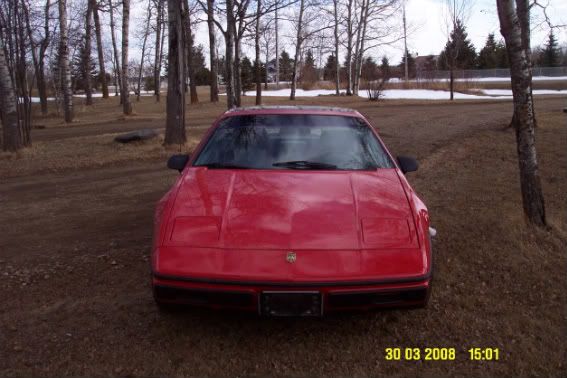
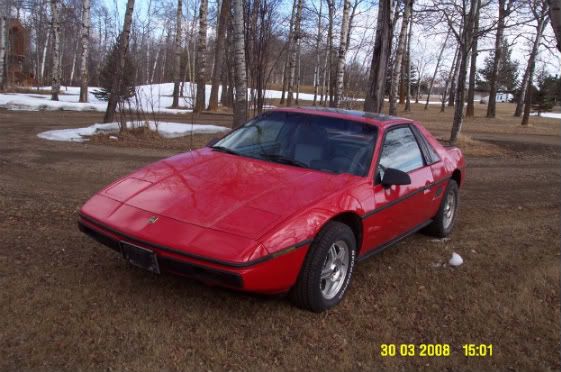
I think I prefer the looks of this nose on this to the later "Aero" nose.
Frame and cradle have some minor surface rust, nothing that a good cleaning, light sanding and a quart or two of POR15 can't take care of.
The plan: This vehicle is destined for my son. Since he'll only be turning 16 this summer, an engine swap will never be in the plan; a rebuild with some performance parts (2030 cam, 1.6 roller tip rockers and new valve springs) and porting of manifolds and heads will provide plenty of power for a new driver. The priorities are to deal with safety and reliability issues first:
1. New brake system including new master cylinder, all new brake lines, Grand Am upgrade on the front brakes, just a caliper rebuild on the rear brakes for now.
2. New engine sensors (MAP, IAT, ECT, OPSU, TPS) and electronics (IAC, Ignition control module) and eventually the 7730 ECM with a knock sensor.
3. Upgraded fuel system components (fuel pump, stainless fuel lines)
4. Vacuum lines are getting old and brittle - snapped one of the hard lines during disassembly, so they will all be replaced.
5. Not much happening to the suspension for now, just new poly bushings all round and for the engine cradle, rebuilt driveshafts - some issues with at least one of the CV joints, so we'll replace all of them and get it over with. I'm trying to get my son interested in autocross (better to race under controlled conditions than on the street), so if that works, we'll look at a rear swaybar, coilovers, and a bumpsteer elimination kit in a year or two (please, no flame wars about 88 vs earlier suspensions, we already have threads about that).
6. Steering feels pretty tight, not sure what may need to be done there yet.
7. Covers for the wiring harness are old and crumbling, looks like some repair will be required. There's a few hacks from a PO that need to be fixed. Needs new ground straps.
Body wise, there's a couple of minor issues that need to be taken care of (localized minor damage to a rear fender flare and by the sunroof). We'll probably vent the hood to help reduce lift, and are looking at some options to modify the body lines in the notch to round things off a bit.
Interior basically needs a steam clean and a small repair to the vinyl on the console. (And a decent radio with a CD player/MP3 input.). No money in the budget this year for Mr. Mike's seat covers.
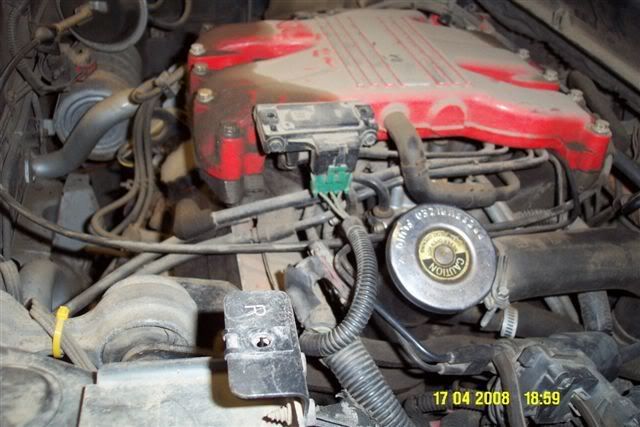
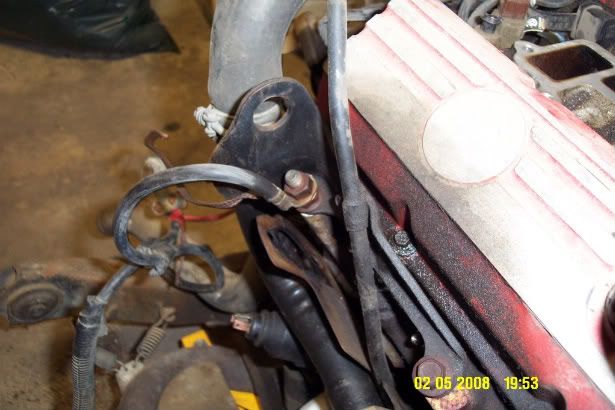
Anyway, here's a couple of pics of the engine compartment - yeah, it's filthy and it's been leaking oil from the valve covers.

Since we'll be doing all the engine work ourselves (well, except if the cylinders need to be rebored), I'm planning on documenting the process, so if there's any interest I'll post things up as we go along.
Cheers
|
|
|
|
ktthecarguy
|
APR 24, 05:19 AM
|
|
|
Yes, please. I like watching how these projects progress. Gives me motivation to keep going on mine.
|
|
|
|
TiredGXP
|
MAY 05, 02:09 AM
|
|
Well, It's time for an update
So far the cradle has been dropped and the engine is undergoing disassembly.
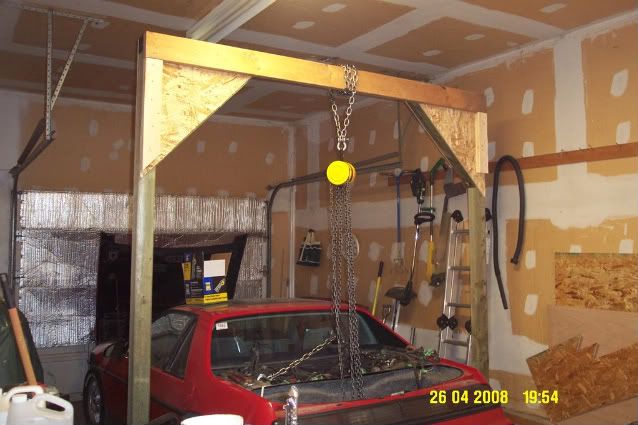
Here's a shot of the home-made lift. Built primarilly out of presssure treated 4x4's put together with mortice and tennon joints with some OSB triangles to help keep things square and a 2x6 added to the top beam for extra support. It's ugly, but lifted the car off the cradle without a groan.
Here's the cradle out, upper and mid intake and wiring harness removed. Man, I need to clear some stuff out of the garage to create some working space.
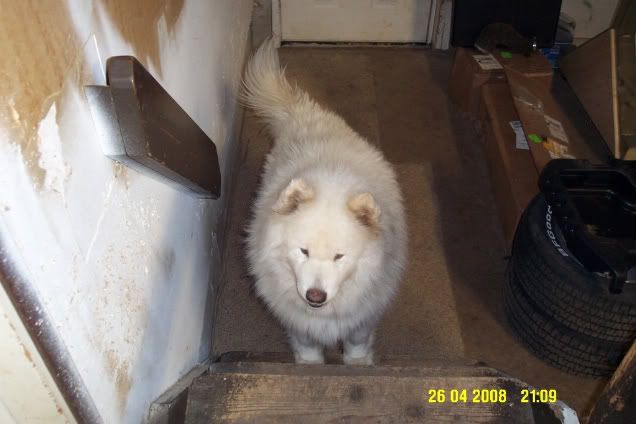
Here's one of my helpers
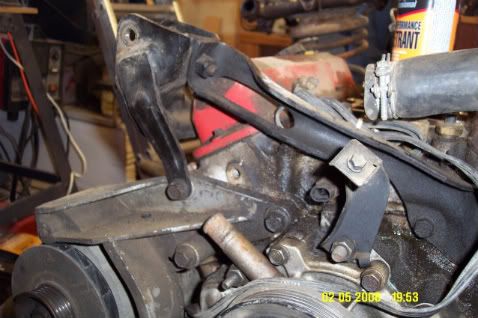
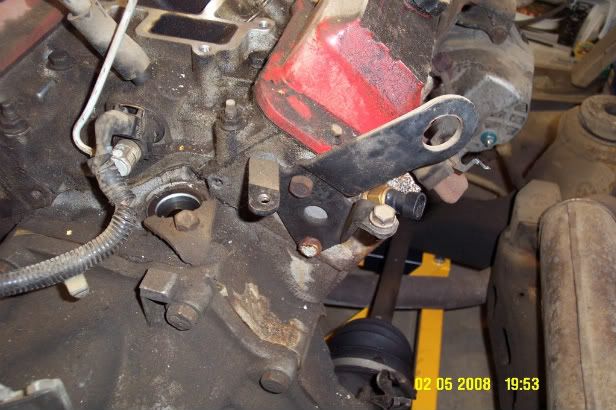
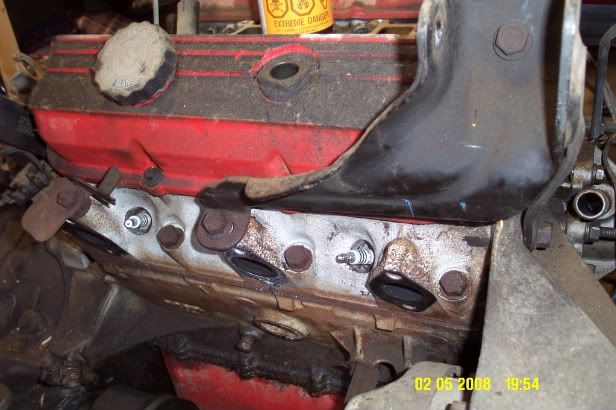
A few random shots of all the bloody brackets so I'll remember how all these things fit back together:
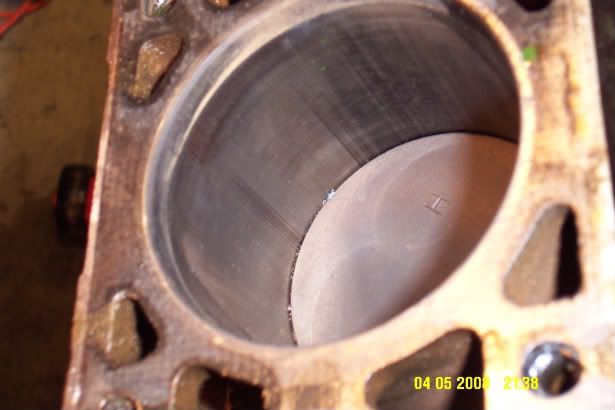
So the heads are off and we got our first look at the cylinders. Not surprising given the mileage, there is virtually no crosshatching left, and what looks like some scoring of the cylinder walls (can't actually feel anything, but looks like a rebore might be in order - Once things are measured up, we'll see if a re-hone will be sufficient).
I guess that's about it for now.
Oh yeah, soaking the exhaust manifold bolts with penetrating oil for a few days in advance of the tear-down really helped - all bolts came out with no difficulty. I'll have to grab a few pics, but wow, what shoddy work on assembling the manifolds, I can see how porting will really help airflow. One port actually has some scrap of metal welded in that extends across the runner.
Cheers
|
|
|
|
Macs86GT
|
MAY 05, 06:58 AM
|
|
|
Looking good. Its always nice to see a fiero get some loving. I tend to prefer the aero nose but the bumper pad nose is a very close second. I realy like that nose with a chin spoiler.
|
|
|
|
TiredGXP
|
MAY 11, 05:17 PM
|
|
Update time again.
Engine is disassembled, except for removal of the crank. It's become obvious that someone else has been in the engine, and really "bodged" things together. Someone had put new rings and bearings in, but really didn't pay attention to what they were doing.
Here's a shot of a cylinder after reaming the ridge in preparation for piston removal. There was a failry substantial ridge. The scoring seems to be fairly mild, I haven't been able to catch a fingernail on any of the score marks.
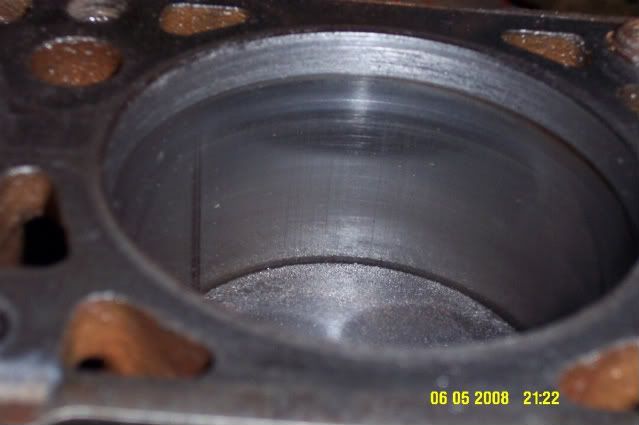
Given how substantial the ridge was, and that the top compression rings on cylinders 4 and 5 were broken, I suspect that the last time someone was in the engine they didn't bother reaming the ridge.
I got the snap gauges and micrometers out, and the block needs to be rebored. All cylinders have excessive wear just below the ridge, all have excessive taper, and two are out of round.
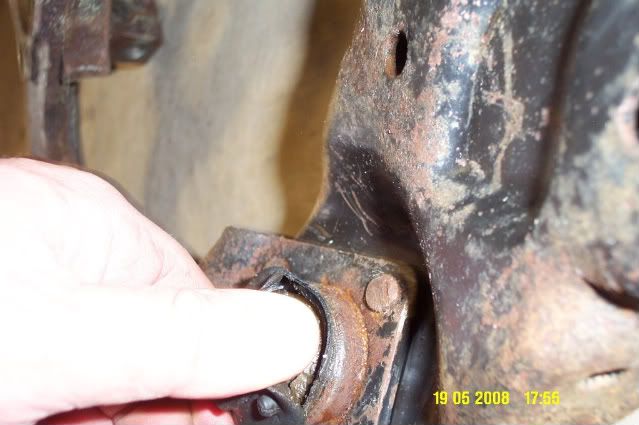
When I was getting ready to measure the rod journals and existing rod clearances, I noticed this on #5
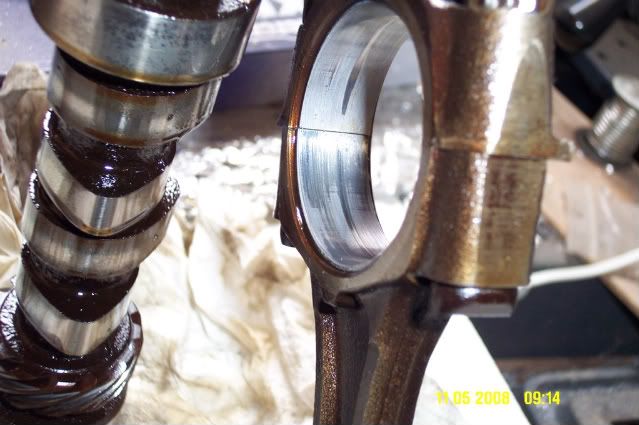
Sure enough, there was some damage on the #5 rod journal (bad pic due to flash, but it looks like this journal fell onto a bolt on a prior disassembly, there's an impression of about 5 threads on this journal that have been biting into the bearing.
All rod journals are scored to the point that you can catch a fingernail on them, so given the problem with #5, I'll have to have the crank reground and polished. I expect that the main journals are in similar shape.
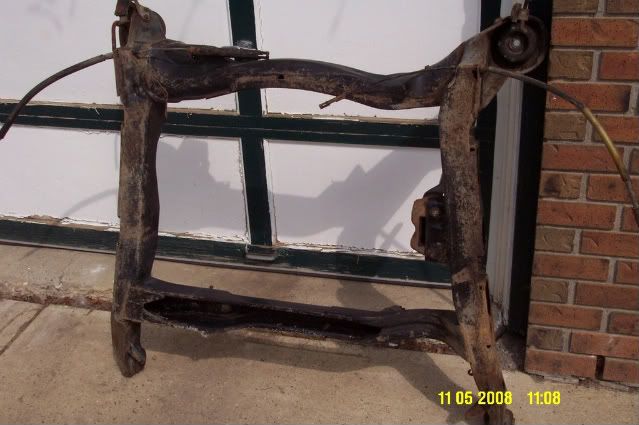
As mentioned in a previous post, the engine/trans/subframe was severely oil coated and dirty, so I got the pressure washer out yesterday and started cleaning things up a bit. Must have taken a couple of pounds of dirt, oil, and gravel out of the nooks and crannies of the engine cradle. Here it is after cleaning. Just a bit of surface rust to take care of and then POR15.
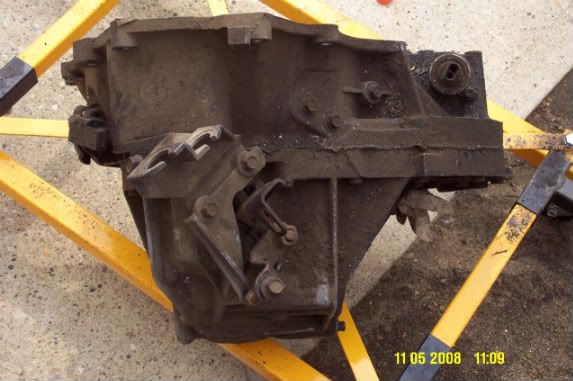
A couple of "before" shots of the transmission. How do you get that much oil inside the bellhousing? Transmission input shaft seal?
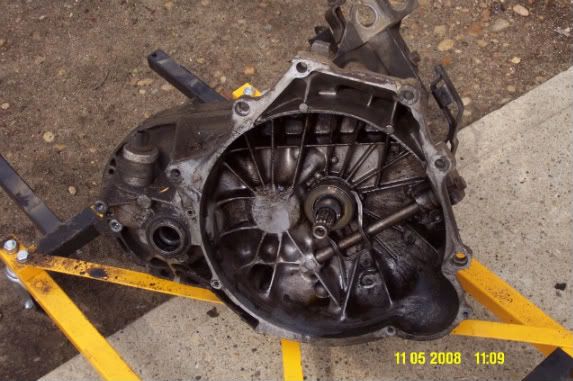
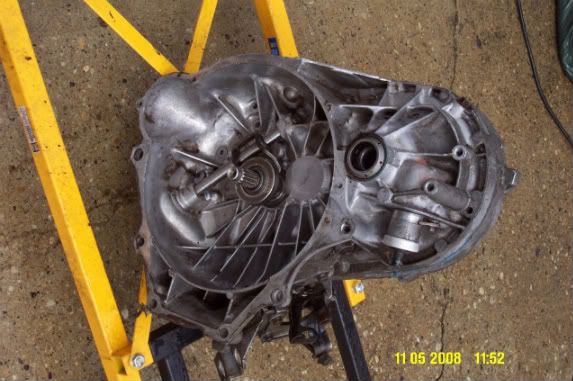
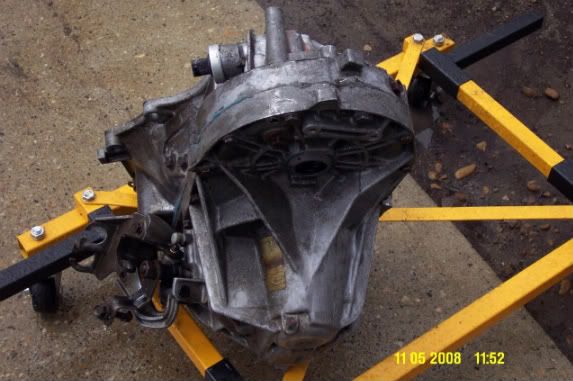
And after about a half hour with degreaser and the pressure washer (yes, I did plug the holes in the differential prior to spraying)
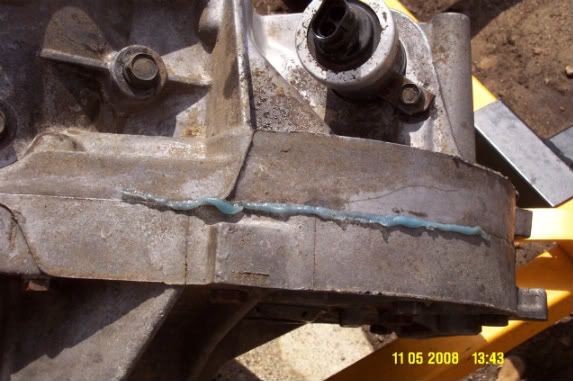
Now that the transmission is clean, I noticed some odd silicone sealant on the case. Looks like semi-transparant kitchen and bath sylicone  . Since I know nothing about manual transmissions, I'm not sure if I should open it up myself. Probably take it to a transmission shop to have it checked out. . Since I know nothing about manual transmissions, I'm not sure if I should open it up myself. Probably take it to a transmission shop to have it checked out.
Took a few measurements of the cam that was in there. It's some sort of aftermarket cam, but I can't find any markings on it. It's destined for the trash bin anyway, there was atleast .010 difference in lobe lift between the two cylinders I bothered to check, significant uneven wear.
I guess that's it for today, need to order some new pistons, bearings and find a shop to bore/hone the cylinders and regrind the crank. While the block and crank are out we'll tackle the porting of heads and intake/exhaust manifolds.
Cheers
|
|

|
Raydar
|
MAY 11, 05:49 PM
|
|
Good luck with your project.
I've always liked the 85 2M6. Hope to buy one some day, when I have the space/time/funds. (Preferably all three.)
| quote | Originally posted by TiredGXP:
...I noticed some odd silicone sealant on the case. Looks like semi-transparant kitchen and bath sylicone... |
|
Might be Permatex Ultra. It looks a lot like that.
------------------
Raydar
88 4.9 Formula IMSA Fasback..........................88 3.4 coupe -soon to be something other than red

Read Nealz Nuze! Praise the Lowered!
|
|
|
|
TiredGXP
|
MAY 17, 11:39 PM
|
|
Waiting for parts (pistons, e-brake cables, head porting kit...) so I figured now was a good time to do some odds and ends.
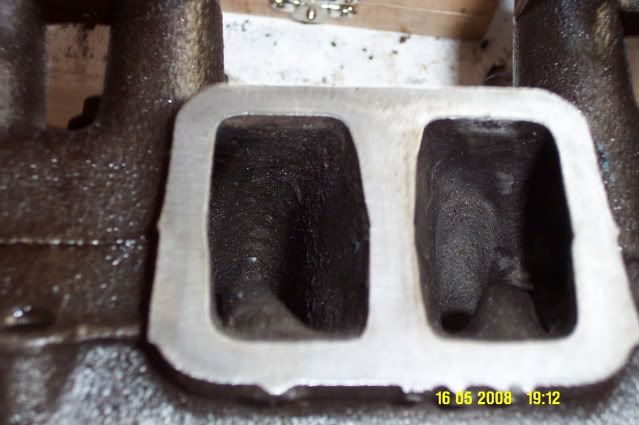
Heads are disassembled, so got a good look at the ports and runners, lots of carbon built up in there. Took forever to clean bits of the old head gasket off the head surface
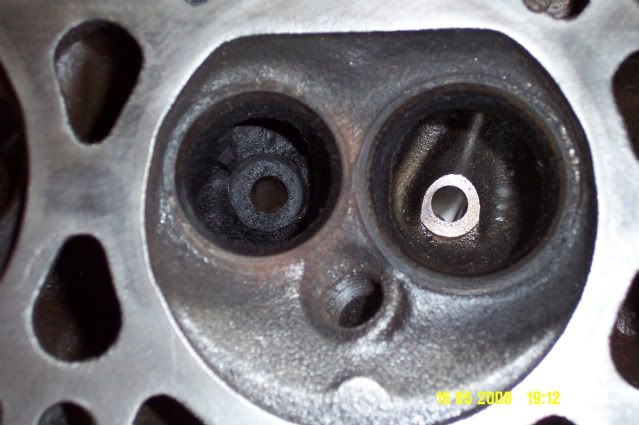
Didn't put the intake gasket on for comparison, but there's lots of work here to match the ports
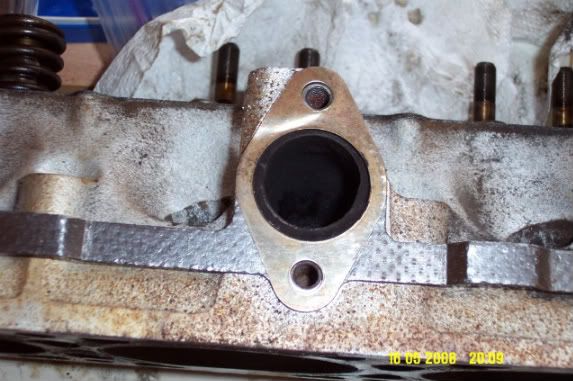
Exhaust gasket really seems oversized compared to the exhaust port - I can't see removing that much metal, although it looks like the floor of the port needs to be moved down a bit to be concentric with the gasket.
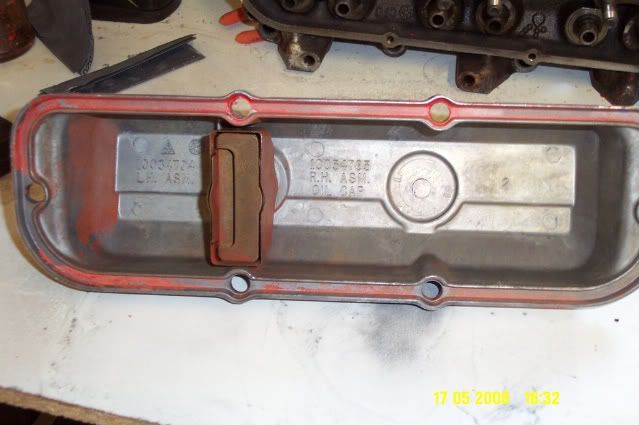
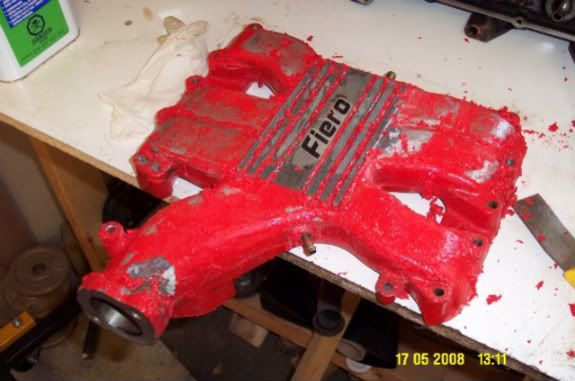
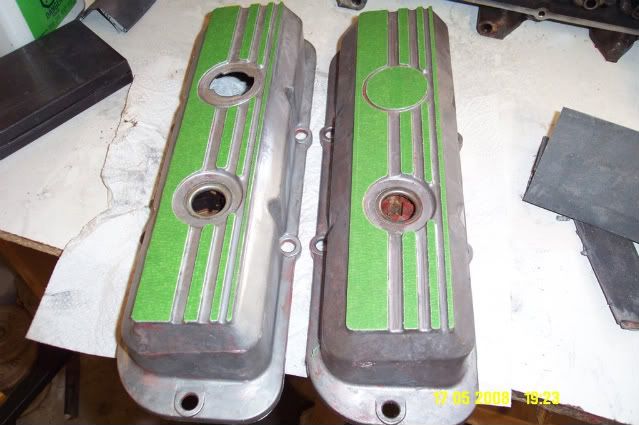
There were a few chips in the paint on the upper intake, so I decided it was time to strip paint from the Intake, rocker covers and oil pan. During this process, I discovered that the paint and varnish remover did a great job of removing the crud built up inside the rocker covers and oil pan.
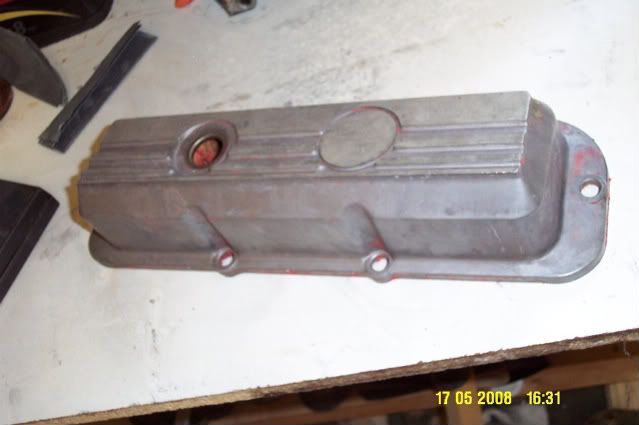
Working on the upper intake. About this time I figured out that the scraper was not working, and brought out the pressure washer (this is becoming one of my favourite tools  ) )
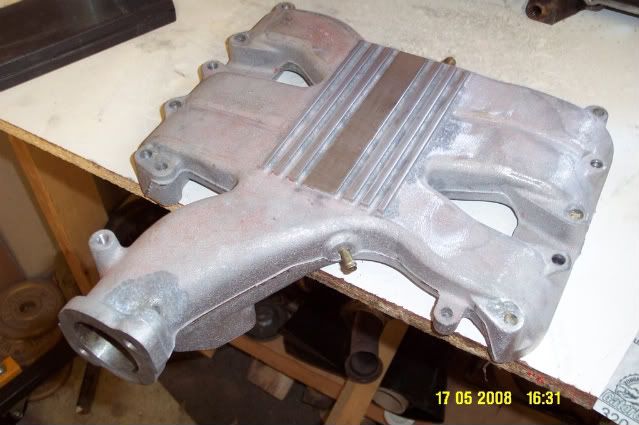
Here's the intake in the middle of stripping
and after. The stripping process worked so good, I'm liking the look of just aluminum, and am debating polishing this up (how many hours did you say it would take!  ) and just going with a high temp clear coar. Anyone running an unpainted intake? ) and just going with a high temp clear coar. Anyone running an unpainted intake?
Rocker covers are degreased, masked and ready for painting.
That's about it for now, Need to get over to Princess Auto and pick up a spring compressor so the struts can be taken apart (thiking about a coilover conversion). When cleaning things up, I noticed that the dust boots on the rear ball joints were torn, so likely excessive wear on the joints. Guess the whole rear suspension needs to be taken apart.
Cheers
|
|
|
|
TiredGXP
|
MAY 20, 01:03 AM
|
|
Spent a fair bit of time removing the casting flash and other casting imperfections from the upper intake. Looking good, but forgot to snap a picture. No way will I be attempting to polish the intake, I don't have a hundred + hours to devote to such a task.
Removed the struts from the rear control arms today and pulled the rest of the hardware off the control arms. Even after soaking the bolts holding the strut to the knuckle in penetrating oil for several weeks, the impact wrench could barely move the lock nuts - must have hammered on a couple of those for 5 minutes before breaking the nut free.
Removing the hub and knuckle was considerably easier.
I've just about worn out a rotary brush in the last week scrubbing rust and other crud off parts. Here's the passenger side knuckle, dust shield and control arm after some clean-up. the dust shield came out quite well, just heavily pitted. Knuckle is down to just surface rust now, control arm need a fair bit of work:
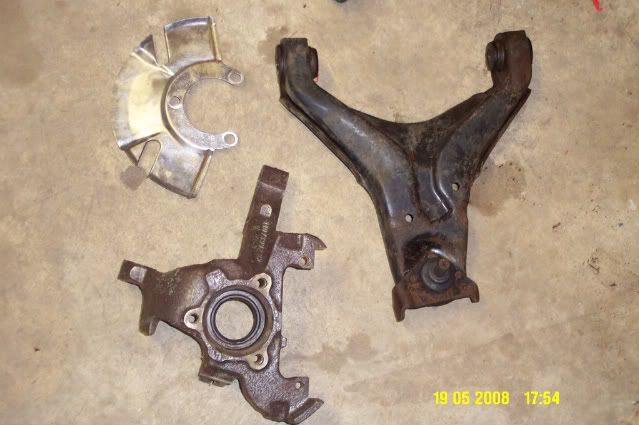
Just about time to get out the torch and burn out a few bushings.
Dust boots on both rear ball joints are torn, so new ball joint time (added to the current Fiero Store order).
Cheers
|
|
|
|
ktthecarguy
|
MAY 20, 03:14 AM
|
|
|
That's quite a lot of work already. BTW the paint on the car looks pretty good in the pics; does it look that good in person?
|
|
|
|
TiredGXP
|
MAY 20, 07:30 AM
|
|
Paint is generally good on the front fascia and hood, however it's cracked and chipping in a line along the driver's side of the sunroof, some scrapes on the rear bumper, and some deep scratches on the deck lid. We'll need to do some repairs to the rear clip on the trailing edge of the notch. We'll be venting the hood too, just need to figure out what vent style to go with.
By the time all that is dealt with, it'll definitely need new paint![This message has been edited by TiredGXP (edited 05-20-2008).]
|
|
|
|