|
| 85 Notchie Build (Page 1/23) |

|
zkhennings
|
JUL 08, 10:09 PM
|
|
I contemplated making a build thread for a while but I decided that even if no one else is really interested in it, it is worth documenting the history of my first car for me.
So January 2010 I bought my first car, a 1985 base model with a 4 cylinder 5 speed

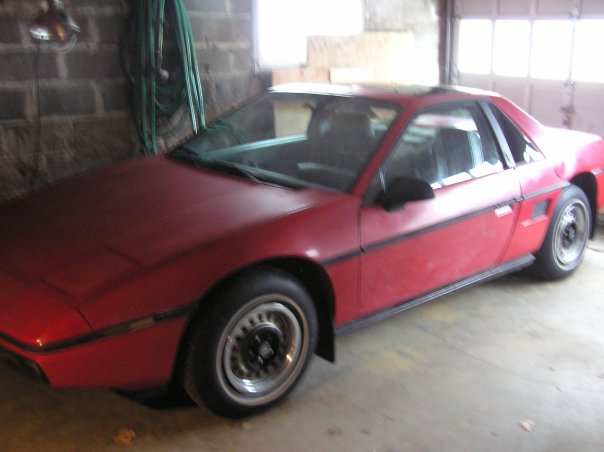
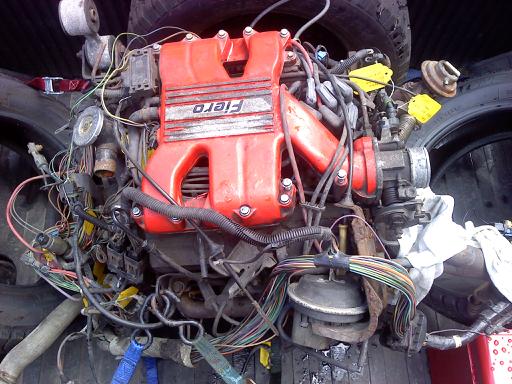
This is what she looked like when I got her. She was in rough shape, rear brakes did not work, paint was awful, engine was running rough, one of the headlight motors was broken, interior was all warped, and four different sized tires were installed. Broke down on the way home in the worst possible place on the highway with no break down lane. Then everything else proceeded to go wrong. Slave and master cylinders for the clutch, I replaced the rear calipers, replaced the headlight motor, did some bodywork and experimented with some painting (which went terribly at first). I replaced the throttle positioning sensor and O2 sensor and plugs and wires and cap and rotor and the engine ran much better. I also got some new tires (but they are not the best) I did lots of little things and then I decided that I wanted a bigger engine. I wanted to eventually race the car in a competitive class so I wanted to swap in a 2.8. I found a 2.8 for free, bought a Spec stage 2 clutch, got a shifter rebuild kit from Rodney and his solid cradle bushings, got some KYB shocks and struts, bought the 2.8 fuel pump, and some poly suspension bushings. I installed all these things and did the engine swap in a week with my friend from school in his uncles garage. His uncle races a really nice 1973 911 in a vintage car class I wish I had a picture of it to post here.


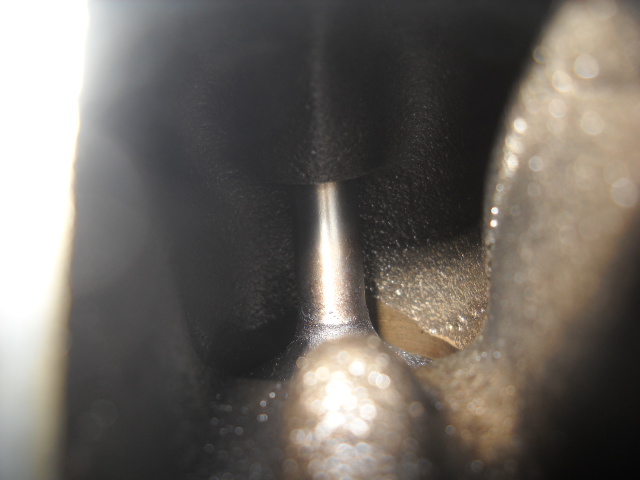
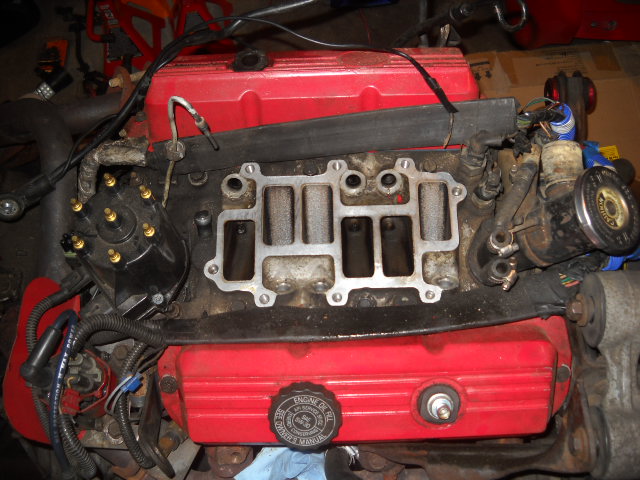
Well the engine that I put in was a great step up from the 2.5, but it was burning a quart of oil every 100 miles. I found out it was the rings that were the problem unfortunately so I replaced them over my past winter break. I replaced a leaky oil pan too. I honed the cylinders and replaced the piston rings and cleaned the combustion chambers and the top of the pistons. I also replaced the rod bearings and cleaned a lot of things on the engine and replaced all the gaskets to stop the engine from dripping oil.
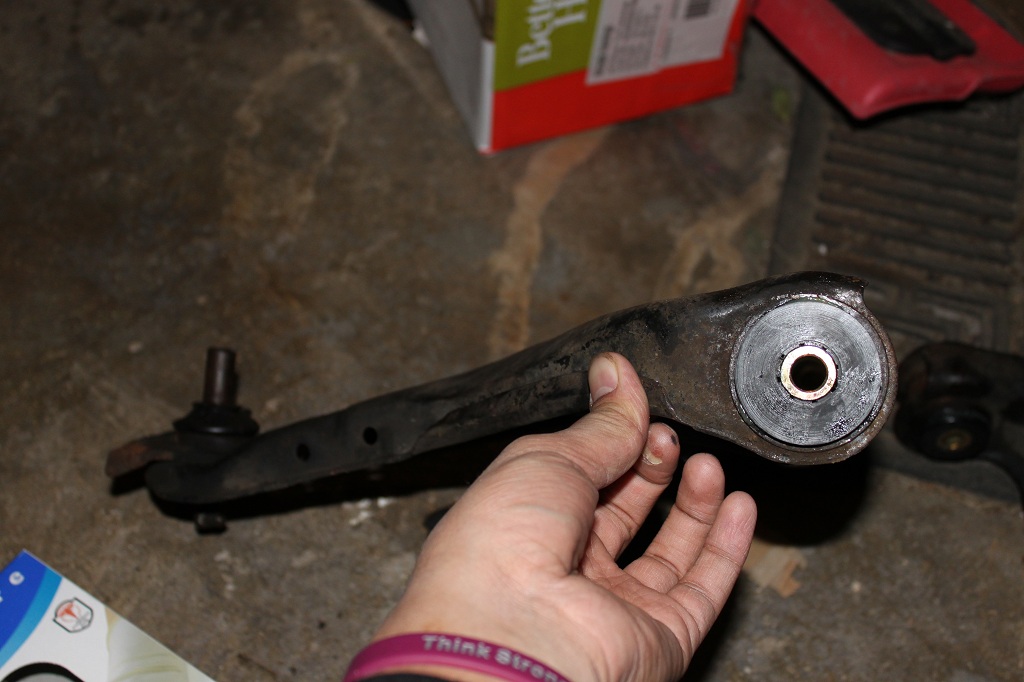
Poly Bushings
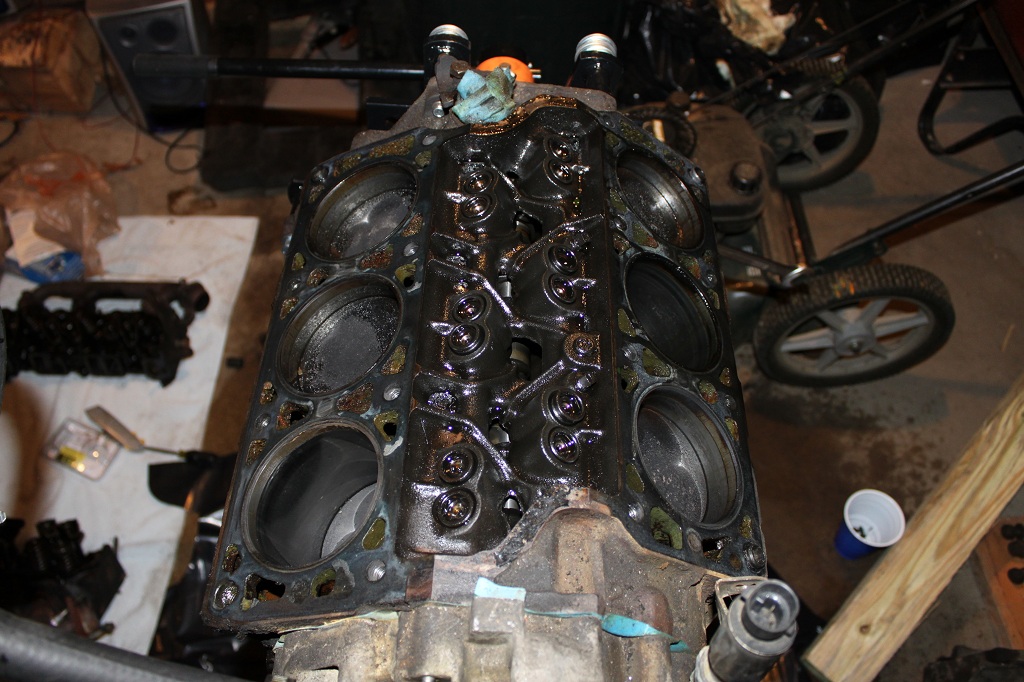
Some cylinders are worse than others
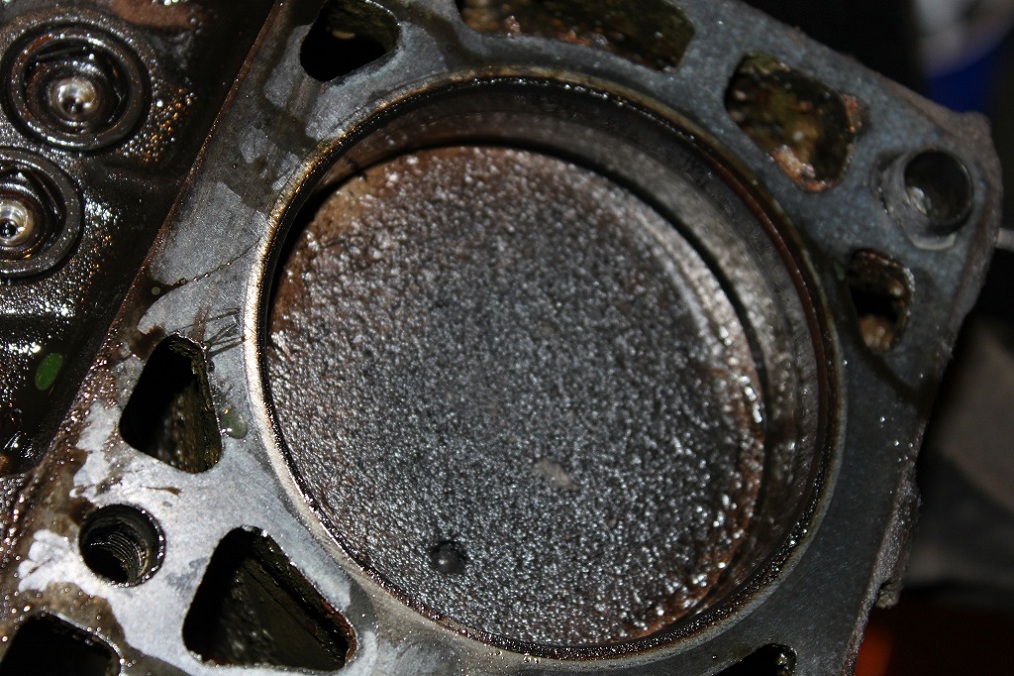
One of the worst cylinders

How oily the block always was
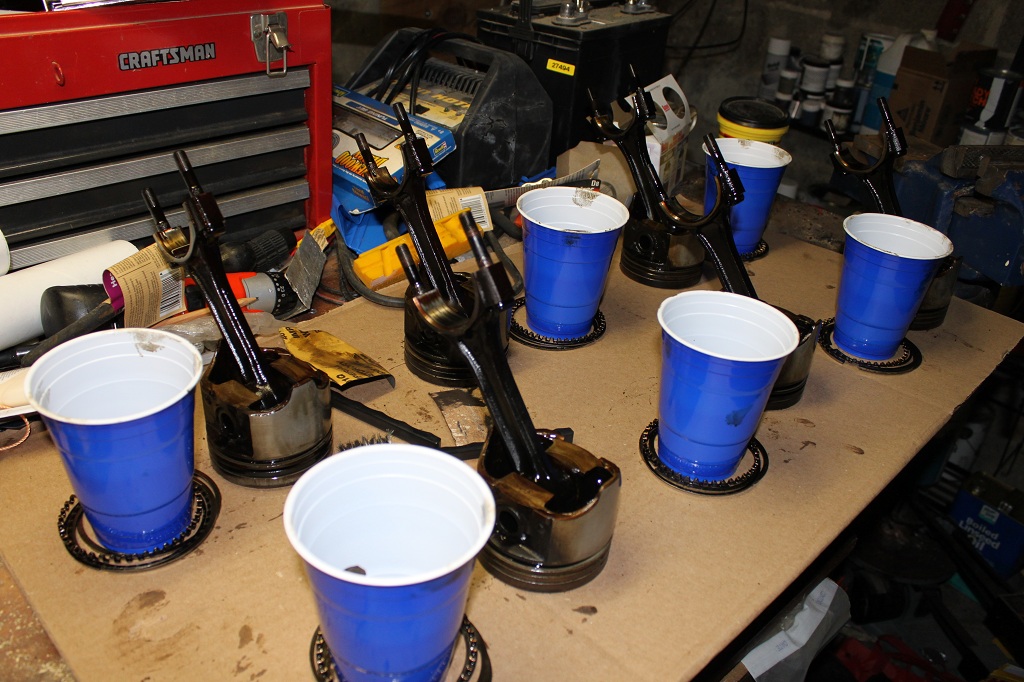
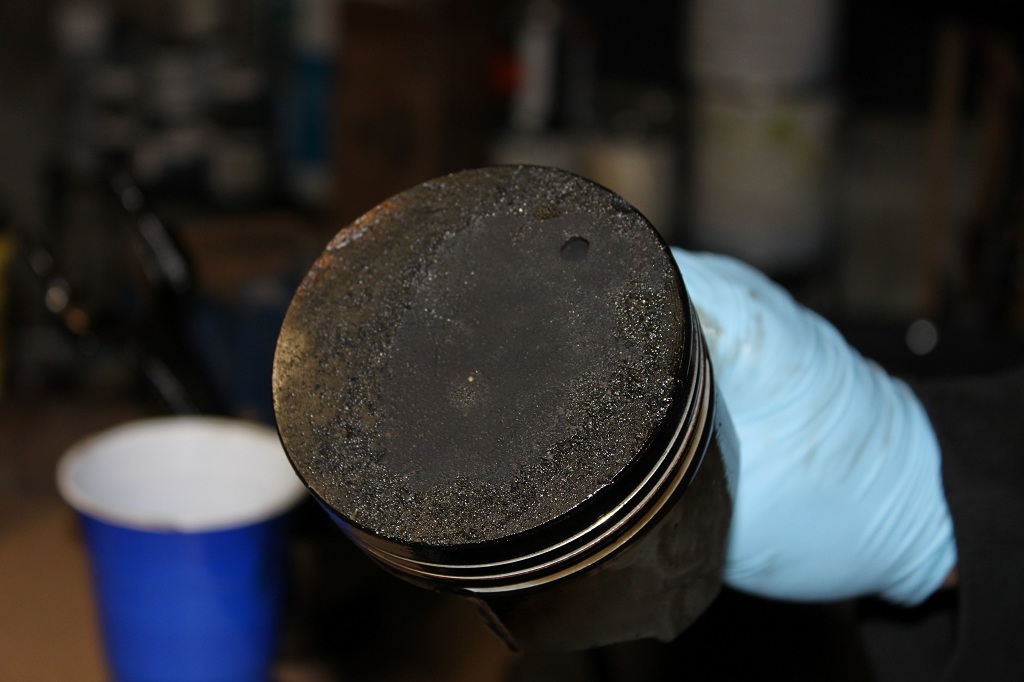
The pistons were covered in burned oil

You can see how incredibly shiny the bores are[This message has been edited by zkhennings (edited 03-04-2014).]
|
|

|
zkhennings
|
JUL 09, 12:21 AM
|
|
The engine stopped burning oil, but when I opened up the engine I found a really chewed up piston, broken lifters, a cracked head among other things. Also I replaced the transmission mounts and the engine vibrations are now transferred to the car and the engine vibrates a lot. Also my valve guides are worn and the exhaust smells like oil when I let off the gas. Also the ring gap in the cylinders was a little too big, and there is a serious ridge at the top of the bores. So I was planning on getting the cylinders bored and getting new pistons and rings. And ignoring the head work for now. But I found a great deal for a new bottom end and some redone heads. I am also getting rid of any frame rust so I have stripped my car. Here's what I have done so far this summer.
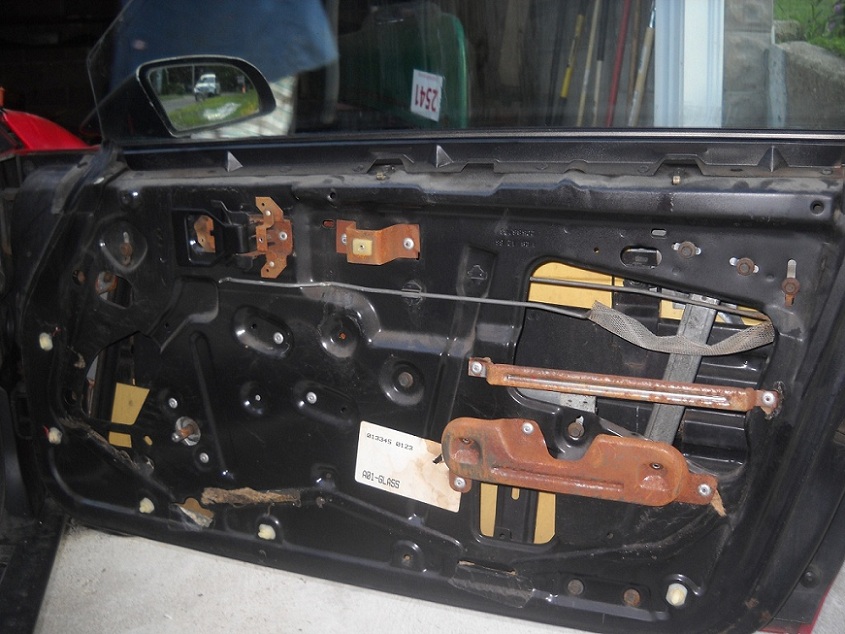
Very little rust on doors
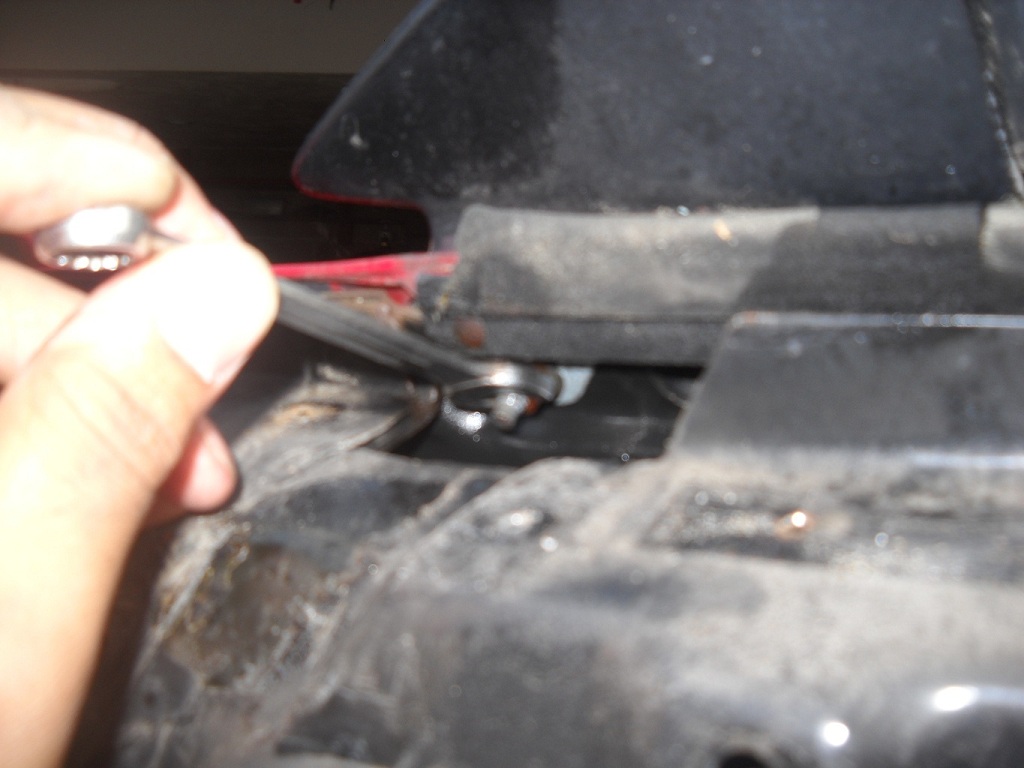
10mm wrench on mirrors

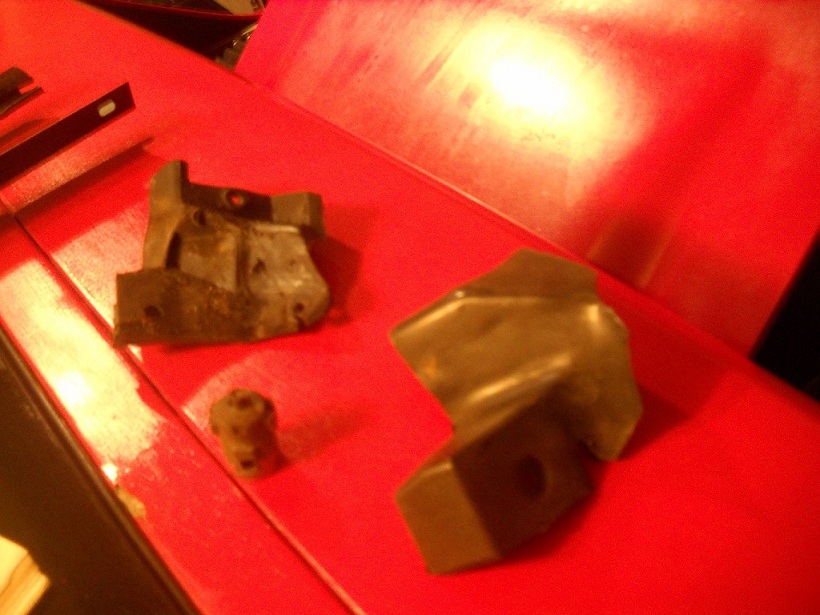
These are on the corners of the door and were glued on and screwed on... What do you use to put them back on?
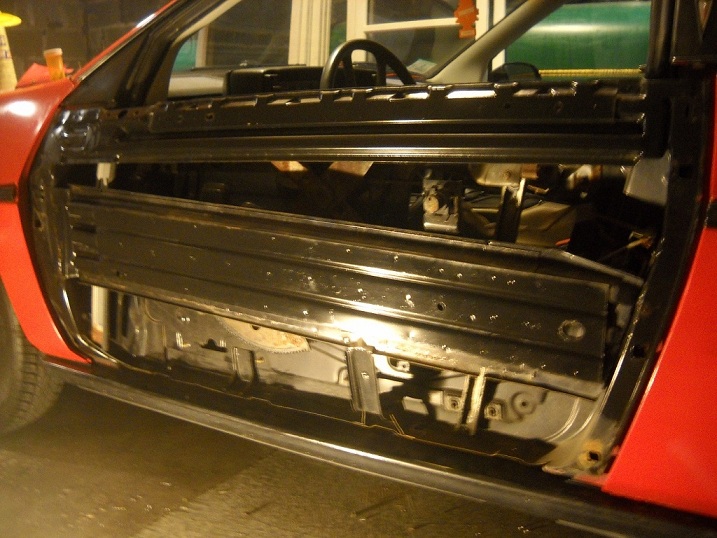
Not much rust on doors
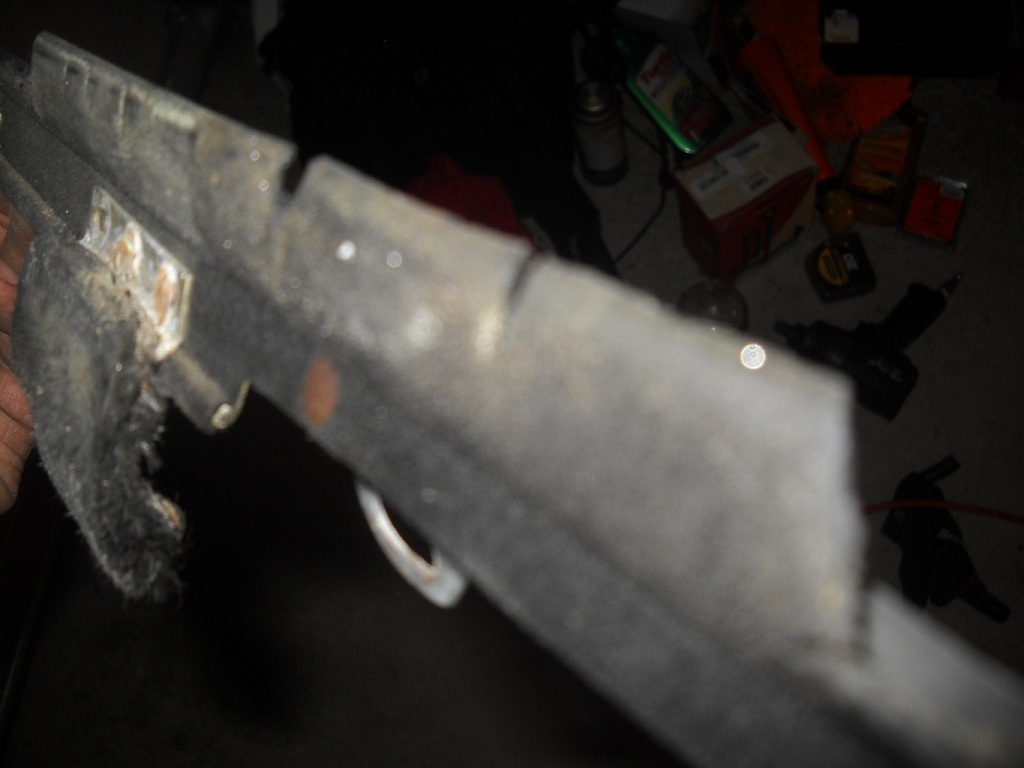
My awful Dew wipes

Windshield has a gap at the top
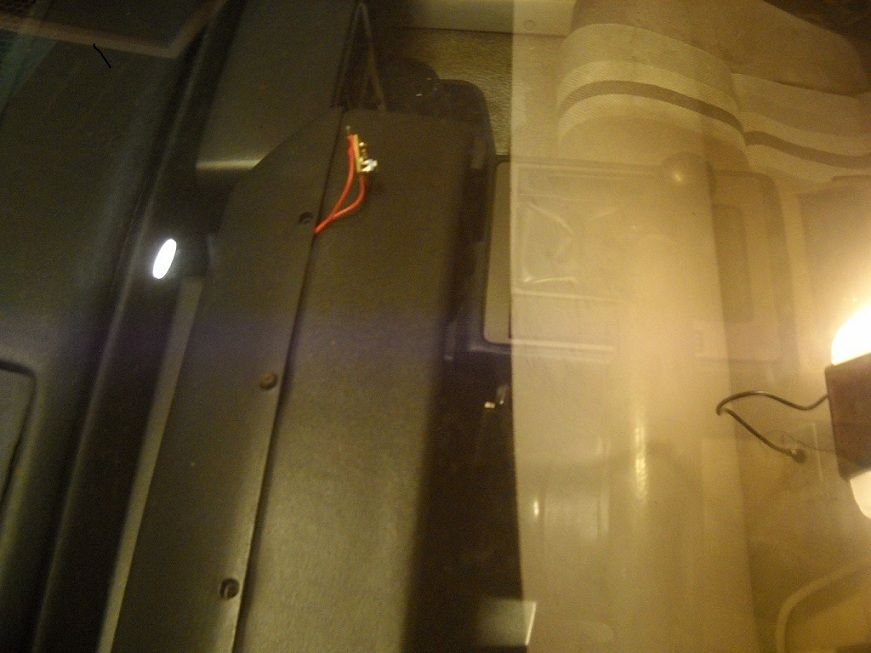
Little chip wired into the tach with a micro pot built in to adjust for the v6

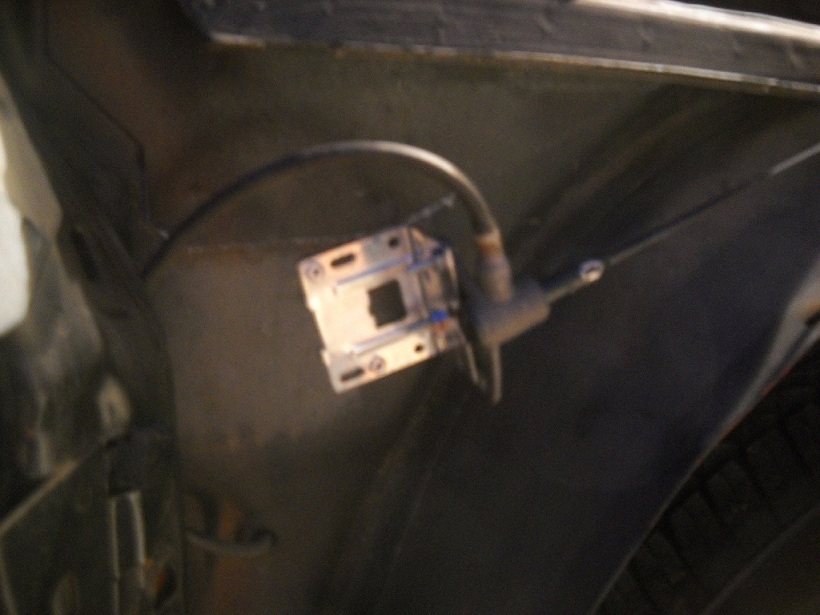
This broke, it keeps the door handle in the down position on the outside. Maybe I'll make a new one out of piano wire.

Here you can see the extent of damage to the paint
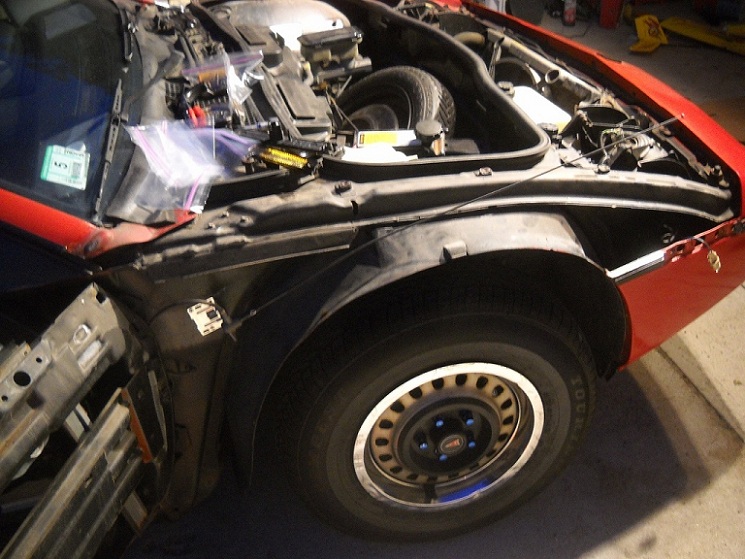
Hidden Antenna. Works the same being under the fender

The 13 inch wheels I have now. Hopefully I am getting some of the gt rims soon.

Shot of the engine bay
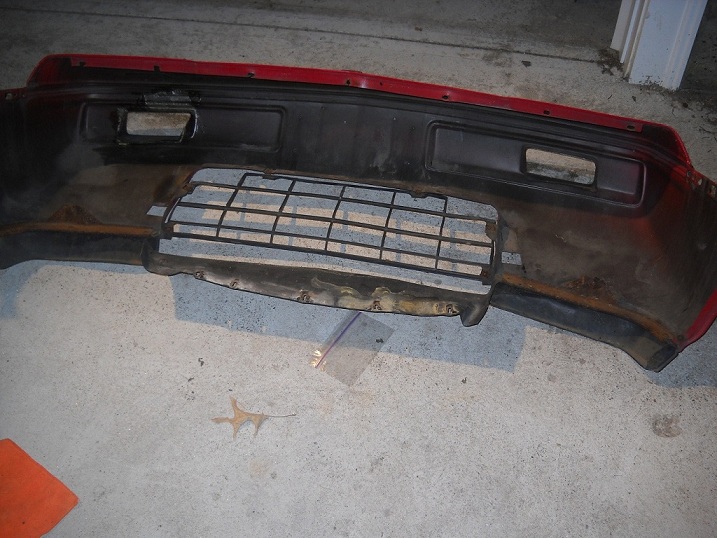
Warped front bumper but perfect impact absorber underneath. I don't know how it warped.
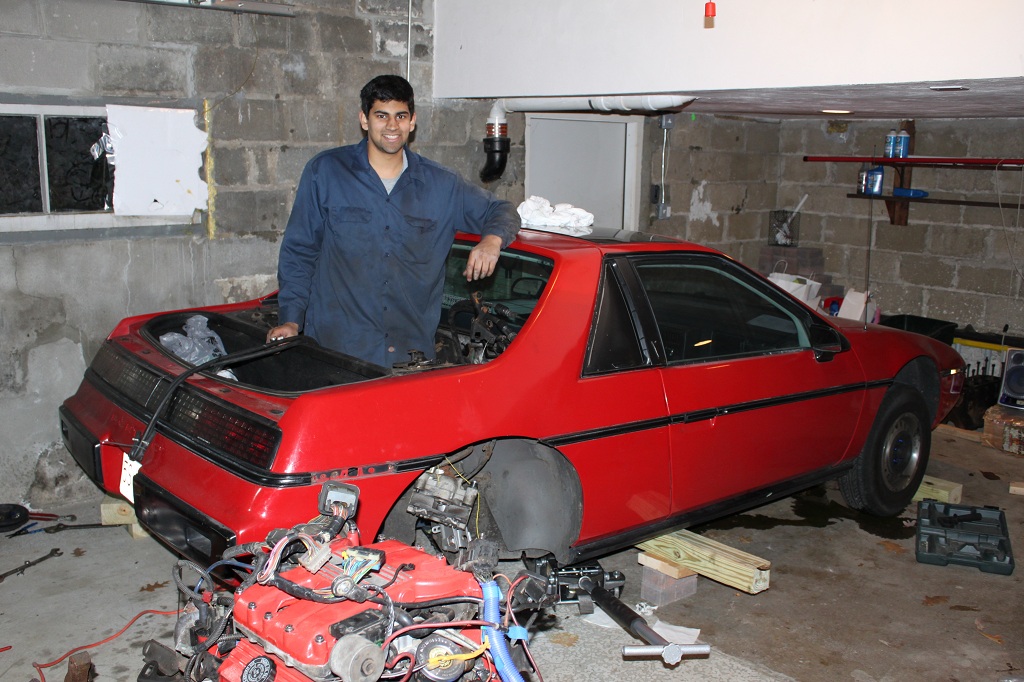
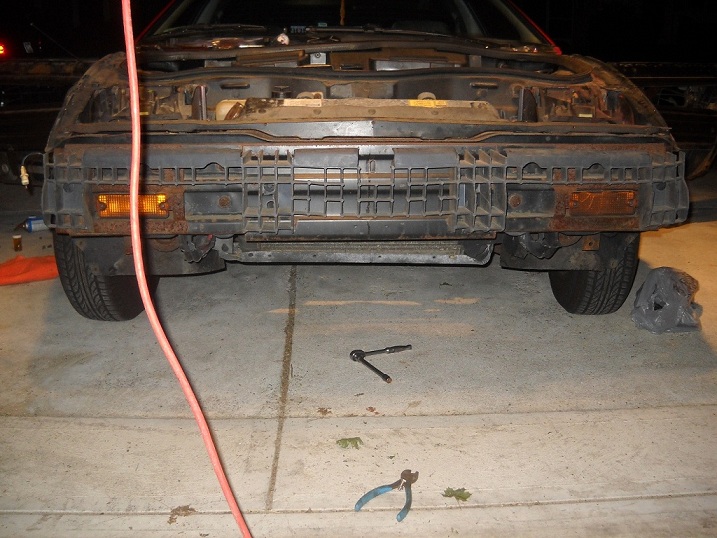
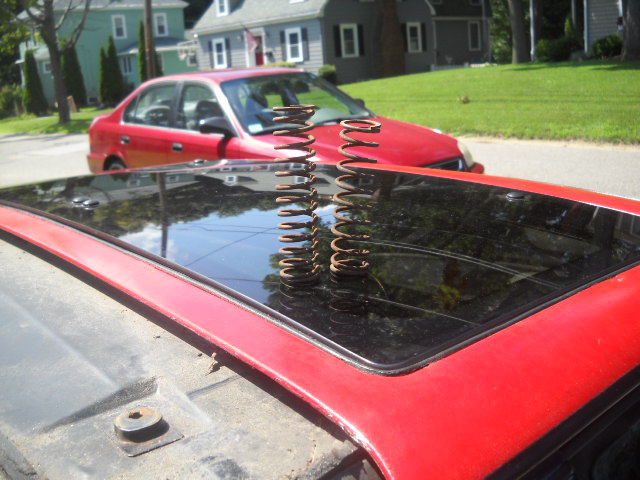
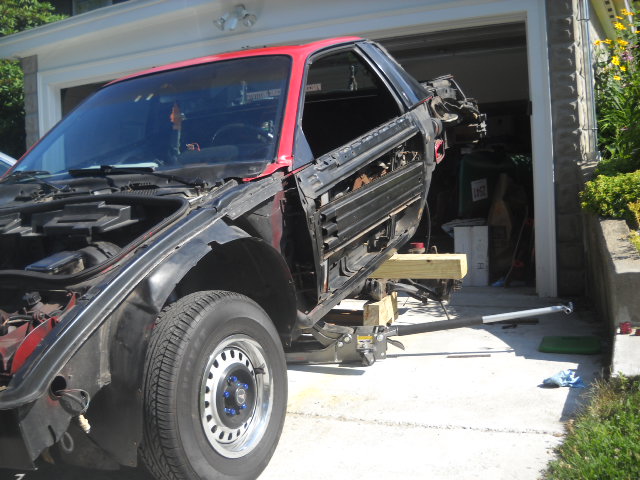
Ive taken off all the body panels but the roof panel at this point and the interior as well.

My alternator pulley cut my brake line while I was driving! That was interesting...
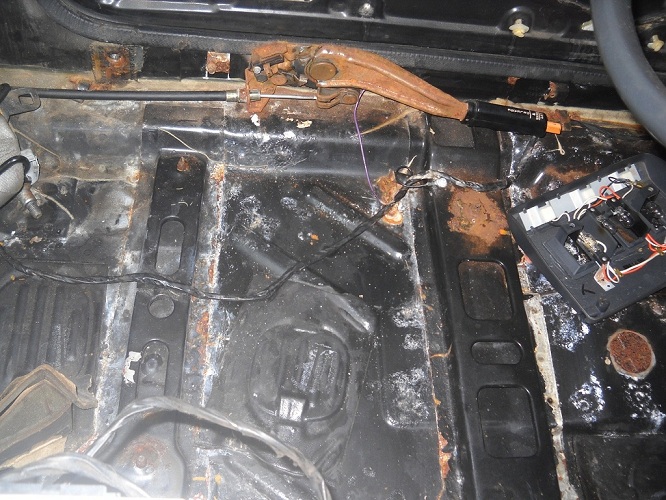
Not a ton of rust on the inside... The seat nuts were all frozen. I got 4 off without ruining them.
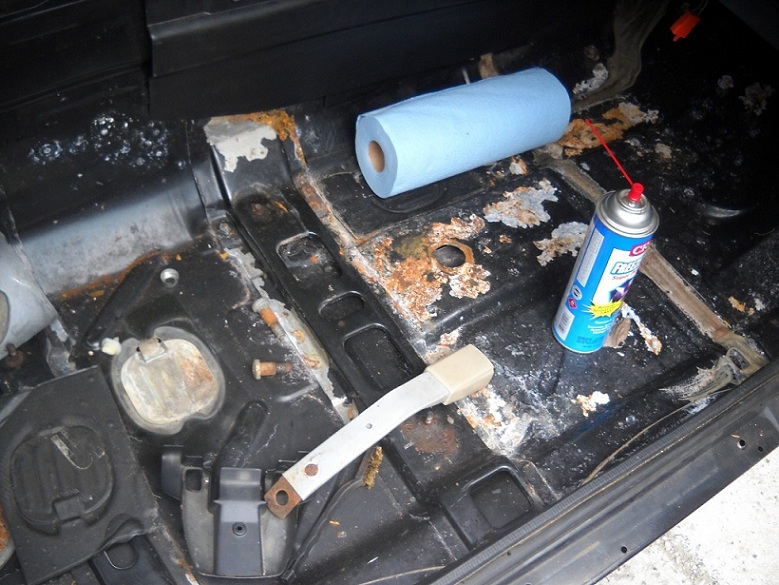
Passenger side was worse
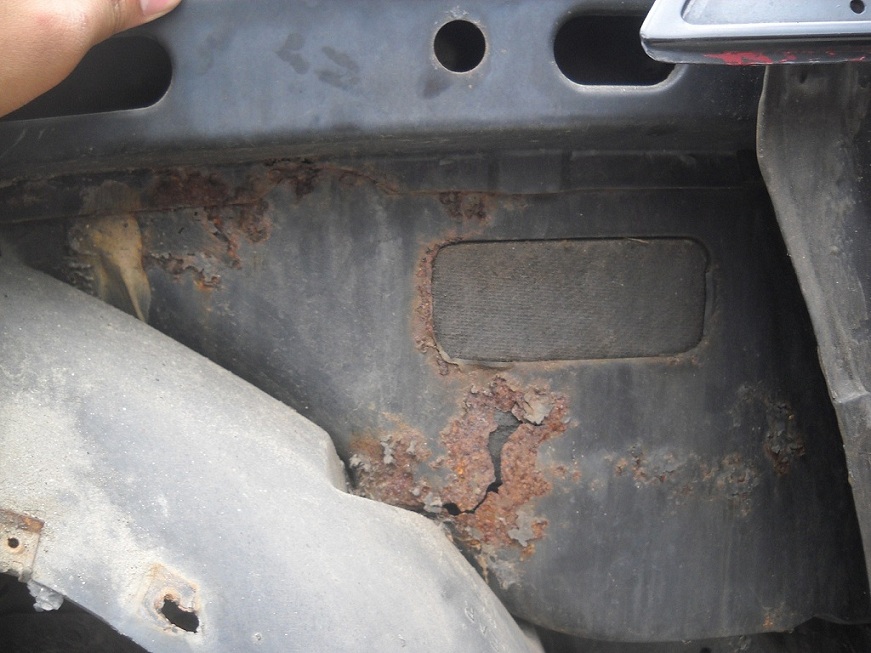
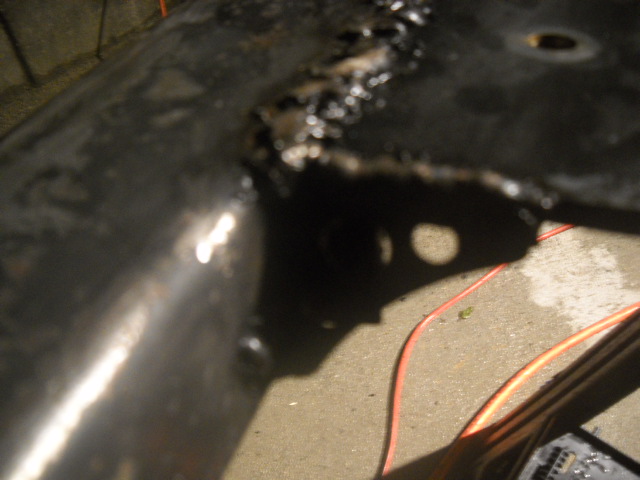
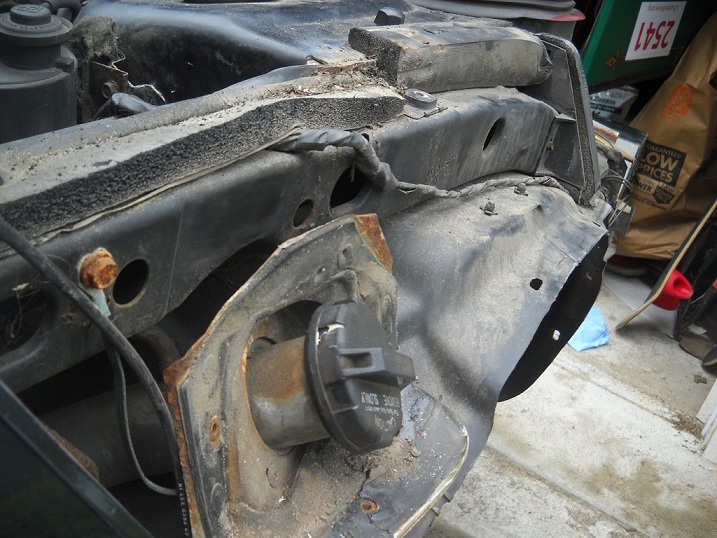
Some rust in the battery area

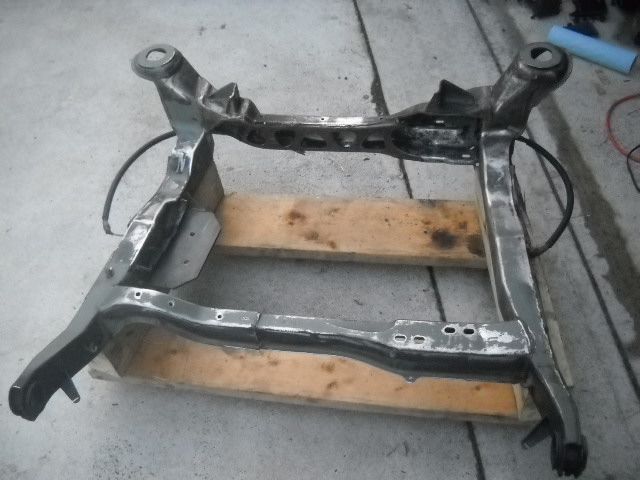
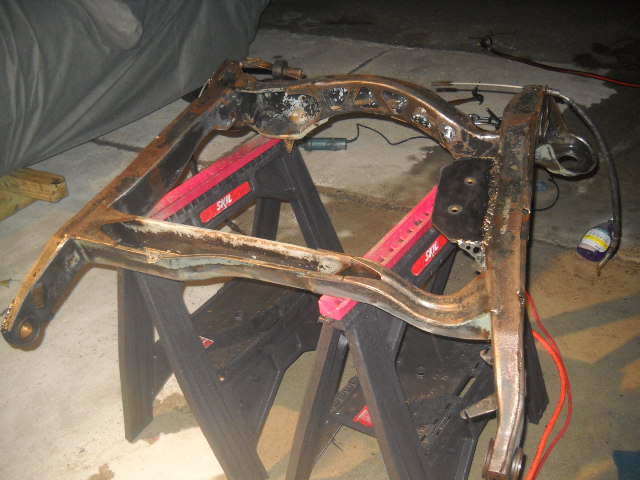
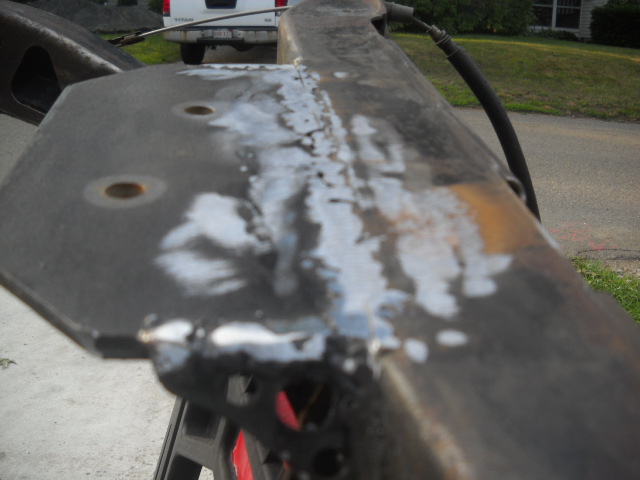
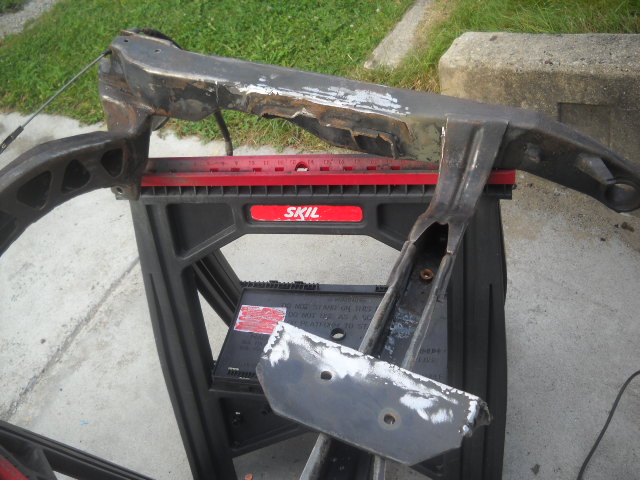
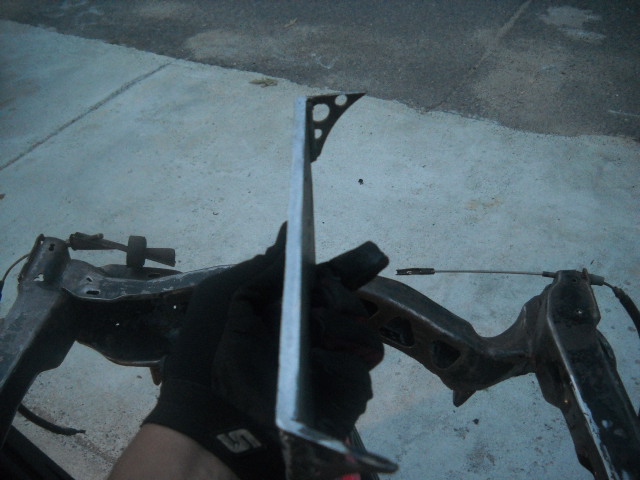
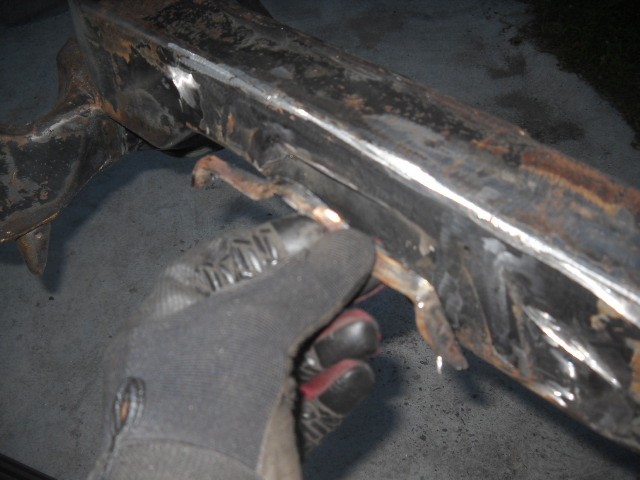
Perfect frame rails
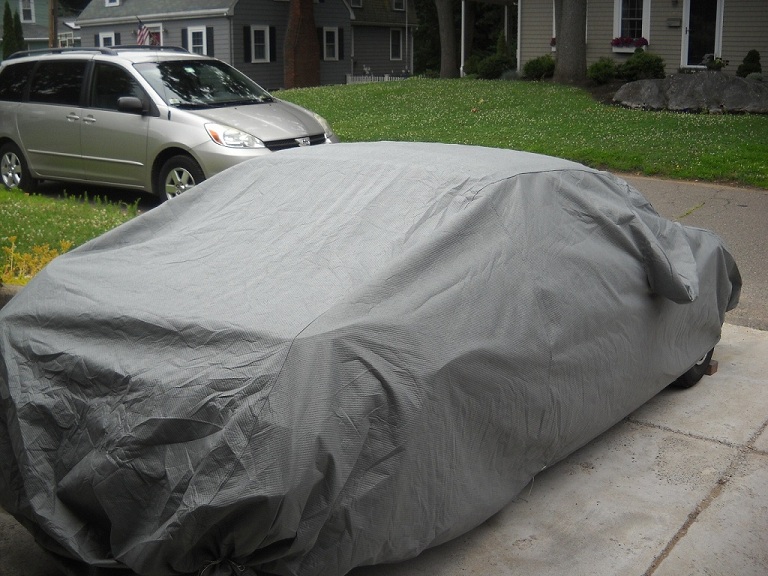
New car cover to keep the fiero outside with no body panels or windows. It is waterproof

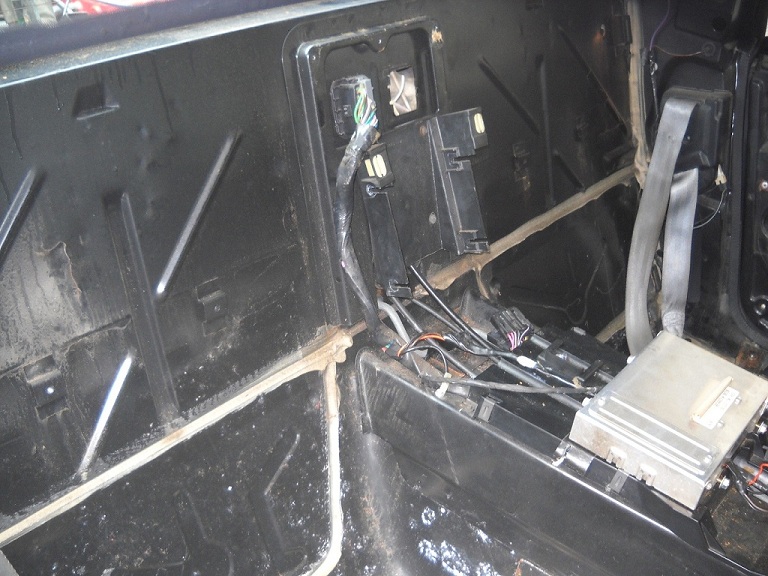
Everything disconnected in the engine bay

Cradle sitting on the dolly I made
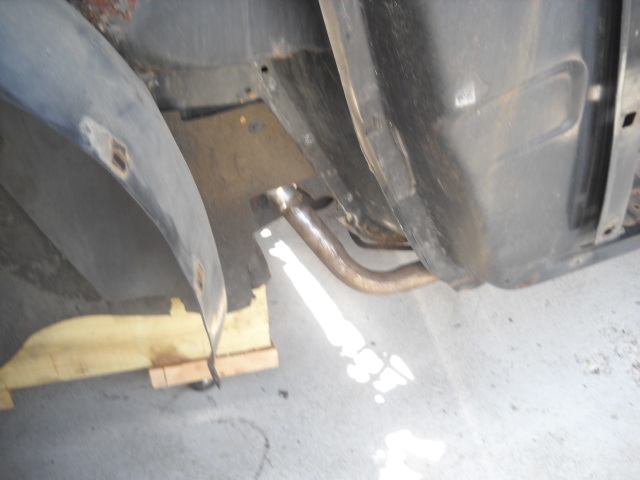
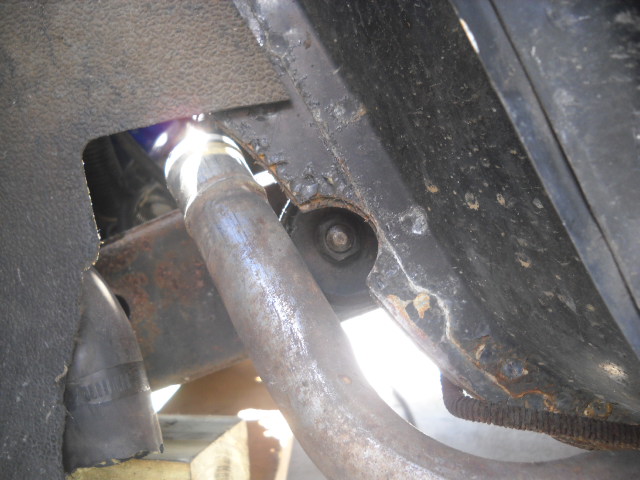
I suggest flipping around the bolts in the front cradle mounts and removing the quarter panels to get at them when removing the engine. It allows easy access with an impact wrench and knocking the bolt out is easier too.
Parking brake springs are totally different. It makes adjusting the Ebrake very hard.
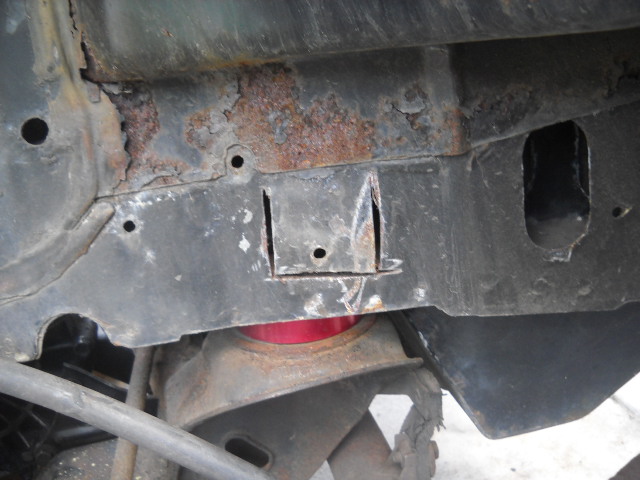
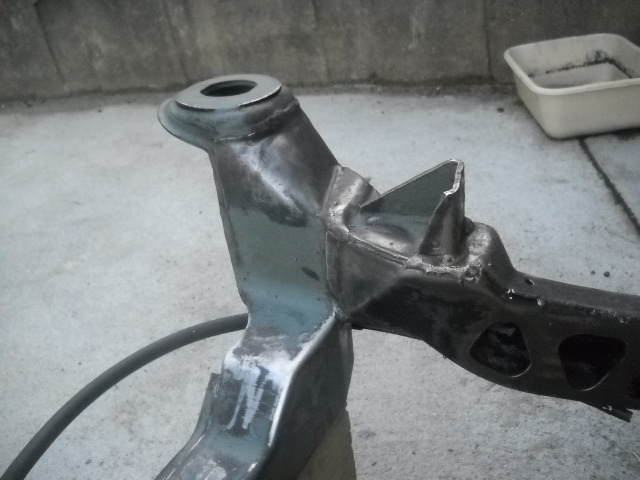
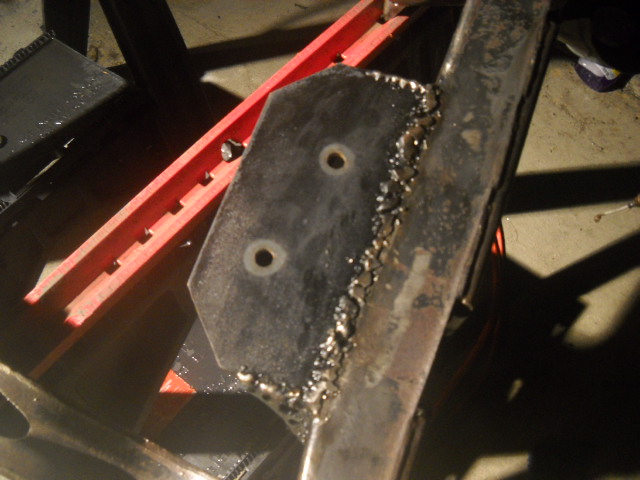
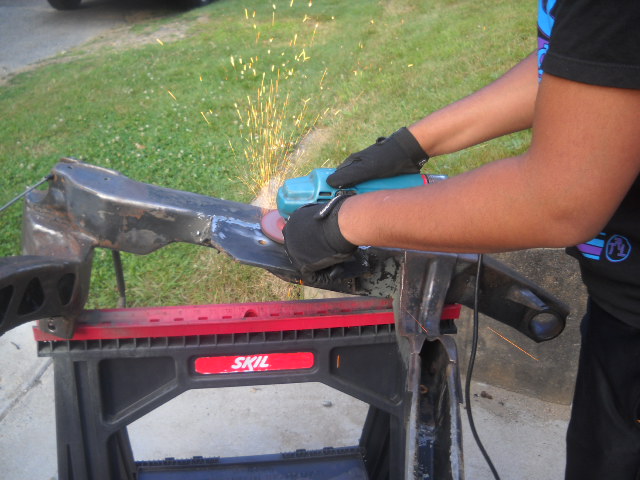
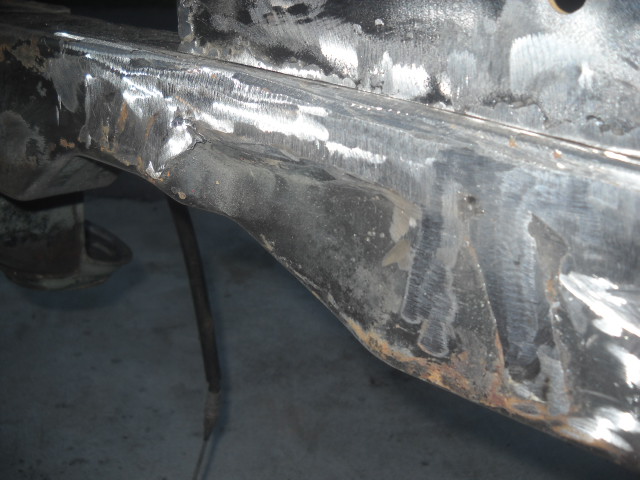
Previous owner did this on one side and didnt weld it up!
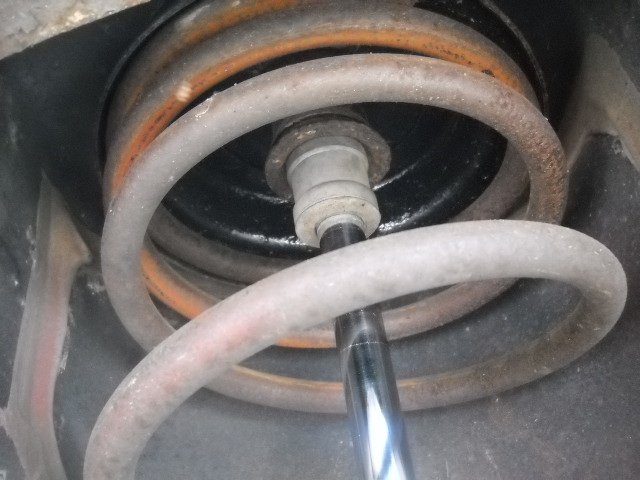
The KYB struts, I used some rubber bushings from NAPA as bump stops
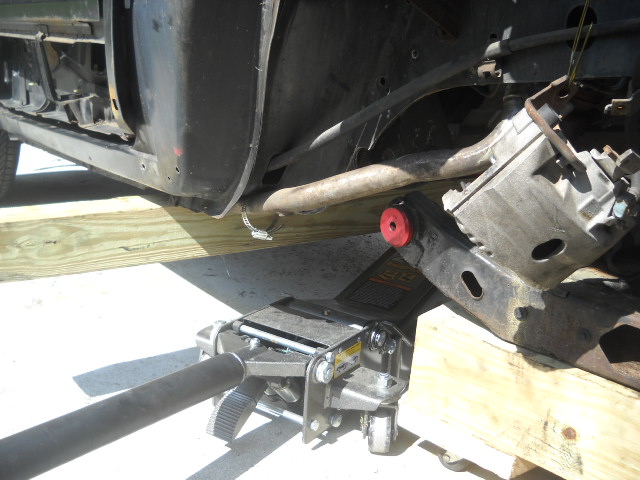
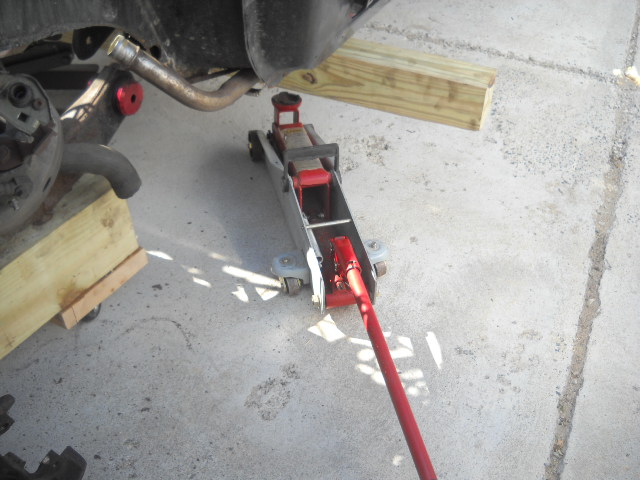
I used the main jack to support the car while I used the smaller jack to get each side of the cradle to be unloaded to slip the front bolts out
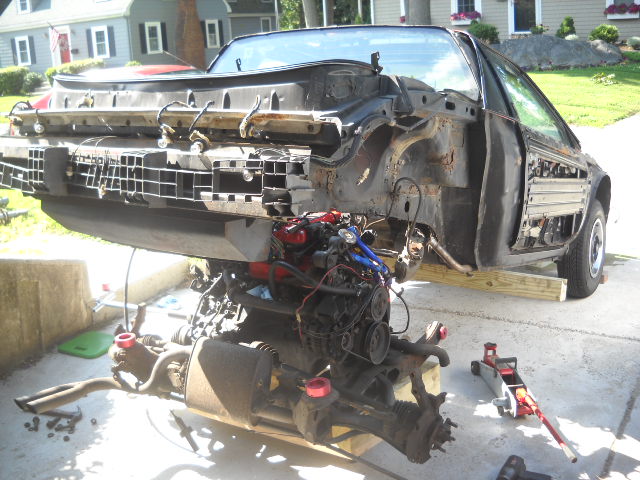
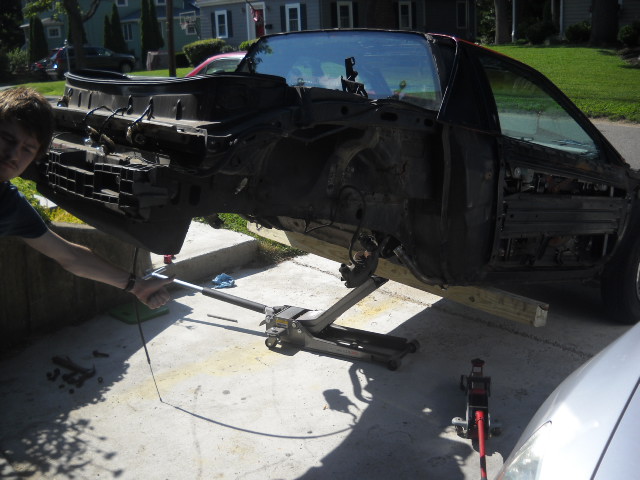
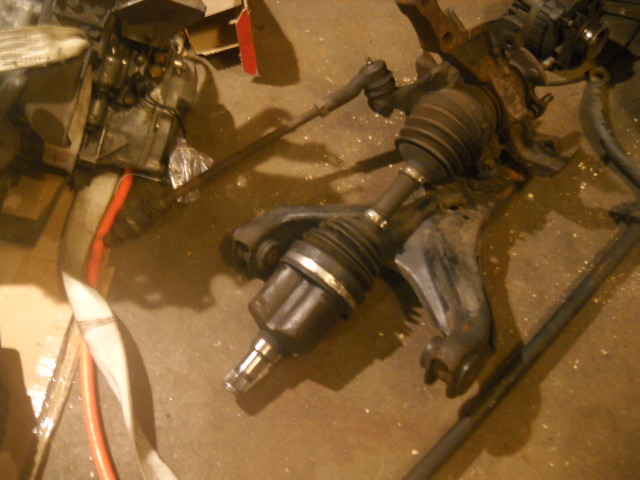
Andd its out. Takes me around an hour and a half from start to finish to pull the engine now
|
|
|
|
Lugnut84
|
JUL 10, 10:19 AM
|
|
|
Keep up the good work man. I will probably keep following your build thread to see your progress. Its a fiero, it will all be worth it in the end!
|
|
|
|
zkhennings
|
JUL 10, 11:55 AM
|
|
|
Thank you! I'm hoping to do brake lines, swap front brakes with the grand-am brakes, rebuild the engine, cut the front springs, install my front poly bushings, Take down dimensions of the pre-88 suspension, get rid of rust on the frame, and repaint my car. I will document it all and possibly do a custom turbo setup if my budget allows [This message has been edited by zkhennings (edited 03-04-2014).]
|
|

|
Arns85GT
|
JUL 10, 03:49 PM
|
|
Good write-up. Looks like you are well on your way to a nice ride.
When you are chopping the springs, do the research. There are lots of factors to consider. I personally have had a chopped car and it has some practical problems, such as enterring driveways, and clearing speed bumps. You also change the geometry.
BTW, consider a rear sway bar while you are at it.
Arn
|
|
|
|
zkhennings
|
JUL 11, 12:53 AM
|
|
|
I have a rear sway bar I installed a while back, I forgot to add that. And yea I have been doing a lot of research on the suspension. I want to take measurements so that I can raise the rear Arm's attachment to the cradle up a ways and Move the struts a little further inboard to get a better camber curve, and in the front I think it improves the geometry to lower it. If you jack up the front of the car, instead of gaining positive camber it gains negative camber. When you lower the car you are getting close to that place where it switches from gaining camber to losing camber. It has to do with the angle of the upper front A arm. Ideally I would like to take where the upper A arm attaches to the front crossmember and move that point down a lot until the arm is at an upwards angle instead of a downwards angle. This results in the top of the knuckle being pushed outwards when the suspension drops (positive camber) and the top of the knuckle being pulled inwards when the suspension compresses (negative camber). But I still need to work out the math to see where I want to relocate the upper arm. Making the arm shorter would cause it to change camber more drastically because angle change and therefore x directional change of the Arm would be greater with Y directional change which is just the compression and decompression of the springs. I want to make a custom adjustable upper A arm to change the set camber as well [This message has been edited by zkhennings (edited 07-11-2012).]
|
|
|
|
zkhennings
|
JUL 13, 01:50 AM
|
|
Ok here is more progress
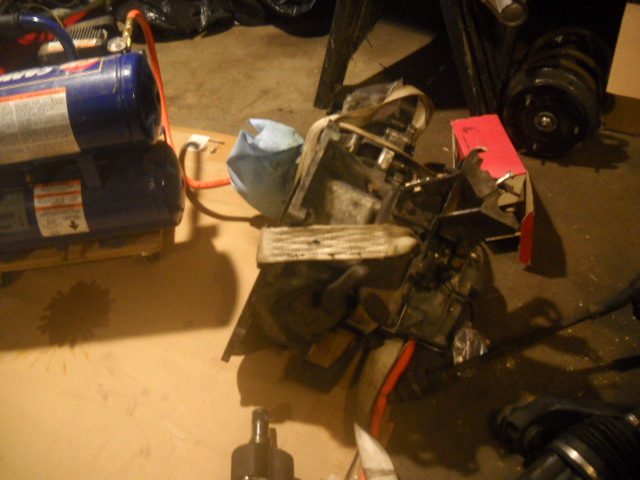
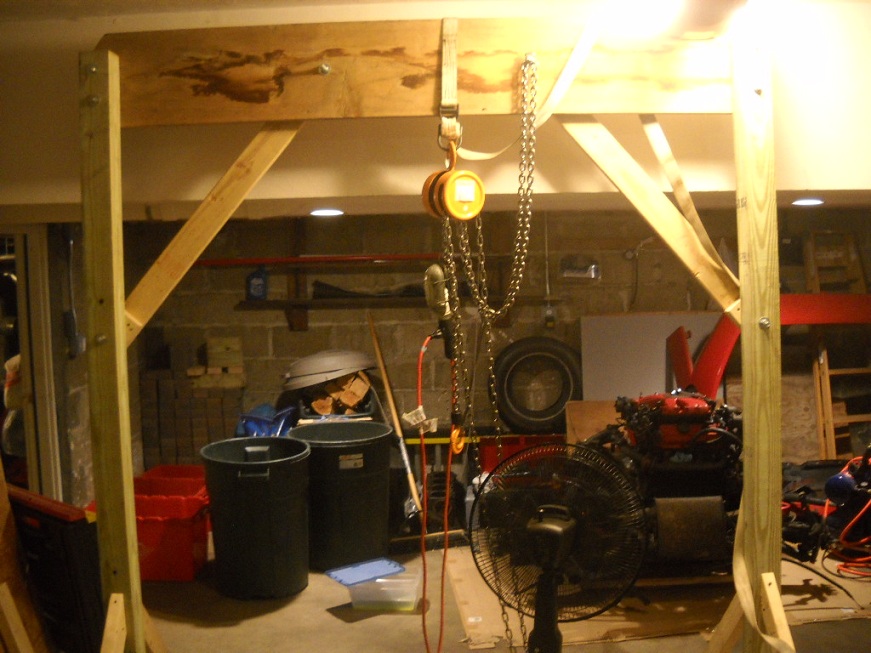
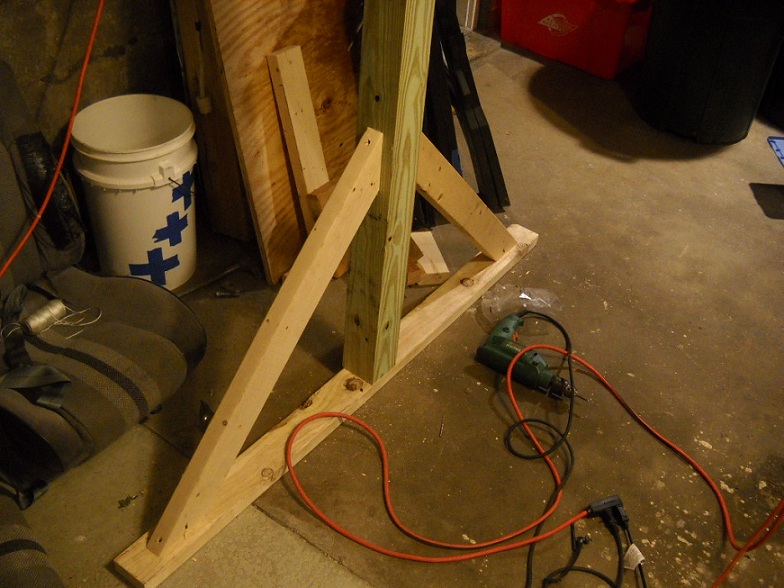
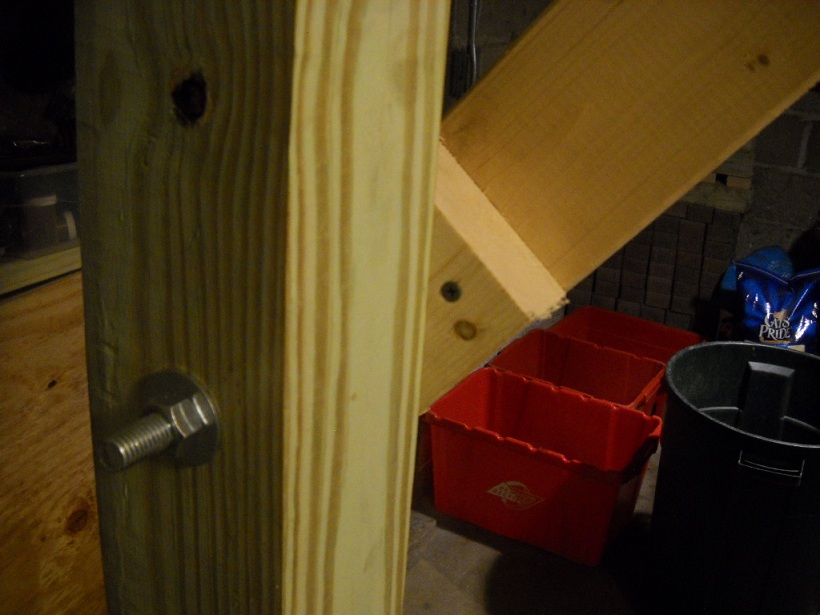
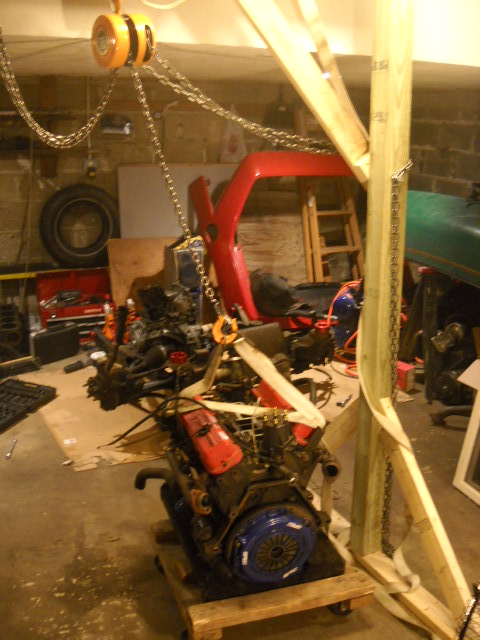
Well I decided to build a gantry. Two pressure treated 4 x 4s, a 2 x 11 that I had already, and a bunch of 2 x 4s were used along with 8 half inch thru bolts, 6 were 6 inches long, two were 8 inches. 2 x 4s were used for the base along with long wood screws. Each base triangle is 5 feet long at the bottom with 3 foot 45 degree angled supports. The webbing at the top is some weird material and the break strength is 7000 pounds. I used a harbor freight chain hoist which was actually more expensive even with a coupon than sears and home depots 1 ton chain hoist. Cost me 45 bucks and it works awesome.


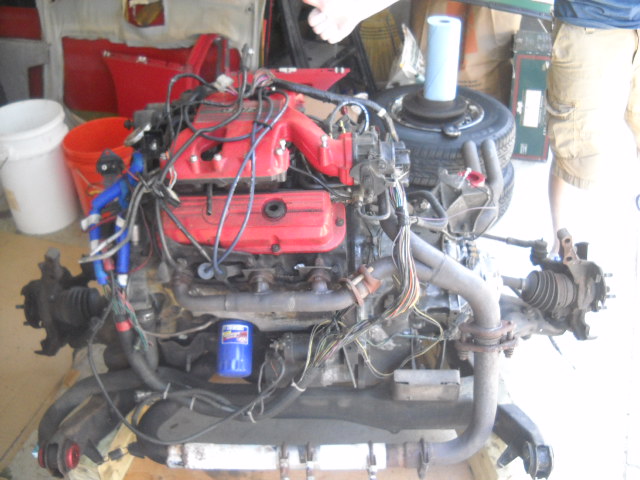
I started to tear down the engine, I took off the upper intakes and vacuum lines and things and I removed the wiring harness

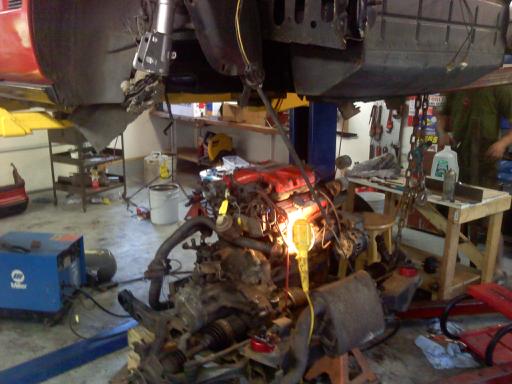
I then separated the tranny from the engine. The spline is still in the clutch though

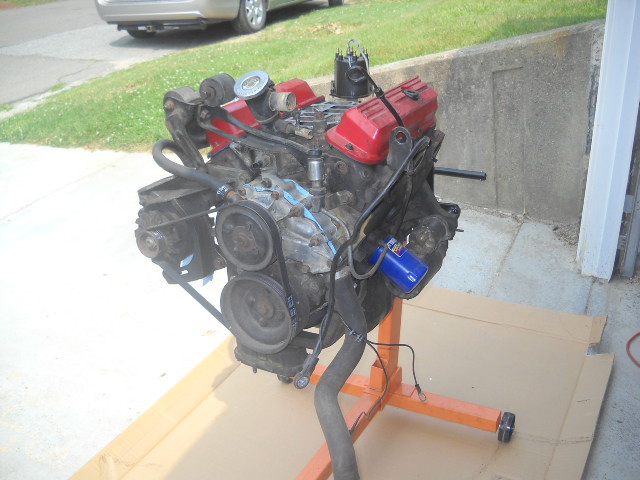
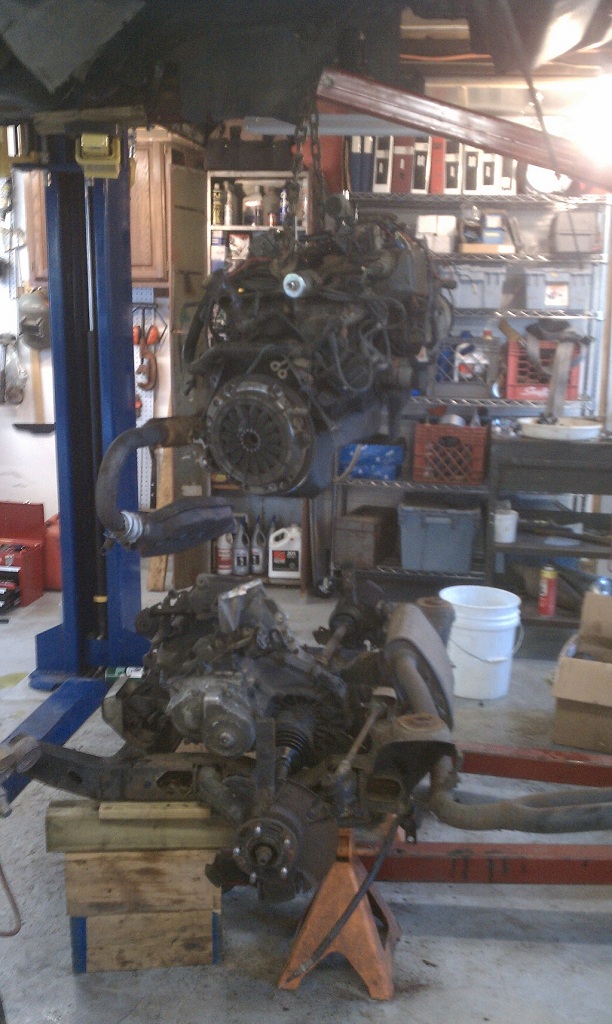
Engine is under gantry on cradle about to be pulled


And then the hoist got stuck when the engine was at the top. Directions said to pull lightly on the up side of the pull chain and then pull on the down chain to lower the load, but I fought with it for over 45 minutes before whacking it really hard and then trying again and pulling hard on the down cable and it freed itself. Lesson learned was that when you get near the peak of how high you are going to lift your load, make sure you are feeding the chain really straight into the hoist. Not a big deal.
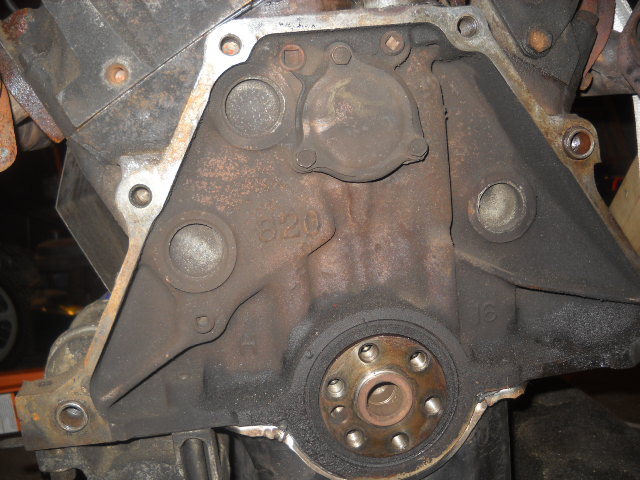
And here it sits on a dolly until I take the flywheel off and mount it on my engine stand to strip it of everything useful and clean the parts up that will be going on the new 2.8 engine.
|
|
|
|
zkhennings
|
JUL 18, 12:44 AM
|
|
|
|
|
zkhennings
|
JUL 19, 11:36 PM
|
|
|
|
|
zkhennings
|
AUG 07, 08:36 AM
|
|
I have been in Canada and the Cape but I have made progress.
I replaced the bad output shaft seals on the transmission so it will actually be able to hold more than a pint of transmission fluid.
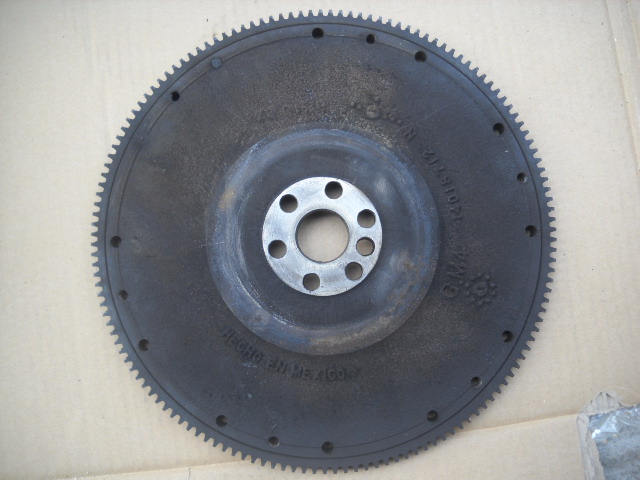
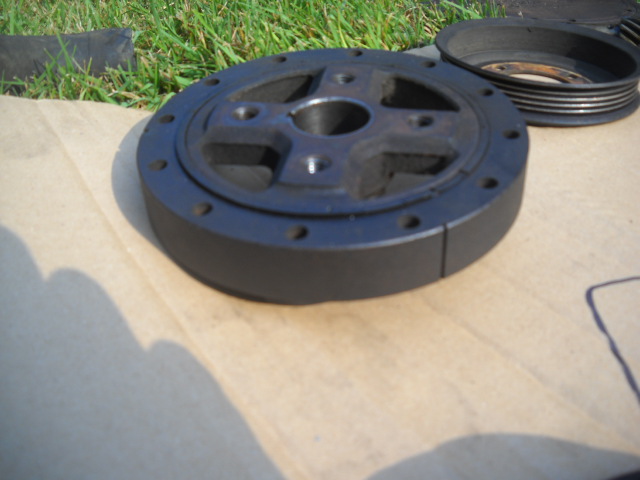
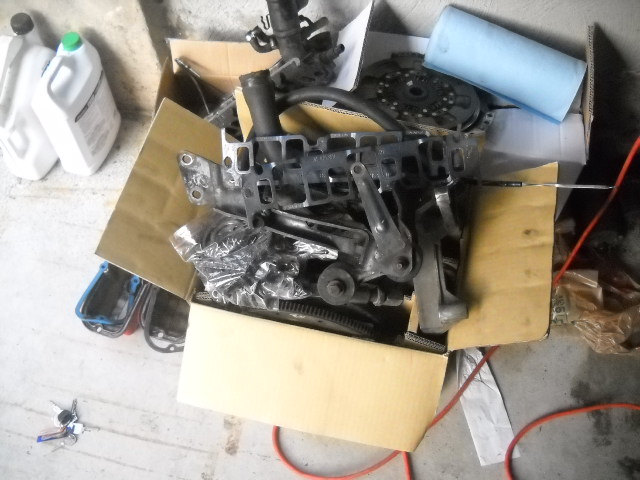
I recieved lots of parts, the new flywheel came in, my carbide burrs came in, the new short block came in with intakes and throttle body and fuel rail and all new gaskets and seals and lifters and lots of goodies. I am probably going to order the performance cam today.
Also I tig welded the engine mount back onto the cradle but slightly higher up than it was before. Today I plan on Por-15 ing the cradle and some of the chassis (if it doesnt rain) and Hopefully I can get the block cleaned and install the pistons and oil pan and oil pump and maybe paint the block. But I might be being ambitious. My exhaust manifolds and a head are at my friends house to get tig welded with his new miller welder, cost him two grand, it is super nice.
Parts coming in the mail are a 260H compcams camshaft and some outer dew wipes from JC Whitney
I had a question, can you reuse flywheel to crank bolts? They do not appear to be torque to yield like the head bolts. I was just going to use some red loctite on them.Pics will come later today when I am at home and replace the batteries in my camera[This message has been edited by zkhennings (edited 08-07-2012).]
|
|
|
|