|
| Operation T-Top Widebody (was: T-Top Revival) (Page 2/11) |

|
AWautoworks
|
JUN 21, 02:18 PM
|
|
|
|
|
AWautoworks
|
JUN 21, 05:12 PM
|
|
|
|
|
AWautoworks
|
JUN 22, 10:49 AM
|
|
|
|
|
AWautoworks
|
JUN 22, 12:52 PM
|
|
|
|
|
AWautoworks
|
JUN 22, 01:09 PM
|
|
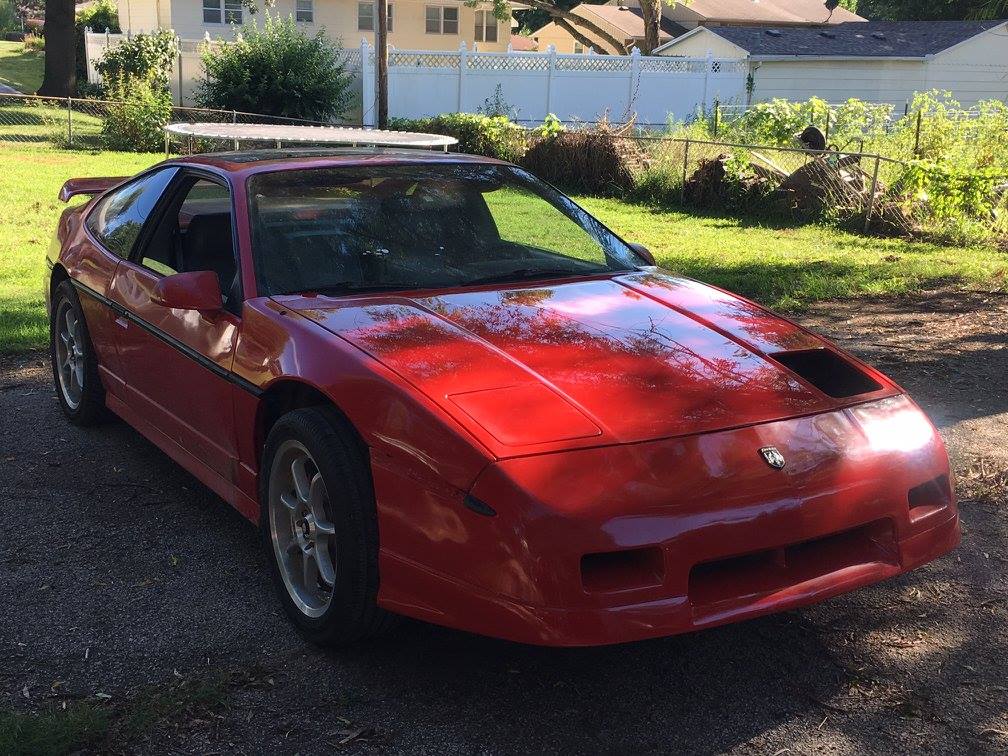
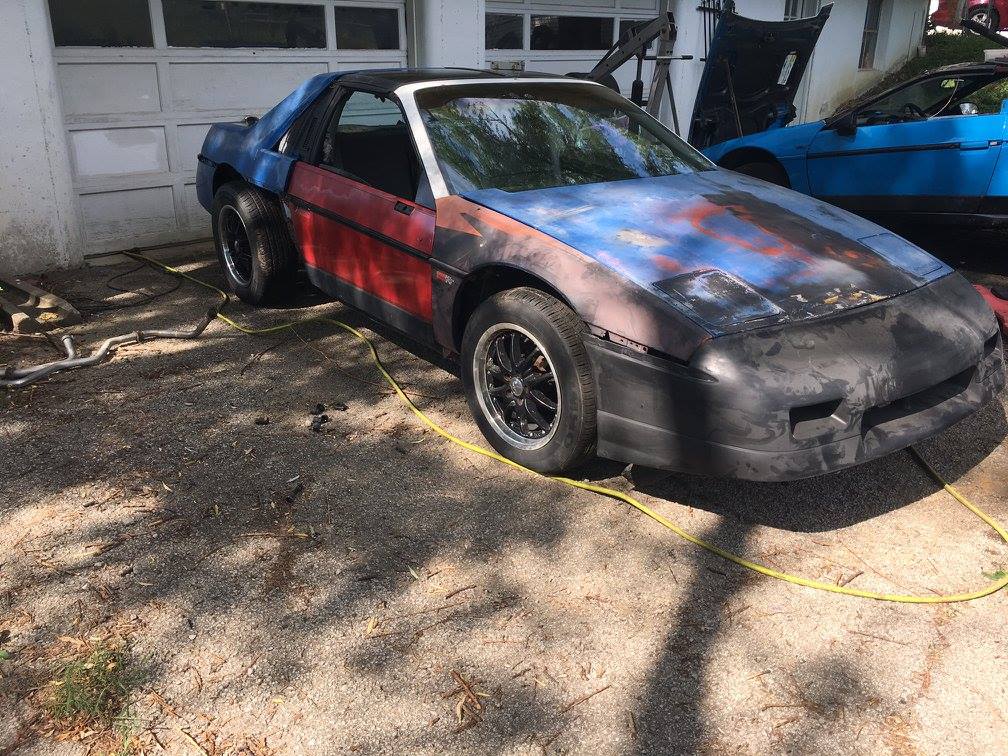
So now its time to start thinking about body engine and suspension combinations. We are for sure going with the fastback and 87/88 coupe bumpers. I do like a stock look but subtle modifications. We are planning an aluminum head 2.8 turbo swap for the time being but always plan on something bigger down the road so More tire is always a plus. That being said Custom wide body is what I'm leaning towards but I want a stock look. This is about the closest thing I can find out there to what I want but its just not stock enough.
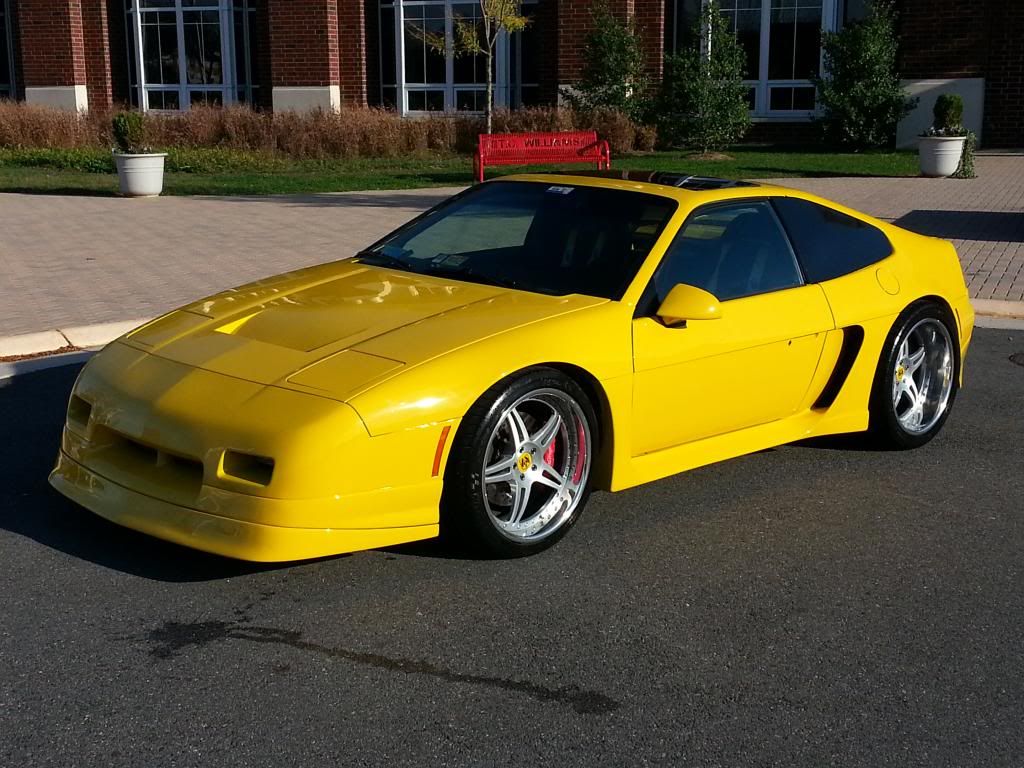
I am also planning an integrated lip spoiler as well
.JPG)
oh the possibilities with a fresh canvas.
What are your thoughts?
|
|
|
|
AWautoworks
|
JUN 23, 05:33 PM
|
|
|
|
|
eph_kay
|
JUN 24, 02:42 PM
|
|
As the owner of this car I wanted to jump in. Some of you guys know me from Dells years ago, or the 30th anniversary with the Tube Chassis Fiero and the corner scales I was having people weight their cars on 
Anyway, over the last few years I am been growing my performance shop Schwa MotorSports, SchwaMotorSports.com <-quick plug we build crazy custom cars and do custom t shirts of a stylized drawing on your car, anyway back on subject here
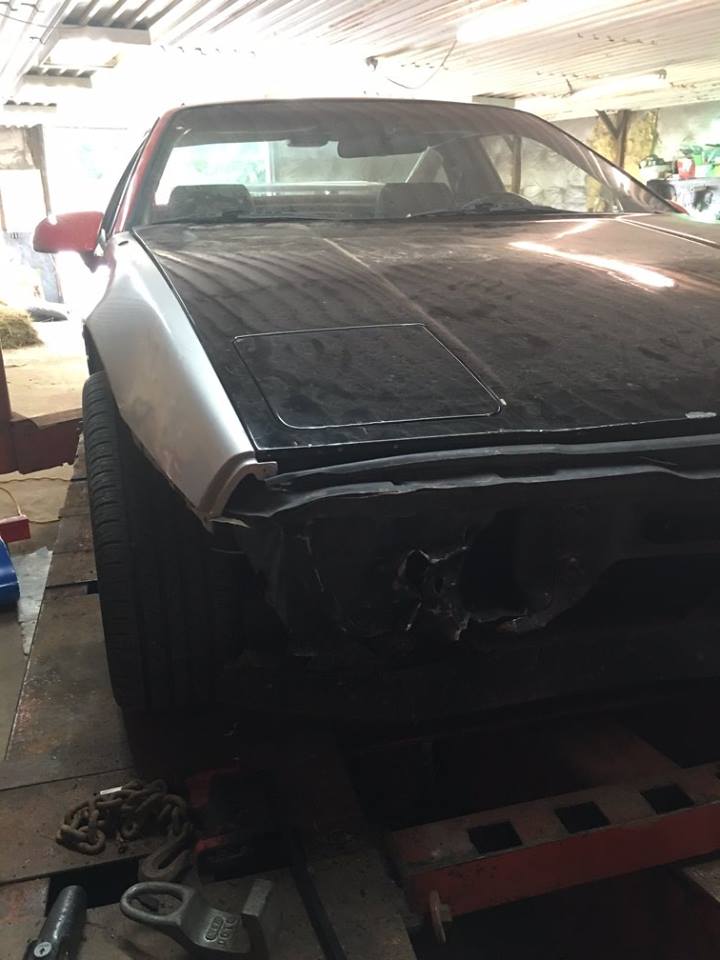
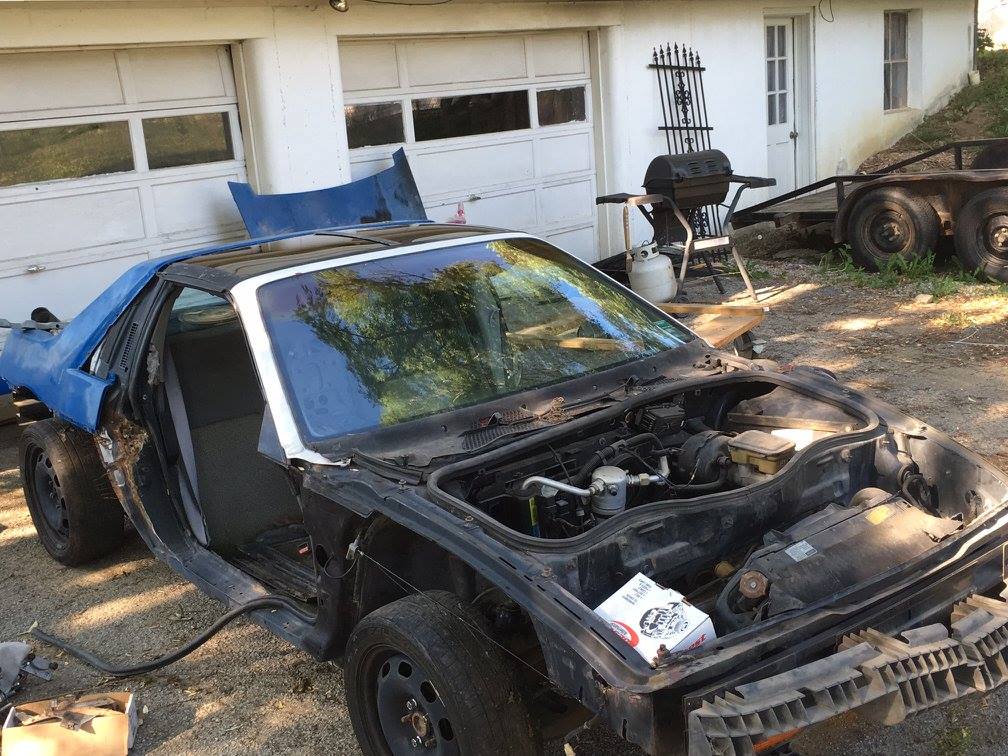
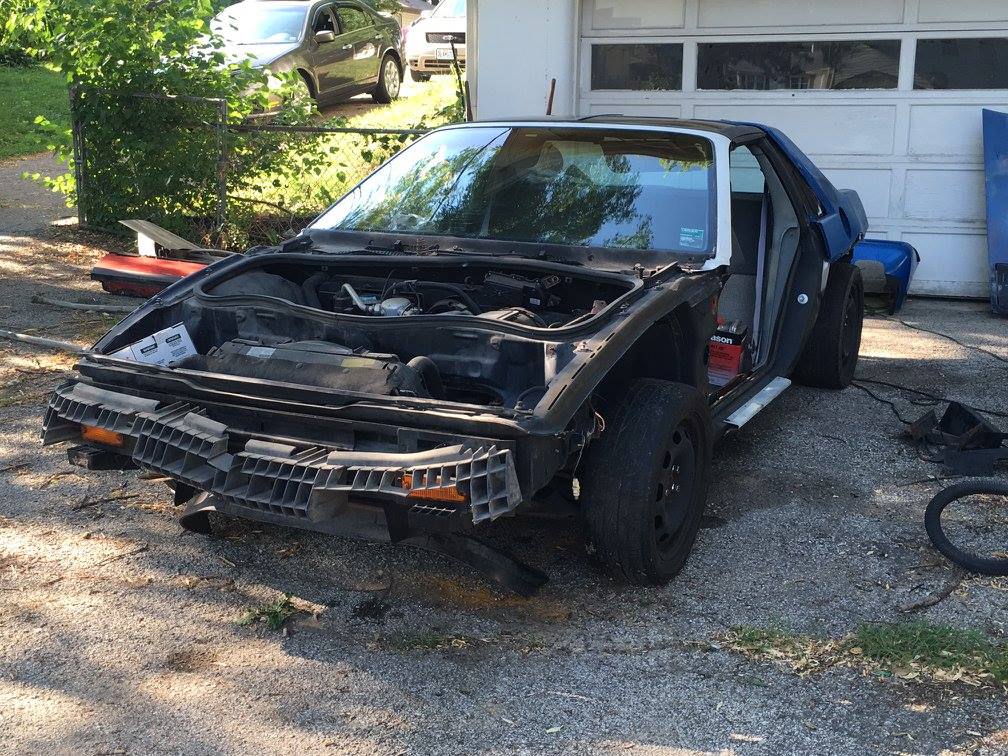
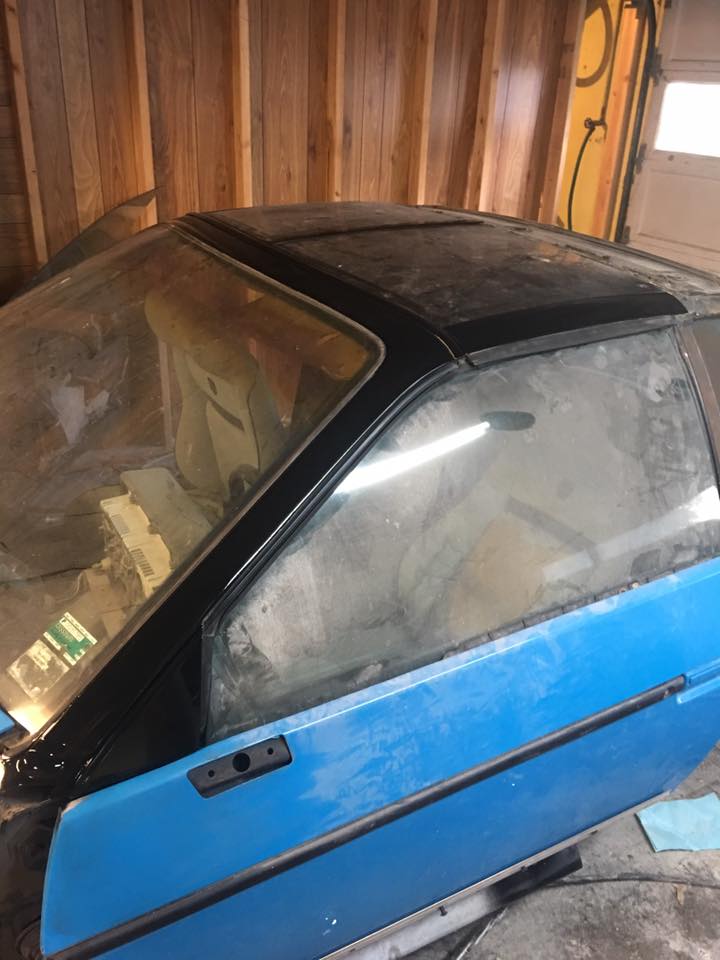
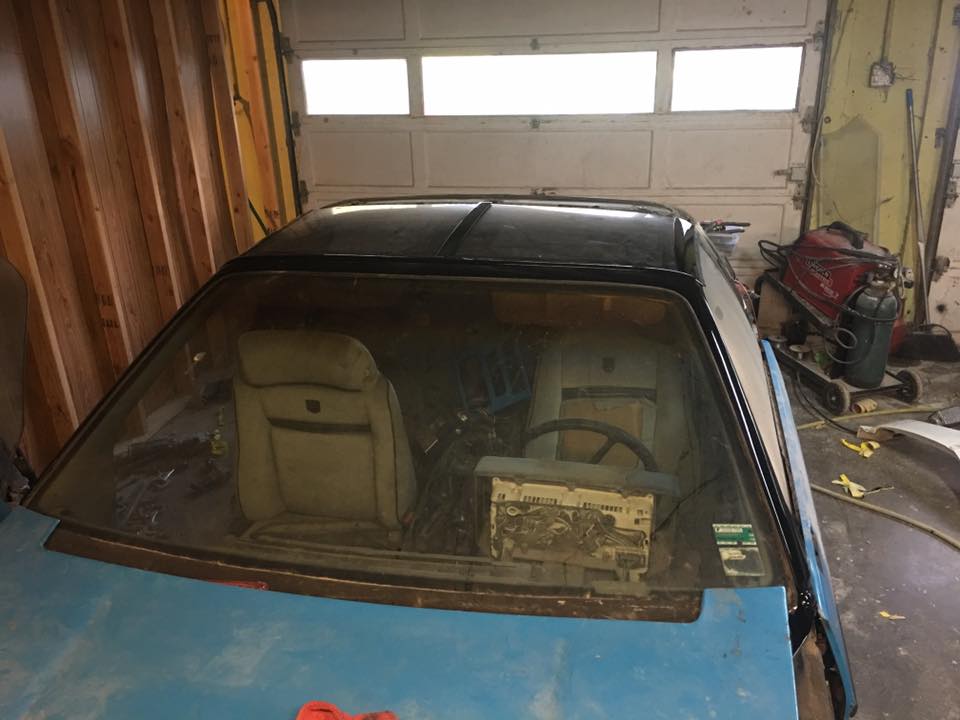
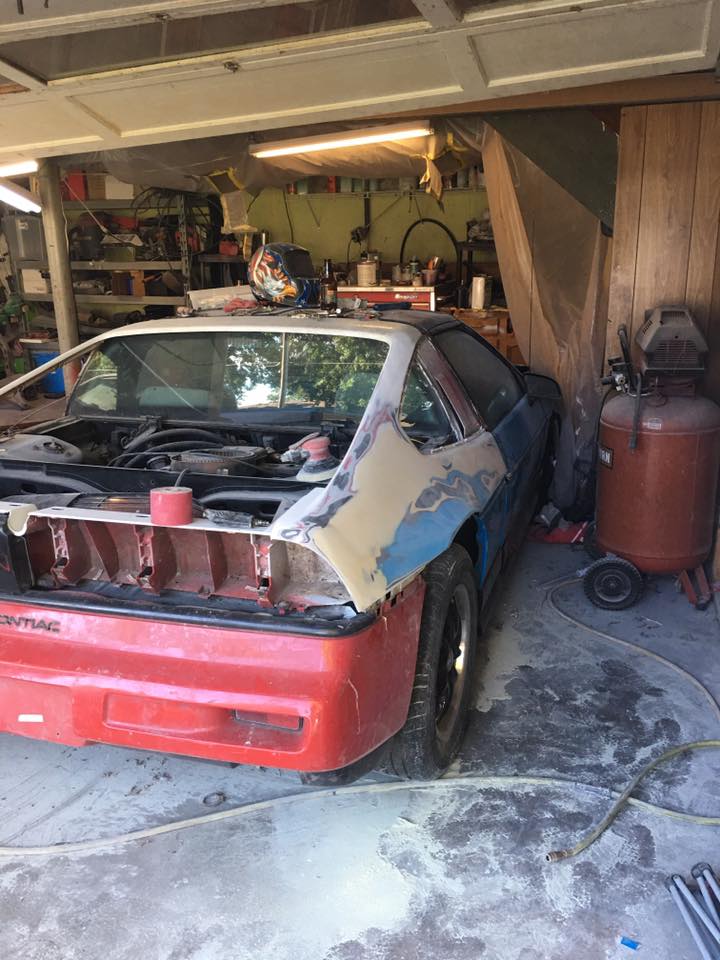
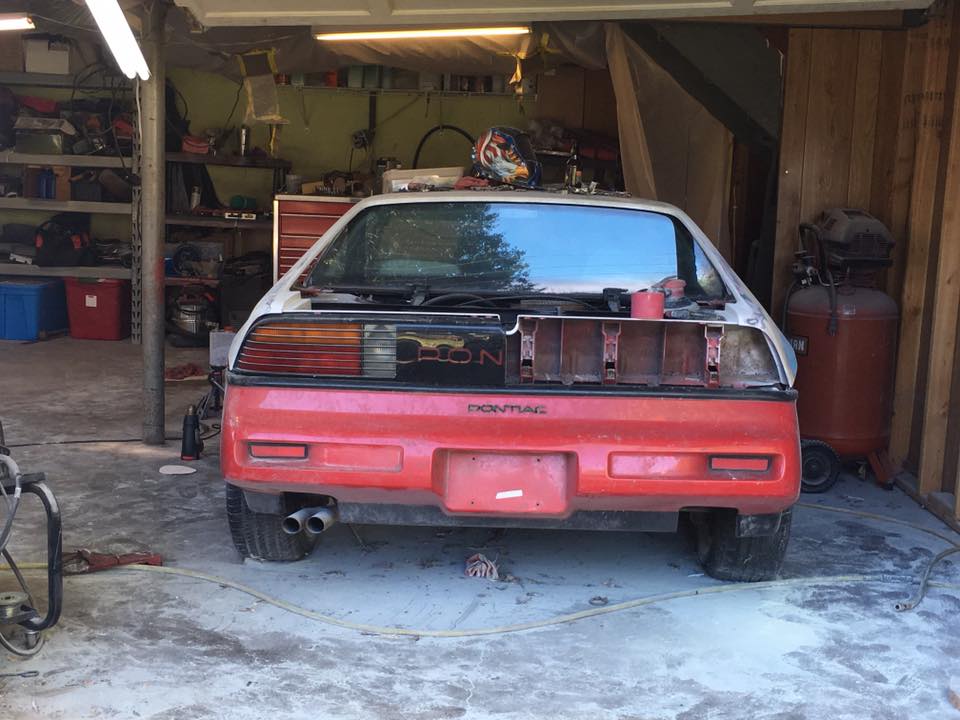
So years ago I started my fiero life with this 88 fiero coupe ttop car. 4 cylinder automatic:

When the water pump started to leak I proceeded with a 3800sc swap and fastback swap:

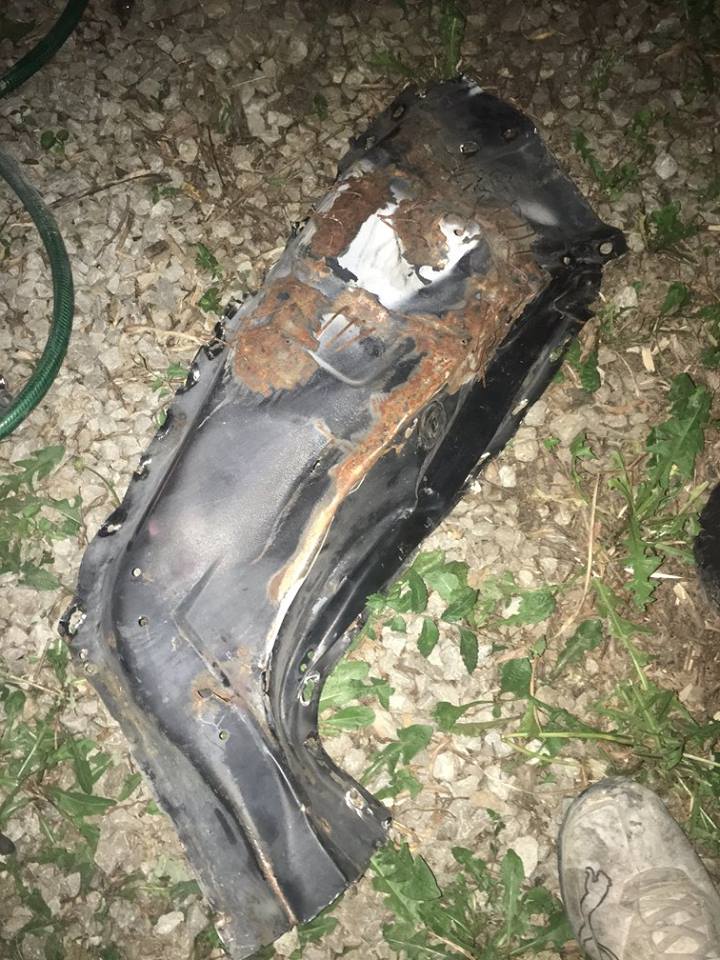
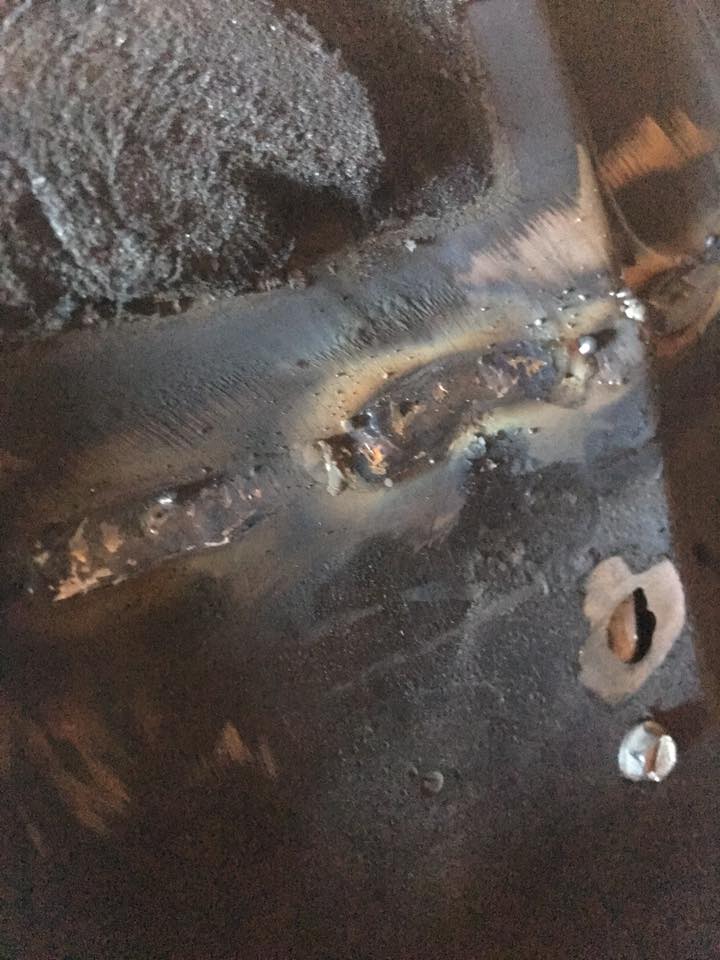
The car treated me well as a kid just out of high school, but as my first project it had problem and slowly but surely I got most of them worked out and thats when the pictures Alex already posted happened when I met a semi truck changing two lanes at the same time without seeing me. Luckily the fiero is tough and although I thought it was done, Alex has brought it back to life and it is once again sitting in my shop
So story time over lets get to what you all want to see/know about the engine. I am going to be running a gen2 60v6 aluminum head 2.8 with pivot ball rockers and a flat tappet cam. But I will be upgrading the intake manifold to the late gen3 3400 parts for a hopefully nice increase in upper rpm flow. Along with this I am going to be installing a Designs 1 turbo kit. When i got this motor the fiero exhaust manifolds had already been adapted to the heads as the engine had been previously installed in a Fiero. So with the turbo kit on the shelf and having a love for boosted cars I decided it was a good time to put the parts to good use
So here is the 2.8 engine with the aluminum heads and the 3400 intake test fitted with the gen 2 valve covers still in place:

Now one thing that needs taken care of when swapping intake is the fact that the gen2 intake actually has the oil fill cast into it. Simple enough all the aluminum head motor valve covers fit on the different generations even to the fact that I swapped on valve covers off a gen4 3900.
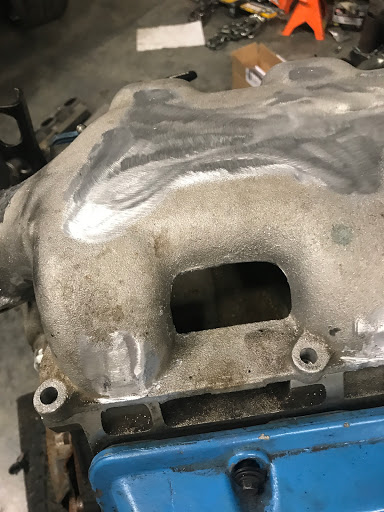
Since we are now working with a 2.8 with 3400 intake and I will be controlling all of this with a Microsquirt stand alone computer, which sadly can’t handle SFI, nor does the engine have the cam sensor needed for SFI, I decided to remove the casting marks. I also removed the EGR valve, extra vacuum fittings and a couple mounting bosses that were no longer needed:

Vacuum fitting removed:

EGR flanges removed:

Mounting bosses and such removed:
Now that I knew it all fit it was a matter of seeing if gaskets lined up. While they do line up, i wouldn’t say they line up well enough to recommend this, and honestly it might all crash and burn due to this  The ports on the gen 2 head are a little lower into the valley than the gen 3 intake, its fairly close, but could be better. Since this is a quick build to get the car on the road, and I didn’t want to swap to the 3400 heads I had on the shelf I added a little silicon and we will see the results before too long: The ports on the gen 2 head are a little lower into the valley than the gen 3 intake, its fairly close, but could be better. Since this is a quick build to get the car on the road, and I didn’t want to swap to the 3400 heads I had on the shelf I added a little silicon and we will see the results before too long:

You can also see in the last picture that the ends of the stamped rockers need clearance for the larger intake manifold.
For belt routing, using the gen2 AC compressor set up and timing cover, I Low mounted a fiero alternator and made a bracket to hold a gen4 3900 belt tensioner. Added a lower smooth idled and tapped a hold from the power steering mount for a upper ribbed idled and ended up with this, simple but pretty good belt wrap on the important parts:

Since I am going to be running a stand alone ECU I am able to run what every ignition set up I want, and even can waste spark fire LS1 based ignition coils. So modifying some left over brackets from my turbo vr6 vw rabbit I made some coil mounts and used the ls1 coils and plug wires:

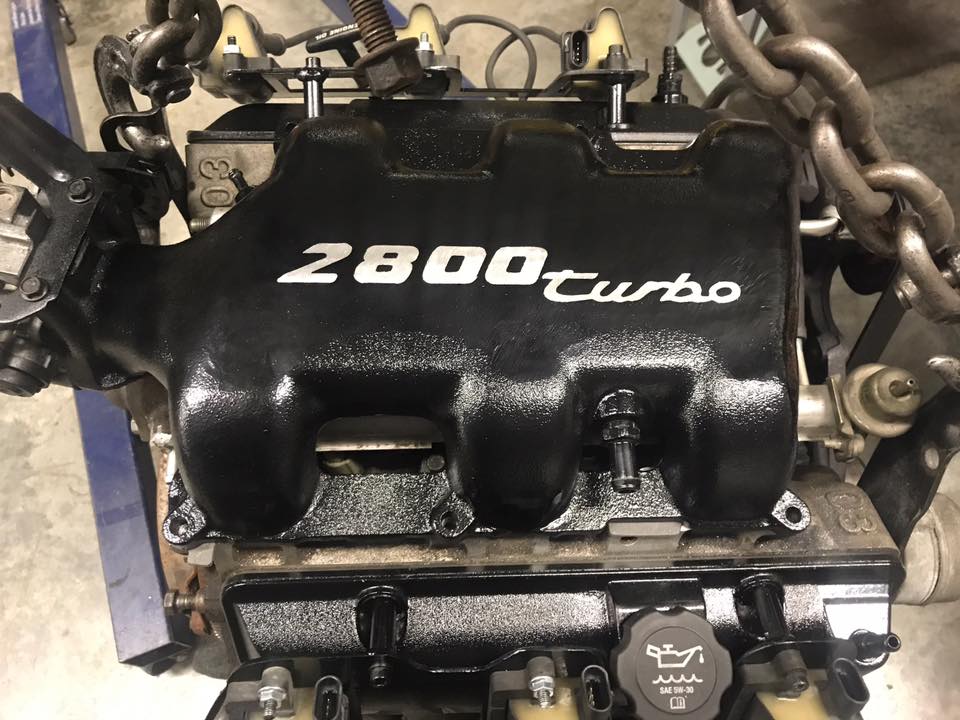
Also you can see some color going onto the engine, well black:

I repainted the intake manifold adding a decal stencil for some fun and hopefully today I will be test fitting the motor, need to clean/paint some more parts and swap the oil pan over that has the turbo drain welded into it.
And hopefully if its running this week I will be taking back to Alex’s shop to get the newly painted/modified body panels installed
Having bought this car in 2006 wrecking it in 2012 and not even having it in my shop for the last 4 years I am super excited to have my first Fiero I ever bought back![This message has been edited by eph_kay (edited 01-16-2018).]
|
|
|
|
AWautoworks
|
JUN 24, 04:47 PM
|
|
|
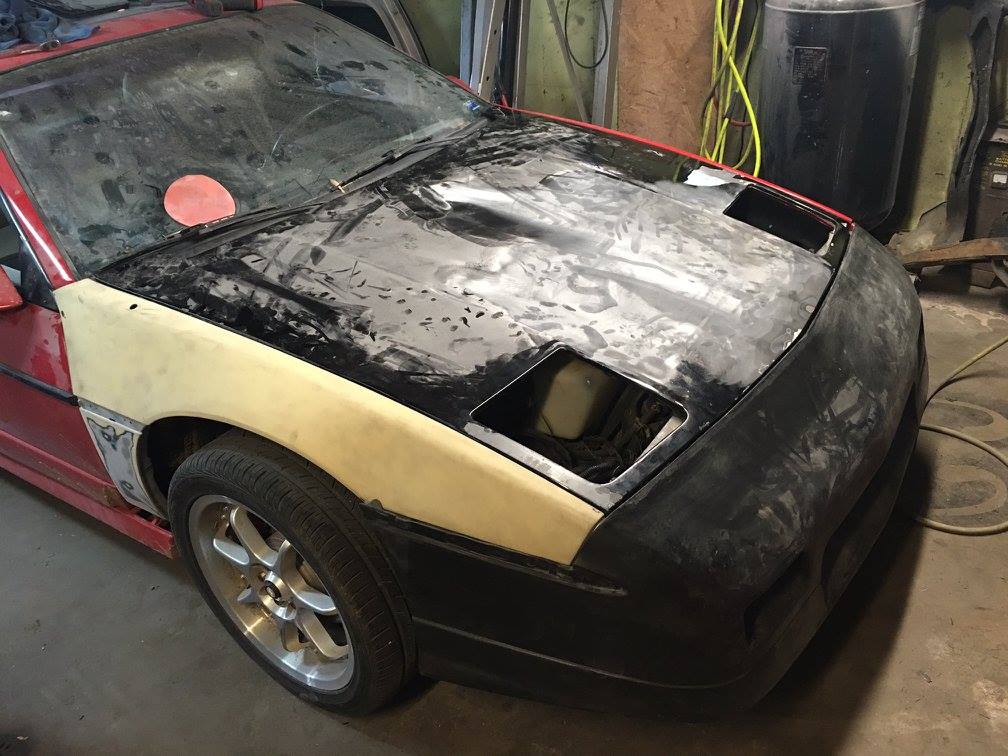
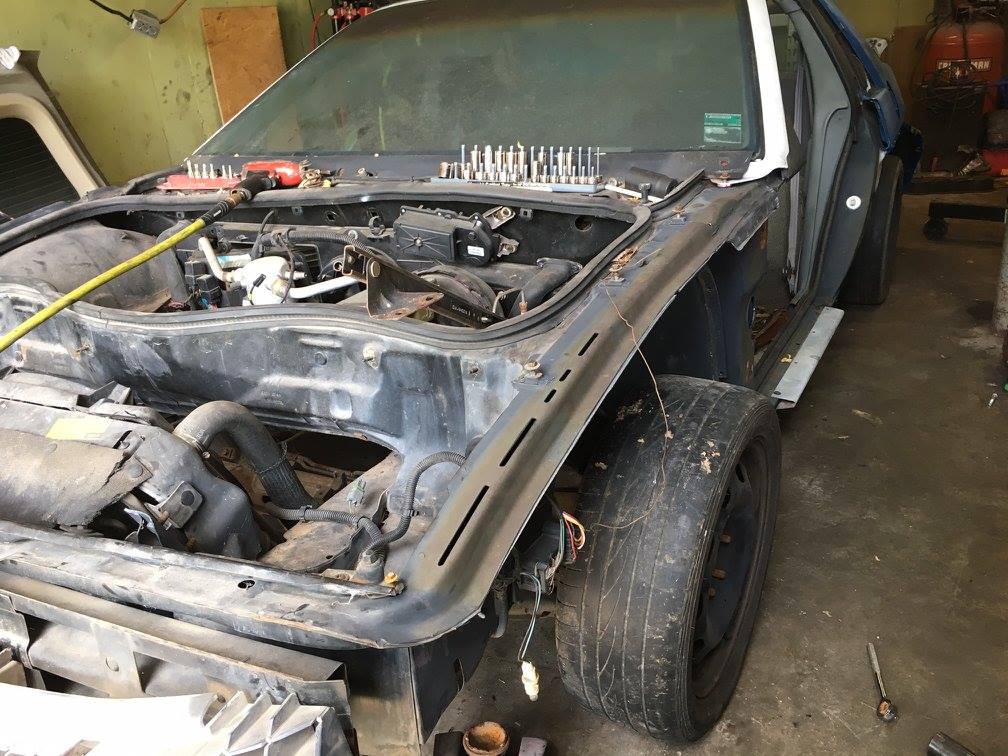
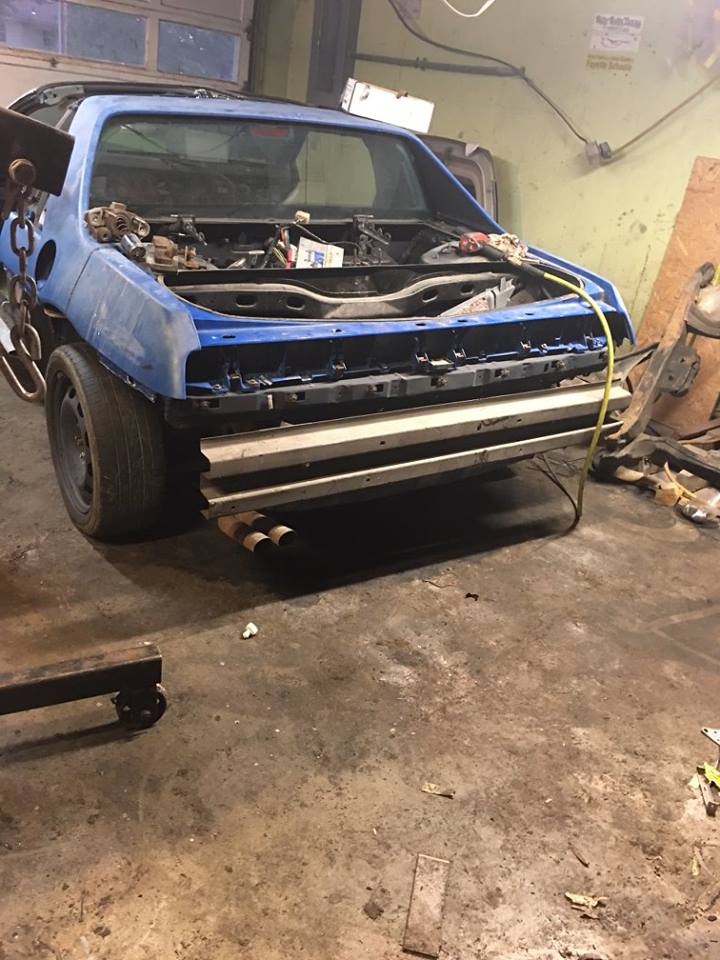
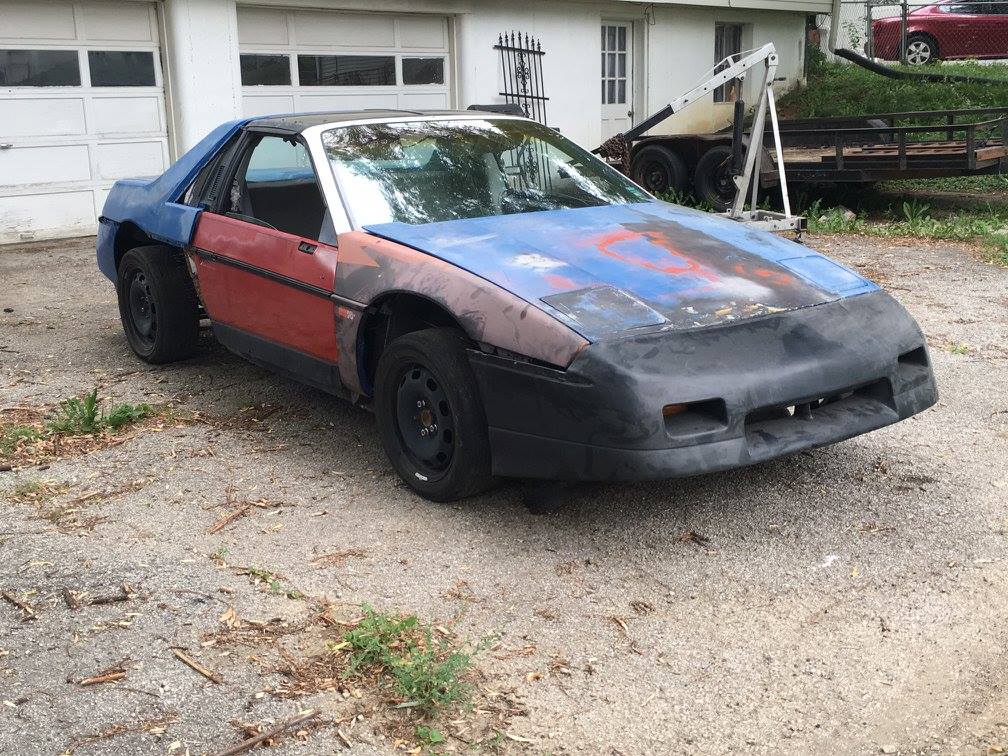
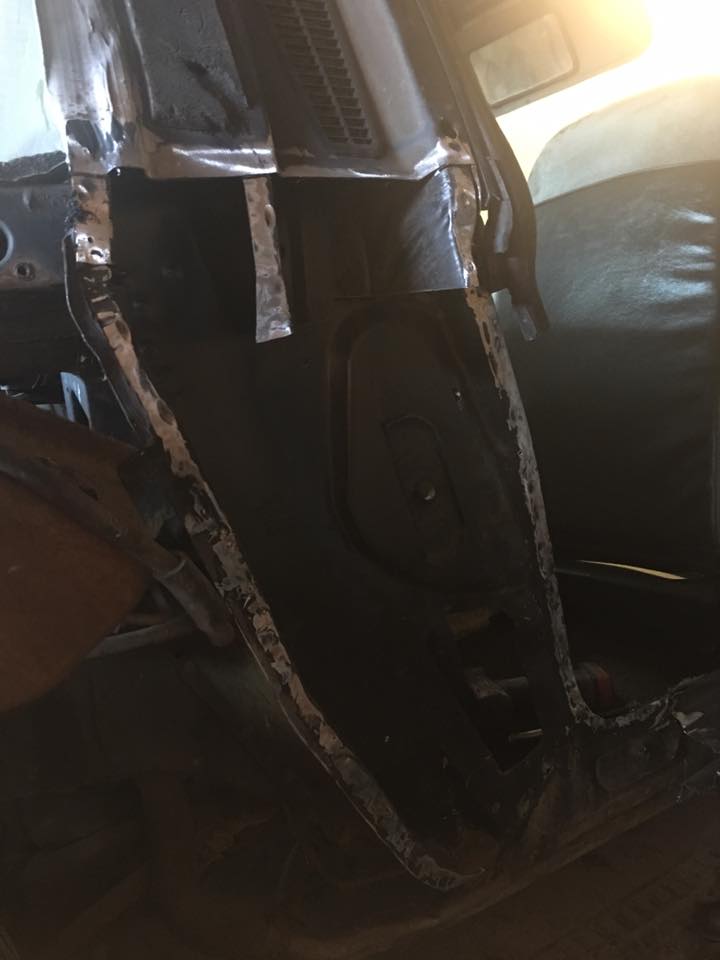
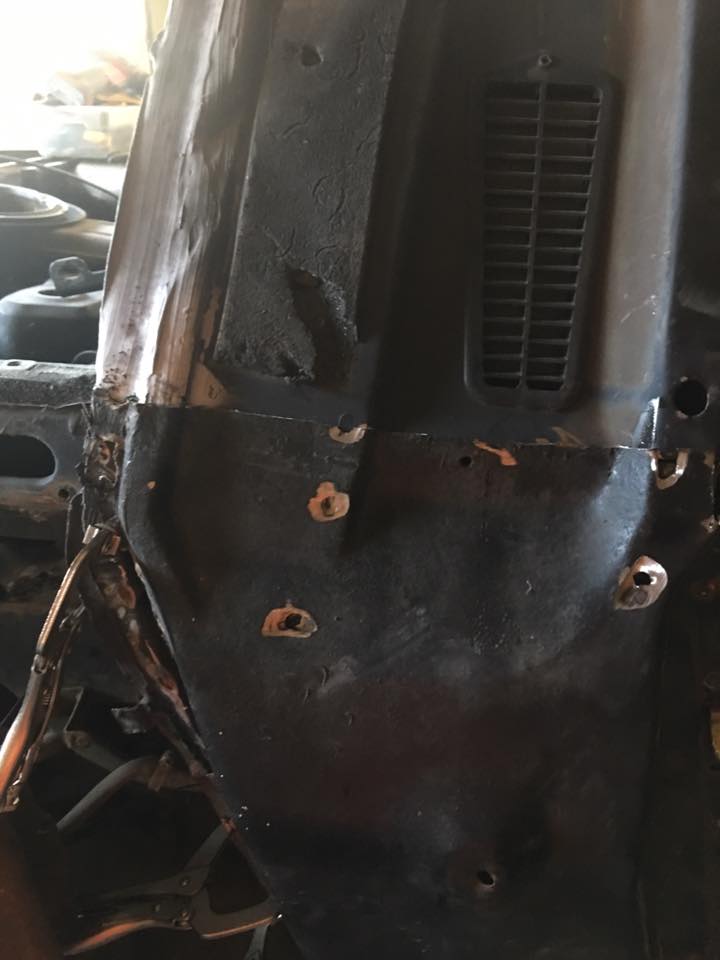
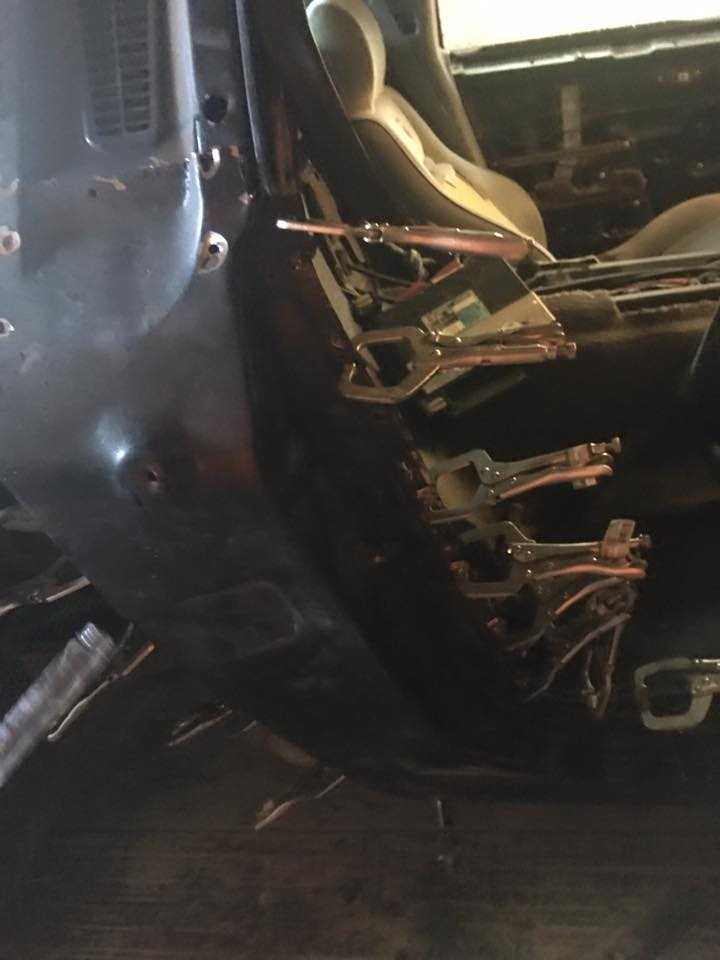
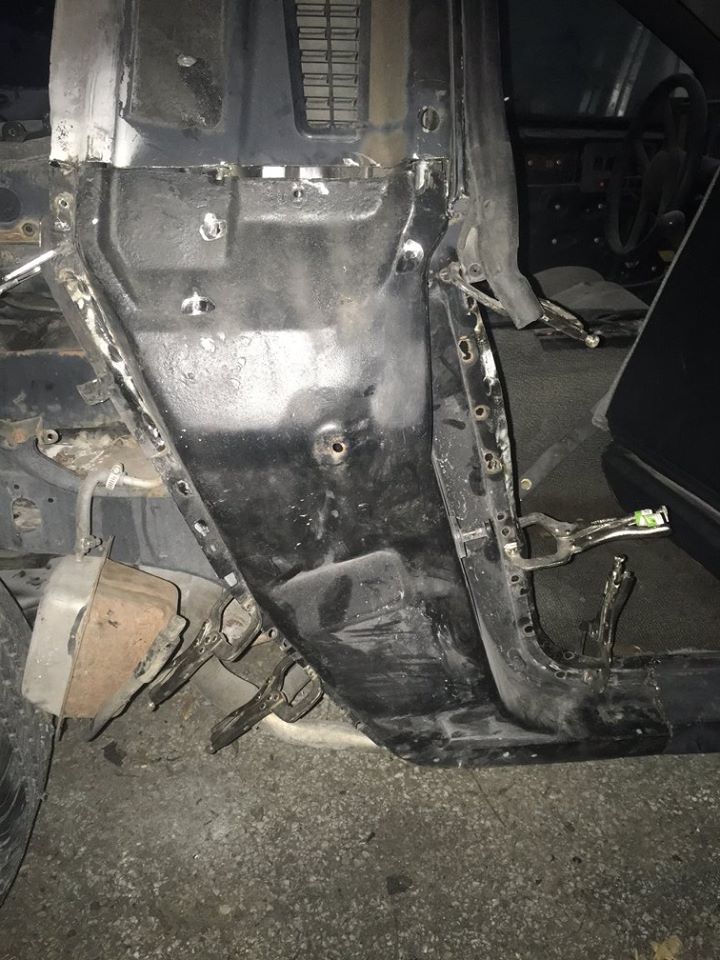
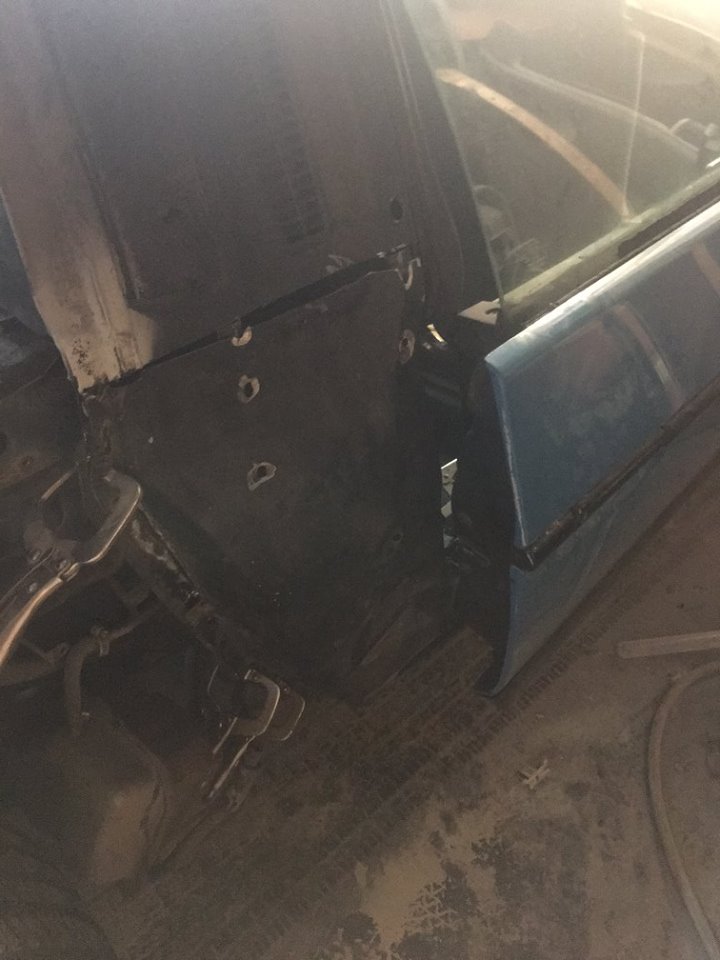
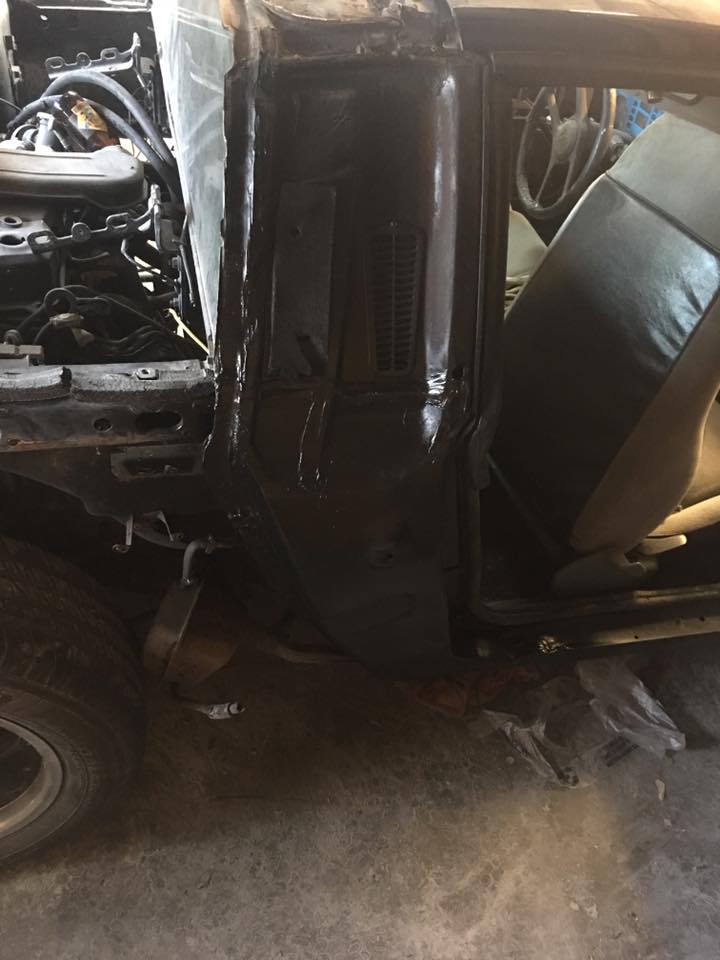
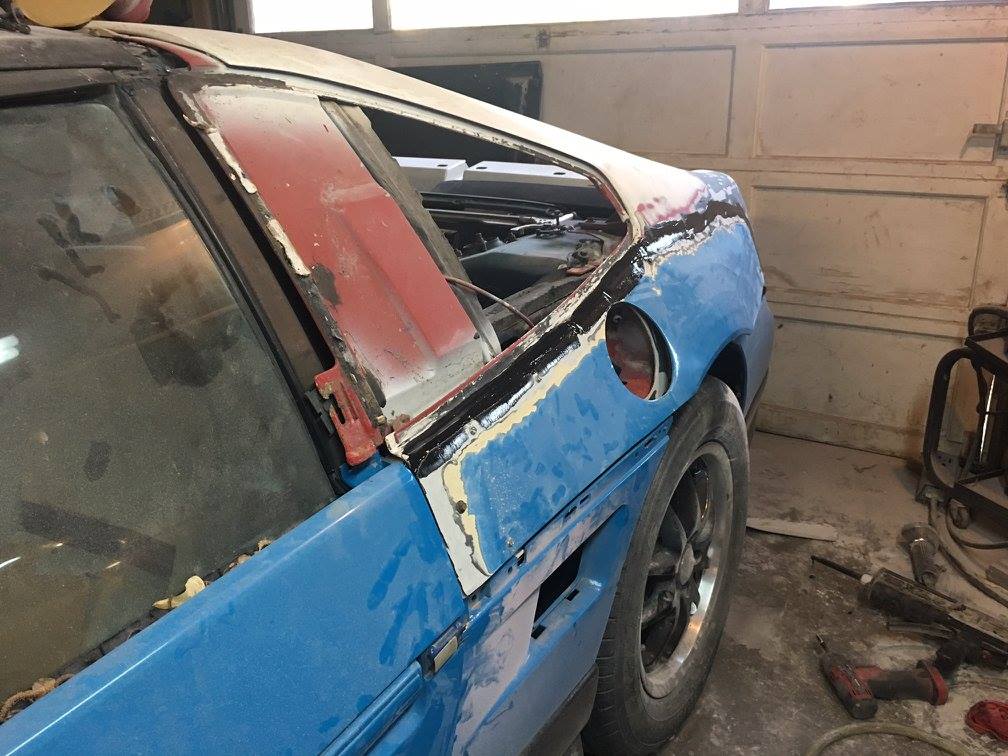
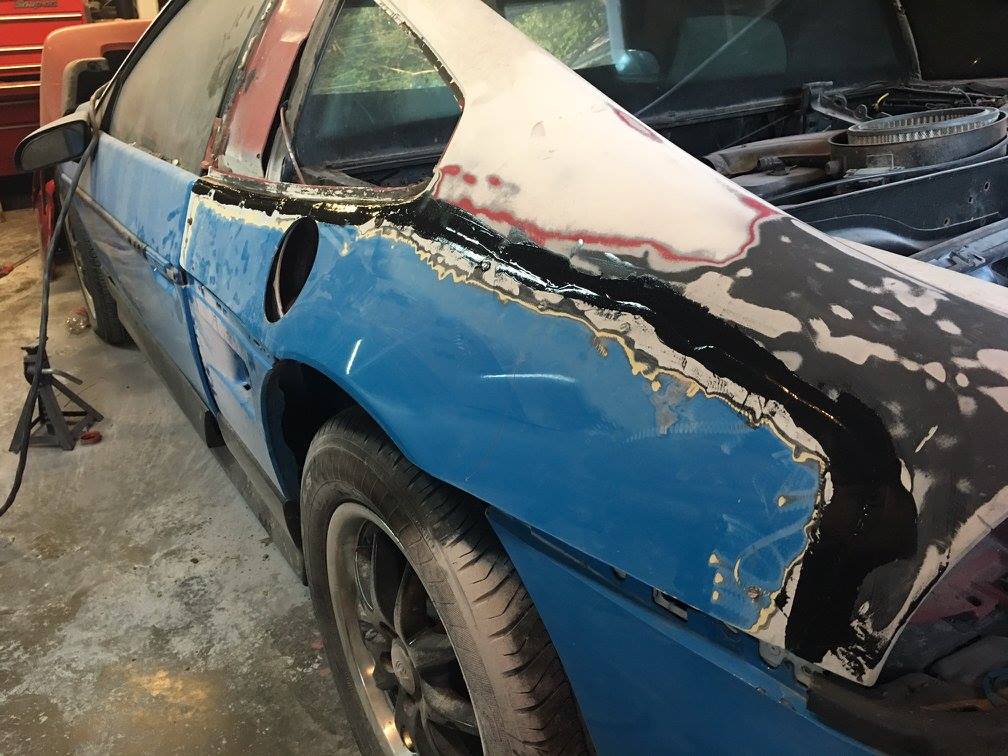
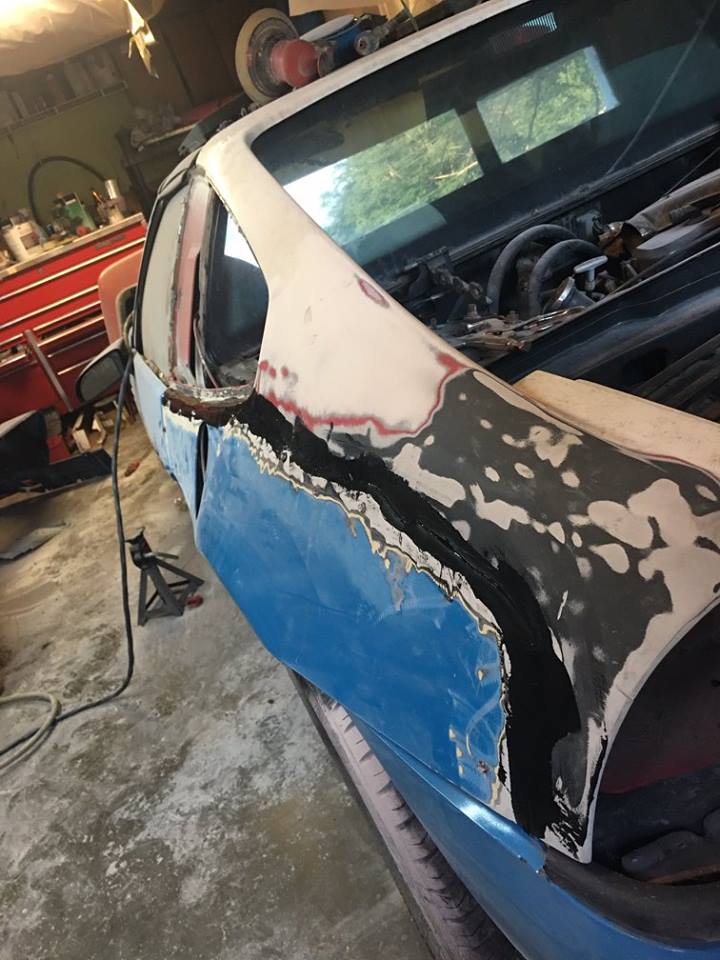
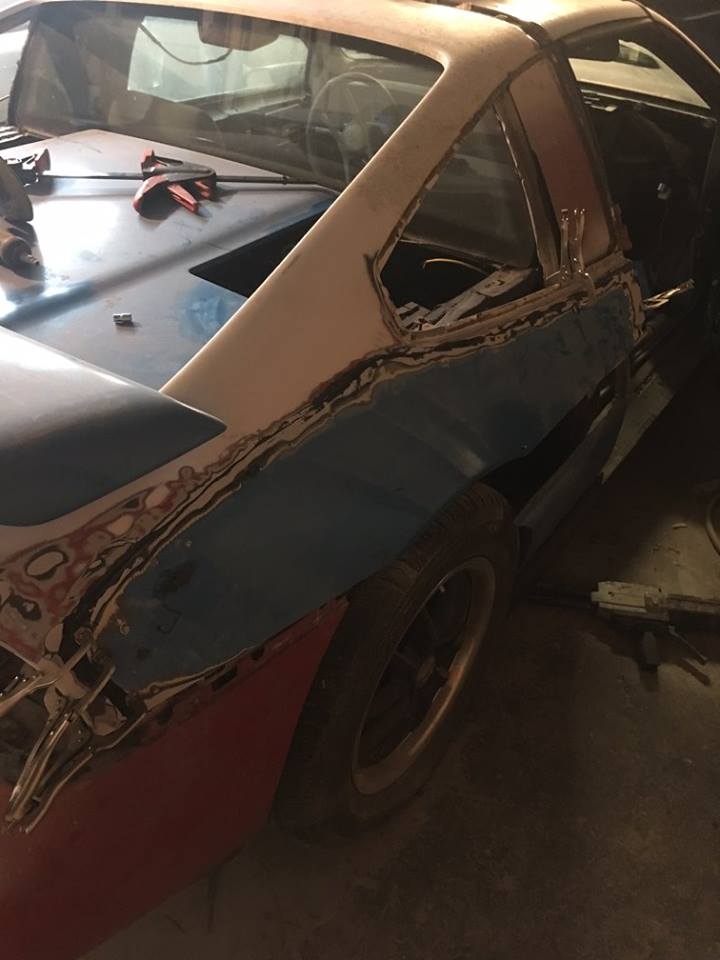
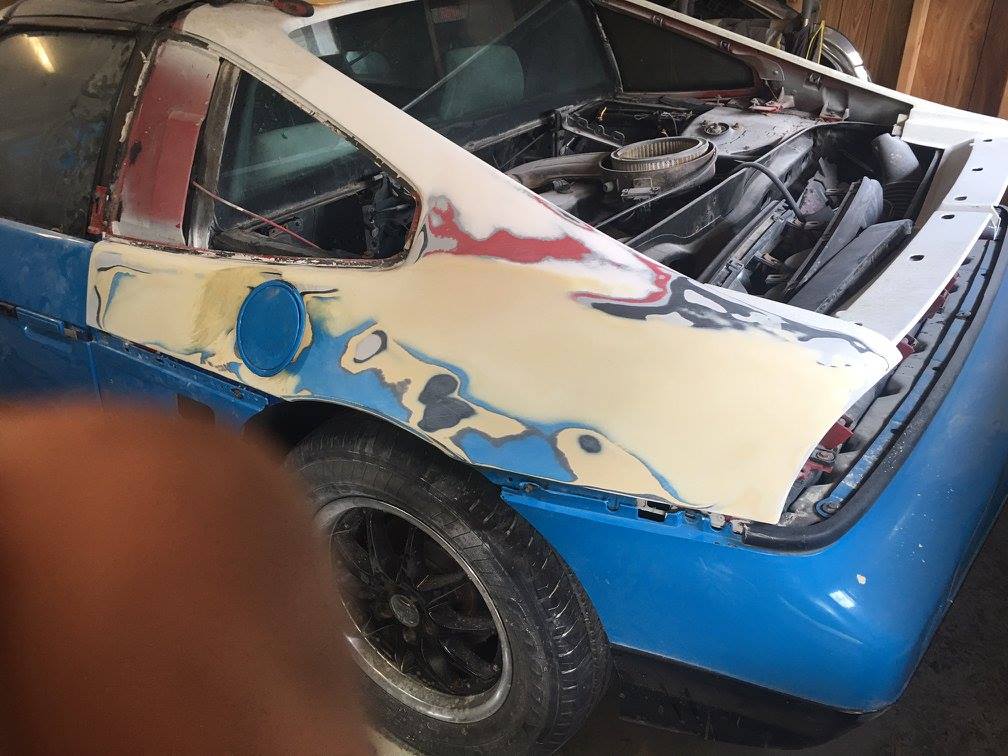
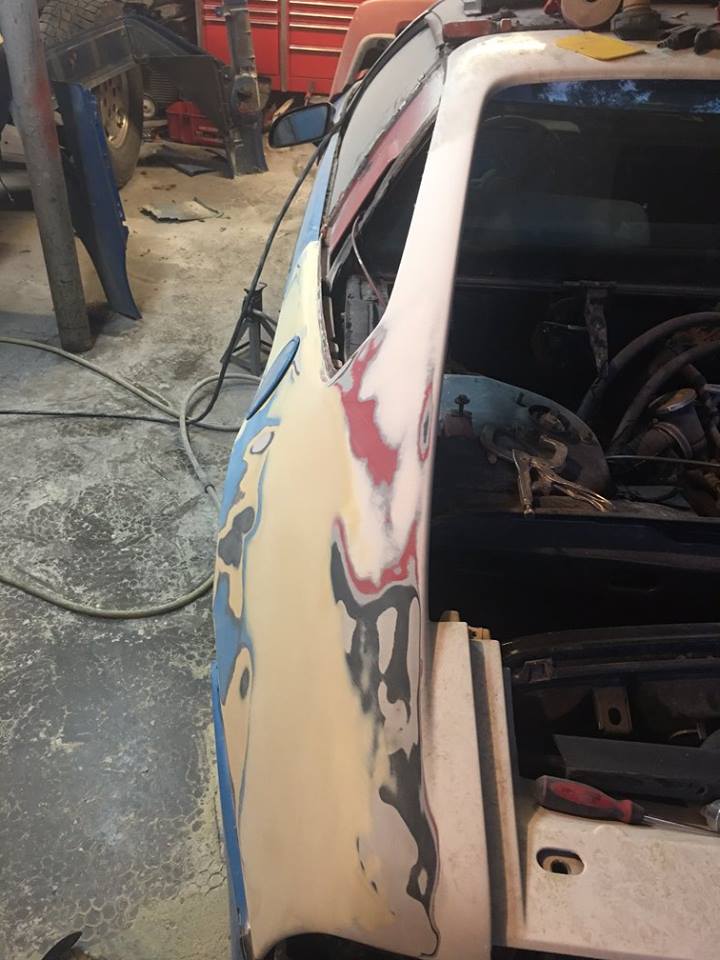
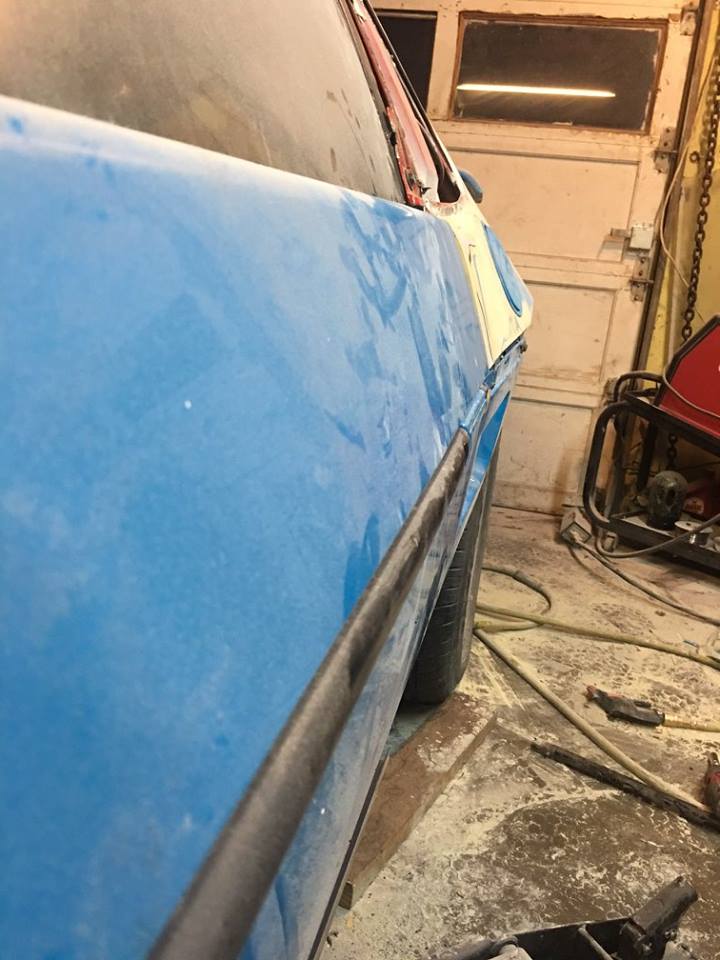
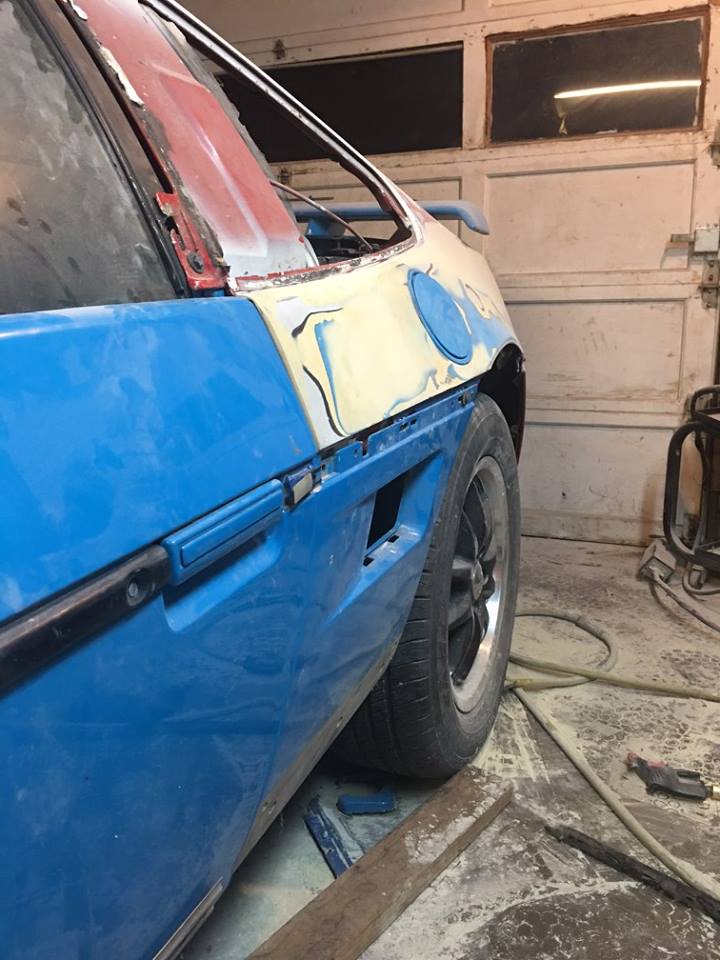
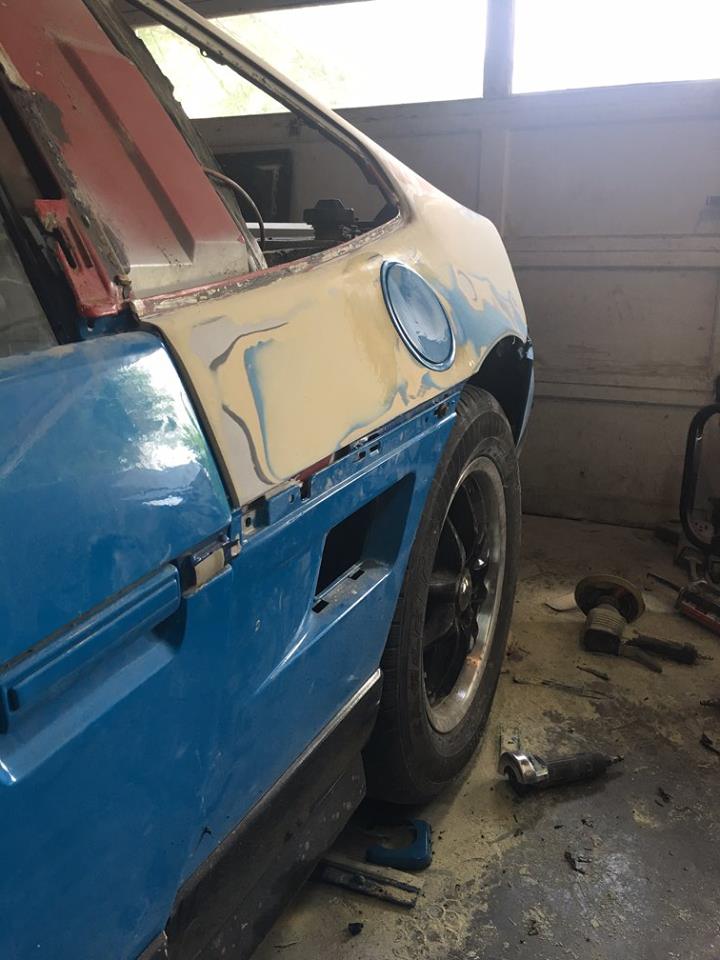
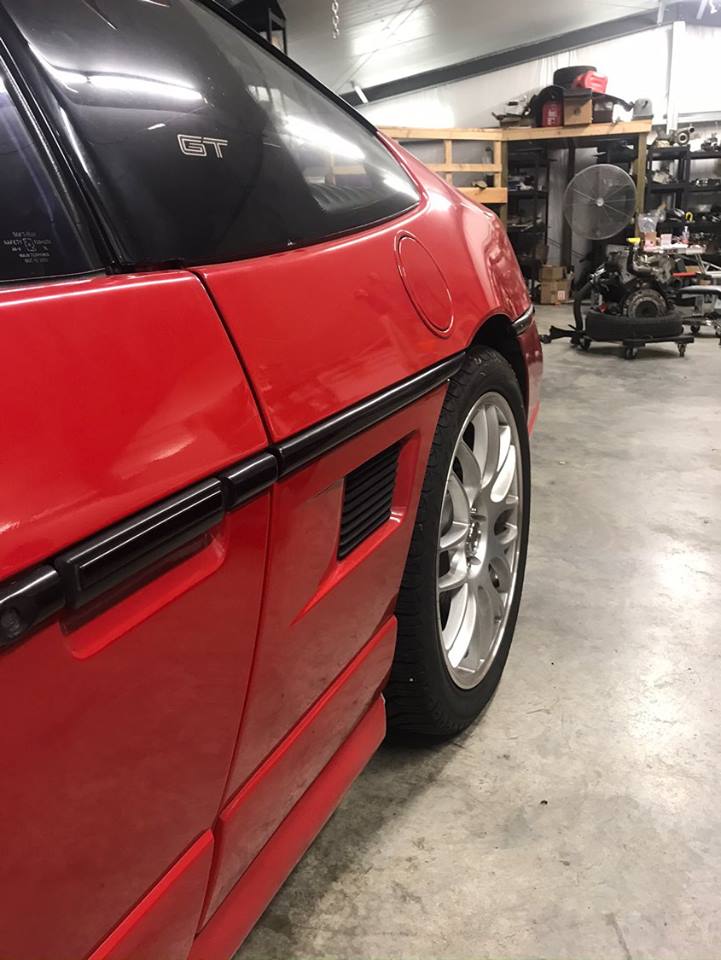
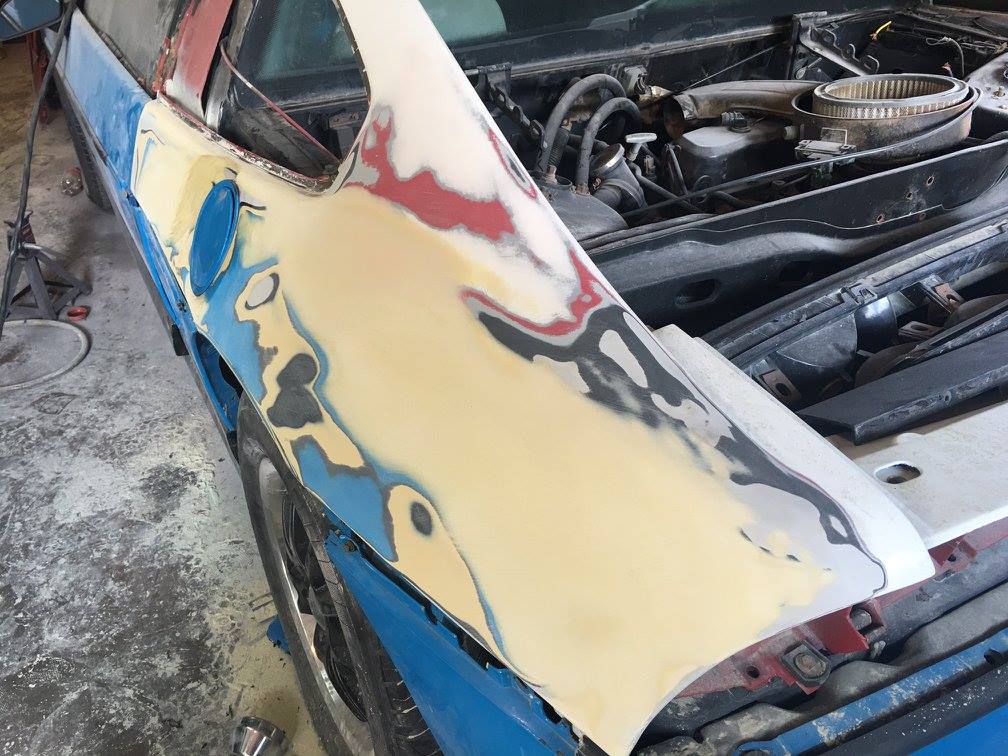
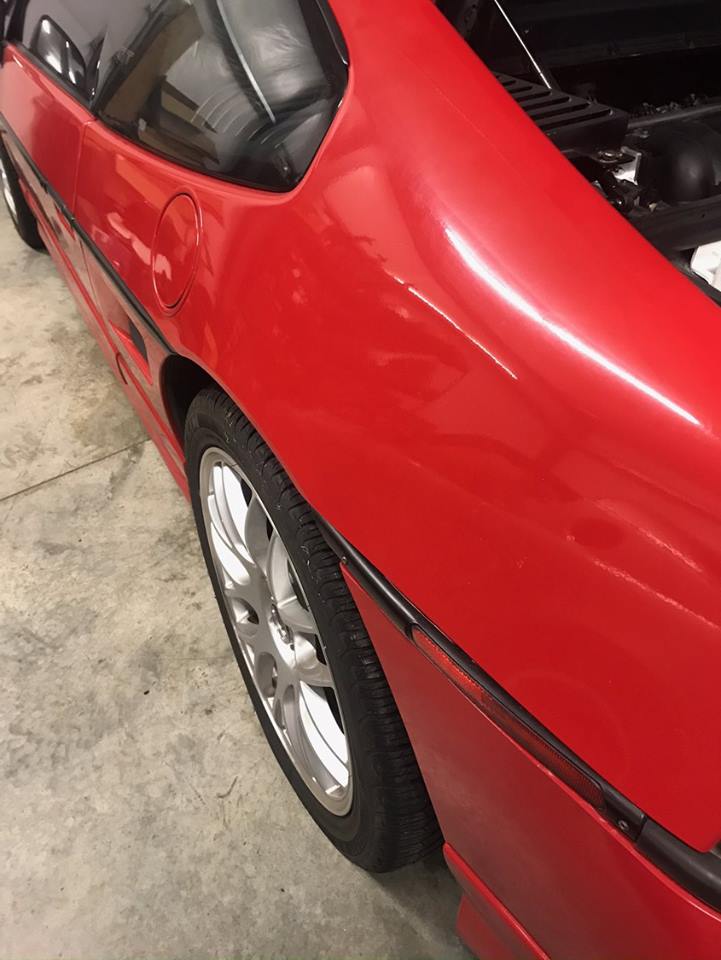
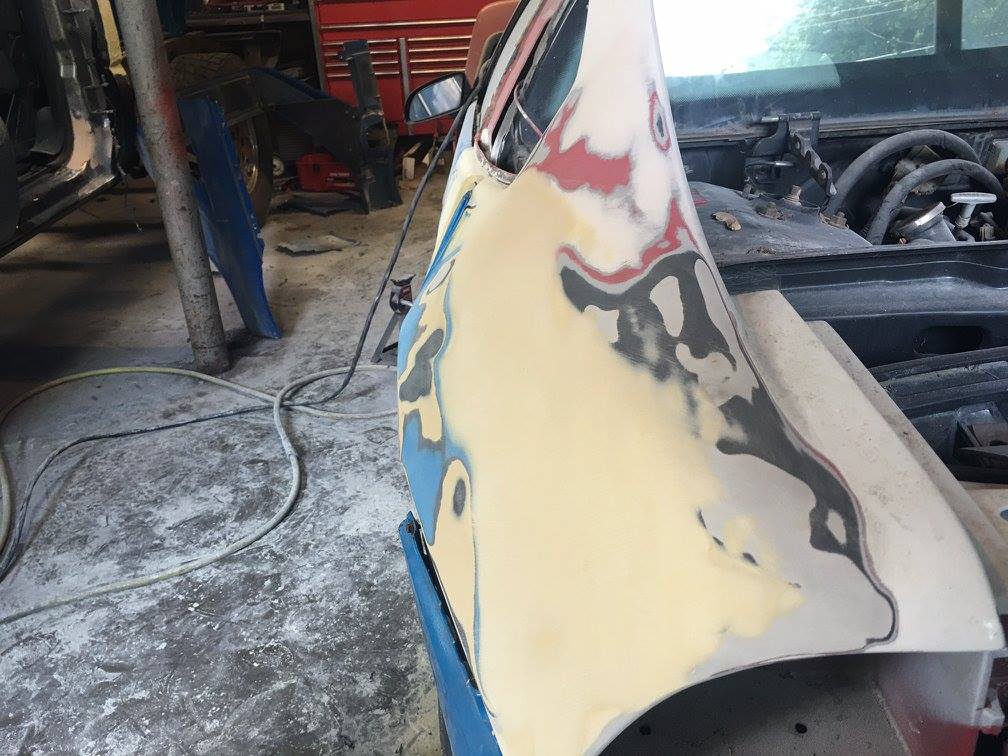
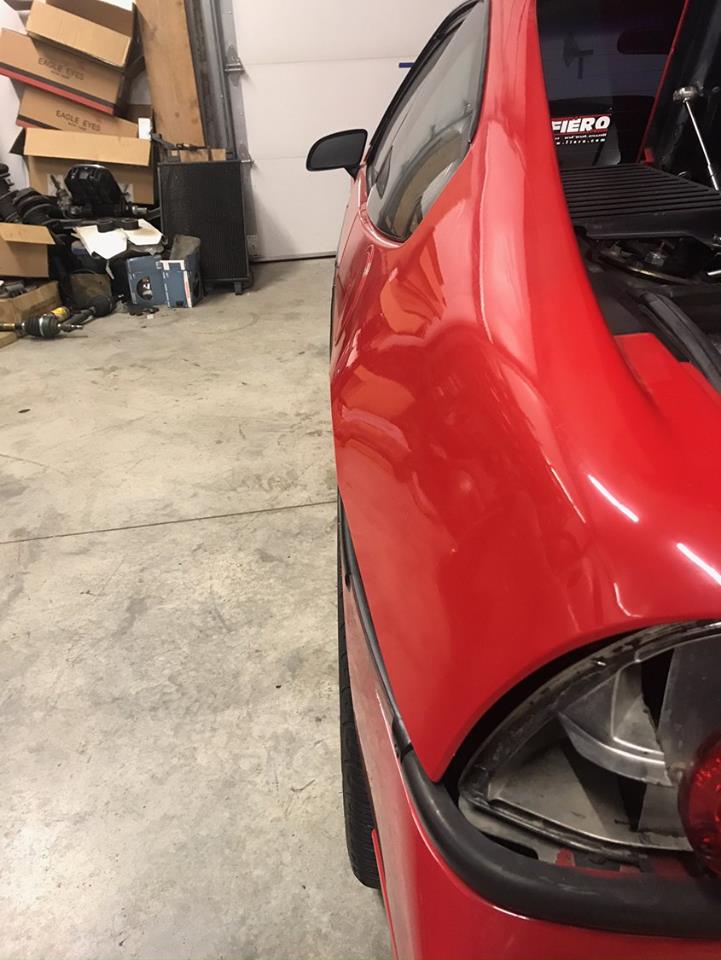
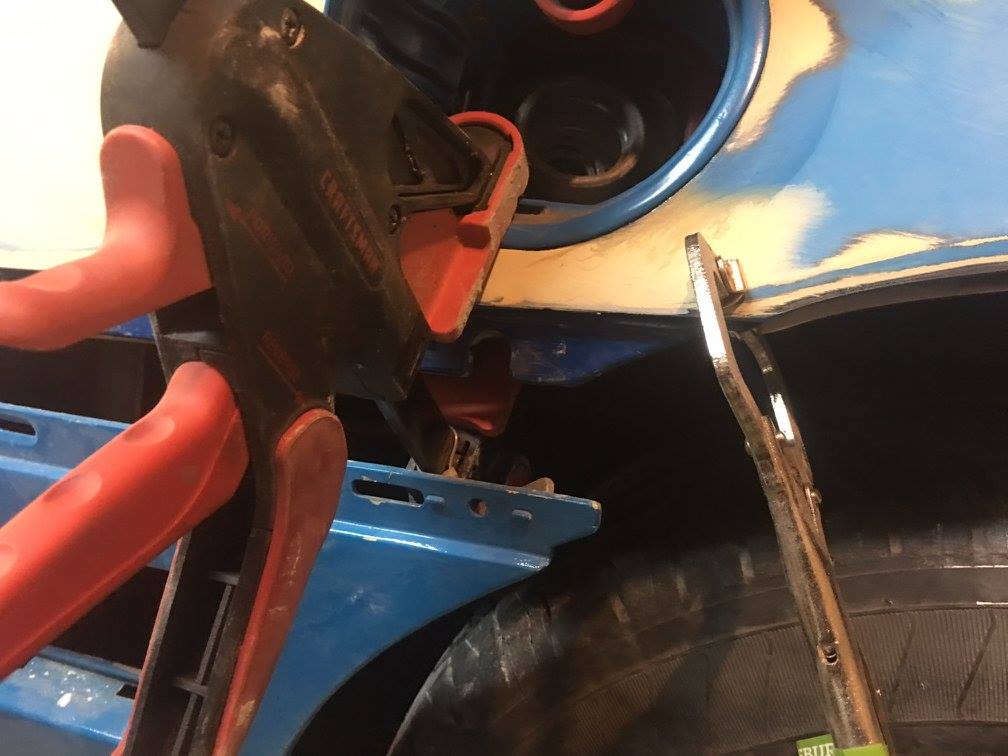
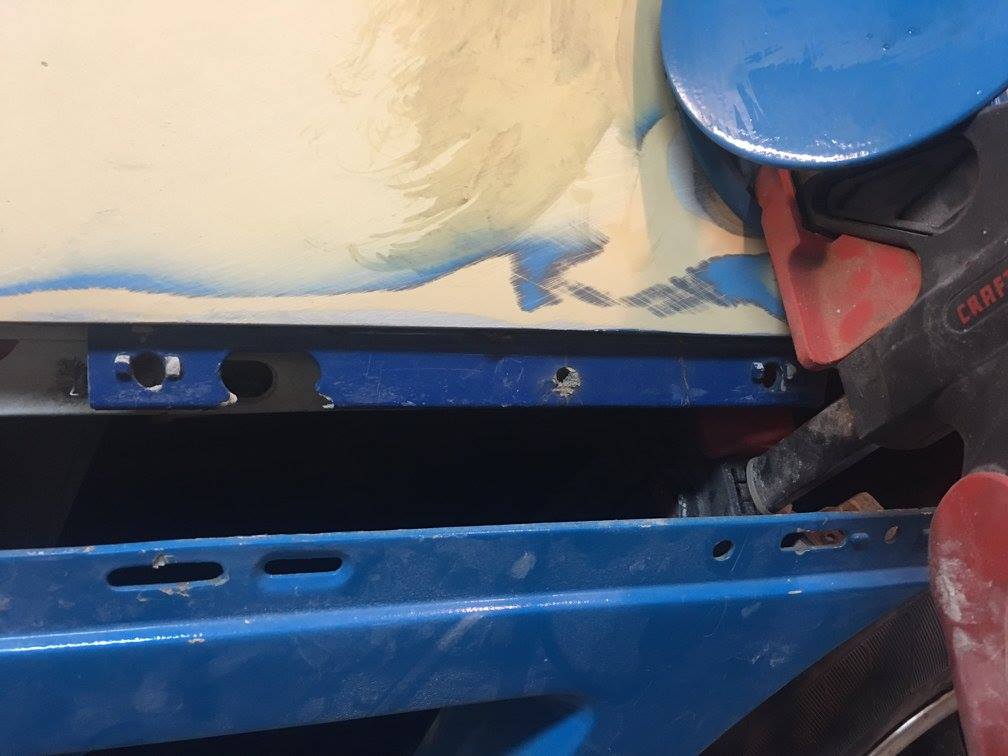
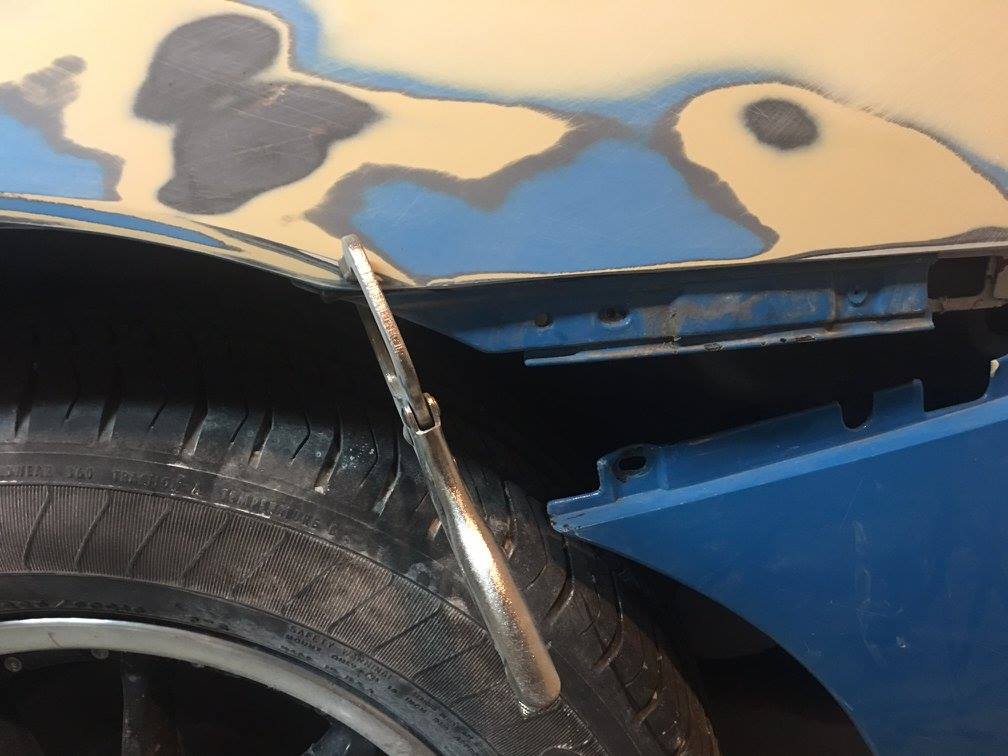
Before the car left my shop and went back to Chris I was able to finish the body work to the upper quarter. Our ultimate goal was to keep this looking as stock looking as possible, something where just walking by one wouldn't notice it's wider than your standard fiero. I will post photos here shortly With the process of the body work.
|
|
|
|
AWautoworks
|
JUN 26, 11:41 AM
|
|
|
|
|
AWautoworks
|
JUN 26, 11:57 AM
|
|
|
|